
Monthly Archives: October 2020

Stuffed French Toast with Warm Apple Compote

Stuffed French Toast with Warm Apple Compote

Made this for breakfast this morning. A friend was coming over and wanted to make something special. I was so pleased she and her sweet dog were stopping by. I wanted food I could prep ahead and then just warm up. I also wanted something autumnal. It is the beginning of October, after all.

The Stuffed French Toast is one of my favorite breakfast/brunch dishes. You can make it and serve it right away. It can also be made ahead and just reheated. The apple compote can also be made ahead and warmed up when you are ready to eat. I prefer when I can get things done ahead for breakfast. I am not always the peppiest person in the morning.

The compote could also be made with pears or a combination of apples and pears.

Stuffed French Toast

1 (8 oz.) package cream cheese, softened

1 t. vanilla

½ c. chopped nuts- I used slivered almonds

1 16-oz. loaf French bread

4 eggs

1 c. whipping cream or half and half

1/2 t. vanilla

½ t. nutmeg

Mix together cream cheese, vanilla and nuts. Set aside. Cut bread into 10-12 1½-inch slices. Cut pocket in each slice and fill with 1½ T. filling. Combine eggs and whipping cream with remaining vanilla and nutmeg. Use tongs to dip the bread, taking care not to squeeze out the filling. Cook toast on lightly greased griddle until browned on both sides. Keep toast warm in oven until ready to serve. Makes 10-12 slices.

Apple Compote

4-5 apples

½ c. honey

¼ c. brown sugar

¼ c. butter

3 T. lemon juice

1-2 t. cinnamon

1 t. vanilla

Pinch of salt

Peel, core, and slice apples. Place apples in a bowl of water with a little lemon juice in it, to keep them from discoloring. Once apples are all sliced, drain and place in a skillet with the remaining ingredients. Heat over medium-high heat until apples are tender and sauce has thickened. Stir occasionally to prevent sticking. Serve warm with the French toast. The compote can be served over cake, waffles or with ice cream.
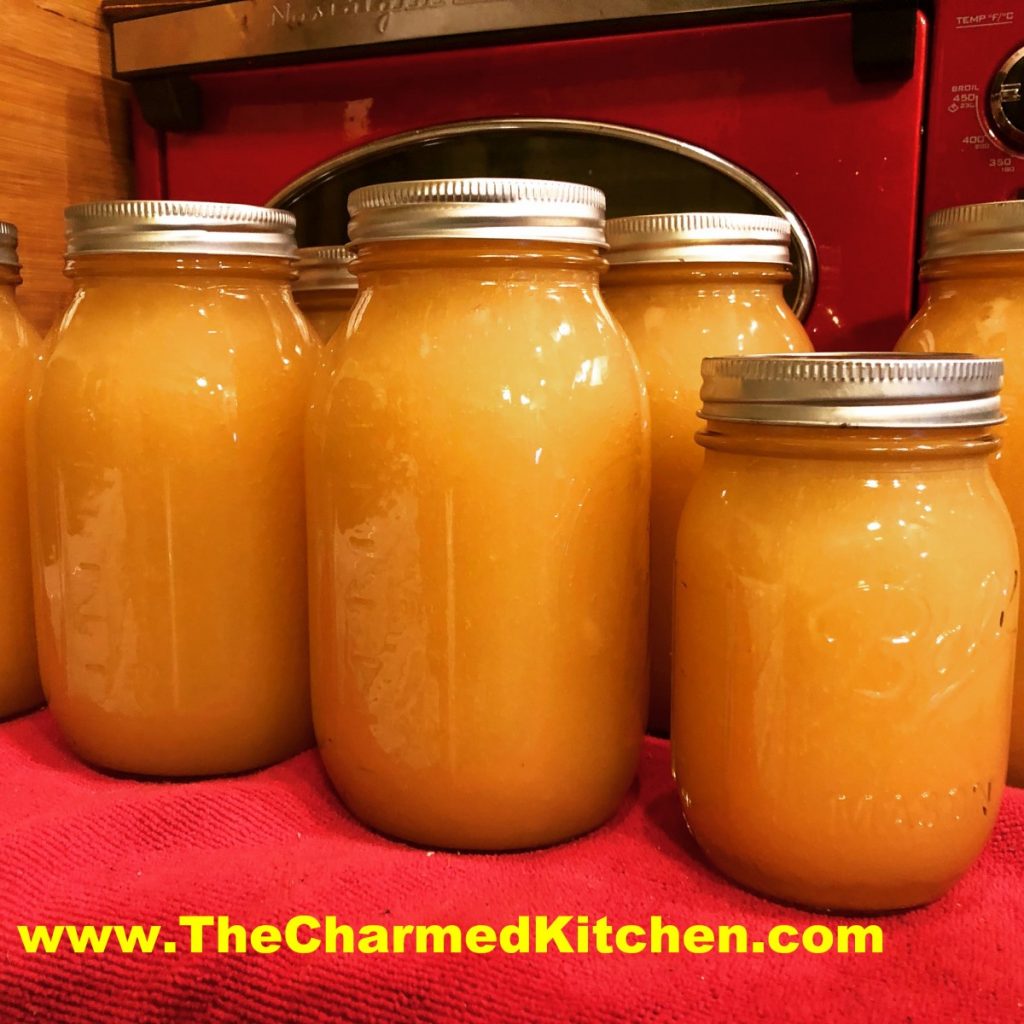
Canning Applesauce

Freshly canned applesauce

I love homemade applesauce so much better than anything I can buy at the store. It really is easy to make.

There is some disagreement about whether or not you have to peel your apples before making applesauce. It is a personal choice. You can cut up your apples without peeling them, if you are running them through a food mill. The food mill will remove the skins. If you use red-skinned apples, the skins will give your sauce a rosy tint.

I actually peeled my apples, mostly because I knew I was not using a food mill, but was using an immersion blender to make my sauce smooth. Either method is fine.

Sweetening is also a personal choice. You can leave your applesauce unsweetened, if you like. I normally use sweet apples for my sauce, so I don’t need a lot of sugar. Plus, I’ll let you in on a little secret. You need some water to help cook down the apples and keep them from sticking to the pot. Instead of water, I use apple juice or cider. It adds natural sweetness to the applesauce and a more intense apple flavor.

You can also add a couple of cinnamon sticks to the batch- don’t forget to remove them before processing.

Home Canned Applesauce

12 lbs. apples, I used Melrose and Mutsu

Water*

2-3 cinnamon sticks, optional

4 T.  lemon juice

sugar to taste

Peel and core apples. Put in water with some ascorbic acid, citric acid or lemon juice to prevent discoloration. Place apples in a pot with enough water* to prevent sticking. Add the cinnamon sticks, if using, and lemon juice. Cook over medium high heat until soft. Time will vary depending on the type of apples you are using, and how large the apples are.  Turn off the heat and remove cinnamon sticks. I wanted smooth applesauce, so I used an immersion blender. Return apple mixture to a boil. Sweeten with sugar, if you like, or leave unsweetened. Have water bath full of boiling water and have hot, clean canning jars and lids and rings ready. Ladle hot applesauce into hot jars, leaving 1/2 inch of headspace. Wipe rims and apply lids. Process in a boiling water bath for 20 minutes for pints or quarts. Turn off heat and let jars stand in water bath 5 minutes before removing. Set in a draft free area to cool down. Yield: 4 quarts or 8 pints.

*rather than add water, to prevent the apples from sticking, you can use cider or apple juice instead.