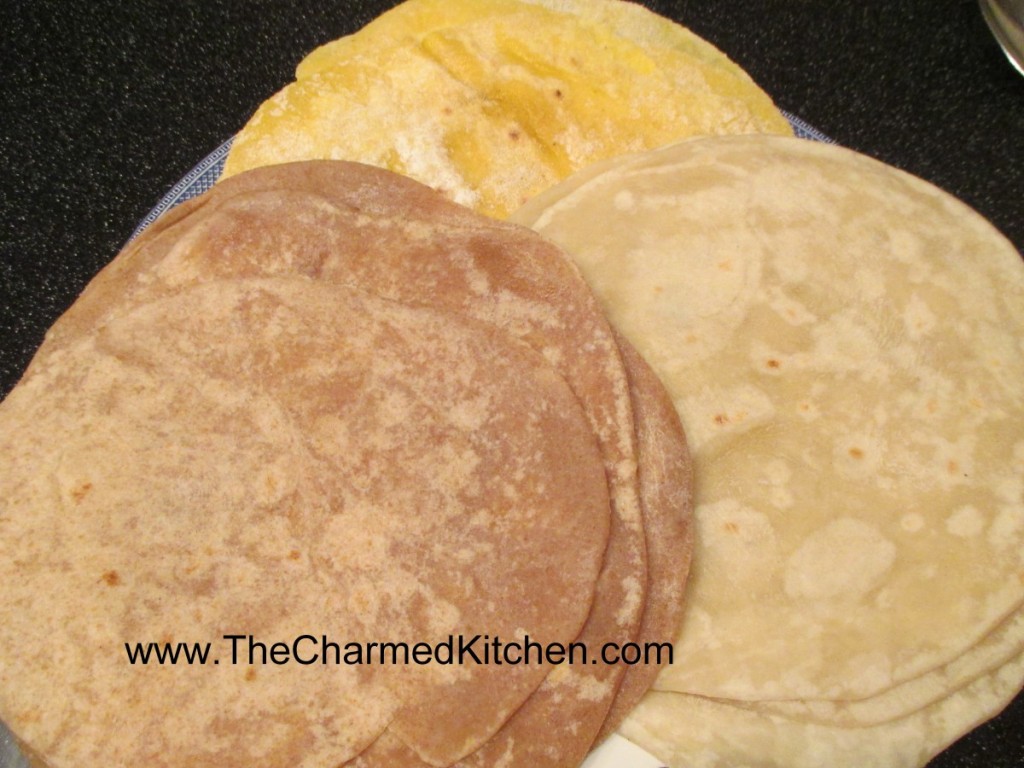
With Cinco de Mayo coming up, I thought it was time to re-post the recipes for homemade tortillas.
If you never made tortillas because you thought they were too hard to make, I hope I can change your mind. Tortillas are pretty easy to make. They only have a few ingredients- although you can get creative and add more stuff. The dough is simple enough. Once made, you just roll it out into circles. Heck, you only need to roll them into something resembling a circle. They will taste the same, even if they aren’t perfectly round.
Cooking involves a hot skillet and 30 seconds per side. The flavor and texture are so much fresher than most of what you can buy. Certainly fresher than what is at the local grocery store.
While it is easier if you have a tortilla press, I roll mine out by hand all the time. You could also use a pasta machine for rolling- although that will limit their width.
There is a little fat in most recipes- traditionally lard- but you have wiggle room here, too. I used coconut oil and was very happy with the taste and texture. So here are three recipes for tortillas- corn, wheat and whole wheat.
Corn Tortillas
1 3/4 cups masa harina ( corn flour) it is finer than cornmeal and will give you a nicer end product
1 1/8 cups hot water
In a medium bowl, mix together masa harina and hot water until thoroughly combined. Turn dough onto a clean surface and knead until pliable and smooth. If dough is too sticky, add more masa harina; if it begins to dry out, sprinkle with water. Cover dough tightly with plastic wrap and allow to stand for 30 minutes.
Preheat a cast iron skillet or griddle to medium-high. Divide dough into 15 equal-size balls. Using a tortilla press, a rolling pin, or your hands, press each ball of dough flat between two sheets of plastic wrap. Immediately place tortilla in preheated pan and allow to cook for approximately 30 seconds, or until browned
and slightly puffy. Turn tortilla over to brown on second side for approximately 30 seconds more, then transfer to a plate. Repeat process with each ball of dough. Keep tortillas covered with a towel to stay warm and moist until ready to serve.
Note: I often add a little salt to the dough. It is optional, but it does add a nice flavor. 1 teaspoon per batch seems about right.
Whole Wheat Flour Tortillas
1 cup all-purpose flour
4 cups whole wheat bread flour
1/2 cup fat, you could use lard, shortening or coconut oil – something solid at room temp- not oil
2 tablespoons salt
1 1/2 cups boiling water
flour for rolling
In a large bowl, stir together 1- cup all-purpose flour, whole wheat flour and salt. Rub in the fat by hand until the mixture is the texture of oatmeal. Make a well in the center, and pour in the boiling water. Mix with a fork until all of the water is evenly incorporated. Sprinkle with a bit of additional flour, and knead until the dough does not stick to your fingers. The dough should be smooth. Make balls the size of golf balls, about 2 oz. each. Place them on a tray, and cover with a cloth. Let stand for at least 1 hour, or up to 8 hours. Heat a griddle or large frying pan over high heat. On a lightly floured surface, roll out a tortilla to preferred thinness. Fry one at a time. Place on the griddle for 10 seconds, as soon as you see a bubble on the top, flip the tortilla over. Let it cook for about 30 seconds, then flip and cook the other side for another 30 seconds. Roll out the next tortilla while you wait for that one to cook. Tortillas can be refrigerated or frozen. Makes 18.
Flour Tortillas
2 c. flour
1/4 c. fat, you could use lard, shortening or coconut oil – any fat solid at room temp- not oil
1 t. salt
2/3 c. warm water
Combine flour and fat by cutting in to resemble coarse crumbs. Dissolve salt in water and stir into flour mixture. Form into a ball and knead on a lightly floured surface 2-3 minutes or until it is smooth. Divide dough into 12 equal pieces and wrap each in plastic wrap. Allow dough to rest 30 – 60 minutes. On lightly floured surface roll out a piece of dough into a 7-inch circle. Cook dough on griddle or in a skillet over medium high heat until puffy and golden on both sides, 1-2 minutes. Wrap in a kitchen towel and repeat process with remaining dough, stacking and wrapping as you go. Makes 12.