Orange and Cream Scones

I am in love with these scones. They are just what a good scone should be, tender and crumbly, without being dry. The orange flavor comes form the orange zest used in the recipe. It is subtle, but there.
I love scones because you can have them for breakfast or with a cup of coffee or tea. You can also use them as the base for a shortcake dessert by splitting them, adding sweetened fruit and whipped cream.
I was in the mood for scones, but wanted to try something new. I had come across this recipe in an old file of mine. I had ripped it out of a magazine a long time ago. They looked promising, so I decided to make them. I made few changes from the original recipe. I was very happy with how they came out. I think you will be, too.
Orange and Cream Scones
2 c. flour
¼ c. sugar
1-2 T. orange zest, I used 1 tablespoon, but could have used more
2 t. baking powder
½ t. salt
10 T. unsalted cold butter, cut into ½ -inch cubes
1 egg
½ c. cold half and half
1 t. vanilla
Extra flour
2 T. half and half or orange juice to brush the scones
Extra sugar for sprinkling on top- 3-4 tablespoons
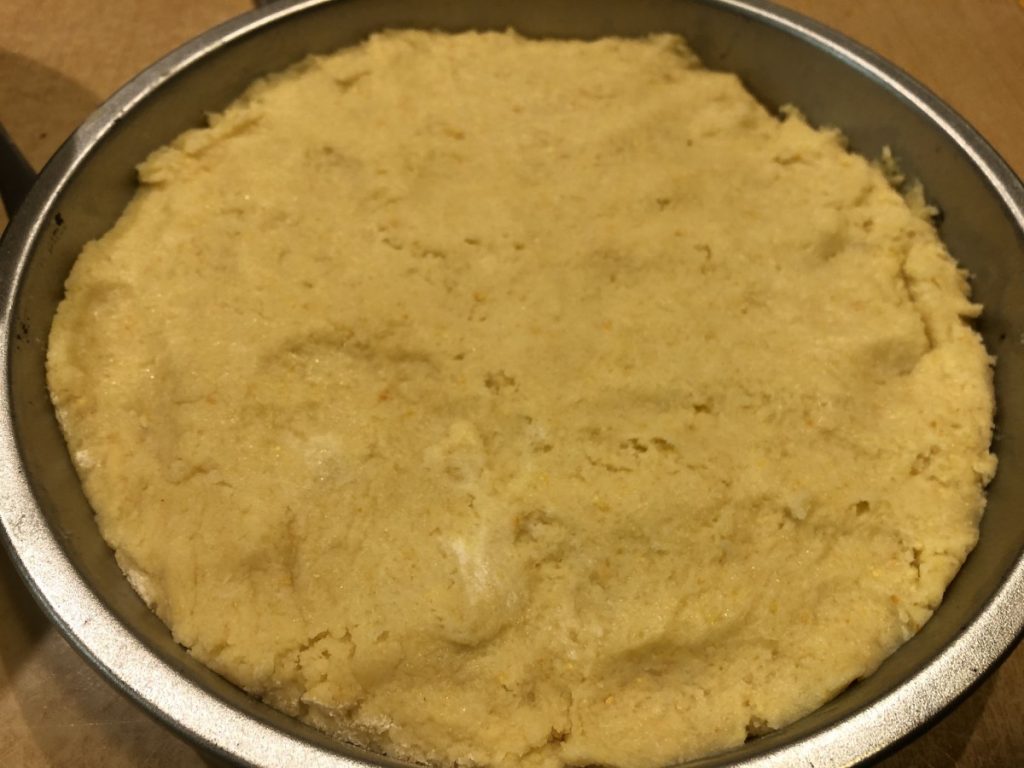
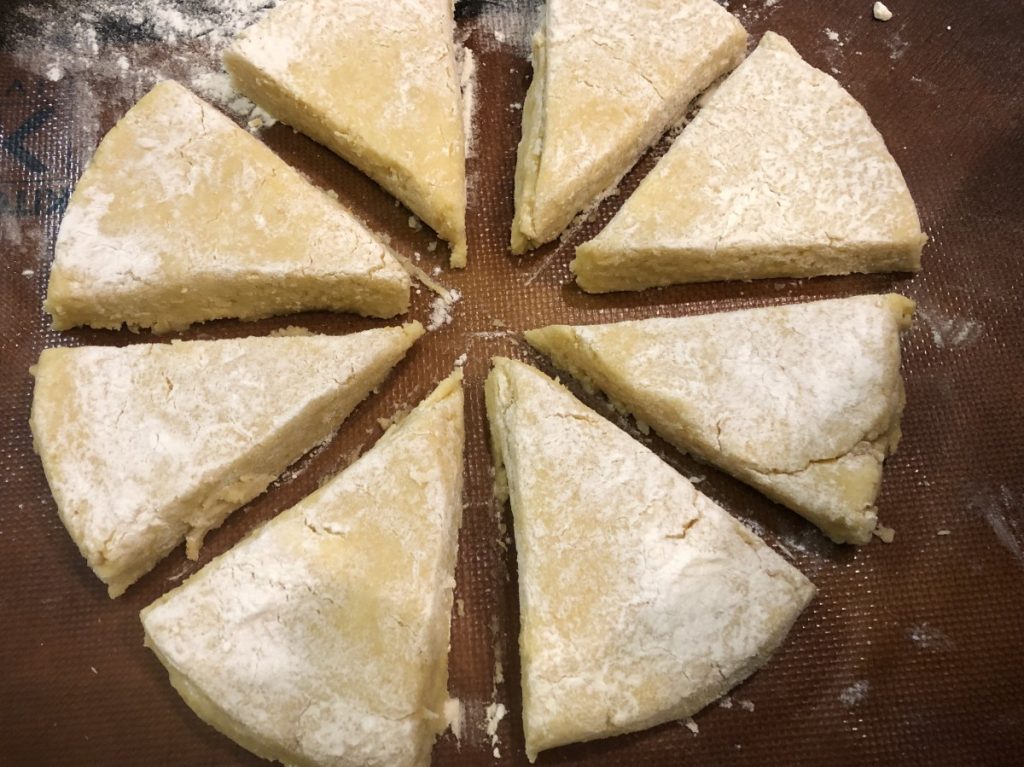
Preheat oven to 375. Line a large baking sheet with parchment paper or use a silicone liner. Set aside. In a large bowl mix together the dry ingredients. Using your fingers, rub the butter into the flour mixture until it looks like coarse crumbs. You can also use a pastry blender, but what fun is that? In a small bowl, beat together the egg, half and half and vanilla. Pour into flour mixture and stir until mixture starts to hold together. I am going to save you from messing up your counter with this next part. Get an 8-inch round cake pan and sprinkle flour in the bottom of it. Don’t be stingy, be sure there is a layer over the whole pan. One or two tablespoons should do it. Go back to your dough and sort of knead it in the bowl. That is why I said to use a large bowl. You don’t really need to knead it on your counter. Use a wooden spoon, rubber spatula or your hands to get the dough to form into a ball. Make sure you get all the dry bits from the bottom of the bowl. This isn’t a yeast dough. The idea is to get it to stick together with as little actual kneading as possible. Trust me, this is how you end up with super tender scones. As soon as the dough will hold together, and form into a ball, use a rubber scraper to get it into the floured cake pan. Press the dough evenly into the pan. Now a fun trick. You want to turn to the pan over so the dough ends up on the prepared baking sheet. You don’t want to do this slowly or the dough might plop out too soon. You also want to dough to come out. In one motion turn the cake pan over quickly onto the baking sheet. You want to actually slam it firmly on the baking sheet. Then lift up the cake pan. If all has gone according to plan, you’ll have a perfect 8-inch circle of dough on the baking sheet. I could have told you to just place the dough on the baking sheet and form it into an 8-inch circle, but I prefer the cake pan method. You get nice, even edges. There will be some flour on the dough. Leave it there for now. Using a bench scraper, or a long knife, cut the dough in half, then in half again, like cutting a pie. The dough is pretty moist, so the extra flour on top should make them easier to cut. Repeat two more times so you end up with 8 wedges. Pull them apart a little, so they can expand when they bake. I used a metal spatula to do this. If there is still extra flour on top and it is bothering you, you can brush it off. Using a pastry brush, brush a little half and half or orange juice over the scones. Then sprinkle the tops with the extra sugar. Bake for 25 minutes, or until golden brown. Makes 8. Great plain or served with jam.


