Halloween Candy Mini Cheesecakes

I am posting this as a public service to those of you with leftover Halloween candy.
Sometimes you end up with leftover Halloween candy. It was cold and rainy here last night, so there were not as many kids out as usual. I am sure some of you have leftover candy, too.
You could just eat the candy- or you can transform it into a dessert.
The idea I came up with was mini cheesecakes. I’ve made them before, so I used my recipe, and just folded in crushed candy bars. Once the cheesecakes cool they deflate a little, so I also added some crushed candy bars to the top to make them look nice.
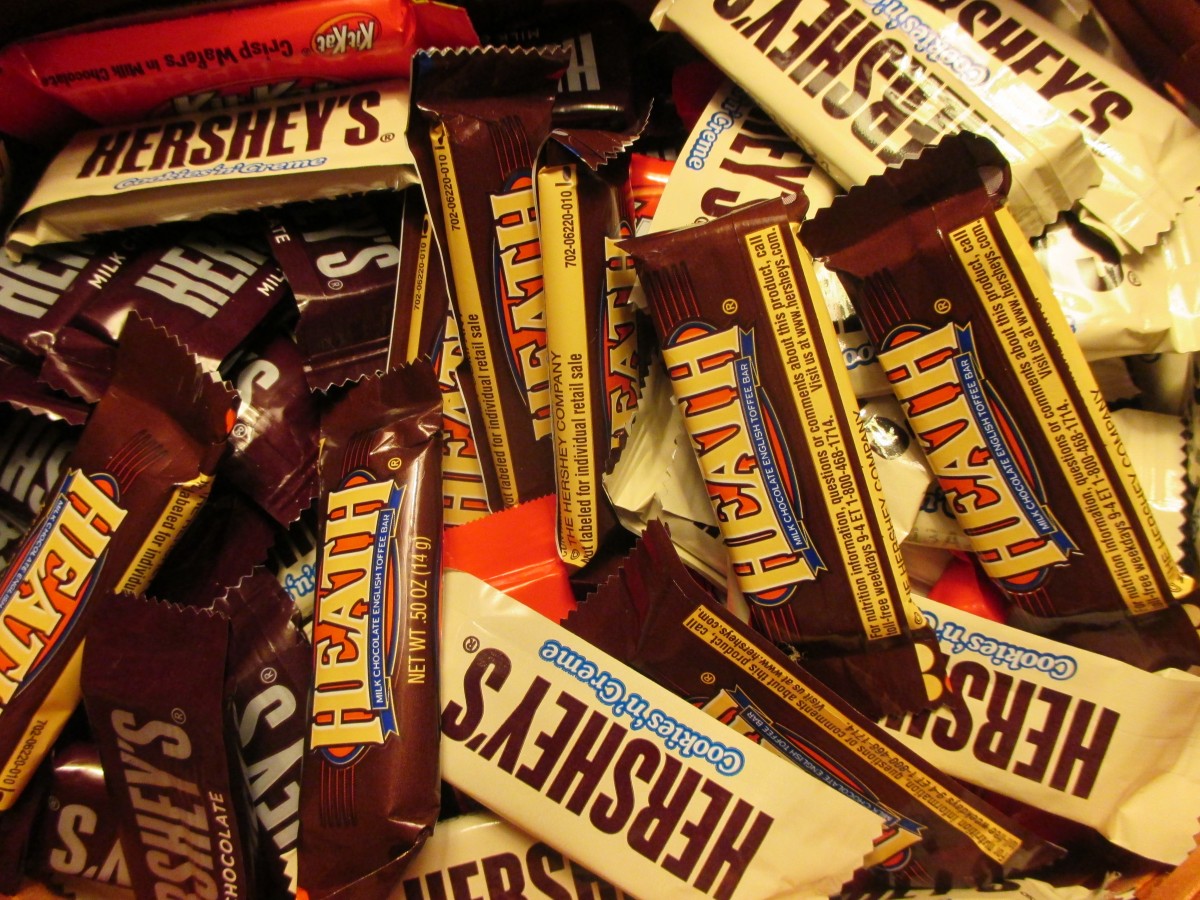
Only change from the original recipe was a slight decrease in sugar, to compensate for the extra sweetness of the candy. I used what I had, but I am sure a lot of different candy bars would work. I used a small food processor to really crush up the candy bars. I made 2 batches, one with cookies and cream candy bars and the other with Kit Kat bars.
Since the candy will keep, you could use the candy in a Thanksgiving dessert. Of course, the candy might not last until Thanksgiving.
Halloween Candy Mini Cheesecakes
12 vanilla wafers
2 (8 oz.) cream cheese, softened
1/3 c. sugar
2 t. vanilla
2 eggs
2/3 c. crushed candy bars plus 1/4 c. crushed candy bar, for topping
Line 12 muffin tins with paper liners. Place 1 wafer in each. Beat together remaining ingredients (except candy) for 1 minute with electric mixer. Fold in candy. Divide this mixture in the muffin tins, filling each 3/4 full. Bake 25 minutes at 325 degrees. Cool and decorate with extra crushed candy. Makes 12. These can be frozen.
Leftovers
Roasted Garlic Mashed Cauliflower
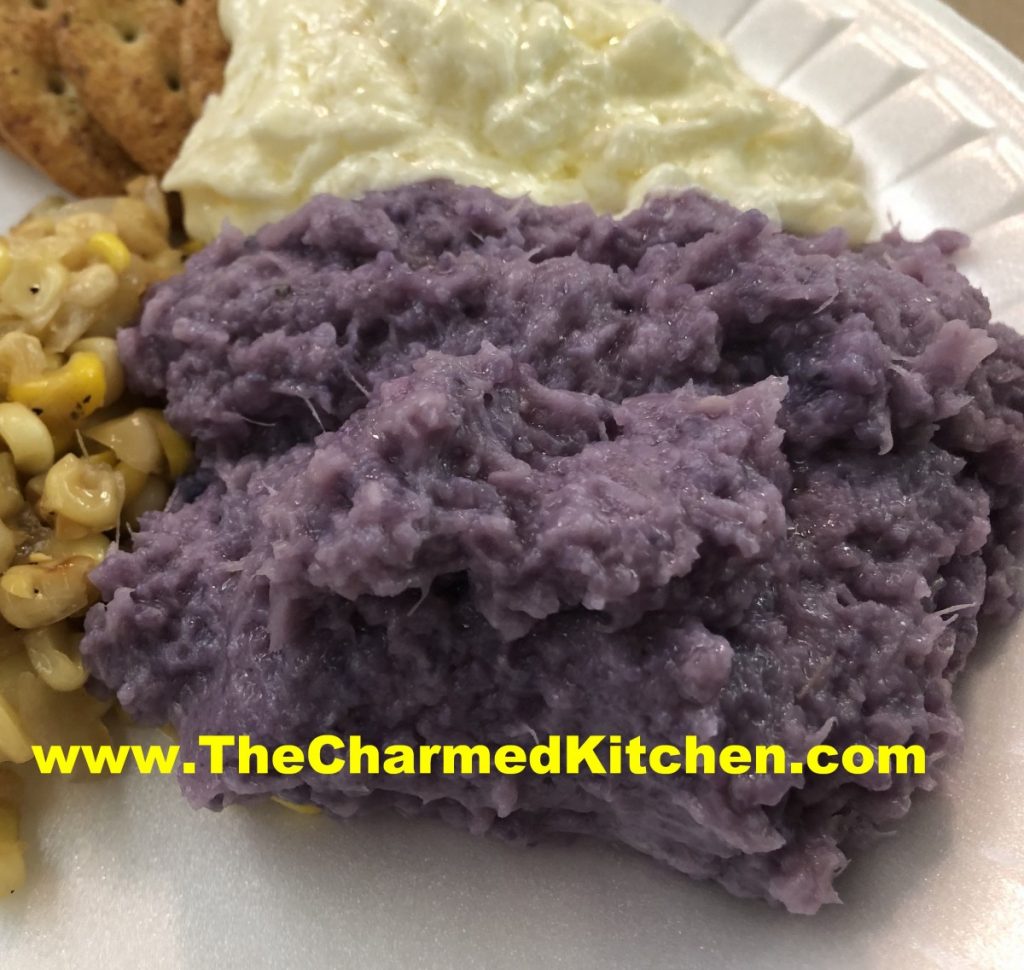
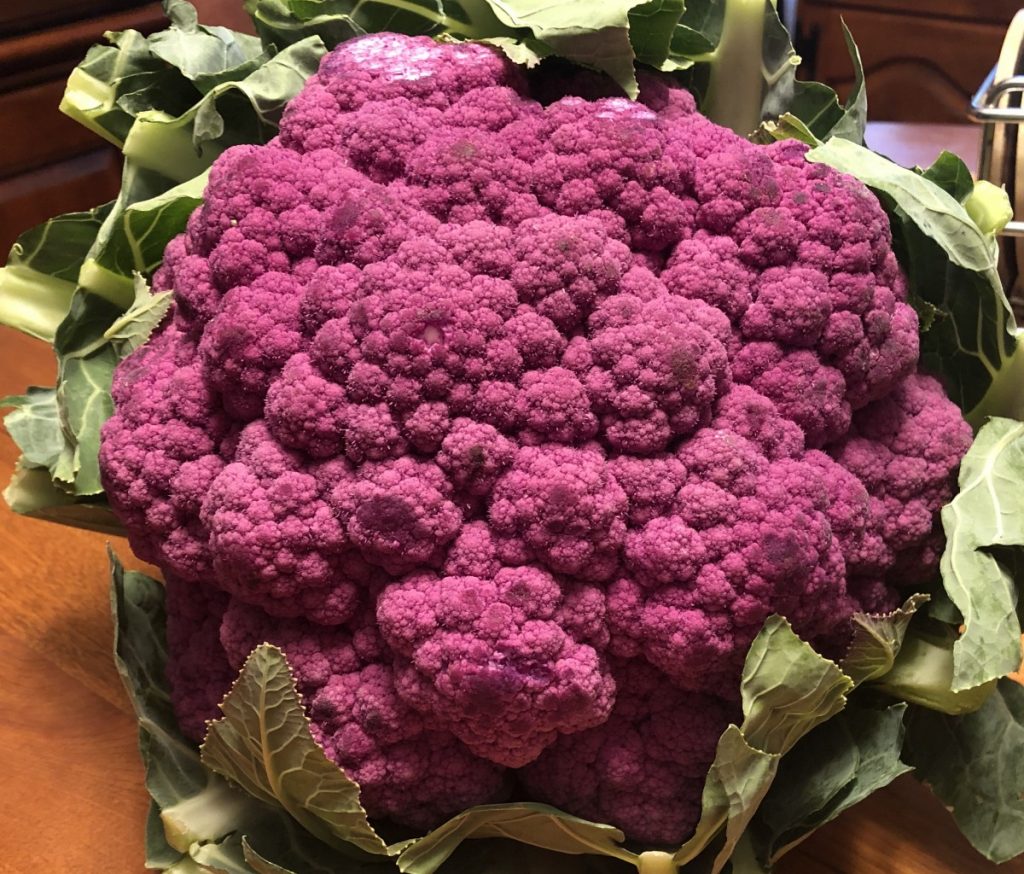
We made this dish in class the other night. It was really wonderful. I had planned on making a different recipe, using potatoes. When I picked up this beautiful purple cauliflower at a local produce market, I thought it might be fun to use it, instead of the potatoes. I am happy I did. The dish came out great.
Just because I used a purple cauliflower, does not mean you have to. Any color cauliflower will work in this recipe. I just like the purple.
I could see making it ahead of time, then just reheating it at dinner time, maybe adding some extra Parmesan cheese to the top and baking until the edges get golden.
So here is the recipe. Enjoy.
Roasted Garlic Mashed Cauliflower
8-10 cloves garlic, peeled
¼ c. olive oil
1 large head cauliflower, trimmed and cut in 1-2 inch pieces
½ c. half and half or milk, warmed
½ c. grated Parmesan cheese
4 T. butter
Salt and pepper to taste
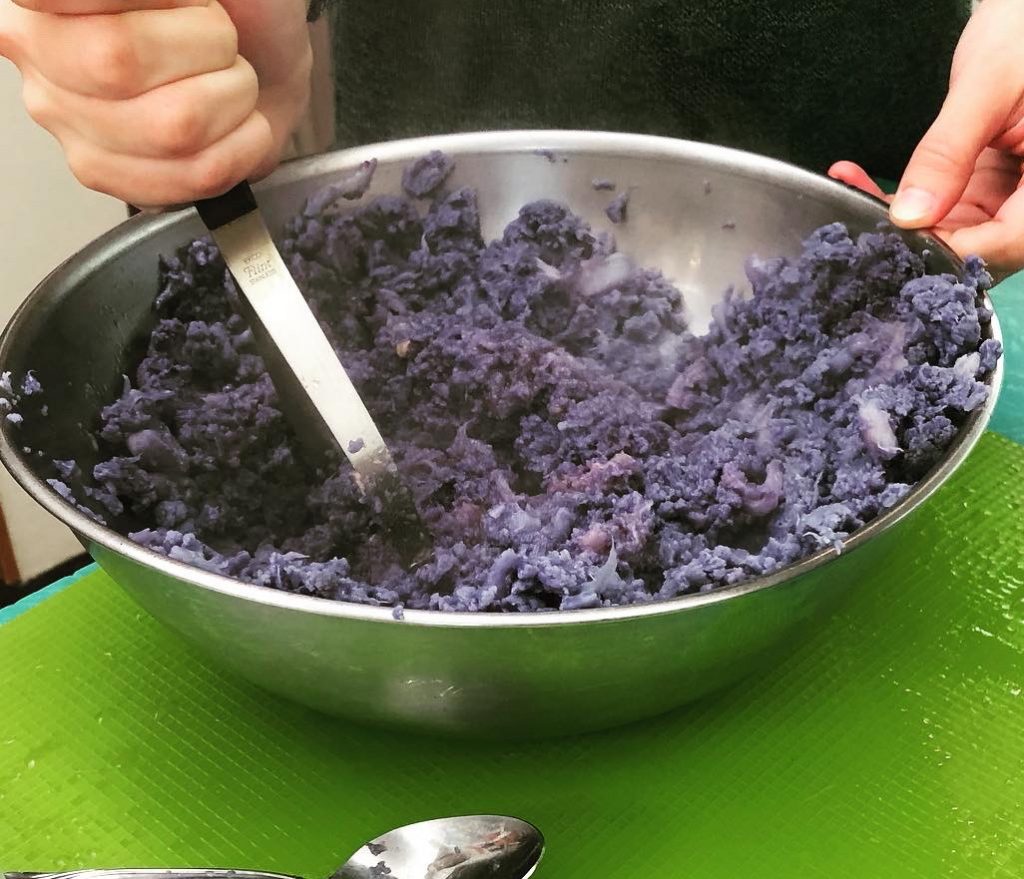
Preheat oven to 325 degrees. Place garlic cloves in a small baking dish. Drizzle with olive oil, cover, and bake 30-40 minutes, or until golden brown. Don’t let it burn. Remove garlic from oven and set aside. Bring a large pot of lightly salted water to boil. Add cauliflower, and cook until tender. Drain well, and transfer to a large mixing bowl. Place roasted garlic, milk, Parmesan cheese, and butter into the bowl with the cauliflower. Season with salt and pepper. Mash until ingredients are well combined. Mixture will not be perfectly smooth. Adjust seasonings. Serves 8.
Note: You can always add more garlic. Roasting mellows out the flavor a lot. When adding the garlic, don’t drain off the olive oil, it will add richness to the dish.
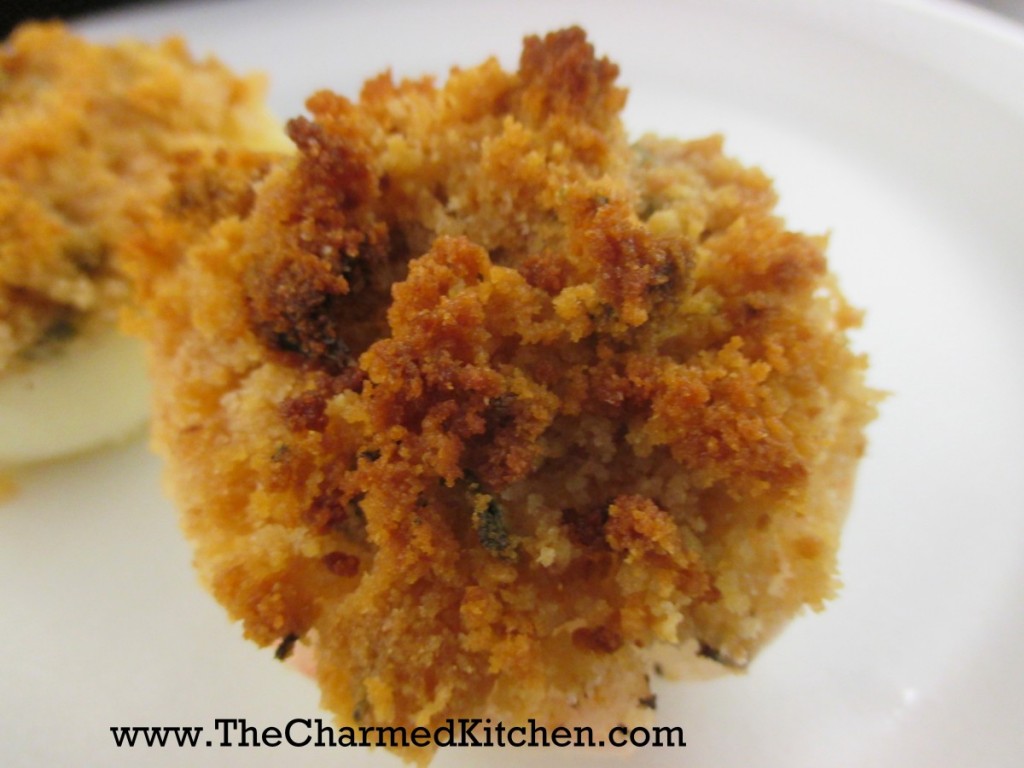
Sweet and Sour Baked Onions
I never met an onion I didn’t love. Most of my savory dishes start with sauteing onions in a pan. But in many ways, the onions are in the supporting role, making the other ingredients taste better.
In this recipe, the onions are the star. Plain old yellow cooking onions are elevated to a tasty side dish I think you will like. This would make a great side dish for Thanksgiving or any holiday meal.
The onions are peeled, halved and drizzled with a vinegar/sugar mix. Then, they are topped with a bread crumb and herb mix that gets crispy, while the onions roast and become tender. The recipe reminds me of onion rings in flavor. The presentation is so pretty, though. Much more elegant than onion rings.
If you never tried baking onions this way, you might want to try it. Just a warning- they are addictive. Bake a few more than you think you need. People go for seconds on this dish.
Sweet and Sour Baked Onions
4 large onions, peeled and halved- I use yellow onions, but you can use red or white
2 tablespoons cider vinegar
2 teaspoons sugar
1 cup dried bread crumbs
1/2 cup olive oil
1 teaspoon dried rosemary
1/4 cup chopped fresh parsley
Salt and pepper to taste
Preheat oven to 375 degrees. Arrange the onions in a 9×13 inch baking
pan. Arrange the onions round side down. In a small mixing bowl mix
together the vinegar and sugar. Spoon the mixture onto the flat surface
of the onions. Sprinkle with a little salt and pepper. In another mixing
bowl combine the breadcrumbs with 1/4 cup oil, rosemary and parsley.
Mix until well combined. Pat the mixture evenly onto the flat side of
the onions. Drizzle the remaining 1/4 cup of oil over the onions and
bake for 45 minutes or until the onions are tender when pierced. Let the
onions cool a little at room temperature. Serve with extra salt and
pepper to taste.
Gingersnaps
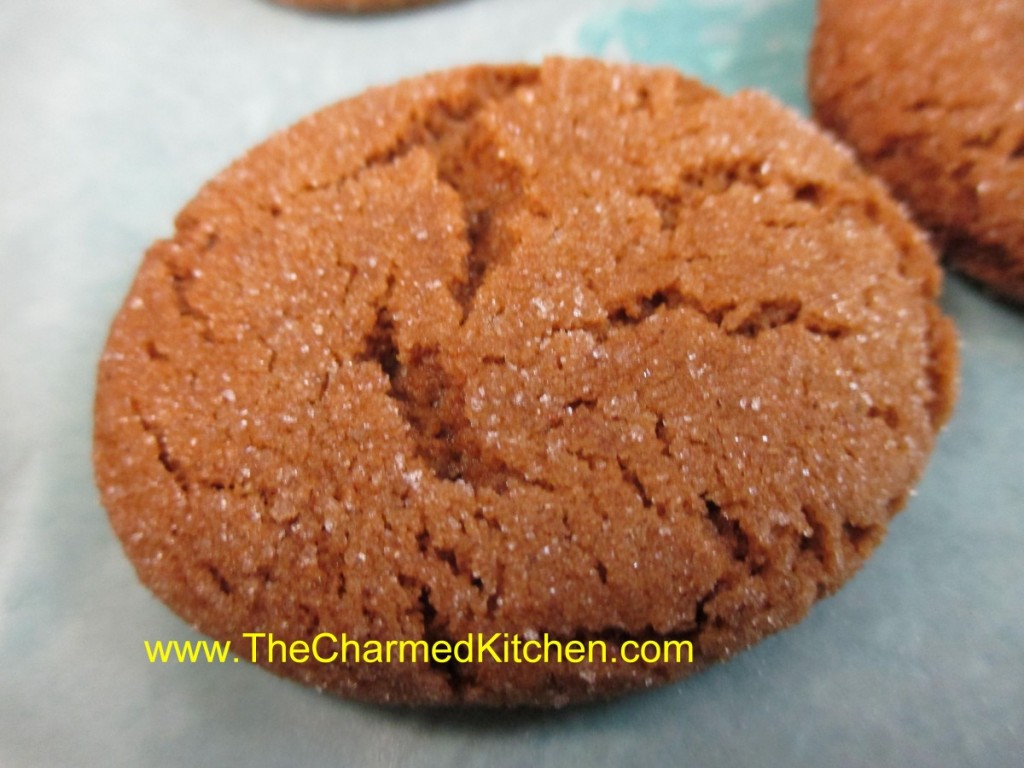
Gingersnaps are one of those cookies- the people that love them – REALLY love them. I will admit to being one of those people. The mixture of spices and crunchy texture just work together so well.
I cannot remember where I first got this recipe. This richly spiced cookie is perfect with a cup of coffee or a cup of tea. They are not too sweet, which I also like.
You can use either dried or fresh grated ginger. I really prefer fresh. I keep a piece of ginger root in my freezer, then just grate what I want, whenever needed. The ginger lasts nearly forever that way. When I got a new refrigerator last year, I emptied out my freezer and found I had more than a pound of frozen ginger root. That’s a lot of ginger. I guess I buy a fresh piece every time I go to the Asian grocery store. I have been making a real effort to use it all up.
The original recipe called for shortening. I use butter, but chill the dough at least an hour before baking. You can use shortening, if you prefer.
So here is the recipe. Enjoy!!
Gingersnap Cookies
2 c. flour
2 t. baking soda
1 t. cinnamon
¾ t. ginger (fresh grated preferred)
½ t. cloves
¼ t. salt
1 c. sugar, plus extra for rolling
¾ c. butter
¼ c. molasses
1 egg
Mix together dry ingredients and set aside. Beat together sugar with butter, molasses and egg until light. Stir in dry ingredients and chill dough at least an hour. When ready to bake, roll dough into 1-inch balls. Roll balls in additional sugar. Place 2 inches apart on ungreased baking sheet. Bake in a preheated 350-degree oven for 10-12 minutes. Edges should look dry. Cool on sheet for a few minutes and then move to rack. Makes about 36.
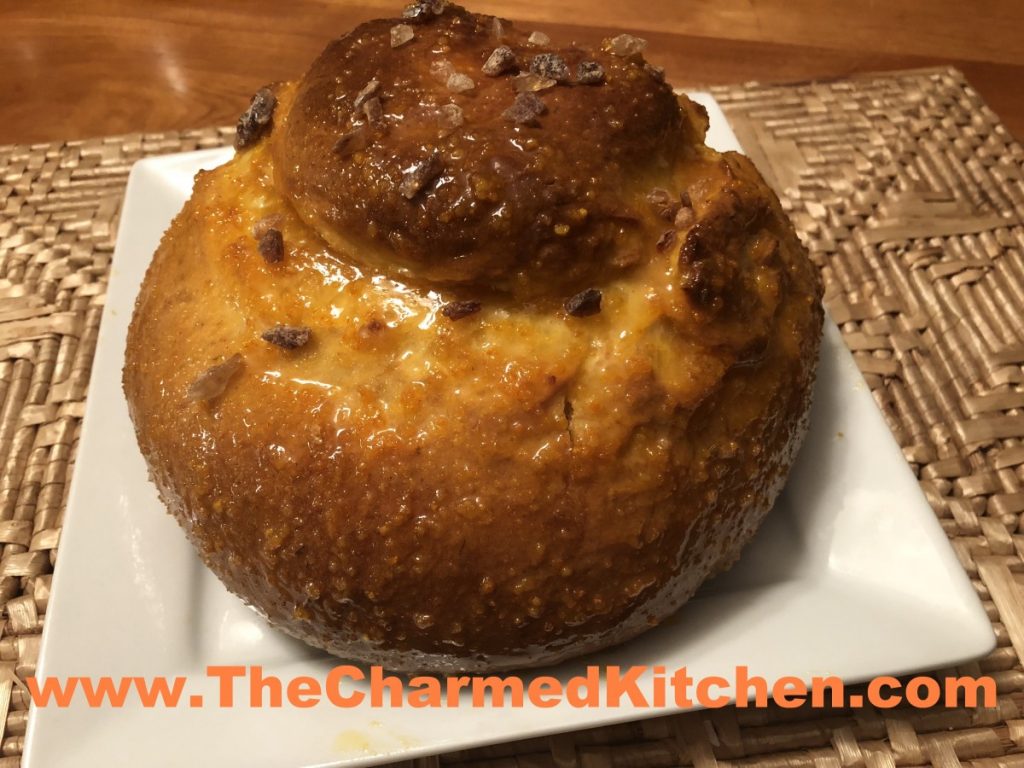
Pan de Muertos (Mexican Bread of the Dead)
Halloween isn’t the only holiday this week. Many people will be celebrating Dia de los Muertos (Day of the Dead). It is a holiday to remember and honor loved ones who have passed. It traditionally runs from October 31 to November 2.
Pan de Muertos is a traditional bread made for this holiday. This is a version of that bread that is flavored with anise (or fennel) and orange. It is glazed, after baking, with an orange sauce, then sprinkled with a little extra sugar. I like to use rock sugar, which, as the name implies, is a large sugar that looks like small rocks.
I shaped the dough into a round shape, with a knob of dough on the top. You can also mold the bread into different shapes like angels or animals.
The bread itself is so tasty. It is a rich dough with a lovely fragrance and texture.
My father was a baker, so I baked this bread to remember him. I think he would approve.
Here is the recipe.
Pan de Muertos (Mexican Bread of the Dead)
1/4 c. each butter, milk and water
3 c. all-purpose flour
1 1/2 t. active dry yeast (half a packet)
1/2 t. salt
2 t. anise seed or fennel seed
1/3 c. sugar
2 eggs, beaten
2 t. orange zest
Glaze:
1/4 c. each sugar and orange juice
1 T. orange zest
Topping:
2 T. sugar, I used rock sugar
Heat together butter, water and milk until the butter melts. Cool to warm. In a large bowl combine 1cup of the flour, yeast, salt, anise seed and 1/3 c. sugar. Beat in the milk mixture then add the eggs and orange zest and beat until well combined. Stir in 1/2 cup of flour and continue adding more flour until the dough is soft. Turn the dough out onto a lightly floured surface and knead until smooth and elastic. Place the dough into a lightly greased bowl cover with plastic wrap and let rise in a warm place until doubled in size, about 1- 2 hours. Punch the dough down and shape it into a large round loaf with a round knob on top. Place dough onto a baking sheet, loosely cover with plastic wrap and let rise in a warm place for about 1 hour or until just about doubled in size. Bake in a preheated 350-degree oven for about 35 to 45 minutes. Cool on rack 5 minutes then brush with glaze. To make glaze: In a small saucepan combine the 1/4 cup sugar, orange juice and orange zest. Bring to a boil over medium heat and boil for 2 minutes. Brush over top of bread while still warm. Sprinkle glazed bread with 2 T. sugar.

Ready to bake
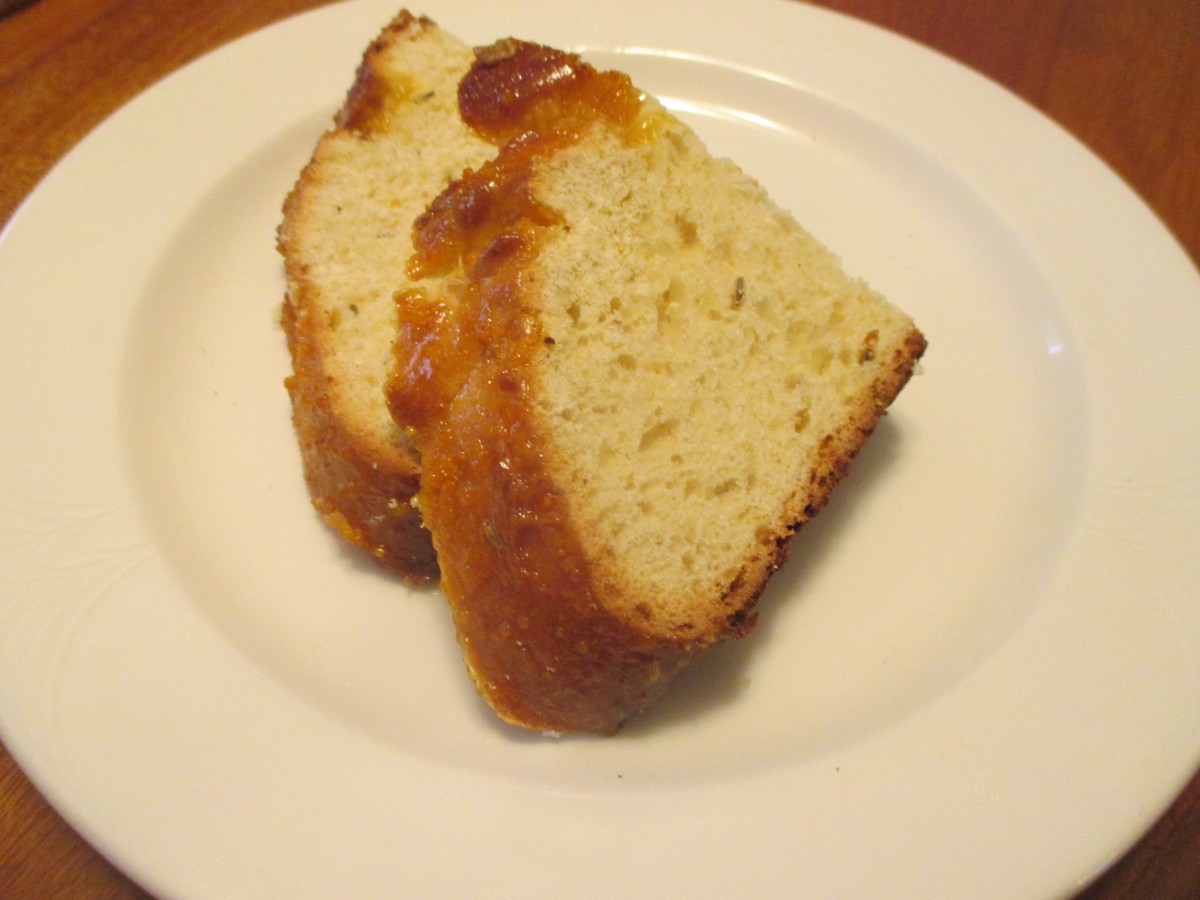
Eat plain, or lightly toasted with butter
Flaming Ghost Cake
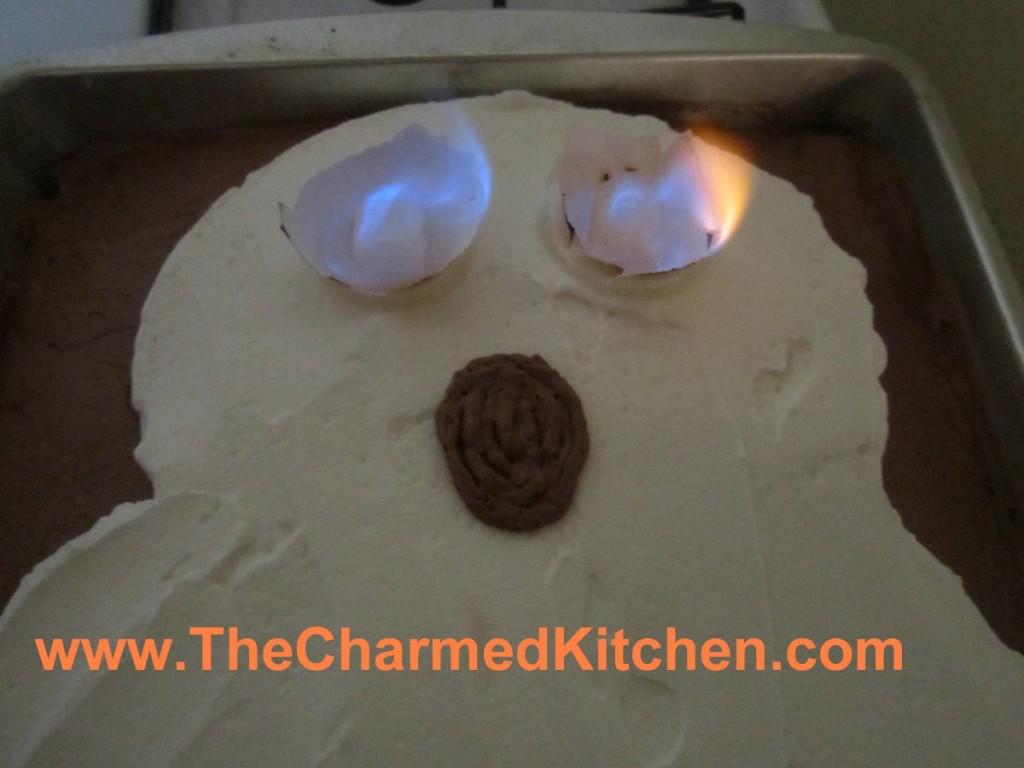
I have posted this recipe before, but thought it might be a good time to post it again. This one is fun for Halloween. You start with a baked 9×13-inch cake. Frost it with chocolate frosting and then use white frosting to draw a ghost on the cake.
You can make all sorts of images- cats, bats, pumpkins. When ready to serve the cake, the eyes are set on fire. Fun effect. Kids and grown-ups both will get a kick out of it.
Just be sure to have proper adult supervision for the kids. The picture doesn’t do it justice. Very cool blue flames. Don’t forget to turn down the lights!
Flaming Ghost Cake
1 prepared 9×13- inch cake, any flavor
2 c. chocolate frosting, I prefer homemade
1 c. vanilla frosting, I prefer homemade
3 oz. semi sweet chocolate, optional
2 empty eggshell halves, washed well and dried
2 sugar cubes
Lemon extract
Frost cake with chocolate frosting, then spread vanilla frosting in the shape of a ghost. Melt chocolate in a small plastic bag. When chocolate is melted snip off the corner of the bag and use to outline ghost. Place eggshell halves in cake, round side down where the ghost’s eyes would be. Soak sugar cubes in lemon extract and place in eggshells. When ready to serve light sugar cubes and turn off the lights. Serve 12-16.
Variations: You can use the flaming eyes effect on cat shapes, pumpkins or even bats. Practice drawing the shape on paper before frosting the cake. If you bake a larger round cake the whole thing can be the pumpkin. Just frost it with orange tinted frosting.
Homemade Apple Fritters
I love apple season. Besides eating them fresh, I enjoy cooking with apples. One of my favorite apple dishes is apple fritters.
Fritters are similar to doughnuts. Rather than being made from a dough that is rolled and cut, like doughnuts, fritters are made from a batter. The fritter batter is spooned into oil for frying. They are actually very easy to make.
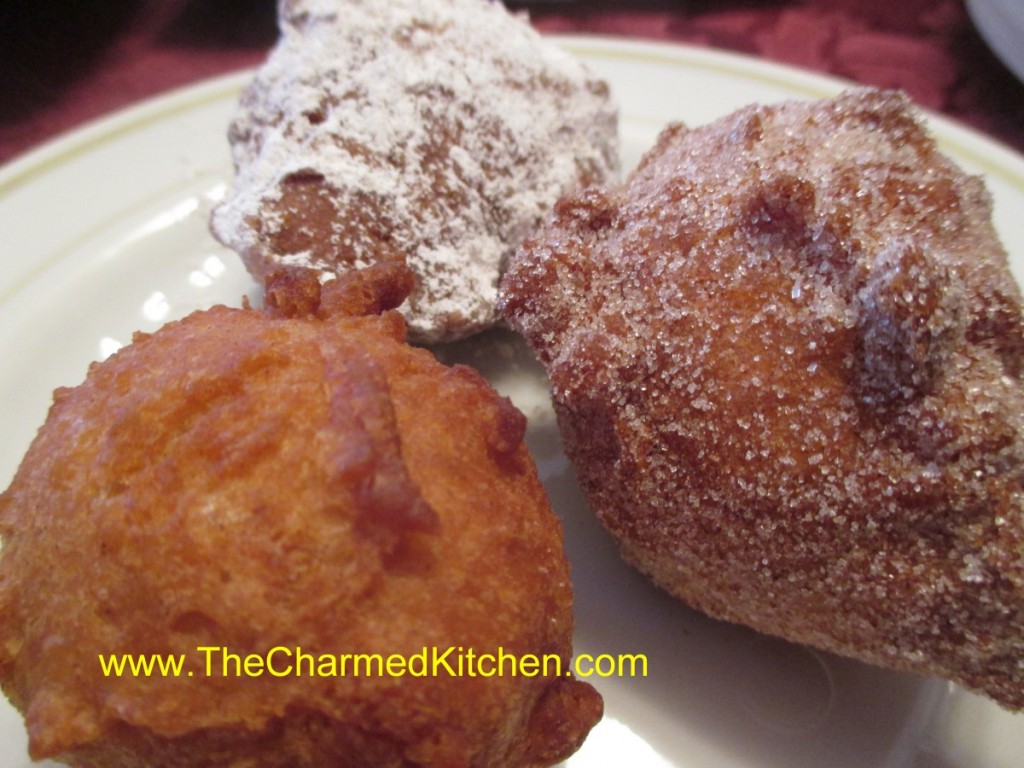
Good fritters are light and airy inside, with a crisp outside. These are very good fritters. These fritters have diced apples and cinnamon in the batter and cook up tender and light. Fritters are good plain, but can be rolled in powdered sugar, cinnamon sugar or drizzled with a powdered sugar glaze.
So enjoy one of my favorite recipes of the season, and make yourself some fritters.
Apple Fritters
2 c. flour
2 T. sugar
2 T. baking powder
1 T. cinnamon
1/2 t. salt
1 c. milk
2 eggs, beaten
2 T. melted butter
1 c. diced apples
oil for frying
Combine dry ingredients and set aside. Mix together milk with the eggs and butter. Stir in dry ingredients until just moistened and add the apples. Heat oil to 375. If using gluten free flour heat oil to 350. Drop dough by tablespoonfuls into the hot oil and fry until golden brown. Don’t do more than 4-5 at a time. It will take about 4 minutes in total but you need to turn them to brown evenly so 2 minute per side. Drain on paper towels. While warm roll in powdered sugar, cinnamon sugar or drizzle with a powdered sugar glaze. Makes about 32.
Bat Wings
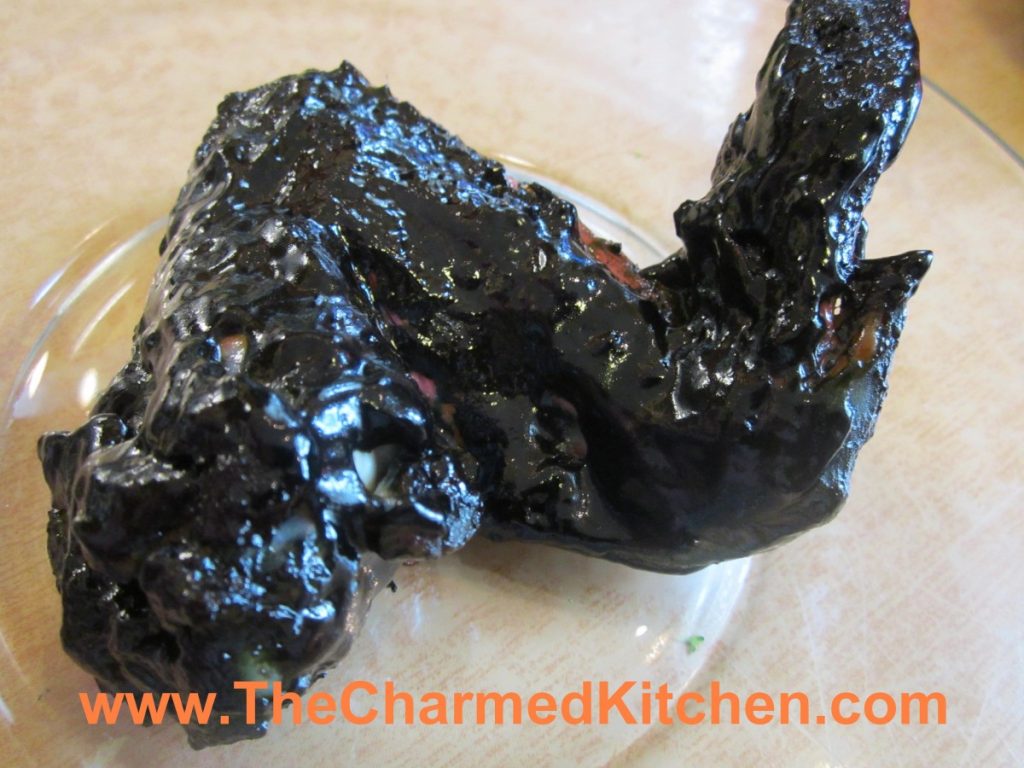
With Halloween fast approaching I thought I’d share this recipe for bat wings. OK, not really bat wings, but you already knew that. I just add black food coloring to barbecue sauce and use it to color chicken wings.
I made a batch for a Halloween party a few years ago and someone actually asked if they were real bat wings.
A word of warning- when you use black food coloring it will transfer to you. No matter how careful you are when you eat the wings, you’ll end up with purple fingers. Also, for the best effect, keep the wings intact- no trimming off of the tips. You can separate the drums before serving, if you like. Makes eating a little easier. They look pretty cool when set out on the table. Creepy- but very tasty.
Bat Wings
2-3 lbs. whole chicken wings
salt and pepper
1 c. barbecue sauce- store bought or home made
black food coloring- handle carefully- it stains
Place chicken wings in a roasting pan, season with salt and pepper and bake in a preheated 400 degree oven for 30 minutes. Meanwhile in medium bowl combine sauce with food coloring. Add just a little black food coloring at a time. Too much will alter the flavor of the food. Remove wings from the oven and dip them in the bowl of sauce. Turn to coat. Place wings on a clean baking sheet and return to the oven. Bake an addition 45 minutes. You can baste them with additional sauce during the baking, if you like. Place on a serving platter and provide plenty of napkins.
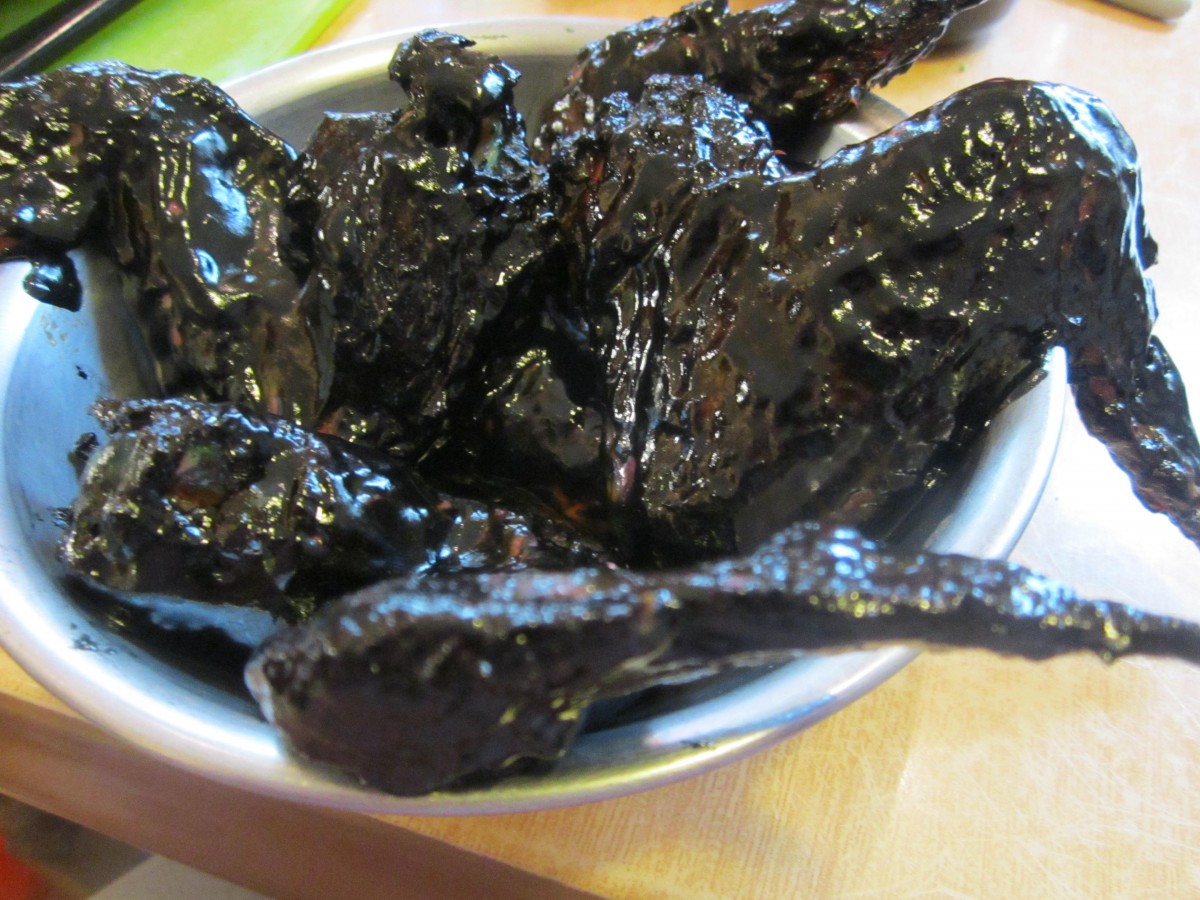
A pile of “bat” wings
Goblin Goo Drink
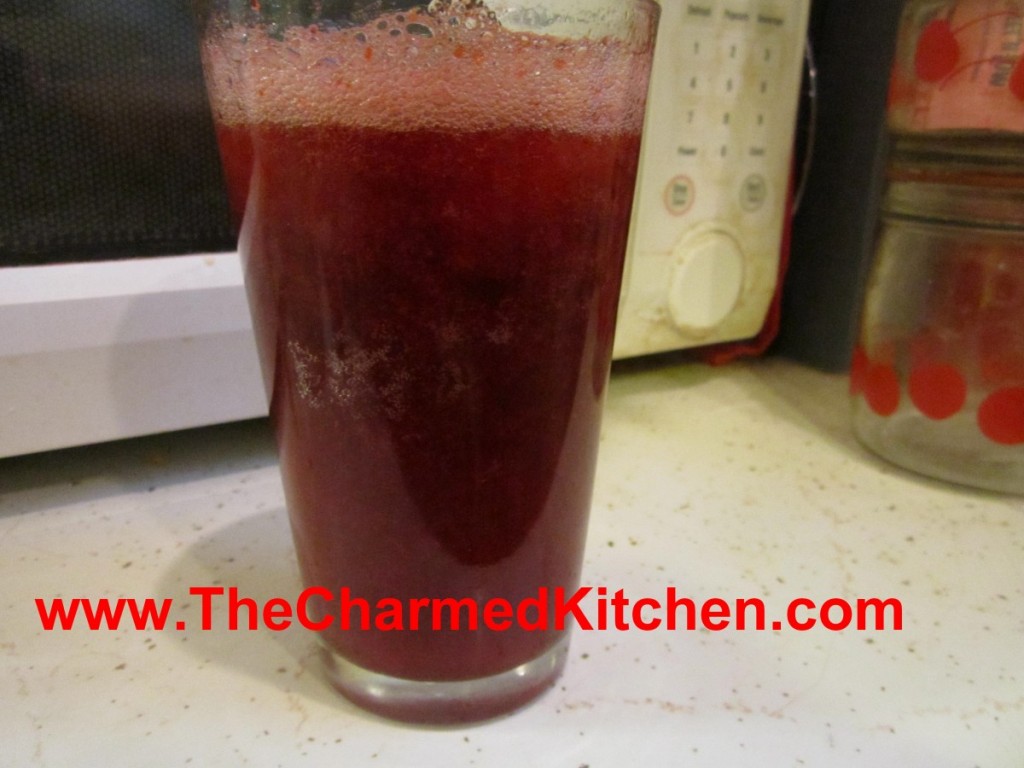
If you want a fun beverage to serve for Halloween, try this Goblin Goo Drink. It’s easy to make and will give guests a start. I will be making this with a group of kids next week.
The secret is Jell-o. Make whatever flavor Jell-o you like. Once it is firm, mash it with a fork into small pieces.
Place some of the mashed up Jell-o in a glass and add ice and whatever beverage you like. I used cherry Jell-o with sour cherry soda. The Jell-o is invisible that way.
When your guests take a drink, they get little gobs of Jell-o in every sip. You can also play with color combinations for fun. Grape Jell-o with orange soda looks like little black globs in the drink. Kids love it.
You can also do this with Jell-o shots, for the grown-ups. Or add the mashed up Jell-o to adult beverages. You can also add the Jell-o to a punch bowl or pitcher of drinks.

Mash Jell-o with a fork

Add some Jell-o to the glass before adding ice and soda
Halloween Quesadillas

OK, maybe I’m taking the whole Halloween theme too far. I was making quesadillas the other day, and realized that the ingredients were black, orange and green. Thought the combination would be perfect for a Halloween party.
Quesadillas are a fun party food already, and by using black olives, orange sweet peppers, green chilies, onions and cheddar cheese they fit in well with the color scheme for Halloween. They taste great, too, which is always the most important thing in the end.
I pan fried these, but you can also bake them in the oven. They can be made ahead, and warmed up before serving. Serve with a nice blood- red salsa. Ok, I’ll stop now.
Halloween Quesadillas
Large flour tortillas
oil
sliced or shredded cheese
sliced black olives
chopped orange sweet peppers
chopped sweet onion
diced green chilies, fresh or canned
Mix olives with veggies and set aside. Place tortilla on work surface and spread one half with some of the veggie mixture. Top with some of the cheese and fold over. Press slightly. Repeat with remaining ingredients. Heat oil in skillet and cook quesadillas over medium heat until golden on both sides and heated through. Remove to cutting board and cut into wedges before serving. Serve on a platter with sour cream and salsa, if desired.
Note: If you would rather bake the quesadillas assemble as directed above. Place on a baking sheet and brush with a little oil. Bake in a preheated 425 degree oven until golden, about 15 minutes.


