100% Whole Wheat Bread
100% Whole Wheat Bread
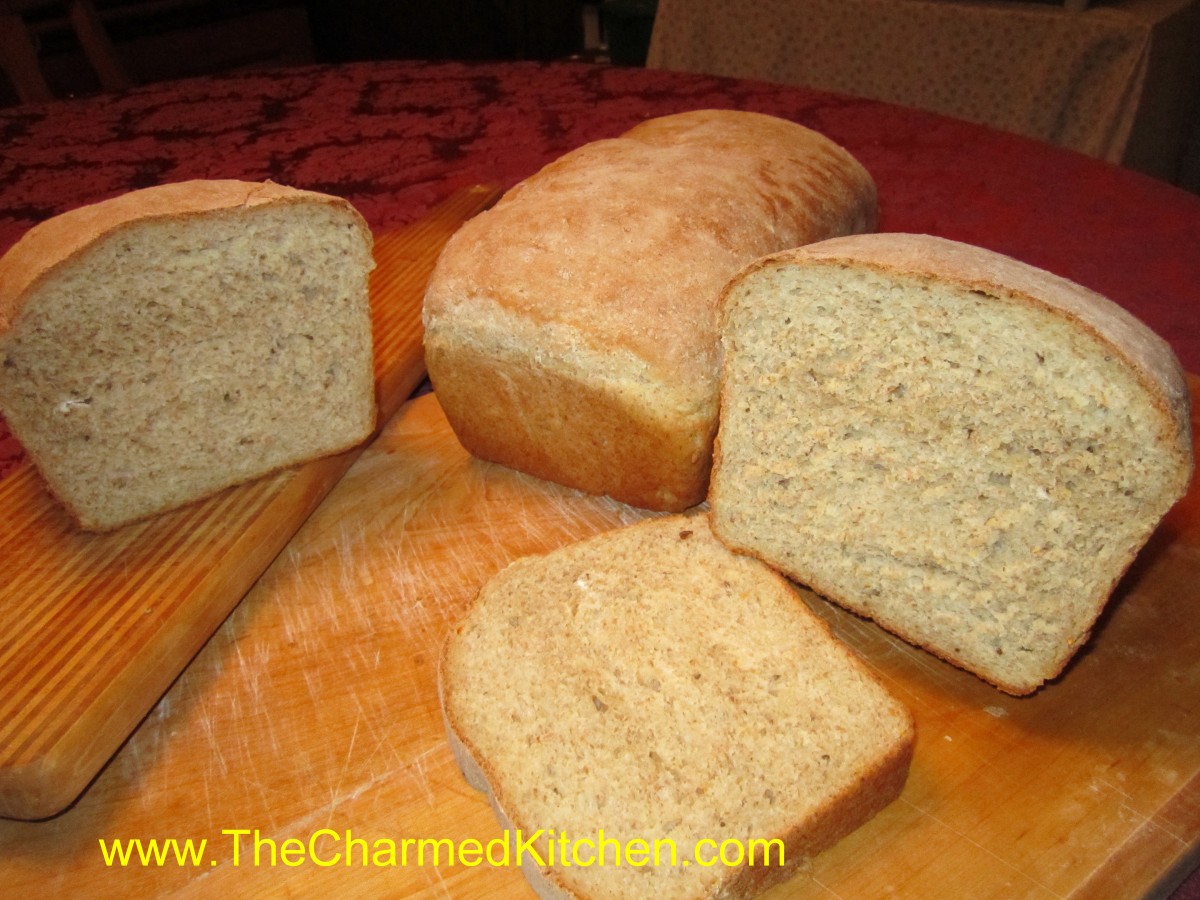
A lot of us want to eat more whole grains, but are unhappy when we try to make 100% whole wheat bread at home. There is a secret to baking whole wheat bread that is both tender and slices easily. Whole wheat flour, high in gluten, also is high in fibers which make it harder to get the gluten to that stretchy state. If you knead whole wheat bread dough for 5- 10 minutes, like white bread dough, you’ll have a dough that is far from elastic. The secret? Knead it longer. I knead my whole wheat bread dough about 20 minutes. That is easy if you have it in a stand mixer. Just set it on low and let the dough hook do the work. Not so easy if you are kneading by hand. When kneading for 20 minutes by hand, more and more flour gets added to the dough, to keep it from sticking. The extra flour results in a heavy dough, and a loaf of bread that is best used as a door stop. If you have to knead by hand- knead on a wet surface. The dough won’t stick to your hands or the board and you can knead it long enough to get a properly worked dough. How do you know your dough has been worked long enough? Hold the dough up to light and pull it. It should stretch thin enough so that you can see the light through it, without tearing. Here is one of several recipes I have for 100% whole wheat bread. I love it and I think you will, too.
100% Whole Wheat Bread
2 packets active dry yeast
2 2/3 c. warm water
½ c. oil
½ c. honey, molasses or maple syrup
6 ½ -7 c. whole wheat flour
½ c. non fat dry milk
2½ t. salt
Combine first 4 ingredients in a mixing bowl and stir in 3 cups of the flour the dry milk and the salt. Beat with electric mixer for 3 minutes. Stir in enough flour for mixture to form a thick batter and continue mixing on low in mixer for 15-20 minutes. Dough takes time to become elastic. Add extra flour slowly until dough comes away from the sides of the work bowl, but not too soon. Note: if you must do this by hand add flour until dough starts to come away from the sides of the bowl and knead with wet hands on wet work surface for 15-20 minutes. Transfer dough to lightly greased bowl and cover, allowing to rise until puffy, about 1 hour. Punch dough down and transfer to a lightly floured surface. Divide in half and shape each half into a loaf. Place in a lightly greased 9×5 – inch pan. Brush top with oil and place a piece of plastic wrap over the top. Allow to rise until doubled. Bake in a preheated 350 degree oven for 40 minutes. Tent with foil after 20 minutes to prevent over browning of the top. Test for doneness by removing bread from pan and thumping on the bottom. Bread should sound hollow. Makes 2.
Creamy Veggie Soup
Creamy Veggie Soup
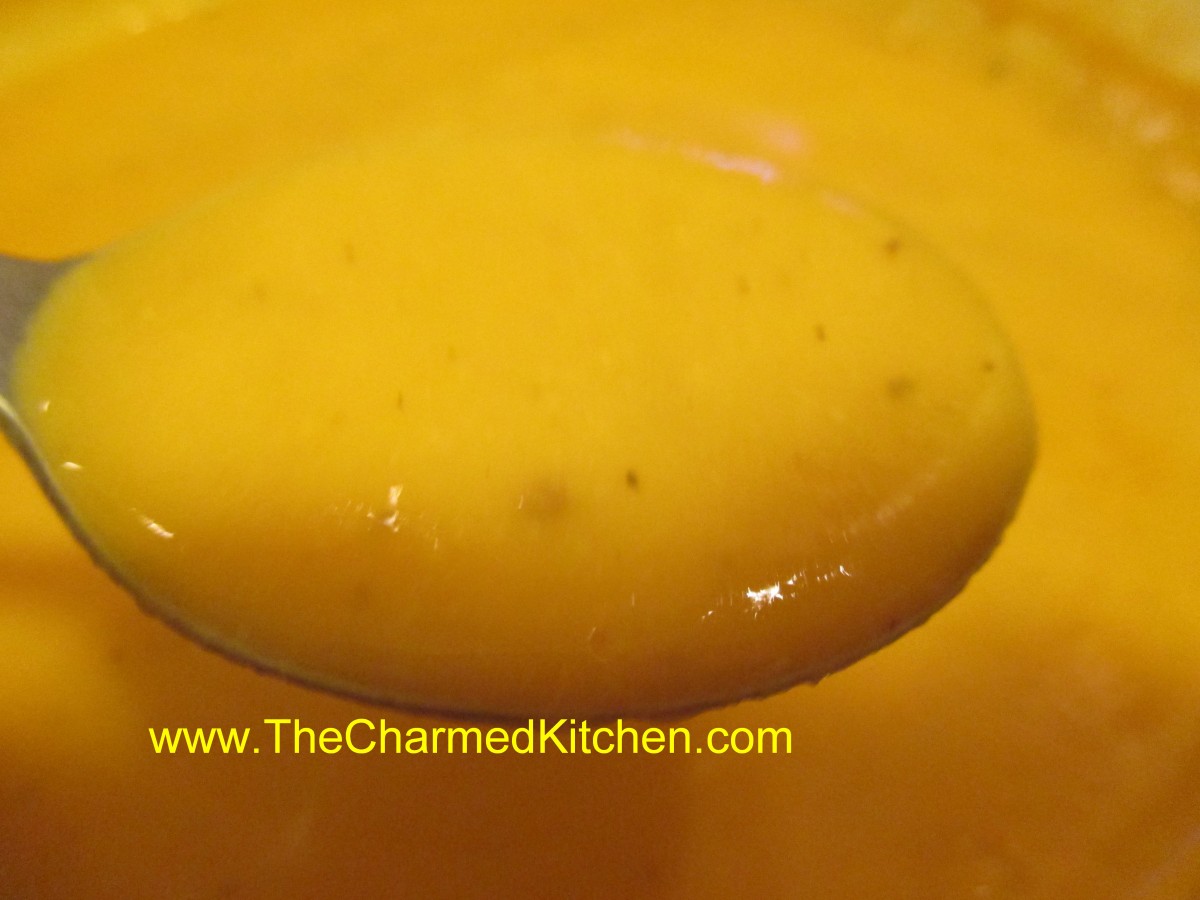
For all the soups I make, this is one of my favorites. The blend of vegetables and seasonings work so well together. The soup is creamy and full of flavor. I eat the soup hot, most of the time, but in hot weather, I eat it cold. It is an easy way to eat more veggies. I have a friend who is trying to eat more veggies, so I shared some of this soup with her. She really liked it. The soup freezes well, so you can make a big batch and freeze some for later. While I have the recipe below- you can also add other veggies and play around with the soup. For texture, you can serve it with croutons on top. This is also nice served with a grilled cheese sandwich.
Creamy Veggie Soup
3 T. oil
2 onions, chopped
3 carrots, peeled and sliced
2 ribs celery, sliced
3-4 sweet potatoes, peeled and cubed
1 medium cauliflower, chopped
6 c. stock- I used chicken, but you could use vegetable
1 qt. tomatoes- I used home canned but you could use 1 (28 oz.) can
2 T. Tuscan seasoning* recipe follows
¼ c. hot sauce- or to taste
Salt and pepper to taste
In large pot, heat oil and cook onions until tender. Add carrots and celery and cook a few minutes longer. Add remaining vegetables, stock, and seasonings and simmer, covered for an hour or longer. Puree soup in blender in batches until smooth or use an immersion blender to puree the soup. Warm up soup before serving. Adjust seasonings and serve. Makes a lot of soup – but freezes well.
*Tuscan Seasoning
½ c. dried basil
½ c. dried oregano
½ c. dried marjoram
3 T. dried minced onion
2 T. dried minced garlic
2 T. dried rosemary
2 T. dried parsley
1 t. crushed red pepper
Combine all ingredients and store in an air tight container. Use this blend in tomato sauce or other Italian dishes. Also, you can add to vinegar and oil with a little salt, if desired, to make a quick salad dressing.
Cherry Scones

Cherry Scones
Who doesn’t love cherry pie? I know I do. I got together for coffee with a couple of friends recently and I wanted to make something to have with our coffee. I used cherry pie filling as the base for these scones. My pie filling was homemade. Store bought cherry pie filling would work fine, too. They were just sweet enough and came out this beautiful pink color. They did remind me a little of cherry pie and summer. Nothing bad about that. The scones were great just as they were- but would also make a wonderful base for shortcake. I think with a scoop of ice cream or a bit of whipped cream, these scones would also make a nice dessert.
Cherry Scones
3 c. flour
1/4 c. sugar
1 T. baking powder
1 t. salt
1/2 c. cold butter
1 1/3 c. cherry pie filling
2 eggs
2 t. vanilla
Glaze:
2 c. powdered sugar
2 T. vanilla
water
Preheat oven to 400 degrees. Line 2 baking sheets with parchment paper or grease lightly. I have silicone baking mats so that is what I use. Set aside. In mixing bowl combine dry ingredients and cut in butter to resemble coarse crumbs. Combine pie filling with eggs and vanilla and stir to blend well. Add to dry ingredients and stir until mixed well. Mixture will be a stiff batter. Scoop 1/4 cup portions of batter onto the baking sheets- leaving a couple of inches between them. You will need both baking sheets. I used a 2 oz. ice cream scoop and got 22 scones. Bake for 15-17 minutes or until golden brown on the bottom. I switched my baking sheets about halfway through the baking. Remove to a cooling rack and make the glaze.
Combine the powdered sugar and vanilla in a small bowl and add enough water so the glaze is about the thickness of maple syrup, probably a couple of tablespoons. Dip the tops of each of the warm scones in the glaze and return to the cooling rack.
Cinnamon Vanilla Hot Fudge Sauce
Cinnamon Vanilla Hot Fudge Sauce
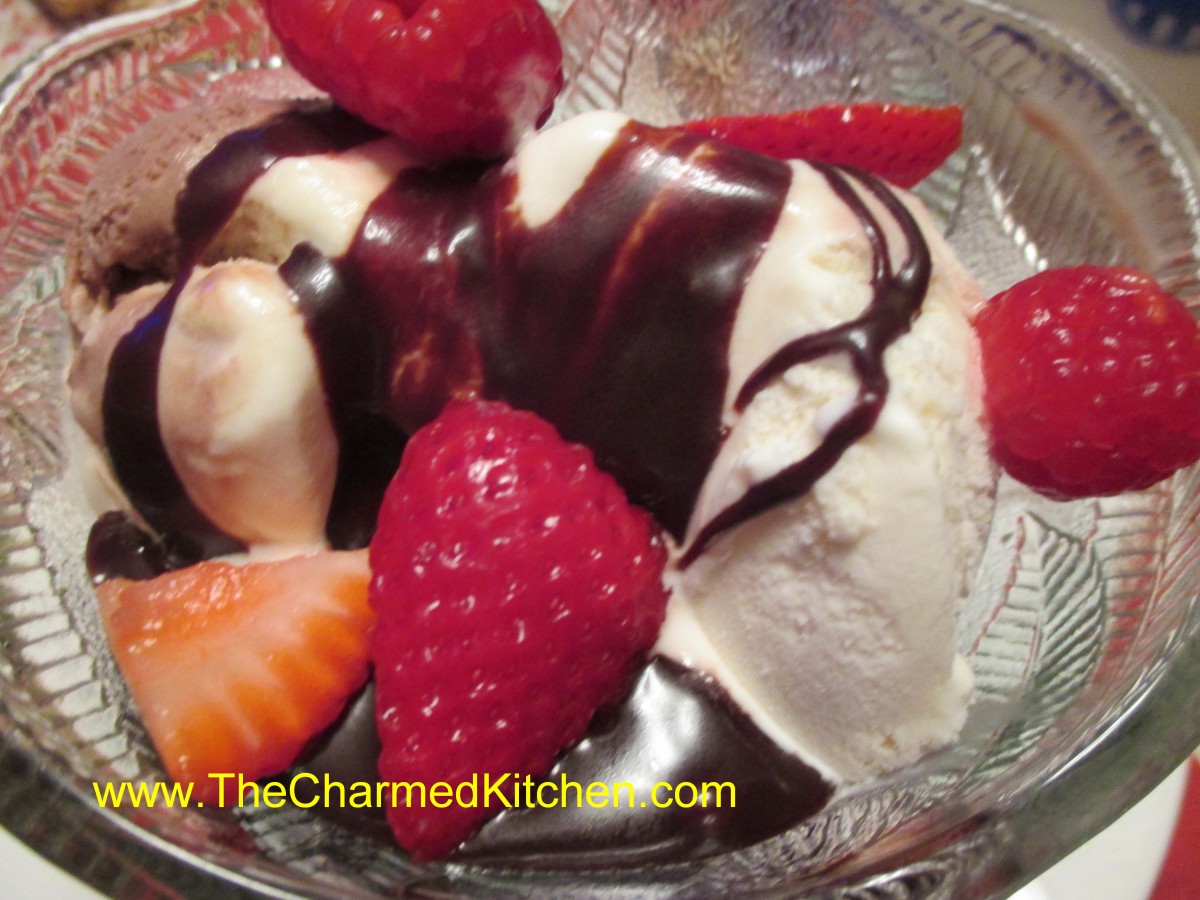
Later today I will be making ice cream sundaes with about 50 kids. One of the treats we will be having is this homemade hot fudge sauce. On a hot summer day I am not sure anything is better than ice cream. Who am I kidding? I love ice cream even when it is snowing outside. When it comes to topping ice cream, hot fudge sauce is one of my favorites. The warm, rich sauce on the cold ice cream is such a great combination. When I was a kid, getting a hot fudge sundae was the ultimate treat. This simple recipes duplicates that sauce. It is easy to make and will keep for a couple of weeks in the fridge. I doubt it will last that long once you taste it, though. I like the addition of cinnamon and vanilla. I also make it from time to time with a little cayenne. That is part of the fun of this recipe. Don’t be afraid to play around with flavors.
Cinnamon Vanilla Hot Fudge Sauce
1 c. unsweetened cocoa powder
¾ c. sugar
½ c. brown sugar
1 t. cinnamon
1/8 t. salt
1-c. heavy or whipping cream
½ c. butter, cut into pieces
1 t. vanilla extract
In saucepan, stir together dry ingredients then stir in cream and butter. Heat to boiling and boil 1 minute. Remove from heat, cool 5 minutes and stir in vanilla. Store leftovers in fridge. Rewarm before using. Makes 2 ½ cups.
Very Pink Soup
Very Pink Soup
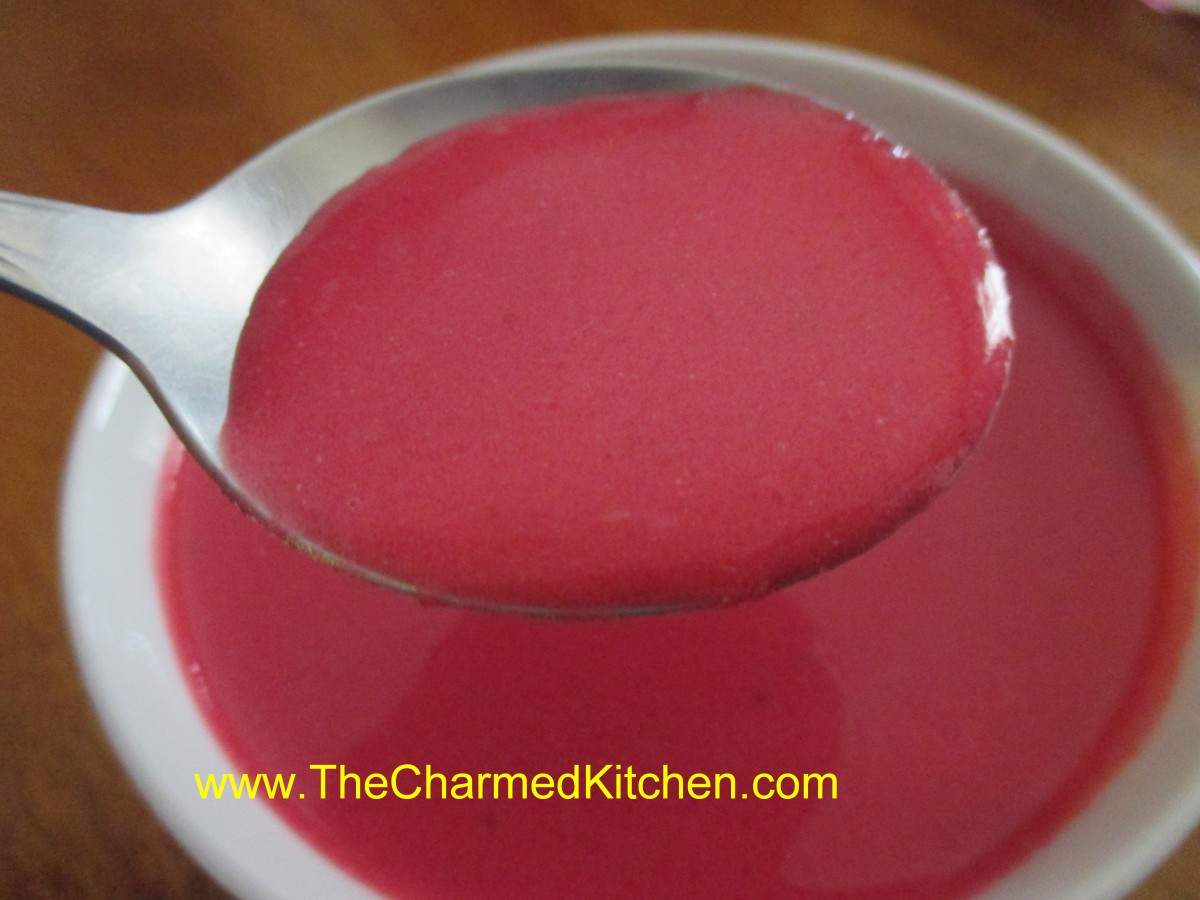
I had planned on just calling this recipe beet soup or maybe pureed beet soup. Then a friend came over and I offered her a bowl. When I set it down in front of her she said, “Wow, this is really pink soup.” After that I couldn’t name it anything else. People seem to have strong opinions about beets. They either love them or hate them. I love them and I enjoy them in soups, salads, relishes, casseroles and more. The earthy flavor really appeals to me and the color is a delightful bonus. I added some extra veggies for more flavor and sour cream for a tart, creamy flavor and texture element. The result was a very tasty dish that is also sort of striking to look at.
Very Pink Soup
1 bunch beets- mine had 3 large beets
2 T. olive oil
1 large onion, chopped
2 carrots, peeled and chopped
1 rib celery, chopped
3 medium potatoes, peeled and chopped
6 cups stock- I used chicken but vegetable stock or beef stock would also work
2 t. dill weed
salt and pepper to taste
1 c. sour cream- or a little more if you like
Cut beets off of their stems- leaving about 2 inches attached- this will reduce bleeding and retain more color in the beets. Reserve greens for the dumplings. Place beets in a pot of water deep enough to cover them and cook until the beets are just getting tender, about 30 minutes. Remove and place in cold water. Once the beets are cool enough to handle trim off the stems and slip off the skins. Cut the beets into chunks and set aside. In soup pot heat the oil and cook the onion until tender. Add the carrots and beets and cook a few minutes longer. Add the rest of the vegetables, stock, dill and simmer, covered, until vegetables are very tender. This will take at least 30 minutes- but cooking longer is better- around an hour. Puree the soup. To add the sour cream place sour cream in a bowl and add a ladle full of the hot soup to the sour cream, whisking until smooth. Add another ladle or two of the soup and whisk again. Return sour cream mixture to the soup. By warming the sour cream gently you prevent it curdling. Adjust seasonings and serve. Serves 6-8. Freezes well.
Parsnip and Spice Cupcakes
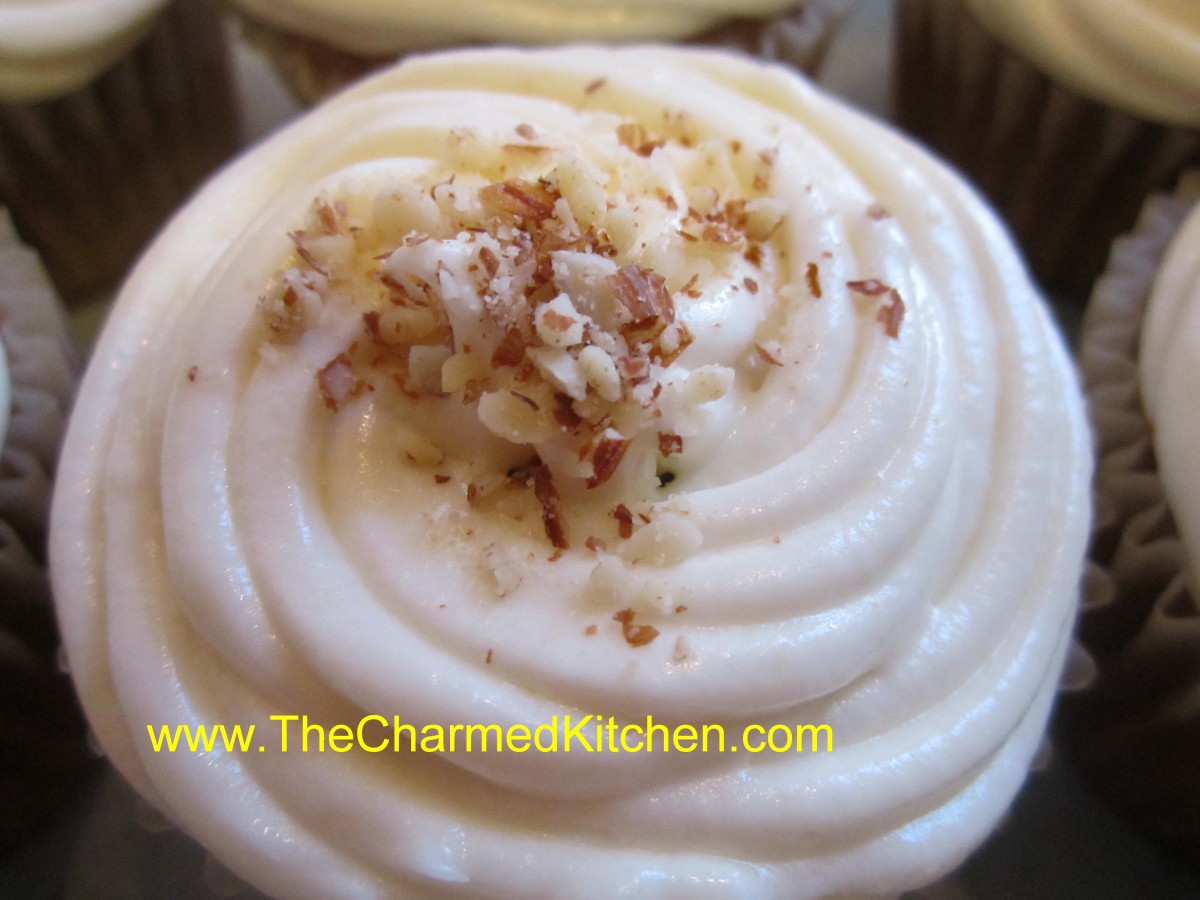
Parsnip and Spice Cupcake
Parsnips- not just for soup anymore. If you only use parsnips in savory dishes, you might be surprised to see them used in a dessert. Truth is, parsnips are similar in flavor to carrots. Since carrots are used in cake quite successfully, why not parsnips? While not exactly the same in flavor, think of parsnips as white carrots. Combined in a spiced batter they make wonderful cupcakes.
Parsnip and Spice Cupcakes
1 1/2 c. flour
1 c. sugar
1 T. ground ginger
1 T. cinnamon
2 t. baking powder
1 t. nutmeg
1 t. allspice
1 t. salt
1/2 t. cloves
3 eggs
1/2 c. oil
1/2 c. milk or half and half
2 t. vanilla
2 c. packed peeled and shredded fresh parsnips, 2-3 large
1/2 c. chopped nuts, optional plus extra for topping, optional
1 recipe cream cheese frosting- see below
Preheat oven to 350. Line 24 cupcake pans with paper liners- or grease lightly. Combine dry ingredients in a mixing bowl. In smaller bowl combine eggs, oil, milk and vanilla and mix well. Stir egg mixture into flour mixture until smooth. Stir in parsnips and nuts, if adding. Spoon batter into the prepared pans, filling half-full. Bake for 15 minutes – or until toothpick inserted into a cupcake comes out clean. Cool and frost. Sprinkle with fine chopped nuts, if you like. Makes 24.
Cream Cheese Frosting
8 oz. cream cheese, softened
4 0z. (1 stick) butter, softened
1 c. powdered sugar
1 t. vanilla
Beat all ingredients together until fluffy. Frost cupcakes and chill until ready to eat.
Homemade Rye Crackers
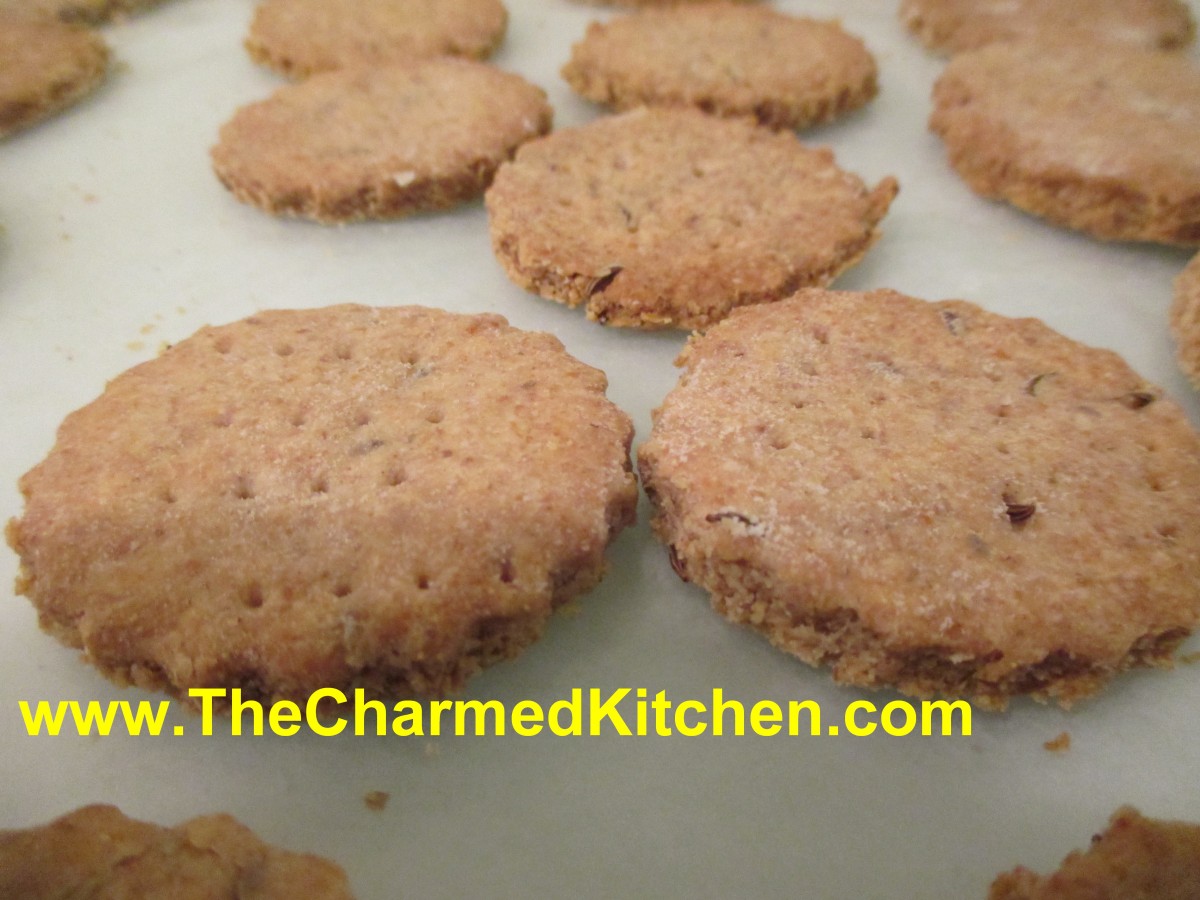
Homemade Rye Crackers
Making crackers is fun, and actually pretty easy. These rye crackers are as simple to make as a batch of cookies. They are crisp and full of flavor. The thinner you roll them out, the crisper they will be. I am a big fan of rye bread and a fan of these rye crackers, too. I just love the flavor of rye flour. I think it pairs so well with any number of toppings. These are great with a little Swiss cheese melted on the top. You can also cut the crackers out in fun shapes. Maybe the best part about making your own crackers, is that you get to control what goes in them. So here is the recipe for rye crackers. I hope you’ll give cracker making a try.
Rye Crackers
1 c. rye flour
1 c. all-purpose flour
1 T. caraway seed
1½ t. salt
1 t. onion powder
1 t. garlic powder
1/3 cup oil
1 t. honey
¼ c. water, or as needed
Combine the rye flour, all-purpose flour, caraway seed, salt, onion powder, and garlic powder in a bowl. Stir in the oil and honey. While stirring with a fork, slowly add the water until the dough comes together in a ball. Cover and rest for 10 minutes. Preheat oven to 375 degrees. Divide the dough into 4 sections, rolling each piece out on parchment paper to 1/8 inch thick. Cut into desired shape then place on a baking sheet. Prick each cracker a few times with a fork. Bake in the preheated oven until the edges are brown and the crackers are crisp, 10 to 12 minutes. Remove immediately to a cooling rack.
Cheese Puffs
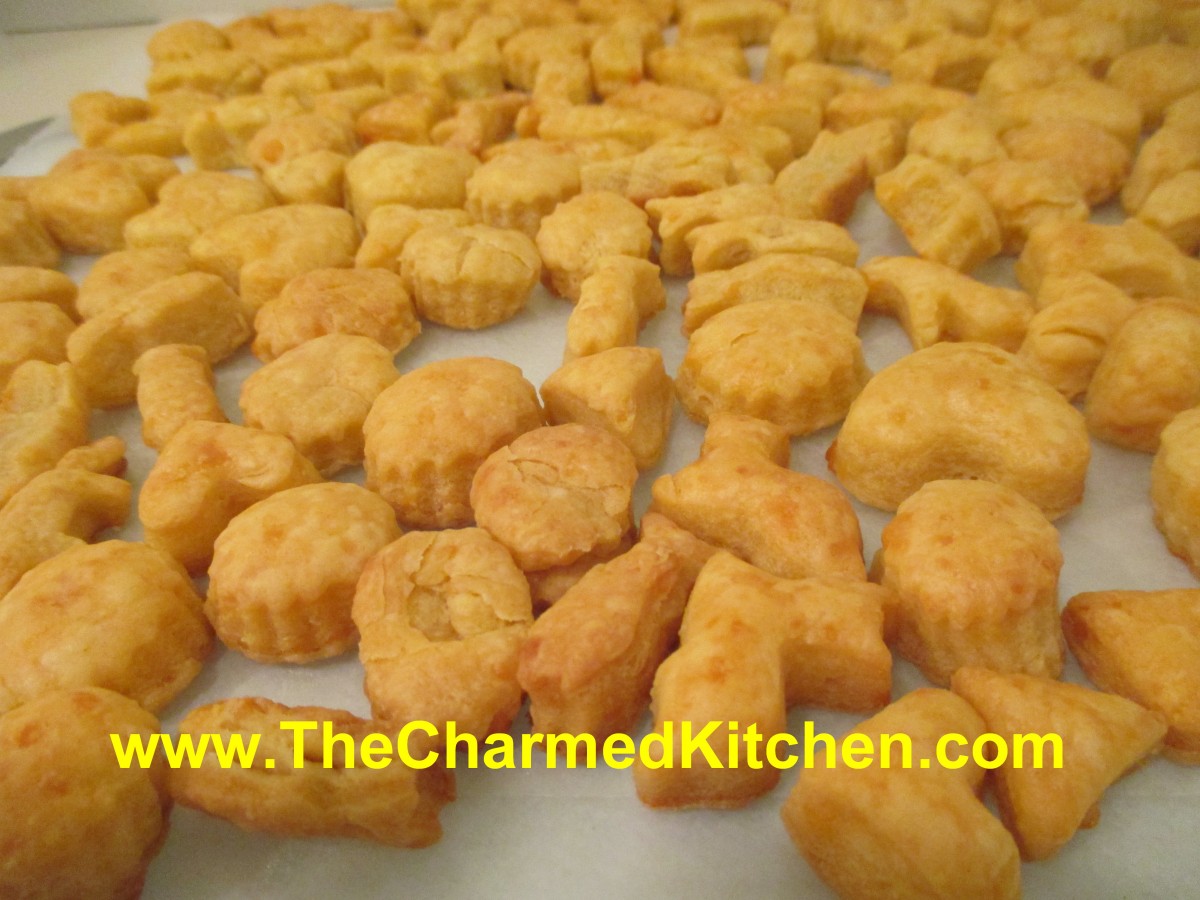
Cheese Puffs
These little crackers are addictive. Forget any of the store bought “cheesy” crackers you have had in the past. These are so much better. The dough is pretty simple, just 5 ingredients- cheese, butter, salt, hot sauce and flour. Homemade crackers are not hard to make at all. They do involve a little time, but it is well worth it. We used miniature cookie cutters (also called aspic cutters) that come in all sorts of adorable shapes. You can also just cut the dough into thin strips, or small squares. I used sharp cheddar cheese, but you can play around with other cheeses. I have made these with Swiss cheese and they were also good. You can also add more cayenne or add some herbs, if you like. Here is the recipe.
Cheese Puffs
1 lb. sharp cheddar cheese, grated
½ c. butter
½ t. salt
¼ t. cayenne pepper or hot pepper sauce to taste
1¾ c. flour
In mixer or food processor, combine cheese and butter until smooth. Add remaining ingredients and blend until pretty smooth. Roll out onto lightly floured surface to 1/4-inch thickness. Cut into thin strips or use mini cookie cutters to make shapes. Place on ungreased baking sheet, nearly touching, as they do not spread. Bake in a preheated 350 degree oven for 15-20 minutes. Bottoms should be lightly browned. Makes about 100, freeze well.

Ready for the oven
Mom’s Strawberry Crepes

Mom’s Strawberry Crepes
I have very fond memories of watching my mother make crepes when I was a little girl. She would add the batter and tilt the pan to get the crepes smooth and thin. She made it look effortless. With a little practice they actually are. Crepes are easy to make and versatile, too. They can be served for breakfast, brunch or dessert and can be sweet or savory. I made a slightly sweet crepe batter, perfect for a fruit filling. I used strawberries – you can use your imagination to fill them any way you like. These make a wonderfully elegant dessert, yet are really easy to make.
Strawberry Crepes
1 recipe dessert crepe batter- see below
2 lbs.fresh strawberries, washed, hulled and sliced
sugar to taste- start with 1/2 cup, then adjust to your taste
1 t. vanilla
1 t. grated orange peel
powdered sugar
whipped cream, optional
Make the crepe batter (recipe below) and cook the crepes. Toss the berries with the sugar, vanilla and orange peel. Place a crepe on your work surface and spoon berries down the middle. Fold up the sides of the crepe and move to serving dish. Repeat with remaining ingredients until you run out of something. I tend to put a lot of the berries in each crepe so I run out of berries and have left over crepes. How much fruit you put in each one is completely up to you and your taste. Dust filled crepes with powdered sugar and top with extra berries- if you have any left. You can also add some whipped cream on the top. I list it as optional- but I really think you’re going to want that whipped cream. Makes about 12 crepes, give or take.
Dessert Crepes
1 c. flour
4 eggs
1 1/2 c. milk
1 T. sugar
2-T. orange-flavored liqueur or orange juice concentrate
1/4 c. butter, melted and cooled
Mix all ingredients in blender (except butter) until smooth, scraping sides often. Add butter and blend well. Let stand for 30 minutes before using, or batter can be refrigerated, covered, over night. Beat again, just before using.Heat 6 or 7 inch skillet. Brush with butter or oil and pour in about 2 teaspoons of batter, tipping pan to cover bottom of pan completely with batter. Cook until edges start to brown, turn over and cook until lightly browned (about 2 minutes per side.)Crepes can be made day ahead or even frozen between sheets of waxed paper and frozen.Makes 20.
Versatile Parsley
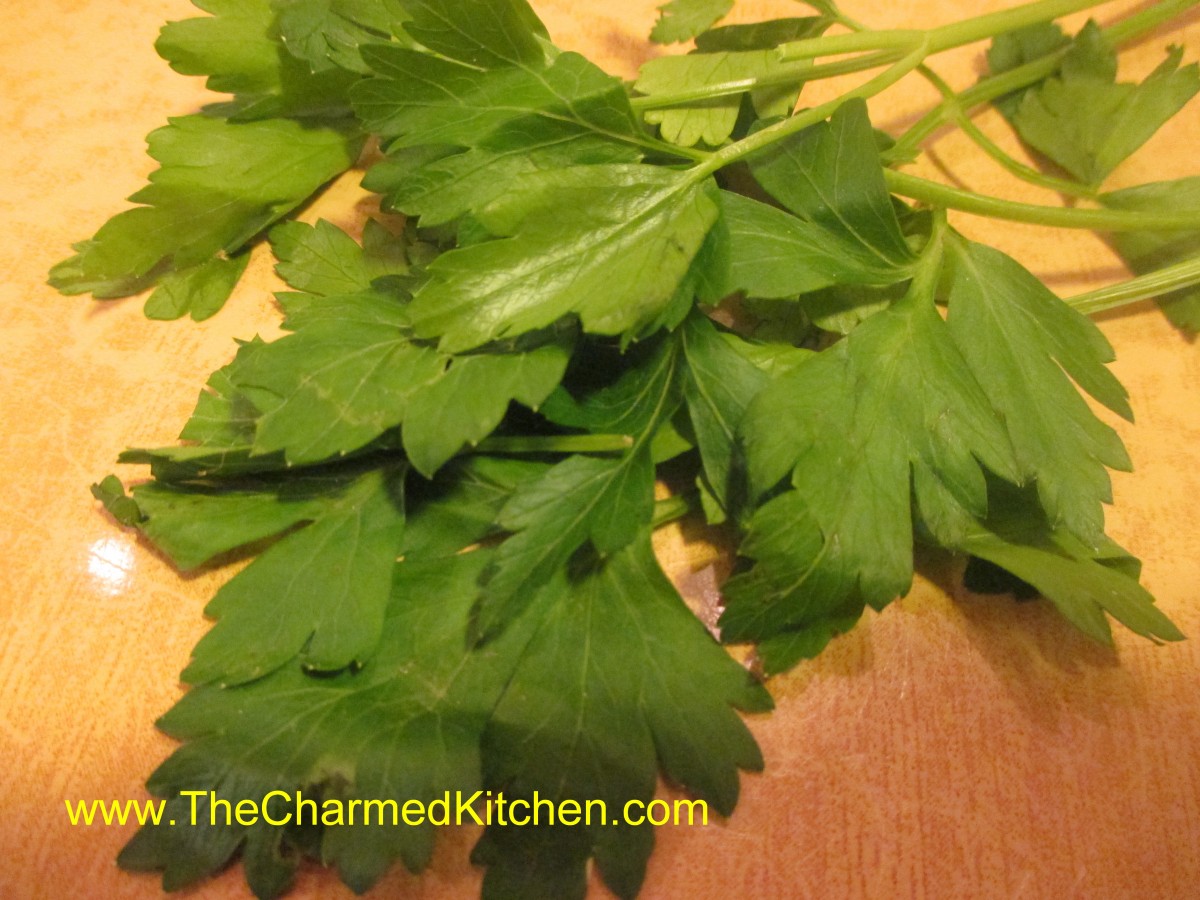
Parsley
Parsley is one of those herbs everyone seems comfortable using- and with good reason. The clean, green flavor goes well with so many foods. Even people who rarely cook with herbs seem OK using parsley. Because it is used so commonly I think it often gets overlooked for just how great an herb it is. Parsley is loaded with Vitamin C and chlorophyll for starters. It is also easy to grow.
While thought of as more of a garnish by some, the flavor can often brighten up a dish. Parsley goes well with meats, veggies, pasta, rice and more. I sometimes use it as a base for pesto. It is also essential to add when making soup stocks.
Since the leaves are so tender- you don’t need to cook it to use it. In fact, you should be careful not to overcook it in dishes. Adding chopped parsley right at the end of cooking, most times, is best. It will add a fresh flavor and a burst of green color to your food.
There are three main types of parsley- the flat leaved or Italian parsley. This is the best one for cooking. It has so much flavor. There is also the curly leaved type. This one is cute and often best suited for garnish. Tasty, but not nearly as much flavor as its flat leafed cousin. The third type is root parsley. This one produces a pretty big tap root that is great for using in soup stocks. The plants are dug up and roots are used fresh- or frozen for later use.
Lets look at growing parsley for a minute. Parsley likes a sunny location, but will tolerate some shade and does very well in pots and hanging baskets. Its fern- like leaves can be planted among flowers and look quite nice.
Parsley is a biennial. That means it produces only leaves the first year. The second year it makes flowers and seeds, then dies. For my part of the world that means I get a harvest of parsley leaves all summer long. Right up until frost I am harvesting. When Spring arrives it sprouts early, with beautiful leaves. Soon after it will produce flowers and seeds. Since I know the plant is going to die anyway I harvest all the leaves that second year – as soon as they start emerging – and freeze and dehydrate them for later use. This gives me a great harvest early in the year.
Parsley holds most of its flavor when dried and freezes great, too. In milder climates, parsley may defy the odds and produce for a third year before making seeds.
Don’t discard those stems, either. While the leaves and small stems are chopped up for fresh eating, the stems can be used to flavor stocks. I often freeze them- then add to the pot when making a stock. Too tough for eating, they are still full of flavor and are getting strained out anyway.
The tradition of using a sprig of parsley to garnish a plate was not just to decorate the plate. It was placed there to be nibbled as a way to freshen your breath after dinner.
So don’t dismiss parsley as just a garnish. It really is a great, simple and clean tasting herb that can brighten up most any dish it is added to.


