Cookie “Turkeys”

Cookie Turkey
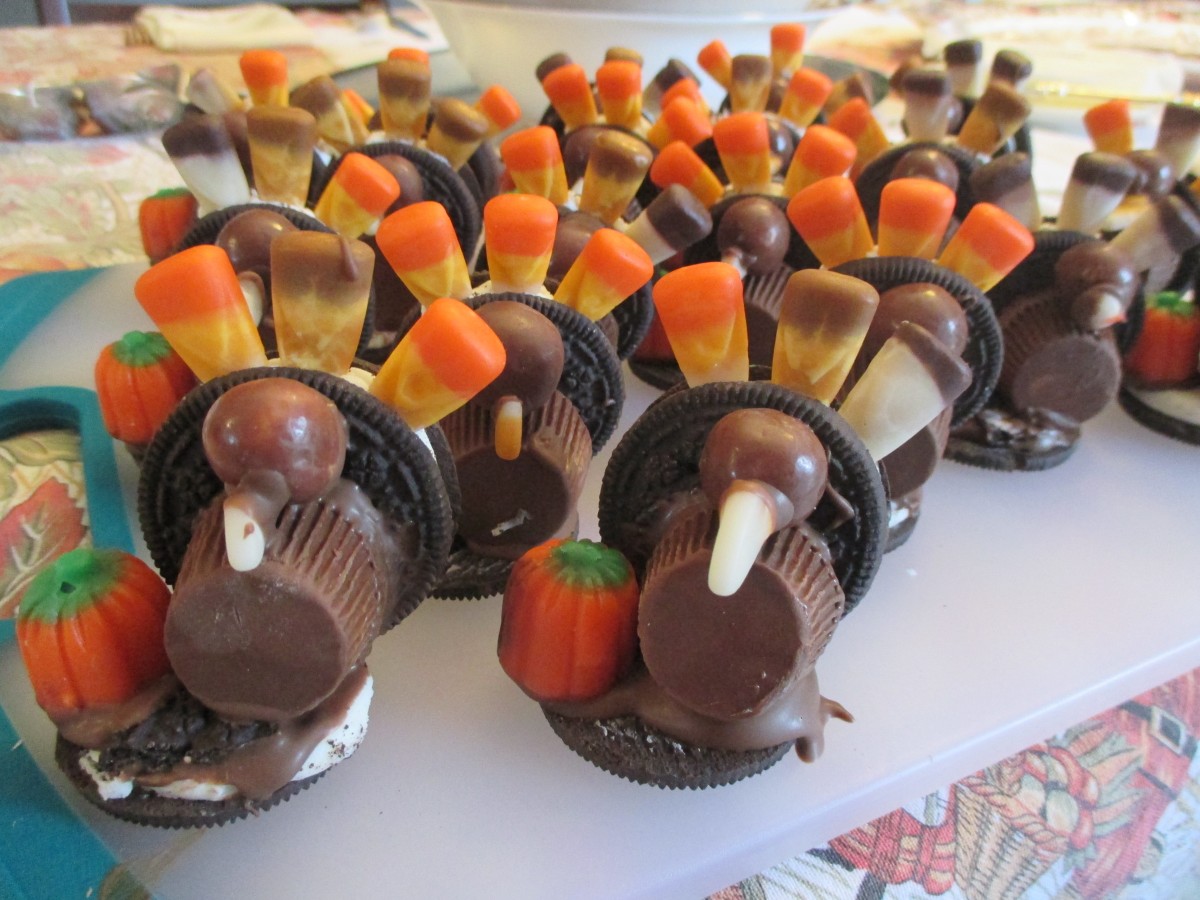
Every year, I spend the day before Thanksgiving making some special treat or craft with my niece, Elia. Last year we made these cookie “turkeys”. She liked making them so much we are making them again this year. They are really easy to make, and since there is no baking involved, you don’t tie up the oven if you need it for other things, like maybe a real turkey. Here are the ingredients you will need. We did them sort of assembly line fashion, because Elia wanted one for each person’s place at the table.
Cookie Turkeys
chocolate sandwich cookies
candy corn
mini peanut butter cup
malted milk balls
candy pumpkins
melted chocolate
To start, place a cookie on your work surface. Affix a peanut butter cup, for the body. with a little melted chocolate. Place a malted milk ball on top of the peanut butter cup, using a little more melted chocolate to make the head. Once the chocolate hardens a little break off the tip of a candy corn and affix with chocolate to make the beak. Stick a few candy corn between the cookies- into the frosting layer- for the tail. Open up a cookie and use a little more chocolate to stand up your turkey on the frosting surface- Elia wanted them to be standing on snow. Or you can use a whole cookie, if you prefer. Place it off center, so you have room for your pumpkin. Let it harden for a minute, then add a candy pumpkin, using another drop of melted chocolate.

Elia hard at work
She made quite a few
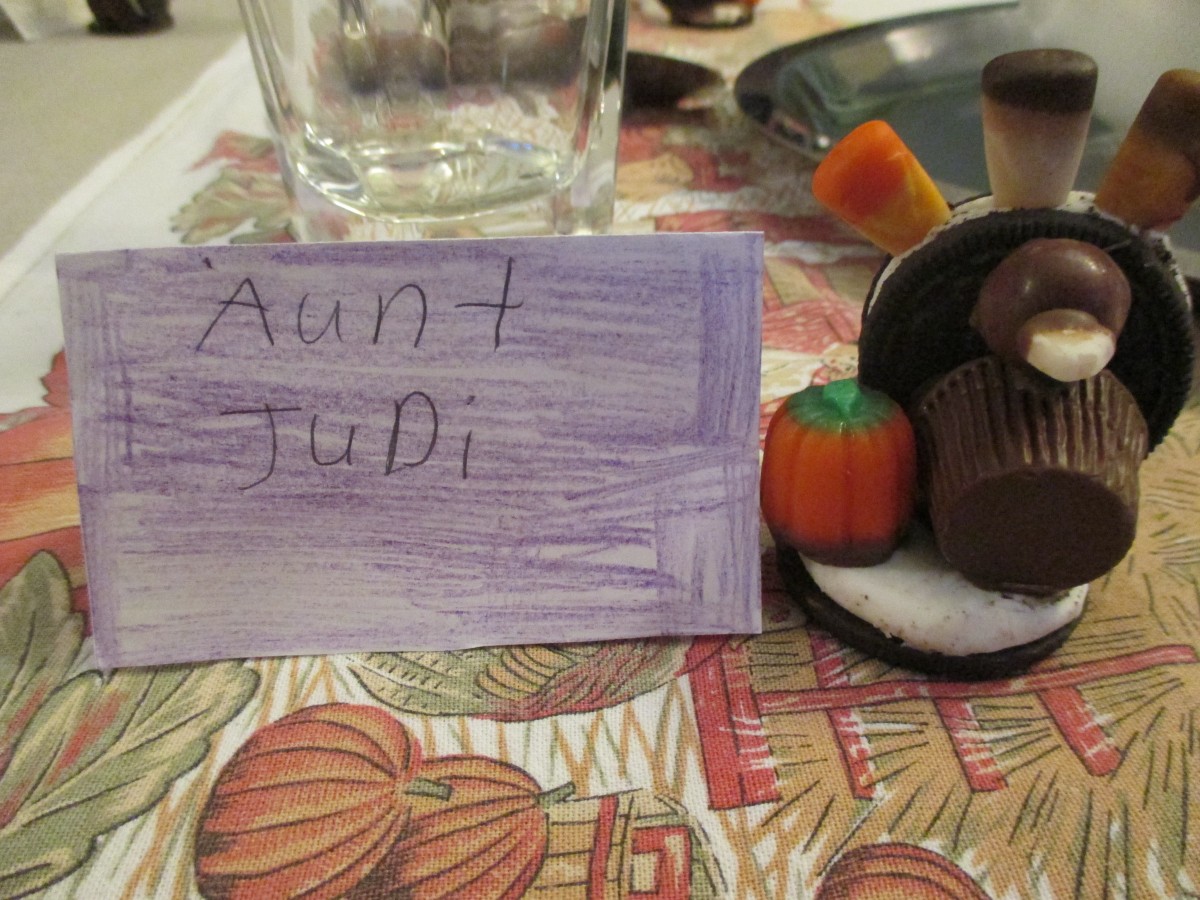
My place at the table
Nisu Bread with Cardamom
Nisu Bread
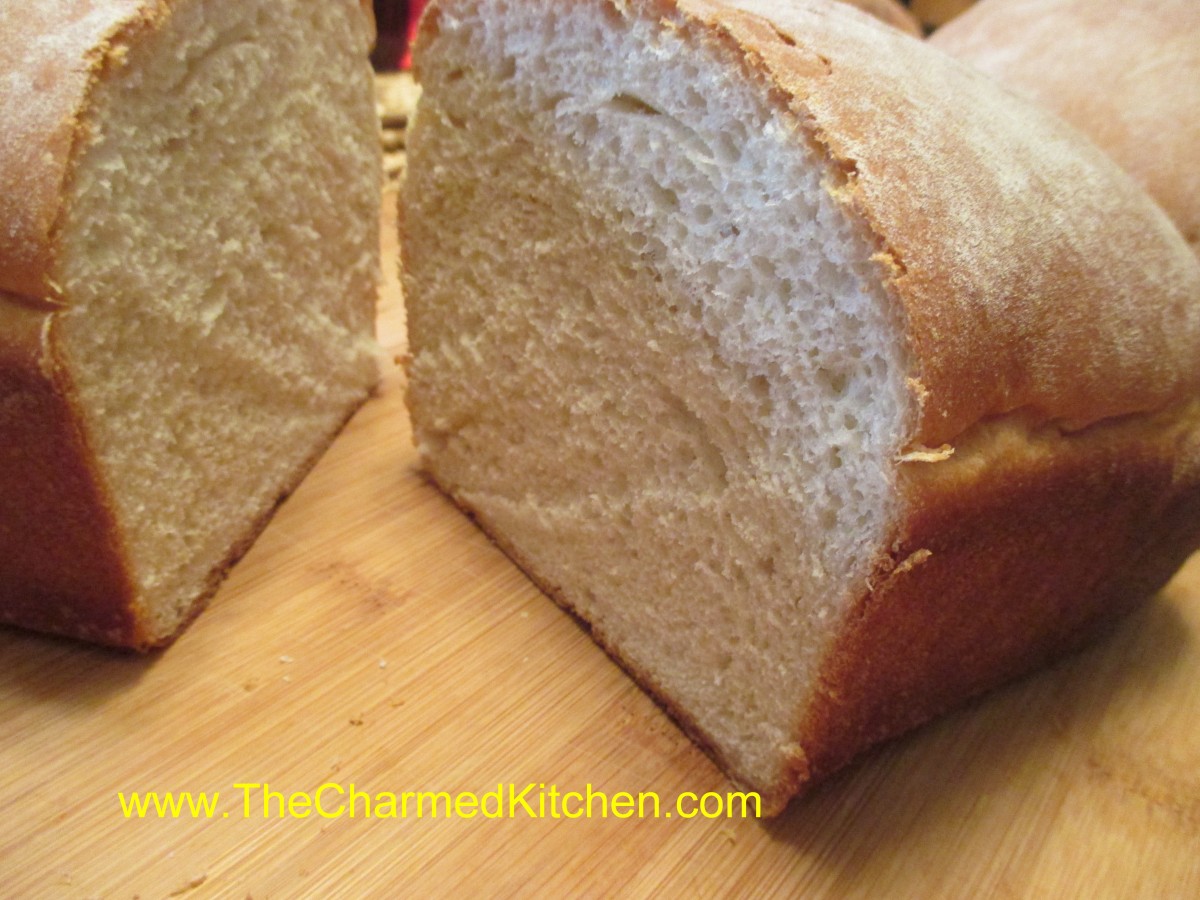
This wonderful recipe came from the Finn grandmother of two good friends. It is a soft, slightly sweet bread, made special with the addition of cardamom. Cardamom is a spice that has a rich, sweet flavor and fragrance. You can purchase it ground or whole, in pods. Cardamom is often used in baked goods and adds a nice flavor to frosting and glazes. It is also used to flavor coffee. This bread is lovely just toasted and makes great French toast.
Nisu
½ c. warm water
2 packages active dry yeast
2 c. milk
½ c. sugar
2-3 t. ground cardamom
1 t. salt
6 T. butter
6-7 c. flour, preferably bread flour
2 eggs
Dissolve yeast in water and set aside. Place milk in large bowl and add the sugar, cardamom, salt and butter. Heat in microwave until liquid is very warm. Butter might not be completely melted. Stir mixture until sugar is dissolved. Place 2 cups of flour in a mixing bowl and add the milk mixture, eggs and yeast mixture. Beat on medium speed for 3 minutes. Add 1 cup more of the flour and beat 2 minutes more. Stir in enough of the remaining flour to make a soft dough. Turn onto a floured surface and knead until dough is firm and smooth, about 10 minutes. Place in an oiled bowl and turn dough to coat. Cover with a towel and allow to rest until doubled in bulk, about 1 hour. Punch dough down and divide into 3 pieces. Roll each piece into a loaf and place in greased 9×5 inch bread pans. Cover and allow to rise until doubled in bulk, about 45 minutes. Bake in a 375-degree oven for 30 minutes or until golden and loaf sounds hollow when tapped lightly. Makes 3 loaves.
Winter Squash Dip
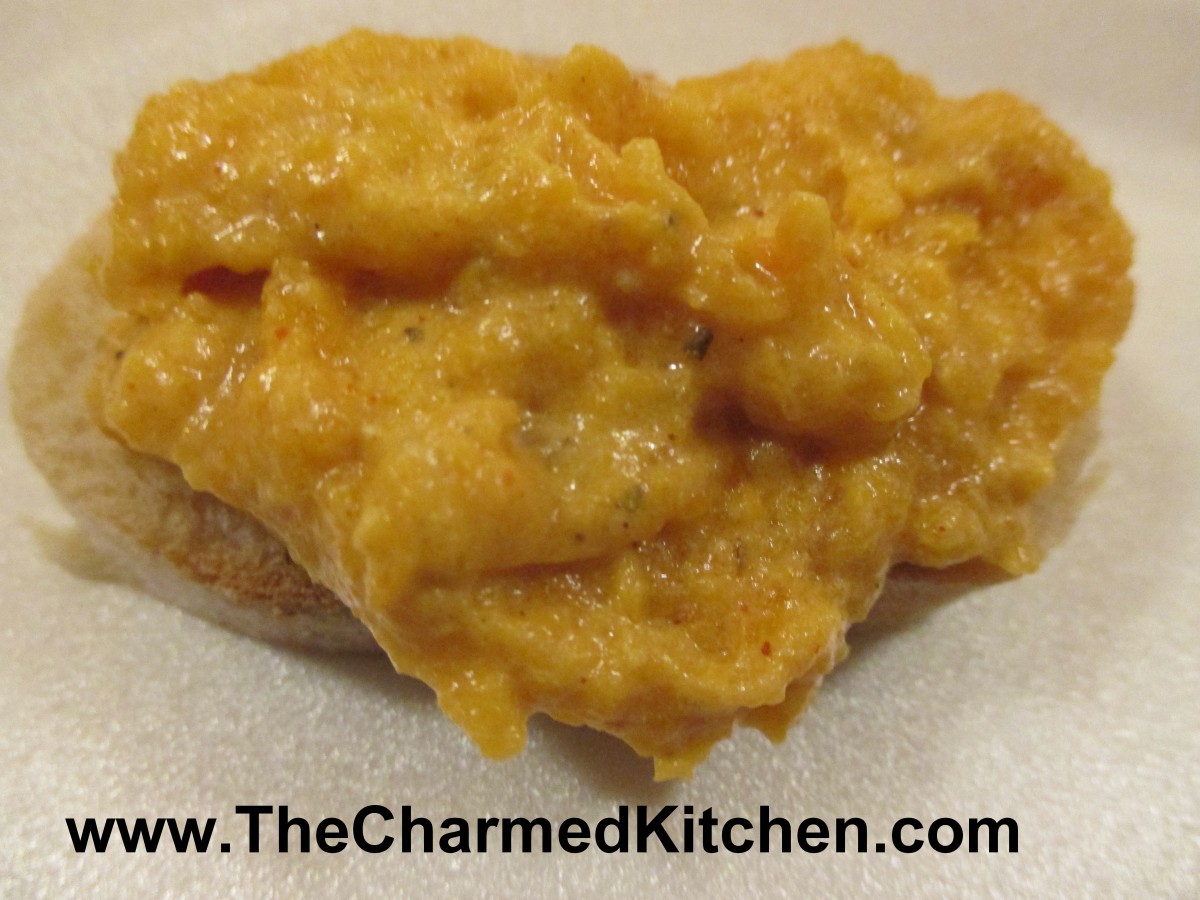 If you want a different appetizer for this holiday season- why not make a dip from squash? You might not thing about using winter squash as an appetizer, but this dip could just change your mind. The natural sweetness of the squash works well the other ingredients. You can use any number of squash for this recipe, or pumpkin. A couple of acorn squash or a good sized butternut squash both work, too. You want 3-4 cups of cooked squash to start with. You can even use frozen squash. Serve the dip warm, with crusty bread, crackers and smoked meats.
Winter Squash Dip
3-4 c. cooked winter squash
1 c. sour cream or Greek yogurt
½ c. diced sweet onion
¼ c. mayonnaise
2 T. honey
1 T. chopped fresh parsley or 1 t. dried
2 t. oregano
1 t. chili powder
1 t. cumin
1 t. dried minced garlic
½ t. paprika
dash hot pepper sauce
salt to taste
Crusty breads and smoked sausage
Bake squash, cut side down in a shallow baking dish with ½ -inch of water in pan. Bake at 350-degree for 45 minutes, or until squash is tender. Cool enough to handle and spoon out pulp. Mash until smooth. Add all ingredients, except bread and meat and stir until blended. Heat before serving. Serve with breads and sausage (heated). Makes about 4 cups.
Spiced Pear Oatmeal Muffins
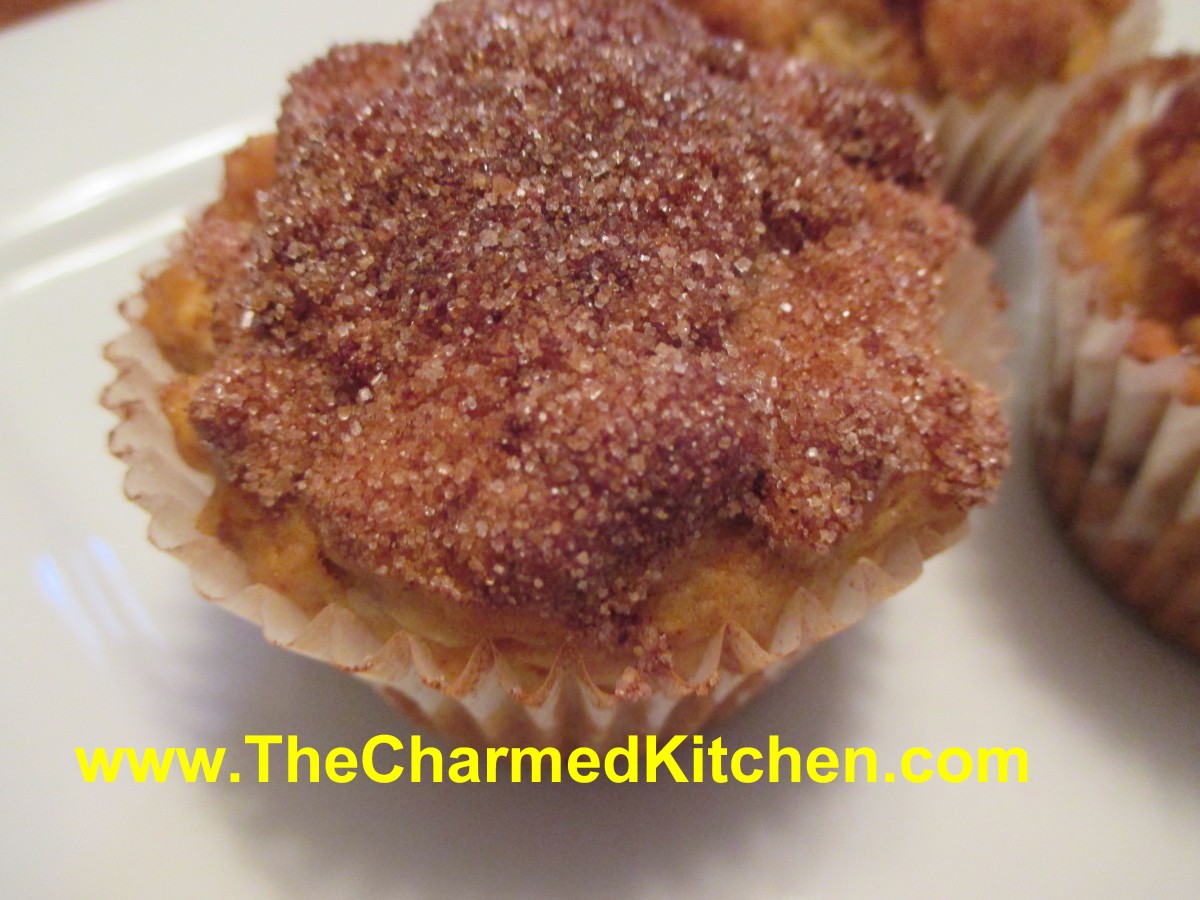
Spiced Pear Oatmeal Muffins
I had some ripe pears and wanted to do something with them. Since I have company coming in from out of town, I thought muffins. It’s always nice to have an easy breakfast option on hand. I started with a basic muffin recipe, and added some diced pears, cinnamon, orange zest and a cinnamon sugar topping, to make them special. I was happy with how they turned out. Not overly sweet, moist and tender. Here is the recipe.
Spiced Pear Oatmeal Muffins
1 ½ c. flour
1 c. rolled oats
1 T. grated orange peel
2 t. baking powder
1 t. cinnamon
½ t. salt
½ t. baking soda
1 egg, beaten
1/3 c. honey
1/3 c. oil
¼ c. orange juice
1½ cups of peeled, diced pears – 2 or 3 pears should do it
2 T. melted butter, optional
cinnamon sugar, optional
Combine flour with the dry ingredients. Set aside. Combine egg with the honey, oil and juice. Add egg mixture to flour mixture and stir until flour is just moistened. Fold in pears. Batter will be thick. Divide batter among 12 greased muffin cups. Bake in a preheated 375- degree oven for 20-25 minutes. While the muffins are warm, dip tops in melted butter and then dip in the cinnamon sugar, if you like. They are tasty, with or without the cinnamon sugar topping, but I like to add this last step. Makes 12.
New Day Cleveland- Holiday Side Dishes
As always, I had such a fun time on today’s show. Here I am- making side dishes for Thanksgiving- and other holidays. Natalie is so sweet, and great to work with. The tart was a lot of fun- but after the show the crew went crazy for the Brussels Sprouts Salad. Thanks to the everyone at Fox 8 for making my time there such a pleasure.
Challah
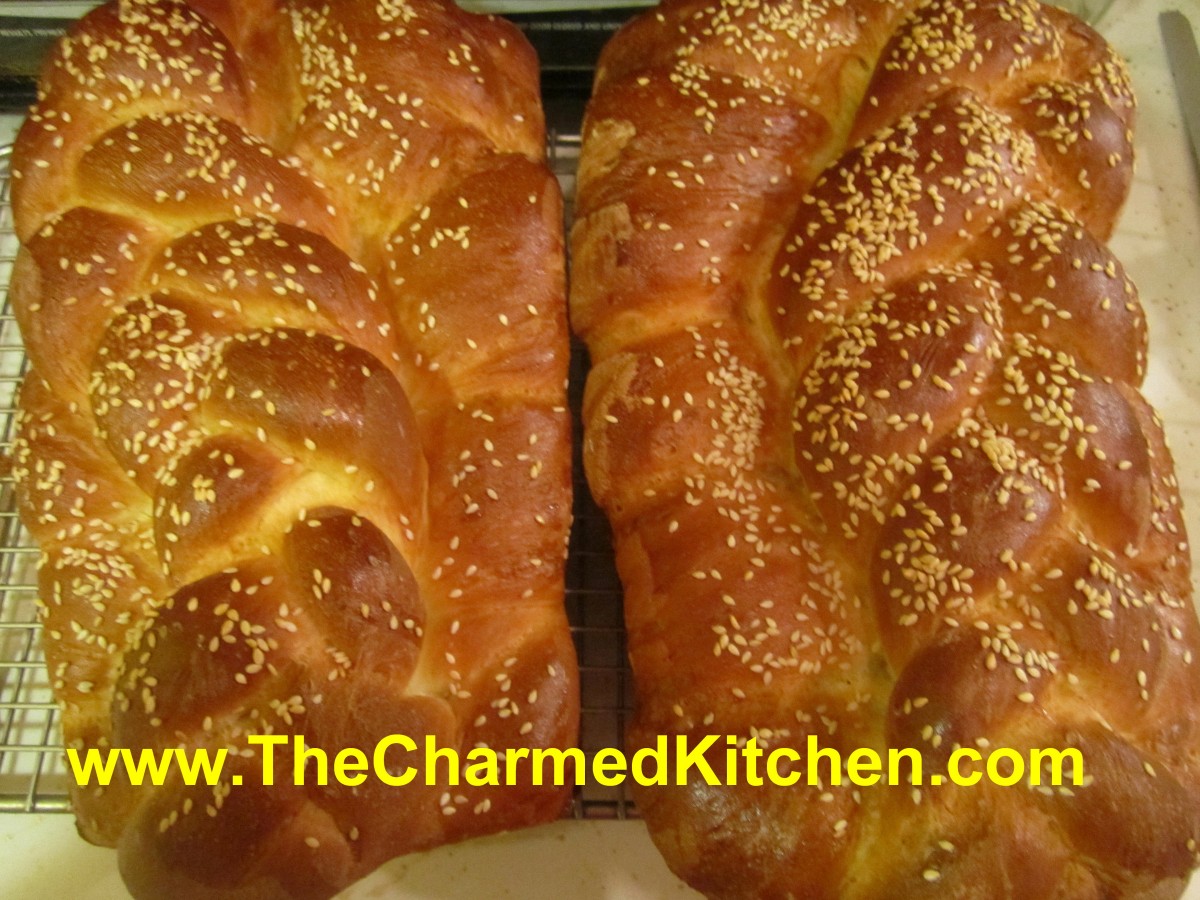
Challah
I have wonderful memories of my mother making this bread. Whenever I make it, I think of her. It is a simple egg bread, in many ways, but the braiding makes it look so pretty. You can bake the bread in loaf pans, or on baking sheets. Both look great. This is one of my favorite sandwich breads, but I also like it for French toast. Challah is a nice option for bread in your holiday stuffing (or dressing) and it makes great bread pudding.
Challah
2 c. hot water
1 T. each sugar, salt and oil
1 package active dry yeast
¼ c. warm water
About 8 cups flour
2 beaten eggs
Poppy or sesame seeds, optional
In large bowl combine hot water, salt, sugar and oil. Dissolve yeast in warm water in small bowl and add to oil/water mix. Stir in 1 cup of the flour and eggs, reserving 2 tablespoons of the eggs for later. Gradually stir in enough of the flour to make soft dough. When dough pulls away from sides of bowl remove to floured surface. Knead dough, adding flour as necessary about 8-10 minutes. Dough should be smooth and elastic. Place dough in a lightly greased bowl, turning to grease top, cover with a towel and allow to rise in a warm, draft free place until doubled, about 1 hour.
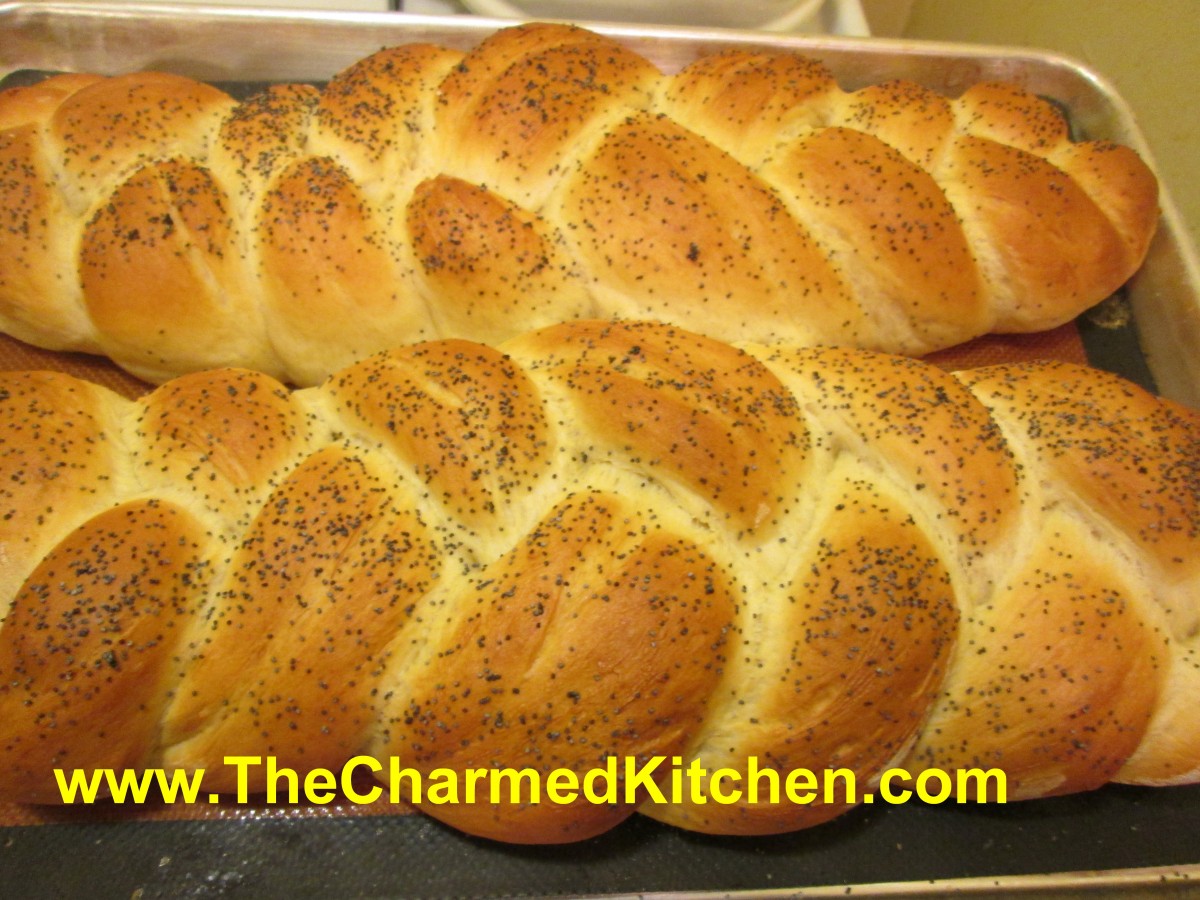
Punch dough down and divide into 8 equal pieces. Roll three of the pieces into 12- inch ropes. Place in a greased 9×5-inch loaf pan. Take one of the remaining pieces of dough and divide into thirds. Roll the pieces into 3-nine inch ropes and place on top of the braid already in the pan. Repeat with remaining dough and cover. Allow to rise until doubled in bulk, about 1 hour. Preheat oven to 400 degrees. Brush loaves with reserved eggs and sprinkle with sesame or poppy seeds, if desired. Bake 40-45 minutes. When done loaves will be nicely browned and sound hollow when tapped. Makes 2 loaves.
Note: Bread dough can also be placed on greased baking sheets instead of in loaf pans. The result will be longer and flatter, but very pretty.
Challah
Cranberry Bounce

Cranberry Bounce
You can do more with cranberries than make sauce. Not that I don’t like cranberry sauce, I do. I love cranberry season and find myself using them in all sorts of recipes. For years I have been making a liqueur called Cranberry Bounce. I got the recipe from my sister a long time ago. Cranberries, sugar and vodka. What a great combination. It’s simple to make and it makes a nice gift, too. The color is absolutely beautiful. The sweet/tart finished product can be enjoyed by just sipping, on the rocks, or mixed with club soda.
Cranberry Bounce
1 lb. fresh cranberries (most bags are 12 oz.)
2 c. sugar
4 c. vodka
Grind berries fine in food mill or food processor. Place in large jar and combine with the sugar. Let stand, covered until sugar is dissolved completely, several hours or overnight. Add vodka and let steep 1-3 weeks, stirring occasionally. Strain and filter. Makes 5 cups.
Note: Fruit can be saved in fridge and used, sparingly, in desserts, fruit salads and on cake or ice cream.
Skillet Corn with Peppers

Skillet Corn with Peppers
If you are still looking for side dishes for Thanksgiving here is an easy one. It is fast, and adds a little something special to the corn. I like to make it ahead of time and just reheat it when ready to serve. That also saves work on the big day. Sometimes I saute the corn a little longer- until it starts to get some color on it. Makes me think of the taste of corn off the grill. Either way it tastes really good. I always freeze local corn when it is in season- but use what you have. Best made with fresh sweet corn- but that isn’t always around and even made with frozen corn it comes out tasty.
Skillet Corn with Peppers
1 T. oil
1 sweet pepper, seeded and chopped
4-5 cups corn, fresh or frozen
1½ t. cumin
1/3 c. chopped fresh cilantro or parsley
Heat oil in skillet and add pepper, cooking until they are crisp-tender. Add corn and continue cooking until corn is cooked if using fresh or heated through if using frozen or canned. Add seasonings and heat another minute. Add salt and pepper if needed. Serves 4.
Squash Dinner Rolls
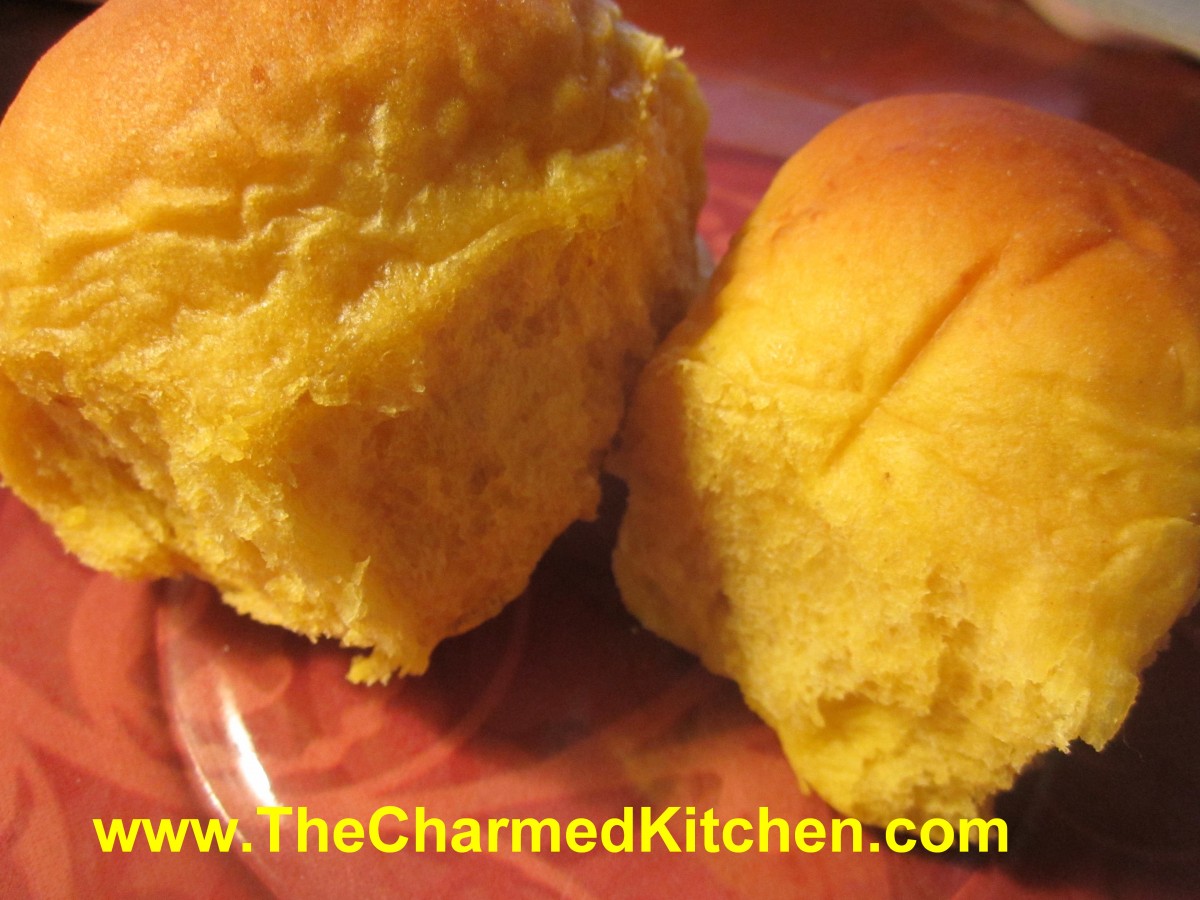
Squash Dinner Rolls
These rolls are a family favorite. We have them every Thanksgiving. My sister Cindy always makes them, and has been making them for years. They are rich, soft and sweet, and make a perfect addition to the dinner table. While I use cooked butternut squash in mine, pumpkin could be used, as well as other winter squashes. They are also such a beautiful color.
Rich Squash Rolls
1 c. milk
4 T. butter
½ c. sugar
¼ c. brown sugar
1 t. salt
1 pkt. Yeast
4-5 c. flour
1 ½ c. cooked butternut squash, strained, or 1 (16oz.) can squash or pumpkin
2 eggs, room temperature
Scald milk and butter. Place sugar and salt in large bowl and pour in milk mixture. Cool to lukewarm. Add yeast and 2 cups of flour. Beat at medium speed with mixer for 2 minutes. Add squash and eggs and mix until smooth. Add flour gradually to form a stiff dough. Knead on floured board for 7-8 minutes. Place in a greased bowl, turning dough to coat evenly. Cover with a towel and allow to rise until doubled. Punch dough down and shape into rolls. Dough can be placed in a greased cake pan where they will touch each other as they rise making softer rolls. You can also place them in muffin tins, or shape into rolls and place on greased baking sheet for crispier rolls. Cover and let rise until doubled. Bake at 375 degrees for about 25 minutes. Butter tops while warm. Makes 2 ½ -3 dozen.
Variation: you can also add ½ t. ground nutmeg, 1-2 T. chopped chives or 1 T. parsley flakes for a little different flavor.
Vegetable “Roses” Tart
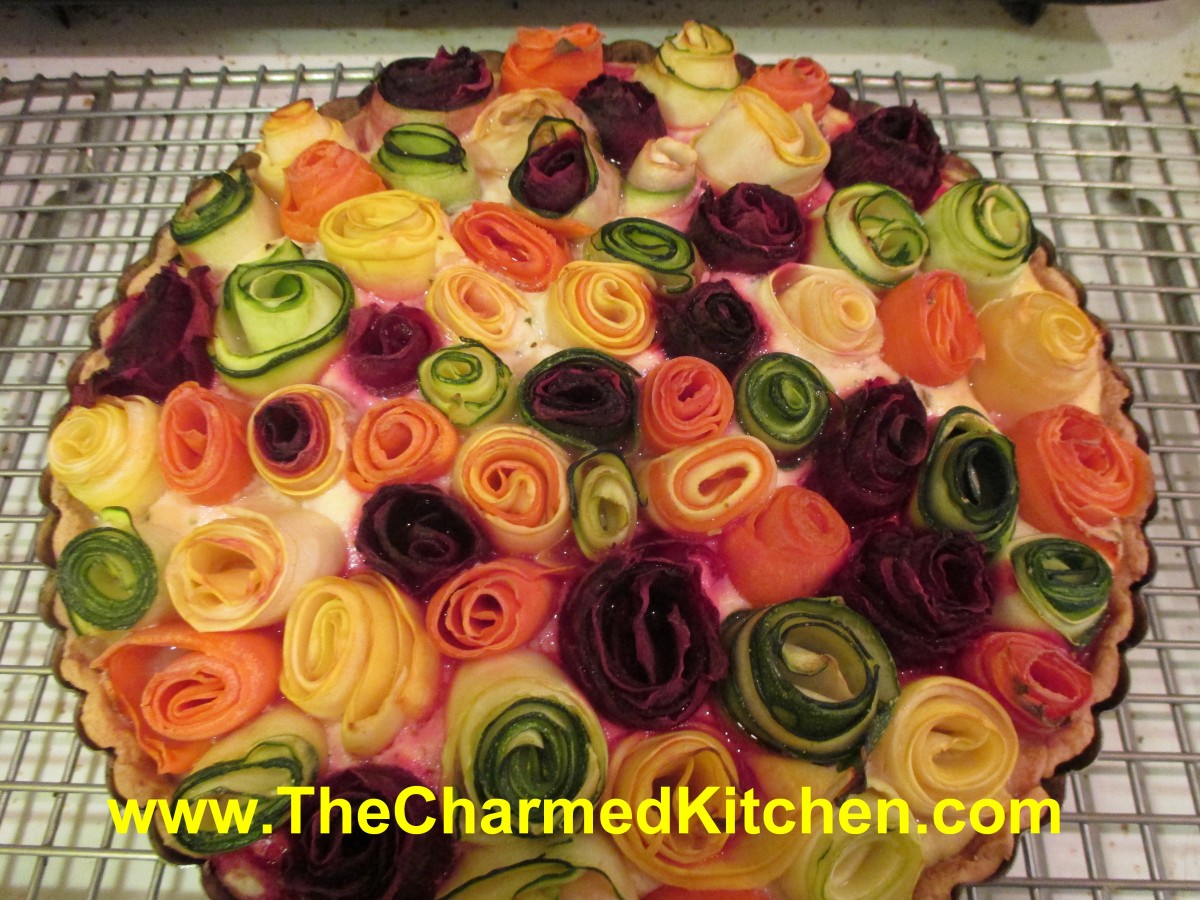
Vegetable “Roses” Tart
I posted this recipe a couple of months ago- but I thought some of you might want to make it for the holidays- so here it is again. This tart is sure to get some attention at your next party. It really is easy to make, although a bit time consuming. It can be made a day or two ahead, baked, and then just reheated when you want to serve it. There are three parts to it. The crust- which I made using a favorite pie crust recipe. The filling- a mix of cheeses, eggs and some herbs. Finally the topper. Various veggies, peeled into thin ribbons, wound into little “roses”, and placed on the cheese layer. My friend, Kat, saw a similar creation and posted it. I loved it, and decided to try and create one of these tarts myself. I switched some things from the one she posted. I made my own crust and used some different veggies. So here is how I did it.
The crust:
This is an old family recipe. Simple and flaky. It makes 2 crusts- so I used the other one for another dish. You could make two tarts or freeze the rest for another time.
Flaky Pie Crust
2 c. flour
1 t. salt
3/4 c. shortening, chilled, or use lard or coconut oil, I used coconut oil
1 T. cider vinegar
4-5 T. cold water
Combine flour and salt and cut in shortening. Toss in vinegar and water, 1 tablespoon at a time, until dough holds together. Use a fork to toss the ingredients together and as soon as the mixture holds together stop adding water. Makes 2. Chill well before using.
The crust was rolled out, using half the dough, and fitted into a 9-inch tart pan. I blind baked it- to insure it would be cooked through- because the tart doesn’t cook that long. I poked the crust all over with a fork, then I topped the crust with a sheet of foil and then a pound of dry pinto beans. You can use pie weights, if you have them or uncooked rice. I have a jar of pinto beans that I keep just for blind baking. The crust is placed in a 425 degree oven and baked for 15- 20 minutes. It should be taken out of the oven before the edges get too brown. Set aside until you are ready to fill it.
The Filling:
I used a combination of cheeses and eggs, with some seasonings. I am not sure I needed the eggs- but I wanted the cheese to set up.
1 (15 oz.) container ricotta cheese
1/2 c. Parmesan cheese
2 eggs
1 t. salt- or to taste
1 t. dried oregano
1 t. dried basil- or 1 T. fresh basil
healthy dash of hot sauce
Combine all ingredients and spread over the crust.
The veggies:
Even though these are listed last, you might want to get them ready ahead of time. I used a vegetable peeler to make “ribbons” out of the veggies I used. You could also use a mandolin, if you have one. Some were going to be hard to roll- so I steamed them in the microwave, in batches, for several minutes. That softened them up and partially cooked them. They should be tender- they don’t get much softer in the baking process. Dry them off on paper towels. When I was ready to use them- I grabbed a “ribbon” and rolled it up, adding more ribbons until I had a little “blossom”. As I made them I stuck them in the cheese mixture- already spread over the crust. Sometimes I used 2 veggies in one flower to make it look more interesting. Once the surface was covered, I pressed them down a little so they would all be the same height, roughly. Season with some salt.
I used
2 zucchini
2 yellow summer squash
2 really big carrots – made for wider ribbons
1 really big beet*
I had some pieces left over and just made a stir fry with them.
Baking the tart:
Place the tart on a baking sheet and bake in a 350 degree oven for about an hour. Crust should be nice and golden around the edges and the veggies should be tender.
* The beet was the trickiest- but I wanted that pop of red. I peeled the skin off first, then tried to peel the longest pieces I could. Some were a little short, but once steamed, they still worked pretty well. sometimes I’d finish a beet center off with a longer zucchini ribbon to hold it together.
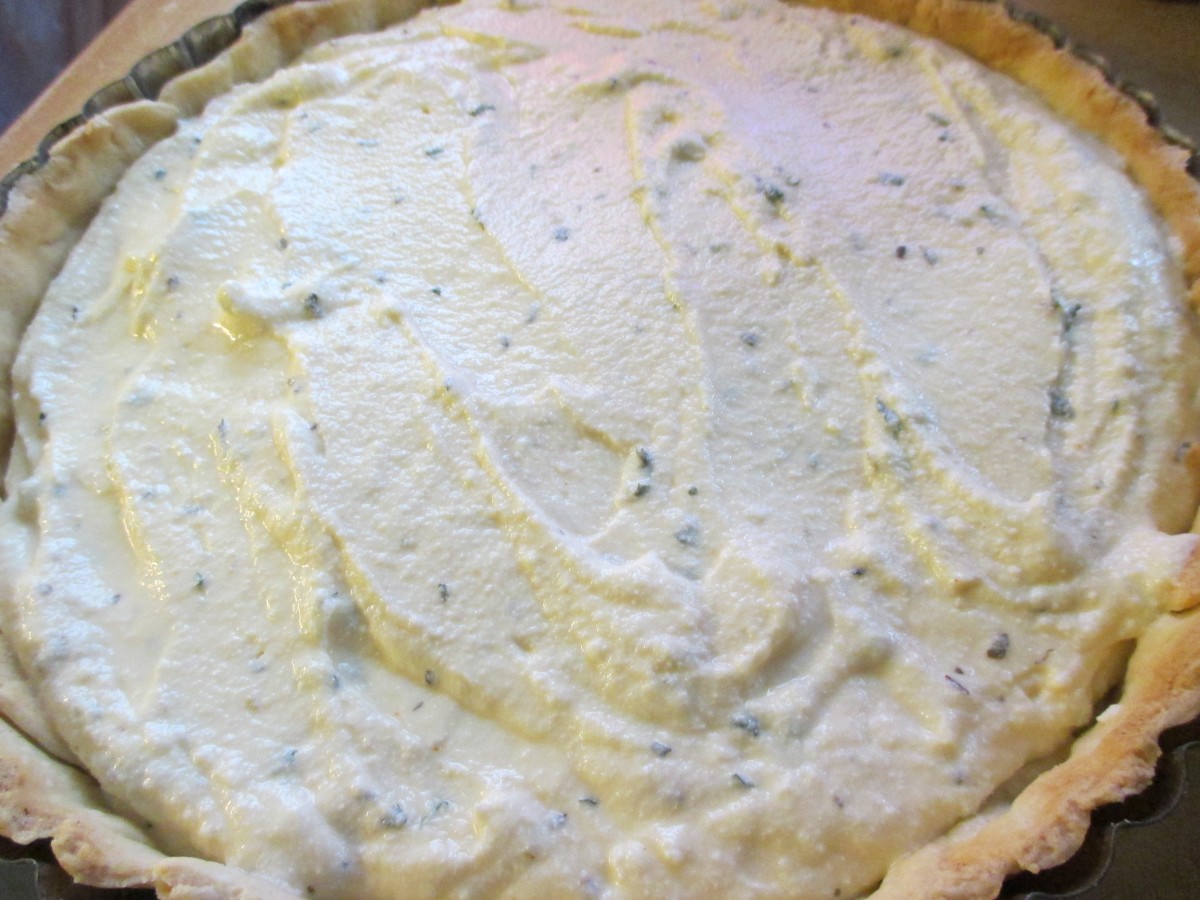
Spread cheese mixture over the crust
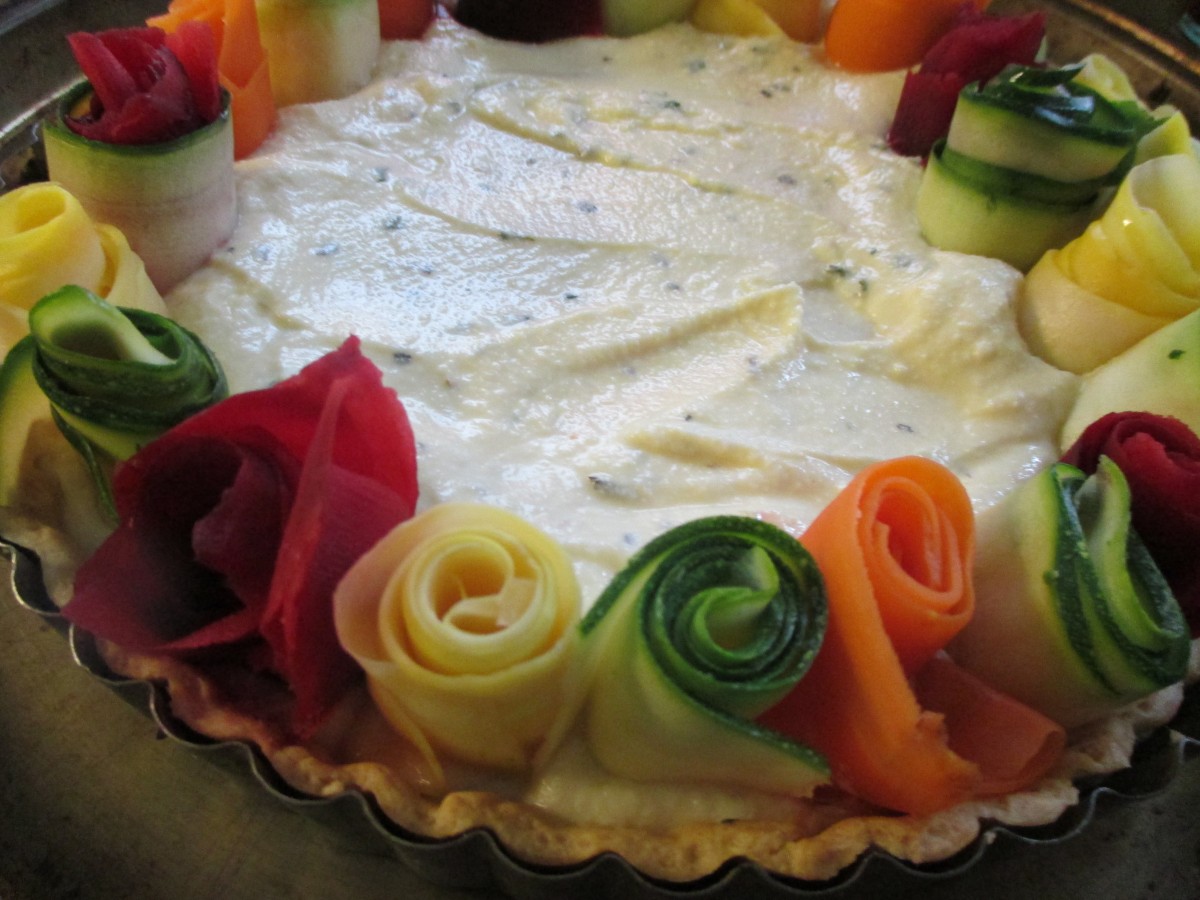
Start placing the “roses” on the cheese mixture
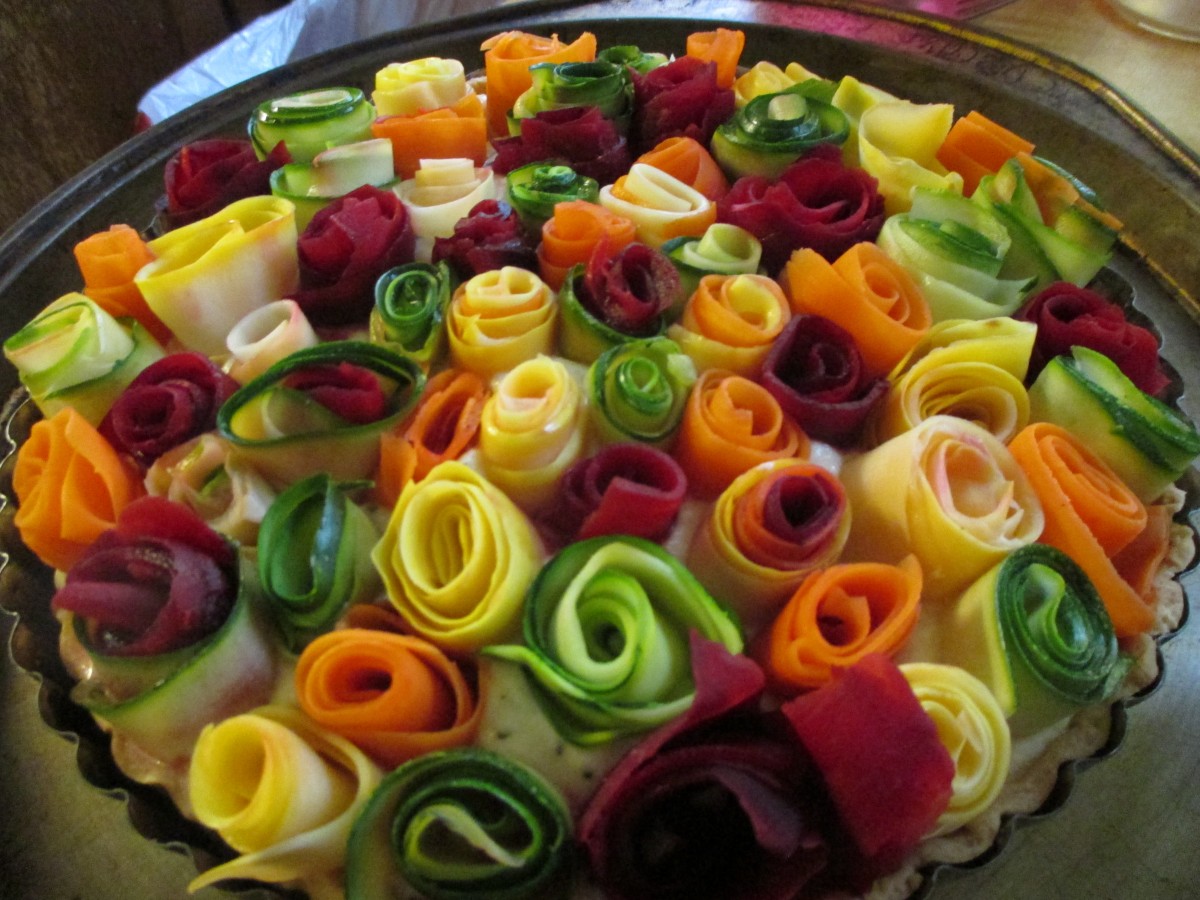
Keep filling in the tart until full.


