Homemade Popcorn Balls
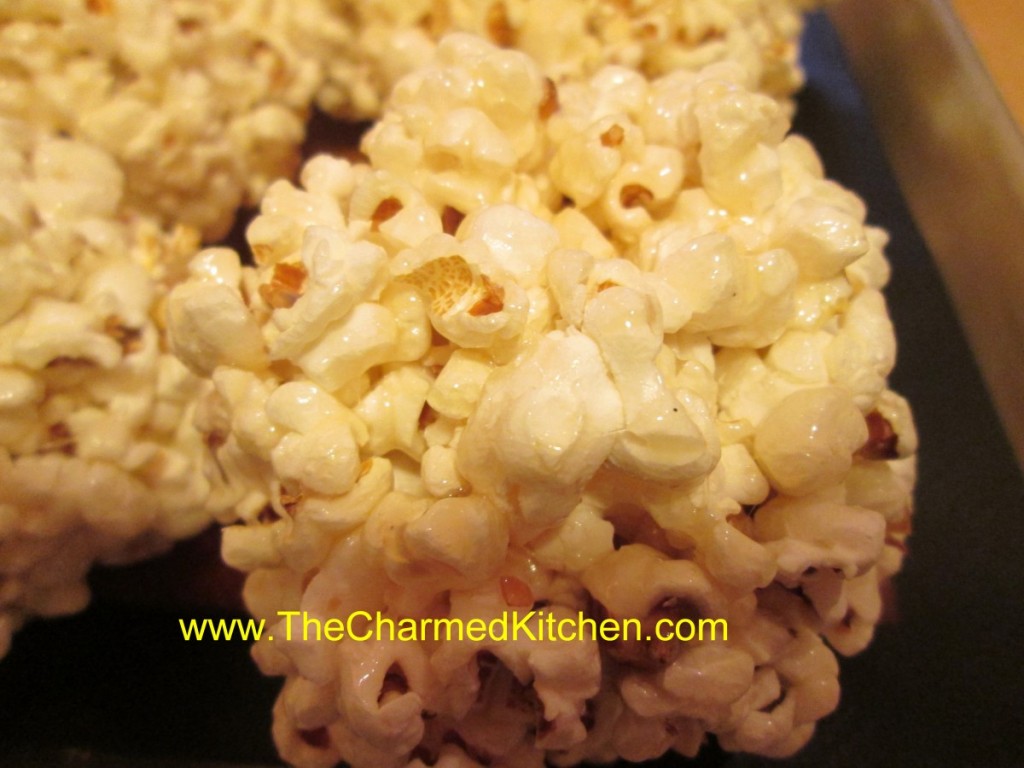
I have fond memories of eating popcorn balls when I was a kid. One memory was during the summer. An amusement park near my home was famous for their popcorn balls. Every time we went there, we would end the day with popcorn balls.
The other memory was making our own, around Halloween. They seem to be a part of more than a few Halloween parties when I was younger.
I don’t make them often, but popcorn balls are always a special treat for friends and family. This recipe is pretty easy. Kids, supervised, could help make them. You just have to make sure the mix cools down enough before you let them form the popcorn into balls.
I am a bit of a purist and enjoy them plain, but you can add Halloween themed candies to the mix, to dress them up for a party. Candy corn or black and orange M&M’s would both work.
The recipe calls for corn syrup. If you don’t want to use corn syrup, my recipe for a corn syrup substitute, (sugar syrup) is listed below.
Homemade Popcorn Balls
9 c. popped popcorn
1 c. sugar
1 T. butter
1 T. vanilla
1 c. corn syrup*
Place popcorn in large bowl and set aside. Combine sugar, butter, vanilla and corn syrup in a saucepan. Heat and boil until thick, about 4 minutes. Pour over popcorn. Stir until well coated. Let cool until safe enough to handle. With buttered hands form mixture into balls. Store wrapped tightly in plastic wrap until ready to eat. Best eaten within a few days of making. Makes about 8.
*If you don’t have corn syrup- or don’t want to use it here is a way to make a substitute for it.
Sugar Syrup- corn syrup substitute
3 cups granulated sugar
1 cup Water
1/2 tsp. Cream of Tartar
1/4 t. salt
Combine ingredients in a large saucepan. Bring to a boil and cover the pot. Reduce to a simmer and cook covered for 5 minutes. Uncover and cook to soft-ball stage. Stir frequently.
Soft ball stage occurs at 235-245 degrees. This stage can be determined by dropping a spoonful of hot syrup into a bowl of very cold water. In the water, use your fingers to gather the cooled syrup into a ball. If it has reached soft-ball stage, the syrup easily forms a ball while in the cold water, but flattens once removed from the water.
Remove from heat. Cool and store at room temperature. It will keep well for a month or two.
Halloween Sushi
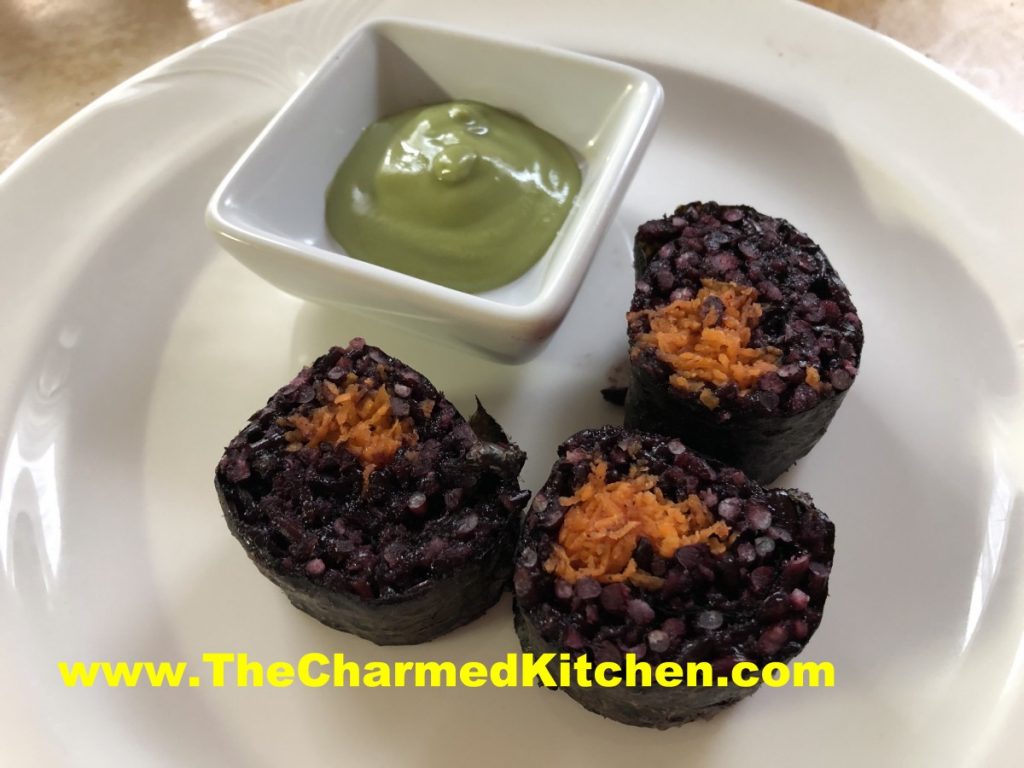
When I make sushi, I often use brown or black sticky (sweet) rice. I actually prefer the texture over the white rice. It occurred to me that the black sticky rice might make fun sushi for Halloween. I find black sweet rice at my local Asian grocery store. That is also where I get nori, rolling mats and wasabi.
To add a pop of color, I finely shredded carrots and added them to the sushi roll, too. The black rice actually cooks to a dark purple color. The color combination is fun for Halloween.
You’ll need a rolling mat, but beyond that, not a lot of special equipment is needed. I served my sushi with wasabi. You could serve with pickled ginger, too. Here is the recipe and directions.
“Spooky” Sushi
To make the rice:
4 c. black sweet rice, uncooked
4 c. water, or a little more
1 recipe Sushi Su, recipe follows
finely shredded carrots
In strainer, rinse the rice repeatedly with cold water until the water runs clear. Place rice in microwave safe container with the 4 cups of cold water. Cover container with a lid and place in microwave. I use a large Pyrex casserole dish that has a lid. Cook 20 minutes. Check for doneness and add a little more water, if needed. Cook another 10-15 minutes. Don’t stir the rice. Black rice takes longer to cook than white sushi rice. You want it to be cooked, but not mushy. Cooking times vary by microwave. Remove from the microwave once cooked and let stand, covered, for 10 minutes. Place rice in a large, cool bowl and pour on the Sushi Su, tossing in. Fan rice while tossing to give it a shiny look. Makes enough for 8 rolls.
Sushi Su:
1/2 cup rice vinegar
4 T. sugar
1/2 t. salt
msg, optional
Combine all and set aside until ready to use. You can also buy a dry powder of Sushi Su and you can use that instead. It is a 2.65 oz. packet.
Assembling Sushi
Place a sheet of nori ( dried seaweed sheets) on mat and spread about 1 cup of the rice over the nori, leaving about 1-2 inches empty on the far side. Place fillings in a strip a little off center away from the side with no rice. Start rolling up the mat using it to press the sushi roll and keeping the fillings in the nori. Once rolled, press the mat once more to seal and make the fillings stick together. Wetting the edge of the nori with a little water can also make the sushi stick better. Slice each piece using a sharp knife dipped in water.
Wrapping the sushi takes practice. Don’t be discouraged if the first few are a little less that perfect, Still, with a little practice it gets pretty easy. Just be careful not to overfill the rolls as it makes the job harder.
Flaming Ghost Cake

I have posted this recipe before, but thought it might be a good time to post it again. This one is fun for Halloween. You start with a baked 9×13-inch cake. Frost it with chocolate frosting and then use white frosting to draw a ghost on the cake.
You can make all sorts of images- cats, bats, pumpkins. When ready to serve the cake, the eyes are set on fire. Fun effect. Kids and grown-ups both will get a kick out of it.
Just be sure to have proper adult supervision for the kids. The picture doesn’t do it justice. Very cool blue flames. Don’t forget to turn down the lights!
Flaming Ghost Cake
1 prepared 9×13- inch cake, any flavor
2 c. chocolate frosting, I prefer homemade
1 c. vanilla frosting, I prefer homemade
3 oz. semi sweet chocolate, optional
2 empty eggshell halves, washed well and dried
2 sugar cubes
Lemon extract
Frost cake with chocolate frosting, then spread vanilla frosting in the shape of a ghost. Melt chocolate in a small plastic bag. When chocolate is melted snip off the corner of the bag and use to outline ghost. Place eggshell halves in cake, round side down where the ghost’s eyes would be. Soak sugar cubes in lemon extract and place in eggshells. When ready to serve light sugar cubes and turn off the lights. Serve 12-16.
Variations: You can use the flaming eyes effect on cat shapes, pumpkins or even bats. Practice drawing the shape on paper before frosting the cake. If you bake a larger round cake the whole thing can be the pumpkin. Just frost it with orange tinted frosting.
Candy Spiders
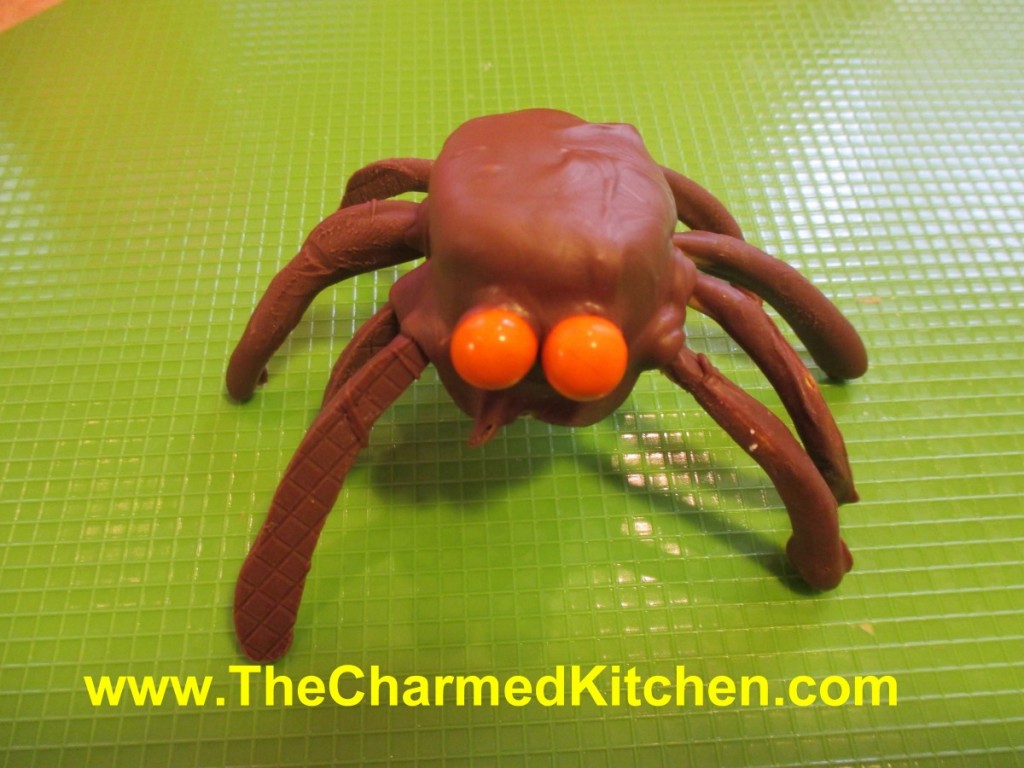
If you are looking for a quick spooky decoration/treat idea, you might want to make some candy spiders. These are about the size of a tarantula. Super simple, and kids can make them, too. You only need a few ingredients.
The body is made from marshmallows, the legs are chow mein noodles and the eyes are small candies. Sixlets work well.
I used melting chocolate, but you can use any kind of chocolate you like. To start, melt some chocolate. Dip the chow mein noodles in the chocolate and tap gently to remove excess. I leave one end un-dipped to make it easier to stick in the marshmallow later. Allow to harden up before going to the next step. I set them on a flexible cutting board, but wax paper is good, too. You have to peel them off later, a flexible surface is best. You’ll need 8 for each spider- so be sure to make enough. Allow for breakage. Set a marshmallow flat side down and poke 4 holes in each side, 8 total. I used a bamboo skewer. Stick a noodle “leg” in each hole. Spoon chocolate over the marshmallow until coated. Whatever drips off can be re-melted and used again. While the chocolate is still soft, press 2 candy eyes into place. Hold them for a minute to be sure they are secure. Now, you can decorate cakes with them, use them on a dessert tray- or just eat them.

Chow mein noodle legs
Insert legs into marshmallow
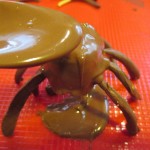
Spoon chocolate over the marshmallow to cover it.
Swedish Limpa Bread
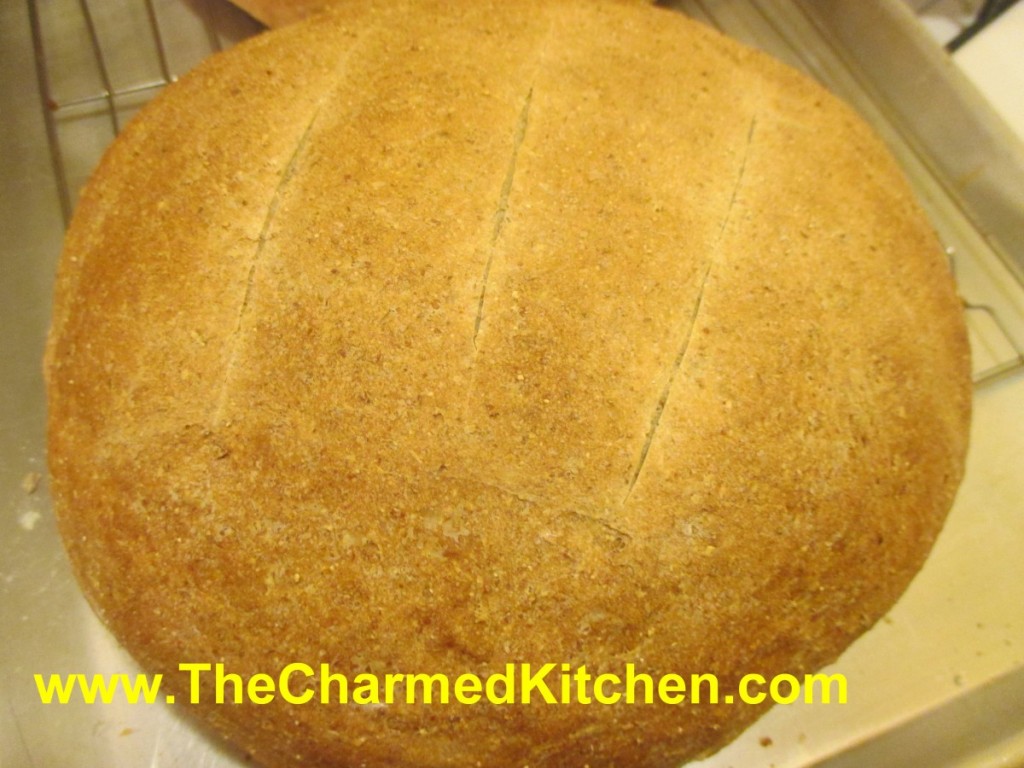
There is nothing better than the smell of fresh baked bread. This Swedish rye bread is a favorite of mine. It has a soft texture and makes great sandwiches. It also makes the house smell wonderful as it bakes.
The flavor in enhanced by a combination of caraway seeds and a little orange zest. It even makes wonderful French toast. My brother-in-law always said it was just like the bread his Swedish mother made.
It is not like rye breads you might traditionally think of. Limpa is lighter in color and texture. It makes really great French toast, too.
I shape mine in two round loaves, but you can also bake this bread in loaf pans, if you prefer. If you want to use it for sandwiches, the loaf pans are probably a good idea. You can also shape the dough into dinner rolls, if you like. You will get 2-3 dozen rolls out of this recipe, depending on how big you make your rolls.
Swedish Limpa
6 ½ c. flour
2 c. rye flour
¼ c. brown sugar
2 t. salt
2-t. caraway seeds
2 t. grated orange peel
2 pkt. Active dry yeast
2 T. butter, softened
2 2/3 c. hot water (125-130 degrees)
Set aside 1-cup flour. Mix remaining flours and other dry ingredients in a large bowl. Add butter and water to flour mixture and stir to blend. Mix in enough additional flour to make a soft dough. Knead on a floured surface until smooth about 8-10 minutes. Place dough in oiled bowl turning to oil top. Cover and let rest in a draft free area until doubled, about 30 –40 minutes. Punch down. Divide dough in half and form into 2 balls. Place on greased baking sheet and cover until doubled in bulk, about 30 –40 minutes. Bake in a preheated 400-degree oven for 30 minutes or until bread sounds hollow when tapped lightly. Makes 2 loaves.
Note: you can also divide the dough and place in 2 (9×5-inch) greased loaf pans.
Pumpernickel Bread

I bake a lot of bread. Homemade pumpernickel is one of my favorites. Plus, there is that wonderful aroma as it bakes.
The dark color comes from a mixture of rye flour, strong coffee, cocoa powder and molasses. These ingredients give this bread a flavor and texture I adore. We had this bread in class last night and the students really enjoyed it.
It’s hard for me to find a store-bought Pumpernickel bread that comes close to this one. Some store bakeries rely on caramel coloring for the color in the bread. For real flavor you need the real ingredients. It is worth the time to make your own.
Pumpernickel Bread
2 Packages active dry yeast
½ c. warm water
2 c. lukewarm strong coffee
¼ c. each molasses and unsweetened cocoa
2 T. Caraway seeds
2 t. salt
5-6 c. all-purpose flour or bread flour, if you prefer
2 c. rye flour
Cornmeal
1 egg white, slightly beaten
In large bowl dissolve yeast in warm water. Stir in coffee, molasses, cocoa, seeds, salt and 3 cups of flour. Beat with wooden spoon about 2 minutes. Stir in rye flour and enough of the remaining regular flour to make soft dough. Turn onto floured surface and knead until dough is smooth, about 10 minutes. Place in greased bowl, turning to grease top, cover and let rest until doubled, about 1 hour. Grease large baking sheet and sprinkle with cornmeal. Set aside.
Punch down dough, divide in 2, and form into balls. Place on baking sheet and cover. Let rise until double, brush with egg whites, slash tops and bake at 375 for 35-40 minutes. Makes 2 loaves.
Apple Pie “Blintzes”

Since I posted the recipe for making your own apple pie filling, I thought I’d share a fun way to use it- other than in a pie. In a tortilla class with kids, we made “blintzes” with the pie filling.
We used flour tortillas for the crepes. Don’t get me wrong, I love making real crepes. But, when you don’t have the time, the tortillas are a fun and tasty substitute. We soaked the tortillas in milk. By soaking the tortillas in milk, they soften up, and can be used like a crepe. Soak them for about 10 minutes, or up to 30 minutes. If you don’t want to soak them in milk, you can use a milk substitute or even juice or water.
After they are filled, the blintzes are toasted in a pan with butter, than dusted with powdered sugar. They are so tasty. Like a warm apple pie. These were a big hit with the kids.
They make a nice dessert, but they can be served for breakfast or at brunch.
Apple Pie Blintzes
10-12 flour tortillas
1/2 c. milk
2 c. apple pie filling
3-4 T. butter
Powdered sugar or cinnamon sugar, for topping the blintzes
For the filling, I used some of my homemade apple pie filling. If you have fresh apples, you can just peel and slice the apples, then cook them in a little water and sugar until softened. You can make them as sweet as you like. You made need less sugar if the apples are extra sweet. Add some cinnamon and nutmeg, too. If they are too watery- combine a little cornstarch with cold water and drizzle the mixture in until the apples thicken up. Don’t add too quickly or you might them too thick and gummy.
Place tortillas in a shallow pan, drizzling with a little milk as you go. Set aside for a few minutes, so the tortillas will soften.
To assemble the blintzes, place a softened tortilla on your work surface and spoon a little apple filling in the middle. You can do this with hot filling, but cold or room temperature filling is easier to use. Don’t over fill them or you won’t be able to fold them up. I used 8-inch tortillas and used about 1/3 cup of filling for each one. Fold the sides in until they almost meet in the middle and them roll the tortilla up to cover the filling. Place seam side down until ready to fry them.
Heat butter in a skillet, and brown the blintzes over medium heat until lightly toasted on both sides. They will be crispy on the outside, but tender in the middle. Put on a serving plate, sprinkle with powdered sugar and serve while warm. These are fine just as they are, but feel free to add ice cream or whipped cream, too.
I have made these before and use different fruit fillings. I’ve even made a cheese filled version a few times. It seems I usually have a package of tortillas, so it is a go-to dessert for me in a pinch.
Homemade Apple Pie Filling
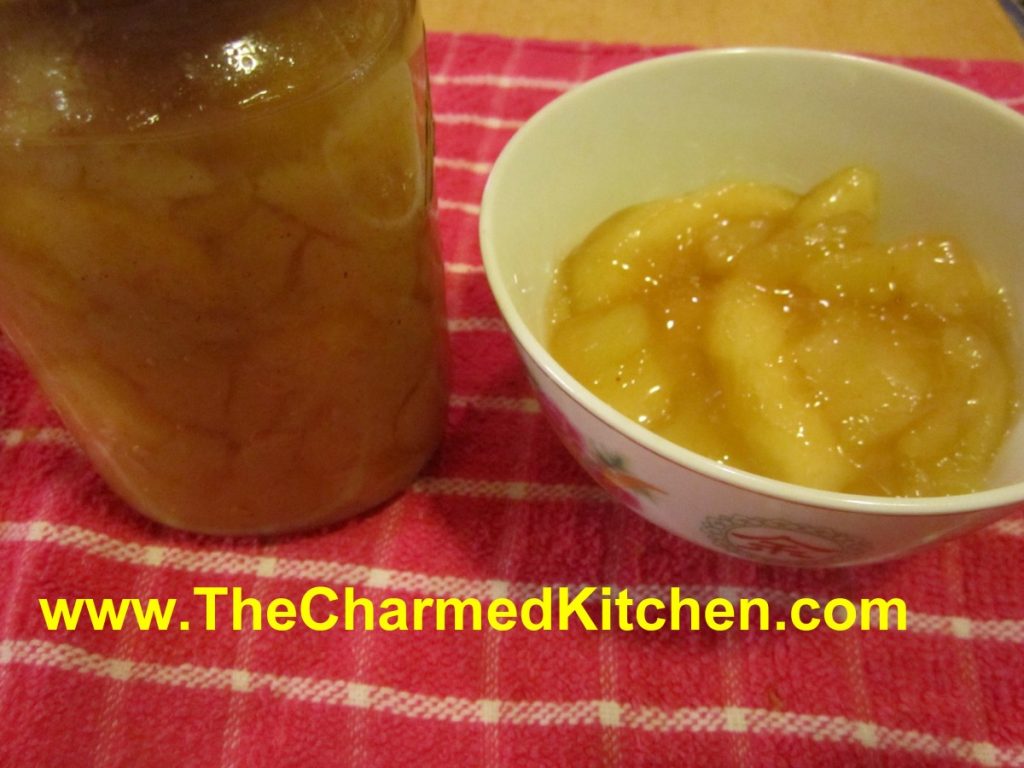
While I think the best pie is made with fresh apples, I also like making and canning my own apple pie filling. It is a handy way for me to enjoy local apples throughout the year. It is also a whole lot better than any commercial pie filling I have tried. Loaded with plenty of big chunks of apples and seasoned with cinnamon and nutmeg- I think it the next best thing to fresh apples for baking.
I use my canned pie filling to make pies, but I also use it for kolachy, blintzes, cakes and more.
The hard part, for some, is getting a hold of Clear Gel. It is a special type of modified cornstarch. I buy mine online, but you can find it in stores where the Amish shop. Clear Gel stays thick, even if it is reheated. Regular cornstarch will not. Don’t use Instant Clear Gel, either.
Here is the recipe I use. You can tweak the seasonings to suit your own taste, but keep in mind that spices sometimes get stronger when canned, so don’t go too crazy!! You can always add more spices when you use your pie filling.
Apple Pie Filling
6 qts. apples, sliced and blanched
5 1/2 c. sugar
1 1/2 c. Clear Gel- modified cornstarch available on line and in Amish stores
1 T. cinnamon
1 t. nutmeg
2 1/2 c. cold water
5 c. apple juice
3/4 c. lemon juice
If apples lack tartness, use an additional 1/4 cup of lemon juice. Wash, peel and core apples and cut into 1/2 thick slices. Place in water treated with either lemon juice, citric acid or ascorbic acid to prevent darkening. Remove from solution and drain well. Blanch in boiling water- 2 quarts at a time- for 1 minute. As you finish each batch place in a bowl and cover to keep warm. In large pot combine sugar, Clear Gel, cinnamon, nutmeg, water and apple juice. Stir over medium heat until mixture begins to bubble and thicken. Add lemon juice and boil 1 minute. Add drained apples and stir gently to combine. Ladle into hot, clean jars leaving 1 1/2 inches of headspace. Remove air bubbles. Wipe rims and adjust lids. Process in a boiling water bath- pints or quarts for 25 minutes. After the time is up, turn off canner and let jars sit in water bath for 5 minutes before removing. This will reduce the chance of siphoning. Makes 7 quarts or 14 pints.
For only 1 quart
3 1/2 c. apples
3/4 plus 2 T. sugar
1/4 c. Clear Gel
1/2 t. cinnamon
1/8 t. nutmeg
1/2 c. cold water
3/4 c. apple juice
2 T. lemon juice
Classic Carrot Cake
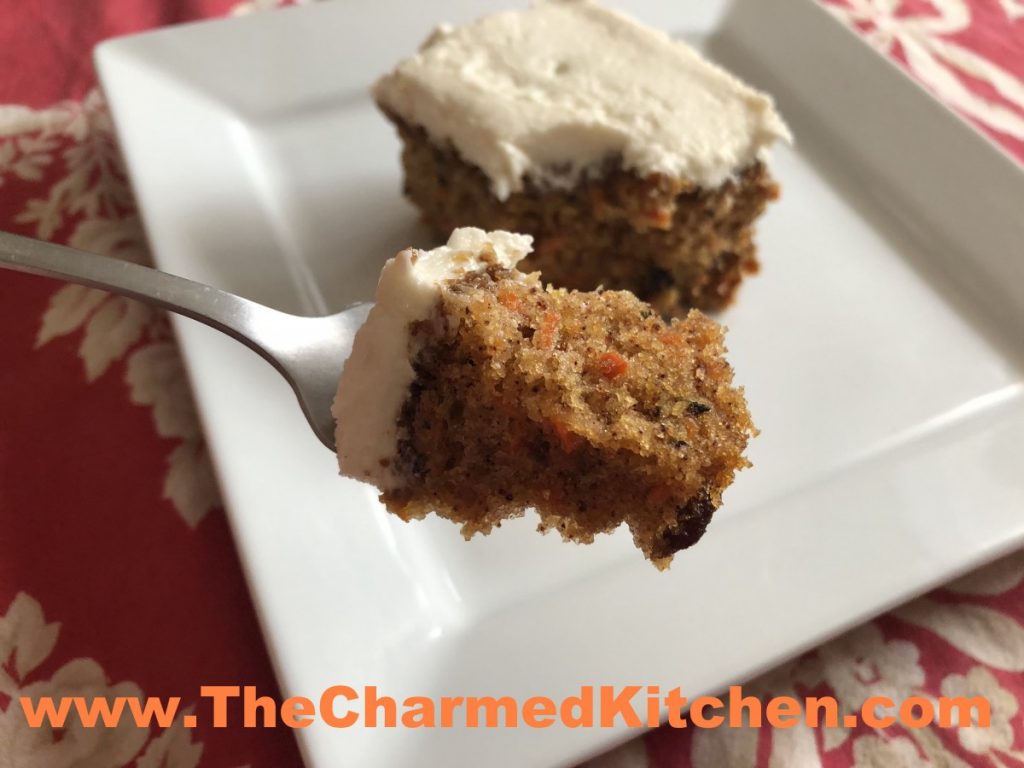
I can’t remember the first time I had carrot cake. I do know that I loved it. Carrot cake is a timeless dessert that never goes out of style.
It is a simple cake, but full of flavor from cinnamon, vanilla and three cups of shredded carrots. The carrots add both flavor and moisture to the cake. Plus, with all those carrots, it’s like dessert and a veggie all in one. Practically health food.
It seems like a long time since I baked a carrot cake. Too long. Since a dear friend gave me carrots a few days ago, it seemed like the right time to bake one.
I baked the cakes this morning. I only made one recipe, but instead of baking the cake in one 9×13-inch pan, I used two (8×8 -inch) pans. Baking time was about 5 minutes less. Once the cakes cooled down, I frosted them with cream cheese frosting – recipe follows. Now I have two carrot cakes. One to share with a neighbor and one to freeze for another time.
So here is the recipe. I hope you love it as much as I do.
Classic Carrot Cake
4 eggs
2 c. sugar
1½ c. oil
3 c. shredded carrots
2 t. vanilla
2 c. flour
2 t. each baking soda and cinnamon
1 t. salt
1 c. nuts
1 c. raisins, optional – I don’t usually add them.
Preheat oven to 350 and grease a 9×13-inch pan. Beat together eggs sugar and oil until smooth. Stir in carrots. Combine flour with dry ingredients and beat in. Stir in nuts and raisins, if adding, and pour into prepared pan. Bake 35-40 minutes or until toothpick inserted in center comes out clean. Dust with powdered sugar or frost with cream cheese frosting.
Frosting recipe:
8 oz. Cream cheese, softened
3/4 c. powdered sugar
1 stick butter, room temperature
Beat all together until fluffy. Frost cake and refrigerate until ready to eat.
Classic Banana Bread
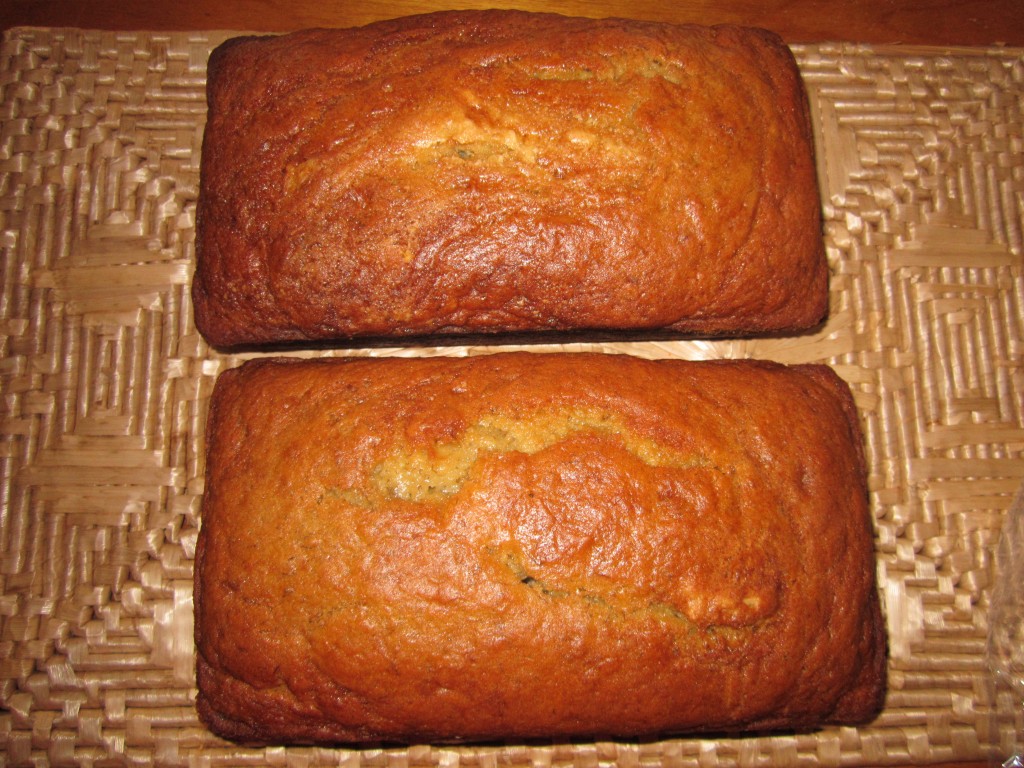
I had some very ripe bananas so I decided to make banana bread. It’s my favorite way to eat them, other than fresh. The recipe is simple and this bread freezes well so why not make a few and freeze some for later?
Classic Banana Bread
1 ¾ c. flour
1½ t. baking powder
¾ t. salt
½ t. baking soda
2/3 c. sugar
1/3 c. butter, softened
2 eggs
2 T. milk
1 c. mashed ripe banana (I ended up with a little extra so each bread had more than a cup)
¼ c. chopped nuts, optional
Combine dry ingredients and set aside. Combine sugar with butter and beat until fluffy. Beat in eggs. Beat in eggs until mixture is smooth. Beat in flour mixture alternately with bananas. Fold in nuts, if desired. Pour batter into greased 9×5 -inch loaf pan. Bake in a preheated 350-degree oven for 60-65 minutes. Use toothpick to test for doneness. Cool in pan 10 minutes before placing on rack to cool. Store in plastic wrap to preserve moisture. Makes 1 loaf.


