Cheesy Cherry-Blueberry Coffee Cake
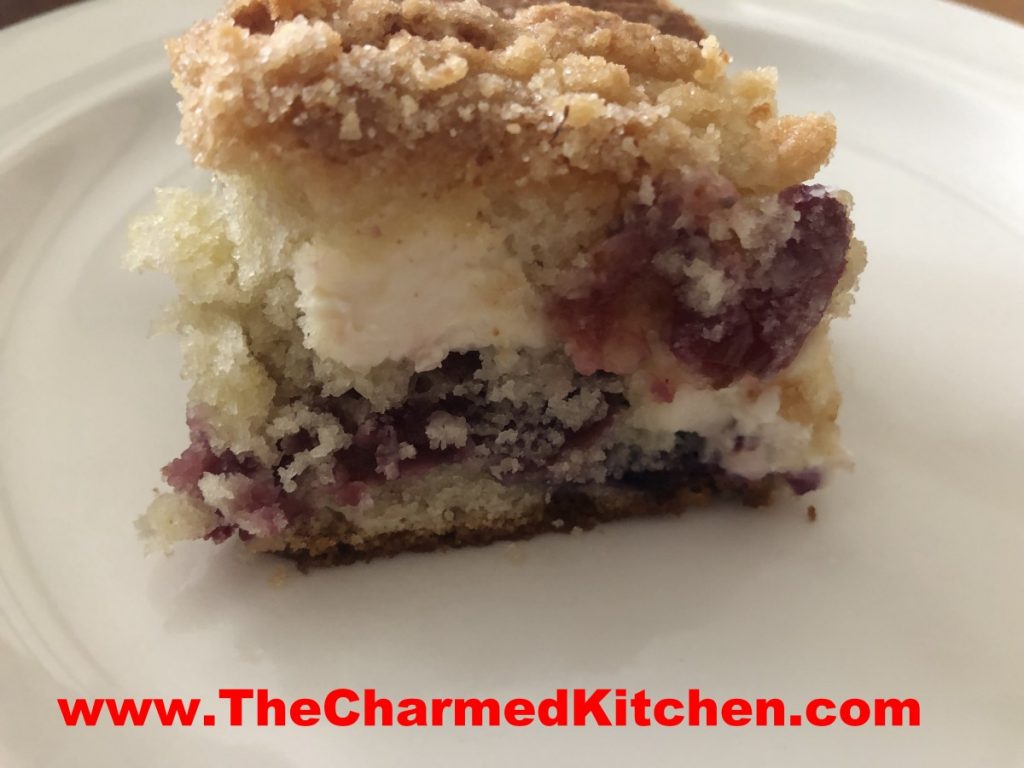
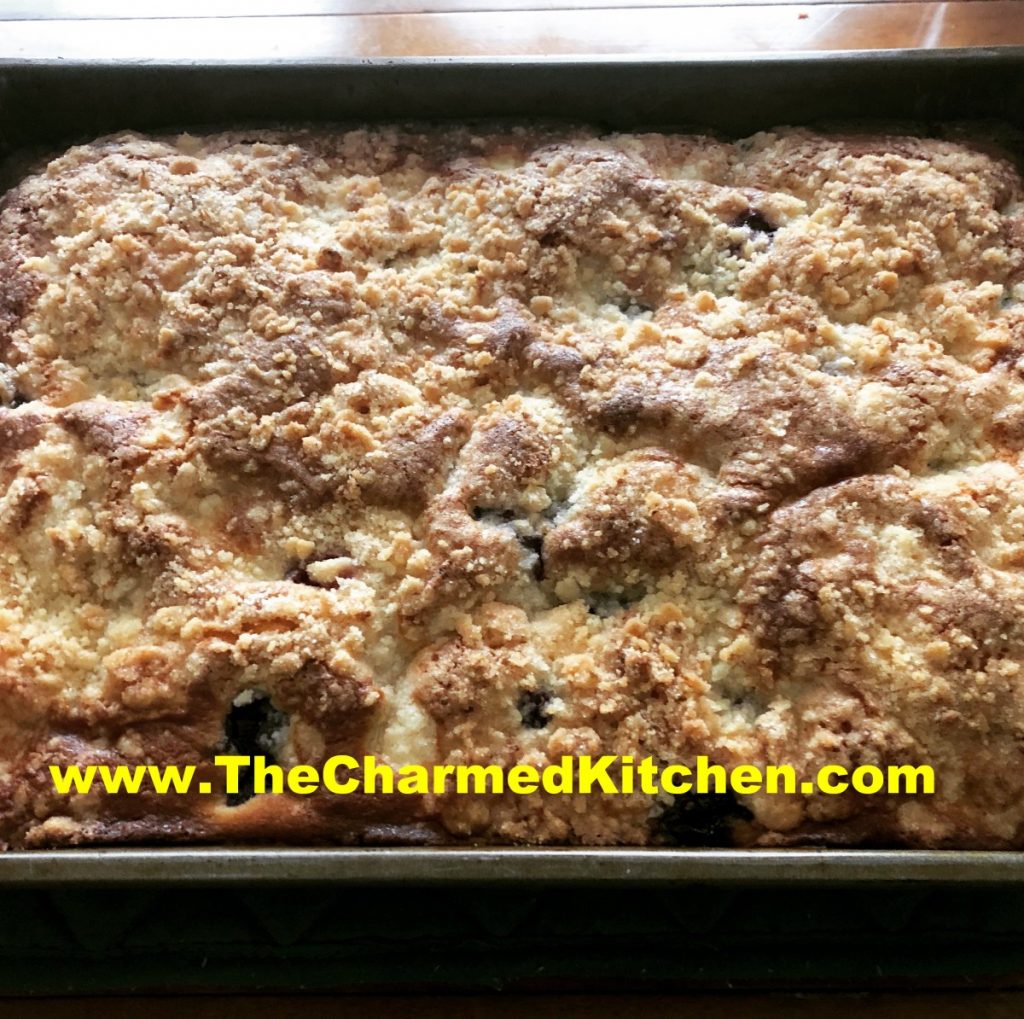
If you need a really special dessert for your next party or cookout, consider making this cheesy cherry-blueberry coffee cake. It is one of my favorite coffee cake recipes ever. The cake is not too sweet, and the combination of cream cheese, with the fruit reminds me of a cherry-blueberry blintz.
The streusal topping adds a nice little crunch.
It is fine served all on its own. You can also serve it with ice cream or whipped cream. You can also top with more blueberries and cherries.
While I think of this cake as a wonderful dessert, it can be served as a breakfast or brunch dish.
As if this weren’t enough- this cake freezes great. Who are we kidding? There won’t be any leftovers – but you could freeze them, if you had some.
So here is the recipe. Enjoy!!
Cheesy Cherry-Blueberry Coffee Cake
1 1/4 c. sugar
1/2 c. butter
2 eggs
2 1/4 c. flour
1 T. baking powder
1 t. salt
1 c. milk
1 c. fresh or frozen blueberries
1 c. pitted and coarsely chopped cherries
8 oz. cream cheese, cubed
1 t. grated lemon peel
Topping:
1/4 c. sugar
1/4 c. flour
1 t. grated lemon peel
2 T. butter
Preheat oven to 375. Grease and flour a 13×9 inch baking dish. Cream together sugar and butter until fluffy. Beat in eggs. Combine 2 cups of the flour with baking powder and salt and beat into batter alternately with the milk. Toss fruit with the remaining flour and fold into the batter along with the cheese and lemon rind. Pour batter into prepared pan. Combine sugar, flour and lemon peel for topping and cut in butter to resemble coarse crumbs. Sprinkle over batter and bake for about 45 minutes. Use toothpick to test for doneness. Serves 12.
Chocolate Zucchini Cupcakes
We’ve made these in cooking camp before. The kids were a little curious about adding zucchini to a dessert, but I think they will be pleasantly surprised. Last week we made zucchini muffins and they loved them.
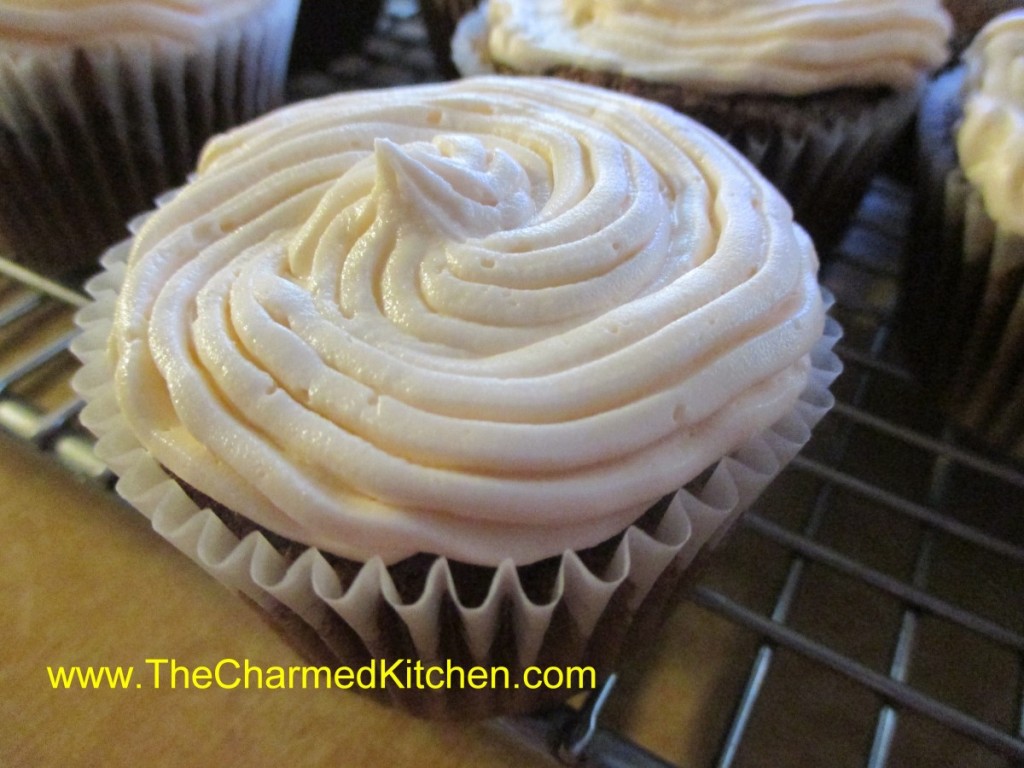
I like the recipe because the zucchini makes the cakes nice and moist. They aren’t that sweet, either. I use a simple vanilla frosting but you could just dust them with powdered sugar or perhaps use a cream cheese frosting. I have a friend who likes me to leave them plain. She prefers them un-frosted. Frosted or not these are a simple and tasty recipe that can make a dessert even the zucchini haters should love.
Chocolate Zucchini Cupcakes
½ c. butter
½ c. oil
1 ¼ c. sugar
2 eggs
½ c. buttermilk
1 t. vanilla
2 ½ c. flour
1/3 c. cocoa
2 t. cinnamon
1 t. baking soda
1 t. baking powder
2 c. shredded zucchini
Heat oven to 350 degrees. Line 30 muffin pans with paper liners and set aside. In mixing bowl combine butter, oil, sugar and eggs and beat until light and fluffy. Beat in milk and vanilla. Combine dry ingredients and add to egg mixture- beating until smooth. Stir in zucchini. Scoop batter into cupcake paper lined pans, filling about 2/3 full. You will get about 30, I sometimes get more. Bake 15-20 minutes or until toothpick inserted comes out clean. Cool and frost. Makes 30-36.
You can fro st them with the Classic Vanilla Frosting recipe below, but doubled the recipe. Or the boiled milk (Ermine) frosting recipe below, also doubled.
Classic Vanilla Buttercream
3/4 cup butter
6 cups confectioners’ sugar
1/3 cup milk
1 1/2 teaspoons vanilla extract
1/4 teaspoon salt
2 tablespoons milk
Beat butter in a large bowl until fluffy. Gradually add 3 cups of the sifted confectioners’ sugar, beating well. Slowly beat in the vanilla, salt, and 1/3 cup of the milk. Gradually beat in the 3 remaining cups of confectioner’s sugar. Beat in additional milk (1 to 2 tablespoons) if needed, to make frosting of spreading consistency. If desired tint the frosting with 6 to 8 drops of food coloring.
Boiled Milk Frosting (Ermine)
5 T. flour
1 c. milk
1 c. granulated sugar
2 t. vanilla
½ t. salt
1 c. butter, cubed, softened at room temperature about 30 minutes
In small saucepan whisk together the flour, milk and sugar. Cook over medium heat, stirring constantly until mixture thickens and gets bubbly. Cook over low heat another minute. Remove from heat and cool completely before finishing. I like to put the flour mixture in a bowl and putting in the fridge until cooled down, but not cold. Once flour mixture is cooled to room temperature beat in the vanilla, salt and butter with electric mixer until frosting is creamy and smooth.
Note: If you leave the base in the fridge too long and it gets cold, let it sit at room temperature 30 minutes before beating in the butter. If you are tinting the frosting, you can add color after the butter is fully incorporated.
Ricotta Fritters
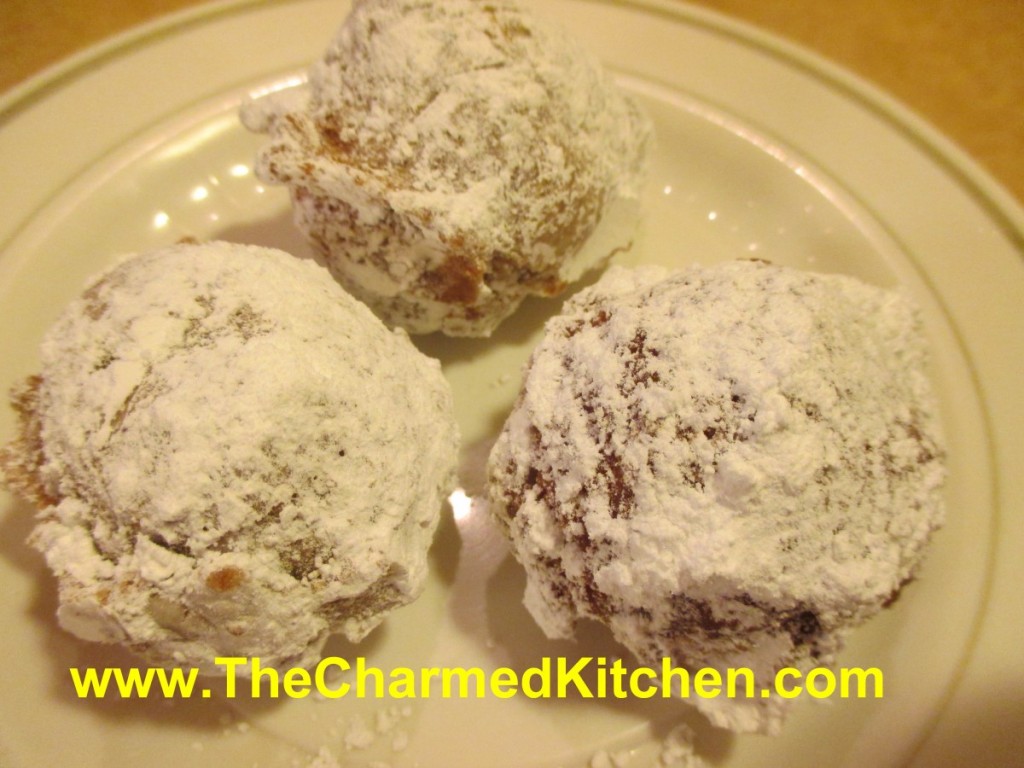
Ricotta cheese is the ingredient that makes these fritters so special. They are delicate and tender on the inside, with a light crunch on the outside. If you are looking for a fast and easy addition to a dessert tray or brunch menu you can’t do much better than home made fritters. You just heat up oil, mix up the batter ingredients, and start frying. In less than 30 minutes you can have a plate of warm fritters. You can also make the batter up a day or two ahead of time- and chill until ready to use. When finished, you can eat them plain, roll them in cinnamon sugar or powdered sugar, or drizzle with a powdered sugar glaze.
Ricotta Fritters
3/4 c. flour
2 t. baking powder
1 t. salt
1 T. cinnamon
1 c. ricotta cheese
2 eggs, beaten
3 T. sugar
2 t. vanilla
Powdered sugar for dusting
oil for deep frying
Heat oil to 375 degrees in heavy saucepan. While oil is heating combine dry ingredients with cinnamon and set aside. Beat together cheese, eggs, sugar and vanilla until smooth. Stir in dry ingredients. Working in batches spoon batter by level tablespoonfuls into hot oil, turning occasionally until golden brown, about 3 minutes in all. Transfer with slotted spoon to paper towels to drain. Dust with cinnamon sugar or powdered sugar and serve. Makes about 3 dozen.

Spinach Artichoke Dip
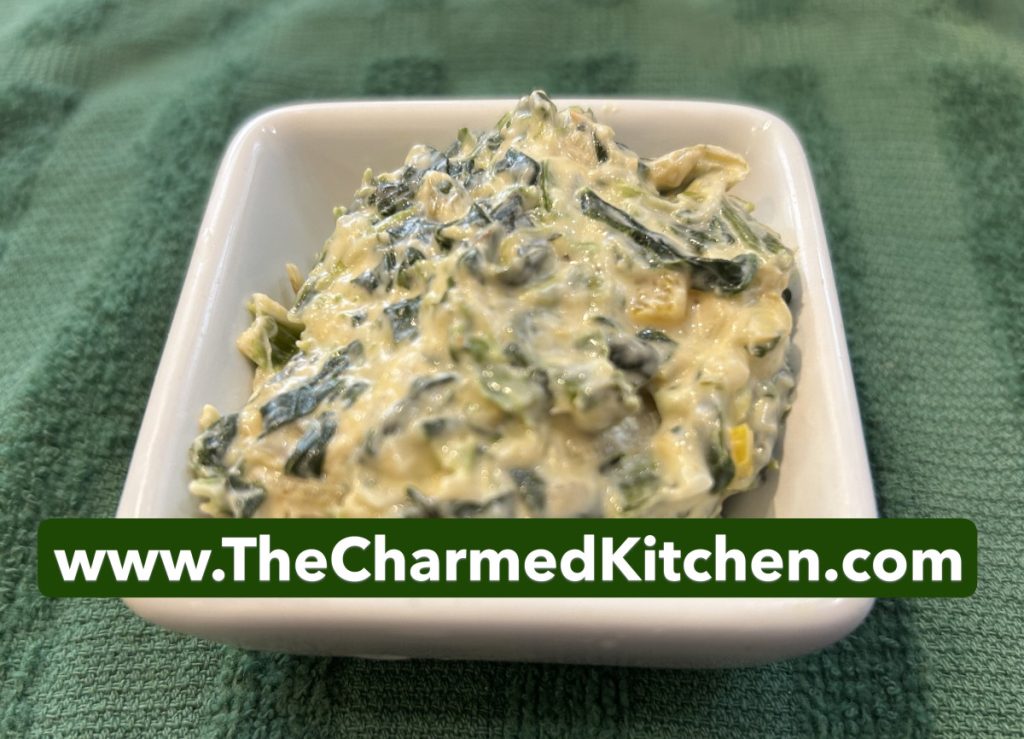
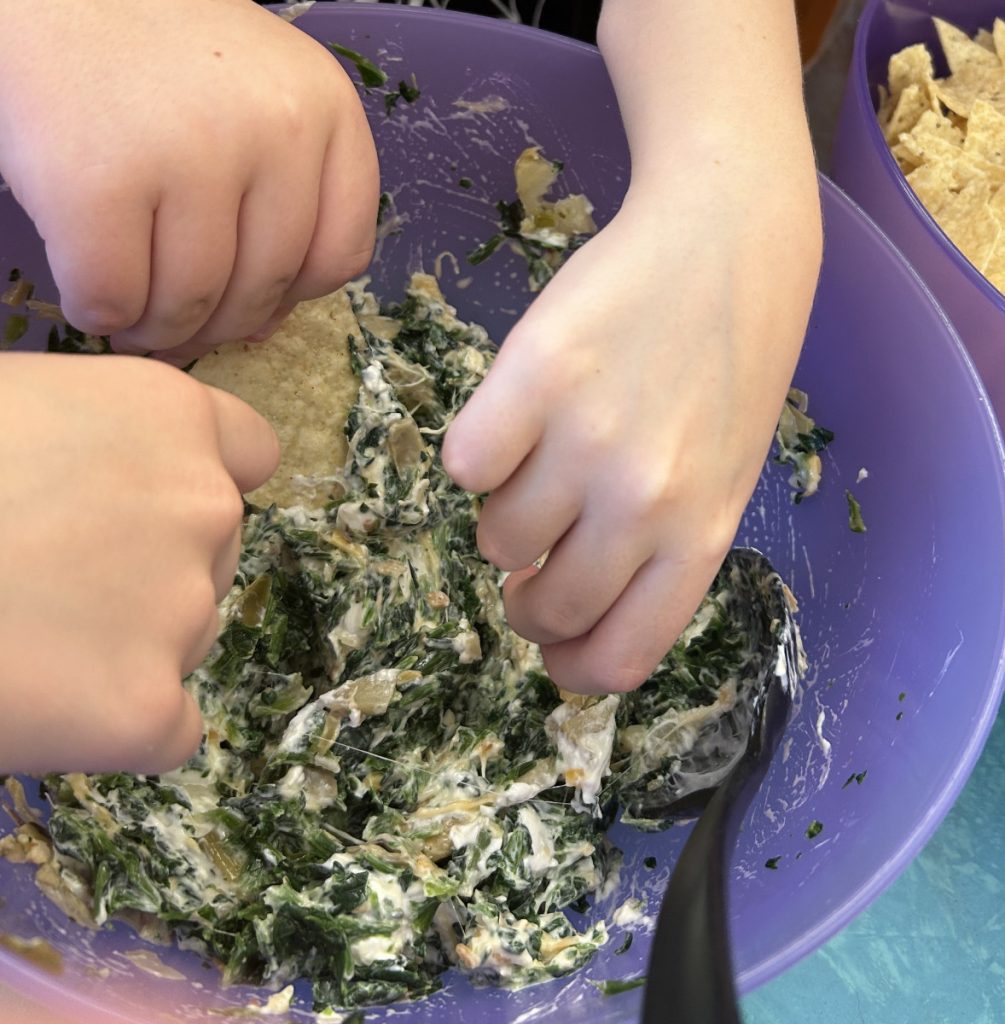
This dip is a classic and always a favorite when I serve it. We made it in cooking camp last week and I admit, the kids were not sure they would like it. But they went ahead and made the recipe anyway. It turned out to be a big hit with the kids, They loved the dip. I think you and your friends and family will like it, too.
This recipe is served warm. You can bake it in a conventional over or heat it up in the microwave. Whatever works for you, is fine. You can serve it with crackers, chips, bread or veggies. So here is the recipe, Enjoy!!
Spinach and Artichoke Dip (hot)
1 box frozen spinach, thawed and water squeezed out
1 (12-14 oz.) can artichoke hearts, drained and coarsely chopped
8 oz. cream cheese, cubed
4 oz. shredded cheddar cheese
½ c. diced onion
¼ c. Italian dressing
Dash of hot sauce
Prep method 1: Combine all ingredients in microwave safe dish and heat on high for 4-5 minutes. Stir and return to microwave, heating 2-4 minutes more.
Prep method 2: Place all ingredients in an oven safe bowl. Place in a preheated 350 degree oven for 15 minutes. Remove from oven and stir well. Return to oven and bake until mixture is heated through and bubbly, about 10 more minutes.
Serve with breads, chips, crackers or veggies.
Lemon Italian Ice
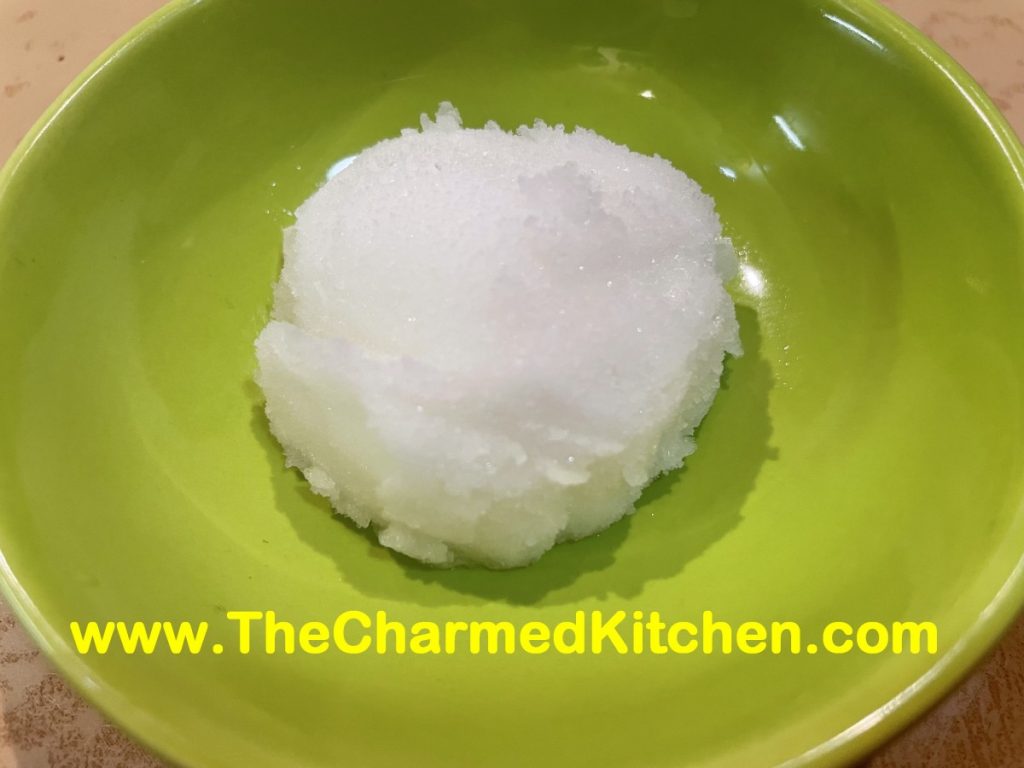
I hadn’t made Italian ice in a long time. As a kid, I remember getting little cups of this treat in the summer and I loved it. I decided it was time to make some again.
The recipe couldn’t be simpler. Just water, sugar and juice. You can also add zest. You don’t even need any special equipment. Lemon is more traditional, but lime works great, too. You can add more juice or less or more sugar to suit your own taste. I like my lemon ice to have a nice strong lemon flavor. Taste it before you freeze it to make it to suit your taste.
Italian ice is a great, light dessert or it can be served as a palate cleanser. Make more than you think- it goes fast. A neighbor stopped over last night and we added scoops to our vodka cocktails. Very tasty!!
Enjoy!!
Lemon Italian Ice
2½ c. water
1½ c. sugar
1¼ c. lemon juice*
Zest of 2 lemons, optional
Combine water and sugar in bowl and stir until sugar dissolves. Add lemon juice and zest, if adding, and stir until well combined. Freeze.
You have options here. You can place the mixture in a shallow tray- preferably one with a tight lid- and place in the freezer. Or you can put the mixture in any shape container with a tight lid and freeze. It kind of depends on how you plan to serve your ice, once it is frozen. Some recipes call for stirring the mixture every 30 minutes as it freezes. Then to serve it, you just scrape over the surface with a heavy spoon for a grainy ice- a granita. This is one option and a tasty one. Works best in the flatter, longer container.
Another option is to just freeze it. Once frozen, allow the lemon ice to soften a few minutes, then break into chunks and place in a food processor. Run the processor until the mixture is smooth- then serve or put back in the freezer until you want to serve it. You can even repeat the food processing part another time for a smoother end product. This is what I did with this batch. I wanted a sorbet – like texture.
If you didn’t have enough choices already, you can also put the lemon juice mixture in an ice cream machine to freeze. This method will also give you a sorbet like final product.
No one way is best- it is just what you like. Makes about a quart.
* you can use lime juice and zest instead, for lime ice- or even use them together.
Cherry Lemon Ice
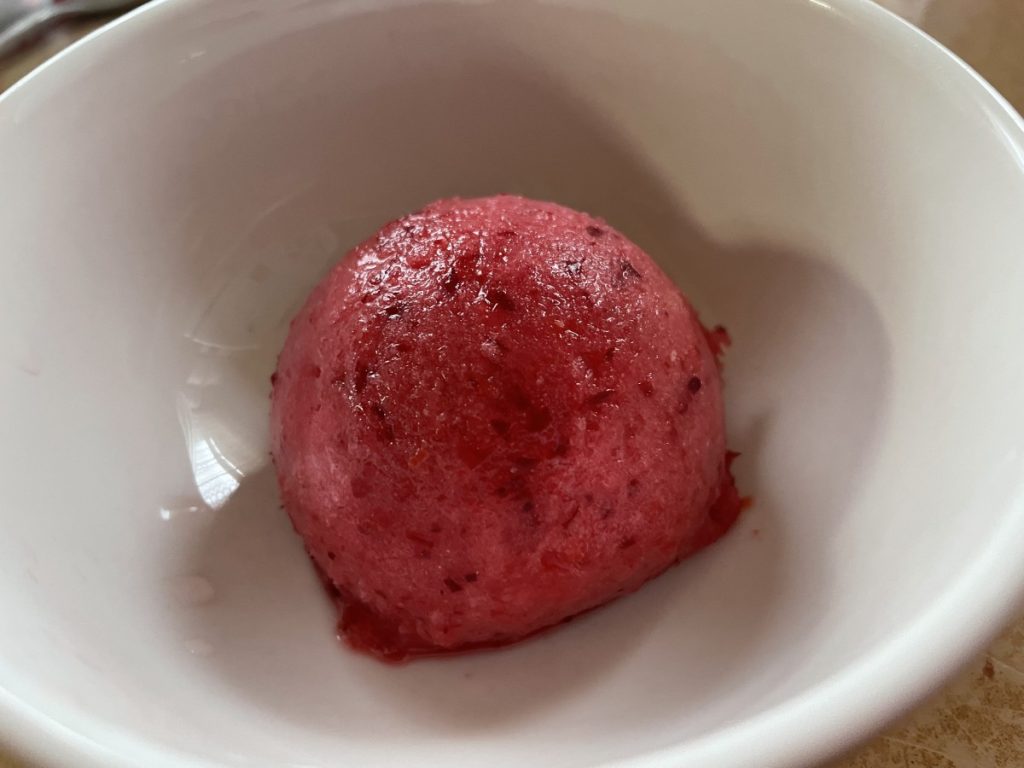
After making lemon Italian ice recently, I had thought about variations. What else could be added to the base recipe? I decided to try cherries because I love the way cherry and lemon taste together. I was not disappointed. The cherries took my lemon ice to a whole new level. And the color!!! This may be one of my favorite frozen desserts ever.
You can use sweet or sour cherries for this recipe. I reduced the sugar from my original Lemon Ice recipe. Taste it before freezing and adjust sweetness to your preferences. Keep in mind, it will taste less sweet after freezing.
I am definitely making this recipe again. Besides just enjoying it as a dessert, you can add scoops to cocktails or non alcoholic drinks.
Cherry Lemon Italian Ice
2½ c. water
1 c. sugar
1¼ c. lemon juice*
Zest of 2 lemons, optional
2 cups pitted cherries
Combine water and sugar in bowl and stir until sugar dissolves. Add lemon juice and zest, if adding, and stir until well combined. Add the cherries. Place in a food processor or blender and process until cherries are liquefied. Since I knew I was going to be processing the ice in a food processor after freezing, I didn’t bother to blend the mixture up first. I just made the lemon ice base, tossed in the cherries and through it in the freezer. It really is about how smooth you want it to be.I knew I didn’t mind a few small flecks of cherry. Freeze.
You have options here. You can place the mixture in a shallow tray- preferably one with a tight lid- and place in the freezer. Or you can put the mixture in any shape container with a tight lid and freeze. It kind of depends on how you plan to serve your ice, once it is frozen. Some recipes call for stirring the mixture every 30 minutes as it freezes. Then to serve it, you just scrape over the surface with a heavy spoon for a grainy ice- a granita. This is one option and a tasty one. Works best in the flatter, longer container.
Another option is to just freeze it. Once frozen, allow the cherry lemon ice to soften a few minutes, then break into chunks and place in a food processor. Run the processor until the mixture is smooth- then serve or put back in the freezer until you want to serve it. You can even repeat the food processing part another time for a smoother end product. This is what I did with this batch. I wanted a sorbet – like texture.
If you didn’t have enough choices already, you can also put the mixture in an ice cream machine to freeze. This method will also give you a sorbet like final product.
No one way is best- it is just what you like. Makes about a quart and a half.
* you can use lime juice and zest instead, for lime ice- or even use them together.
Fresh Strawberry Fritters

I made these fritters sort of by accident. A happy accident, as it turns out. I was planning on making banana fritters. Turns out, the person I was thinking of making them for, wasn’t crazy about bananas.
The only other fruit I had was strawberries, so I used them instead. I had never made strawberry fritters, but I was pretty sure they would work out. They came out great. My friend loved them.
They are very good. Slightly crisp on the outside, tender in the middle with juicy bits of strawberry. They aren’t very sweet on their own, but once rolled in powdered sugar, or glazed, they are plenty sweet for dessert. They are great served all on their own, or paired with ice cream or whipped cream.
We will be making these in cooking camp this week. Pretty sure the kids will love them. Thanks, Amy, for the inspiration.
Strawberry Fritters
2 c. flour
2 T. sugar
2 T. baking powder
1 T. cinnamon
1/2 t. salt
1 c. milk
2 eggs, beaten
2 T. melted butter
1 c. diced strawberries
oil for frying
Combine dry ingredients and set aside. Mix together milk with the eggs and butter. Stir in dry ingredients until just moistened and add the berries. Heat oil to 375. If using gluten-free flour heat oil to 350. Drop dough by tablespoonfuls into the hot oil and fry until golden brown. Don’t do more than 4-5 at a time. It will take about 4 minutes in total, but you need to turn them to brown evenly so 2 minutes per side. Drain on paper towels. While warm roll in powdered sugar, cinnamon sugar or drizzle with a powdered sugar glaze. You can also dip them in melted chocolate. Makes about 32.
Peach Ice Cream- No Egg Recipe
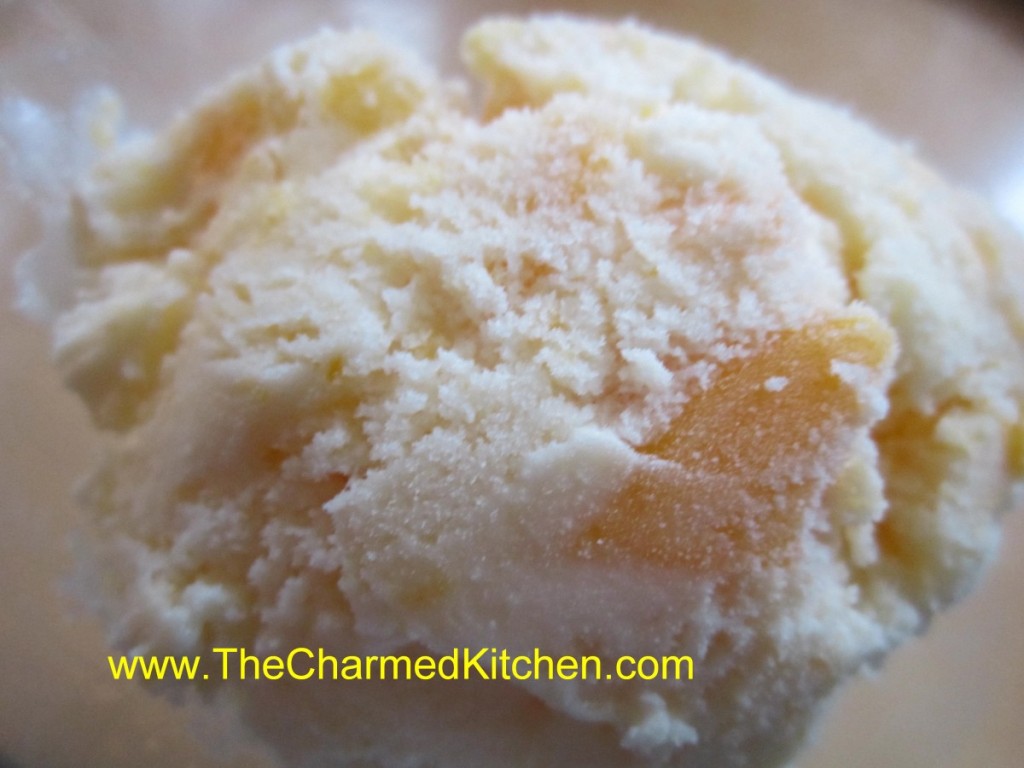
Yesterday I posted my peach ice cream recipe, using a custard ( egg ) base. Today, I thought I would post another recipe for peach ice cream, since I mentioned it in the post. In this recipe, only the peaches are cooked, to soften them up before freezing. The rest of the base is not. This recipe contains no eggs. The texture is lovely, but different from an egg-based ice cream. The color is different, too. I just thought it would be nice to give you a couple of options.
Peaches are one of those fruits that make me think summer. We had a couple of peach trees in the backyard when I was growing up. I remember one year, my dad had to prop up the branches so they wouldn’t break under the weight of all those peaches. Homemade ice cream is all about summer, too. Fruit-studded ice cream seems like the perfect dessert for a warm summer day.
When using peaches in ice cream, you don’t want to just cut up the fruit and drop it in. If you do that, the peaches will form ice crystals and become quite hard, sort of like peachy ice cubes. Nobody want that in their ice cream. Better to cook the peaches first, like I did for the peaches in this recipe. That way, when you put them in the ice cream, they get frozen, but in a softer way. True of other fruits you might add to any ice cream recipe.
Homemade Peach Ice Cream
3-4 ripe peaches
2 c. half and half
1 c. sugar, or to taste
1 T. vanilla
1 T. orange zest
Peel and dice peaches. Cook in a small amount of water and a little sugar until tender. If you don’t precook the peaches they will be icy and hard in the ice cream. Cool and drain. In bowl combine half and half and sugar and stir until sugar is dissolved. Add remaining ingredients and stir well. Place in ice cream machine and process according to manufacturer’s directions. If you don’t have an ice cream maker place mixture in a shallow pan and freeze solid. Remove from freezer and allow to soften a little at room temperature then break up into chunks and place in a mixing bowl. Beat with a mixer until smooth and return to freezer. You can also process in a food processor. Makes 1 quart.
Peach Ice Cream – Custard Style
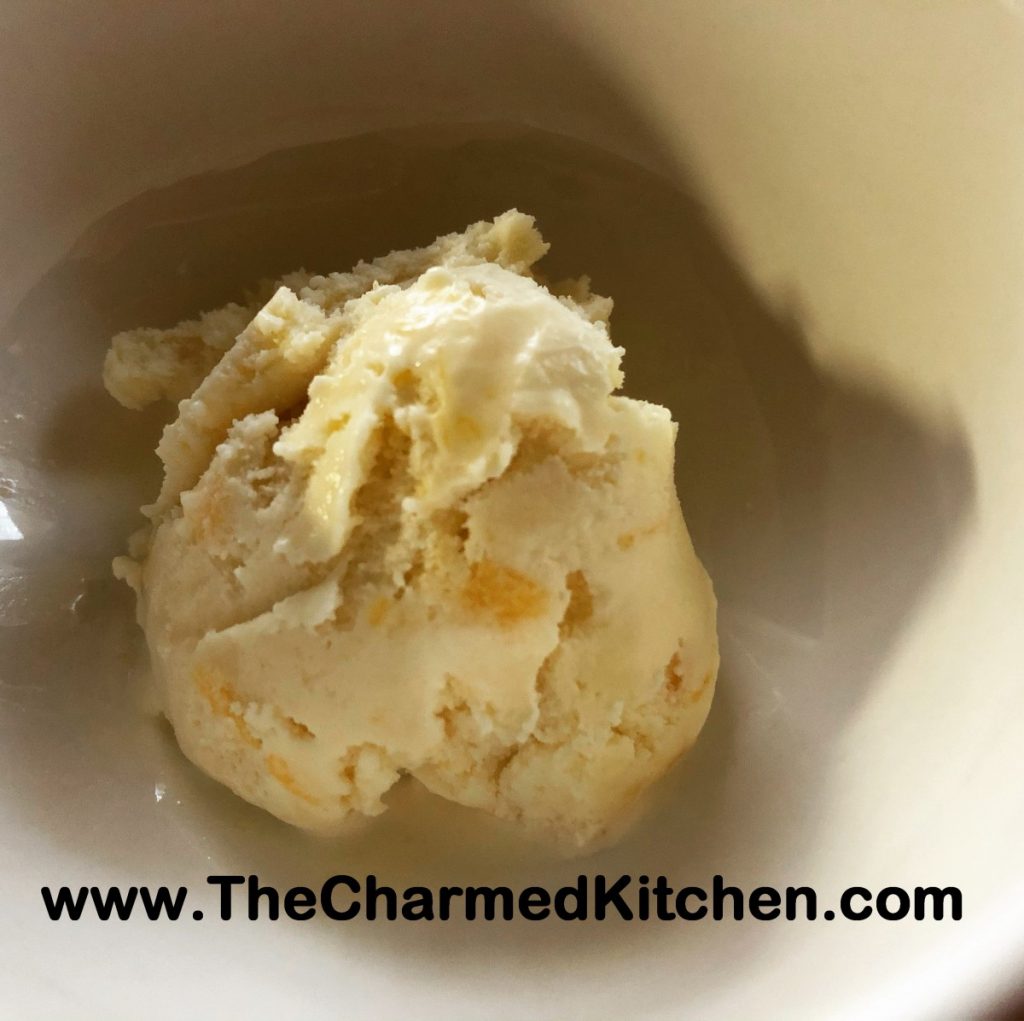
If there is a favorite summer treat for me- it is ice cream. I love to go to the local ice cream shop for a sundae or cone, and I love to make my own ice cream. When I found myself with a few extra peaches, I knew I wanted to use some of them to make ice cream. Peach ice cream is one of my absolute favorites.
I have made a peach ice cream before. This one is different because I made a custard base for my ice cream this time. A custard base just means that egg yolks, or eggs, are incorporated into the base of the ice cream. The base is heated up, so the eggs get cooked. In the other recipe, there are no eggs.
The custard base gives you a creamier end product. I wouldn’t say you have to make a custard-based ice cream for it to be good. They are just different. The custard base is a bit more work, but still not a difficult recipe at all.
This peach ice cream came out so good. Really creamy. I had perfectly ripe peaches. They were a little small, so I used 5 of them in this batch of ice cream. I used a vegetable peeler to remove the skins. I think that the skins get tough once cooked. Leave them on, if you prefer. I cut them off the pits, being sure to save all the juices, too. Then I just diced the peaches up pretty small.
If I just dumped the raw peaches into the ice cream base and froze it, they would end up as hard peachy cubes. By cooking the peaches first, they stay softer in the ice cream. This is true of any fruit ice cream. Using fruit that had been frozen, then thawed, will also work. I added a little vanilla, too. Not enough to overpower the peaches, but to add another layer of flavor.
So here is the recipe. Enjoy!!
Peach Ice Cream- Custard Style
4-5 peaches- mine were small- I used 5
1½ c. half and half
1 c. heavy whipping cream
3 egg yolks
1 c. sugar or to taste
1 t. vanilla
Peel the peaches. Cut the peaches to remove the pits. Discard pits. Dice up the peaches over a bowl to catch all the juices. In medium saucepan, place the peaches with the peach juice, half and half and cream. Over medium low heat, bring up to a simmer. Stir every few minutes, to prevent scorching. Let the mixture cook a few minutes, to soften the peaches. In a small bowl, beat together the egg yolks, sugar and vanilla. Add ½ cup of the hot cream mixture to the eggs, whisking in well. Add another ½ cup of the cream mixture, whisking again. Add one last ½ cup of the hot cream and again, whisk until smooth. Pour the egg mixture into the saucepan with the cream and while whisking, simmer until mixture starts to thicken and will coat the back of a spoon. This will take about 5 minutes. Don’t use too high a heat, or you will scramble your eggs. Mixture should reach 160 degrees to be sure eggs are cooked. Remove from heat. Pour mixture into a bowl. Allow ice cream base to cool down, then chill in fridge. Chilled mixture can be frozen in an ice cream maker once cold- in a few hours- or even the next day. Once mixture has been frozen in ice cream maker, place in a container and freeze until ready to serve. Makes about 5-6 cups of ice cream.
Homemade Blueberry Liqueur

I always stock up on blueberries when they are in season. I end up with a lot of frozen berries to enjoy throughout the year. I was cleaning out the freezer awhile ago, and decided to use some of my frozen berries to make blueberry liqueur.
After steeping for several months, I strained out the blueberries last night. I ended up making two different liqueurs. One is unsweetened- just blueberries, vodka, lemon zest and a clove. It is sometimes called an eau de vie- French for water of life- or blueberry vodka. It is one of my favorites for making all sorts of cocktails.
The other was sweetened a little with a sugar syrup- but you could use honey. That is blueberry liqueur or blueberry cordial. It will be allowed to mature for a couple of weeks.
Both are wonderful.
The color is so pretty and they can be sipped, as is, or used in cocktails. You can use other berries, if you prefer.
I look forward to enjoying these with friends and family. Soon!!
Blueberry Liqueur
4-c. fresh or frozen blueberries
Sliced and scraped peel of one lemon, optional
1 clove, optional
3-c. vodka or 2 c. vodka and 1 c. brandy
1 c. sugar syrup, optional, recipe follows
Lightly crush berries with a fork. Combine with peels and clove and vodka and steep 3 months. Strain and filter and add sugar syrup. Mature 4-6 weeks.
Sugar Syrup
Simple syrup is made from 1 cup of sugar and ½ cup of water. Bring to a boil, then cool. You will have 1 cup of syrup. Some recipes call for plain sugar and others for honey. Watch when you substitute honey for sugar, as it is sweeter and stronger flavored. Better to use orange or clover honey.


