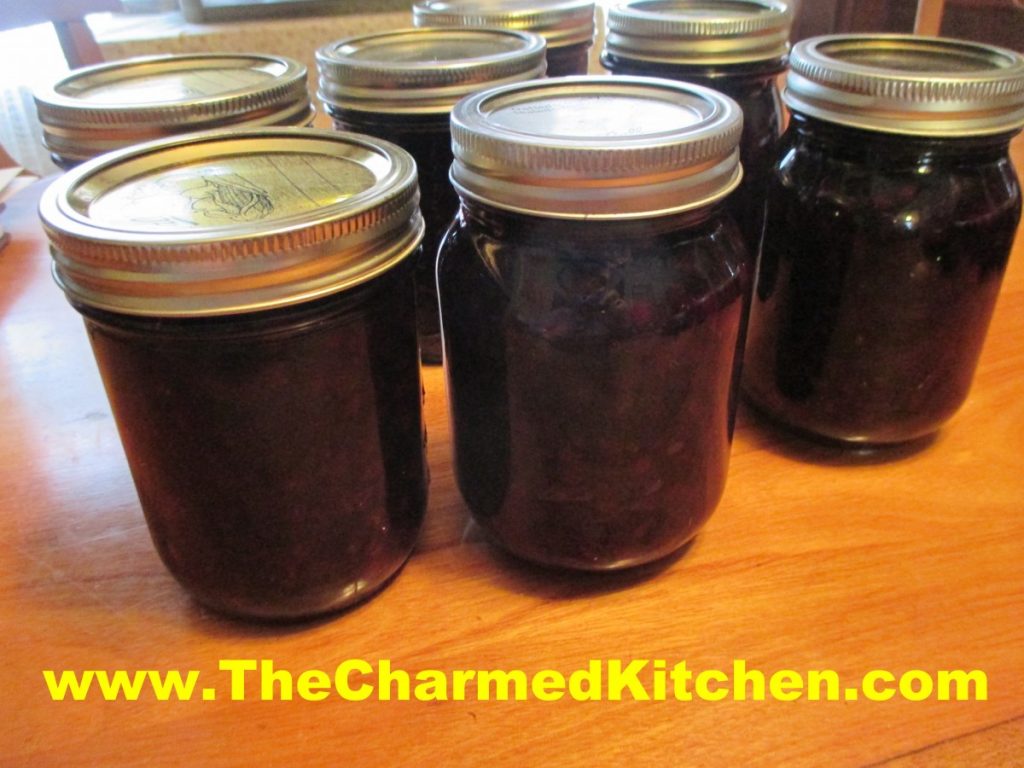
Blueberry Pie Filling

I recently came across a wonderful price on blueberries. Being the thrifty person that I am, I stocked up. I put some in the freezer and placed some in vodka for liqueur. I made cupcakes and syrup, muffins and pancakes. I have been eating plenty of them, too. I decided to use some of them to make pie filling.
There is something very satisfying in making your own pie filling. It is so much better than anything you would find in a can. It is a convenient ingredient to have on hand, too. A good quality pie filling can be turned into any number of desserts in no time- even pie!!
You do need to have Clear Gel to can pie filling. It is modified cornstarch. You can’t use regular cornstarch and you can’t use other thickeners. You could just can the berries, then thicken them later, but the Clear Gel makes it so much more convenient to use. I just order mine online, but it is available in some stores- primarily in Amish communities.
I opted to can my filling in pints. I find that size more convenient for me. Let the jars stay in the canner 5 or 10 minutes after they finish processing. It will reduce siphoning. Some foods, hot in the jars- will leak out of removed from the heat too quickly. Pie fillings are known for issues with siphoning.
Blueberry Pie Filling
6 qts. Blueberries
6 c. sugar
2 1/4 c. Clear Gel (modified cornstarch, not regular cornstarch)
7 c. water
1/2 c. lemon juice
Wash and drain berries. In large sauce pot combine sugar and Clear Gel. Stir in water and cook on high heat until mixtures bubbles and thickens. It is going to be really thick- don’t panic, just keep stirring so it won’t stick. Add lemon juice and boil 1 minute, stirring constantly. Fold in berries and ladle in hot, clean canning jars immediately. Leave 1/2 -inch headspace and remove any air bubbles with a knife. Wipe rims clean and put on lids. Place jars in boiling water bath and process for 30 minutes. Start timing when water returns to the boil. Turn off heat and let jars sit in the water bath 5-10 minutes before removing to counter to cool. Cool jars on counter on rack or towel, free from drafts. Check seals next day. Remove rings and wipe down jars with a soft, damp cloth before storing. Makes 14 pints or 7 quarts.
Source NCHFP
Cherry Scones
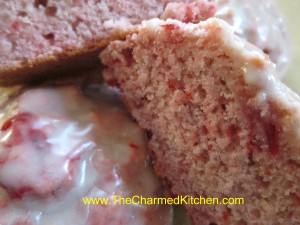
I found myself with an open can of cherry pie filling. Those who know me know that I hate to waste anything. It sat there in the fridge for several days, taunting me. I wanted to do something different but I wasn’t sure what. In the end I decided to make cherry scones. I started with a basic scone recipe and adjusted some ingredients to allow for the moisture of the pie filling. I experiment a lot with this sort of thing and am usually pretty good at it. Most things come out just fine. Sometimes, however, things come out better than fine. This is one of those recipes. I almost want to call them cherry biscuits. Soft, not too sweet and full of flavor from both the cherries and a vanilla glaze. I will surely make these again. Here is what I did.
Cherry Scones
3 c. flour
1/4 c. sugar
1 T. baking powder
1 t. salt
1/2 c. cold butter
1 1/3 c. cherry pie filling
2 eggs
2 t. vanilla
Glaze:
2 c. powdered sugar
2 T. vanilla
water
Preheat oven to 400 degrees. Line 2 baking sheets with parchment paper or grease lightly. I have silicone baking mats so that is what I use. Set aside. In mixing bowl combine dry ingredients and cut in butter to resemble coarse crumbs. Combine pie filling with eggs and vanilla and stir to blend well. Add to dry ingredients and stir until mixed well. Mixture will be a stiff batter. Scoop 1/4 cup portions of batter onto the baking sheets- leaving a couple of inches between them. You will need both baking sheets. I used a 2 oz. ice cream scoop and got 22 scones. Bake for 15-17 minutes or until golden brown on the bottom. I switched my baking sheets about halfway through the baking. Remove to a cooling rack and make the glaze.
Combine the powdered sugar and vanilla in a small bowl and add enough water so the glaze is about the thickness of maple syrup, probably a couple of tablespoons. Dip the tops of each of the warm scones in the glaze and return to the cooling rack.


