Monthly Archives: May 2013

Pickled Asparagus

Pickled Asparagus

Pickled Asparagus

I recently got about 20 pounds of local fresh asparagus and wanted to preserve a lot of it. There was a mixture of both green and purple. I know that purple asparagus loses its purple color when cooked but I hoped I’d save some of the color with pickling. I was not disappointed. While not as bright purple as when fresh the asparagus retained a lovely color after processing.

Pickled Asparagus

10 pounds fresh asparagus

6 large garlic cloves, peeled

4 ½ c. cider vinegar- 5% acidity

4 ½ c. water

½ c. canning salt- do not use iodized salt

1 T. dill seed

1 t. red pepper flakes or more to taste


Wash jars in hot soapy water and rinse, set aside. Prep lids and bands according to manufacturer’s instructions. Bring water in a canner to a boil. Meanwhile, wash and trim asparagus to fit into pint jars allowing for ½ -inch headspace at the top. Reserve bottoms for another use. Place a garlic clove in each of 6 pint jars. Fit asparagus into the jars with tips pointing up. Place remaining ingredients in a pot and bring to a boil. Pour vinegar mixture over the asparagus in the jars and fill to ¼ – inch from the top. Wipe rim and seal jars. Place in water bath canner filled with boiling water and process for 10 minutes. Remove from canner and place in a draft free place to cool. Check seals once cooled. Makes 6 pints.
Posted in Cooking |

Blueberry Scones

Blueberry Scones

Blueberry Scones

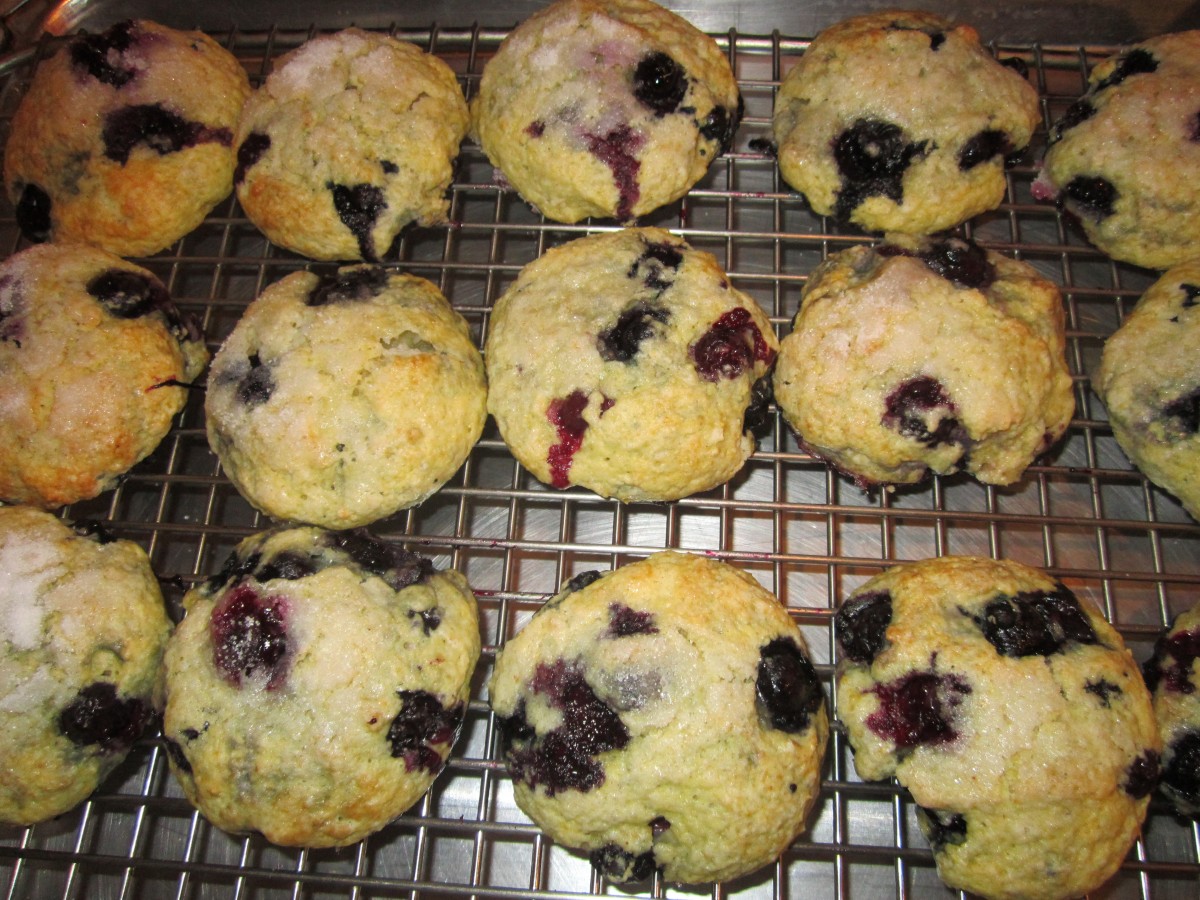
I’ve been in a baking mood lately and decided to bake some scones. I had blueberries in the freezer so I made blueberry scones. They are great just the way they are or you can use them in  shortcakes.

Blueberry Scones 

2 c. flour

3 T. sugar

1 T. baking powder

¾ t. salt

6 T. chilled butter

1 ½ c. blueberries, fresh or frozen- do not thaw berries

1 t. lemon or orange  zest

2 large eggs

1/3 c. heavy cream


Mix dry ingredients together in bowl and cut in butter to resemble coarse crumbs. Toss in blueberries and zest. Beat together eggs and cream and stir into flour mixture. Mix very gently to avoid bruising berries. Use a small ice cream scoop to scoop out batter and place on baking sheet. Place scoops about an inch apart. Press down slightly. Brush with a little cream and sprinkle with a little extra sugar. Bake in a preheated 400-degree oven for 20-22 minutes. Makes 15-18.   

Posted in Cooking |

Pineapple Glazed Chicken Wings

Pineapple Glazed Chicken Wings

Pineapple Glazed Chicken Wings

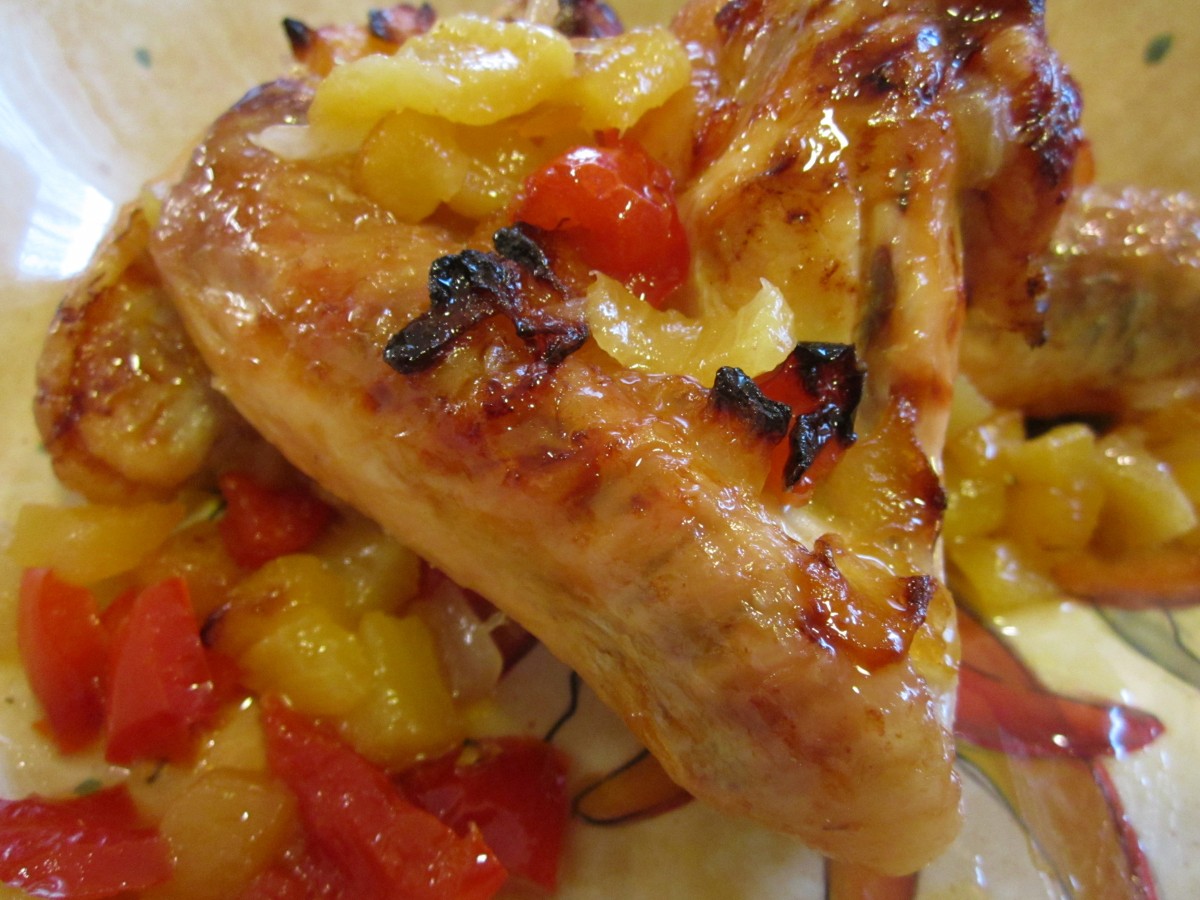
Had a small package of chicken wings and decided to use up some fresh pineapple I also had. Sometimes the best dishes are the ones we make with what’s on hand.

Pineapple Glazed Chicken Wings

1 lb. chicken wings

oil

1 onion, chopped

2c. fresh diced pineapple- or use canned

1 diced sweet pepper

1 T. soy sauce, or to taste

3 T. cider vinegar

dash of hot sauce

1 t. minced garlic

1 T. honey

Place chicken wings in baking dish and cook in a preheated 400 degree oven for 40 minutes. Meanwhile,  heat oil in skillet and cook onions until tender. Add pineapple and pepper and cook until vegetables are light golden in color. Add remaining ingredients and cook over low heat until sauce has thickened. Adjust seasonings. Remove wings from oven and drain any fat from the pan. Return wings to pan and cover with the sauce. Return to oven and cook 20 minutes longer. Glaze on wings should be sticky.  Serve over rice or pasta. Serves 2-3.


Posted in Cooking |

Hummus with Greek-Style Olives

Black Olive Hummus

Black Olive Hummus

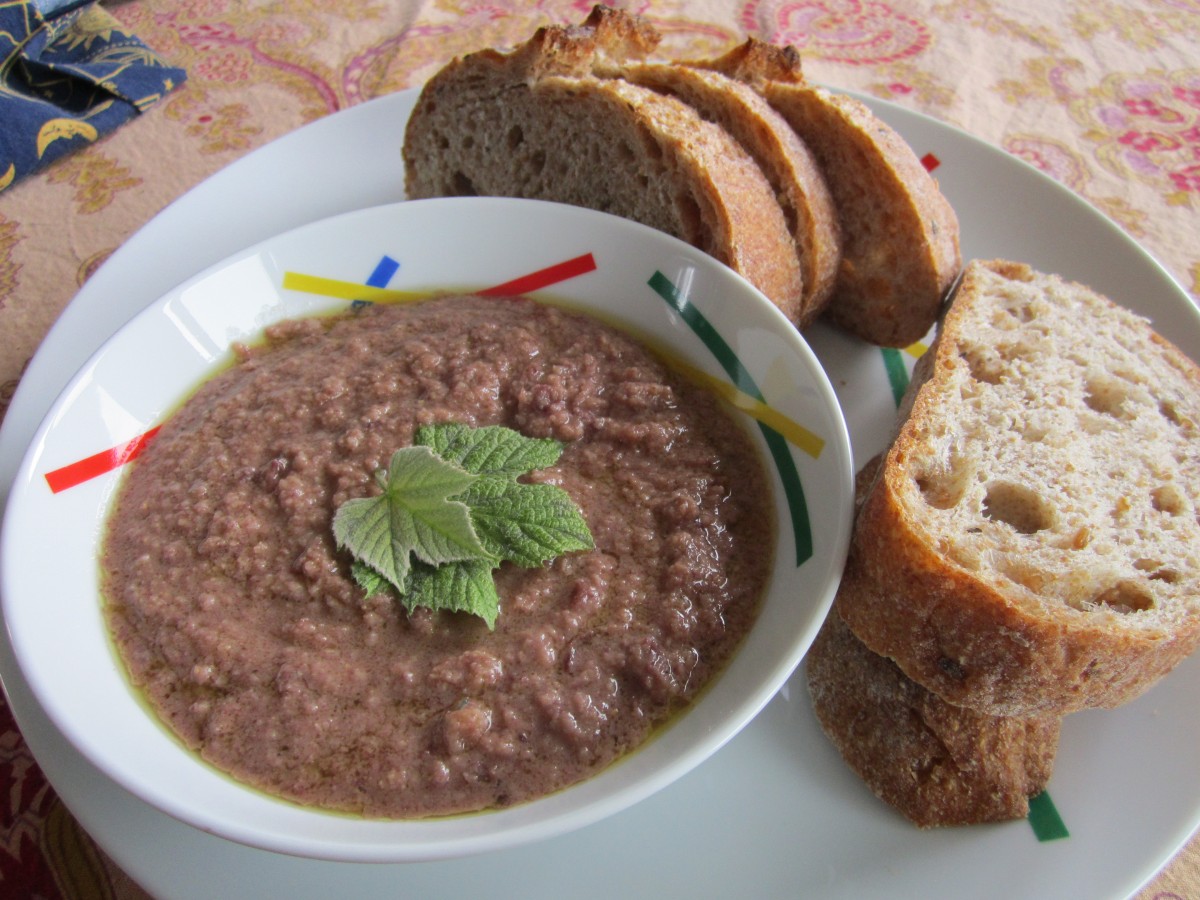
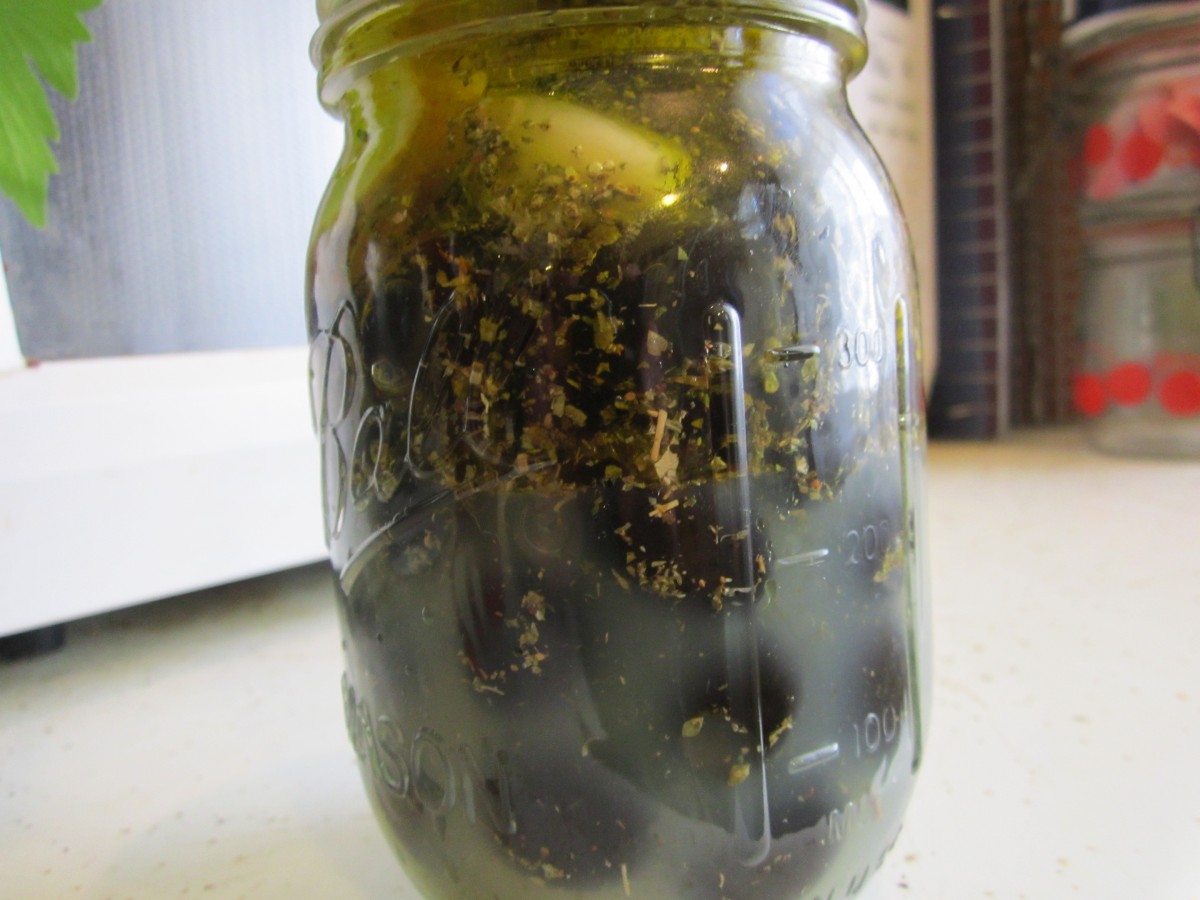
My friend Jared Bendis loves hummus. He told me what he really likes is hummus with black olives. Was asked to make humus for a dinner recently so I decided to make olive hummus. It was a huge hit at dinner. You can use fancy olives or even just black olives out of a can. I used black olives out of a can but doctored them up by steeping them for several days in a mixture of lemon juice, olive oil, garlic and oregano. Recipe follows. Really made a difference.   

Hummus with Olives

1 can garbanzo beans, drained

1 c. black olives, drained

1/4 c. olive oil

2 T. lemon juice

2 T. tahini (sesame seed paste)

2 cloves garlic

salt and hot pepper sauce to taste


Combine all ingredients in a blender or food processor until smooth. Adjust seasonings. Chill. Serve with pita bread, crackers or fresh vegetables. Also nice spread in a pita bread with sliced tomatoes, cucumbers and lettuce. Freezes well.

Greek- Style Olives

Greek- Style Olives

Marinated Greek-Style Olives

1 can pitted black olives, drained and rinsed

1/4 c. lemon juice

2 slices lemon

2 whole garlic cloves

1 t. oregano

1/2 c. olive oil


Combine olives with all the ingredients, except the oil, and place in a covered dish in the fridge for 3 days. Add the oil and return to fridge for up to a couple of weeks, but at least 1 day. Drain before serving and allow to come to room temperature. Makes about 1 1/3 c.


Posted in Cooking |

Easy Triple Berry Trifle

Triple Berry Trifle

Triple Berry Trifle

If you need a dessert and don’t have a lot of time this trifle might be what you are looking for. Not a traditional trifle in any sense of the word it is simple and tasty. I used vanilla wafers but you could substitute pound cake, angel food cake or even torn up cupcakes. Be creative and use what you have on hand.

Triple Berry Trifle

2 c. blueberries

1-2 c. blackberries

1 lb. strawberries

1/2 c. sugar, or to taste

1 c. prepared vanilla pudding

2 c. whipping cream, whipped

1 box vanilla wafers, you won’t need the whole box

Sprinkles or extra berries for the top, optional.

Combined washed berries in bowl with the sugar and toss to coat. Let sit 10 minutes. Meanwhile, whip the cream until stiff peaks form and fold in the pudding. Set aside. In glass bowl place a layer of cookies. I used a pretty good handful- maybe 12 cookies. Spoon some of the berry mixture over the cookies- about 1/3 of the mixture. Top with 1/4 of the pudding mixture. Repeat the process, placing cookies in a single layer and adding more fruit and cream. Save a little more of the cream for the top layer so you’ll have enough to cover the whole thing. Repeat process one last time- you’ll have 3 layers in all. I added patriotic sprinkles on the top- just for fun. You could also add a few berries, if you like. Chill several hours or overnight.

Posted in Cooking |

Sweet Potato Salad

Sweet Potato Salad

Sweet Potato Salad

Don’t limit yourself to plain old potato salad. Sweet potatoes can be a great change of pace and will certainly be a hit with people, like me, who love sweet potatoes.

Sweet Potato Salad

3 large sweet potatoes, peeled and quartered

2 c. corn kernels, fresh off the cob preferred but frozen is O.K.

2 ribs celery, sliced

1 sweet onion, diced

¼ c. diced roasted red pepper*

1 t. Dijon mustard

3 T. red wine vinegar

1 T. lemon juice

1 clove garlic, minced

Salt and pepper to taste

1/3 c. olive or canola oil

½ c. roasted peanuts


In medium saucepan boil potatoes and cook until tender, about 15 –20 minutes. Remove with slotted spoon and place in a large bowl of ice water. Add corn to saucepan and cook until just tender about 2-3 minutes. Drain corn and add to ice water with the potatoes. Once the vegetables have cooled down drain them and cut the potatoes into bite-sized pieces. Place potatoes and corn in a mixing bowl with remaining vegetables. Combine mustard with vinegar, lemon juice and garlic in a blender and mix until smooth. Add the oil in a steady stream  with the machine running until dressing is blended. Adjust seasonings and toss over potato mixture. Chill until ready to serve. Toss in peanuts just before serving. Serves 6.

*Roasted red peppers are available in jars in many grocery stores. You can also roast your own by just placing a pepper on an open flame on a gas stove , turning until all sides are charred. This can also be done under the broiler in an electric stove or even on the grill. Once the pepper is completely charred- yes I mean blackened- remove from the heat and wrap in paper towels to cool or place in a paper bag. Once cooled down remove the pepper from the towel and gently rub to remove the charred skin. Cut open and remove seeds as well. the pepper will be soft and can then be chopped up and used. The flesh becomes quite sweet in the roasting process.

Posted in Cooking |

Green Garlic

Green Garlic

Green Garlic

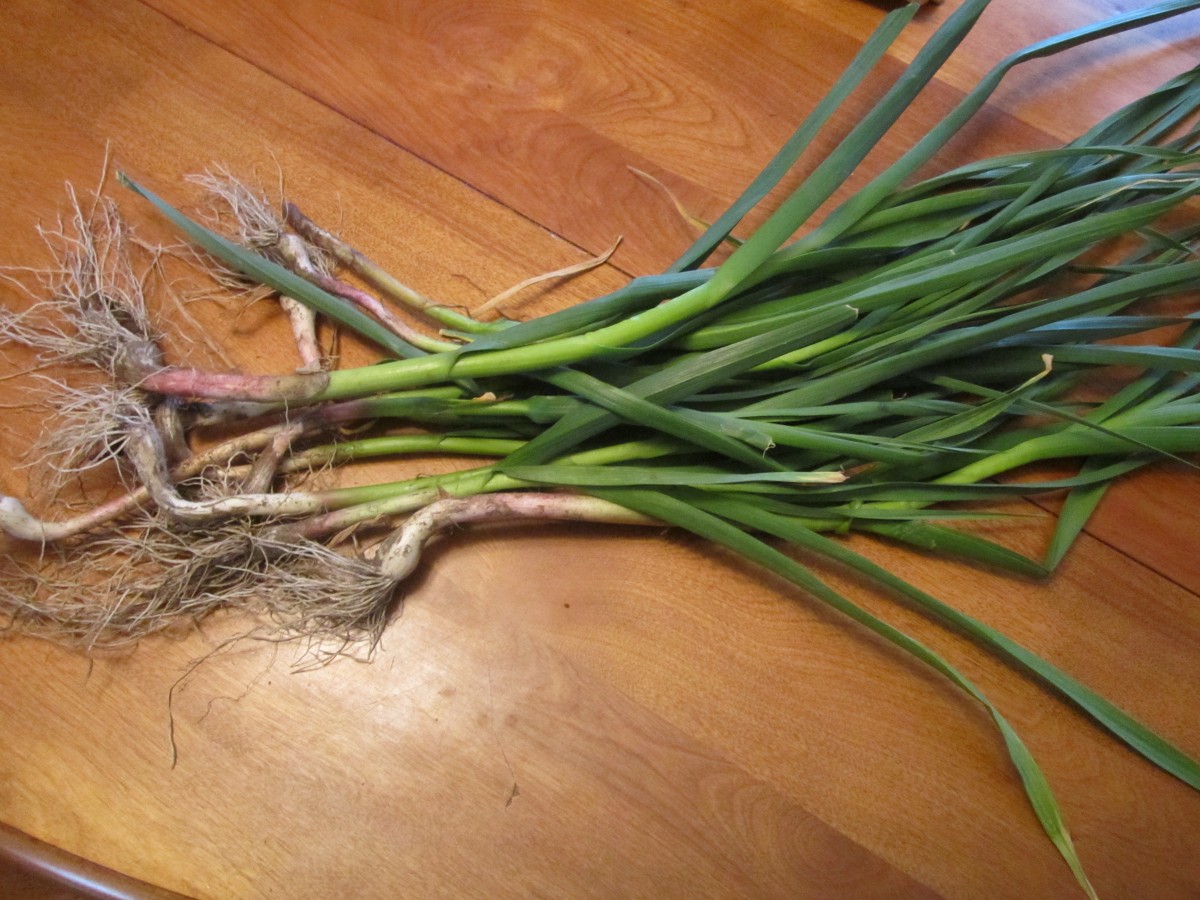
If you haven’t tried green garlic now is a good time to check out your local farm market. Green garlic are young garlic plants, picked before the bulbs form. They are tender, completely edible and packed with garlic flavor. I got mine from Blue Pike Farm.

My friend, Jenine Mahendranath, sent me this recipe via Endeavor Farms.  Thanks, Jenine. I am definitely going to be making this sauce soon.

 Green Garlic Sauce


One bunch green garlic (about 3 stalks)
¼ cup grated Parmesan cheese
½ cup extra virgin olive oil (or to taste)
½ tsp. salt (or to taste)

Cut off root end of garlic and trim off any brown stalks. Peel away outermost stalk if dirty. Cut stalk, including green fronds into 2” pieces, rinse well. Chop garlic in a food processor until finely minced. Add cheese and salt and pulse until evenly mixed. Add olive oil in small increments until the mixture is emulsified, creamy and smooth. Add enough oil until you have the desired consistency. Keeps well in the fridge for at least 3 days – garlic flavor will mellow as it sits. Can be served on its own as a dip, or as a sauce on pizza, or boiled potatoes.


Posted in Cooking |

Fresh Roasted Chicken

Roasted Chicken

Roasted Chicken

Had a wonderful chicken dinner. My dear friend Carl, from Blue Pike Farm had a freshly processed chicken and he offered it to me.  It is a breed called Naked Neck. Now I don’t want to hurt Carl’s feelings but in life these are pretty ugly birds. The bird weighed out at 5 1/2 pounds. It was also well raised- quality feed, free range and very lean. I did not want to to mess it up. I have roasted hundreds of chickens but I do know that mass produced chickens are different.  Because the bird was so lean it needed a little extra fat to keep it juicy during baking. I mixed butter with rosemary, parsley and some hot sauce plus a generous shake of salt. Worked the mixture under the skin.  I started the bird at 400 breast side down. After 30 minutes turned down the heat to 350 so the butter wouldn’t burn. After an hour of total baking I turned the bird breast side up.   This method keeps the breast from cooking too quickly and reduces the need for basting.  30 minutes later it was done. Let it rest a few minutes before carving. Let me say the chicken was delicious. Juicy and while firmer than regular store-bought chicken it was not tough.

In most situations- with a conventional bird- I like a very hot oven to crisp the skin. This method would not have worked, I am convinced with this leaner locally produced bird. Lesson to be learned- all chickens are not created equal. If you are like me and plan on buying more locally sourced and humanely raised poultry be prepared to be flexible in your cooking methods. The results will be worth it.

Posted in Cooking |

Chocolate Orange Scones

Chocolate Orange Scones

Chocolate Orange Scones

These are fun and very easy to make. Enjoy them with breakfast or brunch. They are also a fun base for strawberry shortcakes.

Chocolate-Orange Scones

1 1/2 c. baking mix, like Jiffy or Bisquick or homemade

1 T. grated orange peel

3/4 c. heavy cream

1/2 c. mini chocolate chips or 3 oz. milk chocolate, chopped


Combine baking mix and orange peel in medium bowl. Stir in cream to make a soft dough that forms into a ball in the bowl. On floured surface gently knead in chocolate and press or roll dough to 3/4- inch thickness. Cut into 2 1/4 -inch rounds, re-rolling scraps. You should get 8. Place on an un-greased cookie sheet and bake in a preheated 425-degree oven for 8-10 minutes.  

Double chocolate version: Knead 3 tablespoons of cocoa into dough with the chocolate chips.

Posted in Cooking |

No-Bake Chocolate Eclair Cake

Chocolate Eclair Cake

Chocolate Eclair Cake

This is a fun recipe and great when you don’t have time to bake. No-cook so nice in warm weather, too. There is the super easy version, using frozen whipped topping and a version using real whipped cream with just a little more work.

No-Bake Chocolate Eclair Cake

4 c. prepared vanilla pudding (or your favorite flavor)

1 small container non-dairy whipped topping, thawed- or 1 c. whipping cream, whipped

1 box graham crackers

1 can chocolate frosting or 1-2 c. homemade chocolate frosting


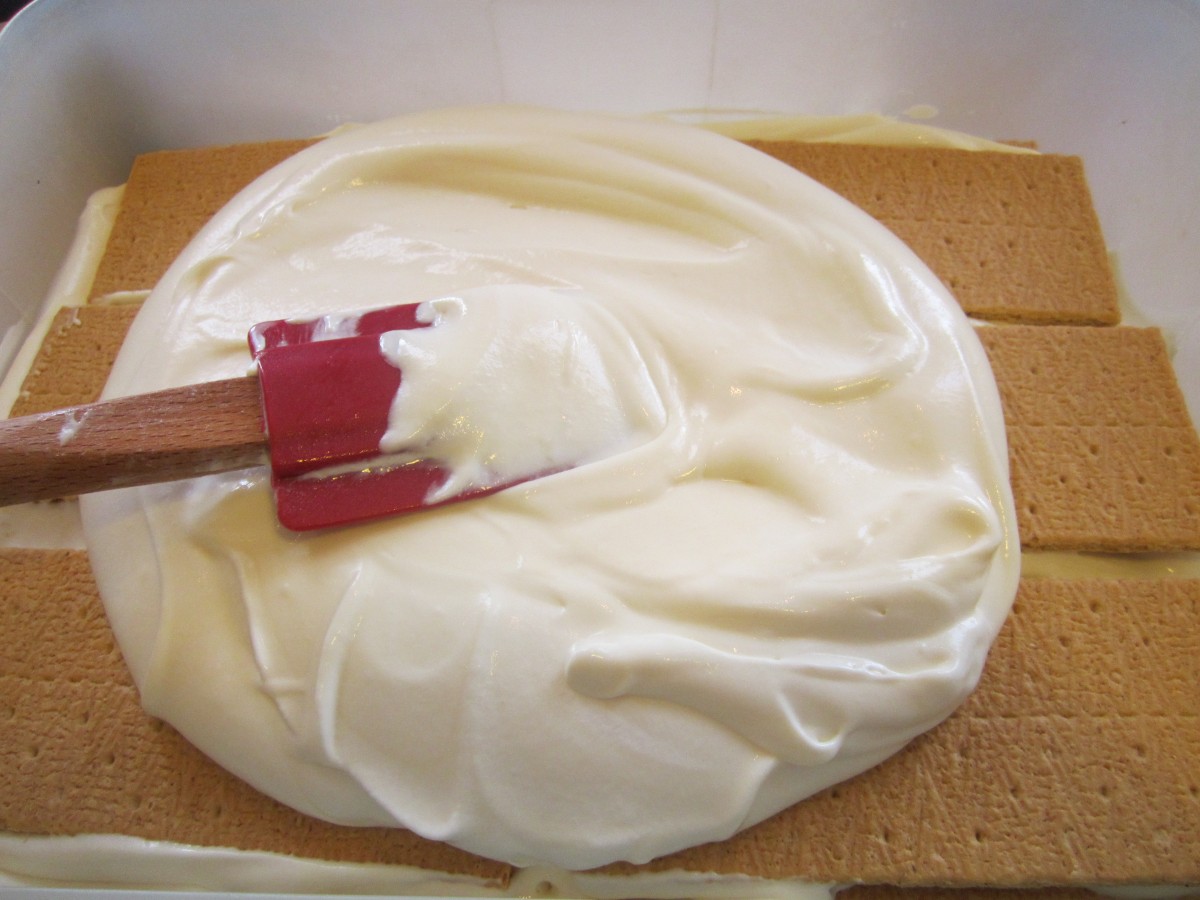
Combine pudding and whipped topping  or whipped cream and set aside. In 9×13 inch cake pan place 1 layer of graham crackers. Spoon half of the pudding mixture over the crackers and spread out evenly.

Place another layer of graham crackers over the pudding mixture and then spoon on the remaining pudding mixture, smoothing evenly. Place last layer of crackers on top. Warm frosting slightly and pour over the top. Spread out evenly. Cover and refrigerate overnight. Serves 10-12.

Spread filling over a layer of graham crackers

Spread filling over a layer of graham crackers


Pour frosting on top layer.

Pour frosting on top layer.

Chill finished cake overnight.

Chill finished cake overnight.


Posted in Cooking |