Monthly Archives: October 2014

Roasted Beet Salad

Roasted Beet Salad

Roasted Beet Salad

I got these beautiful beets a couple of days ago. Very fresh and the leaves are even dark red. I had been thinking of how I wanted to cook them. Decided to roast them and then go from there. To roast beets just wash them and trim off the greens- leaving about an inch of the stems to reduce bleeding. Place beets in a roasting pan and drizzle with a little oil. Cover pan and place in a 350 degree oven for about 45 minutes. Smaller beets will be cooked in less time- about 35 minutes. Really large beets could take up to an hour. I always check by poking one of the beets with a fork. Let the beets cool a little and then remove the peels. I use a knife to do this. They come off quite easily.

Now I just had to decide how to use them. I decided to use three of the small ones to make a salad for myself and a friend. Here is the recipe.

Roasted Beet Salad

1 small head Bibb lettuce, washed and sliced into thin slices

2 c. beet greens, washed and sliced thin

1/4 c. olive oil

3 T. red wine vinegar

2 t. sugar, optional

3 small roasted beets

1/2 c. crumbled feta cheese

1/4 c. hulled pumpkin seeds, toasted

1/4 c. dried cranberries

sliced cooked steak, optional

coarse sea salt- I used pink salt

Combine lettuce and beet greens in a mixing bowl. Combine olive oil with vinegar and sugar, if using. Add salt and pepper to taste and toss over the greens. Slice beets. Divide greens on 2 salad plates. Arrange half of the beets on each salad and top with the rest of the ingredients. Sprinkle with a few grains of the sea salt and serve. Makes 2 luncheon salads.

Roasted Beet Salad with Steak

Roasted Beet Salad with Steak

My very red beets

My very red beets

Aunt Josie’s Cabbage Soup

Aunt Josie's Cabbage Soup

Aunt Josie’s Cabbage Soup

As the weather gets colder I find myself making more and more soup. This is one of my favorites.  It is simple to make and loaded with flavor. The recipe came to me through my Mother who got it from my Aunt Josie. While I normally make it in a soup pot it can be make in a crock pot- after the onions and sausage have been browned a little. Ready in no time it is a great solution when you want home made soup but don’t have a lot of time.


Aunt Josie’s Cabbage Soup

1 T. oil
1 c. chopped onion
1 clove minced garlic
1 ½ lbs. Cooked smoked sausage, sliced or diced, I use turkey sausage
3 carrots, peeled and cubed
8 cups coarsely chopped cabbage, a small head
1 sweet pepper, seeded and chopped
1 c. tomato sauce
2 qts. Water
1-t. salt or paste type soup base
pepper to taste
3 medium potatoes, cubed
2 T. oil
1/3 c. flour
1 t. paprika

Sauté onion in oil until browned. Add garlic and sausage and cook until sausage is browned. Add vegetables, sauce water and seasonings and cook, covered 15 minutes. Add potatoes and cook, covered, 15 minutes more. In bowl combine oil, flour and paprika and stir until smooth. Ladle some hot soup into flour mixture and whisk until smooth. Repeat a few more times, until flour forms a paste. Pour this mixture into soup and simmer 2 minutes, until thickened. Serves 10-12.

Halloween Sugar Cookies

Halloween Sugar Cookies

Halloween Sugar Cookies

I had a program with 50 kids last week and we made these cookies. A simple sugar cookie, it was an easy decorating task even for the younger kids. I cut the cookies with a large pumpkin shaped cookie cutter, but you could use bats, cats or other Halloween shapes. I made a simple butter cream and added orange food coloring. I also made some chocolate frosting for the stems.  The decorations are just a candy called Sixlets. I used them because they are nut- free and some of the kids have nut  allergies.


Halloween Sugar Cookies

1 c. butter
1 c. sugar
1 egg
1 t. vanilla
3 c. flour
2 t. baking powder
3 T. milk

Beat butter and sugar until fluffy. Beat in egg and vanilla. Combine dry ingredients and add to butter mixture. Beat in milk. Heat oven to 375-degrees. Roll dough on lightly floured surface to about 1/3- inch thickness. Cut out with lightly floured cutters and bake on ungreased baking sheet for 10-12 minutes. Cool on baking sheet 3 minutes before placing on wire rack to cool completely. Frost when cooled. Makes about 4 dozen.

For tinted dough you can add red and yellow food coloring to butter mixture before adding flour and cut out as pumpkins. For chocolate sugar cookies you can add ½ c. cocoa to flour mixture before adding to shortening and reduce flour by ¼ cup. This dough is great for bats and cats.

Classic Butter Cream

1/3 cup butter
4 1/2 cups sifted confectioners’ sugar
1/4 cup milk
1 1/2 teaspoons vanilla extract
In a bowl beat butter or margarine until fluffy. Gradually add 2 cups of the confectioners’ sugar, beating well. Slowly beat in the 1/4 milk and vanilla. Slowly beat in remaining sugar. Beat in additional milk, if needed, to make of spreading consistency. Tint with food color, if desired.

Easy Chocolate Butter Cream

6 T. butter, softened
1/3 – 3/4 c. cocoa, depending on how dark you want your frosting.
2 2/3 c. powdered sugar
1/3 c. milk
1 t. vanilla
Cream butter. Combine cocoa and sugar. Beat cocoa mixture in alternately with the milk until frosting is spreading consistency. Beat in vanilla. You may need an additional tablespoon of milk. Makes about 2 cups.

Flaming Ghost Cake

Flaming Ghost Cake

Flaming Ghost Cake

I posted a recipe last year for Halloween called a flaming Ghost Cake. The fun part is setting the eyes of the cake on fire. Debbi Snook, from the Plain Dealer, asked if she could use my recipe and I said yes. Last Tuesday she sent a photographer to my class in Mentor so he could get a picture.   The picture and recipe are on line at the PD. My picture is the one you are seeing. The better picture was taken by the pro from the PD. It is in the link below. Let’s face it- food is more fun when you set it on fire.   Boo!!

http://www.cleveland.com/food/index.ssf/2014/10/flaming_ghost_cake_lights_up_h.html#incart_river


Posted in Cooking |

Bean and Veggie Patties

Bean and Veggie Patty

Bean and Veggie Patty

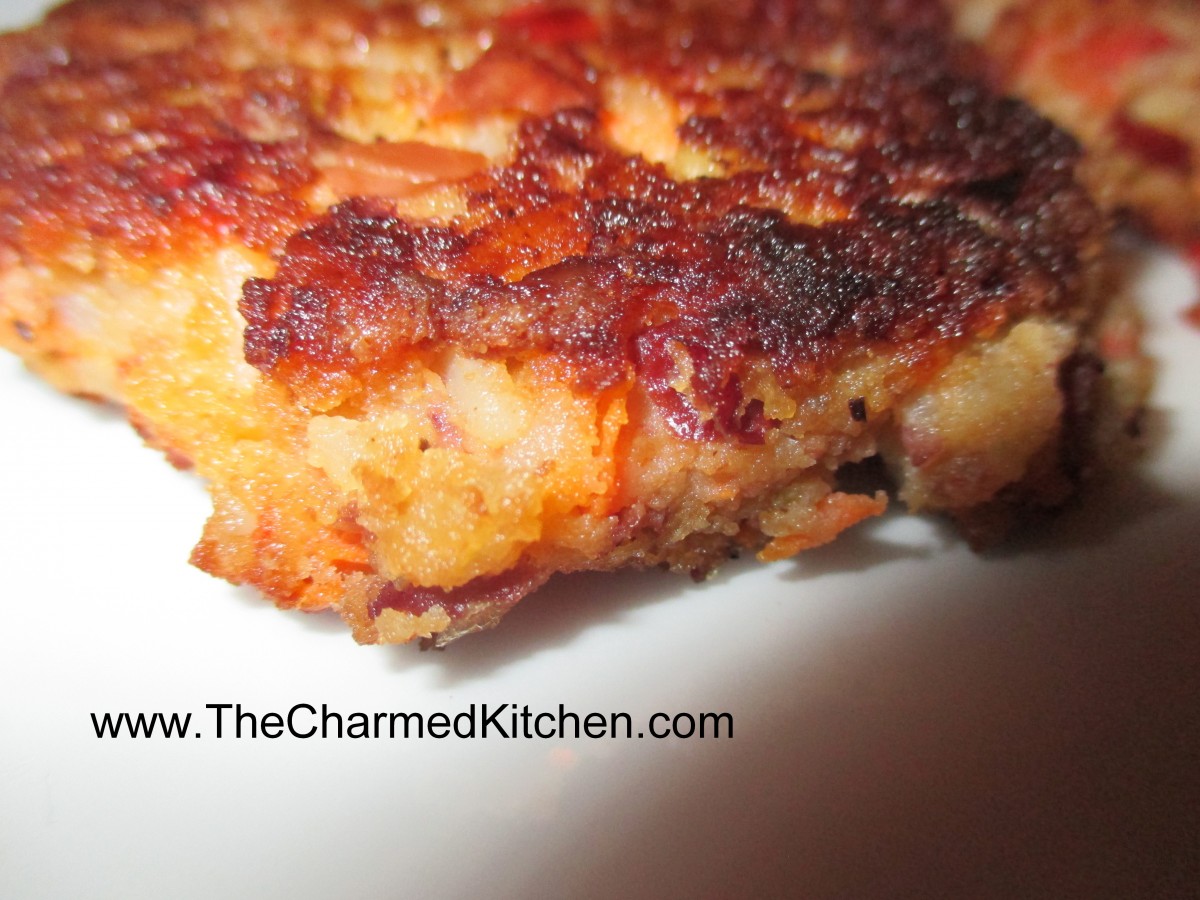
We made these in a vegetarian cooking class the other night. I mentioned that I hate calling them veggie or bean “burgers”. For me a burger is  always going to mean meat. One of the ladies in class suggested calling them veggie or bean patties. I like that a lot better. Whatever you call them they do taste pretty good. I started with a basic bean “burger” recipe them added grated raw veggies to the mix and some extra bread crumbs to hold it all together. They are best when browned and crispy on the outside. The middle with be tender and moist.


Basic Bean Patties

2 c. cooked beans, drained and mashed
1 c. cooked rice
1 medium onion, chopped
2 eggs or egg substitute
1/2 c. breadcrumbs, plus extra for coating
salt and pepper to taste
oil for frying

Combine all ingredients, except oil, in a bowl and mix well. Add more breadcrumbs, if needed, to make the mixture thick enough to shape into patties. Shape into patties and roll in extra crumbs. Heat small amount of oil in skillet and cook until browned on both sides and cooked through. Makes 6-8, depending on the size.

Variations: Just start with the recipe above

Chili Bean : Use kidney beans or black beans and season with chili powder and oregano, maybe even cilantro. You can also roll them in cornmeal, rather than the breadcrumbs. Top with salsa.

Veggie : Add 1 or 2 grated carrots, 1 chopped and seeded sweet pepper and 2 ribs of celery, minced. You’ll likely need extra breadcrumbs. Add some herbs for extra flavor or some hot sauce.

Taco Bean : Use pinto beans or kidney beans, season with taco seasoning and add a small can of diced green chilies, drained. You can also add minced black olives, if you like. Mix flour and cornmeal together for coating.

Mushroom: Add 1 c. fine chopped fresh mushrooms that have been sautéed a little and drained. Increase bread crumbs a little and season with parsley and basil.

The variations are really endless. Use your imagination and what is on hand. I like to use cooked lentils, too. Just make sure to finely dice any vegetable so that they will mix well and keep the patties from falling apart. To test seasonings either taste before you add the eggs, or cook a small amount if the eggs are already in.

Blueberry Sweet Rolls

Blueberry Sweet Rolls

Blueberry Sweet Rolls

I always stock up on blueberries when they are in season. I wash them and then let them drain well. Once they have dried off I just pop the blueberries in the freezer for use later. On days like this I am so happy I did that. Chilly and damp it was a perfect day to make these sweet rolls. The fragrance of the rolls baking with the aroma of blueberries made me think of warmer days. A friend stopped over for coffee and we sat down for a nice visit and a tasty treat. The rolls can be made with fresh or frozen berries.


Blueberry Sweet Rolls

3-3 1/2 c. bread flour
1 package active dry yeast
1 1/3 c. evaporated milk
6 T. butter
1/4 c. sugar
1 t. salt
1 egg
6 T. butter, melted

1/2 c. sugar
2 t. cinnamon
1 t. grated lemon or orange peel
2 c. fresh or frozen blueberries

In bowl combine 1 1/2 c. of the flour with the yeast, sugar and salt. Heat together the milk and 2T. of the butter until warm and add to the flour mixture, beating 2 minutes. Add egg and beat 2 minutes longer. By hand stir in enough of the remaining flour to make a soft dough. Turn dough onto a lightly floured surface and knead, adding flour as needed until dough becomes moderately stiff. Place in greased bowl, turning once to coat and cover. Allow to double in bulk, about 1 1/2 hours. Punch dough down, cover, and let rest 10 minutes. Divide dough in half. Roll each half into a 14×8 inch rectangle. Brush dough with the melted butter. Combine the remaining sugar, peel and cinnamon and sprinkle over the dough. Top with the blueberries and press the berries into the dough. Starting at the long side roll up dough jelly roll fashion and seal edge by pinching. Repeat with second roll. Cut each roll into 12 slices and place 12 rolls in greased 9 inch round pans. Cover pans and allow to rise until doubled, about 30 minutes. Bake in a 375 degree oven for 20-25 minutes. While rolls are warm, you can top with a powder sugar glaze, if desired. Makes 24.

Vampire Chasers

Vampire Chasers

Vampire Chasers

Thought you might enjoy this recipe for your Halloween party. The toasted French bread is spread with a combination of roasted garlic and Parmesan cheese and then topped with caramelized onions and mozzarella cheese. Placed in the oven or under the broiler until toasty it is a fun appetizer for any time.


Vampire Chasers

2-3 heads garlic
Olive oil
½ c. grated Parmesan cheese
Sliced, toasted French or Italian bread, about 1 loaf
2 large onions, sliced thin
Salt and pepper
Shredded mozzarella cheese

Trim tops off the garlic heads, being careful not to dislodge the cloves. Brush with oil and wrap in foil. Bake in a preheated 350 degree oven for 45 minutes or until garlic is soft. Remove from oven and allow to cool a little. Squeeze roasted garlic out of skins and combine with the Parmesan cheese. Spread on the bread and keep wrapped until ready to use. Can be made a day ahead. Sauté onions in oil until browned. Season to taste. Divide onions among bread slices. Top with some of the shredded cheese and bake or broil until cheese has melted.

Pierogi

Pierogi

Pierogi

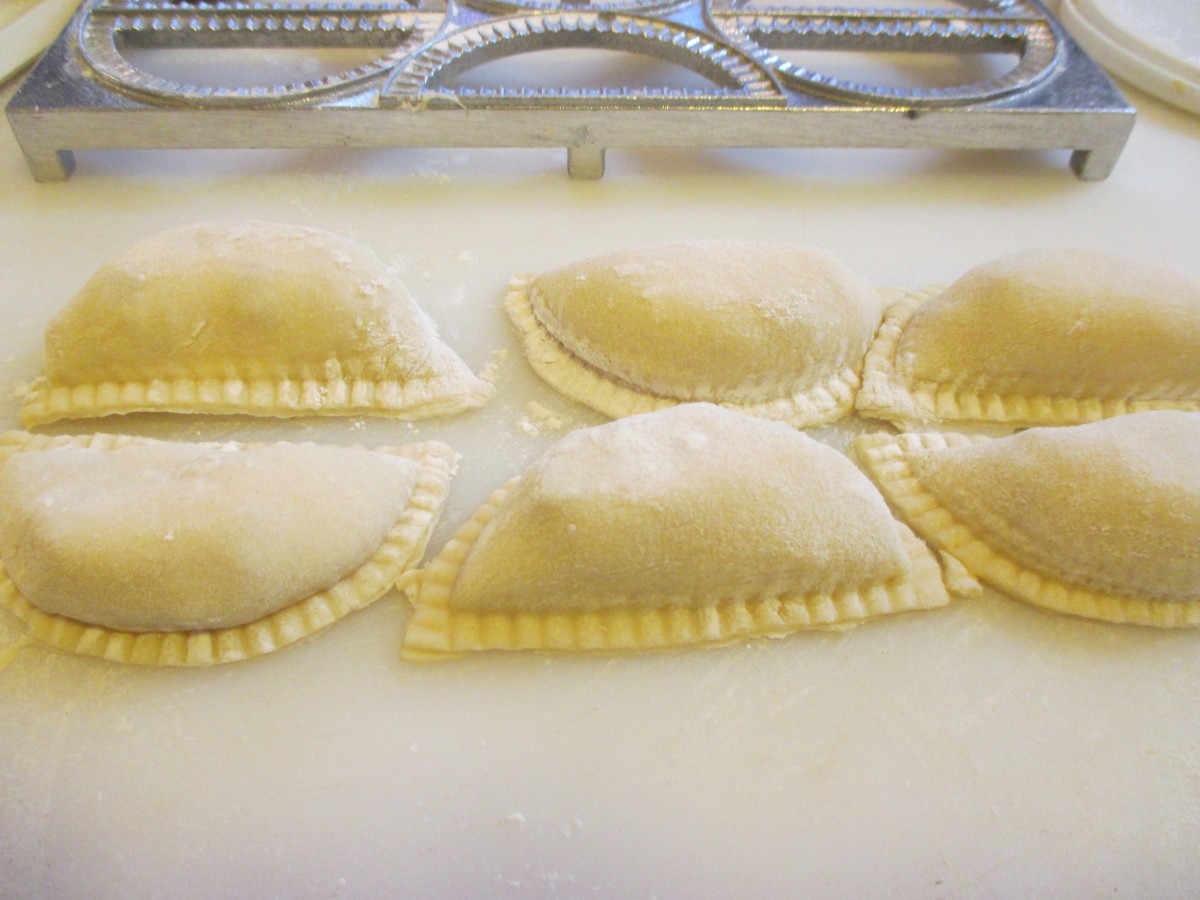
I taught a class last week called My Mother’s Polish Kitchen. One of the highlights is when everybody pitches in to make the pierogi. Pierogi, if you didn’t know, are pasta filled with different fillings, often potato based.  They are also sometimes stuffed with prune filling or sauerkraut. Today you can find pierogi filled with all sorts of fillings. There are variations in the dough, too. Some use just eggs, flour, water and salt. Others add some dairy in the form of milk or sour cream. I normally add some milk to my dough. Once the pierogi are made you can boil them and just serve them up or brown the boiled pierogi in butter and serve with carmelized onions and sour cream. My mother used to make sweet and sour cabbage and serve it with the pierogi or sometimes even use it as a filling. I can’t make them without remembering her.


Pierogi

Dough:
2 c. flour
1 t. salt
½ c. water (you can also use half milk and half water)
1 egg
Mix all ingredients together and knead on floured surface until smooth. Cover and let rest at least 15 minutes. Roll out thin and cut into circles. Re-roll scraps. You should get between 20-30. Spoon filling of your choice on center of dough circle. Fold dough in half over filling and press edge with fork to seal. Wetting the edge of the dough will help the dough to stick. Don’t overfill or pierogis will split. Test a couple first to get the hang of it. Place a few at a time into salted boiling water and cook until they float. You can eat them as is or brown cooked pierogi in butter in a skillet. Serve with grilled onions and/or sour cream. We would often make a larger batch and then freeze them, uncooked on wax paper-lined baking sheets. When frozen they would be transferred to a freezer bag or container. Place right from the freezer into boiling water when ready to use.

Potato filling:
2 lbs. Potatoes, peeled and boiled
½ onion, minced
2-3 T. cottage cheese or farmer’s cheese, optional
salt and pepper to taste
Mash potatoes with other ingredients and season to taste.
Note: you can also add cheddar cheese if you like. In class we had some with cheddar cheese and added ham, too.

Fresh made pierogi

Fresh made pierogi


The Tongues and I

Beef Tongues

Beef Tongues

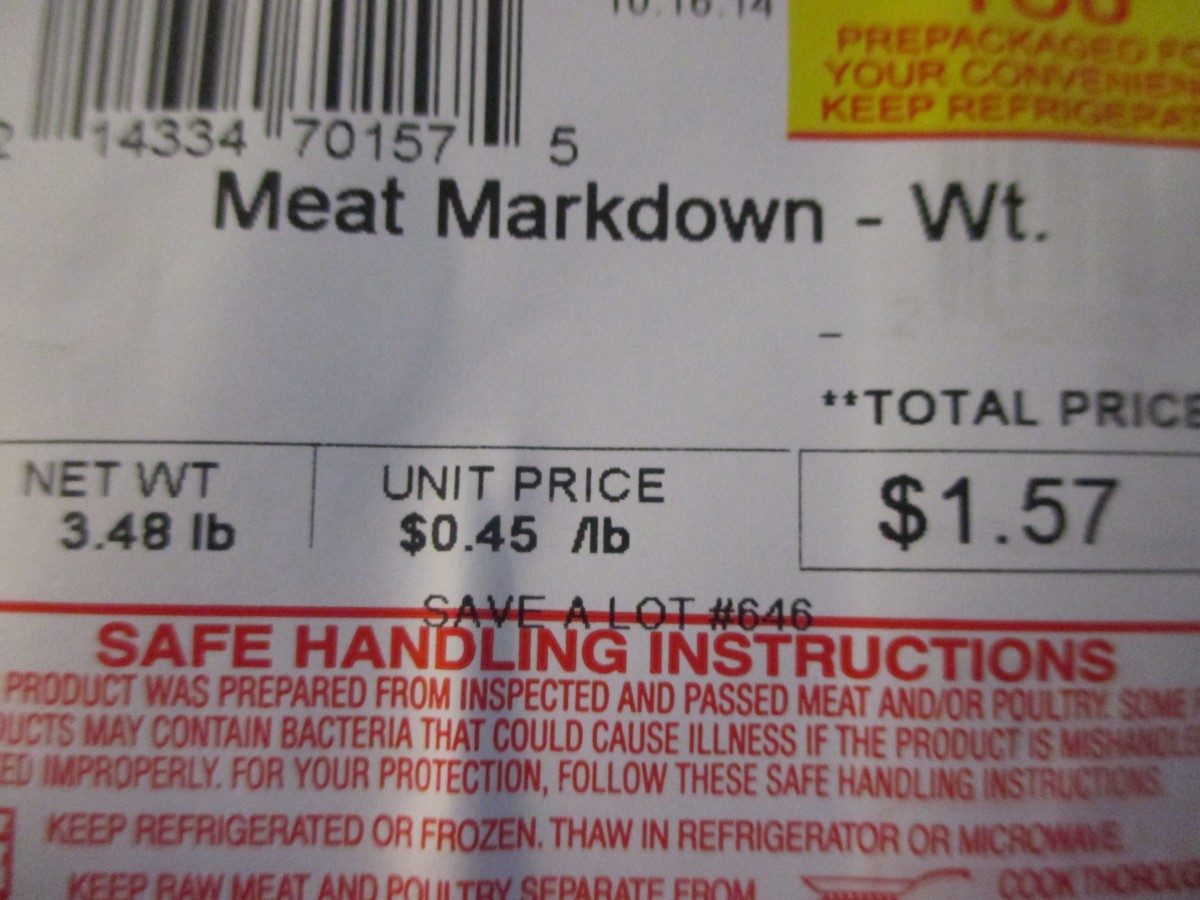
I just cannot turn down a bargain. Stopped in the store for a couple of things and found these beef tongues marked down. When I say marked down I mean 45 cents a pound!!! So I got them. I think I may have cooked one once years ago. I know my Mother would cook one once in awhile. Boiled it forever, as I recall. My pressure cooker is way too small so boiling it is. What I would love are ideas of what to do with them after they are cooked.  I remember sandwiches made with thin slices from the deli. So if you have any ideas- now is the time. I’ll be cooking them tomorrow. And if you like tongue you might want to stop by in the near future- I am sure I will have plenty to share.

What a deal.

What a deal.


Posted in Cooking |

Stuffed Zucchini

Stuffed Zucchini

Stuffed Zucchini

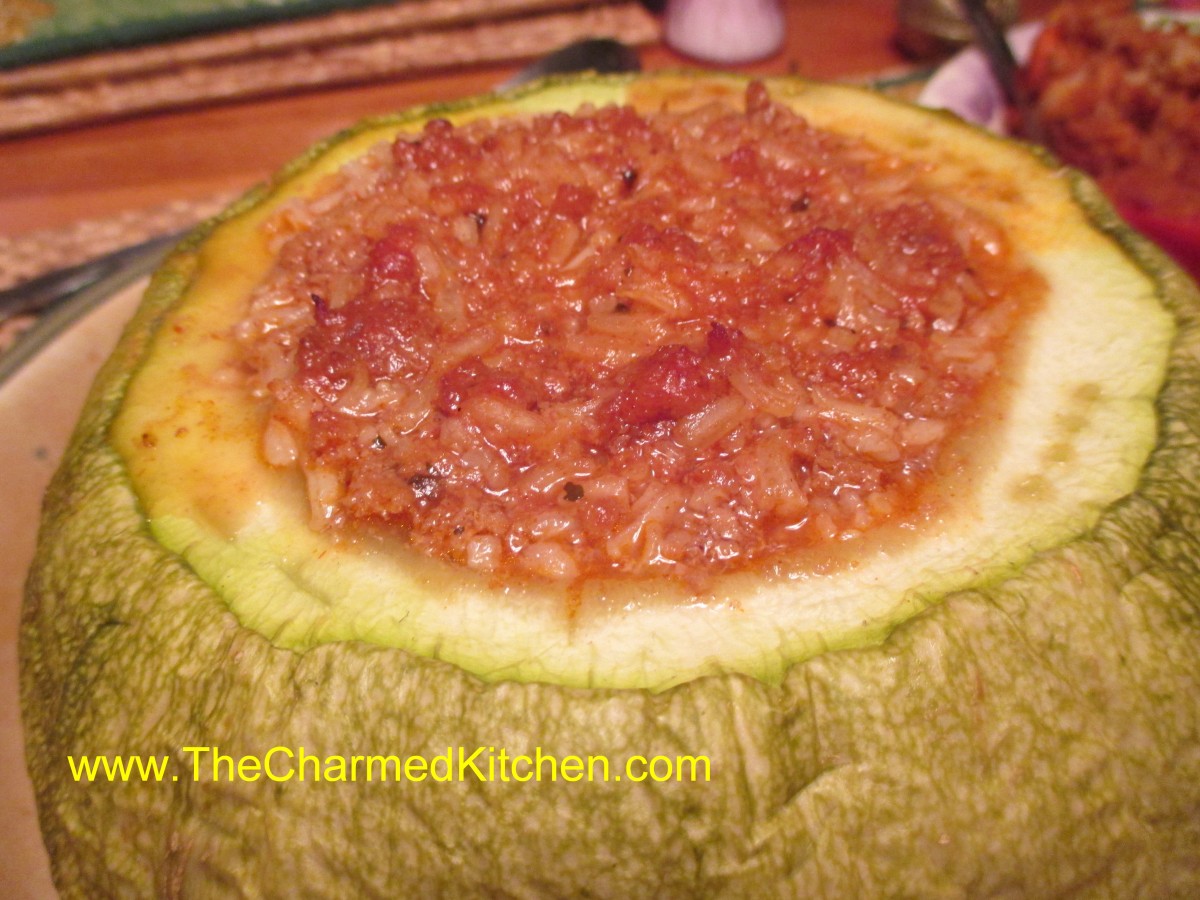
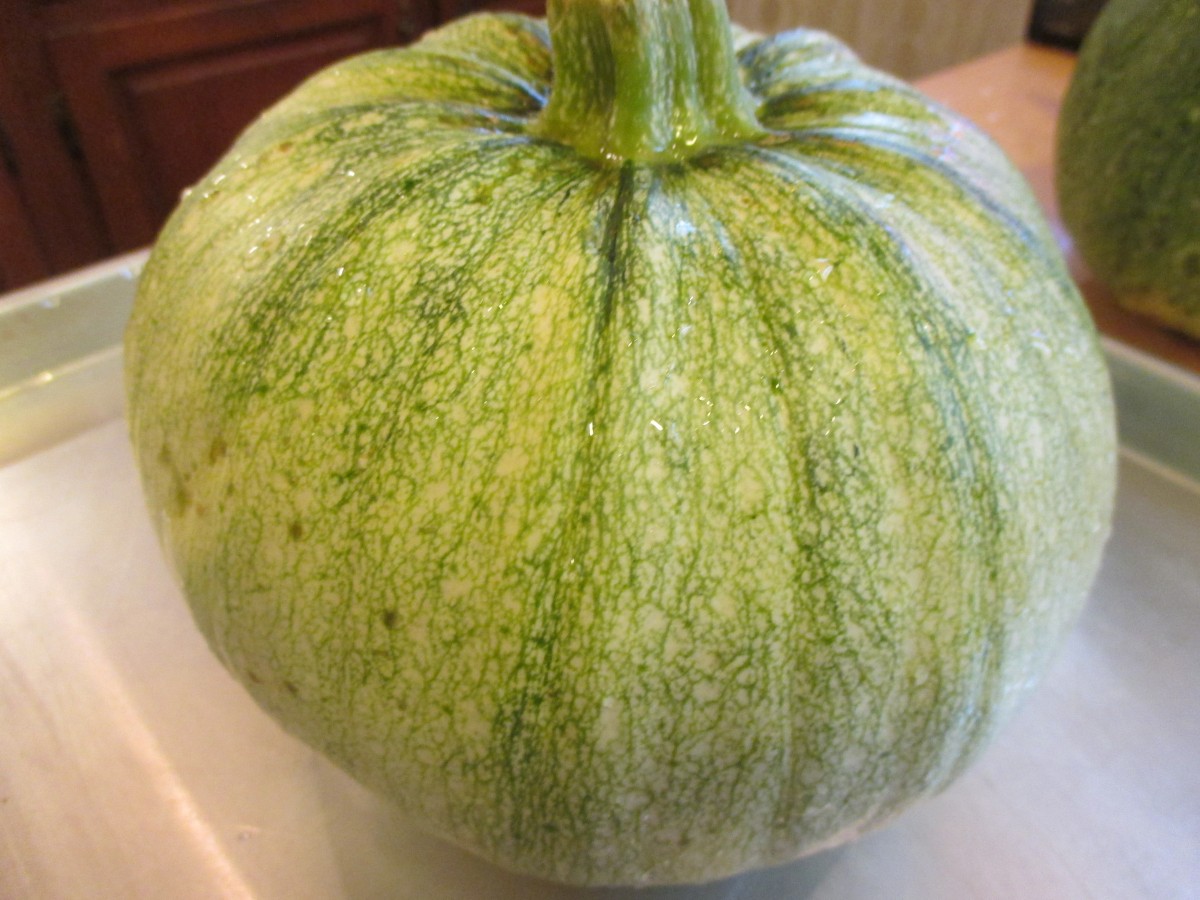
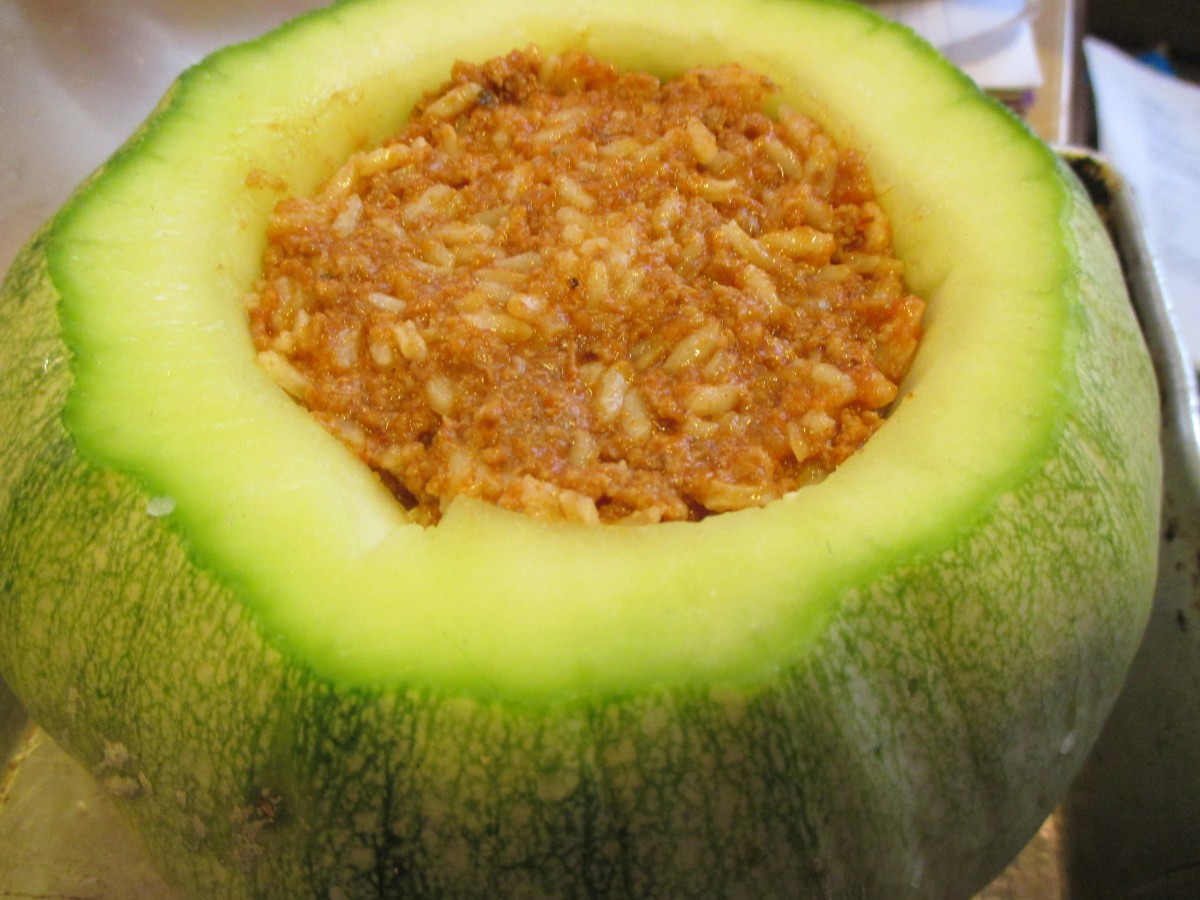
I got this over sized zucchini from my friend Carl. It was a round zucchini that had gotten to the size of a small pumpkin. I wanted to use it for dinner so I decided to hollow it out and stuff it. My friend Kat was coming over for dinner and I knew she’d be open to trying out my experiment. She’s pretty open to trying things out. I hollowed it out and lightly salted in the inside. I was wary to put uncooked meat in there because I wasn’t sure if it would get cooked through. Same thing for the rice.  I ended up cooking ground turkey and seasoning it with cumin, oregano, paprika, salt  and a little cayenne. I cooked the rice in a mixture of beef stock with some butter and fresh parsley. Tossed that mixture together and put it in the zucchini. I also added some mozzarella cheese after every few scoops of the filling.  I had some marinara sauce so I added a bit of that for moisture and a chopped onion that I had sauteed in oil.

I had no idea on how long it would take so I set in in at 350 and covered the top with foil. It was done in about 90 minutes. The zucchini was still firm but tender enough to eat.

002

Ready for the oven

Ready for the oven

Stuffed Peppers

Stuffed Peppers


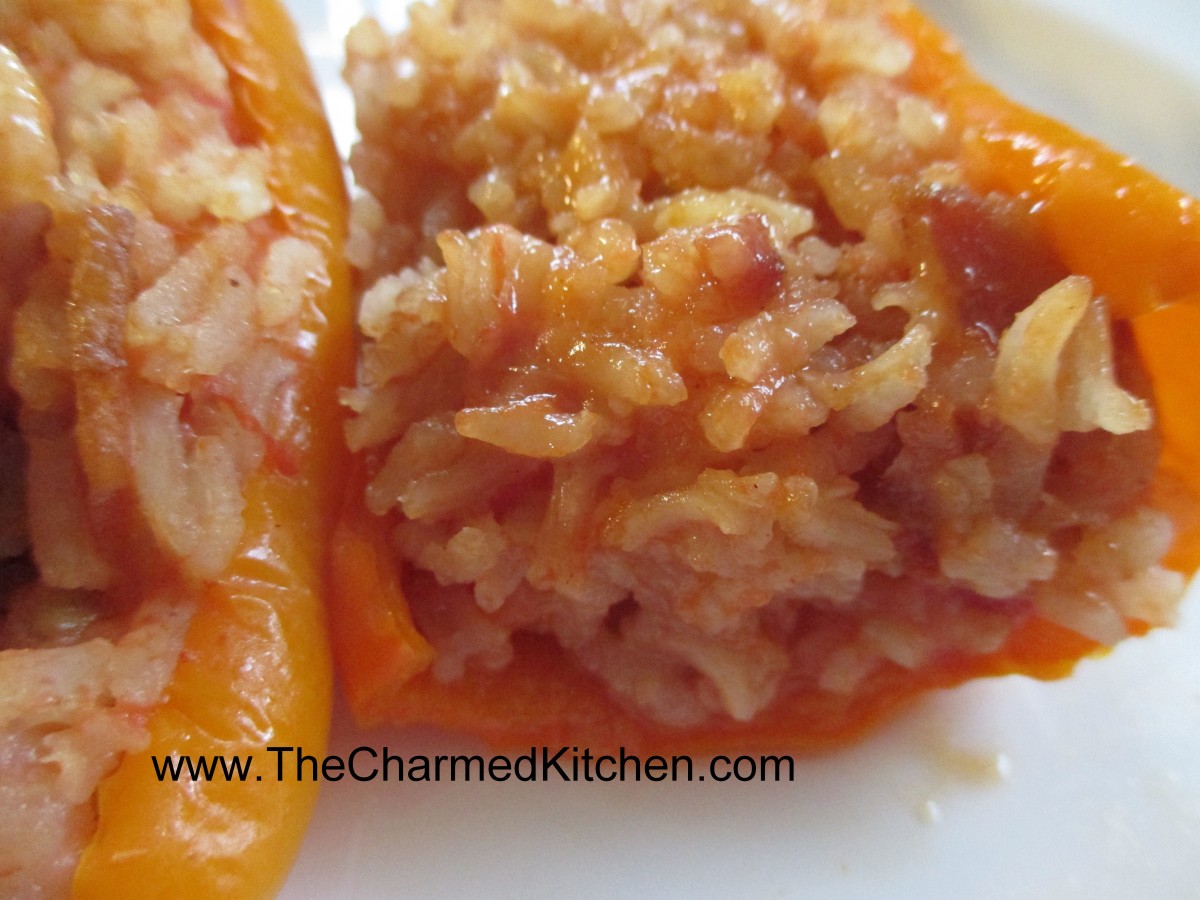
I had some extra filling so I made some stuffed peppers, too. I split the peppers and boiled them a couple of minutes to soften. I filled them and baked them, also covered in foil for about 45 minutes- then removed the foil and baked 15 minutes longer.


The meal was a big hit. I could have used any over sized zucchini. It was a great way to use something that at first might have been thought of as unusable, except perhaps shredded for zucchini bread.