

http://fox8.com/2018/05/03/cooking-with-tortillas/
I had such a nice time on the show. David Moss and the rest of the crew were gracious, as always. I really do love cooking with tortillas and using them is dishes of all types.
http://fox8.com/2018/05/03/cooking-with-tortillas/
I had such a nice time on the show. David Moss and the rest of the crew were gracious, as always. I really do love cooking with tortillas and using them is dishes of all types.

Corn and Bean Wraps
If you are looking for a different filling for your wraps, you should try this recipe. The filling is a combination of cabbage, corn, beans, green onions and Cajun seasoning. The veggies are all mixed together and served warm, wrapped in a tortilla.
Shredded cabbage is wilted down in oil. I just cut up fresh cabbage, but you could use cole slaw mix, if you like. Once the cabbage is tender, the rest of the ingredients are added. It could not be easier.
This also might be a way to get your family to eat more veggies. We do like to eat things that are rolled up, wrapped up or stuffed.
I freeze local sweet corn every year to enjoy throughout the year. That is what I used in this recipe. If you have fresh corn available, even better. It will be a couple of months before the local corn is available. Until then, my frozen corn will do nicely.
So here is the recipe. The ingredients may seem humble, but put together, they really are something special.
Corn and Bean Wraps
1 lb. shredded cabbage or cole slaw mix
oil
1 c. corn, fresh or frozen
1 c. sliced green onions
1 T. Creole seasoning
1 (15 oz.) can beans, drained – I like black beans or kidney beans
1/3 c. mayonnaise
6 (8 inch) flour tortillas
Sauté cabbage, covered, in oil until wilted. Add remaining ingredients (except mayo) and cook until heated through. Remove from heat and stir in mayo. Spoon mixture down center of tortillas and roll up. Serves 6.
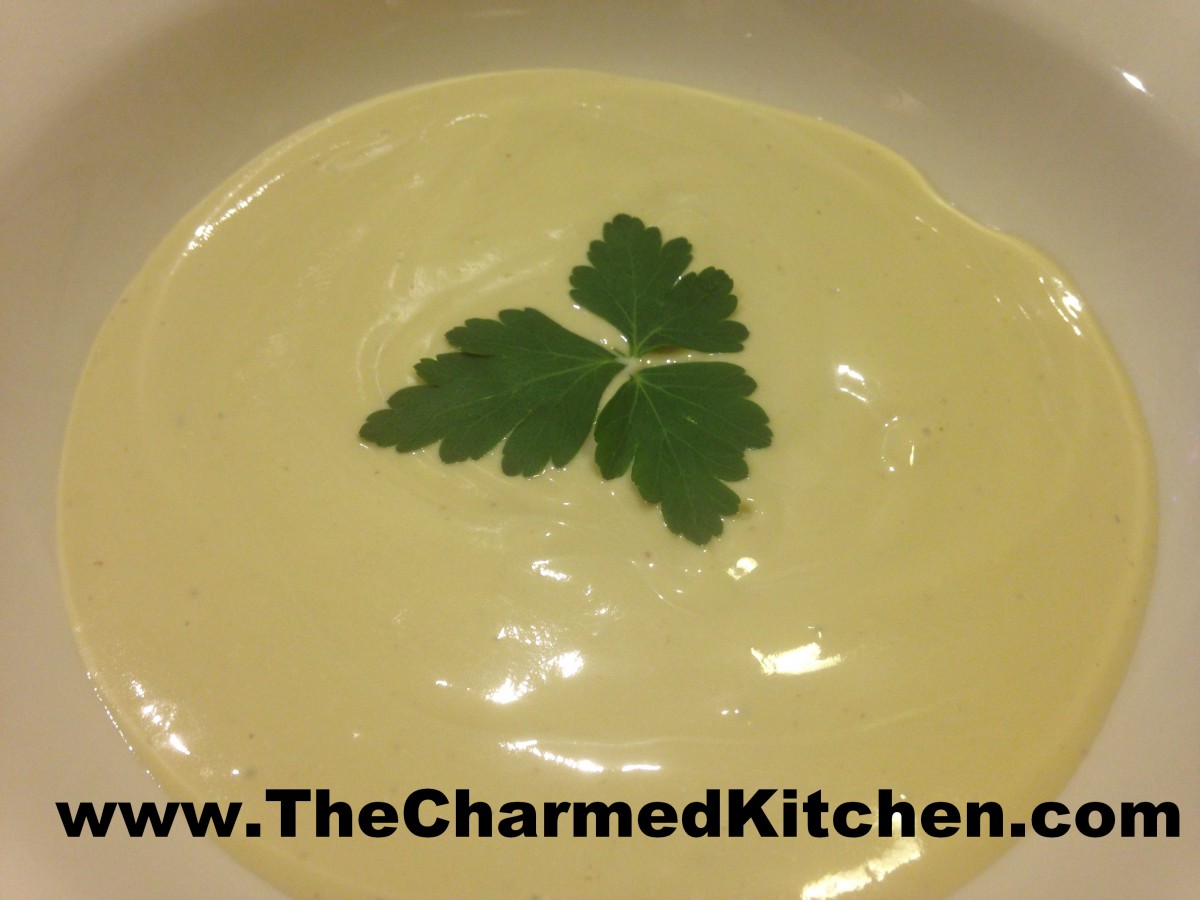
Warm Avocado Soup
I am not sure avocado jumps into most people’s minds when thinking of soup. Maybe it should. The rich, buttery texture of avocados makes for a lovely soup base.
I have two different recipes for avocado soup that I love. One is served warm, the other is served chilled. Either can be a great first course for your Cinco De Mayo dinner.
The warm soup in nice to serve on chilly evenings. It can be a great first course for dinner, and pairs well with grilled cheese for lunch. I topped it with fresh parsley, but a few drops of hot sauce also make for a nice presentation.
The chilled soup is just perfect as a first course on hot days. It is creamy, but not heavy, and quite refreshing. I topped mine with finely chopped pumpkin seeds, for a little added texture, but it could also be topped with fresh snipped chives or croutons.
So here are the recipes for both soups.
Warm Avocado Soup
4 c. chicken stock
2 c. milk
2 t. chili powder
1 t. cumin
1 t. garlic powder
hot pepper sauce to taste
salt to taste
3 ripe avocados
1 c. sour cream or yogurt
fresh parsley leaves for garnish
Heat stock and milk together until just beginning to bubble around edges. Stir in seasonings and keep warm. Peel and seed avocados, and place them in a food processor or blender. Place only what will comfortably fit, and blend in two batches if need be. Combine avocados with the sour cream in a mixing bowl. Stir to blend. Add a ladle of warm stock mixture to avocado mixture. Whisk to prevent lumps. Return warmed avocado/sour cream to the pan and heat through but do not boil. Adjust seasonings. Ladle into bowls and garnish with parsley. Serves 4 – 6.
Chilled Avocado Soup
2 ripe avocados, pitted and peeled
1 t. lemon juice
1 c. cold chicken or vegetable stock
1 c. light cream or evaporated milk
½ c. yogurt
½ c. dry white wine
salt and pepper to taste
½ c. chopped, toasted pumpkin seeds
Combine all ingredients in blender, except pumpkin seeds, until smooth and chill until ready to use. Garnish with pumpkin seeds. Makes 4 cups.

Chilled Avocado Soup
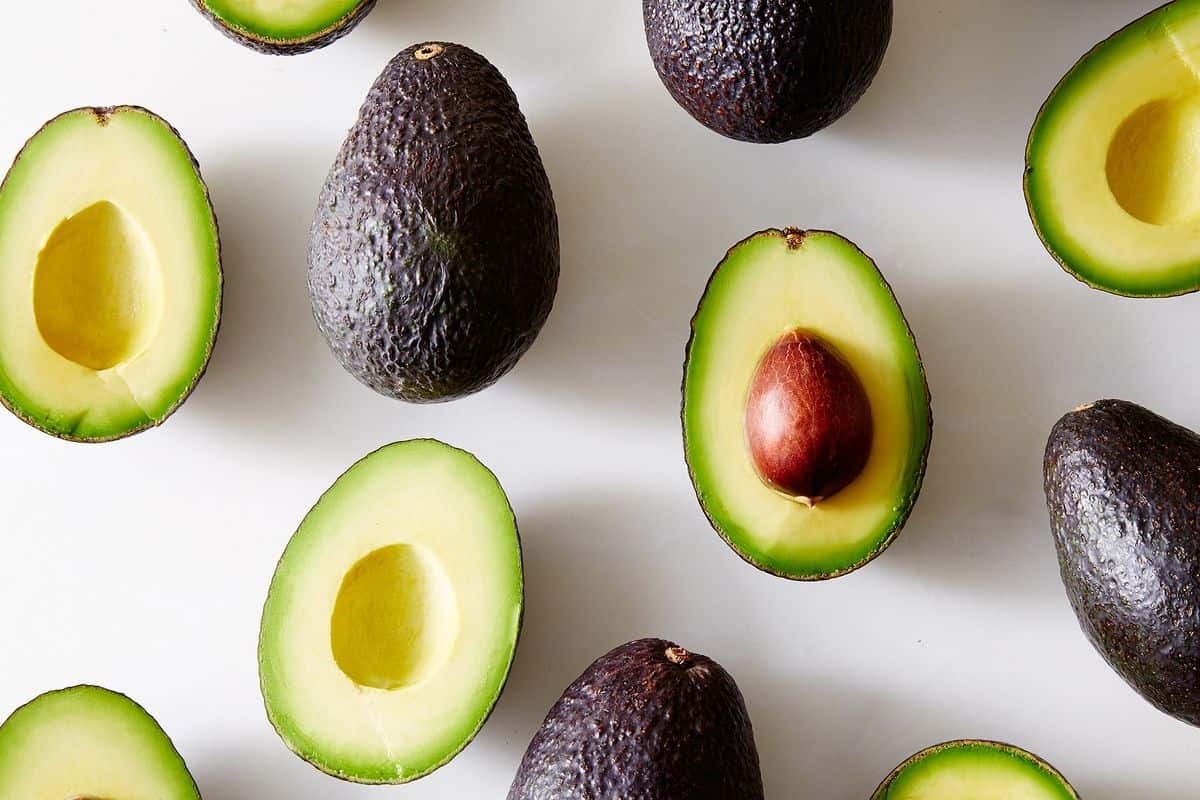 Avocados originally came from Mexico and Central America, but now avocados are grown and enjoyed all around the world. The average yearly consumption of avocados per capita in the US has gone from around 1.1 pounds of avocado per capita per year in 1989 to just over 7 pounds of avocado per capita per year in 2016 (source). The love of avocados continues to grow as we are finding more ways to add the buttery avocado to sweet and savory dishes.
Is this increase of avocado love just a fad or is there nutritional merit for eating more avocados?
Eating avocados as part of a healthy balanced diet can provide many nutritional benefits including: being heart healthy, not increasing risk for weight gain, providing antioxidants, fiber and being a source of almost 20 vitamins and minerals.
Yes avocados are high in fat, but the fat is mainly heart healthy monounsaturated fats. While adding avocado onto everything doesn’t translate into making a diet healthy, switching it for other fat sources can have nutritional benefit.
Contrary to what many people believe, avocado is a fruit and not a vegetable. A serving is usually defined as 50 grams or about 1/3 of a medium avocado. Here are the nutrients provided from a serving of an avocado and why it could be considered a nutrition power house.
Unlike other fruits, avocado is naturally low in carbohydrate and sugar. A serving only provides 4 grams of carbohydrate and 3 grams of fiber. Therefore, avocados are low in glycemic load.
They are also a good source of heart healthy monounsaturated fats; a serving provides 8 grams of total fat with 5 grams coming from monounsaturated fat.
Avocados can be beneficial for heart health because they provide nutrients that support healthy blood pressure, provide fiber than can help lower cholesterol and provide heart healthy fats.
A 2018 review of studies with avocado and heart health found avocado intake was associated with increased HDL cholesterol. Having high HDL cholesterol is associated with a lowered risk for heart disease.
A 2015 study concluded eating an avocado per day as part of a heart healthy diet can lower oxidized LDL cholesterol and increase plasma concentrations of the antioxidant lutein. Oxidized LDL is considered pro-inflammatory and can increase damage to blood vessels that may promote cardiovascular disease.
A 2015 review suggests avocado may help improve blood pressure levels due to the potassium and lutein content by controlling oxidative stress and inflammation.
Since avocados are high in fat and calories, will eating them increase risk for weight gain?
Research results suggest eating avocado as part of a balanced diet won’t increase risk for weight gain and can be part of a weight loss diet.
Like nuts, which are also high in fat, eating avocados in moderation isn’t associated with increased risk for weight gain.
Substituting avocados in place of other fat sources is recommended instead of adding avocado without cutting back on other fat sources.
A 2005 study had study participants on one of either isocaloric diets: one that included 200 grams of avocado (30 grams of fat) in place of other fats or a diet that provided the same amount of fat from other fat sources. At the end of 6 weeks researchers found at the end of 6 weeks both groups lost weight and there was no difference between the groups.
Swapping in more avocados into your diet can be easy. Avocado (or guacamole) can be used as a replacement for:
Incorporating more avocados into your diet is considered a safe, healthy step for most people. However, if you have latex allergy, use caution and speak with your doctor before eating avocado.
If you are on a renal diet, speak with your health care team before adding avocados to your diet.
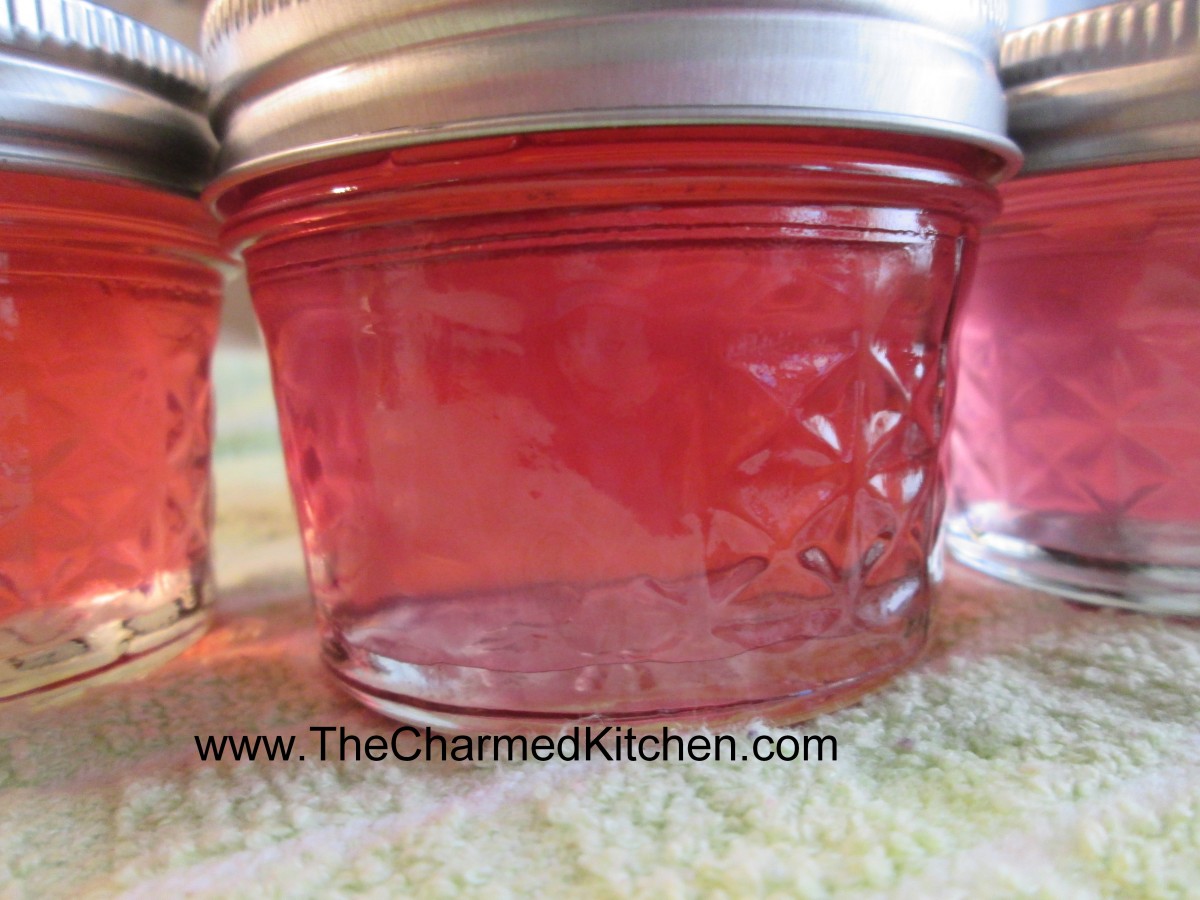
Violet Jelly
I am always interested in new and different ways to use my edible flowers. A few years ago, I started making jelly with my violets. I started by making infused vinegar from some of the violets. I like the vinegar for dressing salads. Any I don’t use for jelly, I save for that.
Later, I decided to use some of the violet vinegar as a base for the jelly. It worked out great. The end product had a sweet taste of violets, but the vinegar added a tartness I really liked. It also came out a stunning pink color.
Since the violets are steeped in vinegar- you can harvest over several weeks- just keep adding blossoms to the vinegar. If you don’t have a lot of blossoms at once, you can harvest a few at a time over a longer period of time. The violets in vinegar will keep, so you don’t have to make the jelly right away.
I like to have equal parts flowers and vinegar for a nice strong floral flavor, but you can get by with fewer blossoms if you need.
Start with a clean jar, and put your violets in it. Pour vinegar over to cover. White vinegar or white wine vinegar can be used. Heck you could probably use red wine vinegar, too. Cider vinegar might affect the color. You can continue to add flowers to the jar as you pick them. I picked 4 cups of violets and put them in a quart mason jar. I added vinegar to fill the jar, closed it up and let the flavors blend for a week. I could have let it sit longer if I was too busy to get to it. If you are in a hurry and want to make the jelly right away just heat up the vinegar and steep the flowers.
After a week, I strained it out then poured the mixture through a coffee filter to get it really clear. I ended up with 3 1/2 cups of violet “vinegar” to use for my violet jelly. I had a basic idea of how much sugar I would need so I went from there. It worked out great and jelled perfectly.
Violet Jelly
3 1/2 cups violet vinegar*
1/2 c. lemon juice
1 box powdered pectin
5 c. sugar
Wash and prep jars and get water bath heating up. Place violet vinegar in pan and add lemon juice and pectin. Bring mixture to a rolling boil over high heat. Add sugar and return to the boil. Stir often. Once mixture gets to a full rolling boil, boil 1 minute. Remove jelly from heat and skim off any foam. Ladle hot liquid into jars leaving 1/4 inch headspace. Wipe rims and adjust lids. Process in a boiling water bath for 10 minutes for 4 oz. and 8 oz. jars. Remove jars to cooling rack and check seals once they have cooled down. Yield: about 7 half pint jars or 13-14 (4 oz.) jars.
*For 3 1/2 cups of violet vinegar you will need 3-4 cups of blossoms and 3 1/2 cups of vinegar.
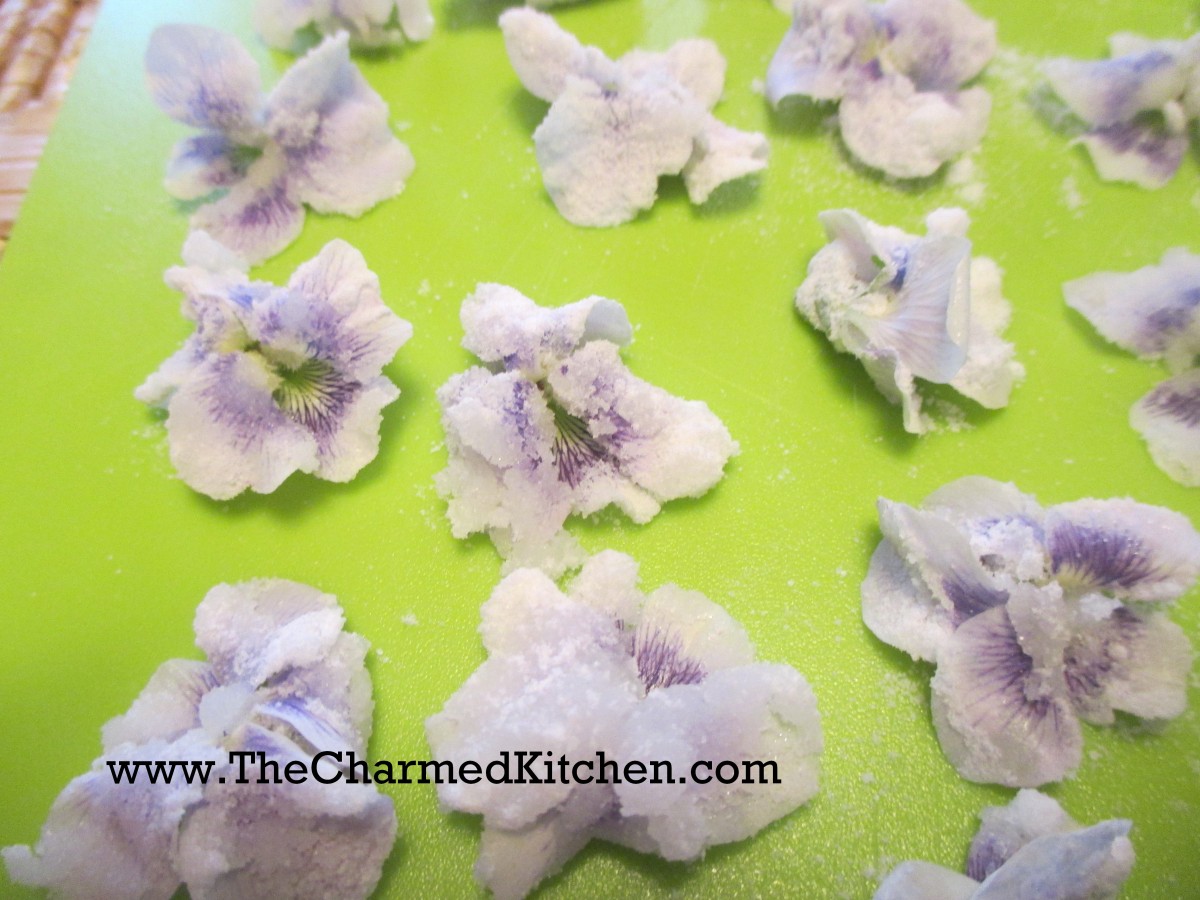
Candied Violets
This time of year, I get requests about how to make candied violets. I thought I would share the recipe again.
I make them every year. I gather violets from my yard over several weeks and make several batches each season.
Since my yard is full of violets right now, I decided to candy some today. It’s an easy way to enjoy these delicate flowers throughout the year. I use them to decorate baked goods.
Candied violets are lovely on a cakes or on cupcakes. You can also use them to top homemade chocolates and other candies. They add charm and a festive touch anytime you use them.
Always be sure to pick violets from a location where no pesticides are used.
Candied Violets
Powdered egg whites (see note)
Water
Superfine sugar (see note)
Fresh violet flowers, rinsed and drained on paper toweling- Not African violets
Following package directions reconstitute egg whites to the equivalent of one or two egg whites. You can dilute them a little, to make them easier to brush on. Place sugar in a shallow bowl. With a food-grade fine brush coat a violet with the egg white and press into the sugar. Place on wax paper and repeat with remaining flowers. Allow to dry for about a week. Store in a container with a tight fitting lid in a cool place. I like to store them in the freezer.
You can candy other flowers as well. Be sure that it is an edible flower and that no pesticides were used on them. Rose petals “candy” well. The process is the same for any flowers you want to candy. Thicker, petals will need more time to dry. For roses, separate and dry individual petals, not whole blossoms. I have also had some success with nasturtiums blossoms. Smaller, thinner petals work best. You can also candy small mint leaves.
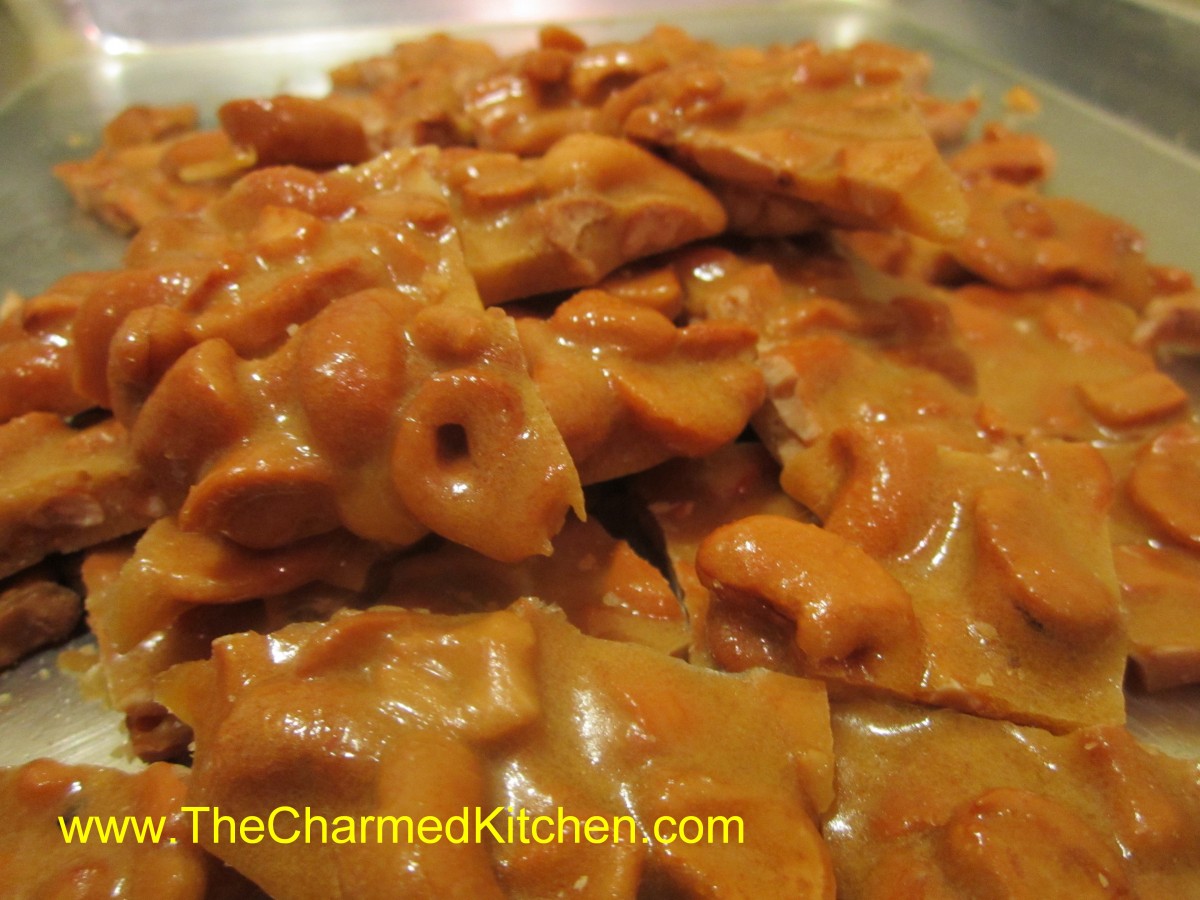
Homemade Cashew Brittle
Homemade gifts are always special. For Mother’s Day, I think homemade is even more appreciated. I’ve assembled some of my favorite food gift recipes. While some will require adult hands, there are a few kid- friendly options, too. None of these take a lot of time- so you still can make them for her special day. For all the moms out there- Happy Mother’s Day.
We will start with this cashew brittle recipe. Brittle was a special favorite of my own mother. I always think of her when I make it. This recipe is a breeze. Cooked in the microwave, this recipe is ready before you know it. You can, of course, use different nuts.
Homemade Cashew Brittle
2 c. cashews*
1 c. sugar
1/2 c. corn syrup
1/8 t. salt
1 t. butter
1 t. vanilla
1 t. baking soda
Butter or oil a large baking sheet and set aside. In a 3-4 quart glass bowl combine the nuts, sugar, corn syrup and salt. Microwave on high for 3 minutes. Remove from microwave, stir well and return to microwave. Cook 3 more minutes in microwave. Remove and stir in butter and vanilla, stirring until butter has melted. Return to microwave and cook for 2 more minutes. Remove from microwave and stir in baking soda. Stir until well blended and pour mixture onto prepared baking sheet. Spread out quickly, then allow to cool. Once cool, break into pieces. Store in a cool, dry place. I normally store it in a tin or plastic container with a tight-fitting lid.
* I used salted cashews but feel free to experiment with other nuts
Note: Use high power setting on microwave.
Truffles
1/3 c. Whipping cream
6 T. butter, cut into small pieces
2 c. chocolate chips- or 12 oz. dark chocolate, grated or chopped coarsely
Unsweetened cocoa
Heat cream to boiling in small saucepan. Stir in butter and cook until melted. Remove from heat and stir in chocolate until melted. Place in shallow bowl and chill until firm, at least a couple of hours. Roll mixture into 1-inch balls and roll in cocoa. Sometimes the mixture is quite firm and hard to roll into perfectly smooth balls. You can roll them out as smooth as you can, roll in cocoa and then roll again to smooth out. You might want to give them another roll in the cocoa after that. Makes about 30.
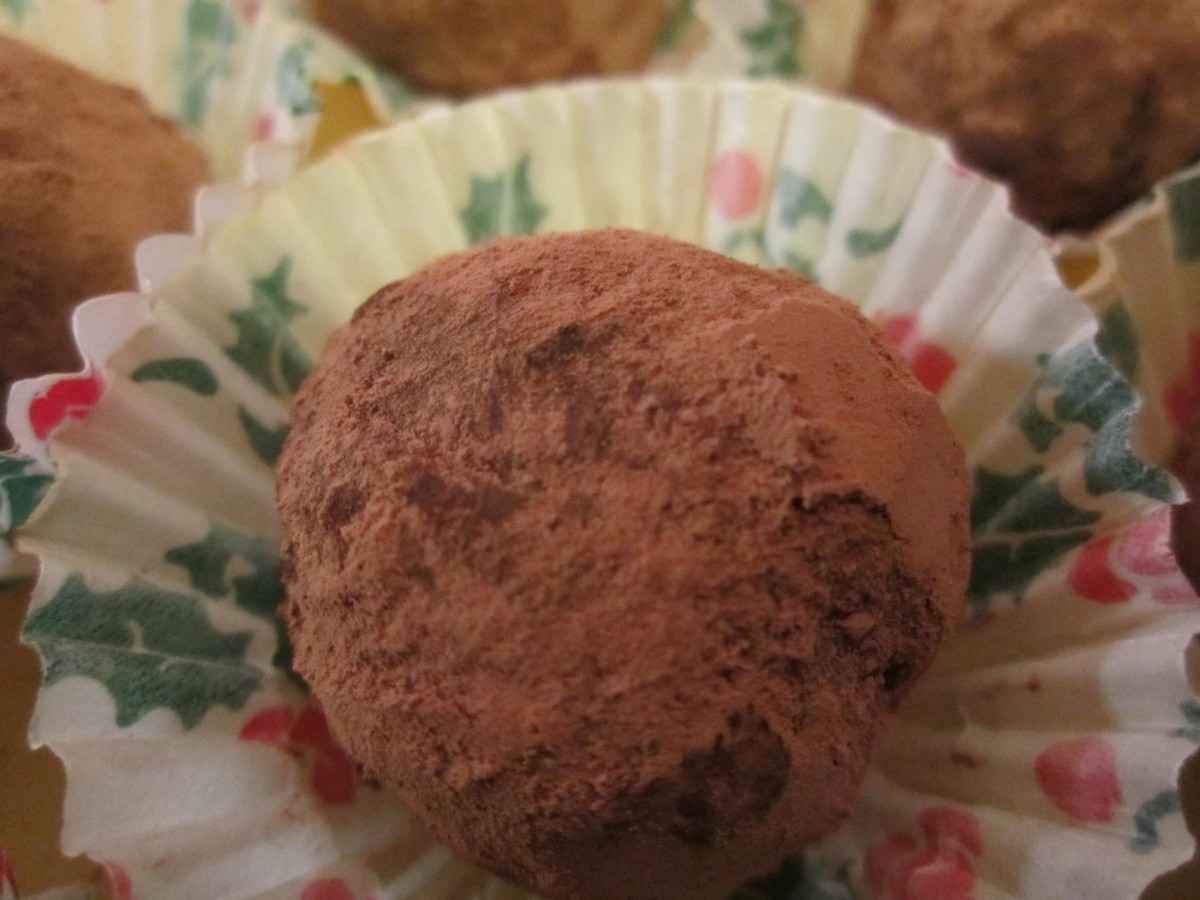
Chocolate Truffles

Minty Cocoa Hearts
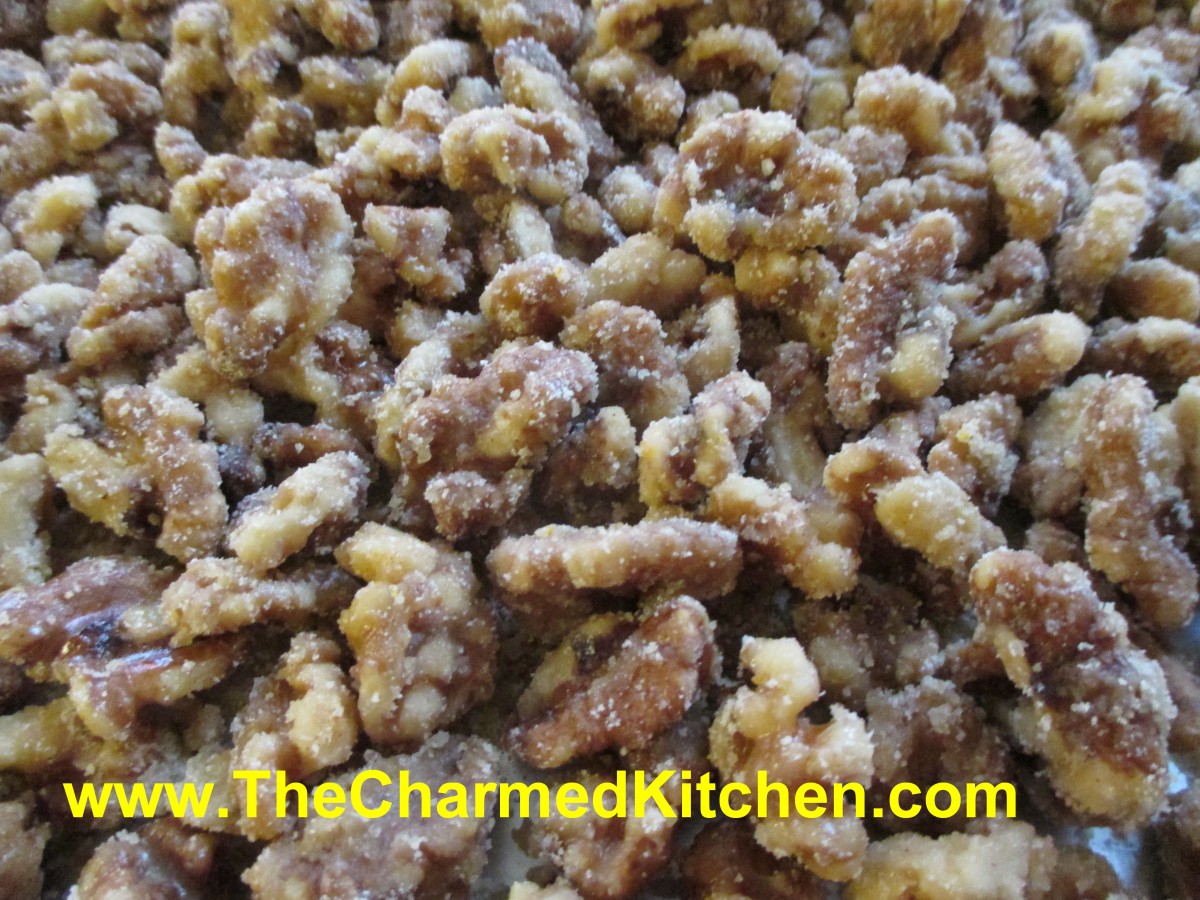
Sugared Nuts
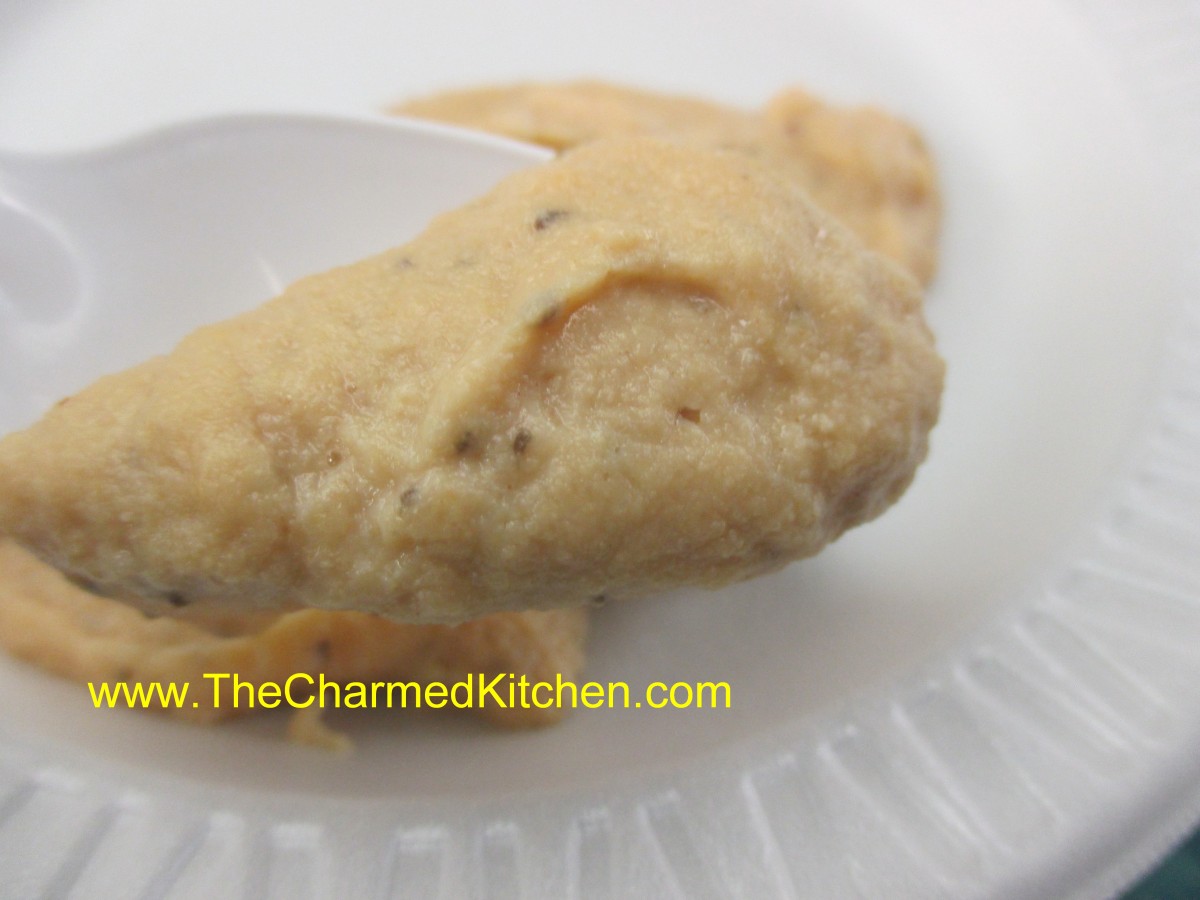
Homemade Bavarian Mustard
Minty Cocoa Hearts
If you are looking for a simple chocolate treat- that requires no cooking – try Minty Cocoa Hearts. This easy to make candy is made with just a few ingredients. The “dough” is mixed and rolled out. Then you just cut them out into little hearts. They taste great and they are also a nice project for kids. There is no special equipment needed other than a tiny heart-shaped cookie cutter. So if time is short and you really want to make something homemade this Mother’s Day- these could be the answer.
9 c. powdered sugar
1 c. cocoa
1/2 c. butter, softened
1/2 c. water
2 t. peppermint extract
In large bowl combine ingredients until well blended. You can add more water, if needed, 1 teaspoon at a time. Divide mixture into 2 pieces and shape in balls. Place each between sheets of wax paper and roll out to 1/4 -inch thickness. Cut out with tiny cutters and place on foil-lined tray. Chill several hours, then wrap up in colored foil or place in tiny candy bags. Makes 80 (1-inch) candies.
Sugared Nuts
Many years ago, my sister Cindy gave me the recipe for making these nuts. I make at least a few batches every year, and they are always a big hit. I will admit to tweaking the recipe a little over time, but the basics are still the same. Nuts are placed in a heavy skillet with sugar, water and seasonings. The mixture is then brought to a boil and cooked until most of the liquid cooks off. This takes about 10 minutes, give or take. You dump the nuts onto a cookie sheet, and start stirring immediately. If you don’t stir them, they will stick together. This is where the magic happens. The nuts look wet when you pour them out and start stirring, but in a few minutes, they cool and dry, and the sugar crystallizes on the nuts. Once cooled, the nuts are crunchy and sweet and very tasty. You can use them as a snack, or in all sorts of recipes. This is a really fast confection to make, and is a nice gift, too.
4-5 c. nuts, I like walnuts or pecans
2 c. sugar
1 c. water
1 t. cinnamon
1 t. orange peel
1 t. salt, optional
Place all ingredients in heavy skillet and cook over medium heat, stirring often, until all the water disappears. Whatever liquid in the pan will be clinging to the nuts and syrupy. Dump nuts onto a large cookie sheet and break apart with a wooden spoon to prevent clumping. As nuts cool, stir once or twice to remove any remaining clumps, and to cool faster. Nuts will lose their glossy appearance and attain a sugary crust. If it looks like nut soup, you didn’t cook them long enough, and you must return all to the skillet and cook longer. As the nuts start to get drier during cooking, you can turn down the heat a little to prevent burning. Once you’ve made a few batches, though, you will get good at judging when to stop cooking. You can also make a spicy version by adding a teaspoon of cayenne pepper along with the other ingredients. Store in cool, dry place to keep nuts fresh longer.
Horseradish Mustard
1 c. dry mustard
3/4 c. white wine vinegar
1/3 c. dry white wine or dry sherry
1/4 c. brown sugar
1/4 c. granulated sugar
1 T. dried minced onion
2 t. caraway seeds
1 1/2 t. salt
1/4 t. coarse ground mustard
2 eggs, slightly beaten
1 T. prepared horseradish
Combine all ingredients, except eggs and horseradish in top of double boiler and let stand at room temperature for 2 hours. Whisk in eggs and cook over simmering water until mixture has thickened and eggs are cooked, about 10 minutes. Remove from heat and stir in horseradish. Pour into sterilized jar, cool and cover. Store in fridge for up to 3 months. Makes 2 cups.
Bavarian Mustard
3/4 c. beer
2/3 c. dry mustard
2 T. sugar
2 T. cider vinegar
2 t. salt
1-t. celery seeds
1/2 t. fresh grated ginger or 1/4 t. dry
1 egg, beaten
Combine all but the egg in the top of a double boiler and let stand 2 hours at room temperature. Stir in egg and cook over simmering water. stirring constantly until mixture thickens and egg is cooked, about 10 minutes. Pour into sterilized jars and cool before covering. Store in fridge for up to 2 months. Makes 2 cups.
Spicy Mustard
1 c. dry mustard
2/3 c. dry white wine
1/2 c. vinegar, flavored with herbs or garlic
1/2 c. sugar
2 t. salt
1 t. basil
1 t. chili powder
1 t. dried minced garlic
1 t. oregano
1/2 t. cracked pepper
2 eggs, slightly beaten
Mix all ingredients, except eggs, in top of double boiler and let stand 2 hours at room temperature. Add eggs and cook over simmering water, stirring constantly until mixture thickens and eggs are cooked, about 10 minutes. Pour into sterilized jars and cool down before covering and refrigerating. Keeps in fridge for up to 2-3 months. Makes 2 cups.
French Herb Mustard
1/4 c. dry mustard
1/4 c. white wine vinegar
1/4 c. white wine or dry sherry
1/4 c. brown sugar
1/2 t. salt
1/2 t. tarragon
1/4 t. dill seed
1/4 t. celery seed
1/4 t. ground cloves
3 egg yolks or 1 whole egg
Combine all ingredients, except eggs, in top of double boiler and let stand at room temperature 2 hours. Whisk in eggs and cook over simmering water, stirring constantly, until mustard thickens and eggs are cooked, about 5 minutes. Store in crock or jar in fridge for up to 1 month. Makes 1 cup, recipe can be doubled.
Cookie Pops
These are a fun and easy gift to make with kids. I used white “chocolate” discs, but you can use real chocolate, too. Kids can make Mom an edible “bouquet”.
All you need are vanilla wafers, peanut butter or frosting to stick the cookies together, Popsicle sticks, some sort of chocolate you can melt and candies to decorate. After that it’s pretty easy. Dip the end of a stick into the peanut butter. Press 2 cookies together on the end of the stick. Press firmly. Melt the chocolate- I used a glass bowl in the microwave,but be careful not to burn the chocolate. Dip the cookies into the melted chocolate until covered. Allow excess to drip off. Place cookies on wax paper. Decorate your “pops” to look like flowers- I used M&M’s. Allow them to dry/cool then you can just peel them off the wax paper.
You can get M&M’s in so many colors, the “chocolate” discs, too, that color combinations are pretty limitless. If there are nut allergies to consider use frosting to stick the cookies together.
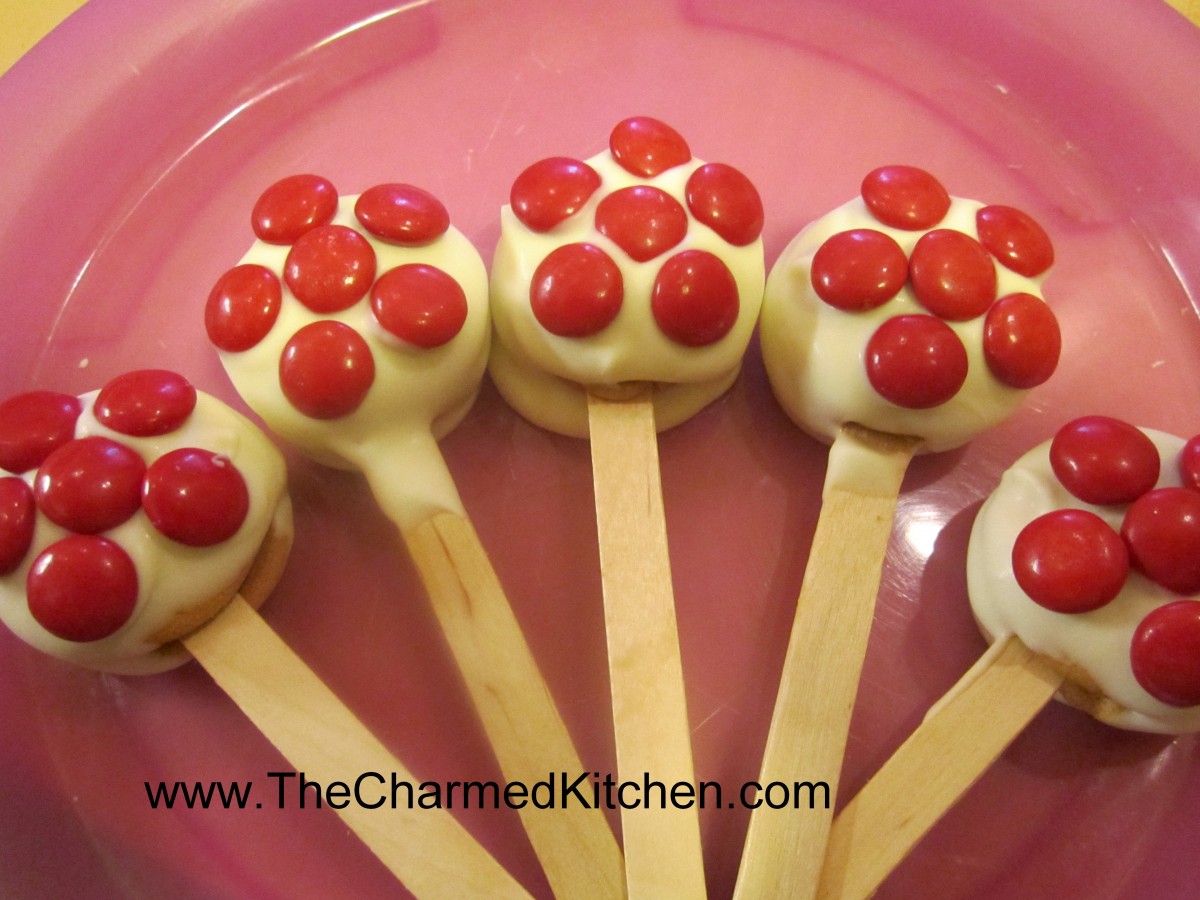
Cookie Pops
Hot Fudge Sauce
If Mom is a chocolate lover, this sauce makes a great gift. Don’t forget the ice cream!
1 c. unsweetened cocoa powder
¾ c. sugar
½ c. brown sugar
1/8 t. salt
1-c. heavy or whipping cream
½ c. butter, cut into pieces
1 t. vanilla extract
In saucepan , stir together dry ingredients then stir in cream and butter. Heat to boiling and boil 1 minute. Remove from heat, cool 5 minutes and stir in vanilla. Store leftovers in fridge. Rewarm before using. Makes 2 ½ cups.
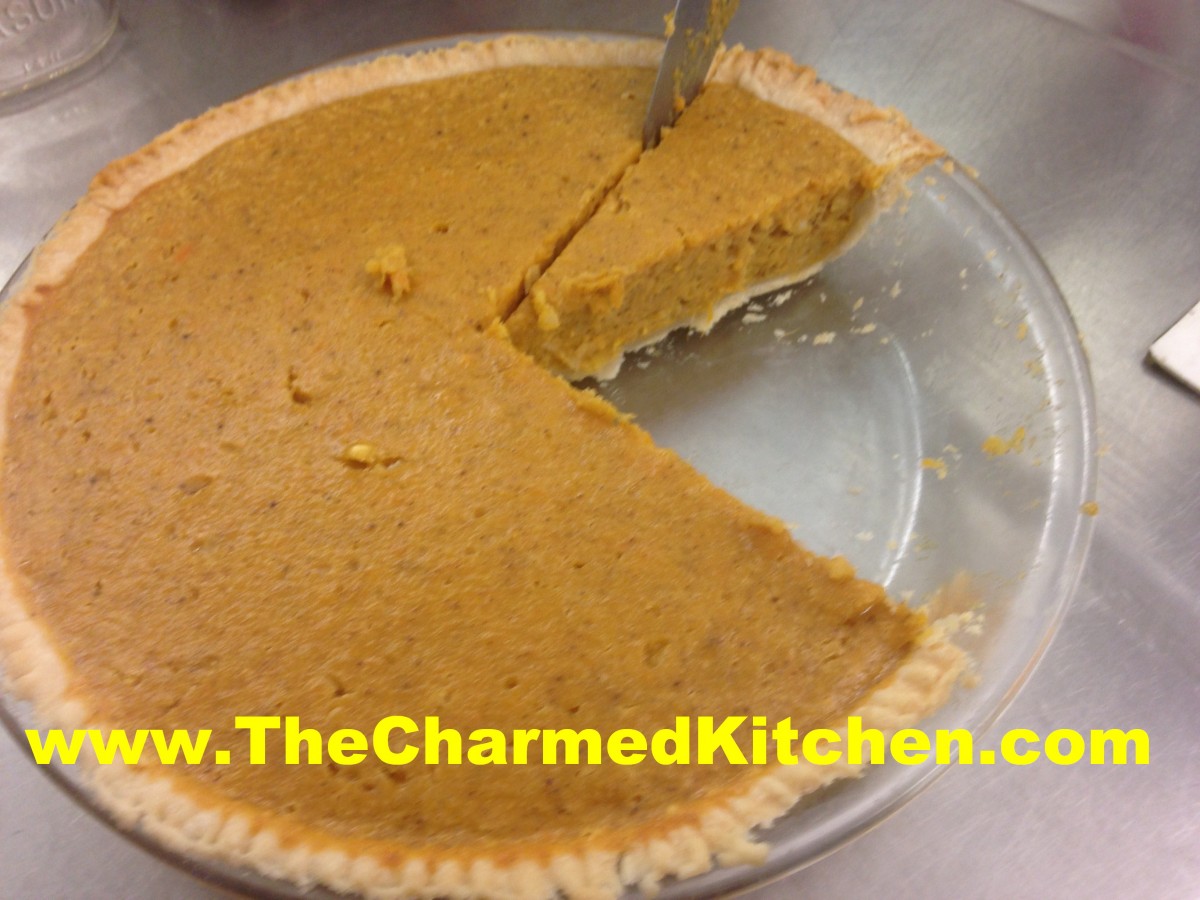
Hazel’s Sweet Potato Pie
I was teaching a pie class the other night, and this is one of the recipes we made. I love sweet potato pie, but am always surprised at how many people have never had it. It must be one of those north/south things. Several people in class said they had never had a sweet potato pie. They really liked it and I was glad to have them try something they had never tasted before.
I used to work with a wonderful woman named Hazel Pruitt. She grew up in Alabama and taught me so much about southern cooking. I first made collard greens with Hazel. She also taught me how to make sweet potato pie. This is her recipe and I want to share it with you. I think of her every time I make it.
We used Martha Stewart’s recipe for the crust, but use whatever crust you like. Her recipe makes two crusts, so we used the other half of the dough for another pie.
Hazel’s Sweet Potato Pie
½ c. sugar
1 t. cinnamon
½ t. allspice
½ t. salt
¼ t. cloves
1 ½ c. cooked, mashed sweet potato
2 eggs, beaten
1 c. milk or almond milk
2 T. melted butter or 2 T. olive oil
1 (9-inch) unbaked pie crust
Combine sugar with seasonings. Stir in remaining ingredients and combine until smooth. Pour into pie crust and bake in a preheated 400 degree oven for 40 minutes, or until filling is set.
Martha Stewart’s Pie Crust Recipe
2½ c. flour
1 t. salt
1 t. sugar
2 sticks (1 cup) butter, very cold
About 6 T. ice water
Combine dry ingredients and cut in butter to resemble coarse crumbs. Using a fork to mix the dough start to add the ice water a tablespoon or 2 at a time until mixture just holds together. Wrap and chill until ready to use. Makes 2.

Blueberry Liqueur
I always stock up on blueberries when they are in season. I end up with a lot of frozen berries to enjoy throughout the year. I was cleaning out the freezer awhile ago, and decided to use some of my frozen berries to make blueberry liqueur.
I made two different ones, actually. One is unsweetened- just blueberries, vodka, lemon zest and a clove. It is sometimes called an eau de vie- French for water of life- or just blueberry vodka.
The other is sweetened a little with a sugar syrup- but you could use honey. That is blueberry liqueur or blueberry cordial. Both are wonderful.
The color is so pretty and they can be sipped, as is, or used in cocktails. You can use other berries, if you prefer.
I look forward to summer parties and enjoying these with friends and family.
Blueberry Liqueur
4-c. fresh or frozen blueberries
Sliced and scraped peel of one lemon, optional
1 clove, optional
3-c. vodka or 2 c. vodka and 1 c. brandy
1 c. sugar syrup, optional, recipe follows
Lightly crush berries with a fork. Combine with peels and clove and vodka and steep 3 months. Strain and filter and add sugar syrup. Mature 4-6 weeks.
Sugar Syrup
Simple syrup is made from 1 cup of sugar and ½ cup of water. Bring to a boil, then cool. You will have 1 cup of syrup. Some recipes call for plain sugar and others for honey. Watch when you substitute honey for sugar, as it is sweeter and stronger flavored. Better to use orange or clover honey.
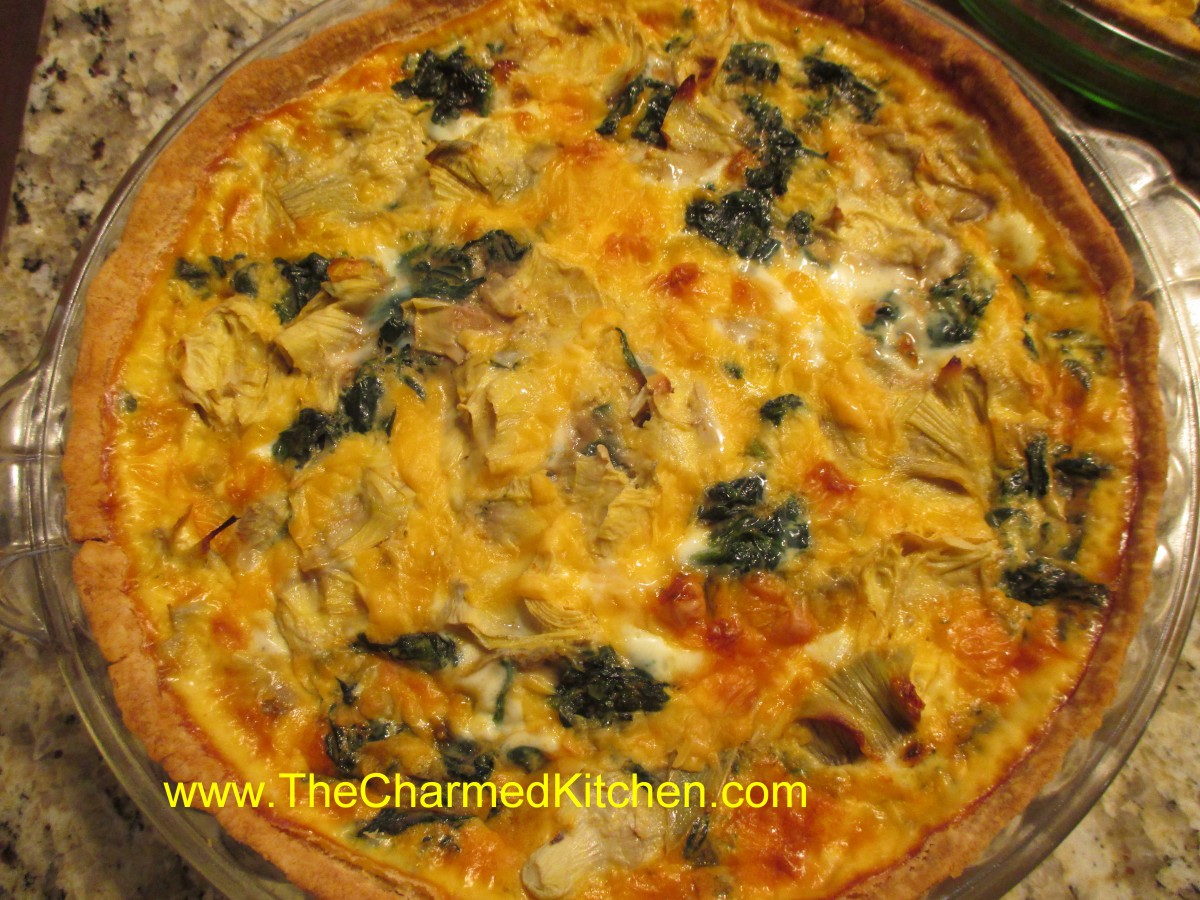
Spinach and Artichoke Quiche
I love quiche. It is a perfect brunch dish, with endless variations. Also a nice dish to serve for dinner or lunch. I often make two at a time. That way I can freeze one to enjoy later on. Leftover quiche is a favorite breakfast of mine.
I had planned to make a quiche with artichoke hearts. When I was starting to put the quiche together it occurred to me that I had just brought home a giant bag of spinach.
Made sense to put the two together. Sort of like spinach and artichoke dip. I used about a pound of fresh spinach, cooked, drained and chopped, but a box of frozen spinach would work, too.
This one was a big hit. Here is the recipe.
Spinach and Artichoke Quiche
1 unbaked pie crust – enough for a deep dish pie
4 oz. diced cheddar cheese – I like a sharp cheddar
2 T. flour
1 lb. fresh spinach or 1 (10 oz.) package frozen spinach, cooked, chopped and squeezed dry
3-4 artichoke hearts, drained and chopped coarsely (about 1/2 of a 14 oz. can)
1 c. milk or half and half
3 eggs, beaten
2 T. fresh chopped parsley
Hot pepper sauce to taste
salt and pepper to taste
In 9-inch (deep dish) pie pan place the crust. Toss cheese with the flour and place in crust. Add the spinach and artichoke hearts. Combine milk with the eggs and add seasonings to taste. Pour over the spinach mixture. Place pan on a baking sheet to collect any drips and place in a preheated 400 degree oven. Bake for 30 minutes then turn down oven to 325 and continue baking until quiche is firm near the middle, about 25-30 minutes more. To test for “doneness” insert a butter knife about an inch from the center of the quiche. If it comes out clean, the quiche is done. Serves 4-6.