Monthly Archives: May 2018

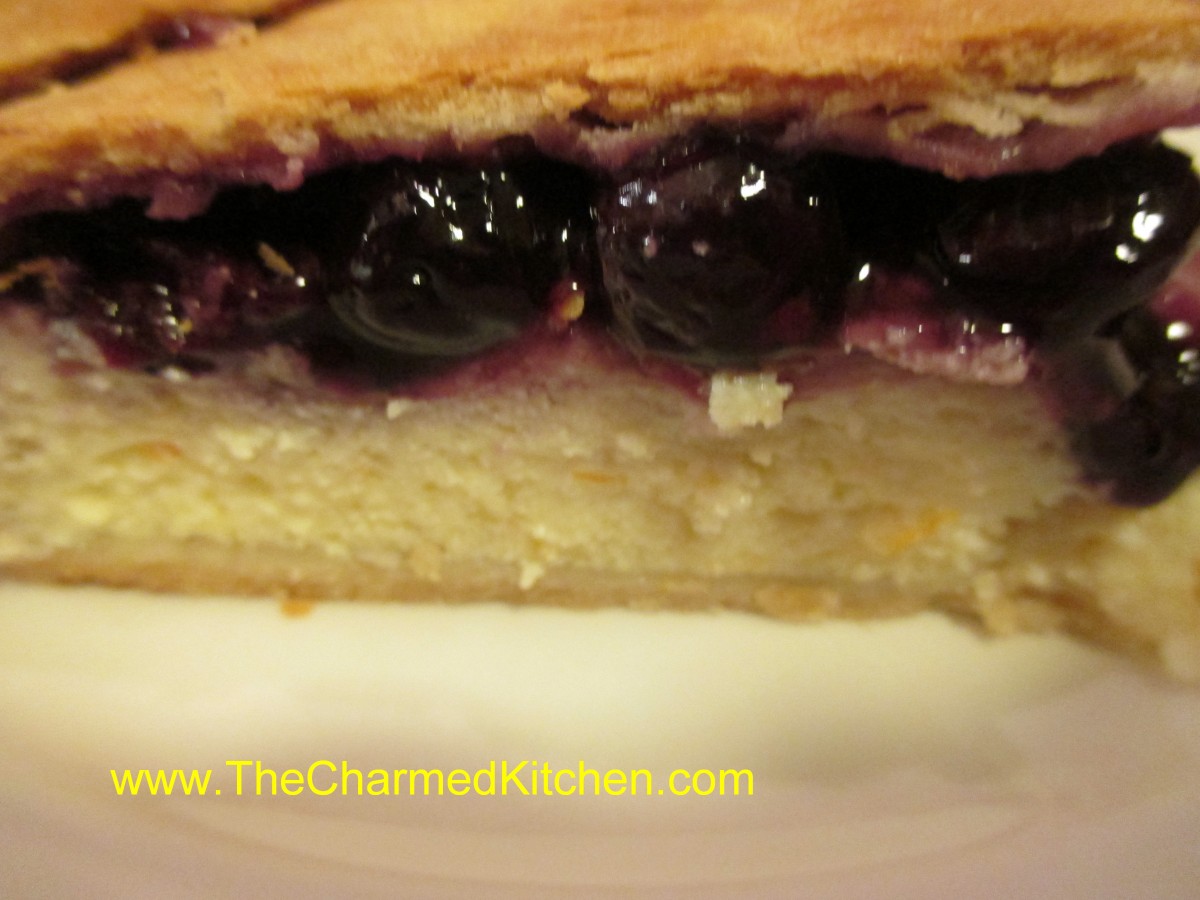
Blueberry Cheesecake Pie

Blueberry Cheesecake Pie

This dessert came about by accident. A very happy accident, indeed.  I had been canning blueberry pie filling, and had some left over. It wasn’t quite enough for another jar or a whole pie. A carton of ricotta cheese I had in the fridge, inspired me to combine two of my favorite desserts into one, fruit pie and cheesecake! I used the ricotta to make a cheesecake-like layer and then used the pie filling as a topper. It worked out great. It is perfect just the way it is, or serve with whipped cream or a scoop of ice cream.


Blueberry Cheesecake Pie

Pastry for 2 crust pie- recipe- The crust recipe I used is at the bottom of the page

Cheesecake filling:
1 (15 oz.) carton ricotta cheese, full fat preferred
½ c. sugar
2 eggs
Zest of half an orange
Combine cheese and sugar and mix until smooth. Stir in eggs and zest and set aside.

Blueberry filling:
1½c. blueberry pie filling- I used homemade
Roll out half of the crust and place in 8 or 9-inch pie pan. You can roll out the top crust ahead of time, or even cut into strips for a lattice top. Cover remaining crust to keep it from drying out. Spoon cheese mixture into prepared crust. Spoon the blueberry pie filling over the cheese mixture. Top with the second crust or place strips on in a lattice design. If using a whole crust cut in decorative slits for ventilation. Moisten then crimp edges and shape decoratively or use a fork to seal. Place pie in lower half of hot oven. Bake in a preheated 425-degree oven for 15 minutes. Reduce heat to 375 and bake an additional 40-50 minutes or until crust is brown and juices begin to bubble through the slits. It edges start to brown too quickly, cover them with foil. Cool, then chill,  before serving.


Flaky Pie Crust

2 c. flour
1 t. salt
3/4 c. butter, chilled – you could also use chilled coconut oil, lard or shortening
1 T. cider vinegar
4-5 T. cold water

Combine flour and salt and cut in shortening. Toss in vinegar and water 1 tablespoon at a time until dough holds together. Use a fork to toss the ingredients together and as soon as the mixture holds together stop adding water. Makes 2. Chill well before using.

Posted in Cooking | Tagged |

Ham and Gouda Quiche

Ham and Gouda Quiche

If you are looking to make breakfast for mom on Mother’s Day, consider making her a quiche. Quiches are so versatile. You can fill them with almost any ingredients. They can also be served for breakfast, brunch, lunch or dinner. You can also bake it right away, or freeze it for later.

I often make two quiches, just so I can freeze one for later use.

This is one of my favorite quiche recipes. We made it in class last night. Everyone loved it. The original recipe called for Swiss cheese, but we used Gouda instead.  The mix of ham and Gouda cheese works well together.

We used a homemade crust, but you can use a store bought crust, if you prefer.


Ham and Gouda Quiche

1 (9-inch) unbaked pie crust

1½ c. shredded Gouda cheese

4 t. flour

1 c. diced cooked ham or turkey ham

3 eggs

1 c. milk or half-half or evaporated milk

2 T. fresh chopped parsley or 2 teaspoons dried

¼ t. salt

¼ t. dry mustard

Dash of hot sauce

Toss cheese with flour in a bowl and place in pie crust. Sprinkle the ham over the cheese and set aside. Combine remaining ingredients in a small bowl beating well to combine. Pour over the ham and cheese mixture and bake in a preheated 400-degree oven for 15 minutes. Turn down heat to 350-degrees and bake until knife inserted off-center comes out clean, about 30 minutes more. Makes 1

Note: This quiche freezes well. After adding the fillings just wrap in heavy foil and freeze solid until ready to bake. When ready to bake unwrap and allow to sit at room temperature for 30-60 minutes. Bake as with the fresh version, but add another 10-15 minutes to the baking time. If you don’t want to freeze the pie pan, you can line the pie pan with foil before you add the crust. Once it is frozen you can remove the frozen quiche from the pie pan and wrap, returning to freezer. When ready to use unwrap and put the quiche back in the pie pan before baking.

You can also use a foil pie pan.

Posted in Cooking | Tagged |

Bacon Waffles

Bacon Waffles

If you are looking for a special breakfast for Mother’s Day, maybe mom would like some waffles. Even better, make her waffles with bacon inside them!!!

For me, breakfast doesn’t get much better than waffles. Well, unless maybe you add bacon to the waffle batter. Truth is, I don’t treat myself to waffles all that often, but if I am going to eat waffles, I go all out.

These are truly wonderful waffles. Light, crispy on the outside and studded with bacon. A drizzle of  warm maple syrup and you are good to go.

So, if you are looking for a special treat for mom for breakfast, or lunch, or dinner or a snack… try these bacon waffles. You can thank me later.


Bacon Waffles

1 pound sliced bacon
1 3/4 cups all-purpose flour
1 tablespoon sugar
2 teaspoons baking powder
1/2 teaspoon salt
3 eggs, separated
1½ cups milk
¼ cup butter, melted
In a skillet, cook bacon until crisp. Drain; crumble and set aside. In a mixing bowl, combine the flour, sugar, baking powder and salt. Beat egg yolks, milk and butter; stir into dry ingredients until smooth. Beat egg whites until stiff peaks form; fold into batter. Add bacon. Before making each waffle, stir batter. Bake in a preheated waffle iron according to manufacturer’s directions until golden brown.

“Ramping” It Up

Ramps

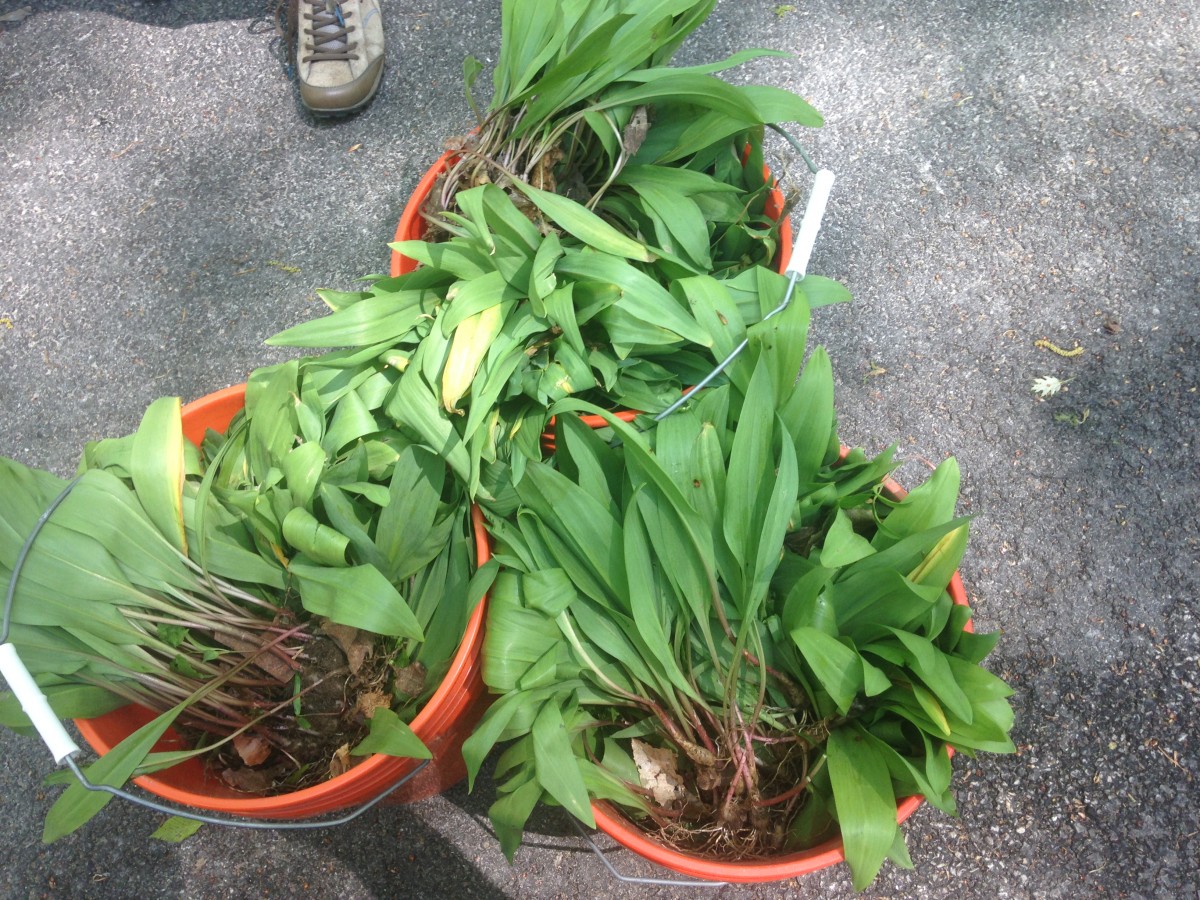
I had a request from two friends to forage some ramps. I was meaning to get some, but hadn’t done it yet. I used their requests to get me moving. We went to a location where I am allowed to harvest ramps. We each brought home one five gallon bucket of ramps.

If you haven’t tried ramps, you really don’t know what you are missing. Ramps are a member of the onion/allium family. They grow wild in wooded areas and are only around for about a month, during the Spring. They are sometimes called wild leeks or wild onions. Their flavor might best be described as a garlicky leek.

People have been foraging ramps forever. A recent increase in their popularity has put them at risk in some areas. Only pick ramps where it is legal to harvest them. Only purchase ramps from someone who you trust to harvest responsibly. While I love the bulbs, I only have a small patch of ramps in my yard, so I just harvest the leaves from them. That way the plants is not killed.

I first had ramps when I was in college. We were on a weekend scavenger hunt for a biology class. One of my classmates came upon a stand of ramps. She explained to me what they were. We harvested a few and made soup out of them for dinner that night. Our professor, Dr. Peter Gail,  was a forager and he showed us other wild edibles. This is where my love for foraging started.

So here are some of the ways I use my ramps.

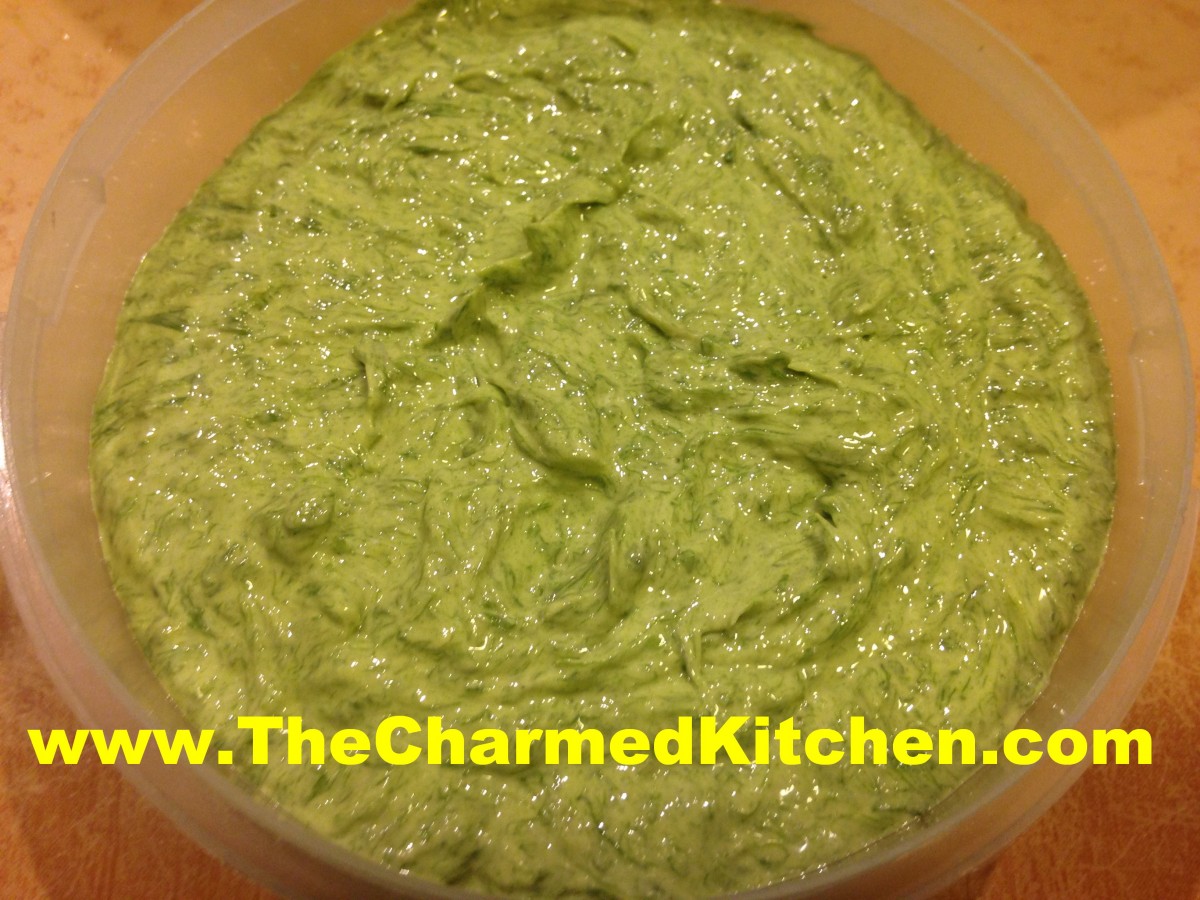
Ramp Butter

Ramp butter is a wonderful way to preserve the ramps and a great way to prep them for use in all sorts of recipes. The recipe is pretty simple- ramps, mixed with softened butter, perhaps a little lemon zest and some salt, if desired. The butter is then put in small containers, or shaped into little logs and frozen. Whenever you want some ramp flavor in your cooking, you just spoon out or slice off a bit of ramp butter.

I don’t know that I have a hard and fast “recipe” for ramp butter. I can tell you how I make mine, though.

I like my ramp butter with lots of ramps in it. Ramp forward, if you will.

I also like to blanch my ramps first. I find that blanching the ramps brightens their color, and mellows their flavor just a bit.

Start by bringing a pot of water to a boil. Place cleaned ramps leaves (or leaves and bulbs) in the boiling water. Have a large bowl of ice water handy. After one or two minutes, at the most, drain off the boiling water. Drain the ramps and then submerge them in the ice water. You want to stop the cooking quickly. Once cooled, drain the ramps and squeeze out excess moisture.

I mix equal parts of butter and blanched ramps. The ramps cook down a lot, kind of like spinach, so a cup of squeezed out blanched ramps is quite a few. I had 2 cups of ramps and combined them with 1 pound of unsalted butter. To that amount, I added a tablespoon of lemon zest. You can add some salt to the mix, too. Use a food processor to get the mixture well mixed and to chop the ramps up. I divided the mixture into 6 or seven containers and threw all but one in my freezer. The last container is in my fridge, being used in all sorts of dishes.

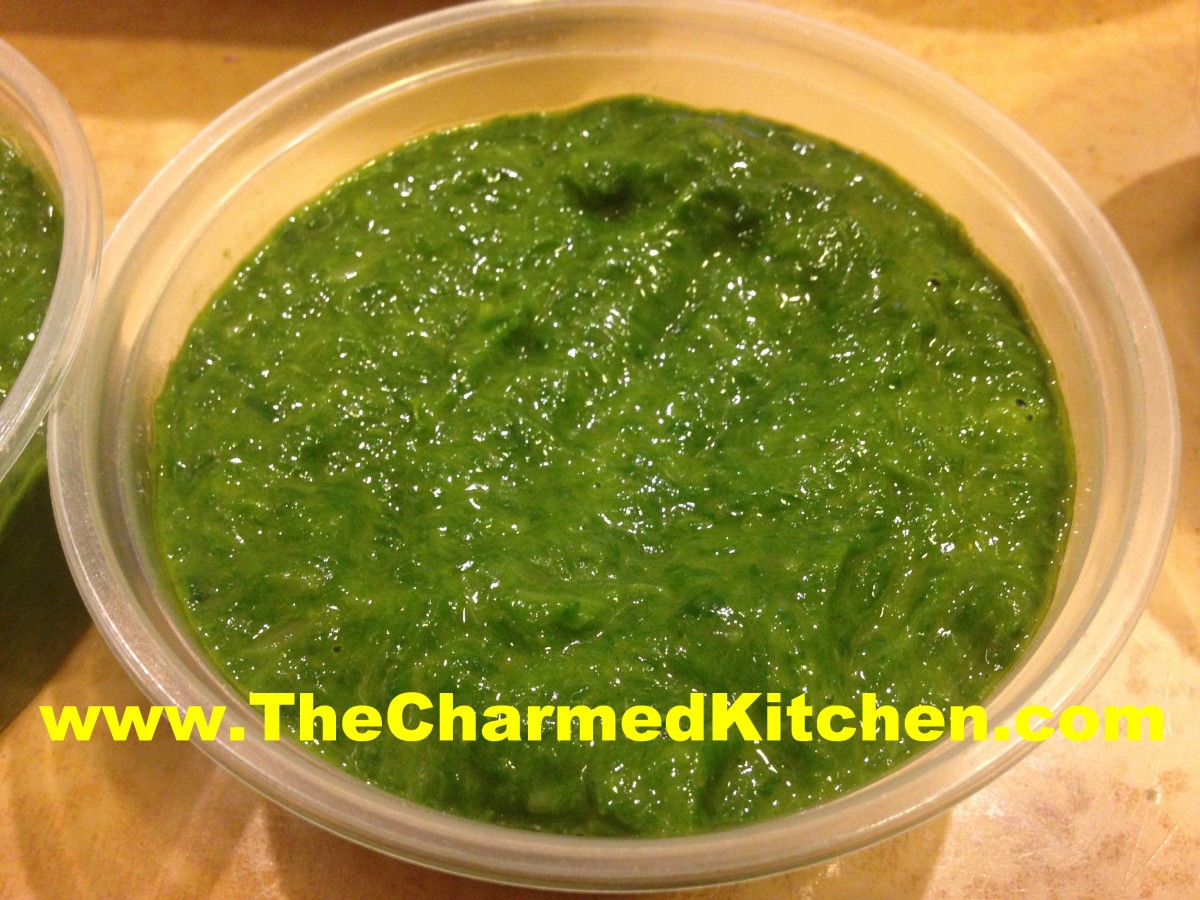
Ramp Oil

The process is similar to making ramp butter, but you use oil instead of butter. I used a lemon olive oil and some avocado oil.  I use those oils because I like the flavors, but also because they will freeze solid. For long term storage- ramp oil should be frozen. Any stored in the fridge should be used up in a week or two.

The uses are somewhat similar to ramp butter. You can use some of the ramp oil to make ramp pesto or ramp pasta. You can use it as a base for salad dressing. It is really good added to potato salads.

Prepare the ramps the same way you would for ramp butter. Blanch, drain, chill, squeeze dry. I placed the prepared ramps in a food processor and added about a cup of oil to two cups of ramps. I ran the machine until the mixture was pretty smooth. Add a little more oil, if needed. The mixture should be thick, but pour-able. The flavor is  intensely ramp. That is what I like. I can cut it down with other ingredients later on.


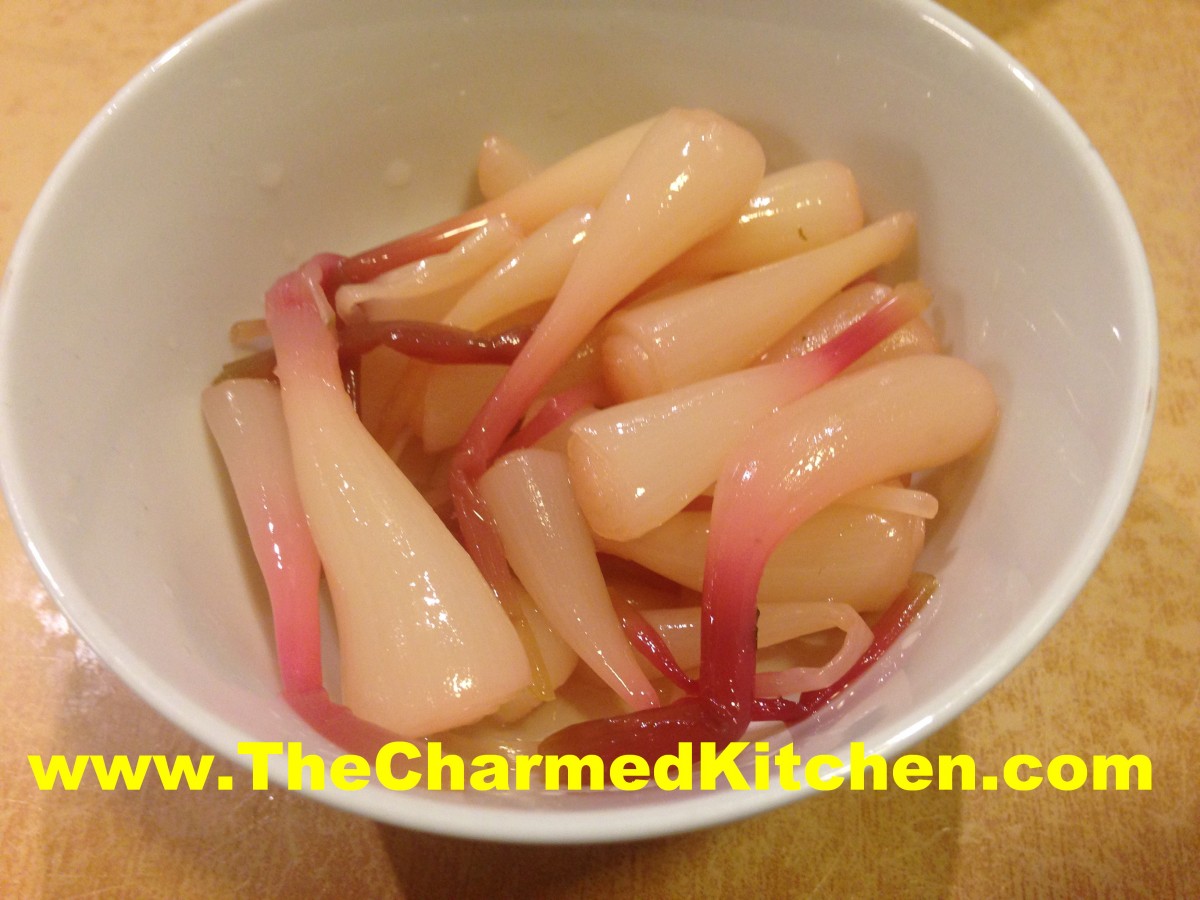
I use just the greens for my ramp butter and ramp oil- and save the bulbs to pickle. I made a sweet pickle with them. This is a “quick” pickle product, it is not fermented. You can eat them right away, but the ramp pickles are better if you wait a week or so, before eating. They are stored in the fridge. I used some of my Tuscan seasoning, rather than the more traditional pickling spice. Use what floavors you prefer.


Ramp Butter

Ramp Oil

Pickled Ramps

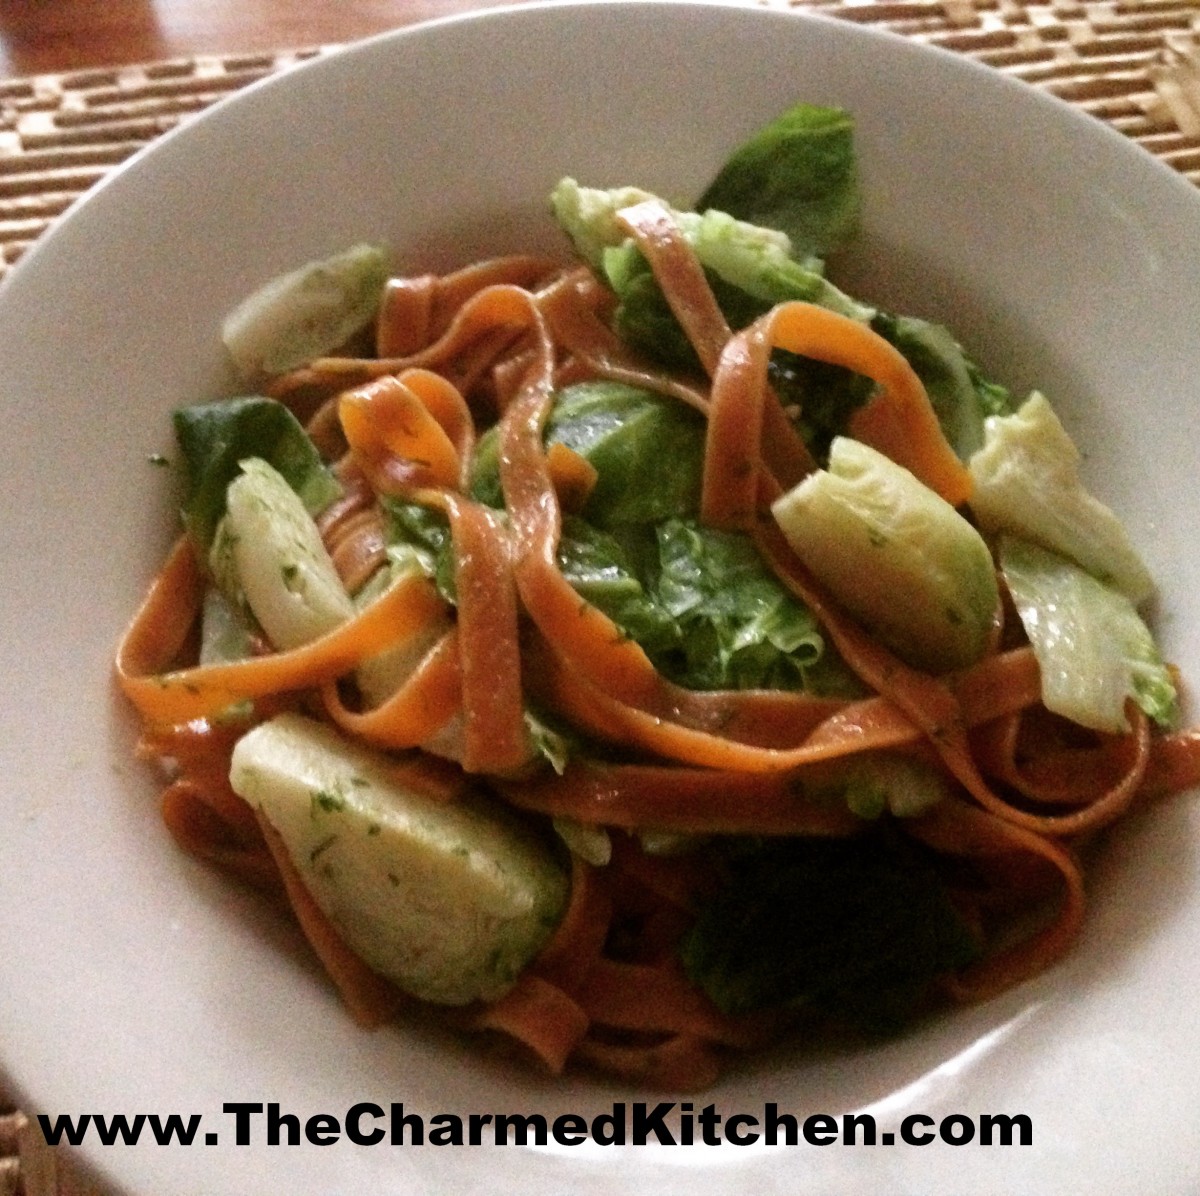
Tomato Pasta, Brussels Sprouts and Fresh Ramps


Carrots with Ramp Butter

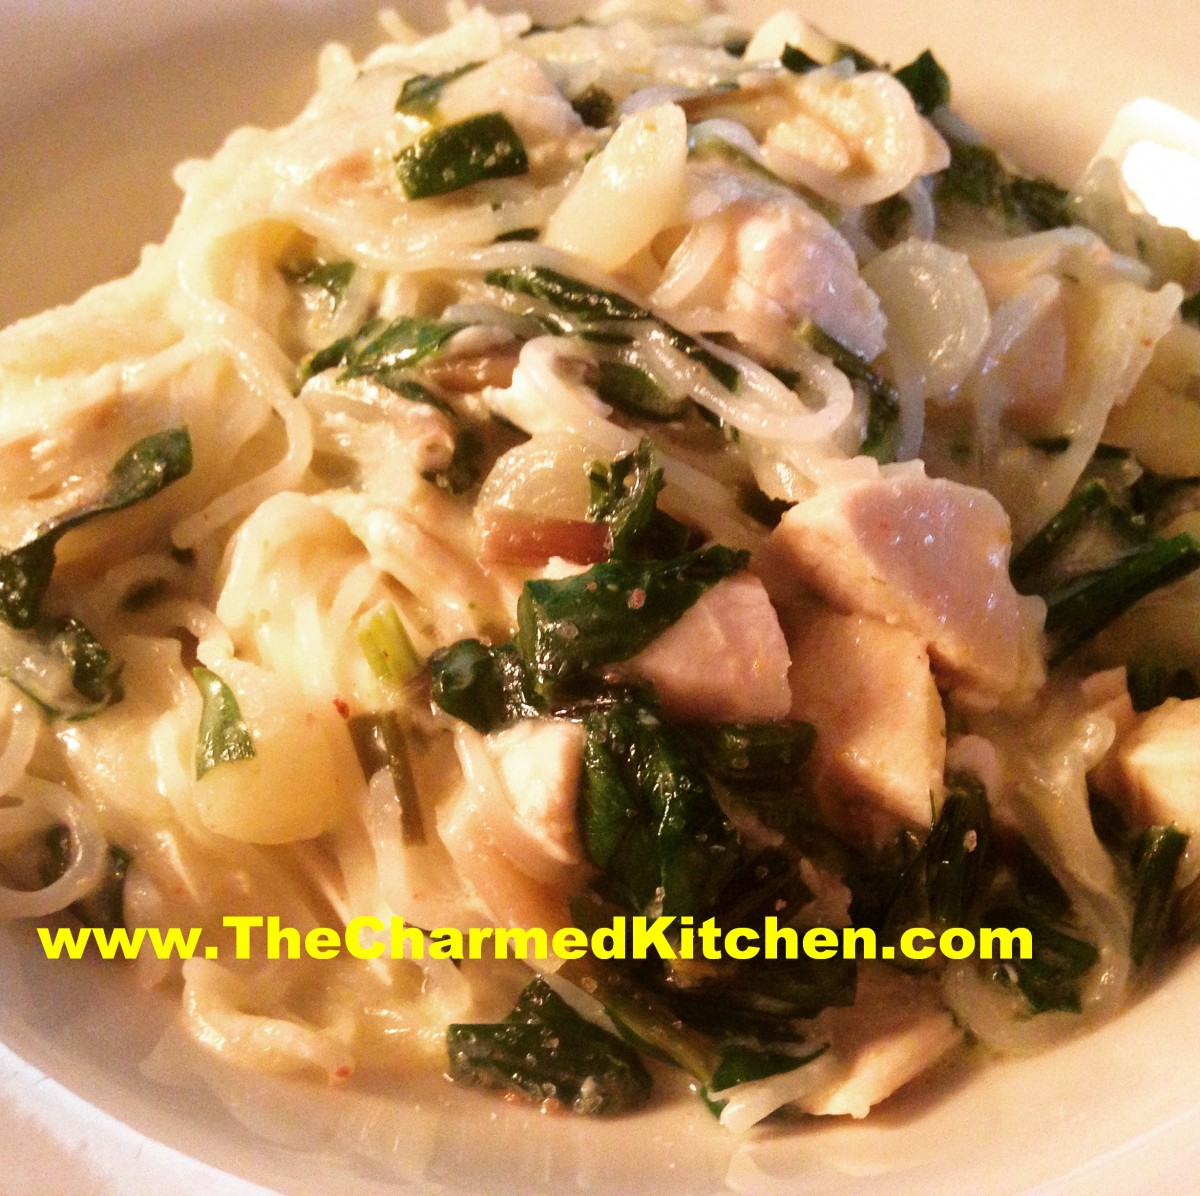
Ramps with Rice Vermicelli and Chicken in a Cream Sherry Sauce

Our Ramp Harvest


Pickled Ramps

4-5 c. ramp bulbs, some stem attached, if you like

2 c. cider vinegar

1½ c. water

1 c. sugar

2 T. salt

1 T. Tuscan seasoning*


Wash ramp bulbs well and remove any roots. In pot, combine all ingredients and bring to a boil. Turn down heat to a simmer. Cover pot and simmer 10-15 minutes. Remove from heat. Pour into a heat-proof jar. Cool a little, cover and place in fridge. You can eat the ramp pickles right away, but they taste even better if you wait a few days. Will keep in the fridge for a few months.


*Tuscan Seasoning


½ c. dried basil

½ c. dried oregano

½ c. dried marjoram

3 T. dried minced onion

2 T. dried minced garlic

2 T. dried rosemary

2 T. dried parsley

1 t. crushed red pepper


Combine all. Store in a cool, dry place. Use for any number of recipes, from marinara sauce, to salad dressings.


Again, enjoy ramps, but only if they were responsibly harvested.


Posted in Cooking | Tagged |

Violet Liqueur

Violets and Vodka

Since I posted a picture of some of my violets, steeping in vodka, I have received requests for directions on how to make violet liqueur. So here it is.

Violet liqueur is, in its most basic sense, a combination of violets and vodka, steeped together for several weeks, then strained and filtered. Once strained, the mixture is sweetened to taste with simple syrup.

Violet liqueur can just be sipped and enjoyed as is, but it is often used as an ingredient in cocktails.

I have made violet liqueur with the violets that grow in my yard. They are mostly white, with a small amount of purple color. The liqueur tastes great, but doesn’t have a lot of color. It comes out a light golden color. That is fine with me.

For this batch, I am using purple violets I got from a friend’s garden. The color will end up a light purple color. To make the color of your liqueur more purple, you can add a few raspberries or blackberries to the mix.

We need to talk about sweetening, too. A simple syrup is added to suit your taste. The recipe for simple syrup is at the end of this post. How sweet you make your liqueur determines whether it is a liqueur, or creme de violette. Lightly sweetened and it is violet liqueur. Double the amount of simple syrup and it is creme de violette. Strictly your choice and preference.

If you prefer to leave your violet mixture unsweetened, it is a violet eau du vie, which translates to violet water of life.

I use 1/2 cup of simple syrup for each cup of liqueur. Equal amounts of liqueur and syrup creates the creme de violette.

Violet Liqueur

1- 1 1/2 c. violet flowers, rinsed and drained

1 c. vodka

1″ piece vanilla bean, optional

a few fresh raspberries or blackberries, optional

1/2 c. simple syrup recipe follows

Combine violet flowers and vodka in a jar with vanilla bean and berries, if using. Screw on the lid and place the jar in a cool, dark place for at least 3 weeks for the flavors to combine. You can add more violets as you harvest them, if you don’t have enough at first. After a few weeks, strain out the flowers and other ingredients and discard them. Filter vodka mixture through coffee filters or several layers of cheesecloth to get it really clear. Sweeten to taste. Return to jar, seal and allow flavors to mellow another week. Enjoy!!


Simple Syrup

Simple syrup is made from 1 cup of sugar and ½ cup of water. Bring to a boil, then cool. You will have 1 cup of syrup. You can sweeten with honey, if you prefer. Watch when you substitute honey for sugar, as it is sweeter and stronger flavored. Add a small amount, let it sit for a day or so- and give it a taste. You can always add more sweetener later.


Lilac Vinegar

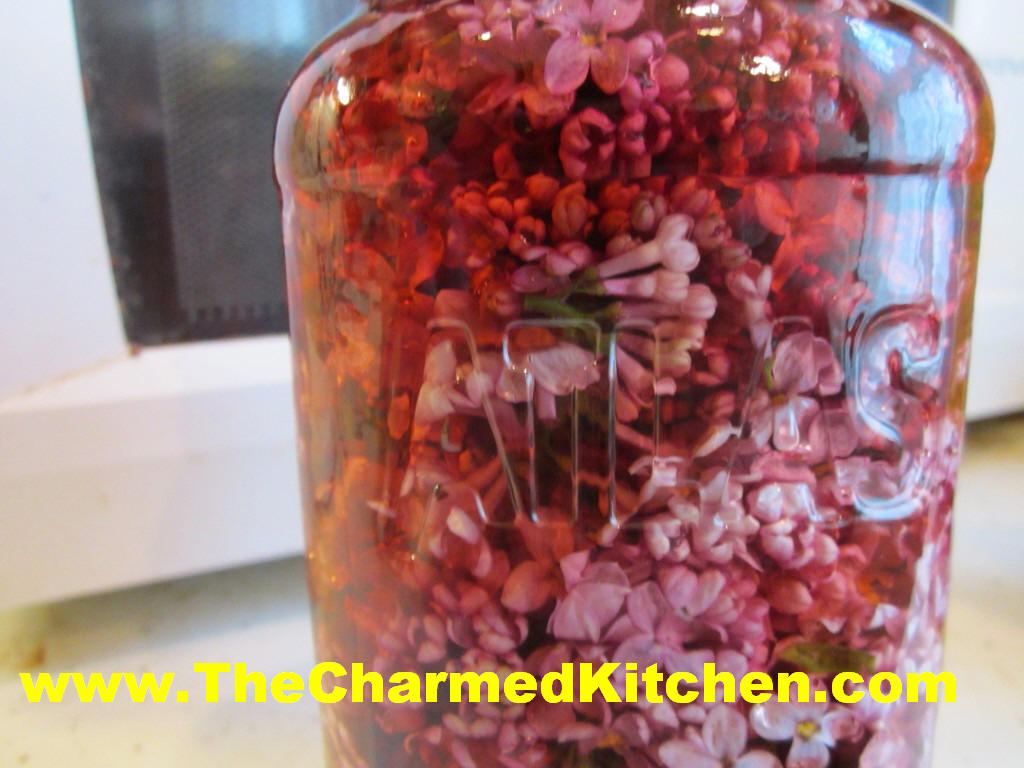
Lilac Blossoms Steeping in Vinegar

Since the lilacs are in bloom, I decided to preserve some of them and make lilac vinegar. As long as they are grown where chemicals haven’t been sprayed, lilacs blossoms are edible. The flavor is floral, with a touch of spice.

I use the lilac vinegar in salad dressings, marinades and in pickling. I also like to add a splash to soups or chili, to brighten them up.

To make lilac vinegar, just place clean lilac blossoms in a jar and cover with red wine vinegar.* Put a lid on the jar and store in a cupboard for 10 days or longer. Ideally, you want at least one cup of blossoms for every 2 cups of vinegar- to get enough lilac flavor into the vinegar. A one to one ratio- one cup blossoms, one cup vinegar, will give you an even more flavorful vinegar in the end.

When ready to use, strain out the blossoms and discard them. Pour the vinegar through a coffee filter to get out any remaining plant material.  You can transfer the lilac vinegar to a decorative bottle. It can be stored at room temperature but will hold its color longer if kept cool, even refrigerated.

* always use vinegar that is 5% acidity. You can use white wine vinegar, cider vinegar or whatever vinegar you like.

Posted in Cooking | Tagged |

“Melon Ball” Sorbets

“Melon Ball” Sorbets

I remember making melon balls for fruit salad, when I was a kid. My mom showed me how. It always seemed like a special occasion when we made them. I will admit, I haven’t made melon balls in a long time, but I still like the way they look.


I used melon balls at the inspiration for this dish. Funny thing is- there isn’t any melon in them. I made three different sorbets- strawberry, mango and kiwi. Each one is meant to resemble a different melon.

They can be served alone and make a light, wonderful dessert. You can add a scoop of ice cream or whipped cream, if you like.  They can also be served with cake or cookies.  You can even add some to a glass of lemonade or a summer cocktail, just for fun.

This dessert is easy to make and a nice alternative to ice cream. Don’t get me wrong, I love ice cream, but sometimes I want something lighter. Nice for those who are lactose intolerant, too. Once made, you can have them on hand for dessert anytime.


Strawberry Vanilla Sorbet

2 c. fresh or frozen strawberries (allow frozen berries to thaw a little first)

1/4 c. sugar, or to taste

3 T. fresh lemon juice

1 t. vanilla

Place ingredients in food processor and process until smooth. Place in shallow pan and freeze. If you are using frozen berries re-freezing will take only about 1 hour. Up to 30 minutes before serving remove sorbet from freezer and allow to soften enough to break into chunks. Place in processor and blend again until very smooth. Return to freezer until needed.

Mango Honey Ginger Sorbet

2-3 large, ripe mangoes, seed and peeled

1/4 c. honey, or to taste

2-3 t. fresh grated ginger

Place ingredients in food processor and process until smooth. Place in shallow pan and freeze.  Up to 30 minutes before serving remove sorbet from freezer and allow to soften enough to break into chunks. Place in processor and blend again until very smooth. Return to freezer until needed. For an even smoother sorbet, you can blend it another time.

Kiwi Lime Sorbet

6 kiwi, peeled

juice of 1 lime

1/4 c. sugar, or to taste

Place ingredients in food processor and process until smooth. Place in shallow pan and freeze.  Up to 30 minutes before serving remove sorbet from freezer and allow to soften enough to break into chunks. Place in processor and blend again until very smooth. Return to freezer until needed.


To serve the sorbets, use a cookie scoop to make the “melon” balls. I made them as I was serving them, but you can also make the balls and return them to the freezer until ready to serve.


Strawberry Ice Cream Cake Roll

Strawberry Ice Cream Cake Roll

This is the perfect summer dessert. Fresh berries, a light, citrus scented cake and ice cream. What more could you want?

When you say cake roll, I think a lot of people first think of a pumpkin roll or Buche de Noel (yule log).

There are so many more desserts you can make with them. Cake rolls can be made in many flavors and they can be filled with custard, frosting, fruit, ice cream and more.

For this sponge cake roll, I used homemade strawberry ice cream to fill it, recipe follows. You could use store bought ice cream, if you prefer.

Start with the sponge cake roll recipe below, and use whatever flavor ice cream you like. You’ll need about a quart of ice cream- or a little more.

Once finished, you just wrap it up and pop the cake in the freezer until needed. Great to have on hand for summer parties and cook outs. You can decorate with fresh berries when serving. Blueberries would make this a fun red, white and blue dessert for Memorial Day or the 4th of July.

Sponge Cake Roll

This sponge cake roll can be filled with whipped cream or ice cream, or use your favorite filling.
5 eggs, separated
2/3 cup granulated sugar
1 teaspoon lemon juice
1/2 teaspoon finely grated lemon zest
2/3 cup cake flour*
1/4 teaspoon salt
1 teaspoon baking soda
3 tablespoons melted butter
Beat egg yolks until thicken and lemon colored; gradually add 1/3 cup of the granulated sugar, the lemon juice and the lemon zest. Beat egg whites until almost stiff then gradually beat in the remaining 1/3 cup sugar. Beat until stiff peaks form. Fold yolk mixture into whites. Sift dry ingredients into a separate container; add to egg mixture, folding in carefully. Fold in melted butter. Pour batter into waxed paper-lined 10x15x1-inch jelly roll pan. Bake at 375° for 12 minutes. Sprinkle with confectioners’ sugar. Turn onto a clean kitchen towel which has been generously dusted with confectioners’ sugar. Trim edges, if necessary; roll cake up, towel and all, while still warm. Let cool completely. Unroll and fill with whipped cream or ice cream then re-roll cake. The trick is to let the ice cream soften up a few minutes before spreading it on the cake. But don’t wait too long. Rather than trying to let the ice cream get soft enough to spread I used a spatula to sort of cut slices of ice cream and place them on the cake.  Store ice cream cake roll in freezer until ready to slice and serve.

*If you don’t have cake flour you can make your own. Measure out a cup of all purpose flour, remove 2 tablespoons of flour and replace them with 2 tablespoons of cornstarch. For larger amounts place 7 cups of flour in a bowl and combine with 1 cup of cornstarch. Mix well or even sift together. Store in an airtight container.


Strawberry Ice Cream

2 c. chopped strawberries

1 c. sugar

1 T. vanilla

2 c. cream or  half and half or a combination. You can also use some milk or even almond or rice milk.

Additional sugar to taste

Place strawberries, vanilla  and sugar in saucepan and bring to a simmer, stirring occasionally. Remove from heat and chill. Combine chilled berry mixture with cream. Add additional sugar if you like. Remember that once it is frozen the ice cream will not taste as sweet so make this mixture a little sweeter than you want the final product to be. How much sugar you add varies with personal taste, and how sweet the berries are. Place in an ice cream maker and process according to manufacturer’s directions. Once finished put in an air- tight container and place in freezer. Makes about 1 quart.


Posted in Cooking | Tagged |

Honey Ginger Mango Sorbet

Honey Ginger Mango Sorbet

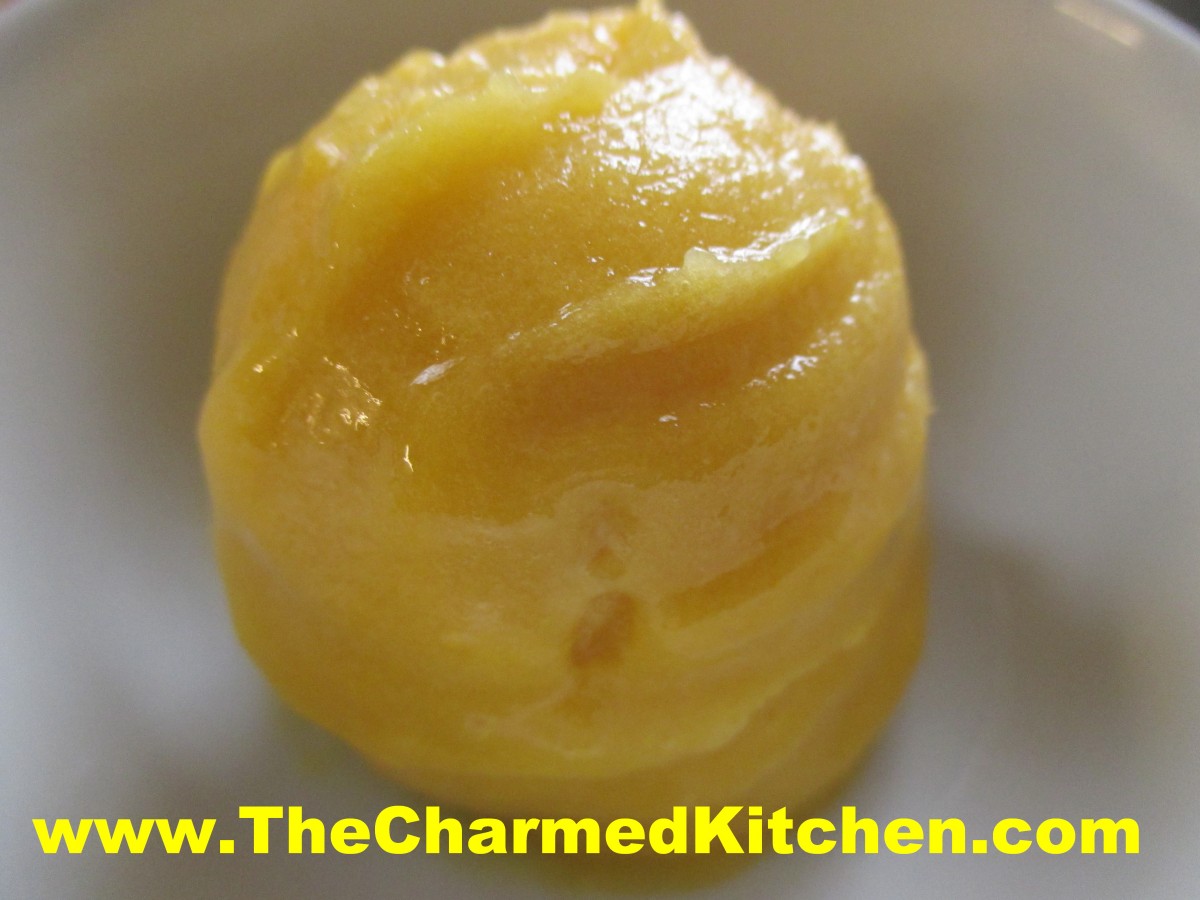
Sorbet is a great dessert for warm weather.  When I saw Champagne mangoes on sale the other day, I knew I wanted to turn them into sorbet. I also picked up a fresh piece of ginger root, and decided to add some to the sorbet, along with some honey for extra sweetness. The flavors worked great together.

The secret to a creamy sorbet is pureeing the mixture twice. Once with the fresh fruit, then again once the mixture has frozen. Once pureed the second time, you can put your sorbet back in the freezer until ready to serve. It is a nice dessert to have on hand.

Sorbet can be served on its own, with cookies, cake or fresh fruit. You can also add a scoop of sorbet to your favorite Summer cocktail.

I like to keep several different sorbets on hand, so my guests can mix and match. Making a fresh fruit sorbet is also a way of saving seasonal fruits for use throughout the year.

Here is the recipe for the mango sorbet. You might want to add a little more, or less, honey to suit your own taste. Once frozen, the sorbet will not taste as sweet. The sweetness of the mangoes will also determine how much honey you add to your sorbet.


Honey Ginger Mango Sorbet


6 ripe mangoes

½ c. honey

1 T. fresh grated ginger


Remove peel and pits from mangoes. Puree the mangoes and add the honey and ginger. Freeze. After the mixture is frozen, place mango puree in a food processor and mix again until creamy. Serve, or place back in freezer until ready to serve. Makes about 1 quart.

Strawberries and Cream Bread

Strawberries and Cream Bread

I have posted this recipe before, but have been getting requests for it, so I thought it was worth sharing again. Since strawberries are in season, it seemed like the right time to post this recipe.

This is one of my favorite quick breads. The bread is tender and full of the sweet taste of fresh strawberries.

The batter will be very thick- don’t worry- it is supposed to be that way. When it cooks, the juices from the fresh berries keeps it moist. I always end up making a double batch, one loaf to eat fresh and one to give as a gift, or freeze.

This bread is fine just the way it is for dessert, or you can top slices with ice cream, whipped cream or some melted chocolate.


Strawberries and Cream Bread

1 ¾ c. flour

½ t. baking powder

½ t. baking soda

½ t. salt

½ t. each  cinnamon and nutmeg

½ c. butter, at room temperature

¾ c. sugar

2 eggs, room temperature

½ c. sour cream, room temperature

1 t. vanilla

1 c. fresh strawberries, coarsely chopped*

¾ c. chopped nuts, optional


Grease an 8×4 inch loaf pan and preheat oven to 350 degrees. In a large bowl combine dry ingredients. Set aside. In small bowl beat butter until creamy. Add sugar and beat 1 minute. Beat in eggs one at a time. Beat in sour cream and vanilla. Stir in flour mixture until just moistened. Fold in strawberries and nuts and place batter in prepared pan. Bake 60-65 minutes, or until toothpick inserted in center comes out clean. Let stand in pan 10 minutes. Remove from pan and cool on wire rack. Makes 1 loaf. Freezes well.

*  frozen berries are not recommended in this bread.

Posted in Cooking | Tagged , |