Plum Jam
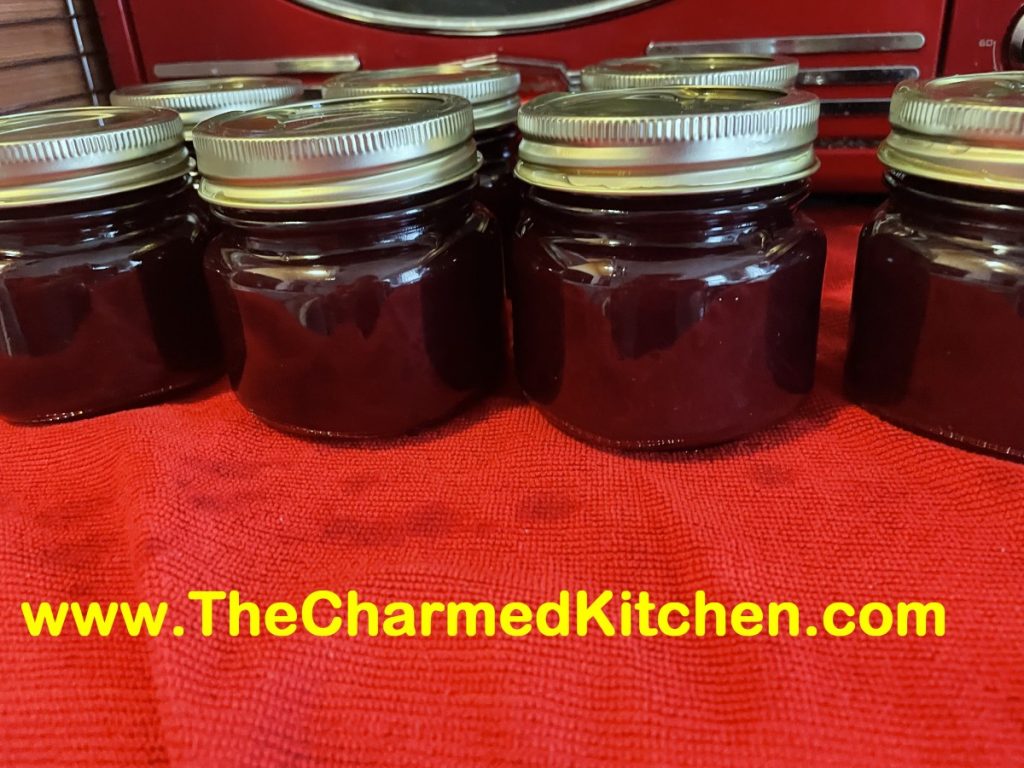
This is one of the easiest jams you can make. You don’t need pectin and it cooks pretty quickly into sweet, thick jammy goodness. I prefer a softer set, so I stopped cooking mine a little sooner than you might prefer. I like a jam that spreads easily, even after it has been opened and stored in the fridge. I hadn’t made plum jam in a long time. That will change after this. I love this jam.
Because I hadn’t made it in years, I did a test with just a couple of plums. The flavor was great, but some of the pieces of the peel seemed too big. I could see them in the finished jam. I was using plums with black/purple skins but golden flesh. I wanted the skins to break down into smaller flecks. When I put a couple of pitted plums in my smallest processor, they chopped up great, but not the peels. This is purely a cosmetic issue, but it bothered me. I ended up scoring the plums with a very sharp knife just at the surface into small, really small squares.Then I proceeded to remove the pits and chop up the plums in my processor. It worked out so well. Of course, by the time I had cooked a whole batch of jam, the longer cook time really turned the jam a dark red color. Not sure if the skins would have shown up. I will never know for sure. I was very pleased with how this jam looked in the end.
So here is the recipe. I got it from the NCHFP website. The only changes I made was to up the processing time to 10 minutes, so I didn’t have to sterilize the jars. I also let the jam sit in the canner a few extra minutes to prevent siphoning.
Plum Jam
2 quarts chopped tart plums (about 4 pounds) – any plums will work
6 cups sugar
1½ cup water
¼ cup lemon juice
Combine all ingredients; bring slowly to boiling, stirring occasionally until sugar dissolves. Cook rapidly to, or almost to, the jellying point (which is 8°F above the boiling point of water, or 220°F at sea level). Stir constantly to prevent sticking or burning.
Pour hot jam into hot jars, leaving ¼ inch headspace. Wipe rims of jars with a dampened clean paper towel; adjust two-piece metal canning lids. Process in a boiling water bath canner for 10 minutes. Turn off the heat and allow jars to remain in canner 5 minutes before removing. Set jars on cooling rack or towel in a draft free place while they cool down. Check seals once jars are cool. Yield: About 8 half-pint jars.
Marinated Tomato Salad
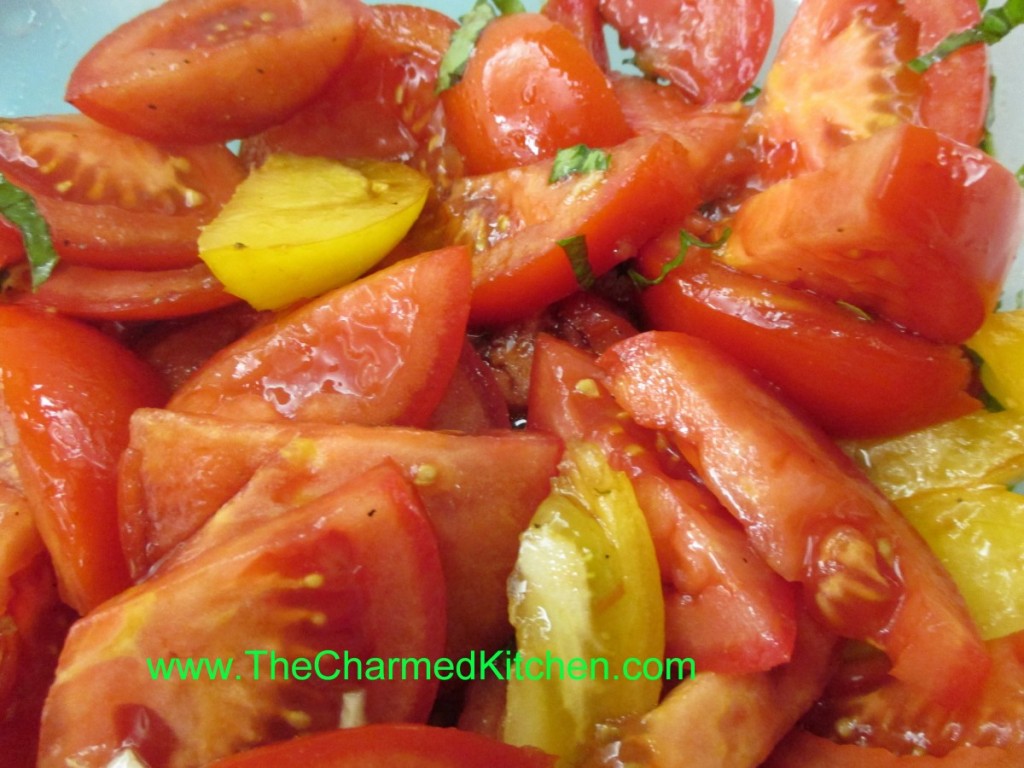
This salad is simple, but very tasty. It really highlights the tomatoes. We made this recipe in class earlier this week. I think that is how it should be. When you have something as close to perfection as a ripe tomato, little more is needed.
Tomato season is too short around here. I can never get enough of what my mom called “real tomatoes”. The first few tomatoes never made it in the house. Warm from the sun, they were too tempting. We would pick them right off the plant and eat them. Deer have made it pretty impossible for me to grow tomatoes right now. Luckily, local farm markets have many beautiful tomatoes. I am enjoying eating fresh tomatoes right now. Later in the season, I will purchase enough tomatoes to can and dehydrate to enjoy once the season is over.
Marinated Tomato Salad
3 large tomatoes, cut in wedges, or 2 pints cherry tomatoes, halved
1 T. olive oil
1 clove garlic, minced
2-3 basil leaves, cut into thin strips
2 T. balsamic vinegar
salt and pepper to taste
Combine ingredients and serve at room temperature. Serves 4-6.
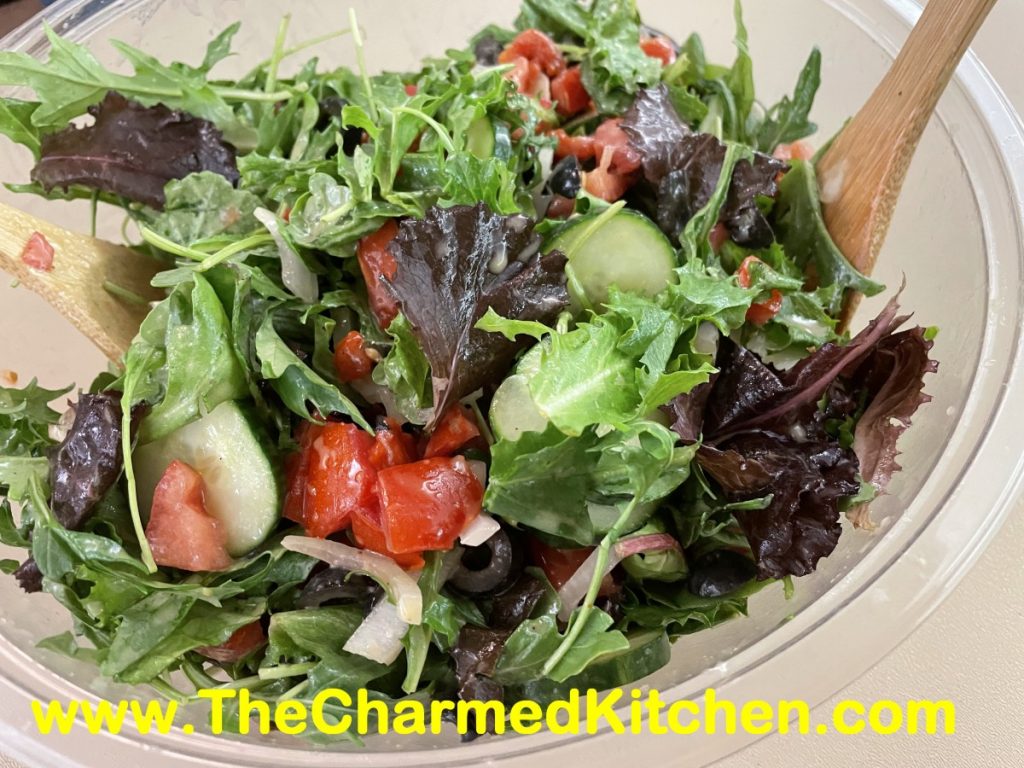
Greek Salad
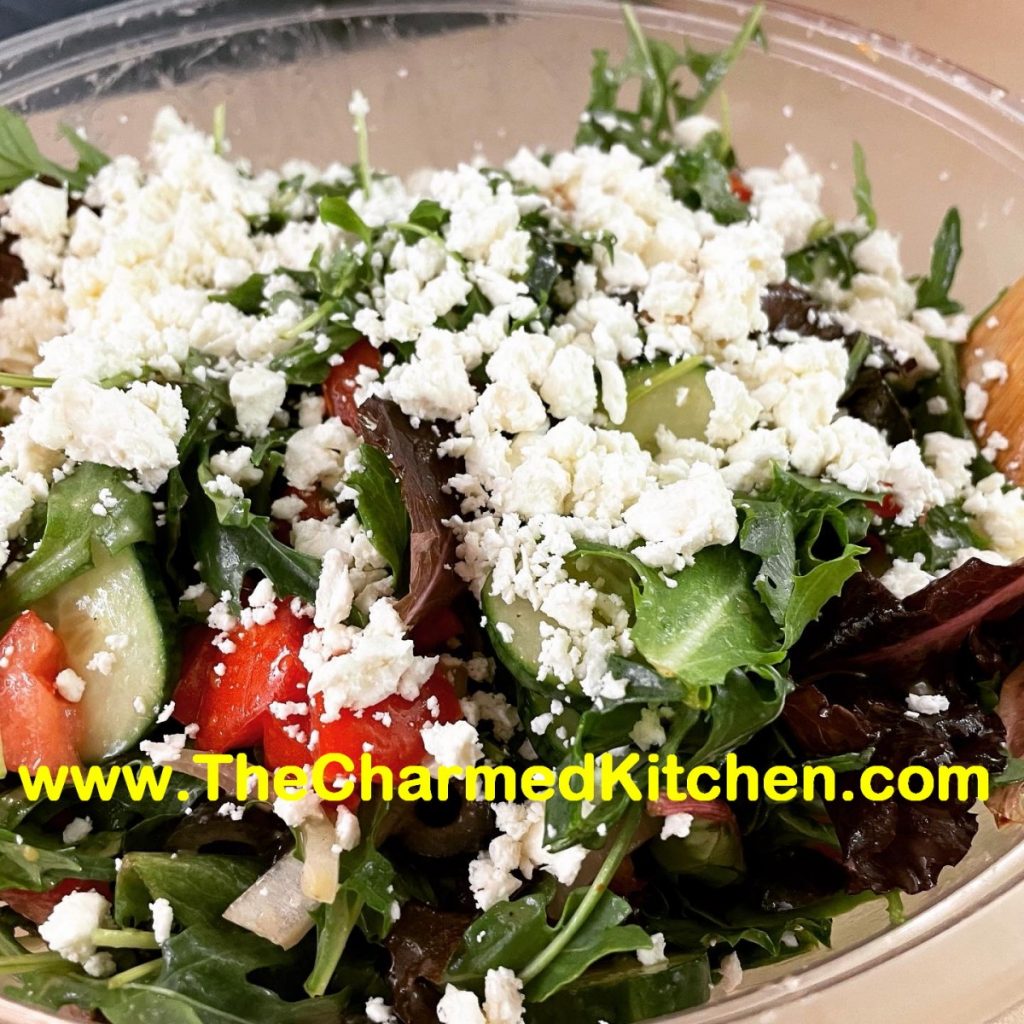
This is the perfect time of year to enjoy fresh tomatoes. Greek Salad is one of my favorite recipes using fresh tomatoes. The mix of tomatoes, salad greens, cucumbers olives and feta…. so good. Plus that dressing made with fresh lemon juice and olive oil.
We made this salad in class the other night. The class was about cooking with tomatoes. With all the other ingredients in this recipe, using really good tomatoes is so important to how this salad tastes. We may have added a little extra feta, too.
In the summer when we would get local tomatoes, or grow our own, my mom always called them “real” tomatoes. The tomatoes we got the rest of the year were always disappointing by comparison.
So here is the recipe.
Greek Salad
8 c. mixed salad greens – I like Romaine and spinach
3-4 tomatoes, seeded and diced
1 roasted sweet pepper, seeded and diced*
2 c. sliced cucumber
1/2 sweet onion, sliced thin
1/2-3/4 c. sliced olives
4 oz. crumbled feta cheese
Dressing
Juice of 2 lemons
2-3 cloves garlic
1 t. sea salt
1/2 t. oregano
1/4 t. crushed red pepper
1/2 -2/3 c. olive oil
In large bowl combine vegetables. In blender combine lemon juice with garlic, salt, oregano and pepper and blend until smooth. With machine running add oil in a slow steady stream until it becomes emulsified. Adjust seasonings. Toss with vegetables and top with olives and cheese before serving. Serves 4-6.
* Here is how to roast a pepper, in case you didn’t know.
Roasting Peppers
Caponata
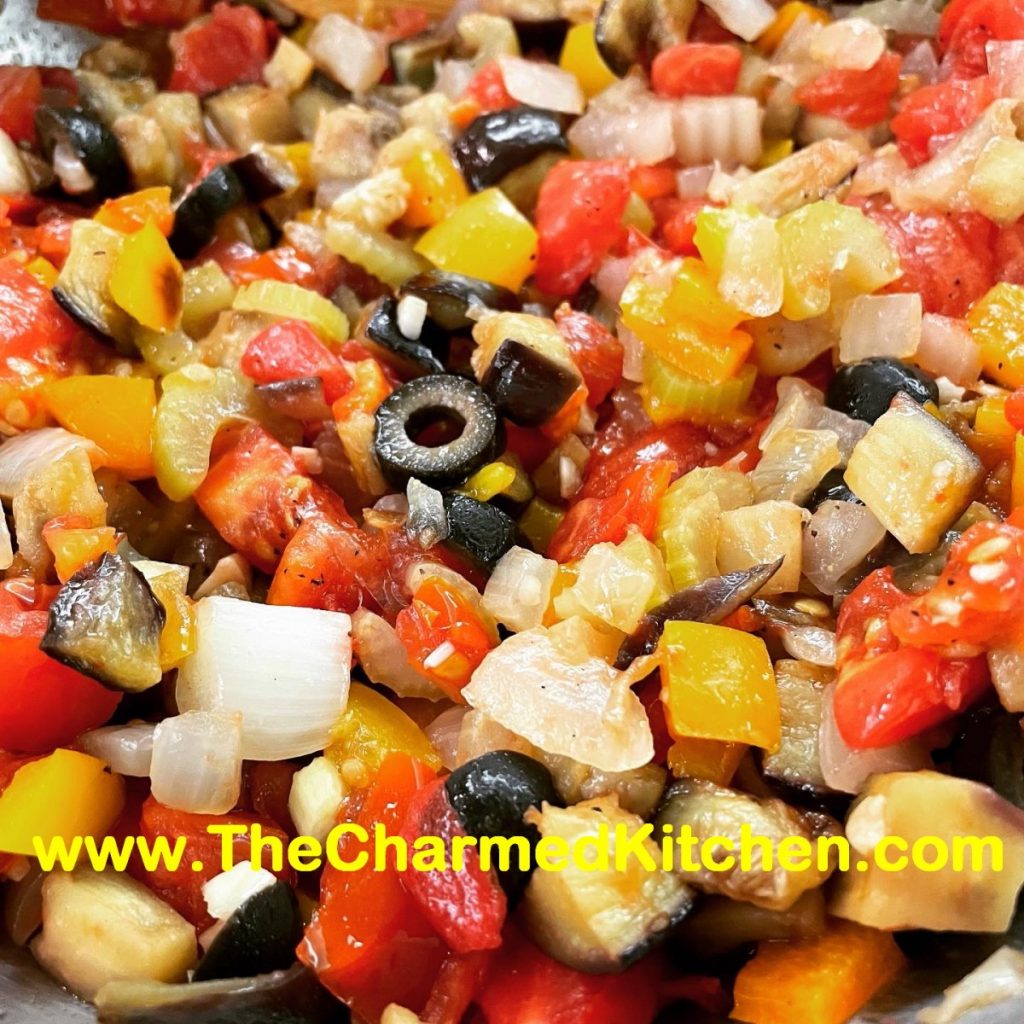
For a tomato cooking class last night we made Caponata. Someone once asked me what it was, and I said kind of like salsa- only with Italian ingredients. Not sure if that sums it up, but Caponata is a mix of several vegetables with some seasonings.
Caponata can be served cold, at room temperature or hot. I enjoy it as an appetizer with crusty bread but I also add it to marinara sauce, top pizza with it or add it to vegetable stock with some cannelini beans for a great vegetarian soup. While my version does not contain capers- I sometimes add them. They marry well with the other flavors in this dish.
This is one of those vegetarian dishes that everyone seems to love. The version here is vegan- but you could add a few curls of Parmesan on the top.
Caponata
2 small eggplants, unpeeled and cut into 1/2-inch pieces, about 5-6 cups
1 large onion, chopped
1/2 c. olive oil, or a little more
4 celery ribs, sliced
2 sweet peppers, seeded and chopped
1 heaping tablespoon chopped garlic
3 tomatoes, chopped- or 1 (14.5) can diced tomatoes- undrained
1 c. sliced black olives
3-4 T. red wine vinegar
salt and pepper to taste*
Soak eggplant in salted water for at least 15 minutes. Rinse, drain and pat dry. Set aside. Meanwhile in skillet cook onion in 2 tablespoons of the oil until tender. Add the celery and cook until the celery is tender-crisp. Place mixture in a mixing bowl and set aside. Heat 2 tablespoons more of the oil and cook the peppers until tender. Add garlic and cook 1 minute longer. Add the tomatoes and cook 1 minute longer. Add this mixture to onion mixture and return skillet to the heat. Add remaining oil to skillet and cook eggplant until golden brown and tender. You may have to do this in 2 batches. Add remaining ingredients to bowl while eggplant is cooking. When eggplant is done add it to the bowl and mix well., Season to taste. Serve with crusty breads cold, hot or at room temperature. Serves 10-12.
* While I don’t have any herbs listed in the ingredients I often add oregano and basil or an Italian or Tuscan seasoning blend. I also like to add capers.
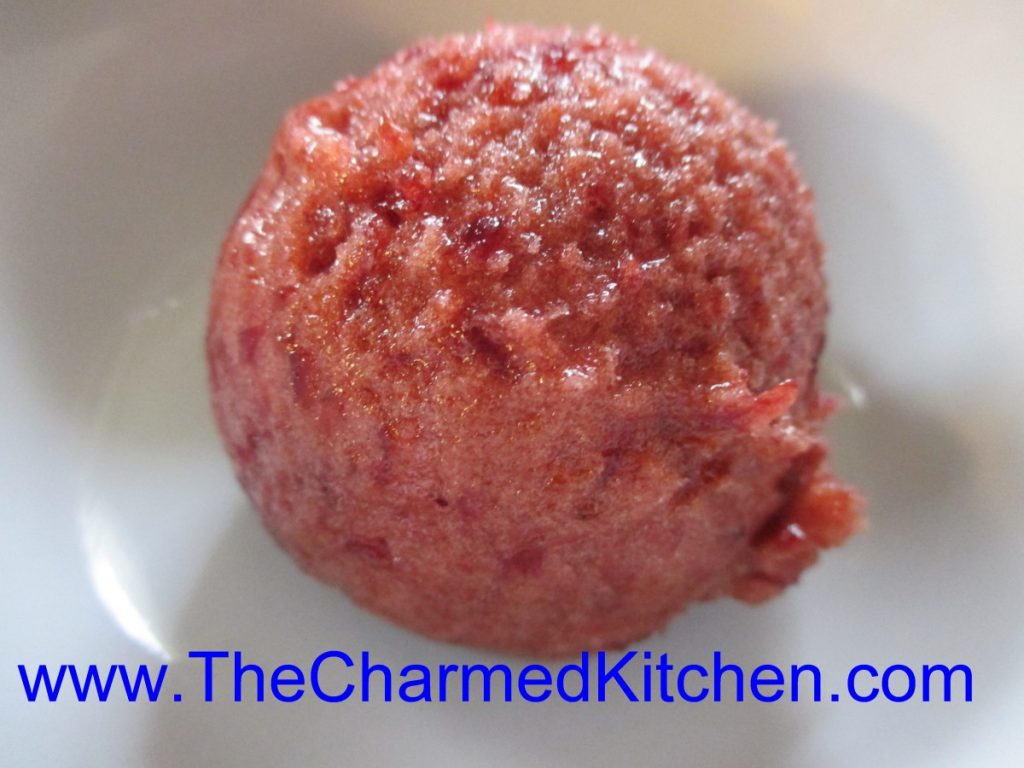
Cherry Almond Sorbet
I love all sorts of sorbets. I make them all year long, but seem to make more when summer arrives. The basic recipe is simple – just pureed fruit, some sweetener and usually, some flavoring or herb, to add interest. They are so light and refreshing. The perfect dessert for summer.
So far I have make sorbet from pineapples, mangoes, strawberries, blueberries (with red grapes), peaches, cranberries and coconut. I am sure I have forgotten some of them.
I picked up fresh cherries at the market, so I decided to make cherry sorbet with some of them.
Fresh cherries are one of my favorite fruits of all time. I love both sweet and sour cherries. For the sorbet, I just pitted a pound of sweet cherries, added sugar and some lemon juice. It needed a little something more- so I added almond extract. Really worked well with the cherries. You could easily use sour cherries in this recipe. You might want to add just a little more sugar. This sorbet would also be wonderful with a little vanilla added, or perhaps some fresh mint or basil.
So here is the recipe. Simple and sweet.
Cherry Almond Sorbet
1 lb. cherries, pitted
3/4 c. sugar, or to taste*
3 T. lemon juice – it helps the cherries retain their color
1 t. almond extract
Place cherries in blender or food processor, with the sugar and extract. Blend until smooth. Adjust sweetener to suit your taste. Place in a container with a lid and freeze. Once mixture is frozen, remove from the freezer, break into chunks and place in food processor. Process until mixture looks creamy and smooth. You might have to do this in batches, depending on the size of your food processor. Eat or return to freezer until ready to use. Makes just over a quart of sorbet.
*Feel free to use other sweeteners you like in place of the sugar. Honey or maple syrup would both work nicely.
Warm Pasta and Tomato Salad
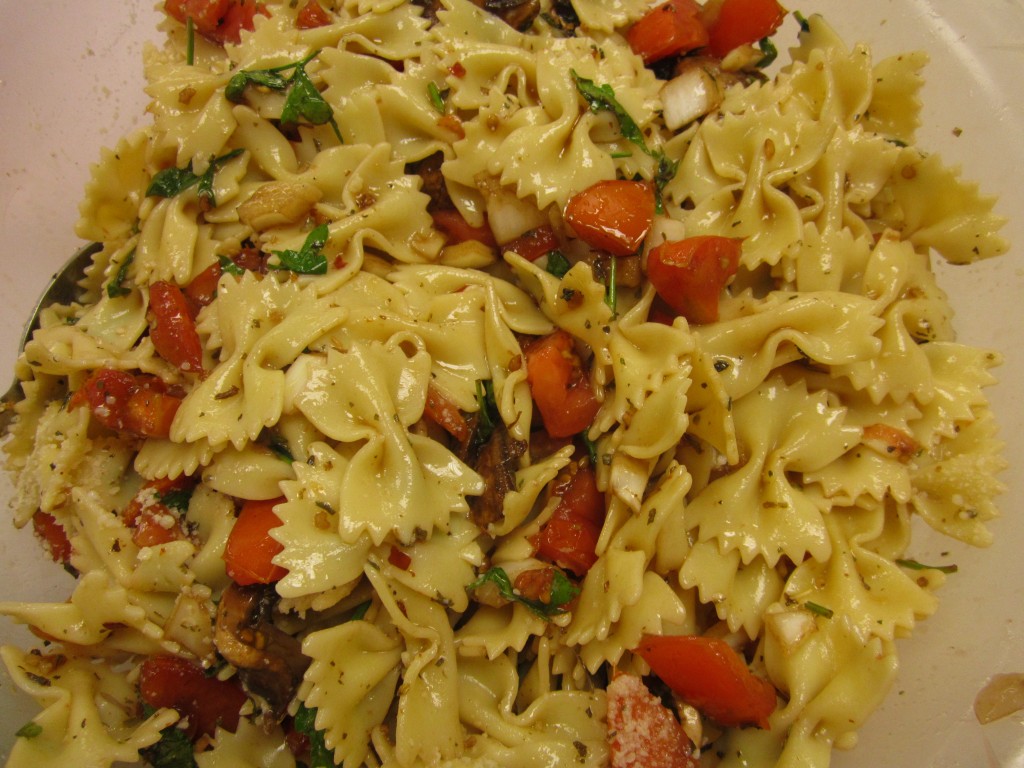
This salad has been a favorite of mine for a long time. I make it when fresh tomatoes are in season. You can serve it on its own, or as a side to grilled meats. It’s not like most salads, in that it is served warm.
The start of the salad is a mix of fresh tomatoes, mushrooms, oil, seasonings, vinegar. A lot of the typical ingredients you might find in a salad. These ingredients are mixed together and chilled, allowing enough time for the flavors to blend.
When you are ready to serve the salad, you toss the tomato mixture with fresh cooked, hot pasta. The result is a warm salad. Of course, you can serve leftovers cold, if you like.
Sometimes I top the salad with Parmesan cheese, too.
So here is the recipe. If you have some fresh tomatoes, you might want to try this salad. It really is tasty.
Warm Pasta and Tomato Salad
1 lb. Plum tomatoes, chopped
1 medium sweet onion, chopped
4 oz. Fresh mushrooms, sliced
2 cloves garlic, minced
¼ c. fresh parsley, chopped
1 T. dried basil or 1/4 c. chopped fresh basil
1 T. capers, optional
1 t. dried oregano
½ c. olive oil
¼ c. red wine vinegar
3 T. balsamic vinegar
Dash of hot red pepper flakes
Salt to taste
1 lb. Uncooked pasta
Combine all ingredients, except pasta, and chill overnight. Cook pasta, drain and toss with tomato mixture. Mixture should be served right away. Serves 6.
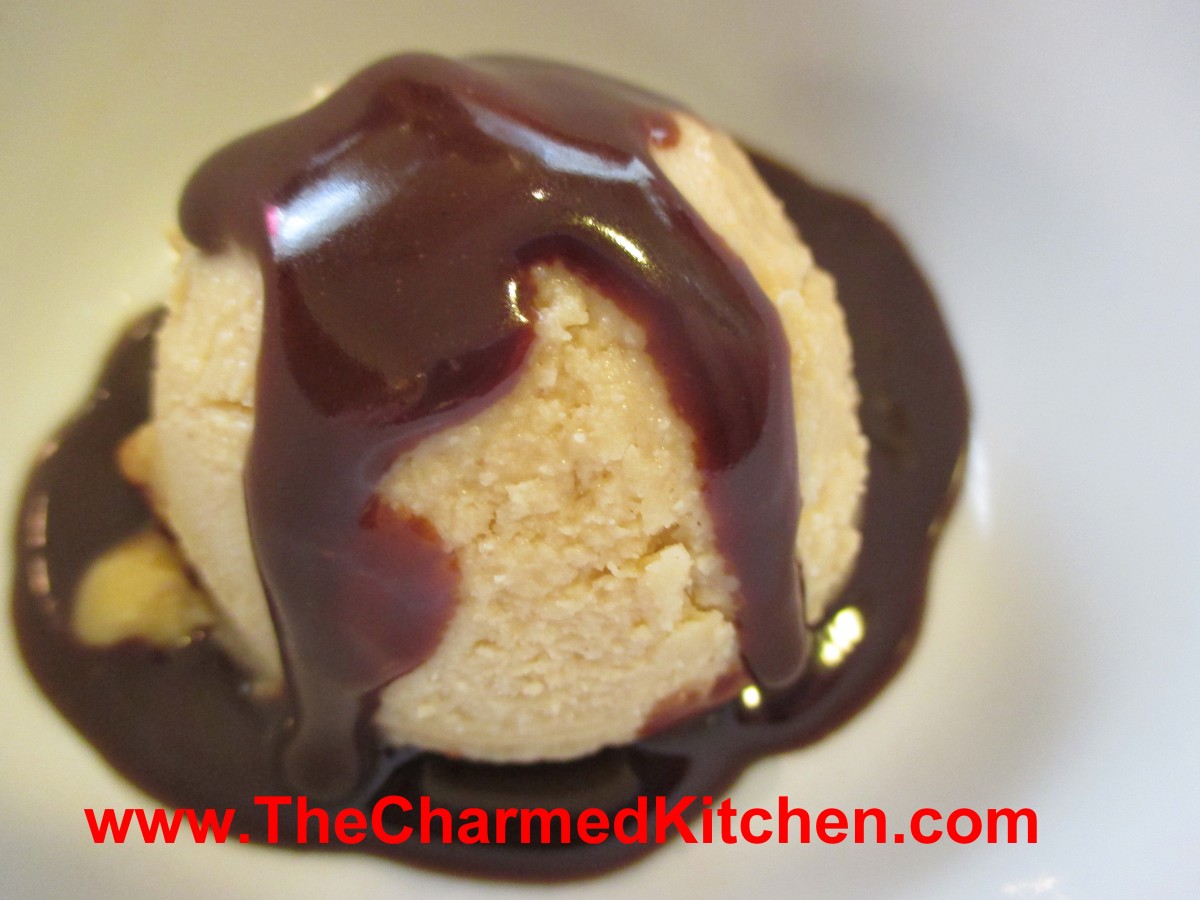
Homemade Peanut Butter Ice Cream
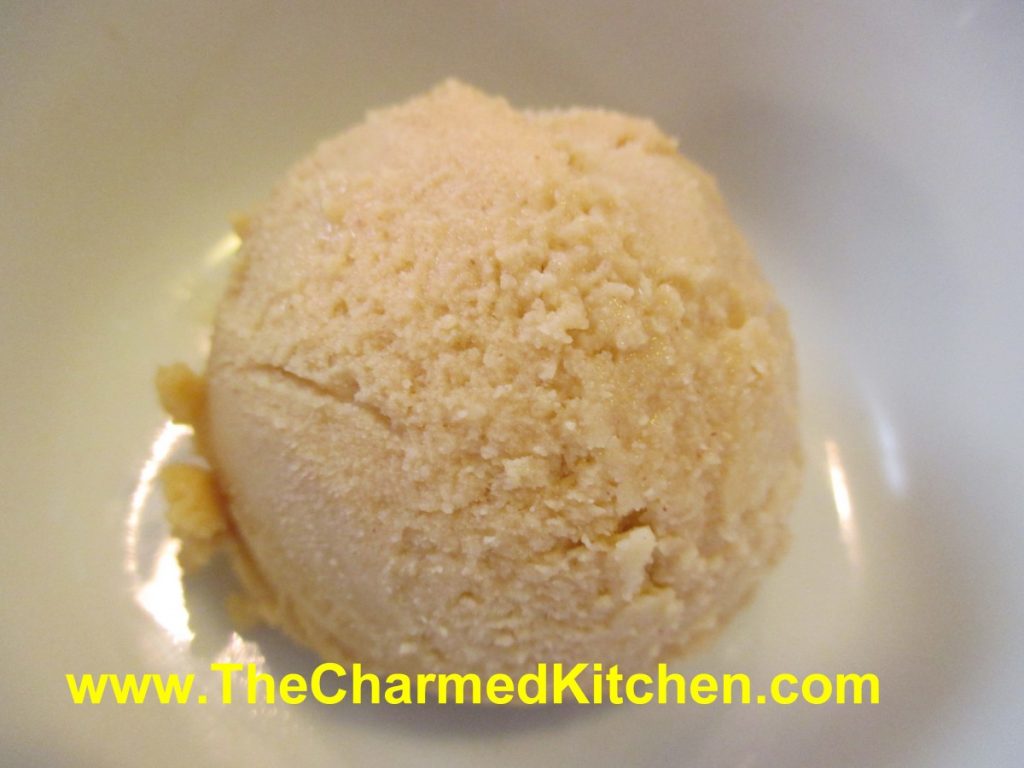
Why did it take me so long to make peanut butter ice cream? I love peanut butter and I make ice cream pretty often. I just never thought of putting those two things together.
I kept it simple, and was really happy with the results. I wanted a strong peanut butter flavor- so I used a whole cup of peanut butter in the recipe. It worked out fine. Creamy and rich, but not too heavy. I thought about adding chocolate chips or maybe a swirl of jelly, but decided to leave the ice cream alone this first batch. I did serve it with homemade hot fudge sauce- recipe follows. I could see using this ice cream as the filling in ice cream sandwiches. I might use almond butter in the next batch.
Peanut Butter Ice Cream
1 c. peanut butter
2/3 c. sugar, or to taste – I was using natural peanut butter that had no sugar in it
2 c. whipping cream – you could use some half and half, if you prefer
1 t. vanilla
In medium bowl, combine peanut butter with the sugar, stirring until smooth. Add the whipping cream and vanilla and stir until well blended. Chill mixture. Pour chilled peanut butter mixture into ice cream machine and process according to manufacturer’s instructions. Once firm, transfer to a container with a lid and place in freezer until ready to use. Makes about 1 qt.
Hot Fudge Sauce
1 c. cocoa
¾ c. sugar
½ c. brown sugar
1/8 t. salt
1-c. heavy or whipping cream
½ c. butter, cut into pieces
1 t. vanilla extract
In saucepan , stir together dry ingredients then stir in cream and butter. Heat to boiling and boil 1 minute. Remove from heat, cool 5 minutes and stir in vanilla. Warm up before using. Store leftovers in fridge. Makes 2 ½ cups.

Homemade Peach Liqueur

I like to think of making fruit liqueurs as just one more type of food preservation. I make jams and jelly with seasonal fruit, so why not preserve some of summer’s bounty in alcohol?
Peach liqueur is one of my favorites. Pretty simple, really. Just combine peaches with vodka (or brandy) and allow the mixture to steep. After a week or two, strain it. After straining out the fruit, I also filter the liqueur through either coffee filters or cheesecloth to get it nice and clear.
Sweetening is optional. Unsweetened, it is called a Peach Eau de vie, which translates into water of life. Got to love the French!!! Sweetened, it is a liqueur.
Poured into pretty bottles, these liqueurs can make fun gifts, too.
Peach Liqueur
10 medium sized, ripe peaches
3 c. vodka or brandy
1 c. sugar syrup – optional – recipe follows*
Peel and pit peaches reserving only the fruit. You can leave the skins on, if you prefer. Place in jar with the alcohol and steep at least a week, shaking several times. You can leave the fruit in for up to two weeks. Strain, squeezing out as much juice from the fruit as possible. Filter through cheesecloth, fine mesh strainer or coffee filters for a clearer product. Add sugar syrup, if desired, and mature 4-6 weeks. Makes 4 cups.
*Sweetening– Simple syrup is made from 1 cup of sugar and ½ cup of water. Bring to a boil, then cool. You will have 1 cup of syrup. Some recipes call for plain sugar and others for honey. Watch when you substitute honey for sugar, as it is sweeter and stronger flavored.
Fried Green Tomatoes

Tomato season is all about those firm, ripe, juicy tomatoes. For me, tomato season is also about fried green tomatoes.
Green tomatoes have a very different flavor than ripe tomatoes. It is like tomatoes and lemons had a baby. There is a distinct citrus-like tartness in green tomatoes.
Green tomatoes are pretty hard, compared to ripe tomatoes, which makes them great for frying. They soften, but don’t fall apart when fried.
There are a number of variations on exactly how to fry your tomatoes. I do a traditional breaded method, flour, egg wash and cracker crumbs. Then I pan-fry them.
I like using cracker crumbs, but you could use bread crumbs instead. I have friends that love to use cornmeal instead.
So here is my recipe. I hope you give it a try.
Fried Green Tomatoes
1 c. flour, or 1/2 c. flour and 1/2 c. cornmeal
1 t. salt
1 t. pepper
5 green tomatoes, sliced 1/2-inch thick
1-2 c. cracker crumbs, saltines preferred
2 eggs, beaten
butter or oil for pan frying
Place flour and seasonings in small bowl. Place crumbs in second bowl and eggs in a third bowl. Dip tomato slices in eggs then in flour. Dip slice in egg again and then in crumbs. Fry slices in hot oil until golden and tender in the middle, turning to cook evenly. Drain and serve warm. Serves 4-6.
Curry Cauliflower Salad

Long before cauliflower became trendy, I was a fan. I love it steamed, served with a little butter and salt or pan fried and mixed with garlic and a bit of Parmesan cheese. I have enjoyed cauliflower in any number of salads as well.
I picked up a huge cauliflower from a local produce market. I decided to turn it into a salad. I was not disappointed.
Here is the recipe I made with a head of cauliflower.
I used curry powder- I make my own- but you can use a store bought one. The recipe for curry powder is at the end of the recipe. I also added some green onions and peanuts for crunch. It came out quite nice.
I have used curry powder in hot cauliflower dishes before, but the salad was a pleasant change of pace.
Curry Cauliflower Salad
1 head cauliflower, cooked
½ c. chopped green onions
¾ c. mayo – or less or more depending in the size of the head of cauliflower
1 T. curry powder- or to taste
1 t. hot sauce, or to taste
Salt and pepper to taste
1 c. peanuts
First break the cauliflower into florets. Cook the cauliflower any way you like. I steamed mine for about 5 minutes. You could roast it, or sauté it in a little oil. You want it tender, but still a little crisp. Don’t cook it to mush. I would also advise against boiling it, as it gets too wet. Once the cauliflower is cooked, let it cool down before proceeding. Combine the cauliflower with the green onions, the mayo and seasonings. It was hard to be exact because your head of cauliflower might be bigger or smaller than mine. I could have said 5 cups of cooked cauliflower- but would that really help? Then you’d have leftover cooked cauliflower. Or perhaps not enough. So add a little more mayo, if needed, and adjust the seasonings to suit your taste and the amount of cauliflower you have. Chill and toss the peanuts in closer to serving time. If you add the peanuts at the end, they stay crunchier.
Curry Powder
2 t. ground cumin
2 t. ground coriander
2 t. ground turmeric
1 t. nutmeg
1 t. salt
½ t. cinnamon
¼ t. cayenne pepper
¼ t. ground black pepper
Combine all ingredients and store in a cool, dry place.


