Swiss Chard Gnudi
I was lucky enough to get a substantial amount of Swiss chard recently. Thanks, Laurie. Swiss chard tastes like beet greens. I love chard. I steamed some of the greens and served them with salt and a drizzle of vinegar. I also cooked some with bacon.
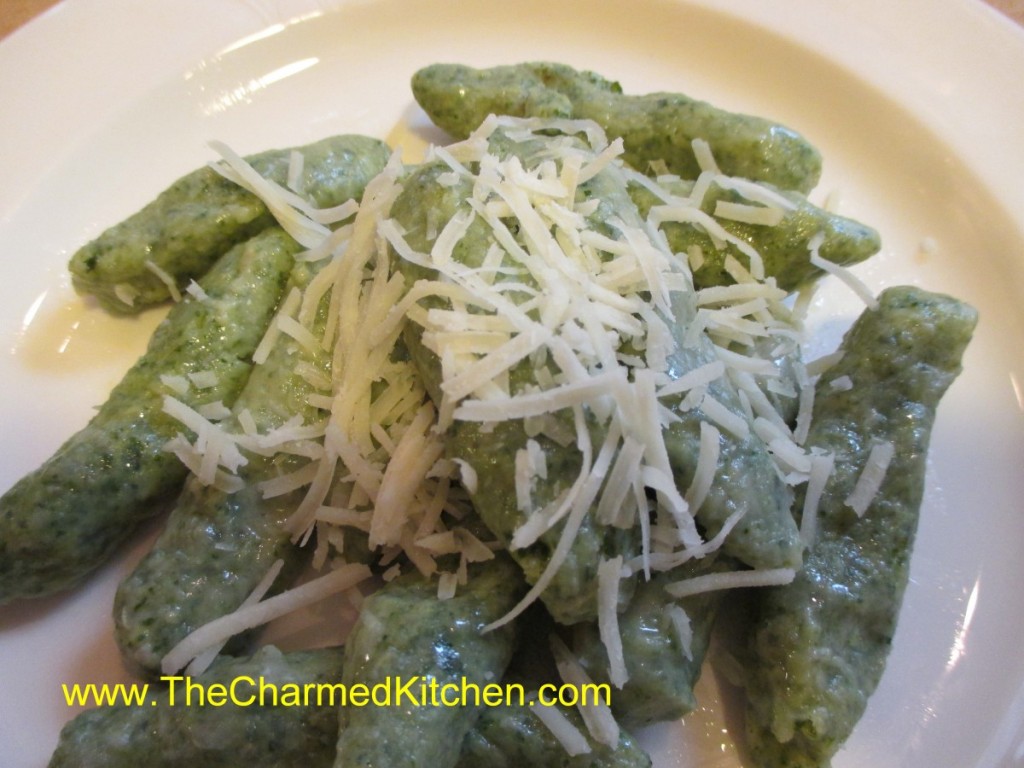
I still had more chard and decided to make little dumplings, or gnudi, with it. When done right, gnudi are tender and delicate. Kind of like gnocchi, but made without the potatoes. The picture does not do them justice. They taste great, but look funny. I sometimes call them my ugly dumplings. 🙂
I served mine tossed in butter and topped with fresh grated Parmesan cheese. We also added some of them to vegetable soup last night. If you are trying to get your family to eat more greens- try making these. You could also use spinach or other greens in place of the chard, if you prefer. When using greens like kale or collards, cook the greens a few minutes longer to be sure they will be tender.
Swiss Chard Gnudi
1 lb. Swiss chard, stem ends trimmed
1 c. whole milk ricotta
½ c. grated Parmesan cheese plus extra for sprinkling
¼ c. dried minced onion
1 egg
½ t. coarse salt
¼ t. fresh ground pepper
1/8 t. ground nutmeg
¾ c. flour, plus extra for rolling
Butter
Grated Parmesan cheese
Cut chard leaves from each side of center stem. Cook chard leaves in large pot of boiling salted water until tender, about 3 minutes. Drain; cool. Squeeze chard leaves until very dry; place in processor. Using on/off turns, finely chop chard. Add ricotta, ½ cup Parmesan, onion, egg, coarse salt, pepper, and nutmeg; process to blend. Transfer mixture to medium bowl. Add ¾ cup flour; stir to blend. Cover and refrigerate dough overnight.
Line rimmed baking sheet with parchment paper. Spoon some flour onto large plate. Working in batches, drop heaping teaspoonfuls dumpling dough (size of small walnuts) onto plate with flour to form about 36. Using floured hands, gently shape each into 1 1/2-inch-long, 1/2-inch-thick oval. Tap off excess flour; transfer to prepared baking sheet. They can be made 2 hours ahead. Cover and chill. Bring large wide pot of salted water to boil. Slide dumplings into pot; cook until they float to the top, about 4-5 minutes. They are very tender so remove from water gently. Toss in butter and sprinkle with cheese. Serves 4.
Aunt Josie’s Apple Cake
I have posted this cake recipe in the past. It truly is my favorite apple cake ever. I was talking with my cousin about this cake yesterday, so here it is.
I’ve enjoyed this cake since I was a kid. My Aunt Josie gave the recipe to my mom. Not sure where she got, it but it has been a family favorite since we first made it. She called it Jewish Apple Cake. Not sure why. It’s just what we all called it.
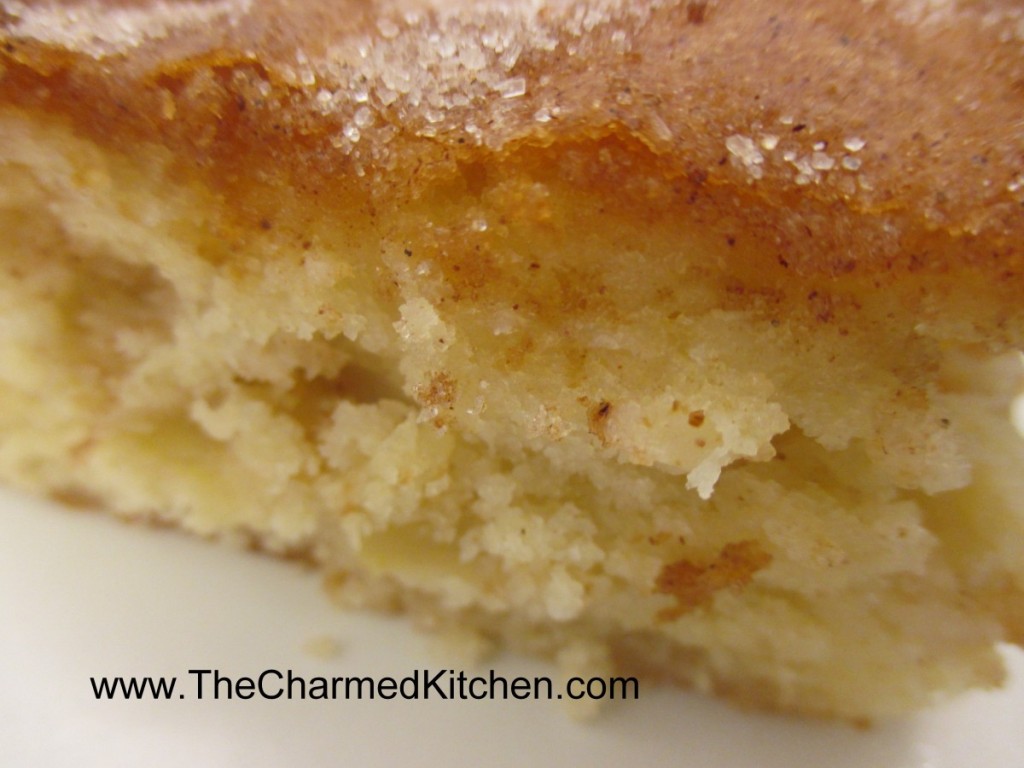
It’s a simple recipe that comes out moist and flavorful. I normally bake it in a 13×9- inch pan but it can be baked in a Bundt pan. While the recipe calls for cinnamon sugar- I sometimes add a little fresh ground nutmeg, too. I also like to use olive oil or even avocado oil in this cake. It gives it a really nice flavor.
Almost any apple works in this recipe- except maybe Red Delicious. Perfect for dessert or even served with brunch. Who am I kidding? I would eat this cake for breakfast.
Note: The batter is really thick. Don’t think you’ve done something wrong.
Jewish Apple Cake
1 c. oil, I use olive oil or avocado oil
4 eggs
1 t. vanilla
1/3 c. orange or lemon juice
Combine above ingredients and set aside.
Mix together the following dry ingredients. Make a well and stir in egg mixture to make a stiff batter.
3 c. flour
2 c. sugar
3 t. baking powder
¼ t. salt
Mix ½ c. sugar and 2 t. cinnamon and set aside
Peel, core and slice 4 medium apples.
Grease a 9×13 inch pan or a Bundt pan. Preheat oven to 350-degrees. Place ½ of batter in prepared pan. Arrange apple slices on batter and sprinkle on ½ of the cinnamon mixture. Pour on remaining batter and sprinkle with remaining sugar mixture.
Bake 45-50 minutes for 13×9-inch pan and 1 1/2 hours for Bundt. I find that sometimes it takes less than 90 minutes in a Bundt, so I check at an hour and 15 minutes.
Swiss Chard with Bacon
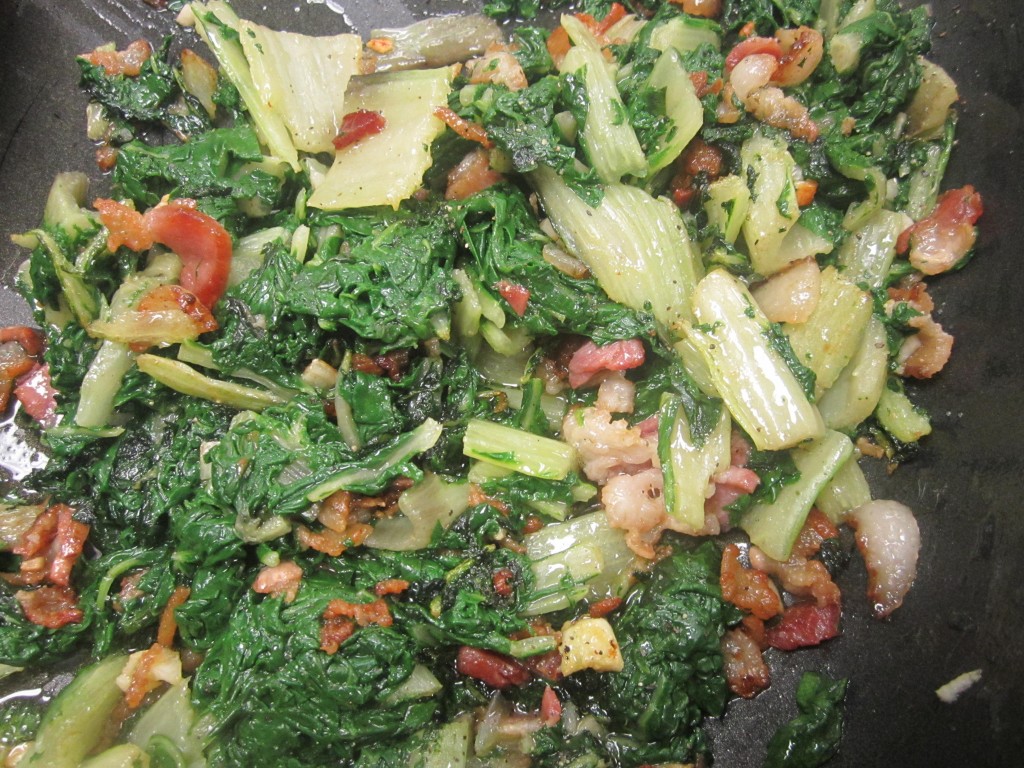
I really enjoy the taste of Swiss chard- but then I also like beet greens. Swiss chard is a close relative of beets. Unlike beets, chard does not produce edible roots. All leaves, all the time. They cook pretty quickly and have a rich, earthy flavor. Combined with a little bacon the chard is elevated to a whole new level.
Since I was recently given a lot of Swiss chard, I have been having fun cooking with it. This is one of my favorite preparations.
Braised Chard
1½ lbs. Swiss chard
2-3 slices bacon, chopped
2 cloves garlic, peeled and chopped
Salt and pepper to taste
Wash chard and trim ends off stems. Place chard in large pot with boiling water and cook until stems are fork-tender, about 10-15 minutes. Drain and rinse chard with cold water. Cool and squeeze out excess water. Coarsely chop chard and set aside. Heat skillet and add bacon, cooking until bacon starts to brown. Add chard and garlic and cook, stirring often until chard is sizzling- about 5 minutes. Season to taste and serve. Serves 4.
Blueberry Cheesecake Wontons

If you haven’t cooked with wontons, you might want to try it. While stuffed wontons make for a lovely soup addition, they can be filled with all sorts of fillings, from savory to sweet. Once filled, the wontons can be fried or baked until golden brown.
These are filled with a combination of blueberry pie filling and cream cheese. Once fried, they can be enjoyed as is or rolled in powdered sugar or cinnamon sugar. They make for a fun and easy dessert.
I taught a wonton class last night. We had all sorts of fillings to pick from. It led to a fun and creative evening. The blueberry wontons were a big hit, as you might expect.
There are different types of wrappers to pick from. I find the best selection at my local Asian grocery store, although many grocery stores carry them, too. They will be labeled as wonton wrappers or dumpling wrappers. I find the dumpling wrappers to be a little thicker, at least where I shop. They come in round or square shapes. For the ones in the picture, I used round dumpling wrappers.
I don’t know that I can give you an exact recipe, but I will try.
Blueberry Cheesecake Wontons
wonton or dumpling wrappers
equal amounts of blueberry pie filling( I used homemade) and cream cheese
oil for frying
cinnamon sugar or powdered sugar, optional
Combine the cream cheese and pie filling in a small bowl. You’ll need a couple of teaspoons of filling for each one, so half a cup of each should give you about 2 dozen finished wontons. Lay a wrapper on your work surface and spoon some filling into the center. Moisten the edges of the wrapper with a little water. I just dip my fingertip in a little cup of water and rub it all around the edge of the wonton. Fold in half, squeezing out the air and pressing firmly to seal the edges. Repeat until you run out of filling. Heat oil in a pan. Once oil reaches 350 degrees, fry the wontons until golden brown. You will have to do this in batches, unless you have a really big pot of oil. Drain on paper towels for a minute, then place in a bowl and toss with cinnamon sugar or powdered sugar while wontons are still warm. Don’t be tempted to eat them too quickly. They are piping hot in the middle. Let them cool to warm before eating.
You could even heat up 1/2 -inch of oil in a skillet and pan-fry them, turning to brown evenly on both sides.
Apple Cider Sorbet
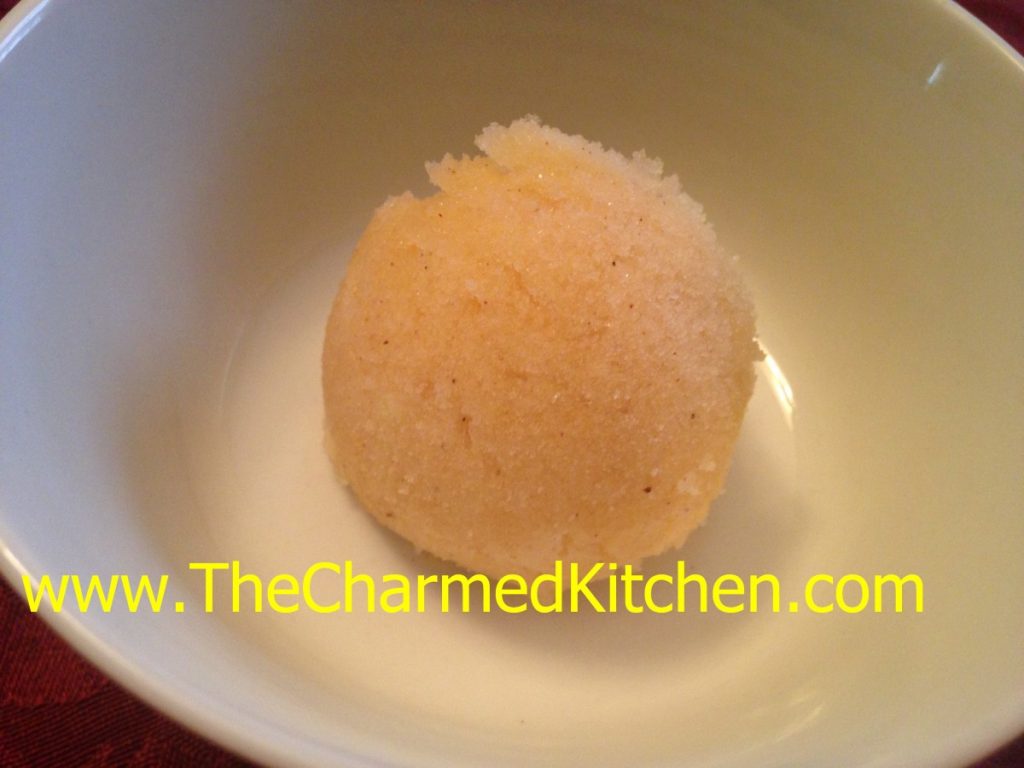
I’ve had my share of warm apple cider, but I never froze it before. This sorbet is such a nice dessert option. Light and naturally sweet, it is the perfect finish for any meal.
The cider is boiled down, to concentrate the sweetness. Then fresh apples are added and pureed. The mixture gets frozen, then pureed one more time- to really smooth out the texture. Cinnamon sticks impart their flavor when boiled in the cider. You could certainly used ground cinnamon, if you don’t have cinnamon sticks. Feel free to add other spices, too, like allspice, cloves or ginger.
Over the years, I have made all sorts of sorbets. I love the light, creamy texture. I am not sure why I never tried to make an apple sorbet before. I am so glad I finally did. So many holiday meals are heavy. This is a nice, lighter option for dessert. It is also a nice dairy-free option, for those who can’t have ice cream.
Apple Cider Sorbet
6 c. apple cider
2 (4-inch) cinnamon sticks
3 apples, peeled, cored and diced
In saucepan place cider and cinnamon sticks. Cook over medium high heat, uncovered, until cider has cooked down to 2 cups. Remove cinnamon sticks and discard them. Cool cider and combine in food processor with the apples. Puree until smooth. Transfer mixture to a container with a lid. Freeze until solid. Remove from freezer and allow to soften for a few minutes. Break into chunks and puree in processor, until smooth and creamy in texture. You can serve it right away, or return to freezer to enjoy later. Makes 1 quart of sorbet.
Dukkah- a Taste of Egypt
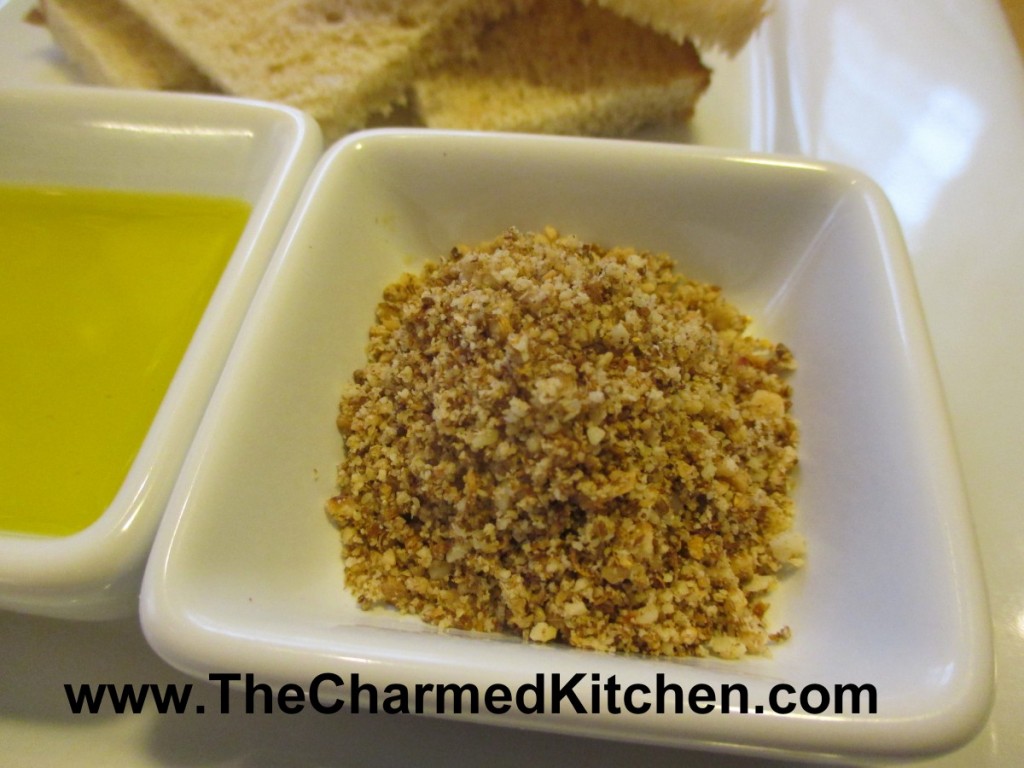
Dukkah is an Egyptian dish that is a mix of toasted nuts and spices. It has a wonderful fragrance and crunchy texture. A lot of the flavor comes from toasting the nuts and spices before grinding them up. Toasting really brings out the flavor of both the nuts and the other ingredients.
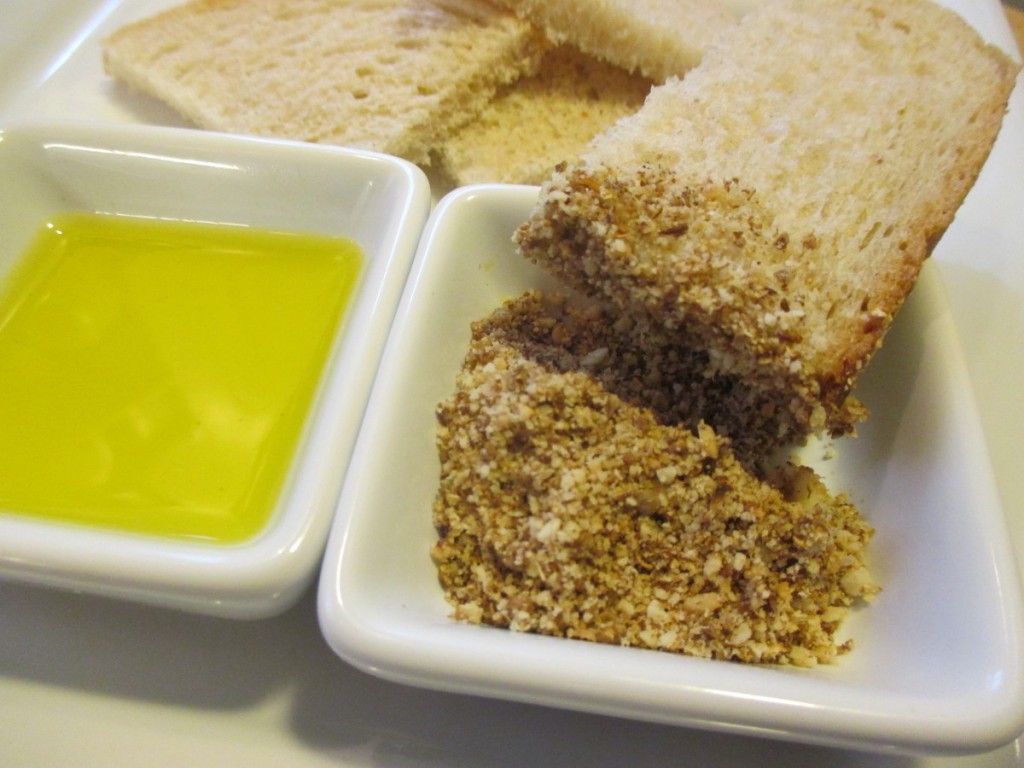
Dukkah is traditionally served with olive oil and bread. You put some in a little bowl, and put olive oil in another little bowl. Dip your bread in the oil and then in the dukkah. I like to sprinkle it on fish or chicken before baking. Dukkah is also good tossed with cooked veggies, or sprinkled on an omelet. So simple and so tasty.
Dukkah
¾ c. each whole, blanched almonds and hazelnuts
½ c. (scant) coriander seeds
¼ c. cumin seeds
6 T. sesame seeds
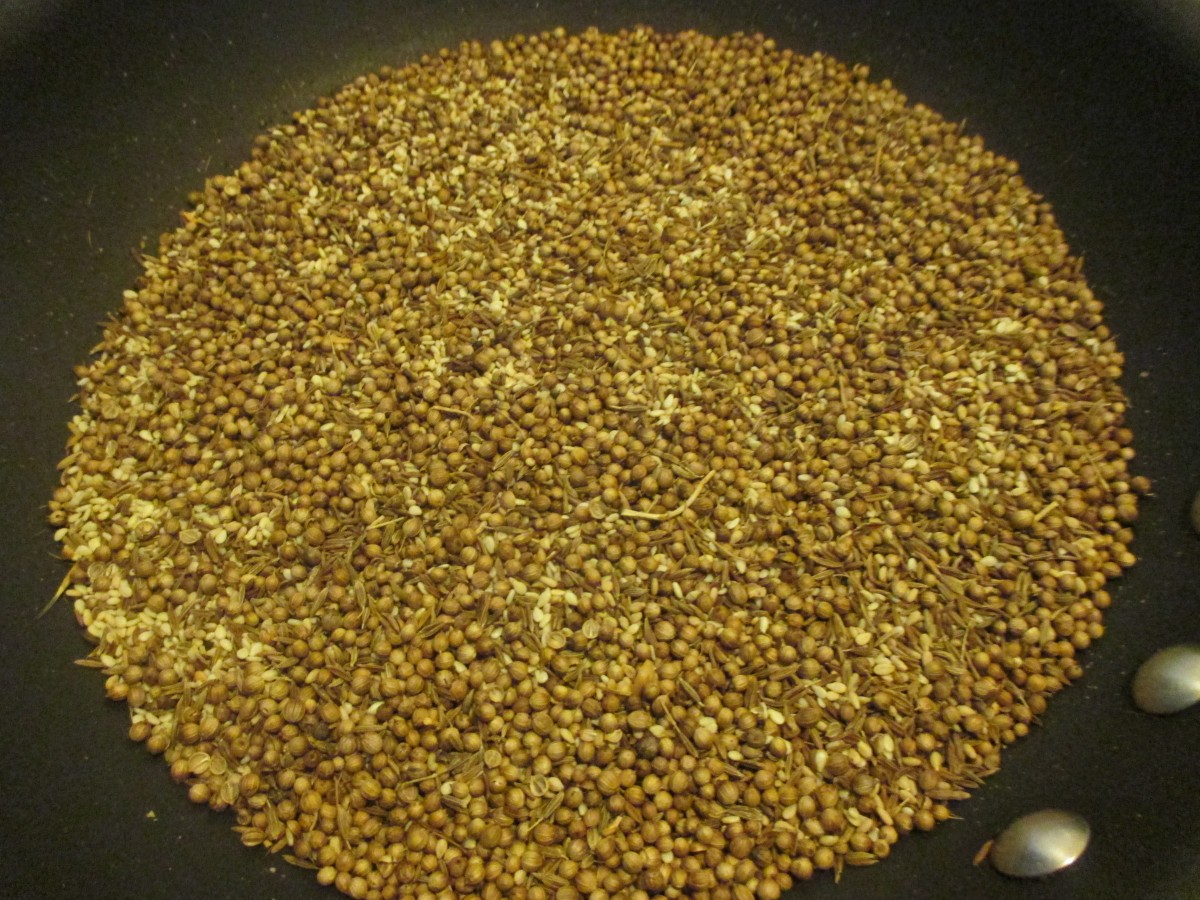
In 300-degree oven toast nuts for about 20 minutes or until golden. Bake cumin and coriander seeds, stirring occasionally, for about 10 minutes or until you can smell them. Toast sesame seeds for about 5 minutes. Cool all ingredients. If you prefer, you can toast the seeds in a skillet, over medium heat. Just place the coriander and cumin seeds in a skillet and heat, stirring often until they become fragrant, about 5 minutes. Add the sesame seeds and continue toasting until sesame seeds are golden brown, about 5 minutes longer. Be careful not to burn them. Grind sesame seeds and spices into a coarse powder. In processor, chop nuts fine and combine with spices. To serve dukkah: pour olive oil in a small bowl. Place crusty bread and dukkah on a plate. Dip bread in oil then in the dukkah. I also use dukkah sprinkled on chicken and fish. Store in fridge or freezer for extended freshness.

The Science of Creamy Mac and Cheese
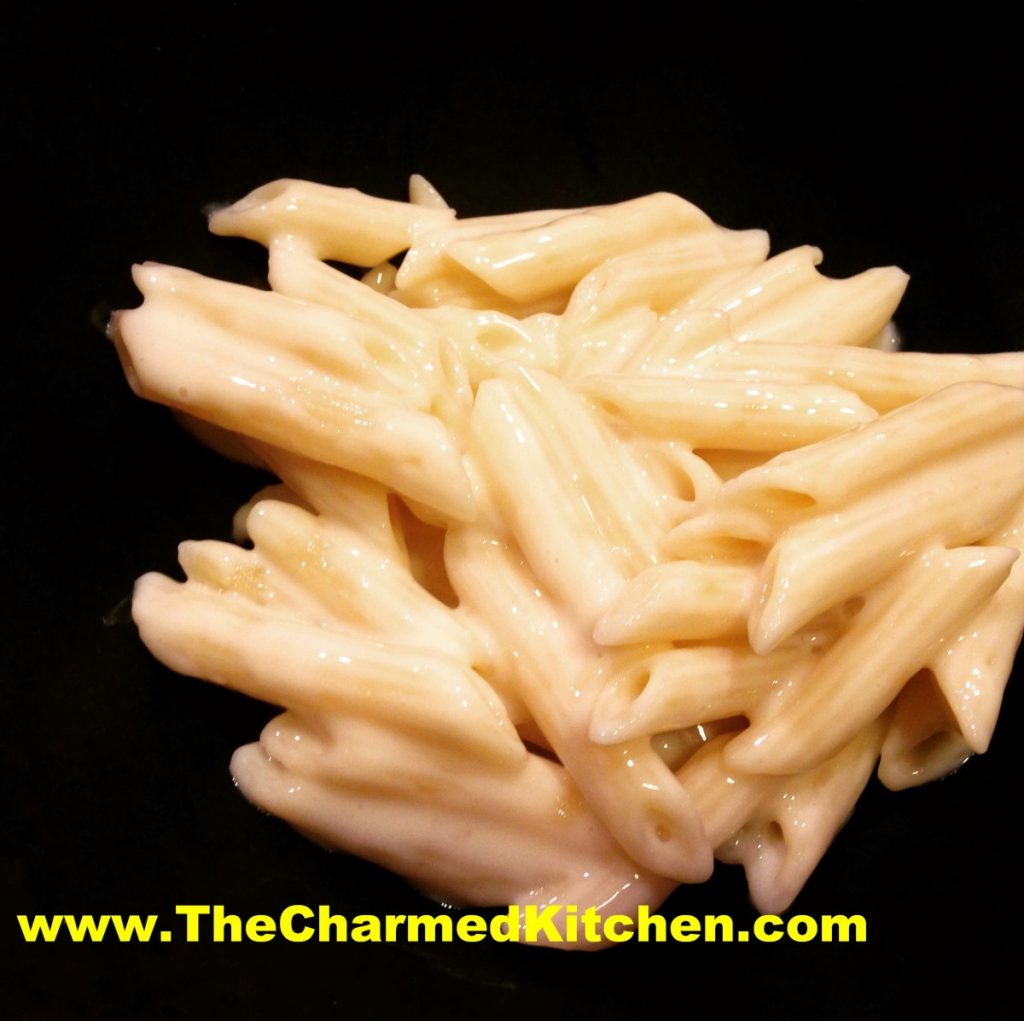
I knew about sodium citrate and its effects on cheese sauces. It took me a while to try it myself. The end result was the creamiest cheese sauce ever. Now I use it all the time when I want a really creamy cheese sauce. I made mac and cheese last night and it was wonderful. My friends loved it, too.
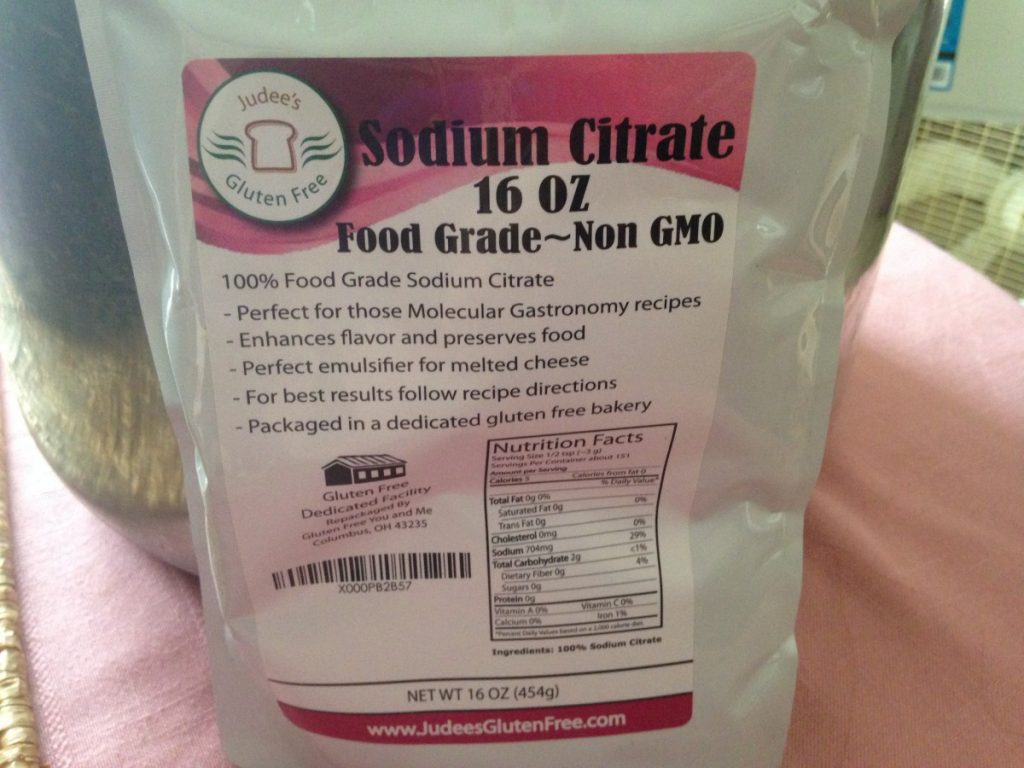
Sodium citrate is the natural salt of citric acid. It has a sour taste, and is used as a preservative and food additive.
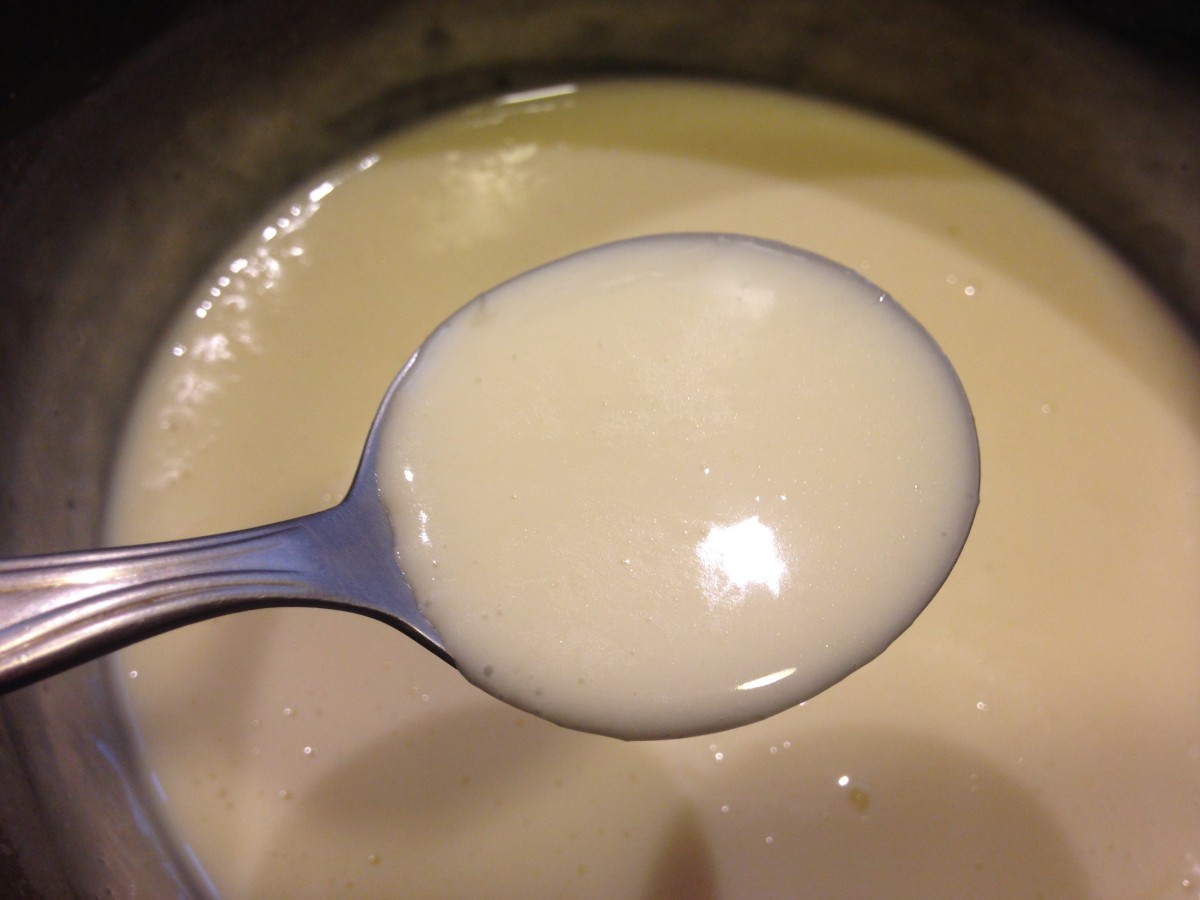
For a lot of us, making a cheese sauce involves making a classic white sauce, or béchamel. Flour and butter are combined in a saucepan, then heated together until the butter melts and the mixture is smooth. Then you add milk, cream or half and half. Once the mixture thickens, you add the cheese and end up with a cheese sauce. Wonderful and classic, but some cheeses don’t melt that well. You end up with a tasty, but somewhat un-creamy end product.
There is a way to make the creamiest cheese sauce ever and it involves a little science. When you make a cheese sauce, the cheese will melt, but sometimes has a grainy texture. That is because of the way the proteins bond with calcium in the cheese. When you combine warmed liquid with a little sodium citrate, then add the cheese, the sodium substitutes for some of the calcium and the cheese breaks down better. The end result is a really creamy sauce.
The liquid you use can be water or milk. I like half and half. I found several recipes on line. I played around, and ended up with the recipe below. Some directions said you have to use an immersion blender to get a creamy result. I did that the first time and the sauce was very creamy. I used a whisk the next time. I found whisking worked just fine.
You want to be sure to use food grade sodium citrate.
Super Creamy Mac and Cheese
12 oz. dry pasta
2 T. butter
1¼ c. half and half – you can also use water
2½ t. sodium citrate
12 oz. finely shredded cheese- I used Gouda, but cheddar, Muenster or any cheese that melts well, will work
Salt and pepper to taste
Cook pasta according to package directions. Drain, place in bowl and toss with the butter. Set aside. Heat half and half in a saucepan, over medium heat. Stir in the sodium citrate and bring to a simmer. Add the cheese slowly, about ¼ cup at a time, whisking well until melted before adding more. Sauce will become thick and creamy. Once all the cheese has been added, stir in the prepared pasta, adjust seasonings and serve. If you like, you can place mac and cheese in a casserole, top with buttered bread crumbs and bake until bread crumbs are toasted, about 20 minutes at 350 degrees. Serves 4.
Homemade Caramel Apples

Making caramel apples is a wonderful childhood memory for me. Every Autumn, we would make a batch. We used those little store-bought caramels. I was often the one tasked with unwrapping them. I can remember unwrapping one after the other. It seemed to take forever.
I wanted to make my own caramel, so that is what I did. It is so much better than the store-bought version.
Caramel is not that hard to make. You do need to keep an eye on it. Stir constantly. Just a hint, be sure your candy thermometer is really secure. Mine was a little slippy on the pan I was using. At one point the thermometer slid into the caramel. Not what you want to have happen!!!
Once dipped in the caramel, you can dip the bottom of the apples in nuts, pumpkin seeds, sprinkles, cereal, or even popcorn.
Homemade Caramel Apples
1/2 c. butter, cut in cubes
2 c. packed brown sugar
1 c. corn syrup
pinch of salt
1 can sweetened condensed milk
2 t. vanilla
8-12 apples
chopped nuts, pumpkin seeds, cereal, sprinkles, popcorn for dipping the bottoms of the caramel apples, optional
In heavy saucepan, combine the butter, sugar, syrup and salt. Bring mixture to a boil, stirring constantly. This will take about 10 minutes. Add milk and bring mixture up to 248 degrees. Remove from heat. Stir in vanilla. Place a Popsicle stick, skewer or chopstick down the center of each apple. Dip apples in the caramel, allowing excess to drip off- or not. Dip bottoms of apples into nuts, seeds or whatever ingredient you picked. Place on wax paper and allow to set up. If you don’t want to dip the bottoms in anything, place the dipped apples on lightly buttered wax paper. Cool before serving. Makes 8-12 caramel apples.
Note: You could also use pears in the recipe.
Apple Pie Tortilla “Blintzes”

Since I posted the recipe for making your own apple pie filling recently, I thought I’d share a fun way to use it- other than in a pie. I made blintzes with the pie filling.
I used flour tortillas for the crepes. Don’t get me wrong, I love making real crepes. But, when you don’t have the time, the tortillas are a fun and tasty substitute.
I soaked the tortillas in milk. By soaking the tortillas in milk, they soften up, and can be used like a crepe. Soak them for at least 10 minutes, or up to 30 minutes. I placed the tortillas in a shallow baking pan and made sure to drizzle each one with milk as I added them to the pan.
Apple Pie Blintzes
10-12 flour tortillas
1/2 c. milk
2 c. apple pie filling
3-4 T. butter
Powdered sugar or cinnamon sugar, for topping the blintzes
For the filling, I used some of my homemade apple pie filling. If you have fresh apples, you can just peel and slice the apples, then cook them in a little water and sugar until softened. You can make them as sweet as you like. You made need less sugar if the apples are extra sweet. Add some cinnamon and nutmeg, too. If they are too watery- combine a little cornstarch with cold water and drizzle the mixture in until the apples thicken up. Don’t add too quickly or you might them too thick and gummy.
Place tortillas in a shallow pan, drizzling with a little milk as you go. Set aside for a few minutes, so the tortillas will soften.
To assemble the blintzes, place a softened tortilla on your work surface and spoon a little apple filling in the middle. You can do this with hot filling, but cold or room temperature filling is easier to use. Don’t over fill them or you won’t be able to fold them up. I used 8-inch tortillas and used about 1/3 cup of filling for each one. Fold the sides in until they almost meet in the middle and them roll the tortilla up to cover the filling. Place seam side down until ready to fry them.
Heat butter in a skillet, and brown the blintzes over medium heat until lightly toasted on both sides. They will be crispy on the outside, but tender in the middle. Put on a serving plate, sprinkle with powdered sugar and serve while warm. These are fine just as they are, but feel free to add ice cream or whipped cream, too.
My guests really liked them and said they did not realize they were made from tortillas. I have made these before and use different fruit fillings. I’ve even made a cheese filled version a few times. It seems I usually have a package of tortillas, so it is a go-to dessert for me in a pinch.
Butternut Squash Saute
Winter squash season is here, and I could not be happier. I love the variety of squash (and pumpkin) at the markets this time of year. They are both beautiful and tasty.
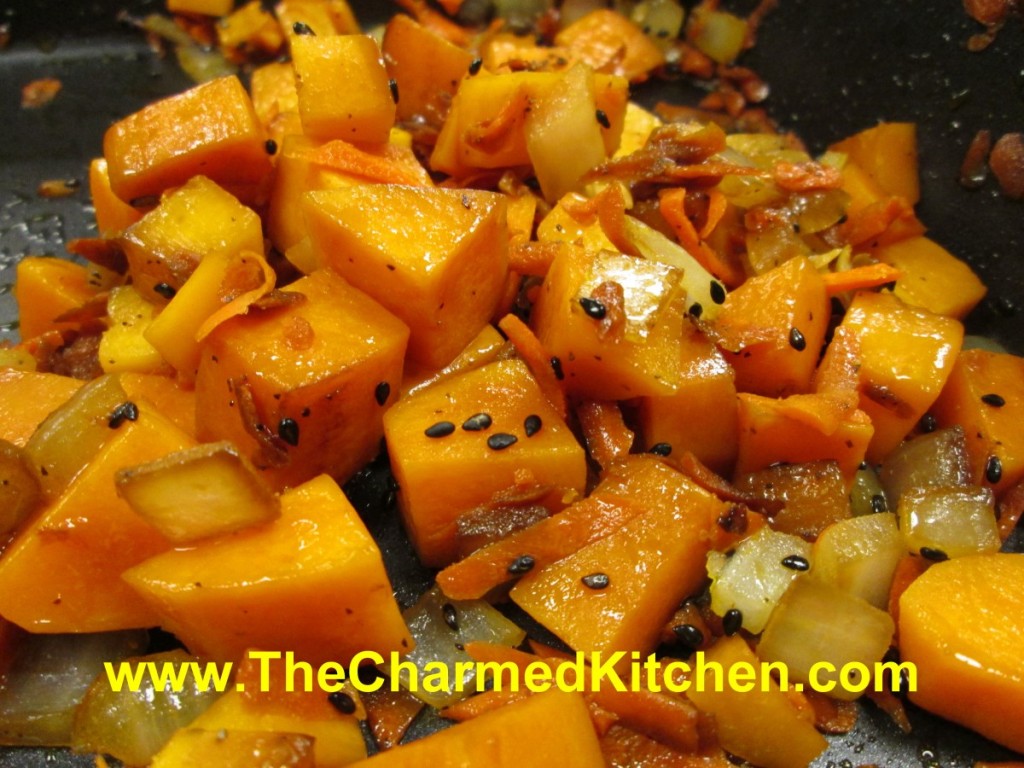
This dish is a combination of butternut squash with onions, garlic, carrots, and finished off with black sesame seeds. It makes a great, seasonal side dish. Might also be a fun dish for Halloween, because of the colors.
I used butternut squash, but you could use any number of hard squashes, or even pumpkin. If you are looking for a different way to cook some of those squash- try this dish. I think you might be surprised at just how good it is.
When cutting up hard squashes, you have to be careful not to cut yourself. A round, hard squash, with a tough outer skin can be a recipe for disaster. I trim a small slice off one end of my squash, creating a flat side. Then I lay it down on that side, to make it more stable for cutting. With the butternut, once it was sliced on one side, I was able to cut in in half pretty easily.
To peel a hard squash, so you can cut it into cubes, use a vegetable peeler to remove the skin. You will need to run the peeler over the skin a few times to get off all of it. Then cut into cubes.
Butternut Squash Sauté
3 tablespoons olive oil
1/2 cup chopped onion
1 teaspoon minced garlic
4 cups cubed fresh butternut, acorn or Hubbard squash or pumpkin
1/2 cup grated carrot
2 tablespoons soy sauce
1 teaspoon salt
1 teaspoon ground black pepper
2 teaspoons black sesame seeds, or a bit more
Heat the oil in a large skillet. Add the onion and garlic; cook and stir until the onions begin to brown. Stir in the squash, carrot, soy sauce, salt, and pepper; cook, covered, another 5 to 7 minutes, until squash is tender. Sprinkle with sesame seeds before serving.


