Sugared Nuts
Sugared Nuts
If you are looking for a quick, homemade food gift, make these nuts!!!! Or forget the gift giving- just make a batch for yourself.
Many years ago, my sister Cindy gave me the recipe for making these nuts. I make at least a few batches every year.
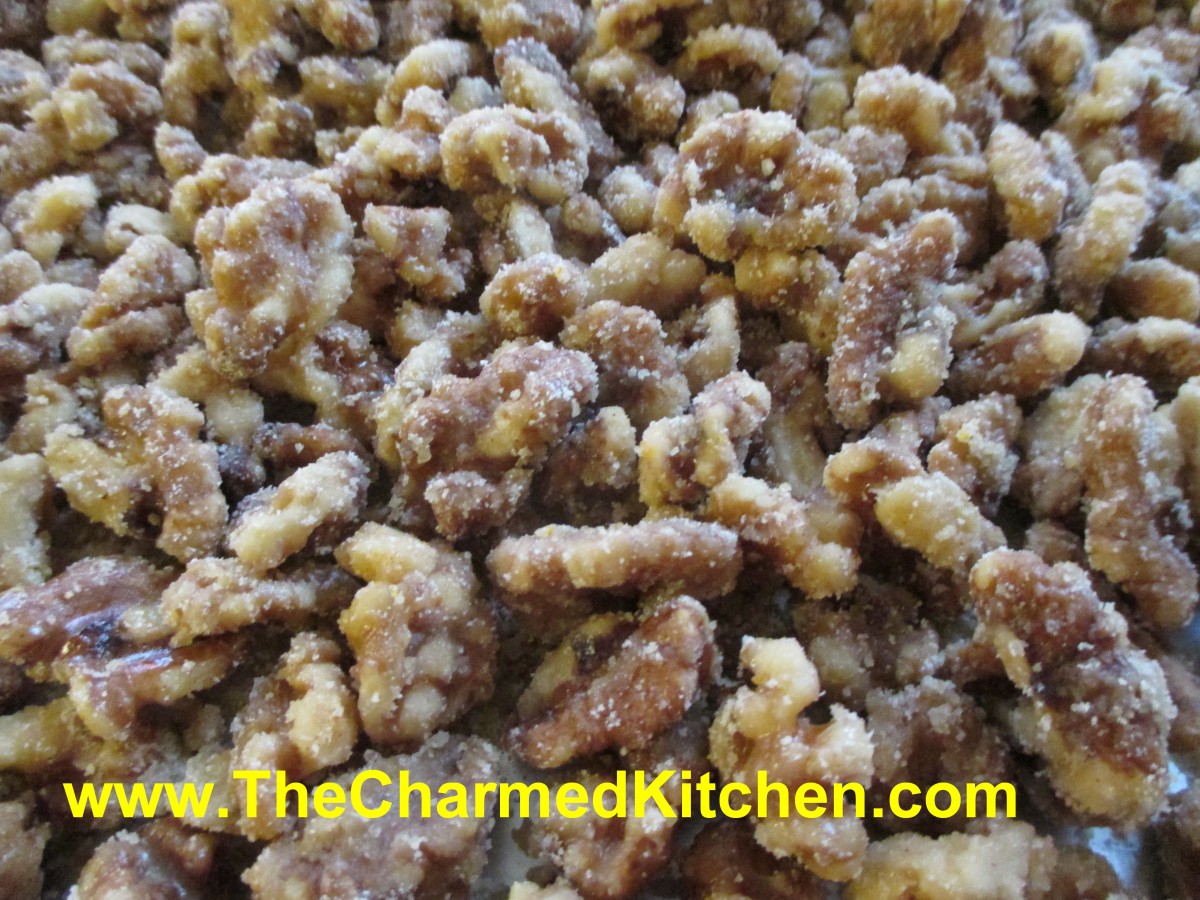
I will admit to tweaking the recipe a little over time, but the basics are still the same. Nuts are placed in a heavy skillet with sugar, water and seasonings. The mixture is then brought to a boil and cooked until most of the liquid cooks off.
This takes about 10 minutes, give or take. You dump the nuts onto a cookie sheet, and start stirring immediately. If you don’t stir them, they will stick together.
This is where the magic happens. The nuts look wet when you pour them out and start stirring, but in a few minutes, they cool and dry, and the sugar crystallizes on the nuts.
Once cooled, the nuts are crunchy and sweet and very tasty. You can use them as a snack, or in all sorts of recipes. This is a really fast confection to make, and is a nice gift, too.
Sugared Nuts
4-5 c. nuts, I like walnuts or pecans
2 c. sugar
1 c. water
1 t. cinnamon
1 t. orange peel
1 t. salt, optional
Place all ingredients in heavy skillet and cook over medium heat, stirring often, until all the water disappears. Whatever liquid in the pan will be clinging to the nuts and syrupy. Dump nuts onto a large cookie sheet and break apart with a wooden spoon to prevent clumping. As nuts cool, stir once or twice to remove any remaining clumps, and to cool faster. Nuts will lose their glossy appearance and attain a sugary crust. If it looks like nut soup, you didn’t cook them long enough, and you must return all to the skillet and cook longer. As the nuts start to get drier during cooking, you can turn down the heat a little to prevent burning. Once you’ve made a few batches, though, you will get good at judging when to stop cooking. You can also make a spicy version by adding a teaspoon of cayenne pepper along with the other ingredients. Store in cool, dry place to keep nuts fresh longer.
Cookie Candies

Cookie Candies
There are so many cookies I bake this time of year, I could never pick a favorite. There are some cookies that are a MUST bake, however.
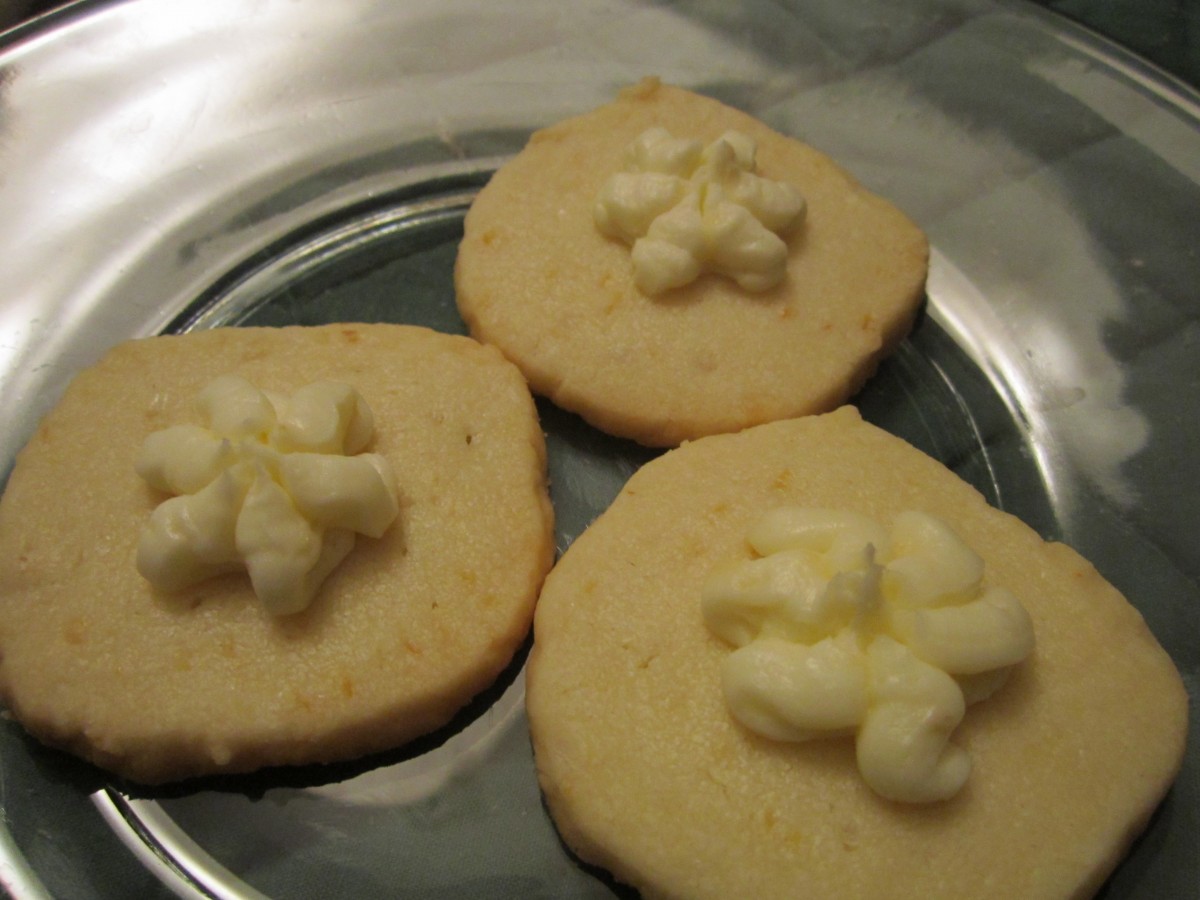
These cookie-candies are one of them. They get their name because, once decorated, they look like little pieces of candy.
Under the sprinkles are rich and tasty oatmeal shortbread cookies. The dough is easy to handle. You just shape small amounts into shapes like circles, squares and ovals. They hold their shape.
After they are shaped and baked, the cookies are dipped in chocolate and then in assorted toppings. You can dip them in sprinkles, finely chopped nuts and coconut. Pretty and tasty.
Cookie-Candies
1 c. butter
¾ c. powdered sugar
1 T. vanilla
2 c. flour
½ c. rolled oats
½ c. chocolate chips
¼ c. milk
finely chopped nuts
assorted sprinkles
shredded coconut
Cream together butter, sugar and vanilla. Stir in flour and oats. Shape teaspoonfuls of the dough into different shapes like rounds, ovals, cones cubes etc. Try to make them look like little candies. They will hold their shape very well while baking. Bake in a 325- degree oven for 20-25 minutes on an ungreased baking sheet. Cool. In microwave safe dish combine chocolate and milk and melt. Dip tops of cookies in chocolate mixture and then in one of the toppings you have. Chocolate topping will harden up after a while. Makes about 4 dozen.
Herb Crusted Pork Chops with Pomegranate Glaze
Herb Crusted Pork Chop with Pomegranate Glaze
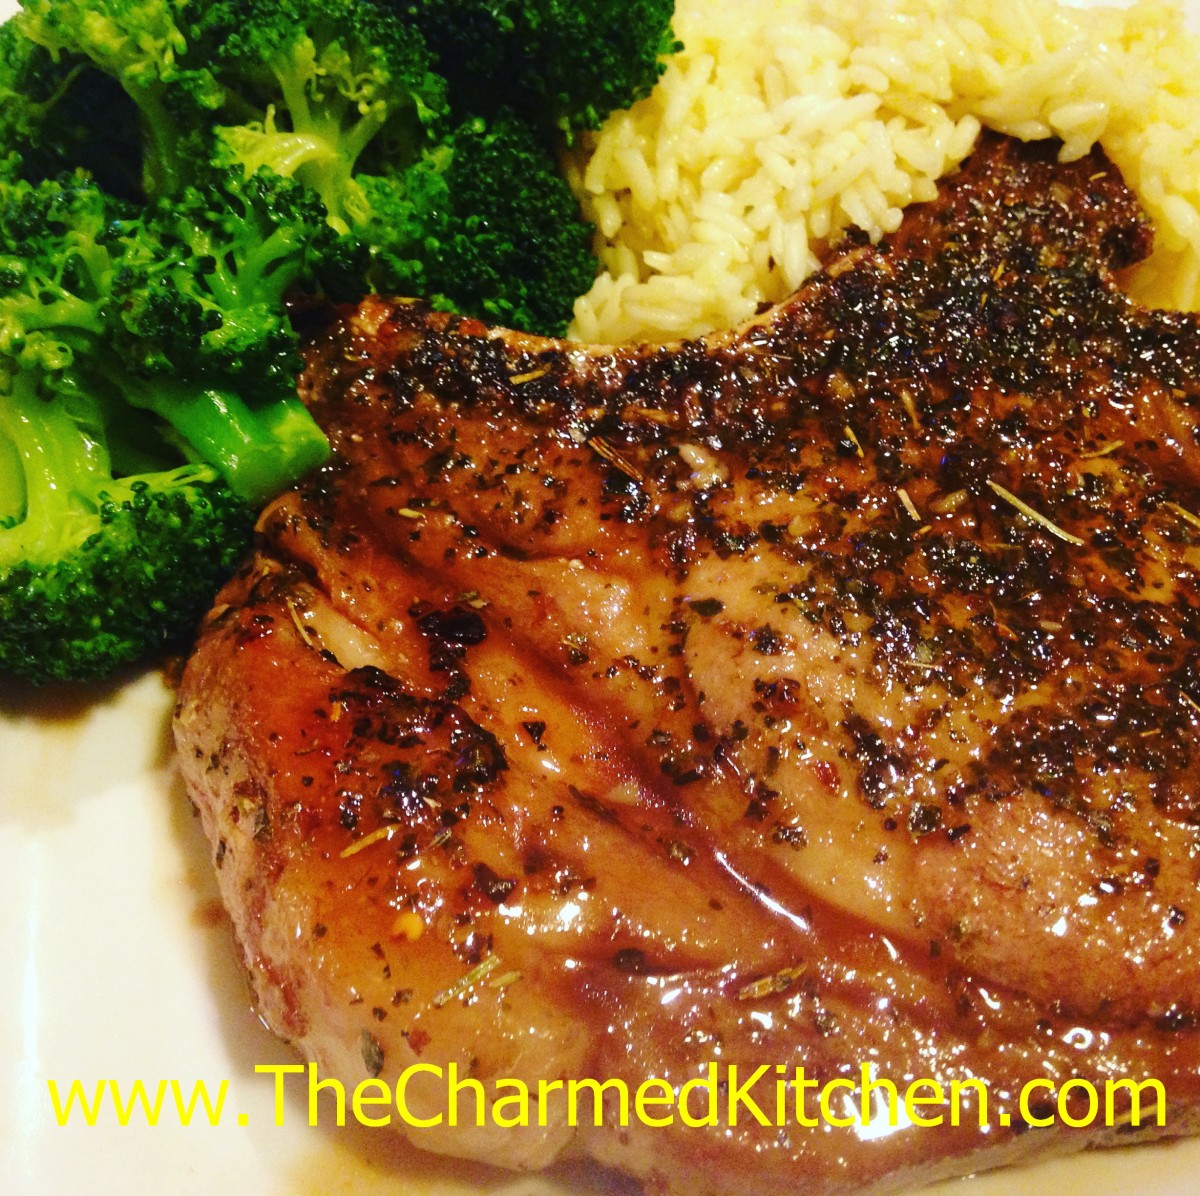
I made this recipe the other night and was so happy with the way the pork chops tasted. I decided to share the recipe with you. It was really pretty simple. The key to cooking pork is not to overcook it. These were lean pork chops and they could have dried out easily.
You don’t want pork to be raw, but it can be a little link in the middle. This one was juicy and very tender, too. I used pomegranate jelly to give it a sweetness. If you don’t have pomegranate jelly (I posted the recipe for that yesterday), you could use cherry jelly instead. either would work nicely.
The Tuscan Seasoning I used is my own blend. The recipe for that follows. You can use it in all sorts of dishes. I love adding it to soups, or combining it with olive oil and dipping bread into it.
Herb Crusted Pork Chops with Pomegranate Glaze
pork chops – allow 1 large chop per person
salt- I used pink salt
Tuscan seasoning- recipe follows
Pomegranate jelly- 2 Tablespoons for each pork chop
Heat skillet over medium high heat. While pan heats up, sprinkle each pork chop with salt and the Tuscan seasoning. Rub seasoning mix all over the chops to cover well. Place chops in skillet and cook until nice and golden on one side before turning. Continue cooking until chop is golden on both sides. The pork chops I was cooking were about an inch thick. I kept them over a medium heat- so it would cook through without burning. I prefer my pork just a little pink in the middle. Feel free to cook your chops longer, until meat gets to the doneness level you prefer.
Once the chops are close to done, spoon the jelly into the skillet. As the jelly melts, spoon it over the chops. Remove the chops to rest a few minutes before serving. Continue cooking the jelly in the pan until thickened and a little syrupy. Spoon over the chops before serving.
Tuscan Seasoning
½ c. dried basil
½ c. dried oregano
½ c. dried marjoram
3 T. dried minced onion
2 T. dried minced garlic
2 T. dried rosemary
2 T. dried parsley
1 t. crushed red pepper
Use this blend in tomato sauce or other Italian dishes. Also, you can add to vinegar and oil with a little salt, if desired, to make a quick salad dressing.
Cream Wafers
Cream Wafer Cookies
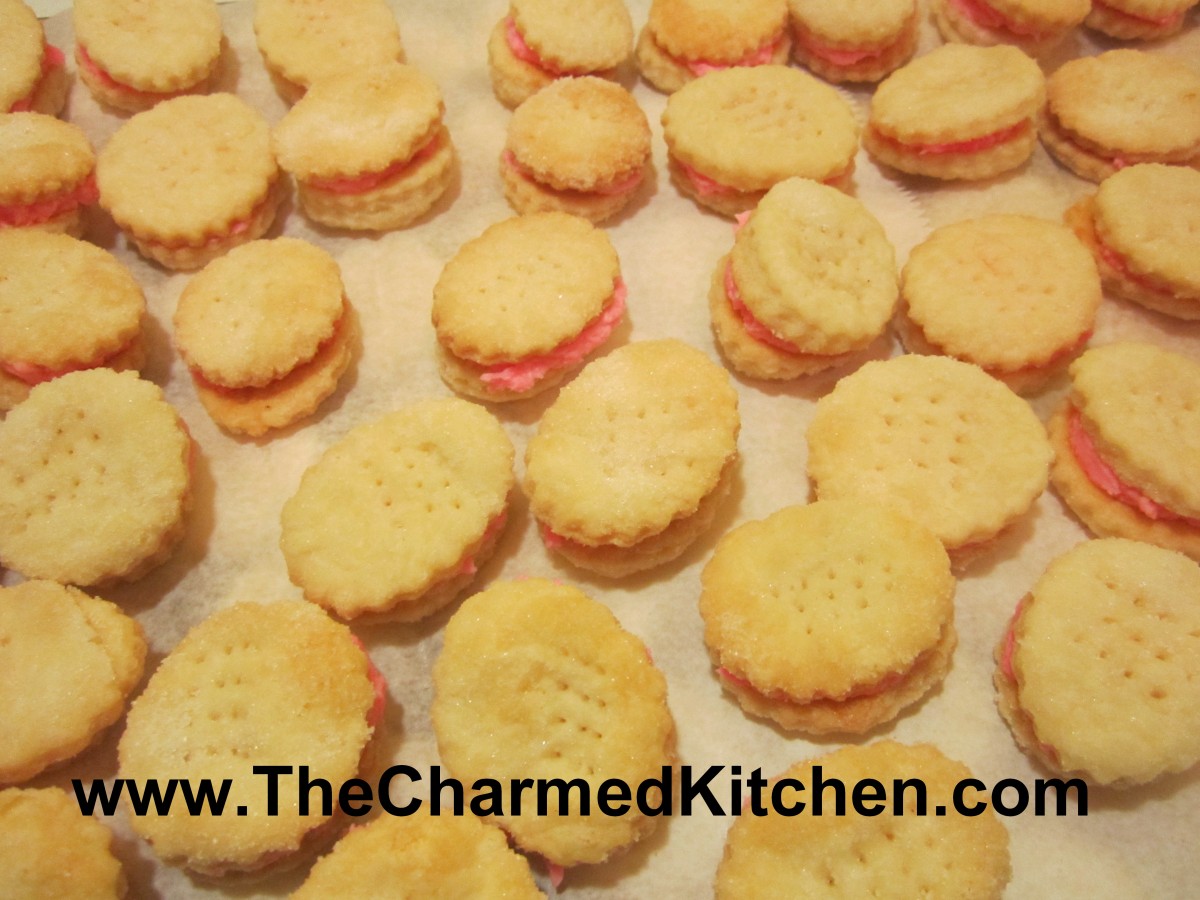
Cream Wafers are a little more work than most cookies, but they are worth it. They are the most requested cookies of all the ones I make. The secret is the dough, which contains no sugar. It is made from only three ingredients- flour, butter and heavy whipping cream.
When baked, they turn into flaky layers that melt in your mouth. Seriously, if you want to really impress this holiday season, show up at a party with these cookies.
Cream wafers are coated in sugar before baking. You can use tinted sugar, if you like. Once baked and cooled, they are made into little sandwich cookies, using a buttercream frosting. You can also tint the frosting if you like.
Because they puff when baking and become thicker, and you are using two of them to make the sandwich cookie, be sure to roll them out pretty thin.
Here is the recipe. Hope you enjoy!!
Cream Wafers
1 c. butter
1/3 c. heavy whipping cream
2 c. flour
extra fine or granulated sugar
Frosting:
¼ c. butter, softened
¾ c. powdered sugar
1 T. milk
1 t. vanilla
food coloring, if desired
Mix butter, cream and flour well. Wrap and chill at least an hour. Roll chilled dough 1/8 inch thick on lightly floured board. Cut out into 1½ inch rounds or even little hearts or stars. Transfer cookies to a sheet of wax paper heavily coated with extra fine or granulated sugar and coat both sides. Place on an ungreased baking sheet and prick each cookie 4 times with a fork. Bake at 375-degrees 7-9 minutes until lightly browned and puffy. Cool on rack. Mix frosting ingredients. Put 2 cookies together with frosting to make “sandwiches”.
Homemade Pomegranate Jelly
Pomegranate Jelly
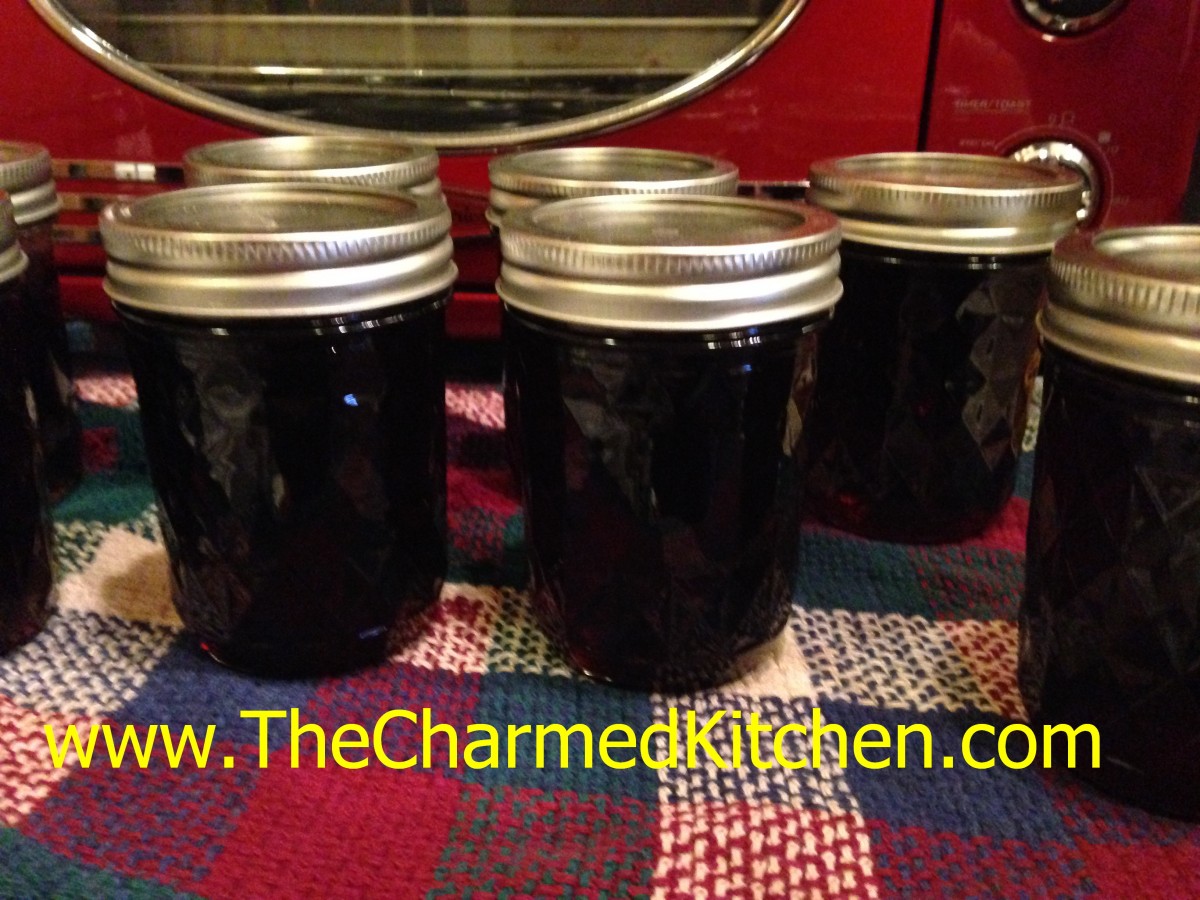
I had a request from a friend for pomegranate jelly. I hadn’t made a batch in awhile and had forgotten just how much I liked it. It comes out a dark, rich, red color and has that great pomegranate flavor. What’s not to love?
I think this jelly makes a great gift, too.
I use bottled pomegranate juice, but you can start with fresh pomegranates and extract the juice yourself, if you prefer. If using a bottled juice, be sure to use pure pomegranate juice, not a juice drink or juice blend.
Pomegranate Jelly
5 c. pomegranate juice
1/4 c. lemon juice
1 box powdered pectin
5 c. granulated sugar
6-7 jelly jars with lids
Prepare canning jars. Wash jars in hot soapy water. Rinse well and keep warm until ready to use. Prepare lids according to package directions. Get a large pot of water boiling for processing the jelly. Measure pomegranate juice and lemon juice into a 6-quart pan. Add pectin, stir and place over high heat. Bring to a boil, stirring constantly to prevent scorching. Cook until mixture reaches a full rolling boil, that cannot be stirred down, and add sugar. Return to a boil and boil hard for exactly 2 minutes. Remove from heat. Let stand for a minute and skim off foam. Ladle hot jelly into jars to 1/2″ of the top. Wipe rims clean. Screw on 2-piece lids. Place the jelly jars, not touching, on a rack in pot of boiling water. If you don’t have a rack for the bottom of the pot place a towel in the pot just before putting in the jars. The jars cannot sit directly on the bottom of the pot. The water should cover the top of the jars by at least an inch. Cover pot and start timing when water returns to a boil. Boil for 10 minutes and then remove from the water. Let the jars cool. Check seals, the lids should be sucked down (you’ll hear a popping noise as the jelly cools and jars seal). Yield – 6-7 cups.
* source – Ball canning recipe but I added the lemon juice to hold the color better.
Lemon Meltaway Cookies
Lemon Meltaway Cookies
These cookies have a great lemon flavor and delicate texture. The cookie is so tender, in part, because there is cornstarch in the dough. I think you and your family and friends will love them as much as I do.
I will admit to adding a little more lemon zest to the dough and frosting, for even more lemon flavor.
They are also easy to make. They are a slice and bake cookie. That means you make the dough, form into a roll, and chill. Now you can just slice and bake when you have the time. I sometimes make a batch and freeze them- so I can make fresh cookies whenever I like.
We made these cookies in class last night. Everybody loved them. Perfect cookie to add to your holiday cookie tray.
Lemon Meltaways
Dough:
1 ¼ c. flour
¾ c. butter, softened
½ c. cornstarch
1/3 c. powdered sugar
1 T. lemon juice
1 t. grated lemon peel
Frosting:
¾ c. powdered sugar
¼ c. butter, softened
1 t. lemon juice
1 t. grated lemon peel
In large bowl combine all dough ingredients and mix well. Divide dough in half and roll each half into an 8- inch roll. Wrap in plastic wrap and chill until firm, 1-2 hours. Slice chilled dough into ¼ inch slices and place 2 inches apart on a cookie sheet. Bake in a 350 degree oven for 8-12 minutes, or until cookies are set, but not brown. Cool completely on a rack. Combine frosting ingredients and beat until light and fluffy. Frost cooled cookies. Makes 4 dozen.
Chocolate Shortbread Cookies
Chocolate Shortbread Cookies
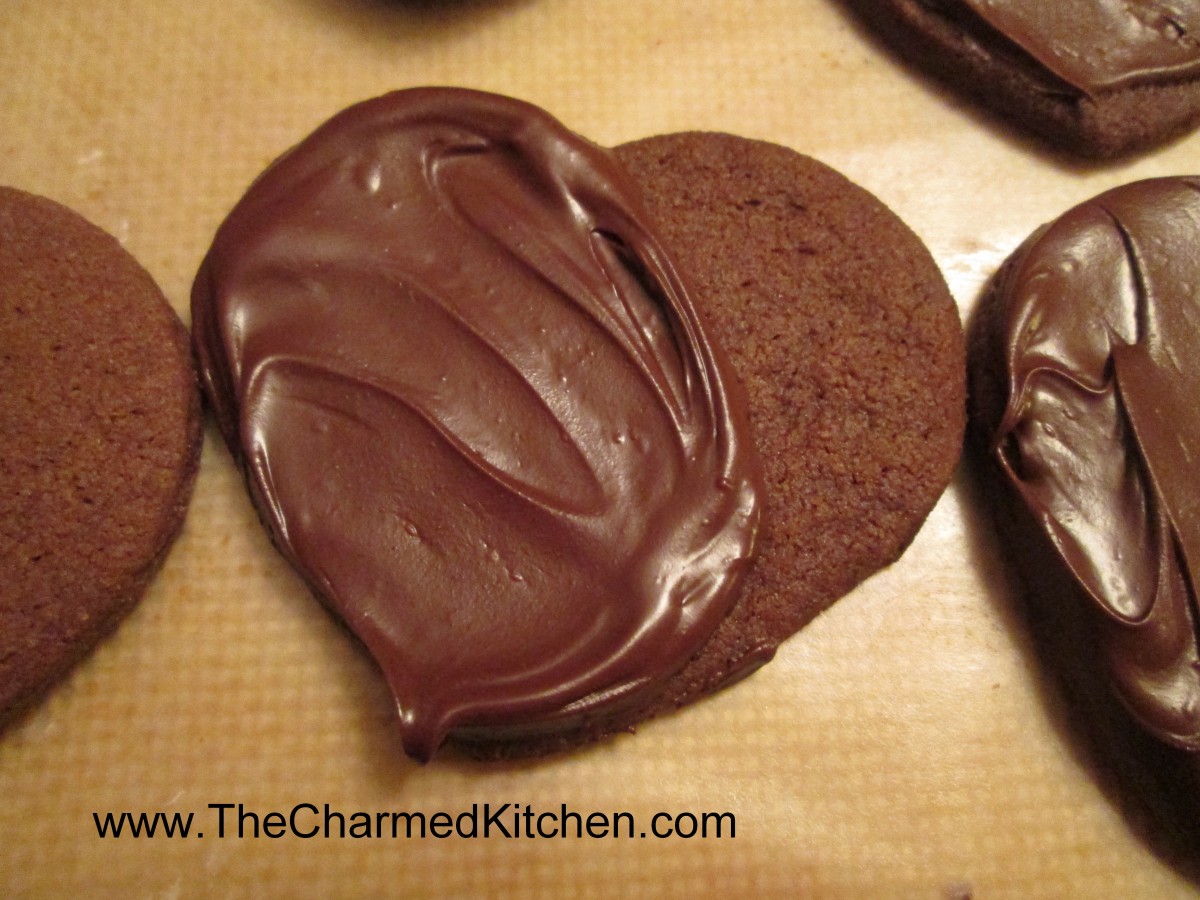
I never met a shortbread cookie I didn’t like. These are no exception. With the addition of cocoa, you end up with a cookie that has the traditional delicate texture of shortbread, with the added bonus of a rich chocolate flavor.
They are great just plain, dusted with powdered sugar or, my favorite way, brushed with a little melted bittersweet chocolate. Simple, tasty and a nice treat for the chocolate lovers you love.
I used a heart shaped cookie cutter, but you can cut them out in seasonal shapes, too, like snowflakes or trees.
Chocolate Shortbread
1 c. butter, room temperature
3/4 c. sugar
2 c. flour
1/3 c. cocoa
1/4 t. salt
8 oz. semi-sweet chocolate
Beat together butter and sugar until well blended. Mix together dry ingredients and slowly beat into butter mixture, stirring it in at the end. Roll out dough about 1/4 inch thick and cut out with cookie cutters. Re-roll scraps and cut out the remaining dough. Place on an un-greased baking sheet and bake at 325 degrees until cookies are firm around the edges, about 20 minutes. Cool on baking sheet 5 minutes before transferring to a rack to cool. Melt chocolate and dip cookies in it or use chocolate to hold 2 cookies together. Makes 2-3 dozen, depending on the size.
Alfajores Cookies
Alfajores Cookies
It is the time of year when many of us are baking cookies. I have certain cookies I make every year, but I always look for new recipes, too. I started making alfajores cookies a few years ago- and I really love them.
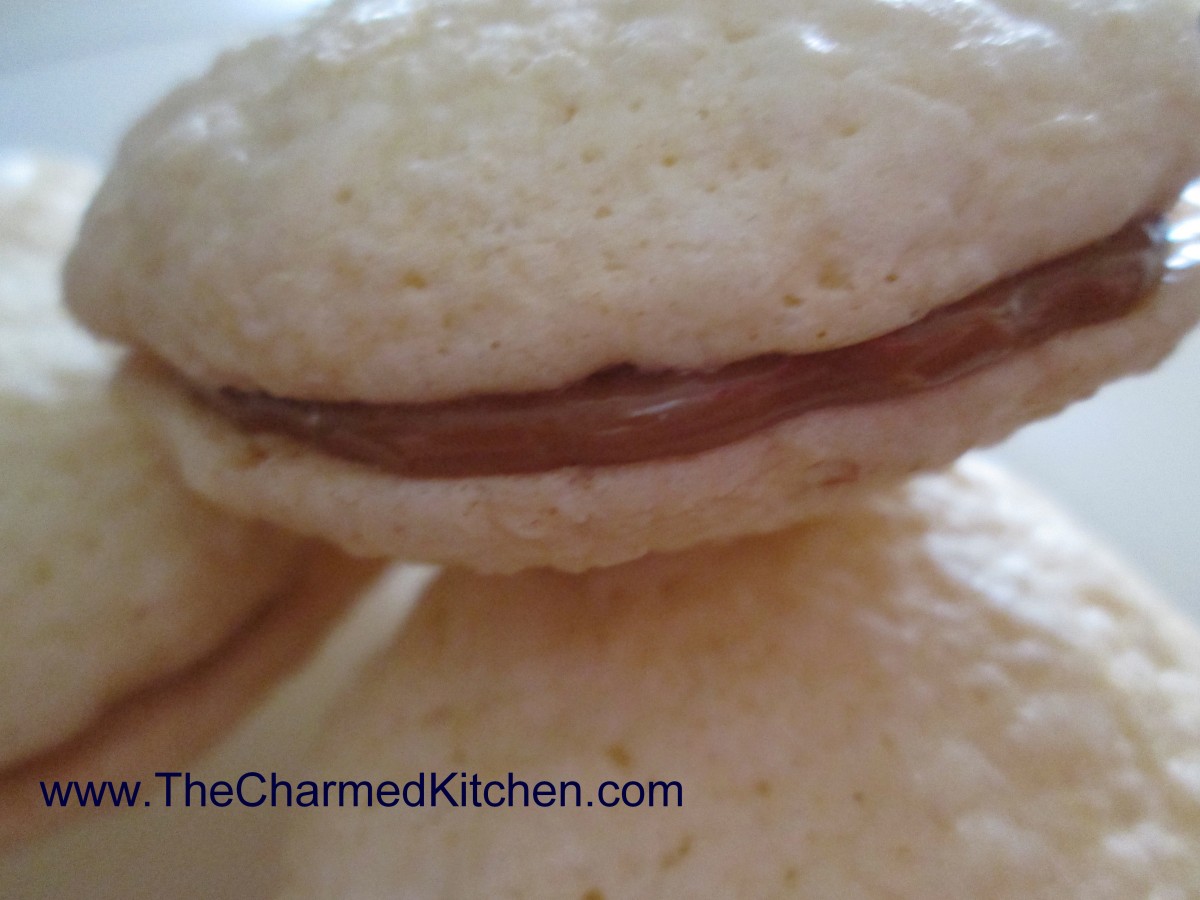
If you are looking for a new cookie recipe, you might want to try these. Made with cornstarch as a primary ingredient, they are very crispy and light. Sandwiched together with dulce de leche they make a wonderful dessert.
Alfajores cookies are popular in a number of South American countries and in Spain, although the origin is probably from the Middle East.
Alfajores Cookies
1/2 cup butter
1 cup sugar
1 egg
2 egg yolks
1 tsp. vanilla
2 tsp. lemon rind, grated
1 1/2 cup cornstarch
1/2 cup flour
1 tsp. baking powder
1/4 tsp. salt
Cream butter; add sugar and beat until fluffy. Add egg and egg yolks, one at a time, beating well. Beat in vanilla and lemon rind. Sift together cornstarch, flour, baking powder and salt. Add to mixture and mix well. Drop batter by small spoonfuls onto well-buttered baking sheet. Bake at 350 degrees for 15 minutes. Remove immediately. Sandwich the cookies together with (dulce de leche) sweet milk dessert. Makes 40 cookies.
Dulce de Leche (Milk Jam)
This is the easiest way to make Dulce de Leche…the taste is pretty authentic and the work is almost completely eliminated!
1 can sweetened condensed milk
Place the can inside the pot on top of a wire rack. I use a round rack used for cooling cakes. If you don’t have a rack place a towel on the bottom of the pot. Add water to completely cover can, plus 1-2 more inches. Simmer for 4 hours, making sure the can is always completely covered with water…if not…there is an explosion!! Leave the can to cool several hours and only then open it and serve. Serve the golden-brown confection over flan, as a filling for crepes, cakes or just plain. For breakfast you can spread it on croissants, rolls or toast.
Russian Teacake Cookies
Russian Teacakes
I had a conversation with a childhood friend recently about these cookies. She remembered that my Mom used to make them, and she wondered if I still did. I still do make them. Wouldn’t seem like Christmas without them. Many of my favorite Christmas memories are about making cookies with my Mom.
I was about 7 or 8 years old when my mother showed me how to make Russian Teacakes. She sat me down at the kitchen table with the chilled dough. She showed me how to roll them into 1-inch balls. I sat there rolling one after the other while we listened to Christmas music.
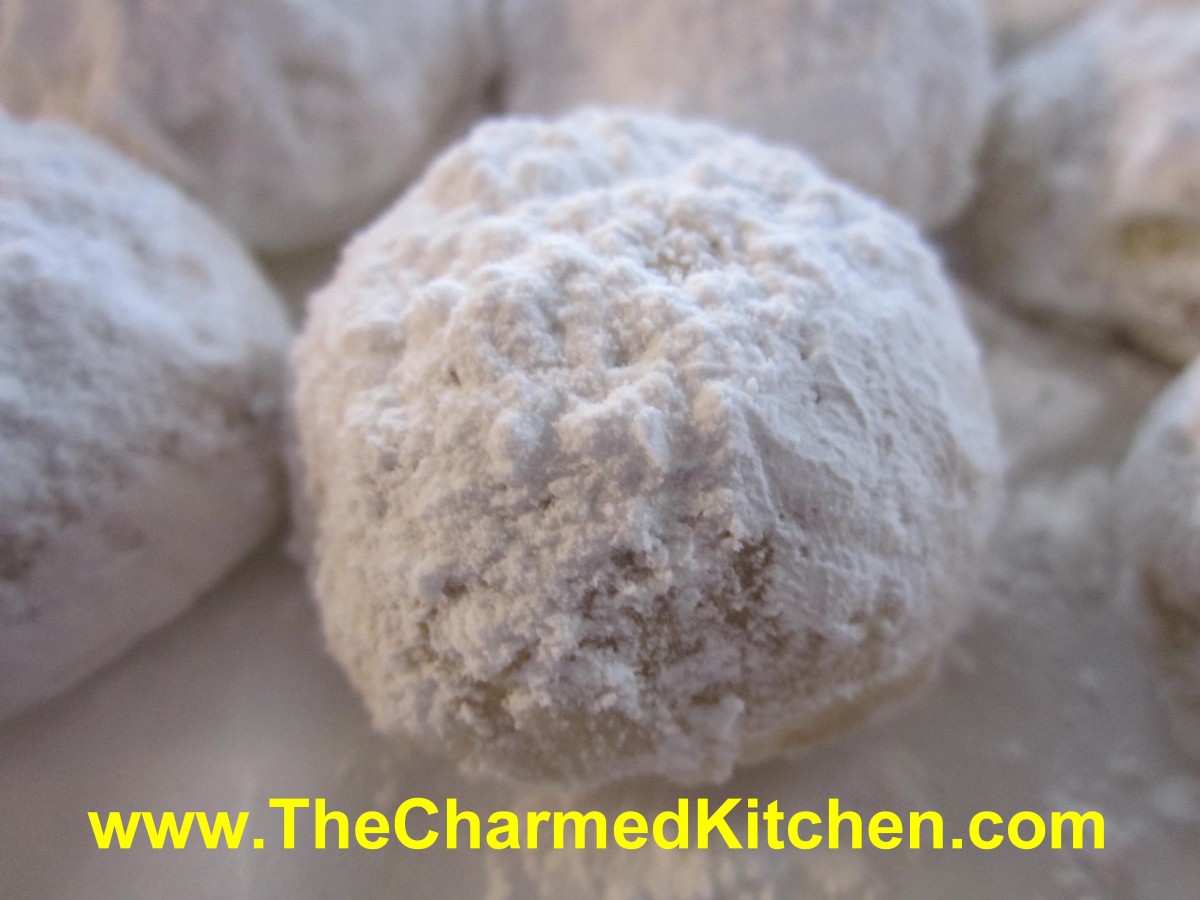
Russian Teacakes, also known as Mexican Wedding Cakes, are a delicate, nut filled shortbread cookie coated in powdered sugar. The magic is created when the cookies, hot from the oven, are rolled in powdered sugar. Once cooled they are dusted with more powdered sugar. Whether you call them Russian Teacakes, Mexican Wedding Cakes, or as another friend always refers to them, butter balls, these cookies are a must for my holiday cookie baking.
Russian Teacakes
1 c. butter
½ c. powdered sugar, plus extra for coating
1 t. vanilla
2 ¼ c. flour
¼ t. salt
¾ c. finely chopped nuts, nearly ground
Mix butter, ½ cup sugar and vanilla well. Stir flour and salt together and then add to butter mixture. Mix well and stir in nuts. Wrap dough and chill. Heat oven to 375 degrees. Roll dough into 1-inch balls and place 1 inch apart on ungreased baking sheet. Bake 10-12 minutes. Cookies should be lightly browned on the bottom. While still warm, roll cookies in powdered sugar. Dust again with sugar once cooled. Makes about 4 dozen.
Polish Butter Cookies
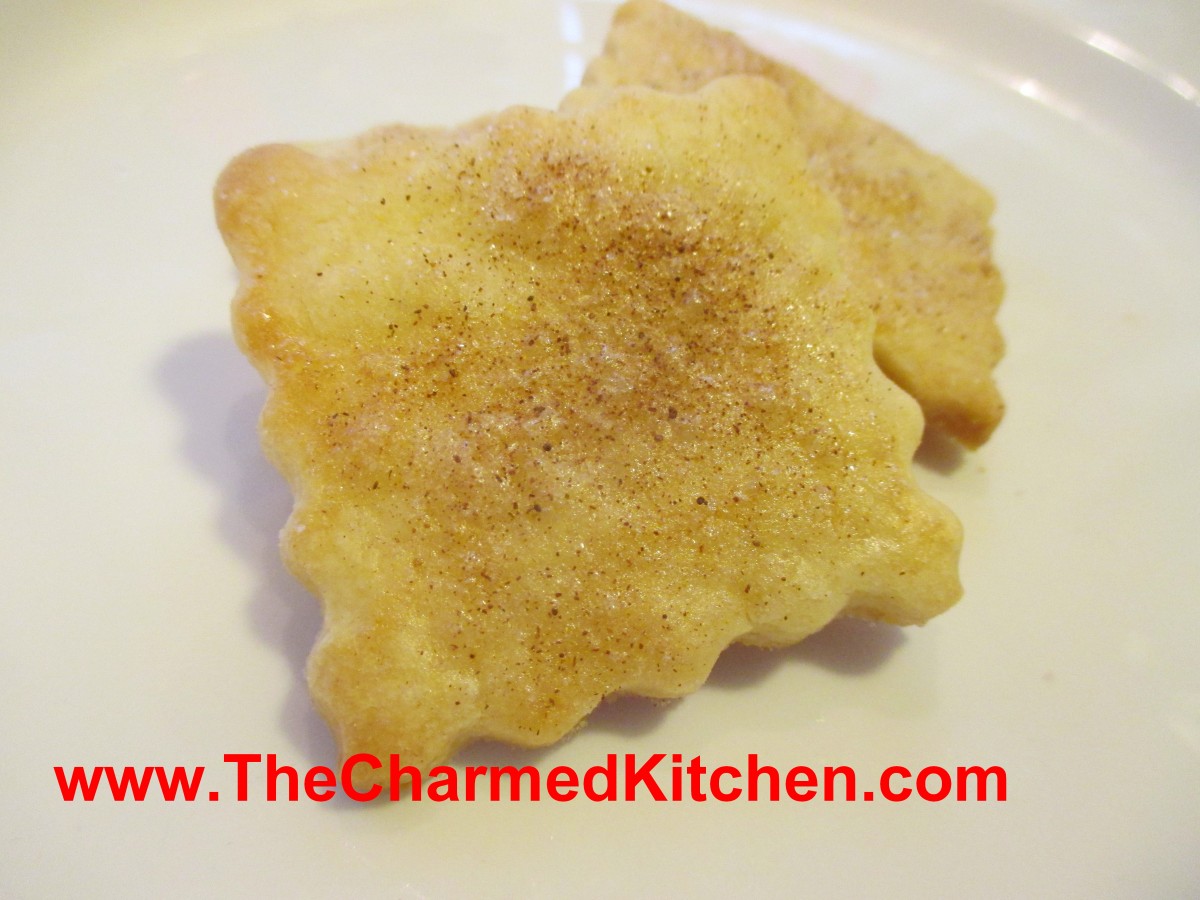
Polish Butter Cookies
Don’t let their simple appearance fool you. The flavor and texture of these cookies is really special. They have a secret ingredient that you probably haven’t used in cookies before. The ingredient is eggs.
I know, you use eggs in cookies all the time. But you probably haven’t used COOKED eggs in cookies. More specifically, hard cooked egg yolks. Cooked yolks are pressed through a fine sieve and added to the dough. The end result is a cookie with an amazing delicate texture and rich flavor. If you don’t want to have a bunch of cooked egg whites to use up, you can do what I do. I separate the whites and yolks of raw eggs. I always have recipes that call for egg whites, so they don’t go to waste. Then I simmer water in a small saucepan. I gently add the egg yolks, and poach them until they are cooked through. Drain well, pat dry and cool before using them in the cookie dough.
Polish Butter Cookies
Dough:
1 c. butter
3/4 c. sugar
5 hard-cooked egg yolks, pressed through a fine sieve
1 t. vanilla
2 1/4 c. flour
1 t. salt
Glaze:
1 egg white
1 t. water
1/3 c. sugar
1/2-1 t. cinnamon
Beat together butter and sugar until light and fluffy. Beat in egg yolks and vanilla. Stir in flour and salt. Wrap dough and chill for at least an hour. Roll out 1/4 of the dough at a time into scant 1/4 -inch thickness. Use extra flour sparingly and use a marble rolling pin or one with a cloth sleeve. I also keep extra dough chilled until ready to roll. Cut out with cookie cutters and place on greased baking sheet. Mix egg white with water and brush on cookies. Combine sugar and cinnamon and sprinkle on cookies. Bake in a preheated 350-degree oven for about 10-12 minutes. Cookies will be golden. Makes around 5 dozen, depending on the size of the cutters.


