Easy Apple Fritters

Easy Apple Fritters
Fritters are similar to doughnuts and are really easy to make. Rather than being made from a dough that is rolled and cut, like doughnuts, fritters are made from a batter that is spooned into oil for frying. Good fritters are light and airy inside, with a crisp outside. These are very good fritters. These fritters have diced apples and cinnamon and cook up tender and light. You could play around by adding other fruits, like pears, peaches or even berries. They are good plain, but can be rolled in powdered sugar, cinnamon sugar or drizzled with a powdered sugar glaze.
Apple Fritters
2 c. flour
2 T. sugar
2 T. baking powder
1 T. cinnamon
1/2 t. salt
1 c. milk
2 eggs, beaten
2 T. melted butter
1 c. diced apples
oil for frying- I used coconut oil
Combine dry ingredients and set aside. Mix together milk with the eggs and butter. Stir in dry ingredients until just moistened and add the apples. Heat oil to 375. If using gluten free flour heat oil to 350. Drop dough by tablespoonfuls into the hot oil and fry until golden brown. Don’t do more than 4-5 at a time. It will take about 4 minutes in total but you need to turn them to brown evenly so 2 minute per side. Drain on paper towels. While warm roll in powdered sugar, cinnamon sugar or drizzle with a powdered sugar glaze. Makes about 32.
Tomatillo Soup

Tomatillo Soup
I was given some beautiful tomatillos. I was also getting together with friends for dinner. I knew I wanted to use the tomatillos in something, but I did not want to make salsa verde. I thought about a glaze or sauce, but ended up making a soup.
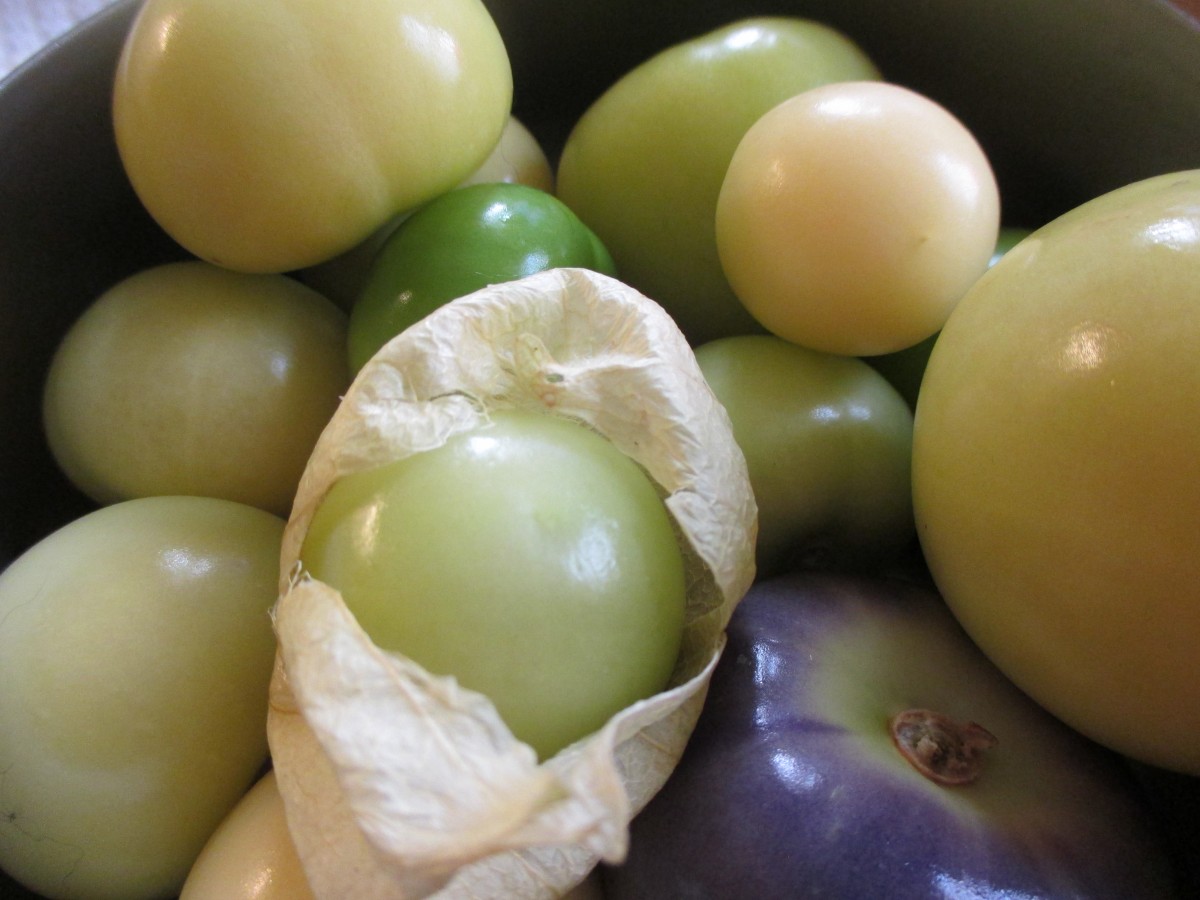
Tomatillos have a wonderful citrus tang to them. They look like little green tomatoes, with a papery covering. Remove and discard the covering. You can use them like green, or even ripe, tomatoes. Most often I have seen them used them to make salsa, but think outside the box and don’t be afraid to be creative. You might just be pleasantly surprised. I was.
I used a mix of tomatillos and other veggies and pureed it. as I was tasting it- I decided it needed some creamy element. I looked in my fridge and found a block of cream cheese. I melted it into the soup and pureed it. It was a big hit at dinner that night and I am certainly going to make it again.
Tomatillo Soup
3 T. Oil
1 medium onion, chopped
3 cloves garlic, minced
3 c. chopped tomatillos
2 c. peeled and sliced carrots
1 rib celery, sliced
1 c. chopped tomato
About 5 c. chicken or veggie stock
2 t. paprika
2 t. hot sauce- or more to taste
8 oz. cream cheese, cubed
1 c. potato flakes*
Salt and pepper to taste
Heat oil in soup pot and saute onions until golden brown. Add garlic and cook another minute, being careful not to burn the garlic. Add the veggies and stock and cook, covered until veggies are tender. Simmering gently, this should take less than an hour. Add seasonings and cream cheese and puree the soup until smooth. I use an immersion blender- so I can puree right in the pot. You can also puree in a blender, but be careful when blending hot ingredients. Add the potato flakes and puree a little longer. If the mixture is too thick, you can add a little more stock, or even water. Adjust seasonings. Soup can be served hot or cold.
* My plan was to use fresh potatoes in the soup- but I got distracted and didn’t get them in. I would say 2-3 medium potatoes, peeled and cubed up, added with the rest of the veggies, would provide the same thickening as the flakes.
Tomatillos- thanks, Deanna
Peanut Butter and Jelly “Pies”

Peanut Butter and Jelly “Pies”
These are a great way to take peanut butter and jelly on the road. These little “pies” are just cut out circles of pie crust, filled with peanut butter and jelly, sealed, then baked. Very easy and a fun cooking project for kids as well as adults. I prefer home made pie crust, but use store bought , if you like. A nice treat in a lunchbox, for picnics and road trips. You can also fill them with just jelly, if you like.
Peanut Butter & Jelly “Pies”
1 (15 oz.) package pie crusts or homemade crust for 2 pies*
1 egg
1 T. water
½ c. peanut butter
½ c. preserves, any flavor
Powdered sugar, optional
Preheat oven to 400-degrees. On lightly floured surface roll out one of the crusts into a 12-inch circle. Using a 2½-inch round cookie cutter cut out about 12-14 circles, re-rolling scraps and set aside. Roll out second piece of dough so you will have about 24-28 circles altogether. Beat together water and egg and set aside. Place a circle on work surface and place 1 teaspoon each of peanut butter and preserves in the center. Brush edges of the circle with egg wash. Place second circle on top and press edges together to seal. Repeat with remaining circles. Place “pies” on lightly greased baking sheets and bake for 12-15 minutes or until golden brown. Cool on wire rack and dust with powdered sugar, if desired.
*Flaky Pie Crust
2 c. flour
1 t. salt
3/4 c. shortening, chilled – I used chilled coconut oil- you can also use butter or lard
1 T. cider vinegar
4-5 T. cold water
Combine flour and salt and cut in shortening. Toss in vinegar and water 1 tablespoon at a time until dough holds together. Use a fork to toss the ingredients together and as soon as the mixture holds together stop adding water. Makes 2. Chill well before using.
Secret Ingredient Whoopie Pies

Whoopie Pies
I always get a smile when I offer someone a Whoopie Pie. Although baked liked cookies, Whoopie Pies are really more like small cakes, held together with a soft and creamy filling. I added an unexpected ingredient to these, but it worked out pretty well. I make a chocolate beet cake, and since I had half a cup of cooked, shredded beets leftover from another recipe, I decided to add them to my Whoopie Pies. Worked out well. They are really moist. Here is the recipe for my beet version, and the original recipe, too. Just in case you don’t have cooked shredded beets laying around.
Chocolate Beet Whoopie Pies
Cookies:
2 c. flour
2 t. baking soda
2 t. baking powder
1/2 t. salt
1 stick unsalted butter, at room temp.
1 c. packed brown sugar
1 t. vanilla
2 eggs
½ c. cocoa
2/3 c. half and half or milk
½ c. cooked shredded beets
Cream filling
3 T. flour
1 c. milk
1 stick unsalted butter, at room temp.
2 t. vanilla
2 1/4 c. powdered sugar
Heat oven to 375-degrees. Line baking sheets with foil and coat with non-stick spray. Combine dry ingredients and set aside. Beat butter and sugar together until creamy. Beat in vanilla and eggs then beat in cocoa. Beat in beets. Alternately beat in flour mixture and milk. Drop 2 tablespoons of dough on prepared sheets for each cookie, spacing 3 inches apart. Shape into 2 1/4-inch rounds, trying to keep them even as they will be sandwich cookies later. Bake 12-14 minutes, cookies should spring back when touched lightly. Let sit on baking sheet 5 minutes then transfer to rack to cool. Prepare filling: Combine flour and milk in saucepan until smooth. Heat over medium, stirring until thickened and bubbly. Cook 1 minute. Remove from heat and whisk in 2 tablespoons of the butter. Place wax paper directly on surface of the mixture and let sit until cool to the touch about 45 minutes. Beat in remaining butter, vanilla and powdered sugar until smooth and fluffy. Sandwich cookies together in pairs with about 2 tablespoons of the filling. Store between wax paper in airtight container. Makes 15.
Whoopie Pies
Cookies:
2 c. flour
2 t. baking soda
2 t. baking powder
1/2 t. salt
1 stick unsalted butter, at room temp.
1 c. packed brown sugar
1 t. vanilla
2 eggs
1/3 c. cocoa
3/4 c. milk
Cream filling
3 T. flour
1 c. milk
1 stick unsalted butter, at room temp.
2 t. vanilla
2 1/4 c. powdered sugar
Heat oven to 375-degrees. Line baking sheets with foil and coat with non-stick spray. Combine dry ingredients and set aside. Beat butter and sugar together until creamy. Beat in vanilla and eggs then beat in cocoa. Alternately beat in flour mixture and milk. Drop 2 tablespoons of dough on prepared sheets for each cookie, spacing 3 inches apart. Shape into 2 1/4-inch rounds, trying to keep them even as they will be sandwich cookies later. Bake 12-14 minutes, cookies should spring back when touched lightly. Let sit on baking sheet 5 minutes then transfer to rack to cool. Prepare filling: Combine flour and milk in saucepan until smooth. Heat over medium, stirring until thickened and bubbly. Cook 1 minute. Remove from heat and whisk in 2 tablespoons of the butter. Place wax paper directly on surface of the mixture and let sit until cool to the touch about 45 minutes. Beat in remaining butter, vanilla and powdered sugar until smooth and fluffy. Sandwich cookies together in pairs with about 2 tablespoons of the filling. Store between wax paper in airtight container. Makes 15.
“Pizza” Zucchini
Pizza Zucchini
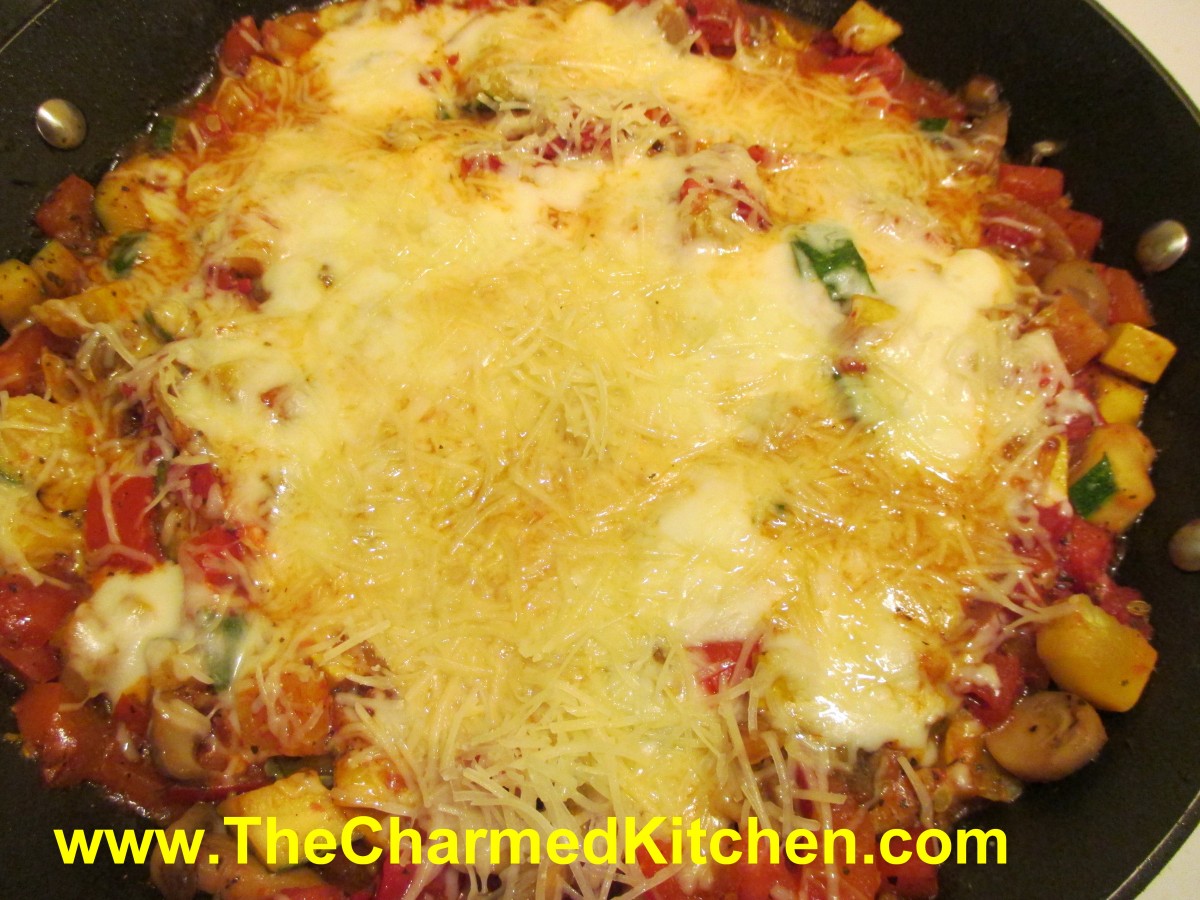
I started making this dish out of necessity. I was fresh out of college and never seemed to have much money. I did have a big garden, though. It was August and the garden was full of zucchini, tomatoes and peppers. The name is a little misleading. It isn’t really a pizza at all. Rather, it is a saute of several veggies, seasoned with pizza seasoning. I top it off with cheese, and often serve it over pasta or rice or stuffed in a pita bread. Last night, I served it on a whole wheat tortilla, so it did sort of have a pizza feel to it. Not much work, this dish packs a lot of flavor. Plus, you can use all sorts of other veggies, depending on what you have around. So if you have a few extra zucchini laying around, this is a fun and tasty way to enjoy them.
Pizza Zucchini
1 T. oil
½ c. chopped onion
1 sweet pepper, seeded and chopped
1 c. sliced mushrooms, optional
3-4 c. sliced zucchini or other summer squash, trimmed and sliced
3 c. diced fresh tomatoes, or used canned or 1 c. tomato sauce
1-2 t. pizza seasoning, or to taste*
8 oz. Mozzarella cheese
Sauté onion in oil until tender add pepper and mushrooms and sauté 2 minutes more. Add squash and cook until tender. Add tomatoes or sauce, seasonings and salt, if desired. Heat through, turn down heat and add cheese. Cover and allow to cook on low until cheese melts. Serve as is, over rice or pasta or in pita bread. Serves 3-4.
*Pizza Seasoning
3 T. dried basil
2 T. dried oregano
1-T. red pepper flakes
1 T. dried minced onion
1-T. fennel seeds
1 t. garlic powder
Combine all ingredients and store in a cool, dark, dry place.
To use: Add 1-2 teaspoons per cup of tomato sauce to make pizza sauce. Also good sprinkled on bagels with sauce and cheese or added to any tomato or pepper dish.

Peach and Plum Sauce
Peach and Plum Sauce with Pork Chops
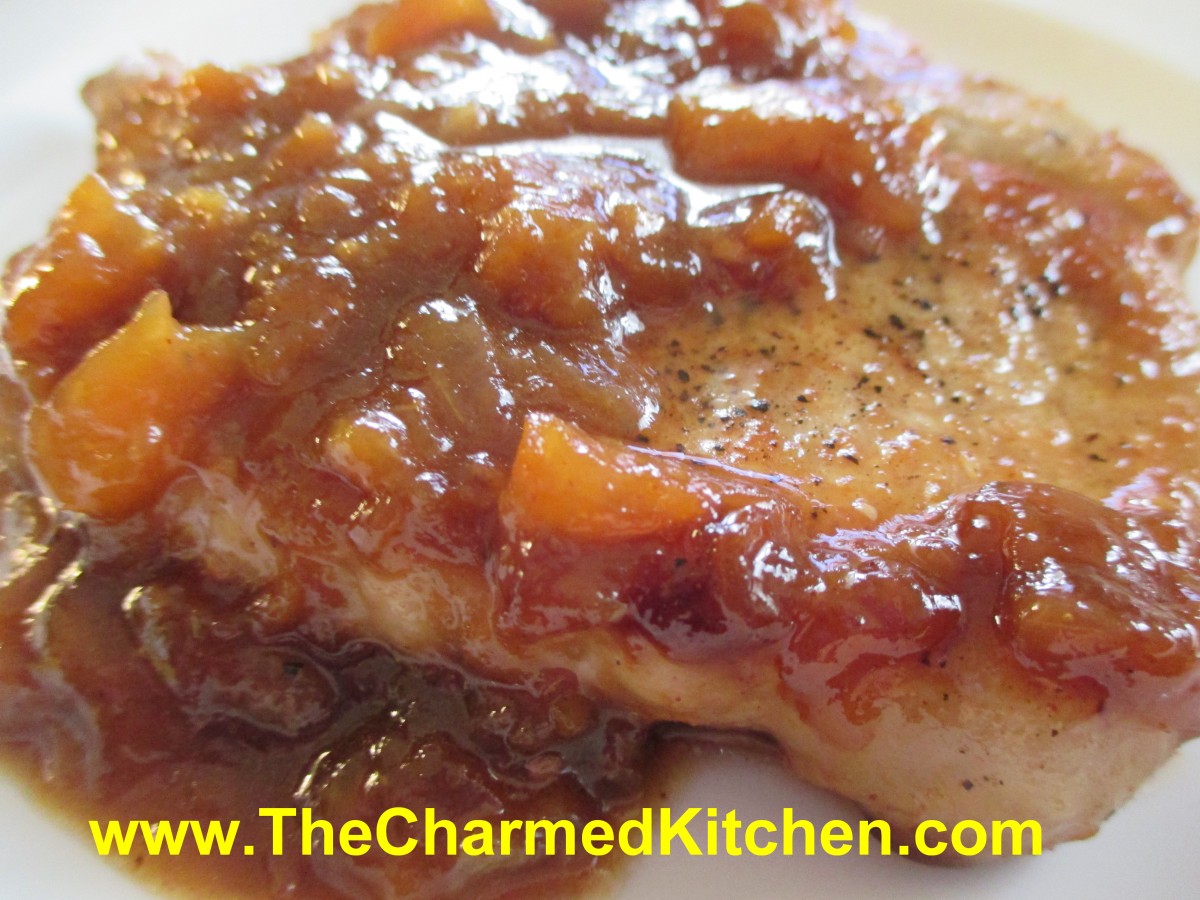
I had a few peaches and plums that were very ripe. I needed to use them soon. I also had a couple of pork chops, so a sauce for the pork seemed like a good idea. It really was. For the sauce, I added honey, vinegar and assorted spices in addition to onions, garlic and fruit. I let everything simmer down together until thickened. For the pork chops, I seasoned them with salt and pepper. Then, I pan seared them on high heat, just a few minutes per side. I added some of the peach and plum sauce to the pork chops and let them cook a few more minutes, until the chops were cooked and the sauce had caramelized a little.
Peach and Plum Sauce
2 T. oil
1 medium onion, minced
2-3 cloves garlic, minced
2 c. peeled and pitted plums and peaches, diced fine- about 3 pieces of fruit
½ c. apple cider vinegar
¼ c. honey
2 T. brown sugar
2 T. soy sauce
2 t. hot sauce- or more to taste
1 t. cinnamon
1 t. grated ginger
1 t. smoked paprika
Salt and pepper to taste
Heat oil in medium saucepan. Cook onion, in oil, until tender. Add garlic and cook a minute longer. Add rest of the ingredients and cook, over medium heat, until sauce is thickened. This will take about 20 minutes, depending on how juicy the fruit is. Makes about 1 ½ cups. Use as a sauce on pork, poultry or lamb.
Beet and Tomato Soup
Beet and Tomato Soup
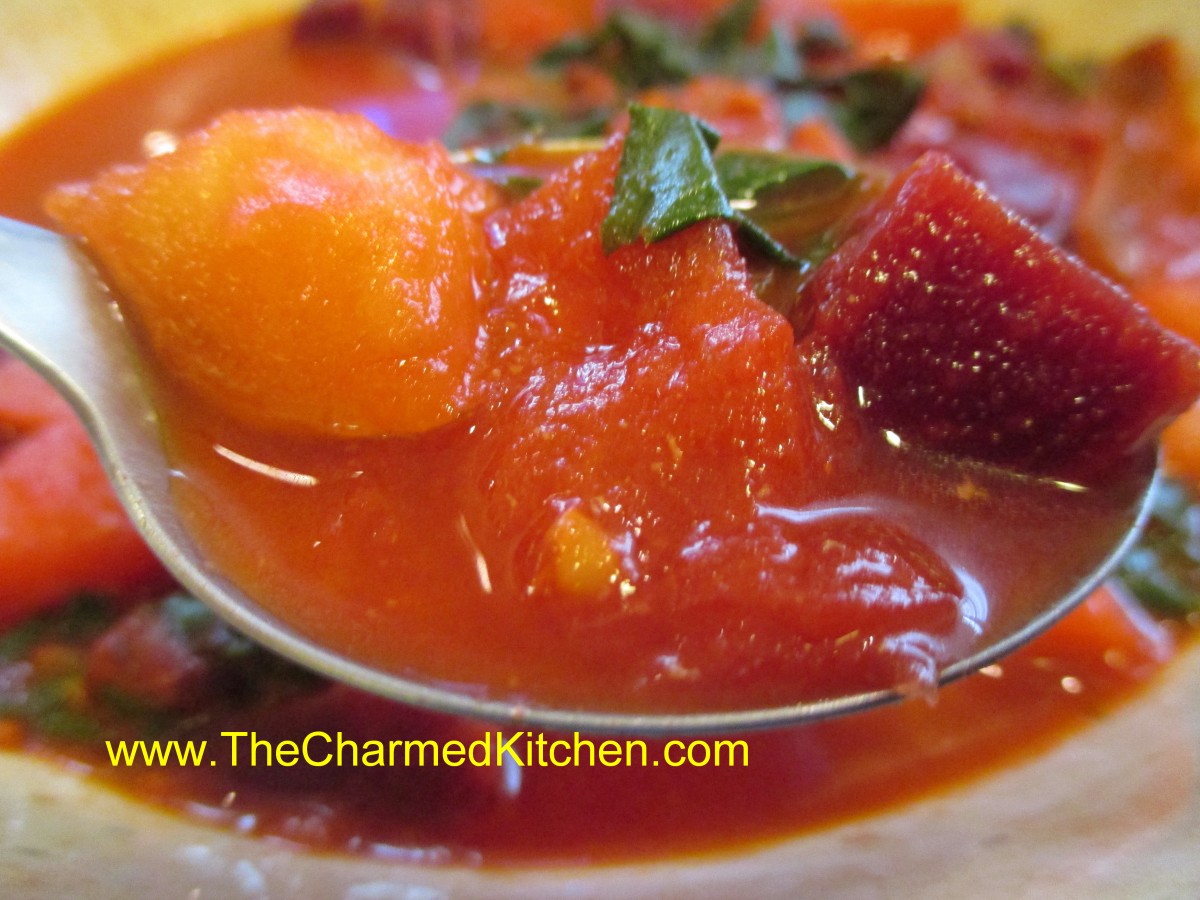
I had a bunch of fresh beets in my fridge and since it’s a little cool today I thought I’d make soup with them. I took inspiration from what I had on hand including onions, potatoes and tomatoes. Adding the tomatoes was a last minute decision that worked out really well. The tomatoes added just the right amount of tart/sweet flavor. The color was really pretty, too.
I must say this about working with beets. I love them. I love how they taste. I love the color, and how everything I cook with beets turns out the most gorgeous color. I don’t, however, like the way my kitchen looks whenever I cook with beets. It’s like something out of a crime scene. Not blaming the beets. Just wondering how it is I can clean up everything, then walk in the kitchen the next day and find flecks of red all over? 🙂
Here is the recipe. It was a small bunch of beets, so I just made a small batch of soup, but it could easily be doubled.
Beet and Tomato Soup
1 bunch beets, about 1 lb.
oil
1 onion, chopped
3-4 c. stock- I used chicken
1 potato, cubed
2-3 medium tomatoes, peeled and cubed
1 t. dill
salt and pepper to taste
Wash beets and trim leaving about 1 inch of the stem attached. Reserve greens. Place beets in a saucepan of boiling water and simmer for about 20 minutes. Remove beets and cool in cold water until you can handle them. While beets are cooling, cook onion in oil until tender. Peel and cube the beets. Add to the onions along with the stock, potatoes and tomatoes and cook until veggies are tender, about 15 minutes. Rinse and chop up about 1 cup of the beet greens and add them to the soup along with the dill. Cook until greens are tender, about 5 minutes. Adjust seasonings and serve. Serves 3-4.
Vidalia Onion Relish
Vidalia Onion Relish
I taught a pickling class last night and brought along some of this relish for everyone to taste. It was, as always, a big hit. I used Vidalia onions, but any sweet onion will work. The relish itself has a nice balance of sour and sweet, with plenty of onion flavor. I use it on sandwiches, in potato and pasta salads and as an appetizer with cheese and crusty breads. It also makes a great gift. As you cook it down, the onions get quite tender, but actually crisp back up a little as the liquid cooks off.
Vidalia Onion Relish
6 qts. ground Vidalia sweet onions (14 to 16 med. onions)
1/2 c. canning salt
1 qt. cider vinegar
2 t. turmeric
1T. pickling spice
2 T. minced sweet pepper, any color
4 1/2 c. sugar
Grind enough Vidalia onions to yield 6 quarts. Add 1/2 c. salt and let stand thirty minutes. Squeeze juice from onion‑salt mixture and discard juice. Sterilize canning jars. To onions, add vinegar, sugar, spices, and pepper. Bring to boil and cook for thirty minutes, stirring often. Pack both onions and cooking liquid to cover in hot jars, leaving 1/2 inch head space. Remove air bubbles. Wipe jar rims. Adjust lids. Process 10 minutes in a boiling water bath. Yield: About 8 pints or 16 half-pints.
Source: So Easy To Preserve
Potato “Breaded” Chicken-Gluten Free
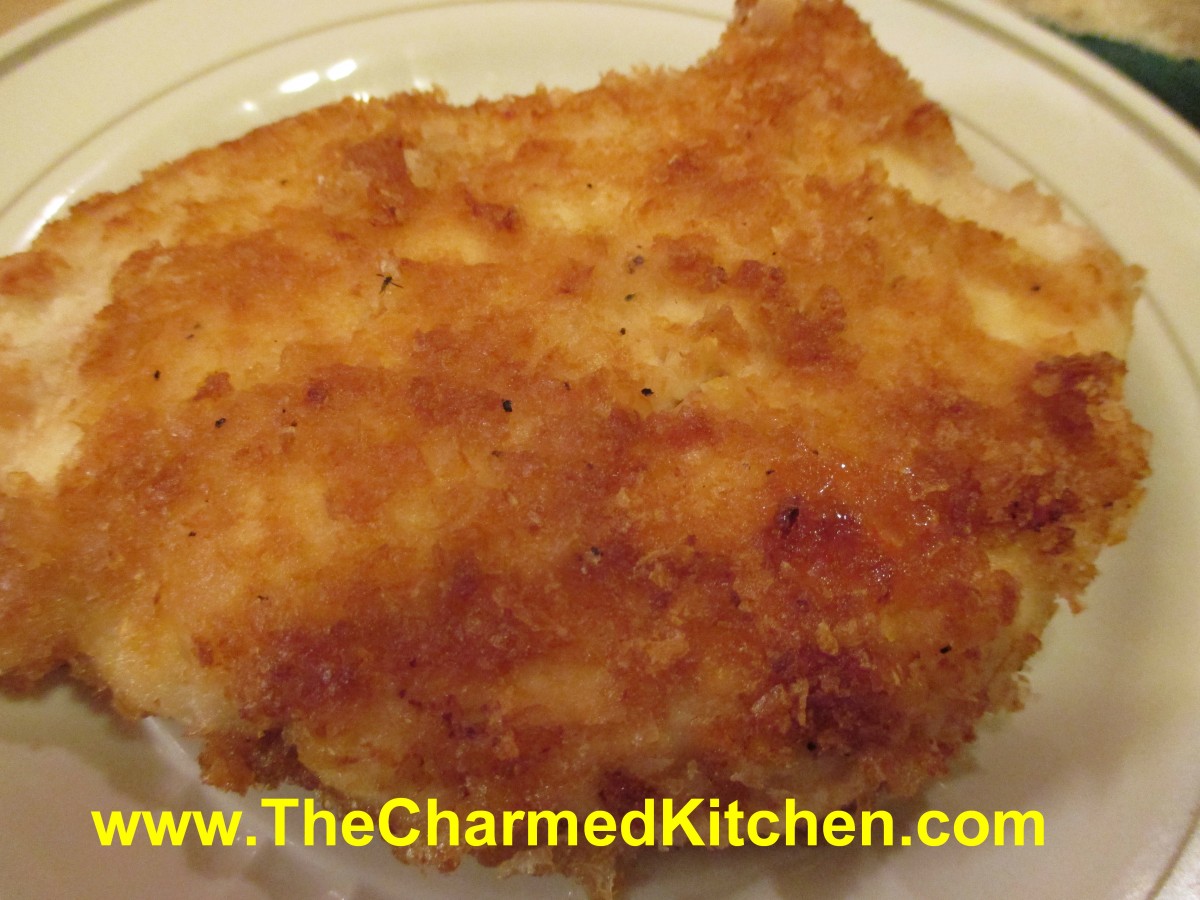
Potato “Breaded” Chicken
I love my Mom’s breaded chicken. It was a staple at summer outings. I still make it. Pretty classic, with a flour dredge, egg dip and bread crumbs. I needed a different option the other day when making lunch for a friend who can’t eat gluten. I just “breaded” the chicken with potato flakes. I sometimes use potato flakes as a thickener for veggie soups and the like. I have also used them as a coating for chicken and fish before. Even if you can have bread crumbs, the potato flakes are a fun way to coat chicken, fish or pork. It gives you a nice, crispy crust and is easy, too. The chicken breasts I had were pretty thick, so I cut them into thinner pieces to help them cook faster and more evenly. You could also cut them into nuggets, if you prefer. I pan fried, but you can also brown them a little and finish in the oven, if you prefer.
Potato “Breaded” Chicken
½ mayo
1 c. potato flakes
Salt and pepper
4 chicken breasts, boneless or 6 boneless chicken thighs
Oil
Spread chicken pieces with the mayo. Season the potato flakes with a little salt and pepper. Place potato flakes on a plate or in a shallow dish. Coat the chicken pieces with the potato flakes, pressing a little to cover well. Heat oil in skillet until really hot. Cook chicken pieces in skillet, on both sides, until golden brown. Turn heat down to medium and continue cooking until chicken is cooked. Serves 3-4.
Homemade Popcorn Balls

Homemade Popcorn Balls
When summer comes around I always think about amusement parks, and how much I enjoyed going when I was a kid. The rides, the sounds and smells, and the food. I especially liked popcorn balls. There was an amusement park near my house that was known for their popcorn popcorn balls. I don’t make them often, but popcorn balls are always a special treat for friends and family. Just one of those old fashioned recipes that has so many fond memories attached to it. This recipe is pretty easy, and kids, supervised, could help make them. It calls for corn syrup. If you don’t want to use corn syrup, my recipe for a substitute sugar syrup is listed below.
Homemade Popcorn Balls
9 c. popped popcorn
1 c. sugar
1 T. butter
1 T. vanilla
1 c. corn syrup*
Place popcorn in large bowl and set aside. Combine sugar, butter, vanilla and corn syrup in a saucepan. Heat and boil until thick, about 4 minutes. Pour over popcorn . Stir until well coated. Let cool until safe enough to handle. With buttered hands form mixture into balls. Store wrapped tightly in plastic wrap until ready to eat. Best eaten within a few days of making. Makes about 8.
*If you don’t have corn syrup- or don’t want to use it here is a way to make a substitute for it.
Sugar Syrup- corn syrup substitute
3 cups granulated sugar
1 cup Water
1/2 tsp. Cream of Tartar
1/4 t. salt
Combine ingredients in a large saucepan. Bring to a boil and cover the pot. Reduce to a simmer and cook covered for 5 minutes. Uncover and cook to soft-ball stage. Stir frequently.
Soft ball stage occurs at 235-245 degrees. This stage can be determined by dropping a spoonful of hot syrup into a bowl of very cold water. In the water, use your fingers to gather the cooled syrup into a ball. If it has reached soft-ball stage, the syrup easily forms a ball while in the cold water, but flattens once removed from the water.
Remove from heat. Cool and store at room temperature. It will keep well for a month or two.


