Duck Fat Bread
Duck Fat Bread
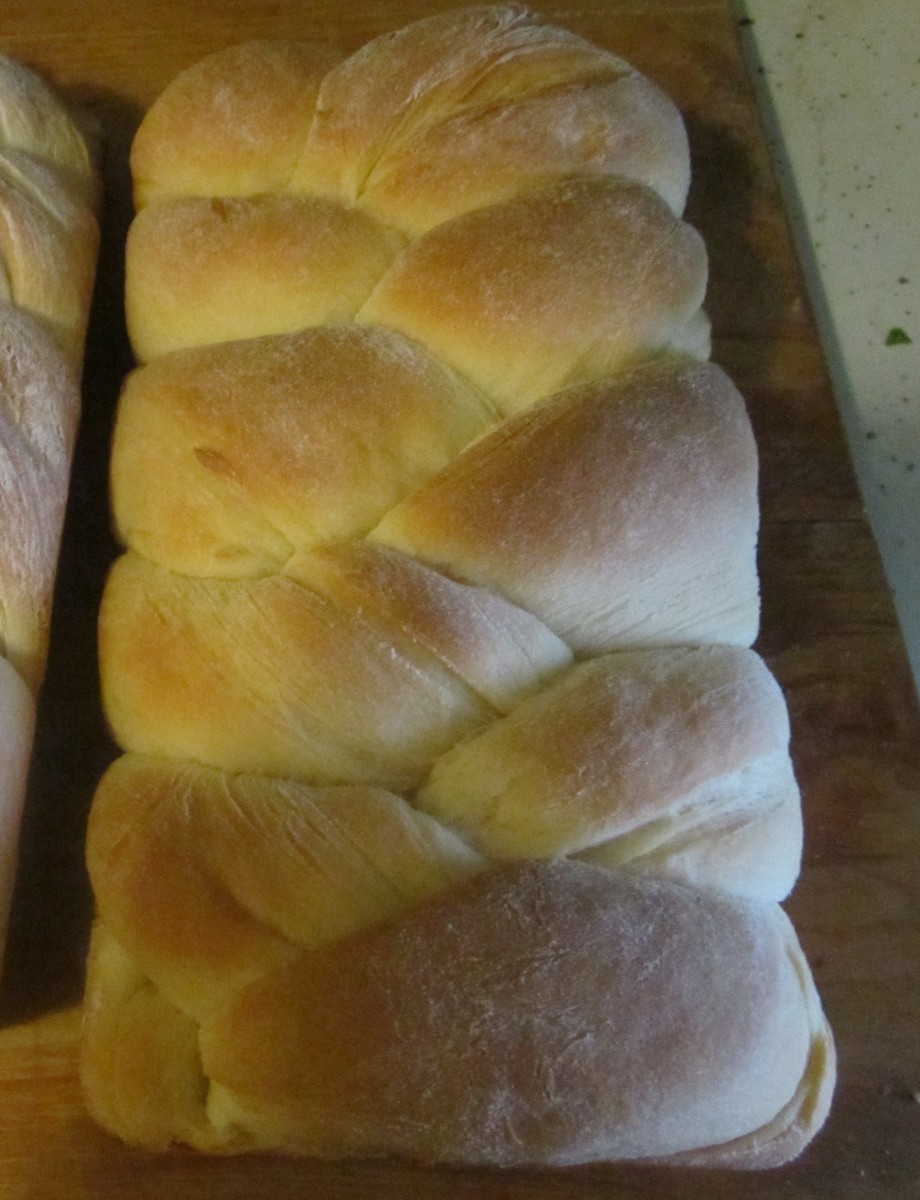
My Mom used to make this wonderful sweet bread. Made it for every family occasion. She was also a very frugal person and decided rather that toss duck skin she had removed from a duck she was using in soup she rendered the fat. Once it was cooled it looked like butter. She was making her bread and substituted the duck fat for the butter in the recipe. When my brother-in-law, Bob, tasted it he declared it was the best yet. My Mom told him what the secret ingredient was and from that day on we always called it duck fat bread- even when it was made with butter. Here is the recipe- wonderful even made with plain old butter.
Butter Coffeecake Braids aka Duck Fat Bread
4 1/2 c. flour
2 T. sugar
1 t. salt
½ c. butter or 1/2 c. cooled rendered duck fat
1 packet yeast
¼ c. warm water
2 t. sugar
1 c. evaporated milk
2 eggs, beaten
Combine flour with sugar and salt. Cut in butter or duck fat and set aside. Dissolve 2 teaspoons sugar in warm water. Dissolve yeast in warm water mixture and set aside. Allow to become bubbly, about 5 minutes. Combine milk with eggs. Stir in yeast mixture and add to flour mixture stirring well. Knead dough in bowl until smooth, about 10 minutes. Place on lightly floured surface and knead until smooth. Cover and let rise until doubled, about 1½ hours. Divide dough in half and then each half into thirds. Roll dough into ropes and braid three ropes together. Repeat with remaining 3 ropes. Place braids in 9×5 inch greased bread pans and cover with a towel. Place in a warm, draft-free place and allow to rise until doubled, about 1½ hours. Bake in a preheated 350 degree oven for 25 minutes. If you like glaze loaves while warm with a mix of powdered sugar, a little milk, butter, and vanilla. Toasted almonds or walnuts can be added, if desired. Makes 2 loaves.
Note: You can also refrigerate the dough after kneading it if you would prefer. Just place dough in an oiled bowl, cover with plastic wrap and chill overnight. Roll and shape dough into braids when cold from the fridge. Rise, covered, until doubled in bulk, about 2-3 hours. Bake as directed.
Note: You can also place loaves on a greased baking sheet for a longer, flatter bread rather than in loaf pan.
Pumpernickel Bread

Pumpernickel Bread
If you never made your own Pumpernickel bread you might be surprised at some of the ingredients. Besides the rye flour the dark color and unique flavor are from the addition of molasses, cocoa powder and coffee. The sad fact is that much of the Pumpernickel bread you see in stores doesn’t have most of these ingredients, but artificial color and flavor. Real pumpernickel bread is a little dense, chewy and very flavorful. Well worth the effort to make it.
Pumpernickel Bread
2 Packages active dry yeast
½ c. warm water
2 c. lukewarm strong coffee
¼ c. each molasses and unsweetened cocoa
2T. Caraway seeds
2 t. salt
5-6 c. flour
2 c. rye flour
Cornmeal
1 egg white, slightly beaten
In large bowl dissolve yeast in warm water. Stir in coffee, molasses, cocoa, seeds, salt and 3 cups of flour. Beat with wooden spoon about 2 minutes. Stir in rye flour and enough of the remaining regular flour to make soft dough. Turn onto floured surface and knead until dough is smooth, about 10 minutes. Place in greased bowl, turning to grease top, cover and let rest until doubled, about 1 hour. Grease large baking sheet and sprinkle with cornmeal. Set aside.
Punch down dough, divide in 2, and form into balls. Place on baking sheet and cover. Let rise until double, brush with egg whites, slash tops and bake at 375 for 35-40 minutes. Makes 2 loaves.
Pumpkin Bisque
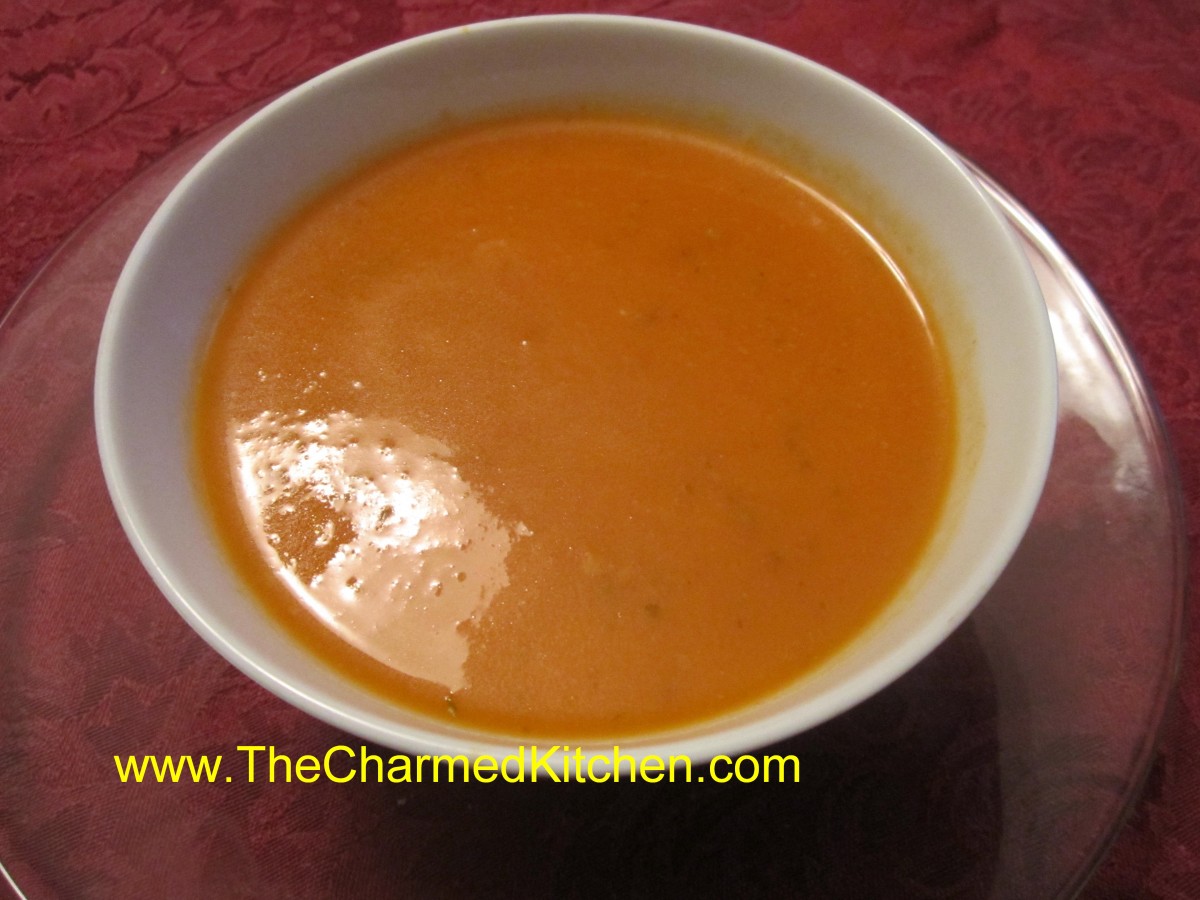
Pumpkin Bisque
What’s in a name? When I make this soup I actually almost never use pumpkin. Every Fall I stock up on Winter squashes like butternut, acorn, Hubbard and more. A few pumpkins, too. Eventually I cut them up and roast them. Once cooled they are pureed and frozen to use throughout the year. Pretty much any package I pull out of the freezer is as likely squash as pumpkin. I am not sure it really matters. I love butternut and Hubbard the most of the winter squashes, but in this soup any of the squash or pumpkins add a similar sweetness that works. The soup is easy to make and takes almost no time at all. Great for when you need something to warm you up – fast.
Pumpkin Bisque
2 T. butter
¼ c. chopped onion
½ t. ginger
1 T. flour
2 c. cooked pumpkin
2 c. chicken broth
2 c. milk
salt and pepper to taste
Sauté butter, onion and ginger. Stir in flour. Add pumpkin and cook 5 minutes. Add broth and milk and stir often until heated through. Adjust seasonings. Serves 4-6.
Baking and Canning in Jars
 I have seen a post coming up a lot lately about cooking foods in canning jars in the oven. They are all over the internet. Mostly cakes or other sweets. Trust me, there are plenty of sites that will tell you it is OK to bake or can in jars. There are also sites that tell you it is safe to water bath green beans. Just because it is on some website does not make it true or safe. Every time I see a post I let people know it isn’t safe. After a conversation with a friend last night I decided it was time to do a post on the subject. There are really three different reasons not to put your canning jars in the oven.
The first reason is that heat penetration in ovens can vary and it is not the same as heat penetration in water. For that reason it is not considered safe by the USDA for us to can in the oven. There is a link posted below with this information.
The second reason is that cakes made in the oven pose the risk of giving you botulism poisoning. The link from Penn State explaining why is also listed below.
The third reason is that the Company that makes the jars, Bernardin, (they make Ball jars) says not to put any canning jars in ovens because they could shatter. The link from the company is also listed below.
I hope this clears the matter up. Don’t want to sound preachy, just want people to be safe.
http://extension.psu.edu/food/preservation/faq/canned-breads-and-cakes
http://nchfp.uga.edu/questions/FAQ_canning.html#7
http://www.bernardin.ca/pages/faq/33.php
Duck with Pear Ginger Sauce

Duck with Pear Ginger Sauce
I love the way duck tastes when served with pears. Duck, with its dark, rich meat really works well with all sorts of fruit. I’ve made sauces and glazes for duck from cherries, prunes, mangoes, peaches and of course, oranges. Since I had several very ripe pears and a duck I was roasting I thought I’d try them together. Oh yum!!
I made a simple sauce out of the pears. I peeled them and diced them and put them in a small saucepan with a couple of tablespoons of brown sugar, about 1/4 cup of cider vinegar, some salt and pepper and a healthy splash of hot sauce. It needed something so I added about a teaspoon and half of grated ginger. That was the missing ingredient. It gave the sauce a nice bite. I simmered the sauce for about 10 minutes, stirring from time to time to prevent sticking. The pears were just starting to fall apart. When the duck was ready to serve I warmed up the sauce and spooned some on the plate.
To roast the duck: Let me say this was a locally grown duck so not as fatty as ducks I get at the grocery store. For the very fatty ducks you need to score the skin and trim off extra fat. If you don’t the skin won’t get crispy and isn’t very appetizing. Still, I wanted a nice high heat to crisp up the skin. I placed it on a rack in a roasting pan. I did cut up an onion and a small orange and placed them in the cavity. Sprinkled generously with salt and pepper and placed the duck in a preheated 450 degree oven for 15 minutes. Then I turned the heat down to 425 until the duck was done. In this case, it was a smallish duck and cooked in about 65 minutes. It is OK if the duck meat is a little pink. Kind of preferred a little pink by most, but cook it to your own comfort level. Let duck rest 10-15 minutes before cutting into serving pieces.
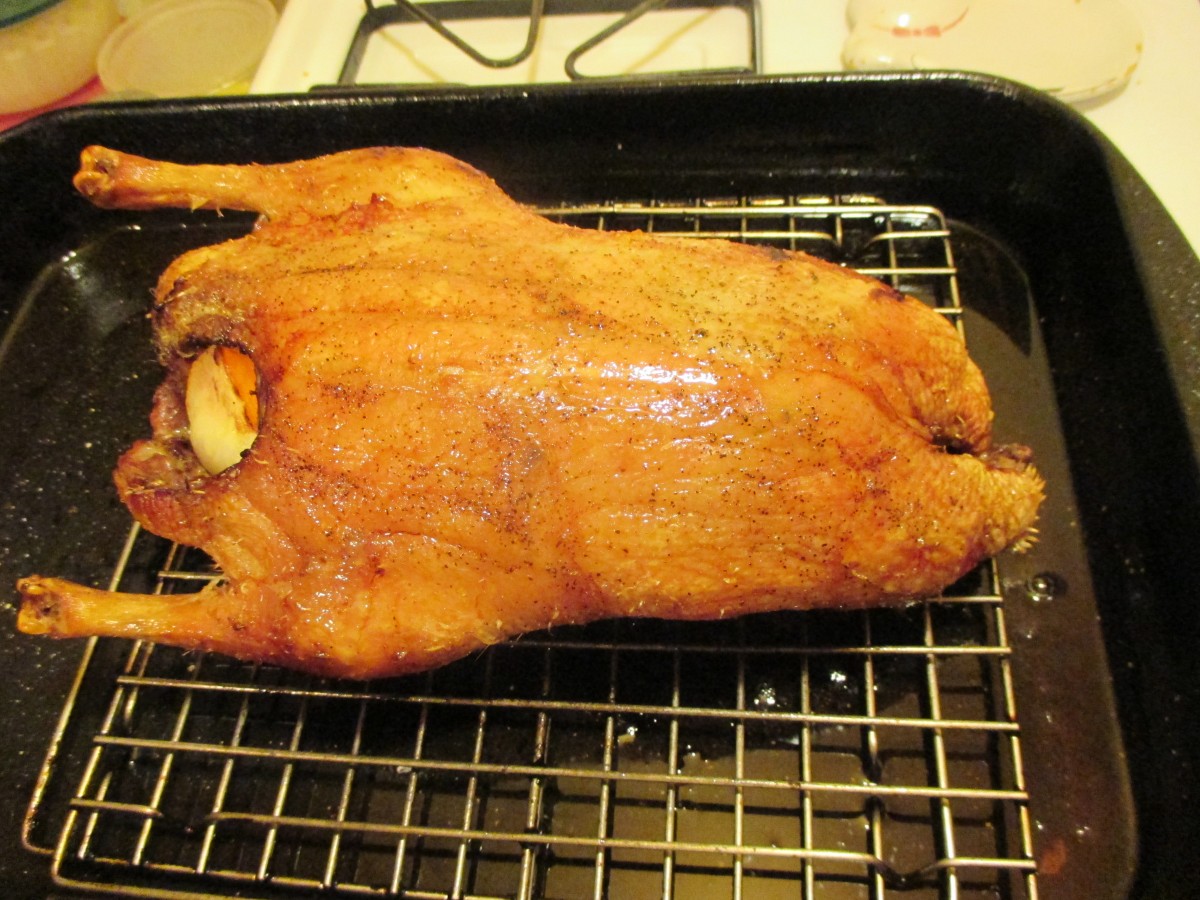
Right out of the oven
Herb Breads
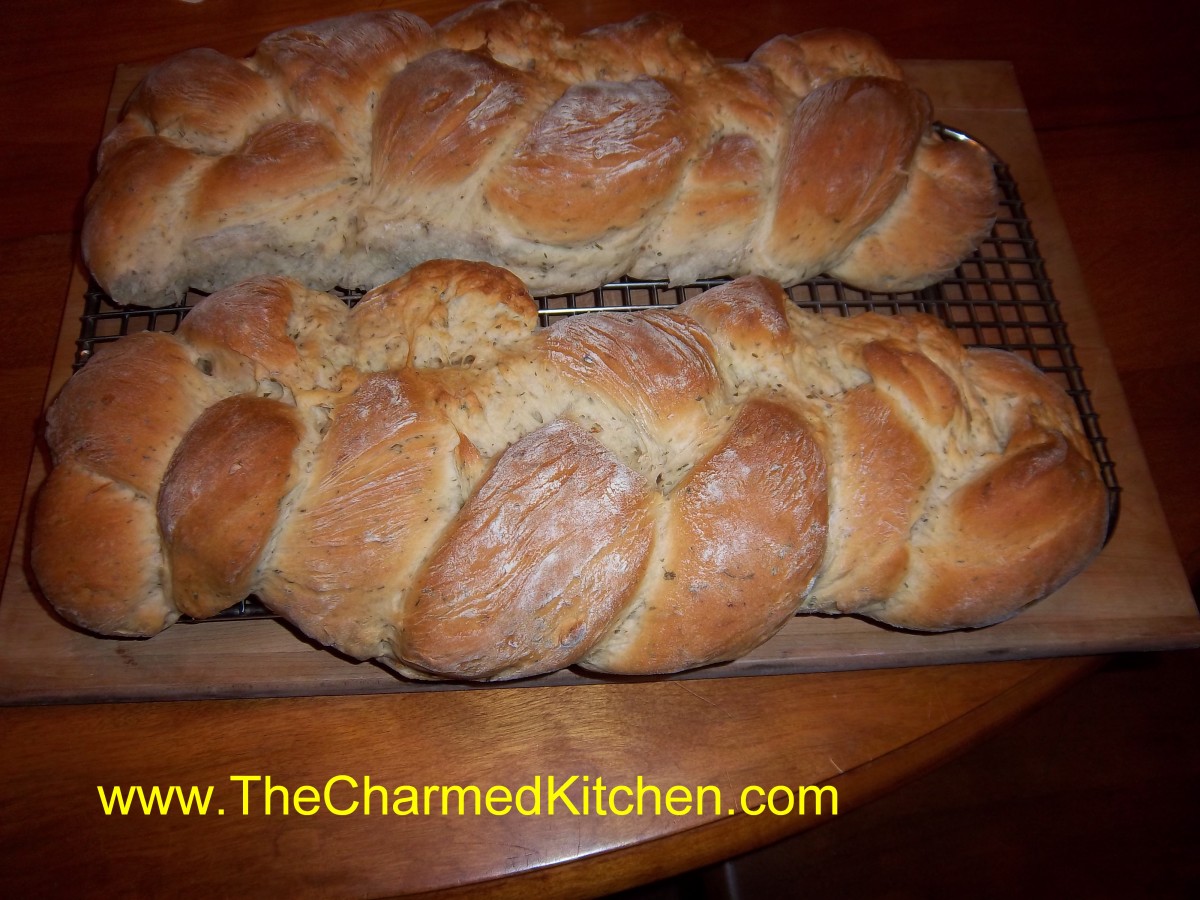
Herb Breads
One of the benefits about baking your own bread is the aroma. The house gets filled with the most wonderful smells. In this case the experience is even better because the breads I baked are filled with herbs so those fragrances are also in the mix. I like to make these loaves in braids and place them on a baking sheet- but they could just as easily be baked in bread pans for more traditional loaves. Great for sandwiches I like to toast some of this bread and use as croutons or as a base for stuffing.
Judi’s Herb Braids
5 ½ -6 ½ c. flour
2 packages quick rising yeast
¼ c. sauteed shallots
2 T. each dried marjoram and parsley
1 T. each dried oregano and minced garlic
1 T. honey
2 t. dried thyme
2 t. salt
¼ c. olive oil
2 ¼ c. hot water
In a mixing bowl combine 2 c. of flour with the rest of the ingredients and mix until smooth. Beat with electric mixer 4 minutes then add 1-cup additional flour and beat 1 minute longer. Stir in flour ½ cup at a time until soft dough forms. Turn onto surface and knead, adding flour gradually until dough is smooth and elastic. Place dough in lightly greased bowl and turn to cover. Cover with a towel and let rise until doubled, about 30 minutes. Turn dough onto surface and cut in half. Cut each half into thirds. Roll each piece of dough into an 18-inch rope. Loosely braid three ropes together and repeat with the remaining dough. Place on greased baking sheet and cover until doubled in size, about 20 minutes.
Bake in a preheated 375-degree oven for 25-30 minutes, or until bread sounds hollow when tapped lightly. Makes 2.
Variation: Whole wheat: Add 2 cups of whole-wheat flour to replace 2 cups of white flour. Also try adding ¼ c. of wheat germ, oat bran or 2 tablespoons of seeds (sesame, pumpkin, sunflower, poppy, etc.)
Regular yeast can be used, but rising times will be longer and water should be warm, not hot.
Root Vegetable Soup

Root Vegetable Soup
When the air is chilly I am always in the mood for a nice hot bowl of homemade soup. This soup came about as I rummaged through the veggie bin. I had a number of root vegetables so I decided to make them the focal point. I happened to have homemade turkey stock, but you could easily swap it out for chicken stock or vegetable stock as well. So here it it- the recipe that was created based on what I happened to have on hand. The end result was really good.
Root Vegetable Soup
3 T. oil
1 onion, chopped
2 large carrots, peeled and sliced
2 small parsnips, peeled and sliced
6 c. stock, I used turkey
2 c. peeled and diced turnips, about 2 medium
2 c. diced potatoes, about 2 medium
1 pint home canned tomatoes, or a (14 oz.) can of diced tomatoes, un-drained
1 medium sweet potato, diced
1/4 c. chopped parsley
2 T. apple cider vinegar
1 T. hot sauce, or to taste
salt and pepper to taste
In soup pot heat the oil and cook the onion until light golden. Add the carrots and parsnips and cook until they are light golden, too. Add the stock, turnips, potatoes and tomatoes and bring to a boil. reduce heat and simmer, covered, until veggies are tender, about 20-30 minutes. Add sweet potatoes and remaining ingredients and cook until sweet potatoes are tender, about 10-15 minutes. Adjust seasonings and serve. Serves 6-8.
Chicken Noodle Soup
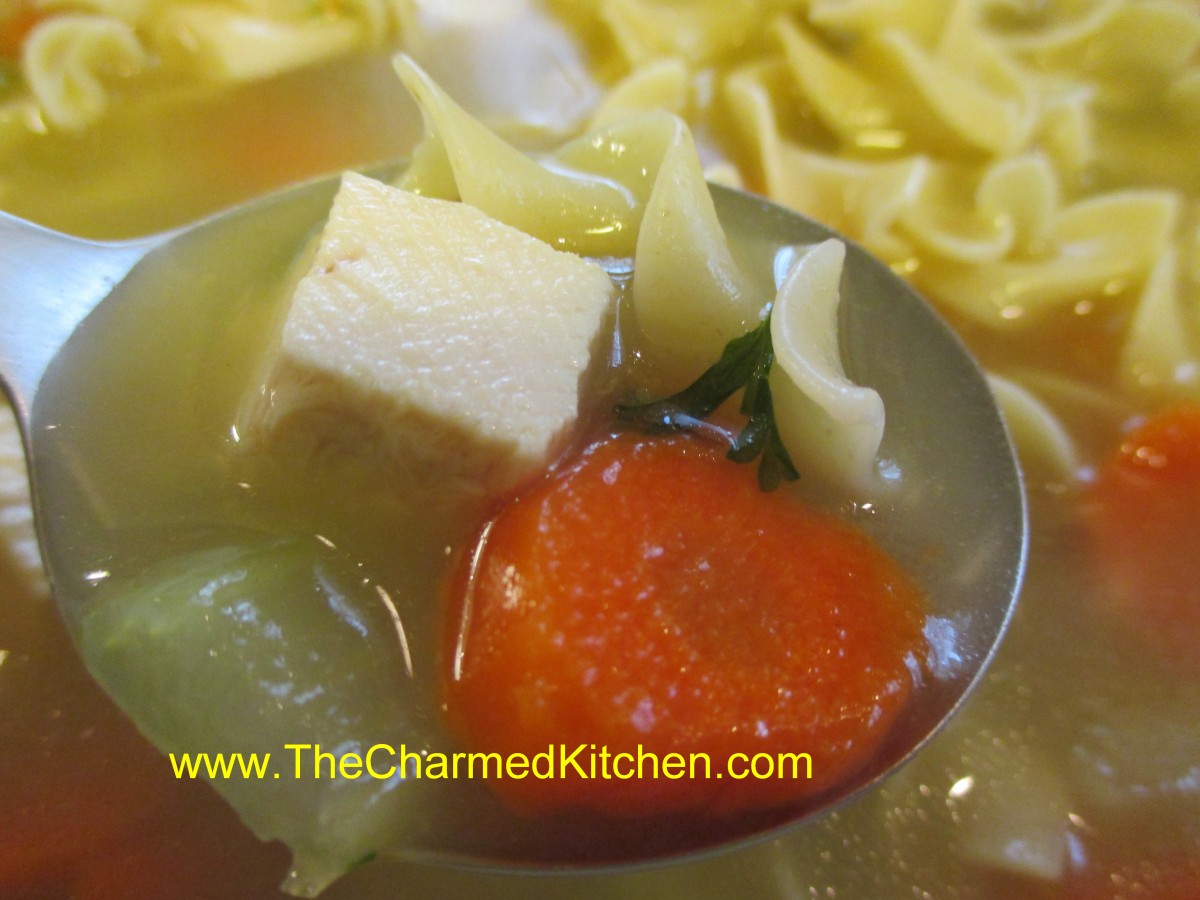
Chicken Noodle Soup
I was asked recently for my recipe for chicken noodle soup. I teach several different classes on making soup but it wasn’t in there. That seemed odd. I mean with all the recipes I share you would think I would have posted it somewhere by now. I think the truth is that there really isn’t a recipe. Well, not a recipe I can share in the normal sense. I can guesstimate the amounts of this and that but every batch is a little different. That is part of the fun. The basic ingredients are the same, good stock, cubed chicken, carrots, celery and of course, noodles.
There is one pretty important thing about chicken noodle soup you should know- don’t cook the noodles in the soup. I know that sounds wrong. Trust me, if you cook your noodles in your soup you’ll end up with a goopy mess. Cook your noodles separately and add them when serving the soup. This does two good things. It keeps the noodles from getting overcooked and it lets each person add just the amount of noodles they like. Let’s face it some people just like a few noodles and others prefer a lot. This way each person gets their soup the way they like it.
So for directions here is what I do. I start with homemade chicken stock. Since I made the stock I’ll have the chicken I used to make it. I cube up some of the meat and add it to the stock. I also add some sliced carrots and sliced celery and let them simmer in the soup until tender. I sometimes add other veggies. Green beans or maybe a zucchini. I don’t get too crazy with the veggies here or it will become vegetable soup. I almost always remember to add some parsley. I love fresh ground pepper, too. Don’t put too much stuff in – you will be adding noodles after all. I cook my noodles and when the soup is ready to serve I warm them up a little- often just in a bowl in the microwave. That way they won’t cool down your soup. For little kids leave the noodles cold- they normally like their soup a little cooler. I ladle the soup into bowls and put the noodles on the table so everybody can add their own. Seems to work out pretty well.
My Mother was so funny when eating this soup. She had to have it come out “even”. She’d be nearly finished and realized she was out of noodles- so she would add a few. But then she needed more broth so she would add more of that. This went on several times. At the end she always insisted she only had one bowl.
Almond Biscotti

Almond Biscotti
These biscotti are so good. Easy to make and the perfect companion for a cup of coffee, tea or even a glass of cold milk, if that is what you like. They are studded with chopped almonds and also include Amaretto and lemon zest in the batter for a great flavor. They aren’t too sweet, which I like. You can eat them plain or add a drizzle of chocolate.
Almond Biscotti
2 c. flour
1 t. baking powder
1/4 t. salt
1 c. sugar
3 eggs
2 T. Amaretto liqueur
1 T. lemon juice
2 t. grated lemon peel
2 c. coarsely chopped almonds, about 9 oz.
Combine dry ingredients and set aside. Beat sugar and eggs together until light and lemon colored, about 3 minutes. Mix in liqueur, juice and peel. Beat in dry ingredients and stir in almonds. Mixture will be very sticky. Spray large baking sheet with non-stick coating. By spoonfuls transfer dough to baking sheet forming 2 14-inch long strips. Using floured hands shape each strip into 2 1/2 inch wide log. Bake in a 350-degree oven for about 30 minutes. Logs should be light golden and firm to touch. Transfer to cutting board and using a serrated knife, cut into 3/4-inch thick slices. Place a cooling rack on your baking sheet and arrange slices on top of the cooling rack, cut side down. Bake 11-12 minutes. Remove from oven and cool completely. Can be stored in airtight container for a week. Makes about 40.
Buckeyes
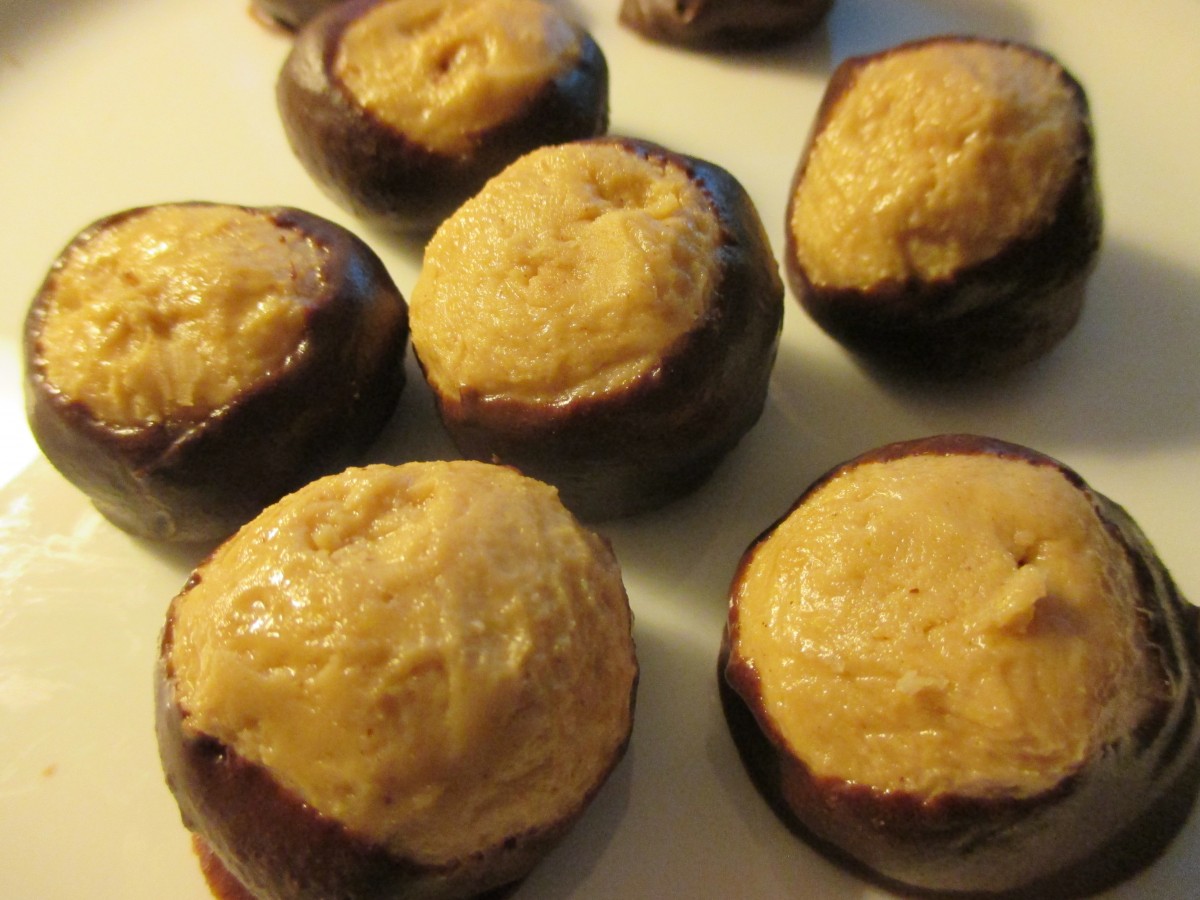
Buckeyes
Rumor has it there is a pretty big game coming up. If you are planning on watching with friends you might want to make these Buckeyes. They are really easy to make and would make the perfect sweet ending to what we can only hope will be a sweet game. Go Bucks!!!
Buckeyes
1 ½ lb. powdered sugar
1 ½ c. peanut butter
2 sticks softened butter
12 oz. chocolate chips
2 T. coconut oil or shortening
Mix together sugar, peanut butter and butter. Chill. Roll into balls, flatten slightly. Melt chocolate and coconut oil. Dip in melted chocolate to cover about ¾ of the surface. Using a toothpick or fondue fork makes this job a lot easier. Allow to harden on wax paper. Store in a cool place. Can be frozen.


