Zucchini Bread Pudding
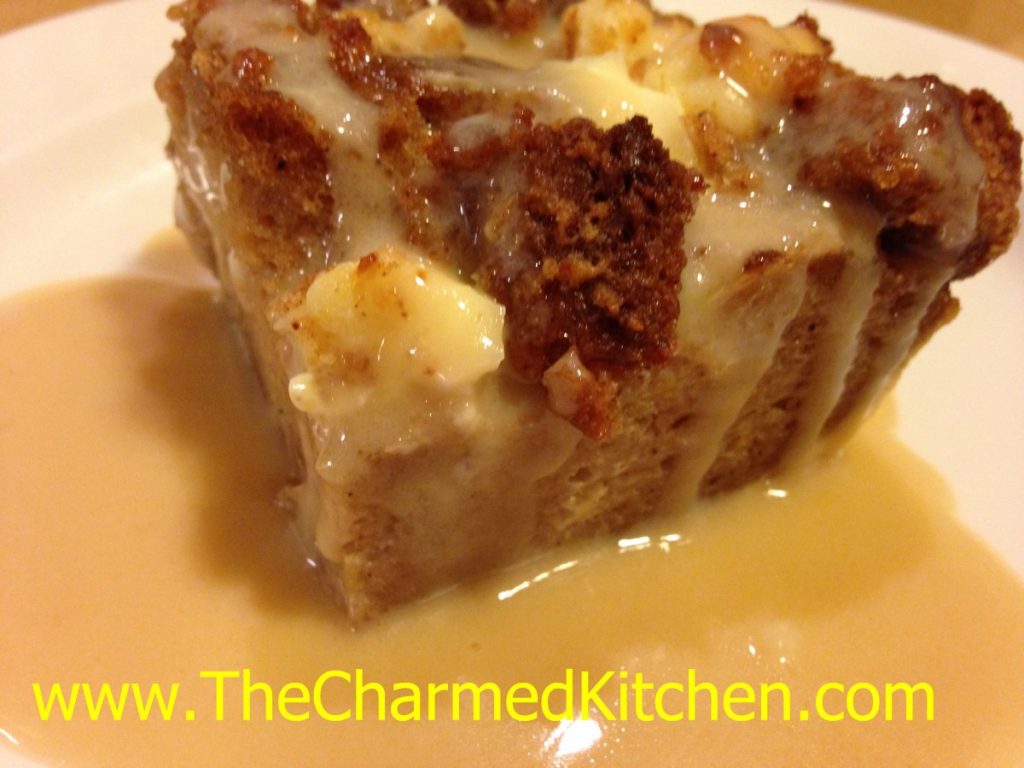
I had some extra zucchini bread and wanted to do something different with it. I ended up making this zucchini bread pudding. It came out even better than I thought it would. Rich, not too sweet. A simple, classic dessert.
I felt it needed some sort of topping or sauce. I made a vanilla caramel sauce to dress it up a little. It worked great. Ice cream or whipped cream would have worked, too.
I guess I should really call it a zucchini bread bread pudding. After all, it is bread pudding made from zucchini bread. My spell check hates it when I type the same word twice, so zucchini bread pudding it is.
I know this would also work with other quick breads, like pumpkin or banana bread.
So here is the recipe- for the bread pudding, the zucchini bread and the caramel sauce.
Zucchini Bread Pudding
6-8 cups cubed zucchini bread- recipe follows
8 oz. cream cheese- cubed
2 c. half and half
3 eggs
1 T. vanilla
1 t. cinnamon
Vanilla Caramel sauce- recipe follows
Butter a 2-quart casserole. Preheat oven to 350 degrees. Place half the cubed zucchini bread in the prepared pan. Add half the cubed cream cheese, scattering over the bread. Repeat with remaining bread and cheese. In bowl, combine the remaining ingredients, beating until well mixed. Pour over the zucchini bread mixture. Place casserole in oven and bake for 30 minutes, or until bread pudding is set. Allow bread pudding to cool a little before serving. Serve with the vanilla caramel sauce or top with ice cream or whipped cream. Serves 8.
While often served warm, this bread pudding is tasty served chilled, too. Heck, I just had some for breakfast.
Zucchini Bread
3 c. flour
3 eggs
2 c. sugar
2 c. shredded zucchini
1 c. oil
1 c. chopped nuts or raisins
½ c. sour cream or strained yogurt
1 t. each vanilla, cinnamon, baking powder, salt and baking soda
Preheat oven to 350 degrees and grease 2 (9×5 inch) loaf pans. Set aside. Place flour in large bowl. Beat eggs and add with remaining ingredients to flour, mixing well and scraping bowl. Pour batter into prepared pans and bake 1 hour and 20 minutes, or until browned and toothpick in center emerges clean. Cool in pans on wire rack. Freezes well. Makes 2.
Vanilla Caramel Sauce
1 c. sugar
¼ c. water
4 T. butter
2 t. vanilla
¼ c. half and half
Pinch of salt
Combine sugar and water in a small saucepan. Bring to a boil and cook for about 3 minutes. Remove from the heat and add the remaining ingredients. Stir until smooth.
Giant Zucchini Bread
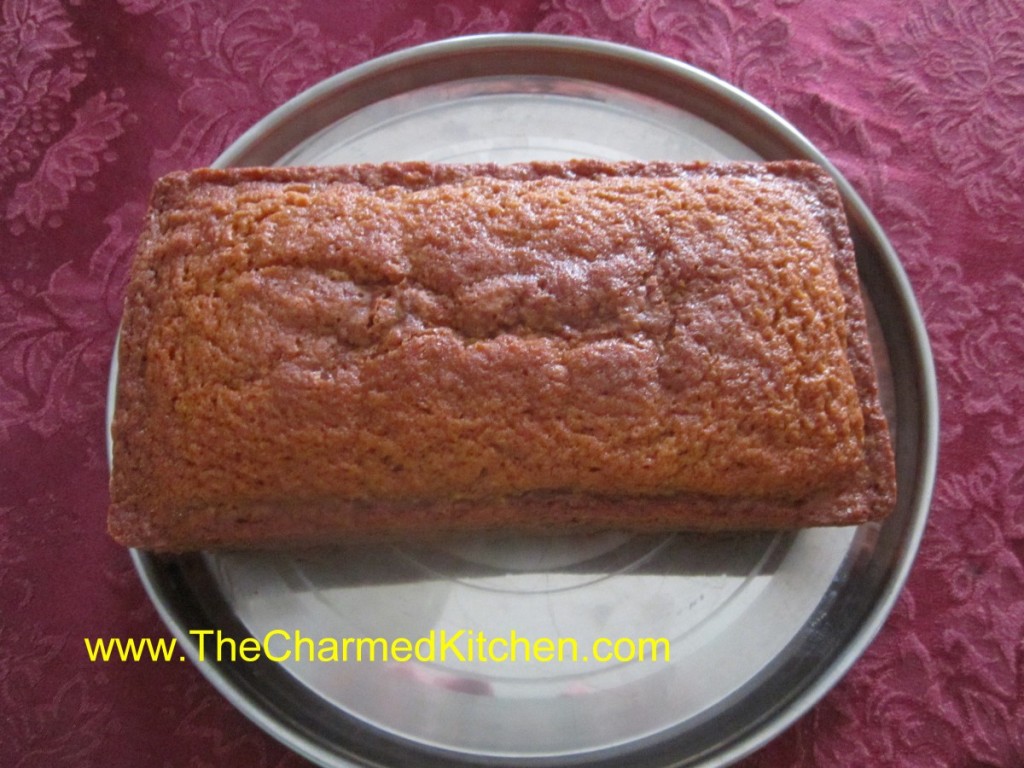
Let me be clear. The bread is normal size- the zucchini are giant. Even the most diligent of gardeners will have a few zucchini get away from them.
Zucchini seem to go from too small to gigantic in the blink of an eye. A friend just brought me a really big zucchini. I knew it would make nice zucchini bread.
This time of year I get a lot of questions about overgrown zucchini. People seem to think there is nothing you can do with them. That’s not true. Even older squash can be eaten in all sorts of ways.
You can determine if the skin is too tough to eat by trying to pierce it with a fingernail. If you can easily poke the skin- it is tender enough to eat. If it isn’t, just peel before using.
Cut the zucchini in half lengthwise and look at the seed cavity. If the middle looks spongy, hollow or if the seeds are developing scoop out the middle and discard. The remaining zucchini can be cubed or sliced and added to stews, soups, stir fries and all sorts of dishes.
One of my favorite things to make with the bigger zucchini, is zucchini bread. I shred up a whole zucchini and portion it out in amounts I will need for my bread. I freeze what I won’t be using that day. It is really nice in the dead of winter to be able to make zucchini bread. Here is the recipe I use. It is a favorite and makes 2 loaves, which is a bonus.
Zucchini Bread
3 c. flour
3 eggs
2 c. sugar, I use less
2 c. shredded zucchini
1 c. oil
1 c. chopped nuts or raisins, optional
½ c. sour cream or Greek yogurt
1 t. each vanilla, cinnamon, salt and baking soda
Preheat oven to 350 degrees and grease 2 (9×5 inch) loaf pans. Set aside. Place flour in large bowl. Beat eggs and add with remaining ingredients to flour, mixing well and scraping bowl. Pour batter into prepared pans and bake 50-60 minutes, or until browned and toothpick in center emerges clean. Cool in pans on wire rack. Freezes well. Makes 2 .
Fresh Peach Chutney
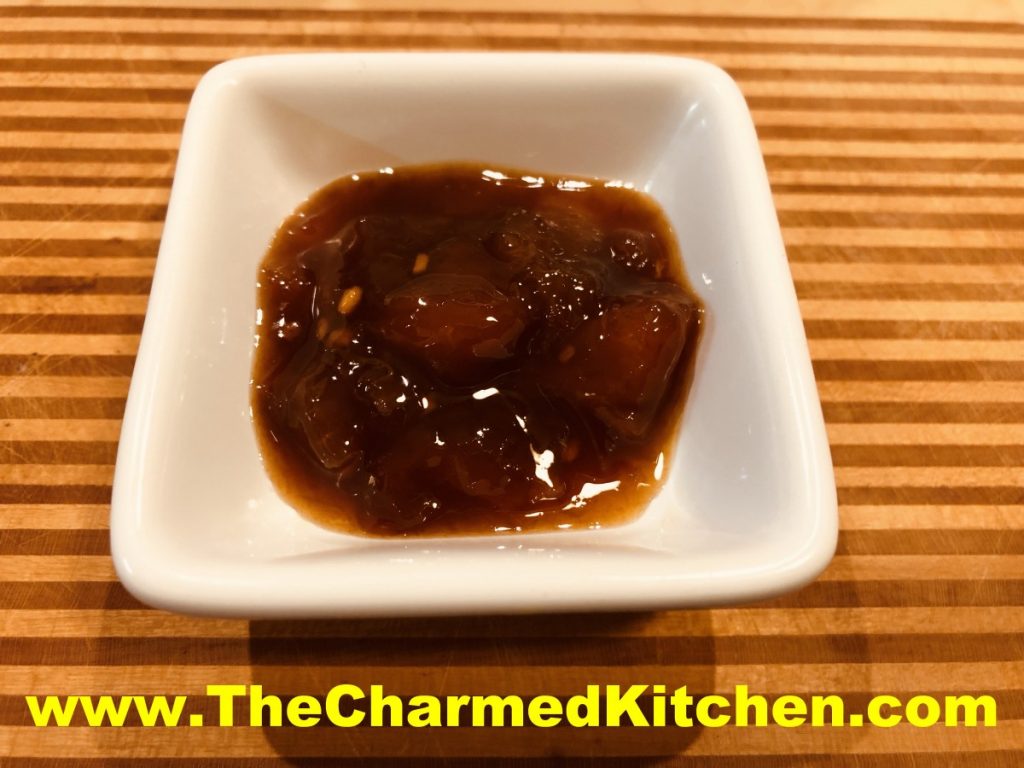
Peaches are in season and I am loving it. Besides eating them fresh, I have been enjoying them in all sorts of dishes. Peach jam, peach ice cream, peach scones…. the list goes on.
This chutney is one more way to take advantage of peach season. Chutney is a dish that walks the line between savory and sweet. I made this batch a little spicy. The heat pairs well with the sweetness of the fruit. Feel free to adjust heat to suit your own taste.
You can serve this chutney like a relish, on the side. Or, use it like a sauce, adding to meats when cooking. Another option is to use it as a glaze, brushing it on meats while baking or grilling. A vegetarian option is brushing it on grilled portobello mushrooms or eggplant slices.
I have served chutney with a cheese board, too. Fun and easy addition to the appetizer menu.
So here is the recipe.
Fresh Peach Chutney
5 medium peaches, peeled, pitted and diced
1 medium onion, peeled and chopped fine
½ c. cider vinegar
½ c. sugar
½ c. water
2 T. honey
2 T. lemon juice
2 T. minced garlic
1 T. soy sauce, or a little more to suit your taste
½ t. red pepper flakes, or more for a spicier chutney
1 T. cornstarch
2 T. cold water
Combine all ingredients in a saucepan, except cornstarch and the 2 tablespoons of cold water, and cook over medium heat until peaches are tender and onion is translucent, about 15 minutes. Stir occasionally to avoid burning. Combine cornstarch with the cold water and stir until smooth. Slowly add to simmering chutney while stirring constantly. Mixture will thicken. Adjust seasonings, if needed. Makes about 3 cups. Will keep in fridge a couple of weeks- can be frozen.
Serve with pork or lamb. Great with duck or chicken, too. You can also serve as an appetizer with cheese and crusty bread.
Zucchini and Cheese Tartlets
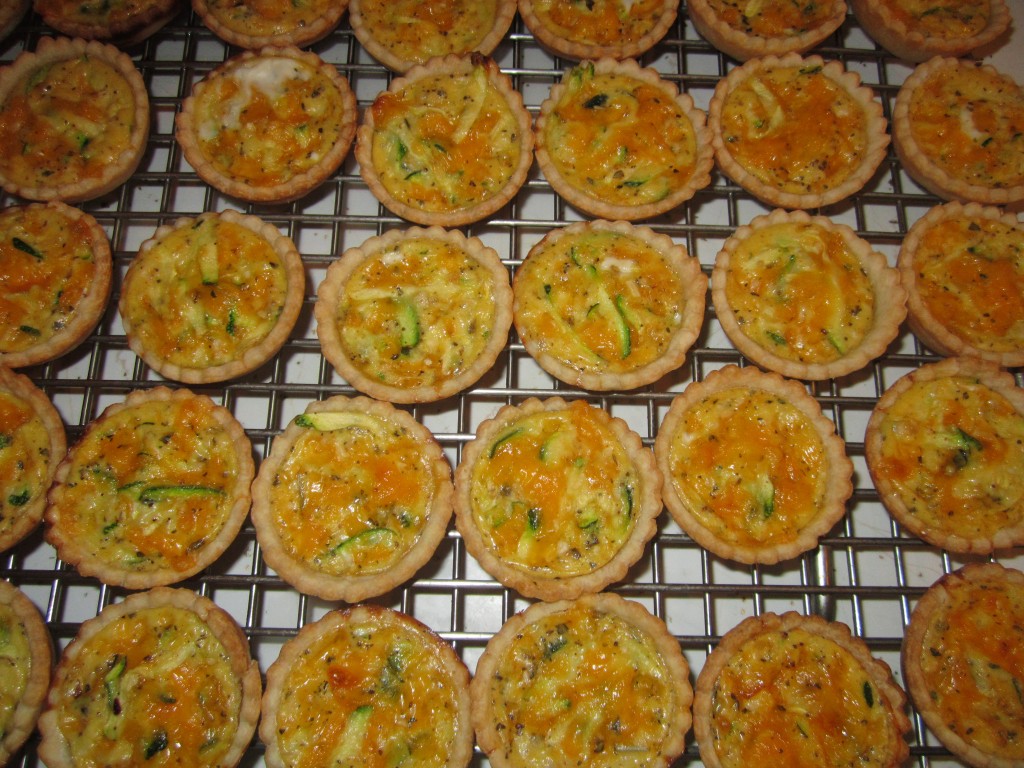
Since zucchini are so prolific, there never seem to be enough recipes for them. I like this one as an appetizer. You can make up a big batch, bake and then freeze some for whenever you need them. Served with a salad they make a nice lunch or light dinner.
Zucchini and Cheese Tartlets
1 recipe of pie crust dough, enough for 2 pies, home made or store bought, recipe follows
1 medium zucchini shredded, about 1 1/2 cups
1 T. flour
1 c. shredded cheese- any kind you like. I like cheddar.
2 eggs, beaten
1/2 c. minced onion
1 t. Italian seasoning
salt and pepper to taste
hot pepper sauce to taste
Preheat oven to 375 degrees. Roll out dough to 1/8-inch thick. Use a 2 1/2-inch biscuit cutter to cut out circles of dough. Place dough circles in mini muffin pans. Press them in gently being careful not to tear them. Repeat with remaining dough and re-roll scraps. You’ll end up with about 3 dozen in all. If you don’t have enough pans, keep the extra dough circles under a towel or plastic wrap so they don’t dry out until you are ready to use them. In mixing bowl combine zucchini and toss in the flour. Add remaining ingredients and mix well. Adjust seasonings to your taste. Place a rounded teaspoonful of zucchini mixture into each of the tartlet shells in the prepared pans. Don’t over fill. Bake for 12-15 minutes or until golden brown on top. They will puff up while baking but flatten when cooling. Can be served hot, warm or at room temperature. Makes about 3 dozen.
Can be frozen. To reheat take straight from the freezer and place on a baking sheet. Bake in a preheated 325 degree oven and bake for about 20 minutes, but check after 15 minutes.
Layered Crust
Somewhere between a crust and a puff pastry this crust is very flaky but also fragile. Great for small pies, turnovers, tarts and tartlets.
6 T. unsalted butter, room temperature
¾ c. vegetable shortening or lard, room temp. – you can even use chilled coconut oil
2½ c. pastry or all-purpose flour
1 t. salt
½ t. baking powder
1 t. lemon juice or vinegar
6 T. ice water, about
Start by mixing the 2 fats together and spreading them out into a ½ -inch thick rectangle. Chill at least 30 minutes before proceeding. Measure dry ingredients into a bowl and toss to mix. Score the chilled rectangle and cut the fat into ½ – ¾ -inch cubes. Drop into the flour mixture and toss to make sure all of the cubes are coated in flour. Combine liquids and toss in 2 tablespoon increments until dough will just hold together. You will see the lumps of fat. Wrap and chill dough for at least 2 hours. Now the fun begins: On a lightly floured surface roll the dough into a rectangle about ½ inch thick and 10 inches long. Fold the sides in, making 3 layers, like folding a piece of paper to put in an envelope. Turn the pastry ends to be at 6 and 12 o’clock and roll again into a rectangle. Fold again, turn again and repeat one more time for 3 turns in all. Cover and chill at least 4 hours. Makes 2.
Peach Liqueur

I like to think of making fruit liqueurs as just one more type of food preservation. I make jams and jelly with seasonal fruit, so why not preserve some of summer’s bounty in alcohol?
Peach liqueur is one of my favorites. Pretty simple, really. Just combine peaches with vodka (or brandy) and allow the mixture to steep. After a week or two, strain it. After straining out the fruit, I also filter the liqueur through either coffee filters or cheesecloth to get it nice and clear.
Sweetening is optional. Unsweetened, it is called a Peach Eau de vie, which translates into water of life. Got to love the French!!! Sweetened, it is a liqueur.
Poured into pretty bottles, these liqueurs can make fun gifts, too.
Peach Liqueur
10 medium sized, ripe peaches
3 c. vodka or brandy
1 c. sugar syrup – optional – recipe follows*
Peel and pit peaches reserving only the fruit. You can leave the skins on, if you prefer. Place in jar with the alcohol and steep at least a week, shaking several times. You can leave the fruit in for up to two weeks. Strain, squeezing out as much juice from the fruit as possible. Filter through cheesecloth, fine mesh strainer or coffee filters for a clearer product. Add sugar syrup, if desired, and mature 4-6 weeks. Makes 4 cups.
*Sweetening– Simple syrup is made from 1 cup of sugar and ½ cup of water. Bring to a boil, then cool. You will have 1 cup of syrup. Some recipes call for plain sugar and others for honey. Watch when you substitute honey for sugar, as it is sweeter and stronger flavored.
Spiced Chocolate Zucchini Cupcakes
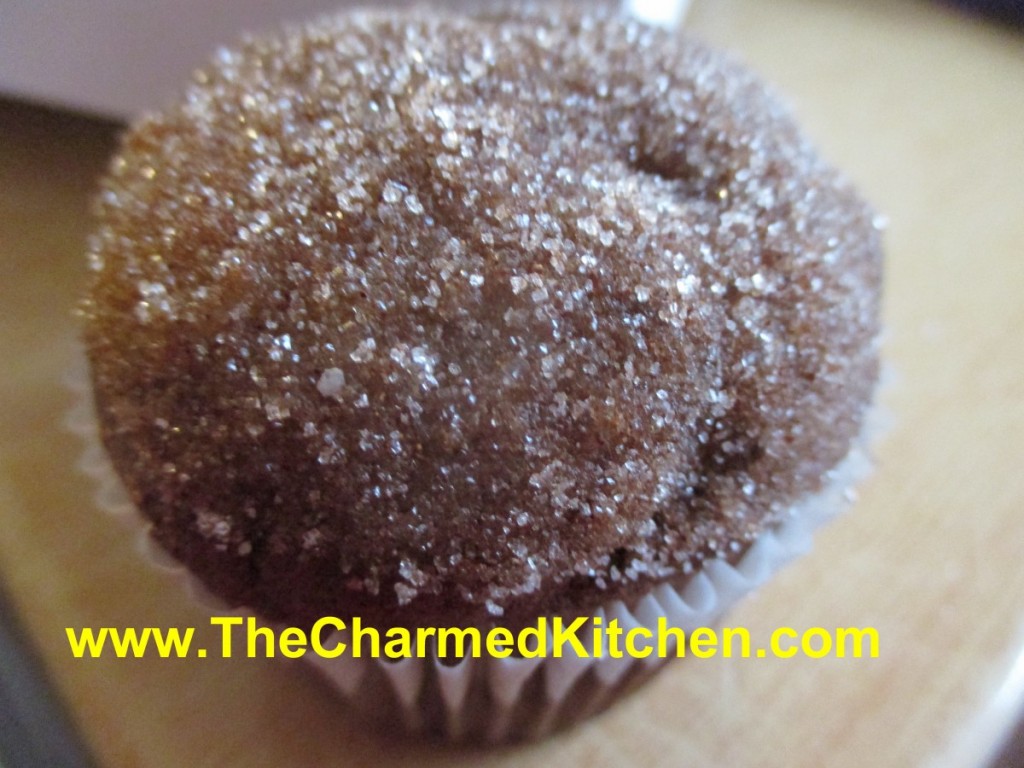
It’s that time of year. Zucchini time. Maybe I should call it, “What do I do with all my zucchini time?” Zucchini and other summer squash are in abundance right now. This recipe is another, tasty way, to use them.
These are wonderfully spiced, moist cupcakes. Instead of frosting them, I decided to top them with melted butter and cinnamon sugar. It’s something I’ve done with muffins, in the past. I didn’t see why I couldn’t do the same thing with cupcakes.
It was a really good idea. The cupcakes stand up well in summer heat. Besides, not everyone likes frosting.
As an added bonus- it is a another recipe using zucchini, and that is never a bad thing.
Spiced Chocolate Zucchini Cupcakes
2 cups all-purpose flour
1 t. baking soda
½ t. salt
1 t. cinnamon
½ t. nutmeg
Pinch of cloves
¼ c. unsweetened cocoa
½ cup butter, softened
½ cup olive oil
1½ c. sugar
2 eggs
½ c. buttermilk
1½ t. vanilla
2½ c. grated zucchini
1 cup chocolate chips
Topping:
½ c. butter, melted
½ c. sugar
2 t. cinnamon
Preheat oven to 325 degrees. Grease and flour 24 muffin cups or use paper liners. Mix together the dry ingredients. Set aside. In a large bowl, cream together the butter, olive oil and sugar until light and fluffy. Beat in the eggs one at a time, then stir in the buttermilk and vanilla. Beat in the flour mixture, just until incorporated. Stir in the grated zucchini and chocolate chips. Pour batter into prepared pans. Bake for 25 to 30 minutes, or until the top of the cupcakes spring back when lightly pressed. Cool in pans over a wire rack for at least 10 minutes or until cool enough to handle. Dip top of cupcakes in melted butter, then dip in the cinnamon sugar. Place on rack to finish cooling off. Makes 24.
Crinkled Phyllo Pastry Dessert
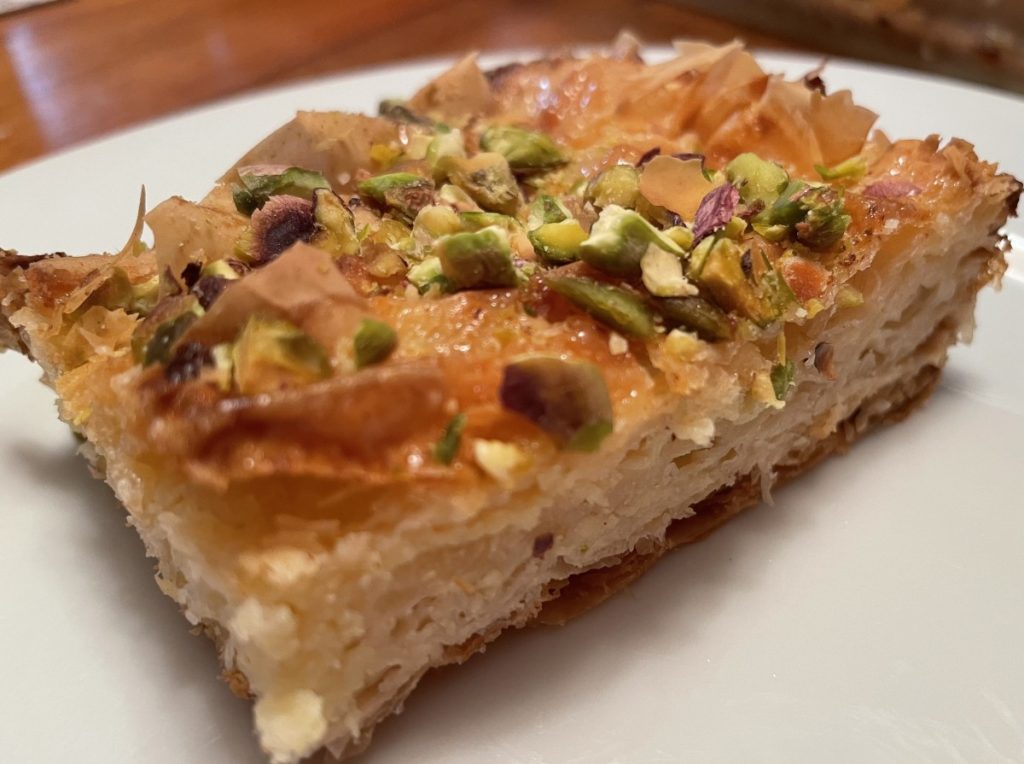
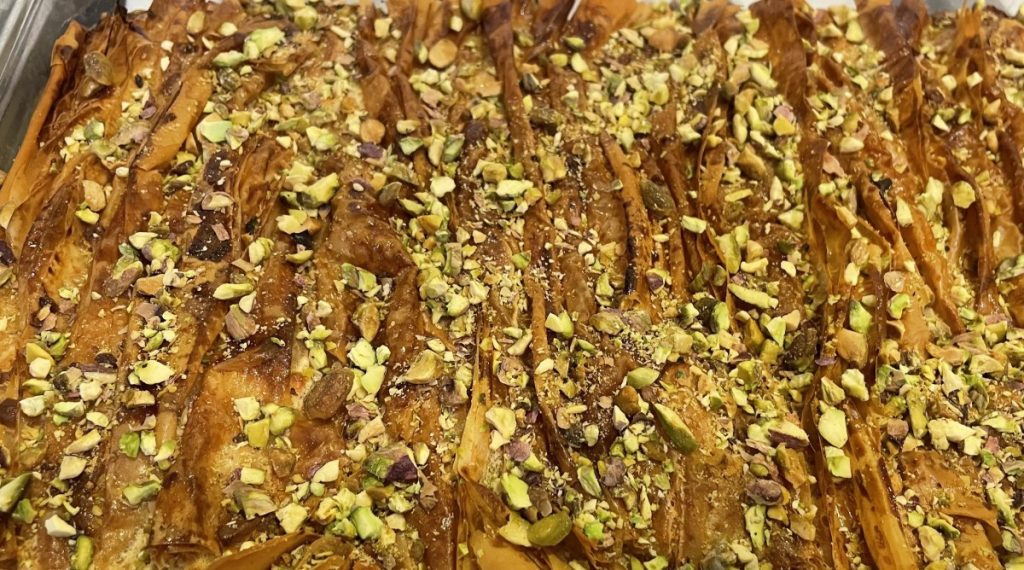
I had a hard time giving this recipe a name. The base is phyllo with a mix of butter and custard, baked until golden brown. It is not hard to make, but it really is special. I topped mine with crushed toasted pistachios. My guests, including a fellow baker, loved it. It is not overly sweet and tastes so good.
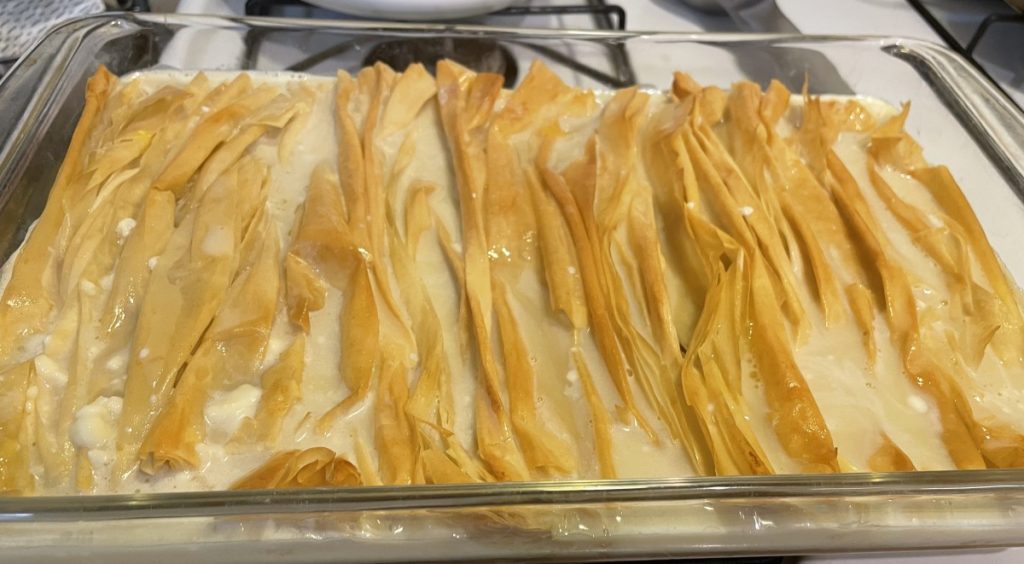
If you are wary to work with phyllo dough, this is a great recipe to start with. The phyllo is just taken, two sheets at a time and kind of folded accordion style, then placed in the baking dish. Tears and rips in the dough don’t matter. Just get the sheets of dough in the pan. At that point, the hardest part is over. The rest is just toasting and adding the rest of the ingredients in stages and baking until golden brown.
I topped mine with chopped pistachios, but you could top with berries, other nuts or a combination.
Here is the recipe. Enjoy!!
Crinkled Phyllo Pastry Dessert
8 oz. phyllo dough
1 stick butter melted
2 large eggs
1 cup milk or half and half
½ teaspoon vanilla extract
1 cup sugar
Optional Toppings: pistachios, berries
Defrost the phyllo according to package instructions. Preheat the oven to 350°.
Take 2 pieces of phyllo at a time, layering them over each other. Hold the sheets together at the top, letting them hang down from your fingers. Begin to crinkle the sheets by folding them over each other accordion-style until the bottom reaches the top.
Lay the folded dough in an ungreased baking pan starting at the short side. Repeat step 3, folding all of the layers of dough and placing them in the pan until it is full. Bake for 10 minutes. While baking, melt the butter. Remove the pan from the oven, and evenly drizzle the butter on top of the dough. Bake again for 10 minutes. In the meantime, whisk the eggs, milk, vanilla extract, and sugar together in a small bowl until it is smooth. Remove the pan from the oven, and evenly pour the egg mixture over the dough. Bake for 30-40 minutes or until the phyllo dough is golden brown and flaky to the touch. Top with pistachios and berries, if desired, and enjoy!
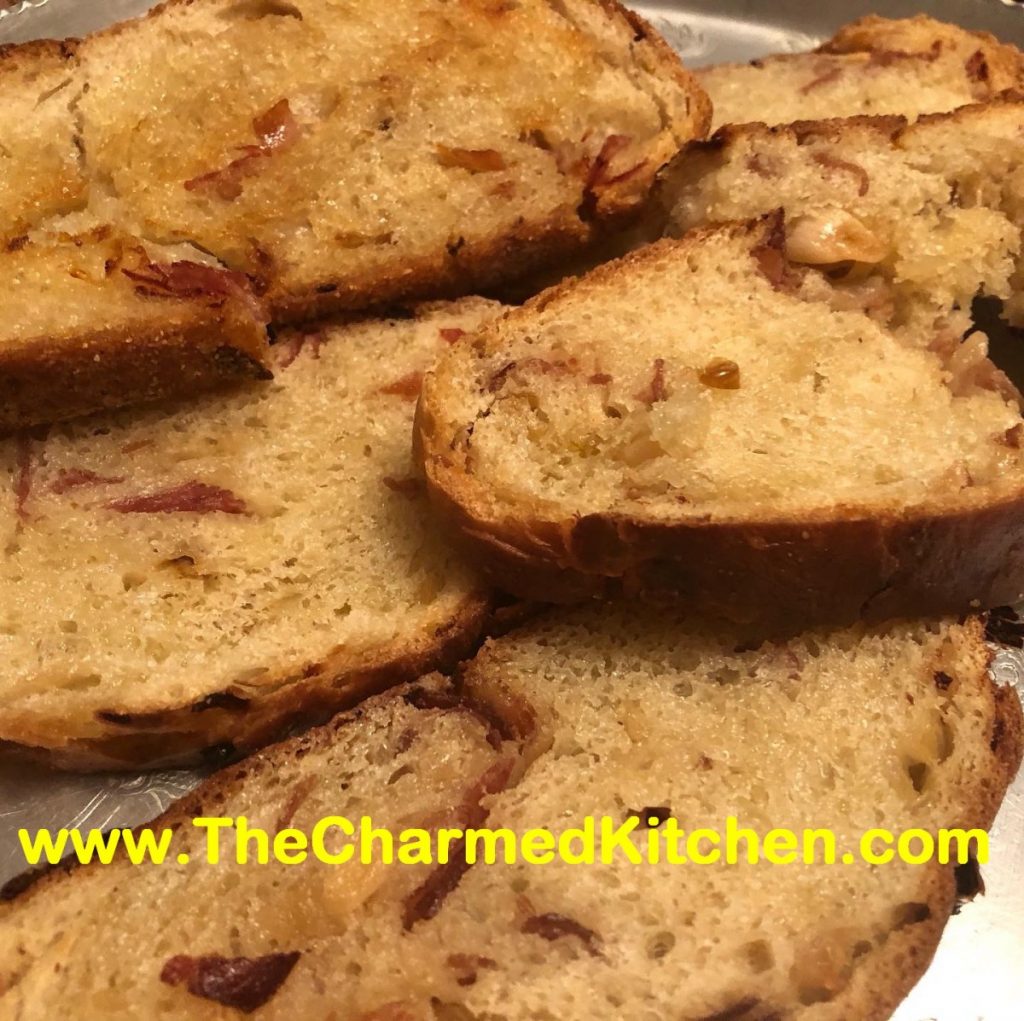
Onion Prosciutto Bread
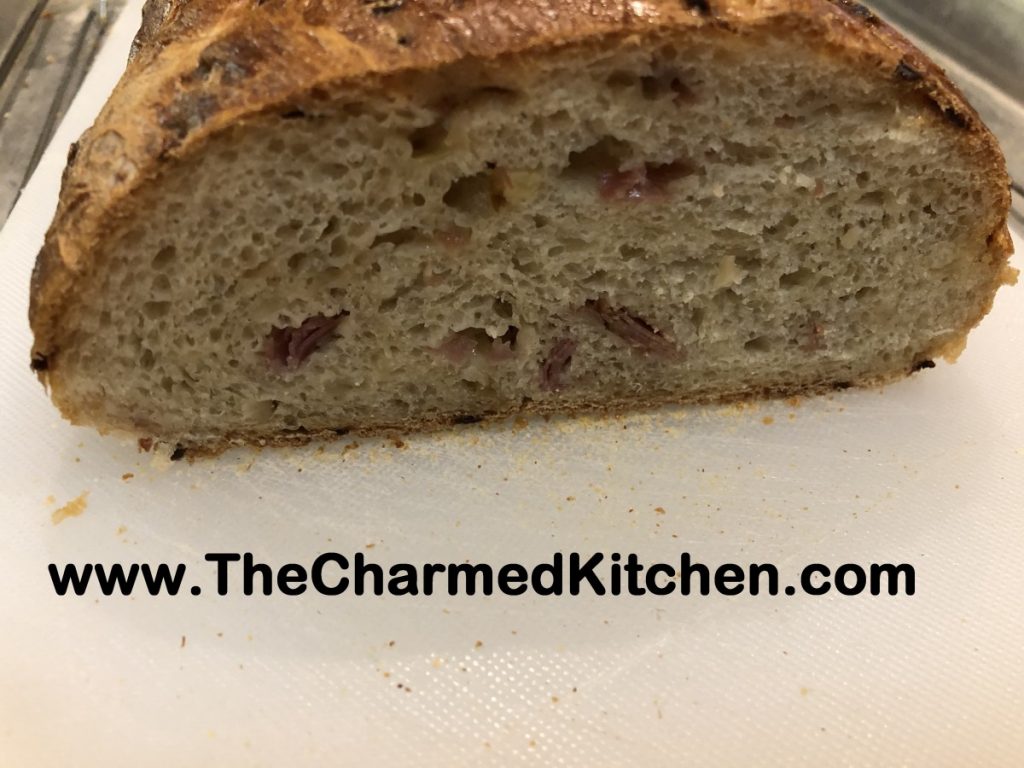
I have made a lot of different breads in my life. This is one of my absolute favorites. The bread has a wonderful, chewy texture and is studded with onions, garlic and the smoky flavor of prosciutto. It can also be made with pepperoni instead of the proscuitto What’s not to love?
I first made this bread a long time ago. I even shared the recipe in bread baking classes. I only had the recipe in hard copy and at one point, I could not find it. Over time, I kind of forgot about it. Until a little over a year ago when I was going through a pile of old recipes and found it!! I decided to make it right away. It is every bit as good as I remember. I have shared slices of this bread with friends. The feedback has been great.
I made a few minor changes to the original recipe- a little more garlic and salt, but that was it. You don’t want to mess around with perfection. 🙂
I got a request for this bread from a friend whose mom is under the weather. I had shared this bread with her before. So I decided to make it again today.
I love the bread toasted and buttered.

Onion Prosciutto (or Pepperoni) Bread
1 packet active dry yeast
¼ t. sugar
1⅔ c. warm water, 105-115 degrees F, divided
4-4½ c. flour
1 T. salt
2 T. olive oil
1 large onion, minced- about 1-1½ cups
4-5 garlic cloves, minced
4 oz. prosciutto or pepperoni, minced- 1½ cups
Cornmeal
1 egg
2 t. water
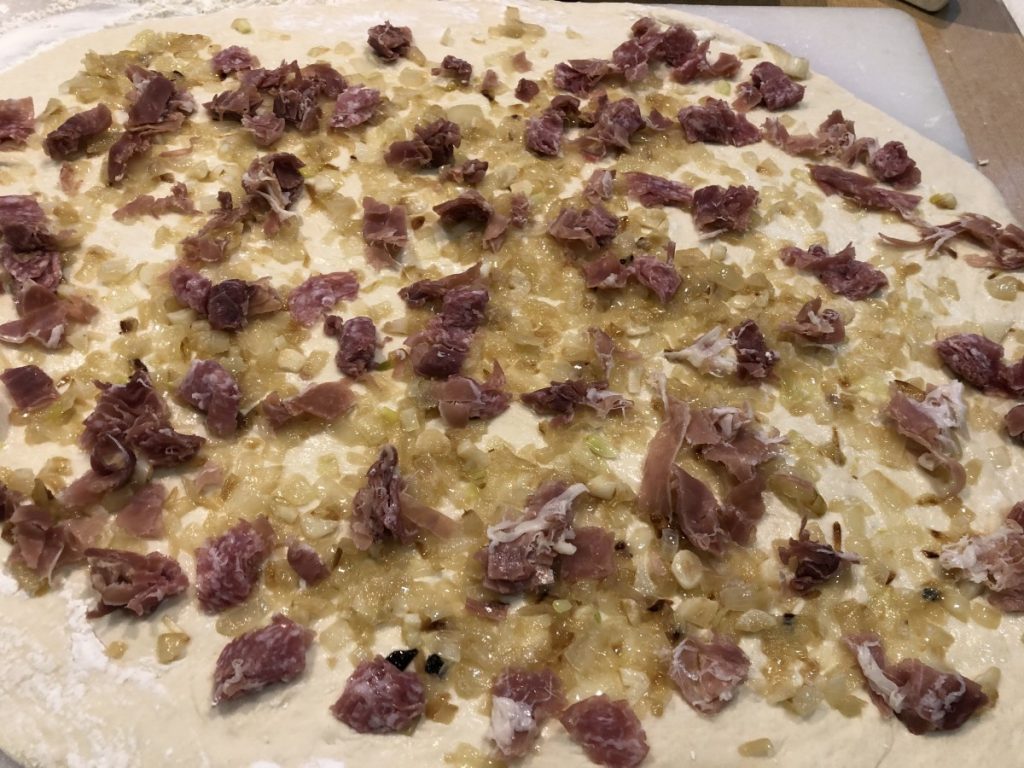
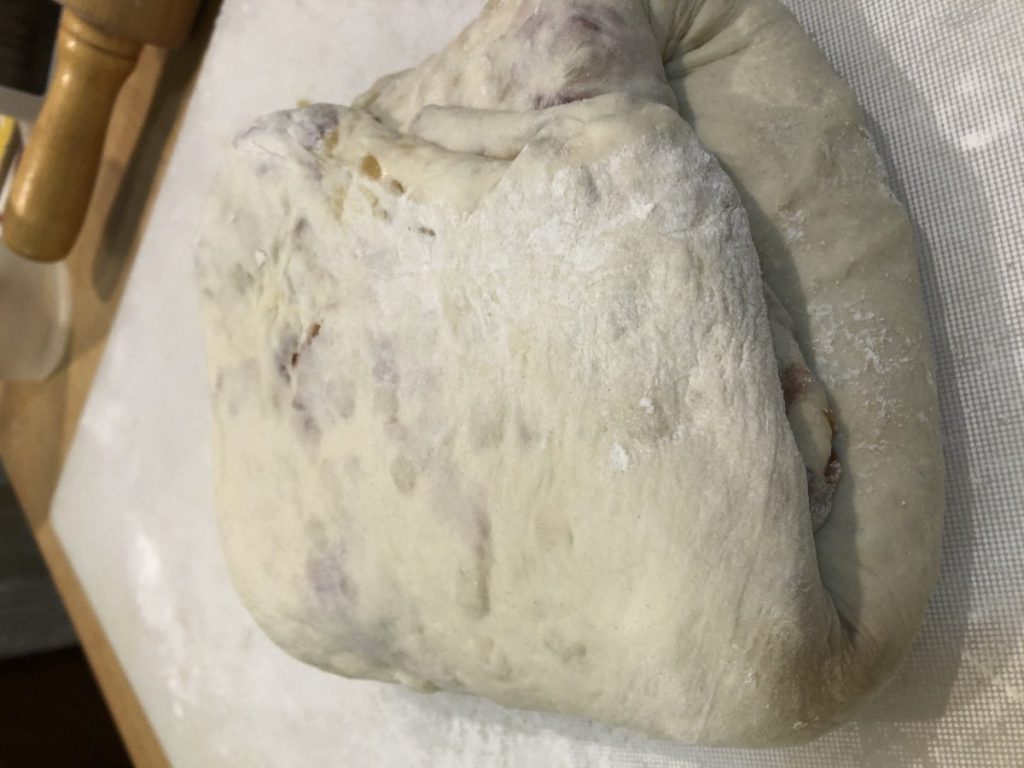
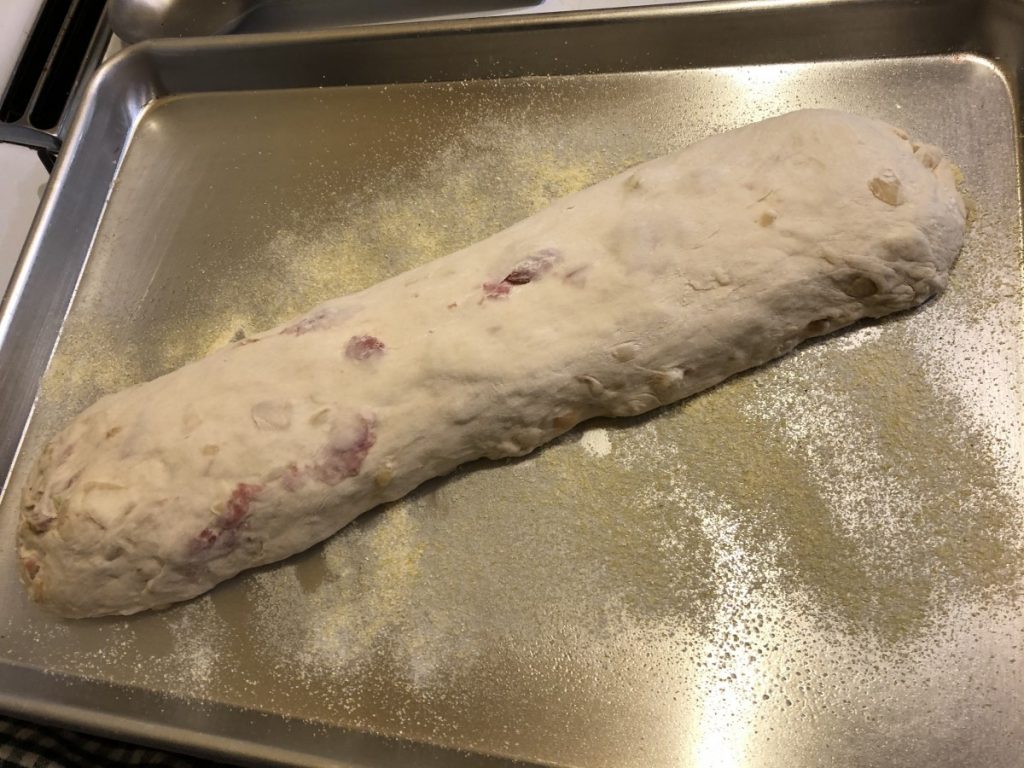
In large mixing bowl, combine 1/3 cup warm water with the sugar, 3 tablespoons of the flour and yeast. Stir until dissolved and let sit until mixture gets bubbly, about 10 minutes. Add the rest of the water, 3 cups of the flour and the salt. Stir until well mixed. Add enough of the flour to make a soft dough. Turn out onto a floured surface. Let rest 3 minutes, then knead until smooth and elastic, about 10 minutes. Dough should be on the soft side. Place dough in a lightly greased bowl and cover with a towel. Place in a warm place until dough has doubled in size. While dough is rising, prepare the onion mixture. Sauté the onions in the olive oil over medium heat until just tender, about 3 or 4 minutes. Add the garlic and cook 2 more minutes. Set aside to cool and stir in the prosciutto. Once the dough has risen, punch down and place on a floured surface. Roll dough out into a circle, about ½-inch thick. Sprinkle the onion-prosciutto mixture evenly over the dough. Fold the sides in, in thirds- like folding a piece of paper to go in an envelope. Then fold in the top and bottom in the same way. The dough will look like a bundle. Place back in the bowl, cover and let rise again until doubled. Turn dough onto a floured surface. Let rest a few minutes, then knead a couple of times. Roll the dough out again into the big circle. Do the same folding that you did before- sides folded in thirds, then the top and bottom folded in. This helps to distribute the onion-prosciutto mixture evenly. Place the dough on a baking sheet lightly greased and coated with cornmeal. Shape the dough into a 14-inch loaf. Cover with a towel and let rise until doubled. Preheat oven to 400 degrees. Place a pan with hot water on the bottom rack of the oven. Combine the egg with the 2 teaspoons of water, mix well and brush lightly over the bread. With a sharp knife make three slashes on the top of the bread. Place in oven and bake 25 minutes. Remove the pan of water and bake another 25 minutes or until bread is golden brown and sounds hollow when tapped lightly. Remove from oven and place on a cooling rack. Makes one very large loaf.
Pesto Sauce
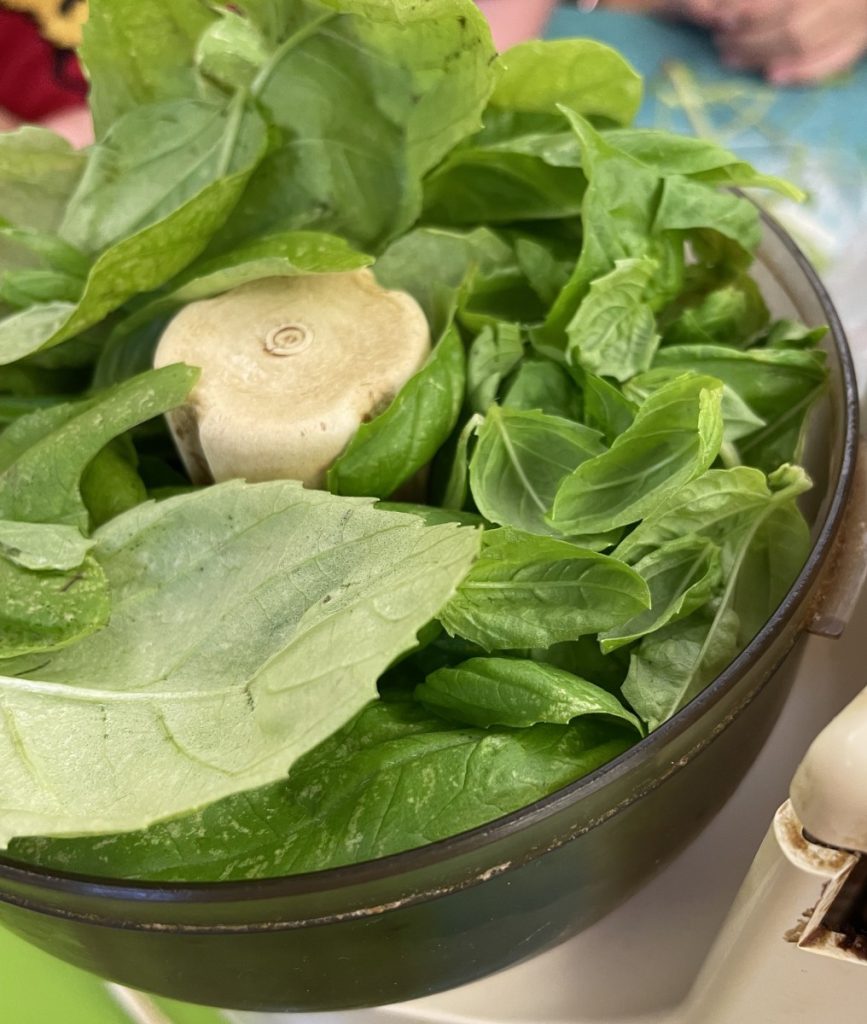
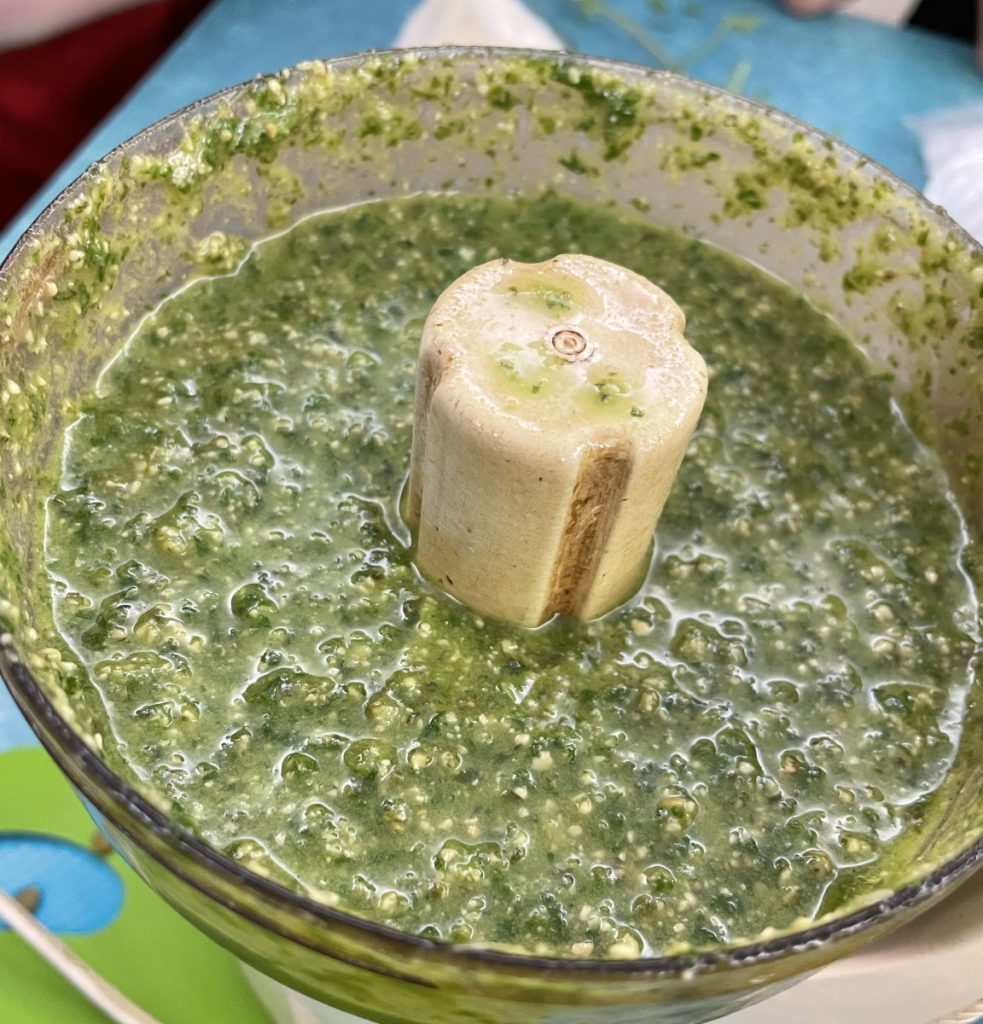
In cooking camp yesterday the kids made fresh pesto sauce. I wasn’t 100% sure if they would like, but it turns out it was one of their favorite dishes.
Pesto is most often made with basil, but there are a lot of variations out there. Pesto can be made from parsley, sun dried tomatoes, spinach or mint.
I must admit to being a big fan of the original.
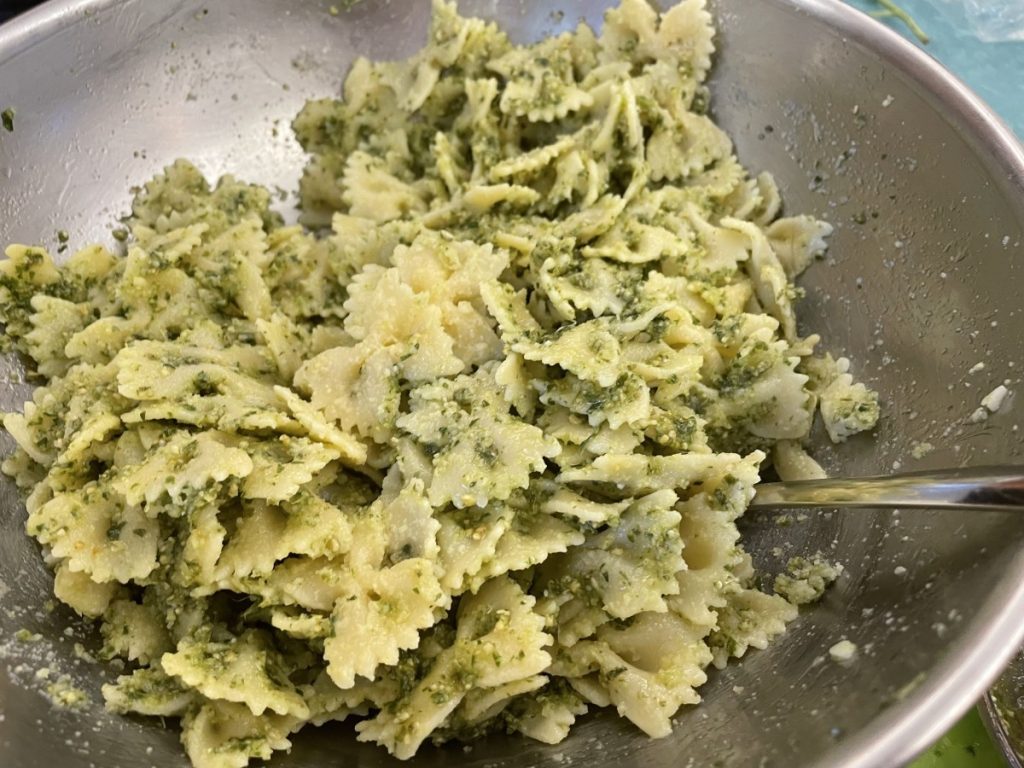
I make pesto often when I have fresh basil. I also freeze basil with olive oil, so I can make it all year long. Pesto can be tossed with pasta, rice, potatoes or other veggies. I also like pesto on chicken.
Basil Pesto Sauce
1 c. tightly packed basil leaves
1/4 c. olive oil, or more as needed
3-4 cloves garlic
Salt to taste
1/2 c. pine nuts, sunflower seeds, pecans or walnuts- I like to toast the nuts first
1 c. fresh grated Parmesan cheese
Combine all ingredients, except the cheese, in a blender and mix until smooth. Stir in the cheese and toss over hot, cooked pasta or use as a sauce on meat and poultry. Sauce will keep a few days in the fridge and makes about 1 1/2 cups, enough for 1 lb. of cooked pasta.
Homemade Raspberry Liqueur
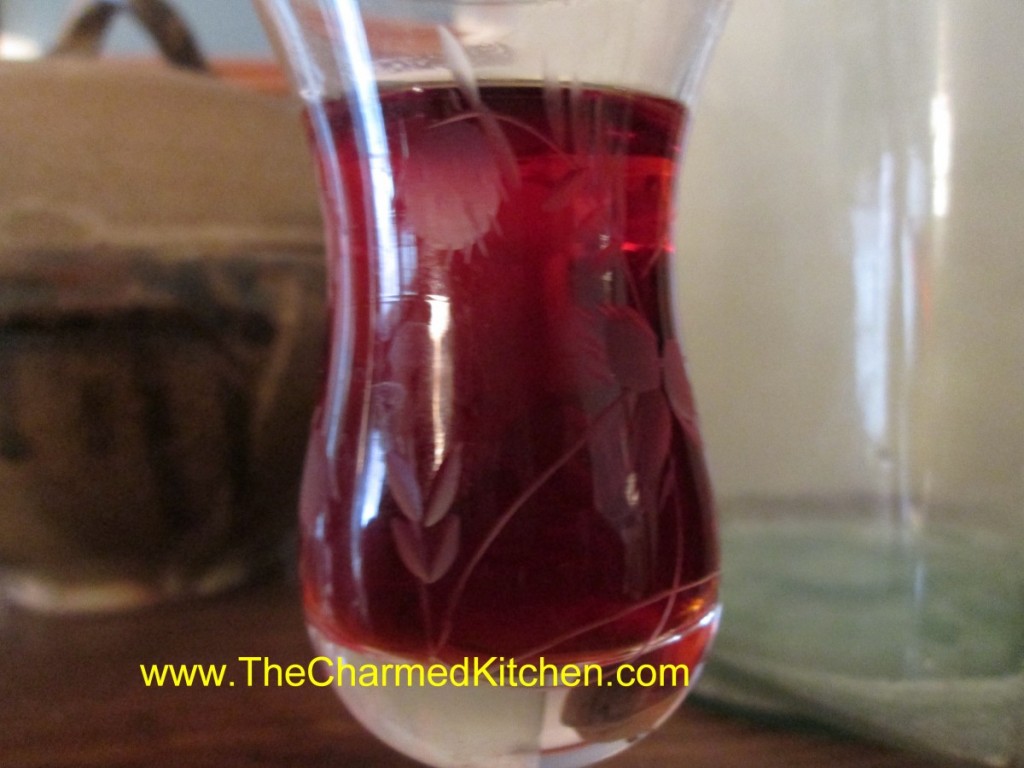
I make a lot of different liqueurs. Raspberry liqueur is probably one of my favorites. It reminds me of a warm summer afternoon.
I love raspberries. My parents had a row of raspberry bushes at the back of the yard, so I grew up enjoying them fresh. I preserve raspberries to enjoy all year long. I freeze berries, make jams and jellies and dehydrate some.
I also enjoy using some to make homemade raspberry liqueur. You just start with alcohol – I most often use vodka – then you add raspberries. I sweeten it later on, but you can leave it unsweetened, if you prefer.
Its beautiful color and great flavor make it nice for sipping, or used in mixed drinks. Think of it as just another food preservation method. Here is the recipe, in case you want to make it. Makes a great gift, too.
You can use fresh or frozen berries. You can also use black , purple or golden raspberries in this recipe.
Homemade Raspberry Liqueur
1 lb. raspberries*
3 c. vodka, you could use brandy
1 ¼ c. sugar
Combine fruit and vodka and let stand 2 -4 weeks. Stir in sugar and age 3 months. Strain and filter. Makes 3-4 cups.
*You can use frozen berries, too.


