Banana Bread

Banana Bread

Banana Bread

Since my grocery store had a lot of ripe bananas marked down I decided to take advantage and buy a bunch- well a few bunches! I made some banana and mashed and froze the rest of the bananas for use later. You can make it the regular way or do what I did and use some whole wheat pastry flour for part of the flour in the recipe. Adds some fiber and does not affect the taste or texture. Enjoy!!

Banana Nut Bread

1 ¾ c. flour

1½ t. baking powder

¾ t. salt

½ t. baking soda

2/3 c. sugar

1/3 c. butter, softened

2 eggs

2 T. milk

1 c. mashed ripe banana

¼ c. chopped nuts, optional

Combine dry ingredients and set aside. Combine sugar with butter and beat until fluffy. Beat in eggs. Beat in milk until mixture is smooth. Beat in flour mixture alternately with bananas. Fold in nuts, if desired. Pour batter into greased 9×5 -inch loaf pan. Bake in a preheated 350-degree oven for 60-65 minutes. Use toothpick to test for doneness. Cool in pan 10 minutes before placing on rack to cool. Store in plastic wrap to preserve moisture. Makes 1 loaf.

Posted in Cooking |

Cream Wafers

Cream Wafers

Cream Wafers

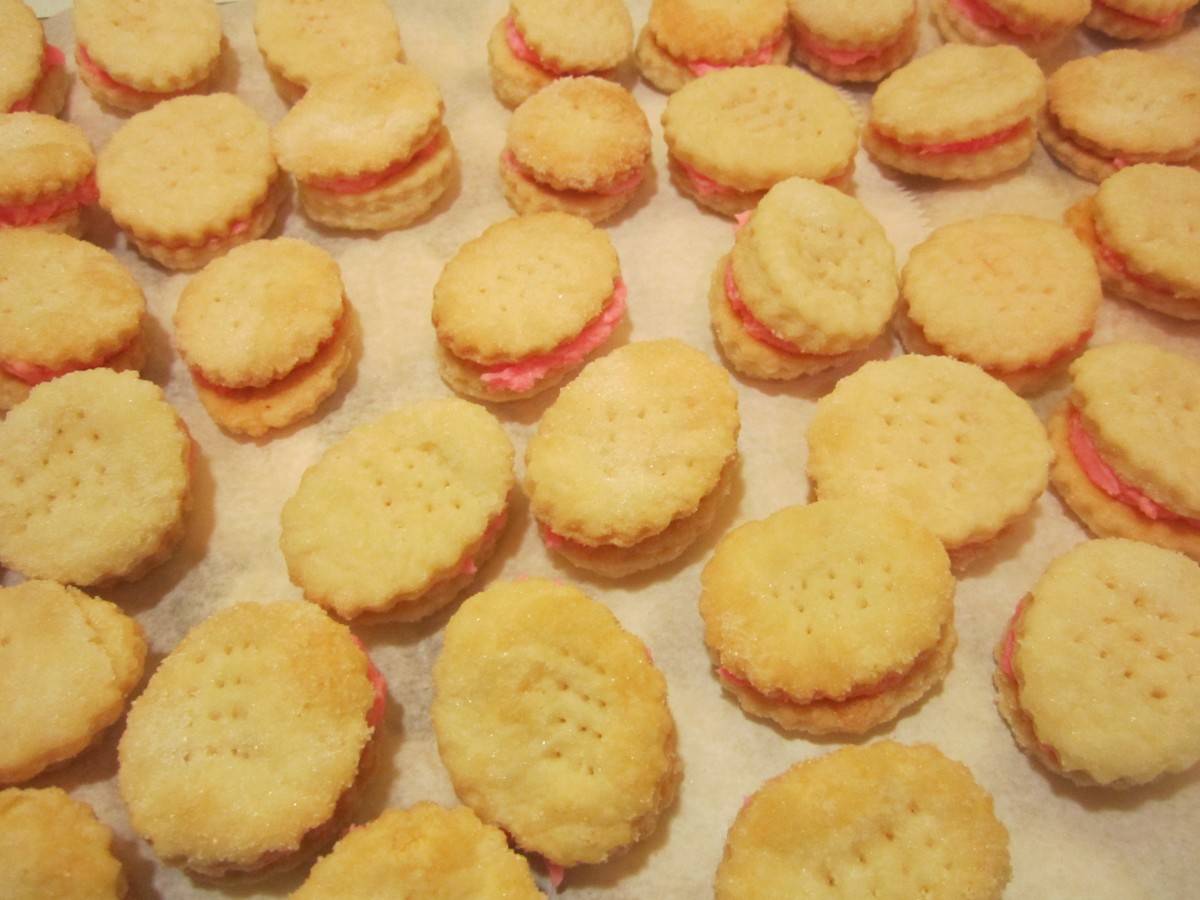
These are a great cookie for showers., tea parties and the like. Delicate and rich they will melt in your mouth. The secret is the simple, rich dough consisting of just three ingredients: butter, cream and flour.

Cream Wafers

 1 c. butter

1/3 c. heavy whipping cream

2 c. flour

extra fine or granulated sugar

Frosting:

¼ c. butter, softened

¾ c. powdered sugar

1 T. milk

1 t. vanilla

food coloring, if desired. I sometimes add a few drops of pomegranate juice for a natural tint.


Mix butter, cream and flour well. Wrap and chill at least an hour. Roll chilled dough 1/8 inch thick on lightly floured board.  Cut out into 1½ inch rounds or even little hearts or stars. Transfer cookies to a sheet of wax paper heavily coated with extra fine or granulated sugar and coat both sides. Place on an ungreased baking sheet and  prick each cookie 4 times with a fork. Bake at 375-degrees 7-9 minutes until lightly browned and puffy. Cool on rack. Mix frosting ingredients. Put 2 cookies together with frosting to make “sandwiches”.

Posted in Cooking |

Ethiopian Chicken

Ethiopian Chicken

Ethiopian Chicken

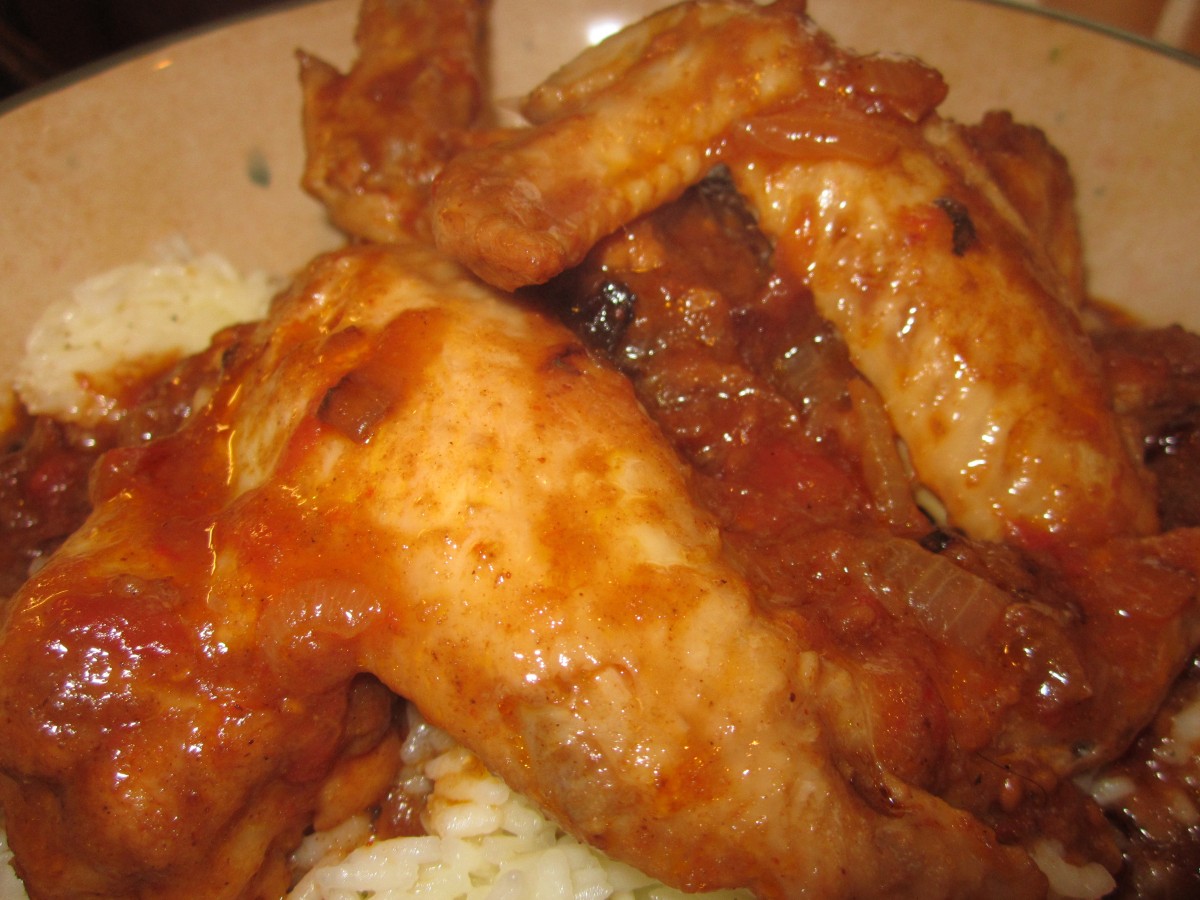
With a mix of warm and sweet spices Ethiopian Chicken is full of rich flavor. Easy to make, too. You can make it with any cut of chicken. I used wings in this batch. Traditionally the chicken should be on the bone, but feel free to swap out boneless chicken, if you prefer. Just reduce the cooking time by 15 minutes.

Ethiopian Chicken

1 chicken, cut into pieces or 3-4 lbs. chicken pieces

1 T. paprika

1 t. each cayenne pepper, cumin, garlic powder, salt and ginger

1/2 t. allspice

1/4 t. cinnamon

1/2 c. flour

3 T. oil

2 large onions, sliced thin

1 c. tomato sauce or 2 c. stewed tomatoes

1 c. chicken stock


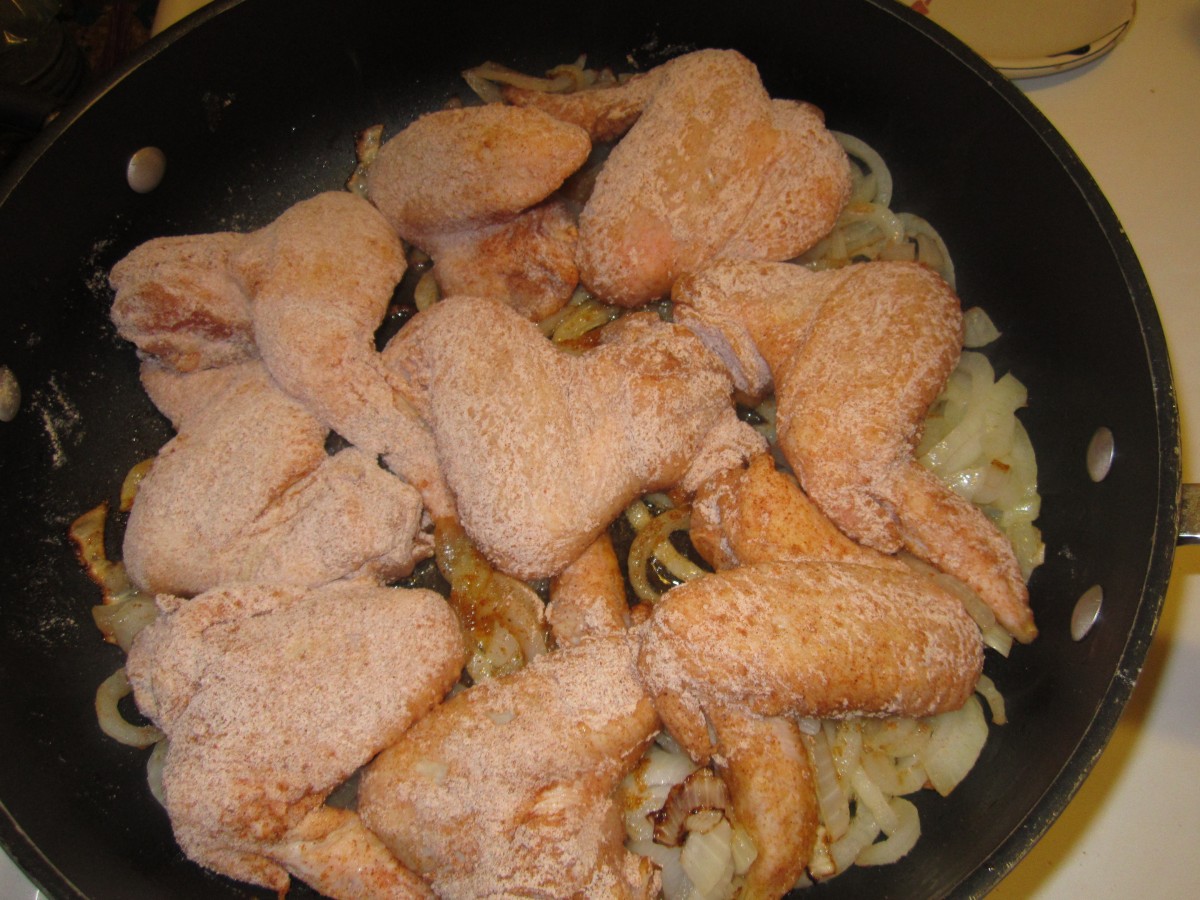
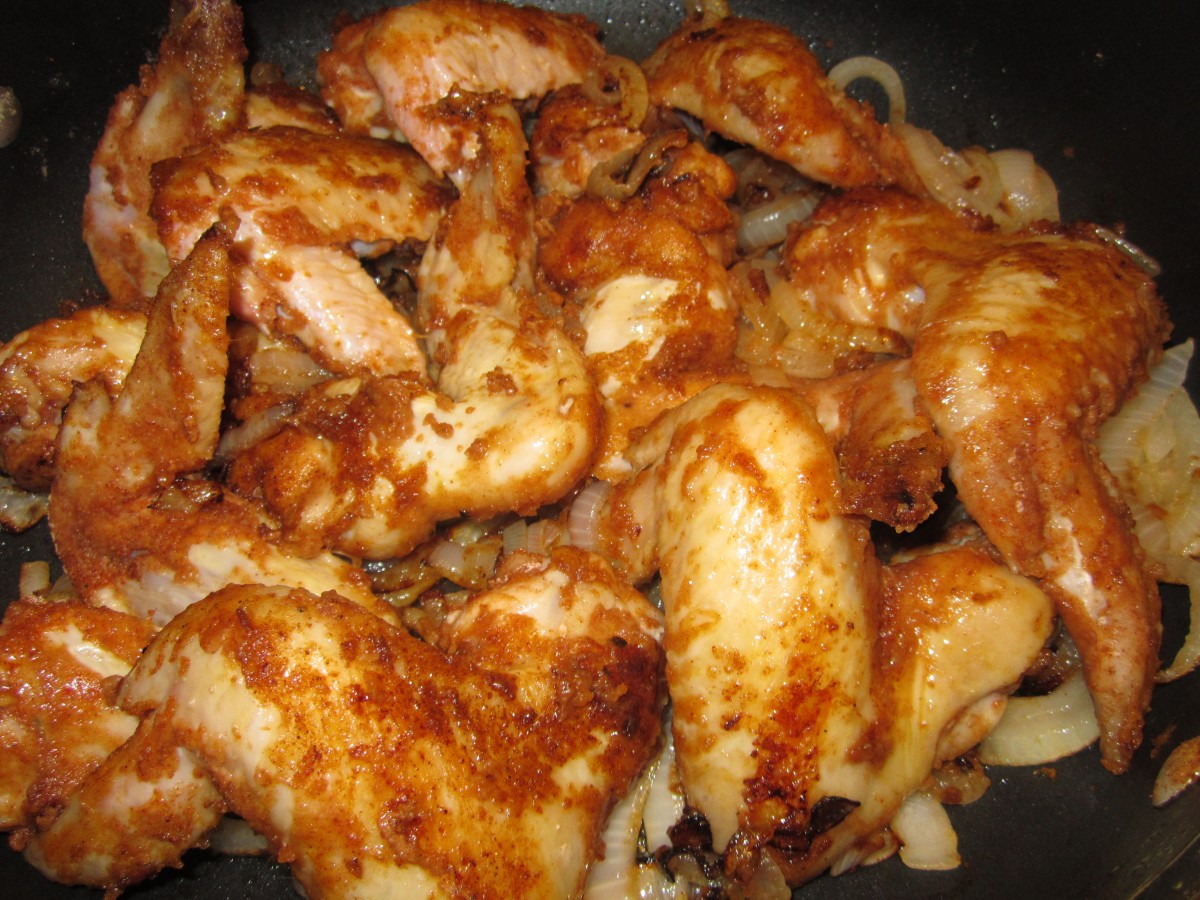
Combine spices with flour in a plastic bag. Add the chicken a few pieces at a time and shake to coat. Set aside. Add onion to hot oil in large skillet and cook until onions are browned. Add chicken pieces and brown on all sides. Add sauce and stock. Cover and simmer 35 minutes, adding water if sauce gets too thick. Serve with a cooked grain such as rice, millet, quinoa, wheat berries etc. This dish is also good served with lentils and cooked greens. Serves 4.

Brown chicken pieces

Brown chicken pieces

IMG_1597


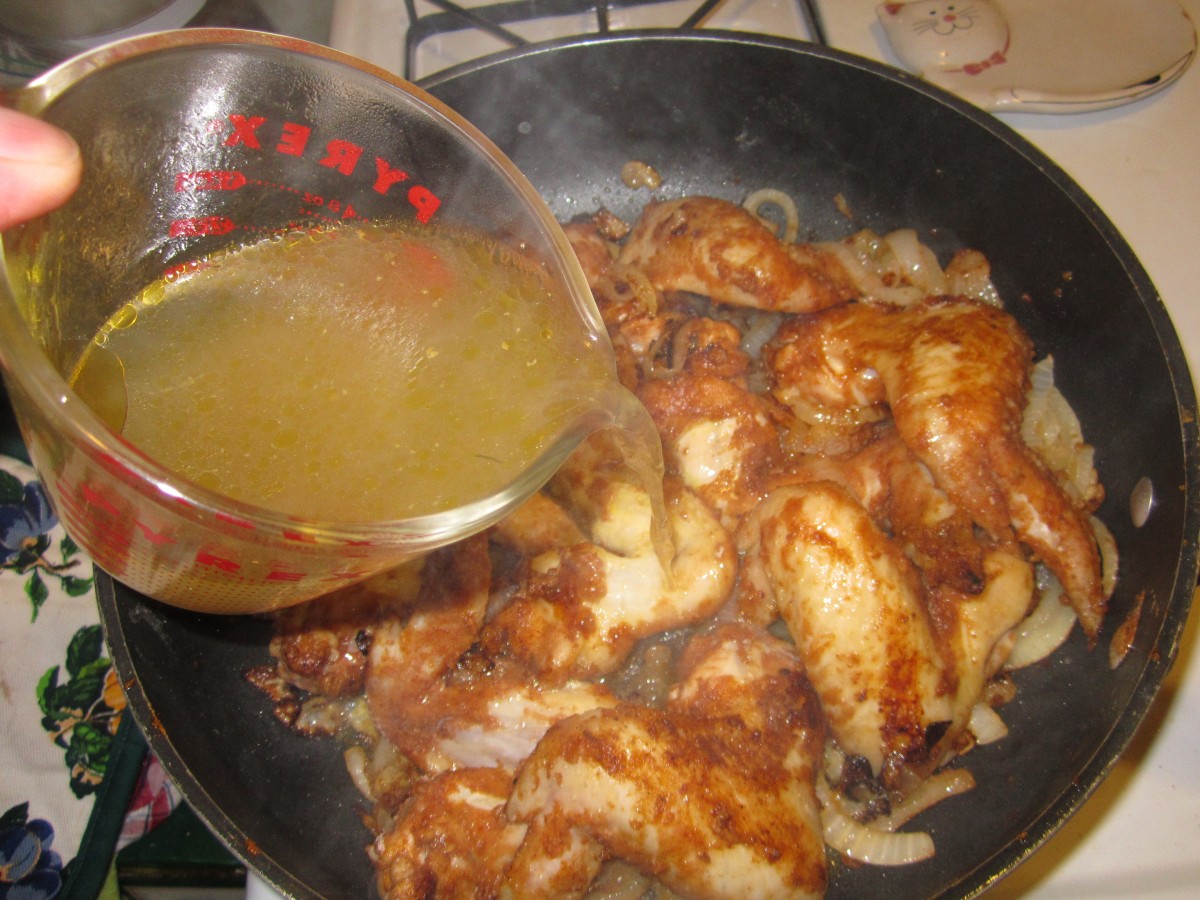
Add chicken stock

Add chicken stock

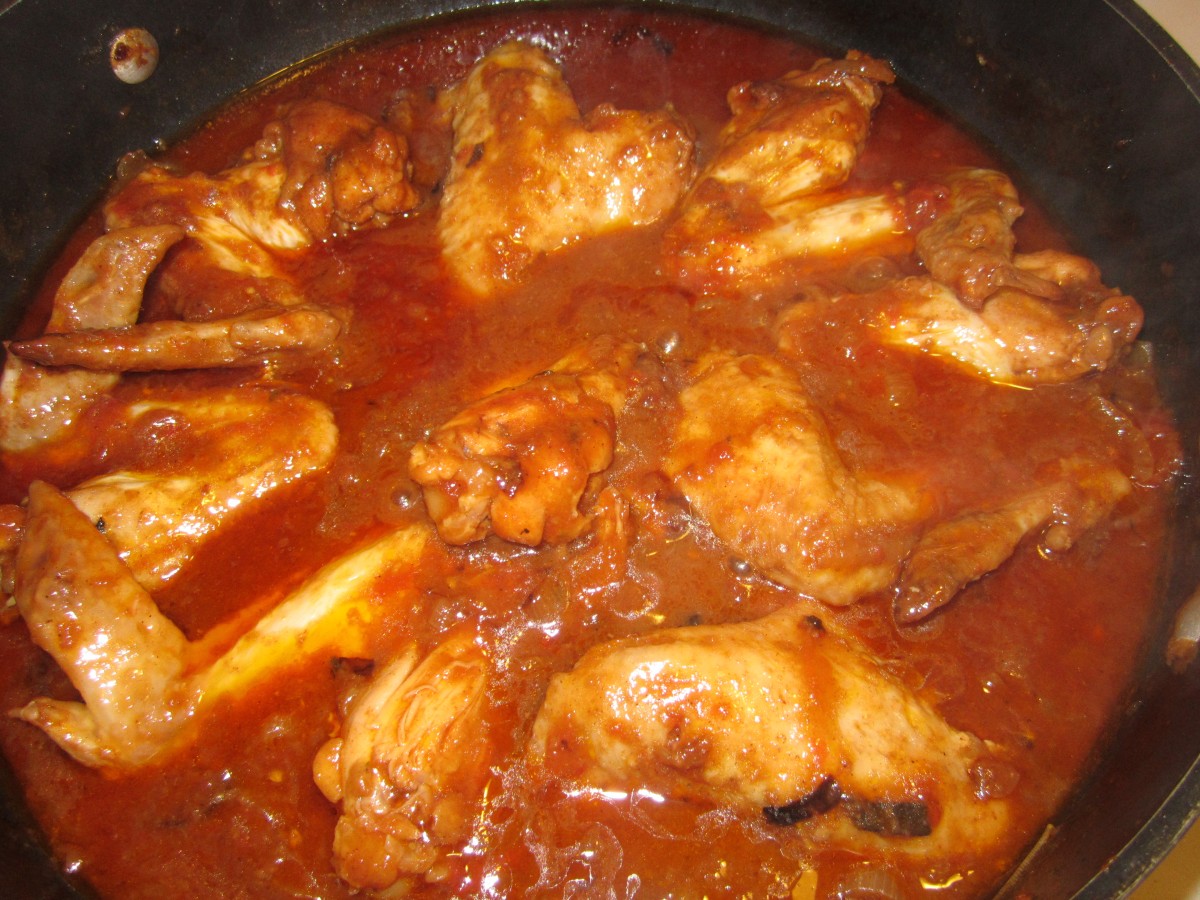
Add tomatoes and simmer

Add tomatoes and simmer


Posted in Cooking |

Peanut Butter and Jelly “Pies”

Peanut Butter and Jelly "Pies"

Peanut Butter and Jelly “Pies”

These are a lot of fun and a great way to make pb&j portable. Fun to take camping or on picnics.  Pie crusts are cut into small circles, filled with peanut butter and jelly, sealed and baked. You can use almond butter, if you prefer, and any kind of jelly or jam. Yummy!! Easy enough for kids to help, too.

PB&J Pies

1 (15 oz.) package pie crusts or homemade crust for 2 pies. I prefer homemade

¼ c. flour

1 egg

1 T. water

½ c. peanut butter

½ c. preserves, any flavor

Powdered sugar

Preheat oven to 400-degrees. On lightly floured surface roll out one of the crusts into a 12-inch circle. Using a 2½-inch round cookie cutter cut out about 12-14 circles, re-rolling scraps and set aside. Roll out second piece of dough so you will have about 24-28 circles altogether. Beat together water and egg and set aside. Place a circle on work surface and place 1 teaspoon each of peanut butter and preserves in the center. Brush edges of the circle with egg wash. Place second circle on top and press edges together to seal. Repeat with remaining circles. Place “pies” on lightly greased baking sheets and bake for 12-15 minutes or until golden brown. Cool on wire rack and dust with powdered sugar, if desired. 

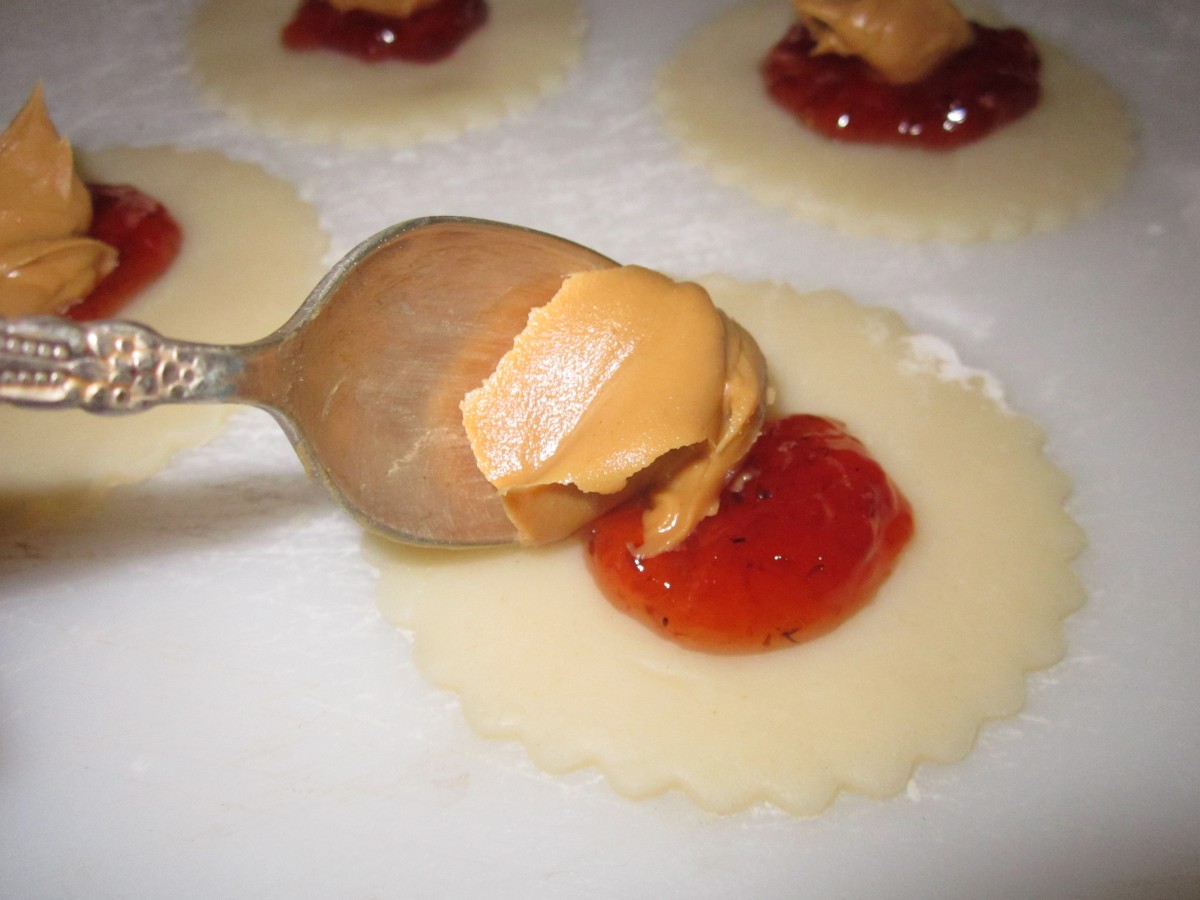
Place peanut butter and jelly on the dough.

Place peanut butter and jelly on the dough.


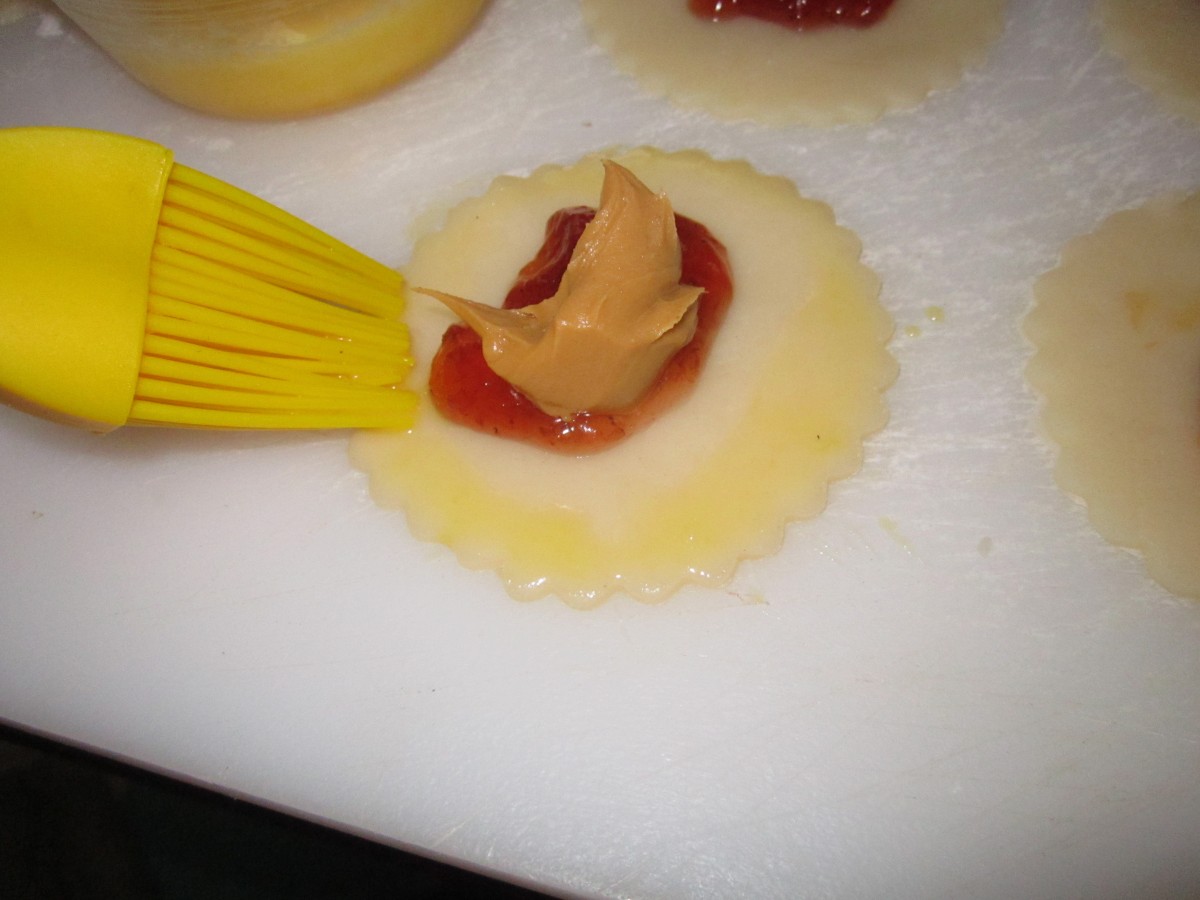
Brush edges with egg wash

Brush edges with egg wash

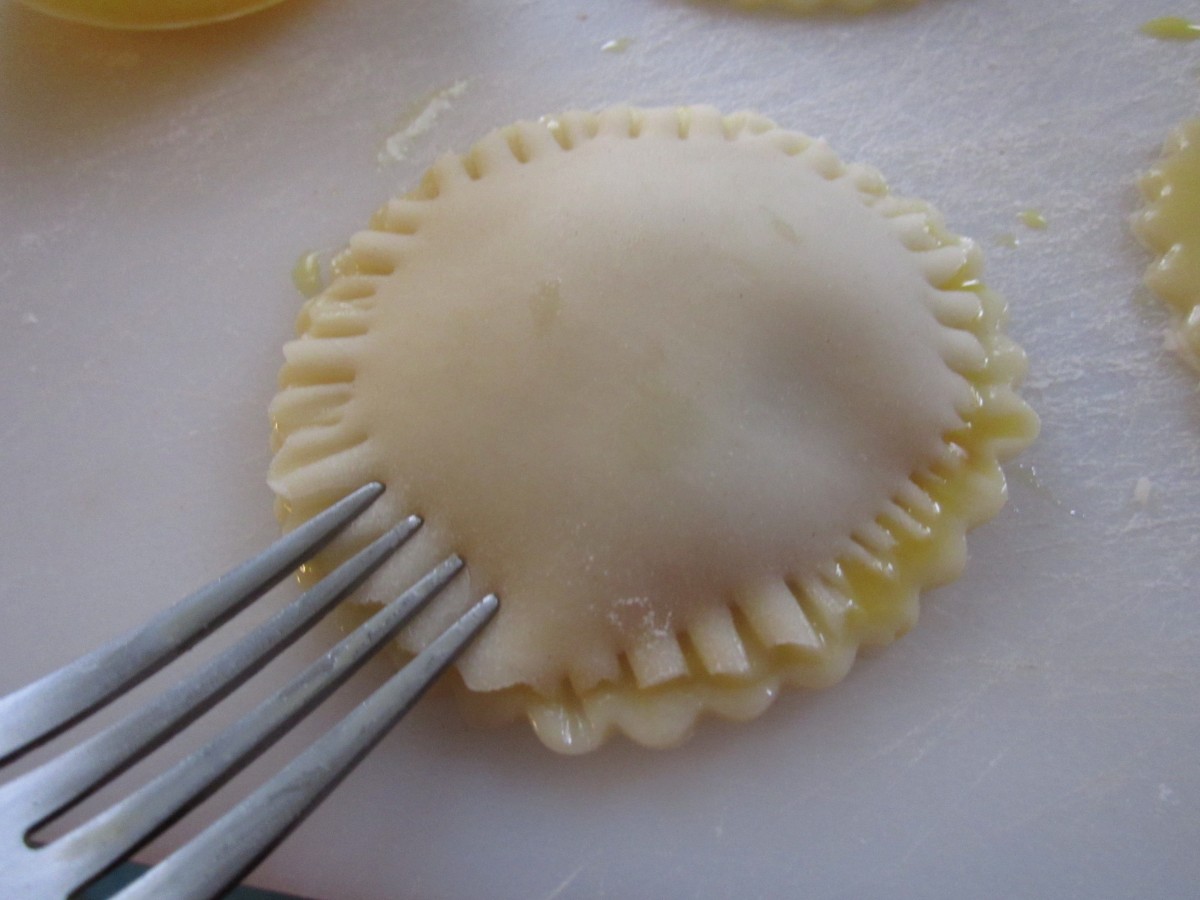
Seal edges

Seal edges

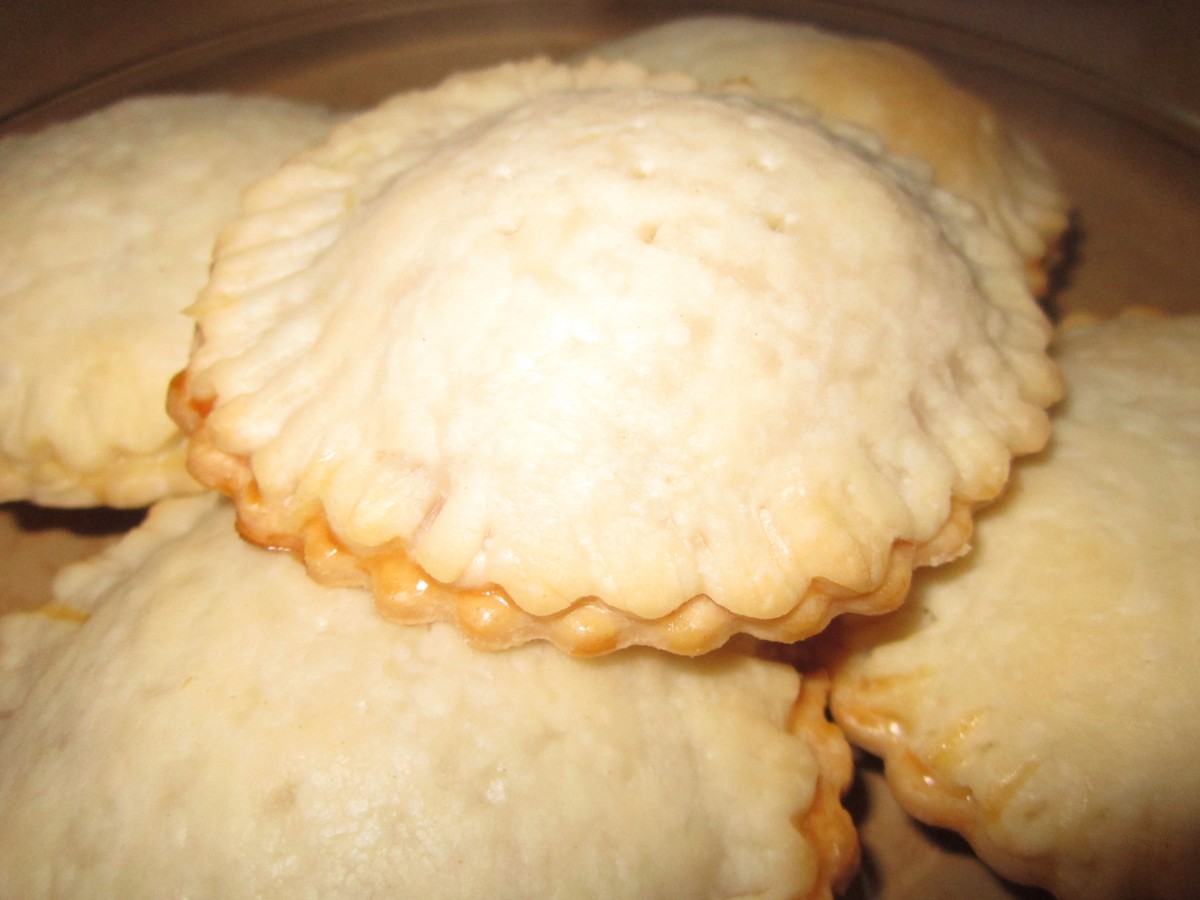
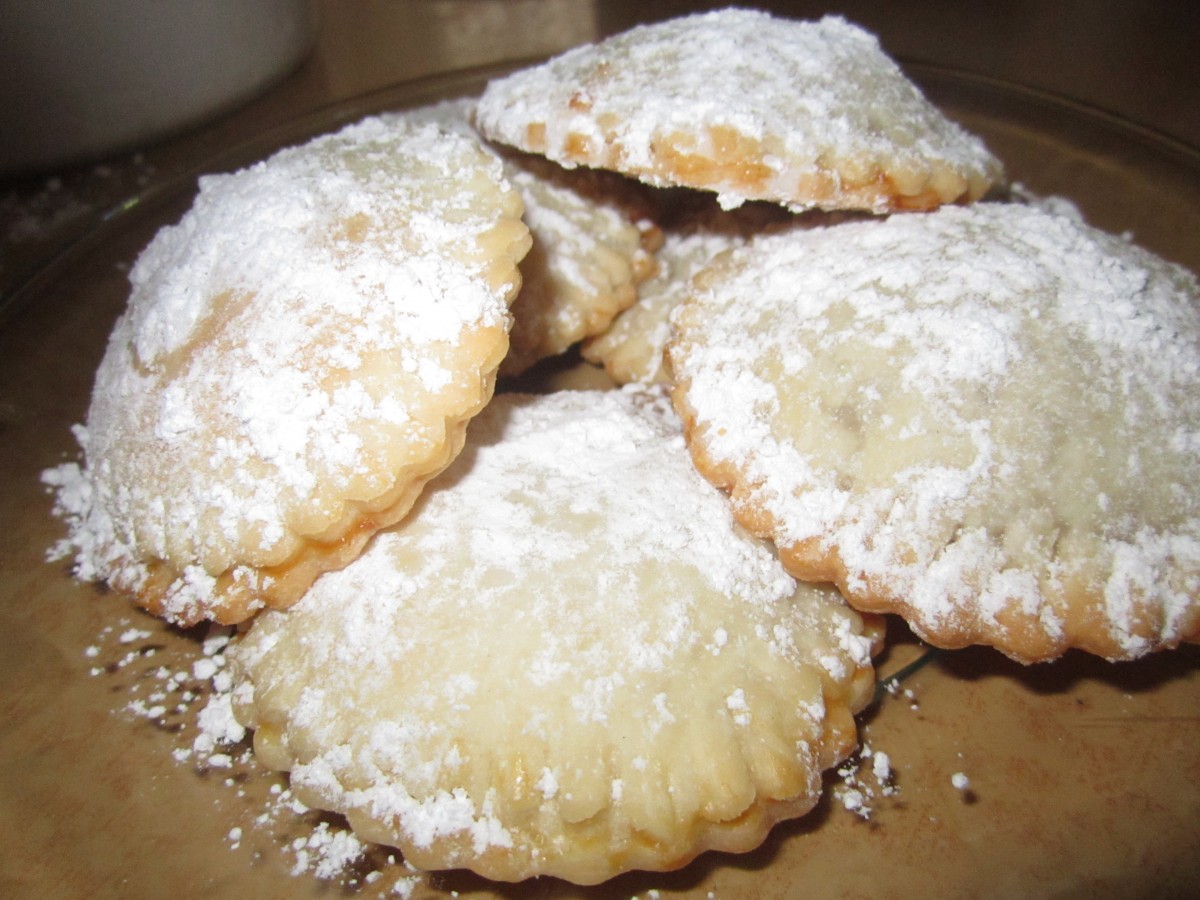
Dust with powdered sugar, if desired

Dust with powdered sugar, if desired


Posted in Cooking |

Tiramisu Doughnuts- Doughnut Daze

Tiramisu Doughnuts

Tiramisu Doughnuts

Invented these when I was making doughnuts and wanted a twist on the jelly doughnuts I made with my parents as a kid. I bit of work but so worth the effort.

Tiramisu Doughnuts

Filling:

5 egg yolks

1/4 c. sugar

1/2 c. Marsala wine (not cooking wine)

1 c. whipping cream

2 T. sugar

1 lb. mascarpone cheese

Make zabaglione (egg custard). In double boiler, over simmering water, beat together egg yolks and sugar until lemon colored. Stir in Marsala and continue cooking, stirring constantly until mixture thickens and will mound on a spoon. This will take about 10 minutes. Remove from heat and cool down. You can place in bowl in fridge 30 minutes or so. Beat together whipping cream and sugar until stiff peaks form. Beat in mascarpone and chilled zabaglione. Chill 1 hour.

Dough:

4 c. flour

2 T. sugar

1 t. salt

½ c. butter

1 packet yeast

¼ c. warm water

2 t. sugar

1 c. evaporated milk

2 eggs, beaten


Combine flour with sugar and salt. Cut in butter and set aside. Dissolve yeast in warm water and 2 t. sugar and set aside. Combine milk with eggs. Stir in yeast mixture and add to flour mixture stirring well. On lightly floured surface knead dough until dough is smooth, about 5 minutes. Dough will be very sticky. Cover and let rise until doubled, about 1½ hours.  Remove dough from bowl and punch down. Using about a third of the dough at a time roll dough out to about an ½ -inch thickness and cut out with a 2½ -inch biscuit  cutter. Re-roll scraps and cut out. You should get about 2 dozen. Place dough circles on a floured surface and cover with a towel until doubled, about an hour. Heat oil in a deep pan until it reaches 375 degrees. Cook doughnuts a few at a time until golden on both sides, about 1 minute per side. Drain on paper towels and cool before filling.

Note: You can also refrigerate the dough after kneading it if you would prefer. Just place dough in an oiled bowl, cover with plastic wrap and chill overnight. Roll and cut dough into doughnuts when cold from the fridge. Allow to rise, covered, until doubled in bulk, about 2-3 hours. Fry as directed.

Mocha Frosting

1 teaspoon instant coffee granules

1/4 cup milk

1/4 cup unsweetened cocoa powder

6 tablespoons butter

1 1/2 teaspoons vanilla extract

5 cups confectioners’ sugar

Mix together; instant coffee, milk, cocoa powder, butter or margarine, vanilla extract, and confectioners’ sugar until of spreading consistency.

Once doughnuts are cooled use a pastry bag with a narrow tube tip. Fill bag with filling and squeeze some into each of the doughnuts. Try to keep the filling near the middle and don’t over-fill or the doughnuts will split. Frost once finished. Refrigerate until ready to eat. Makes 24.

Cutting the doughnuts out

Cutting the doughnuts out

Fry until golden

Fry until golden


Doughnuts cooling down

Doughnuts cooling down

Insert cream filling

Insert cream filling


Dipped filled doughnut in Mocha Glaze

Dipped filled doughnut in Mocha Glaze


Freshly dipped Tiramisu Doughnuts

Freshly dipped Tiramisu Doughnuts

Handy decorating syringe used for filling the doughnuts

Handy decorating syringe used for filling the doughnuts


Posted in Cooking |

Lemon Meltaways

Lemon Meltaway Cookies

Lemon Meltaway Cookies

These are a great cookie. Light in both flavor and texture they are full of fresh lemon flavor.

Lemon Meltaways

Dough:

1 ¼ c. flour

¾ c. butter, softened

½ c. cornstarch

1/3 c. powdered sugar

1 T. lemon juice

1 t. grated lemon peel

Frosting:

¾ c. powdered sugar

¼ c. butter, softened

1 t. lemon juice

1 t. grated lemon peel


In large bowl combine all dough ingredients and mix well. Divide dough in half and roll each half into an 8- inch roll.  Wrap in plastic wrap and chill until firm, 1-2 hours. Slice chilled dough into ¼ inch slices and place 2 inches apart on a cookie sheet. Bake in a 350 degree oven for 8-12 minutes, or until cookies are set, but not brown. Cool completely on a rack. Combine frosting ingredients and beat until light and fluffy. Frost cooled cookies. Makes 4 dozen.

Posted in Cooking |

Nutty Cole Slaw

Nutty Cole Slaw

Nutty Cole Slaw

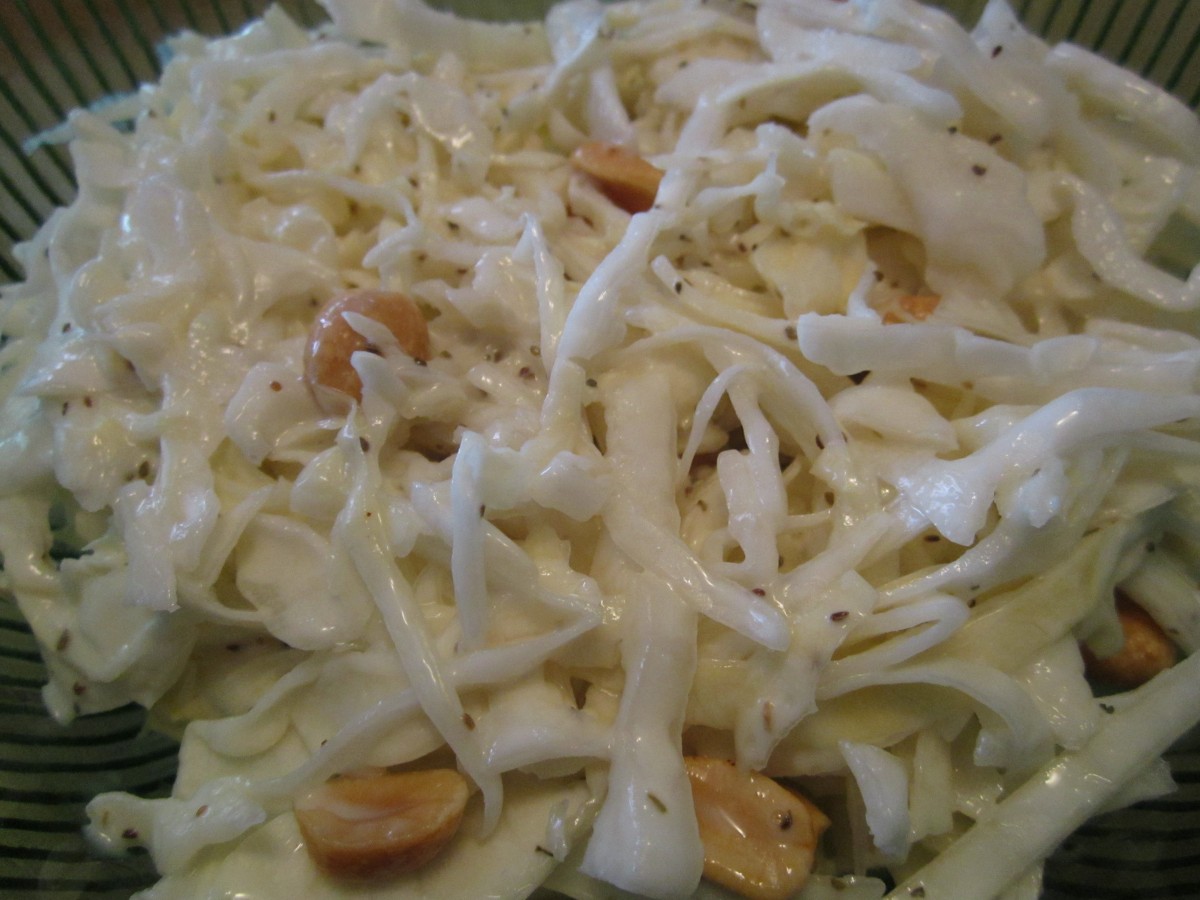
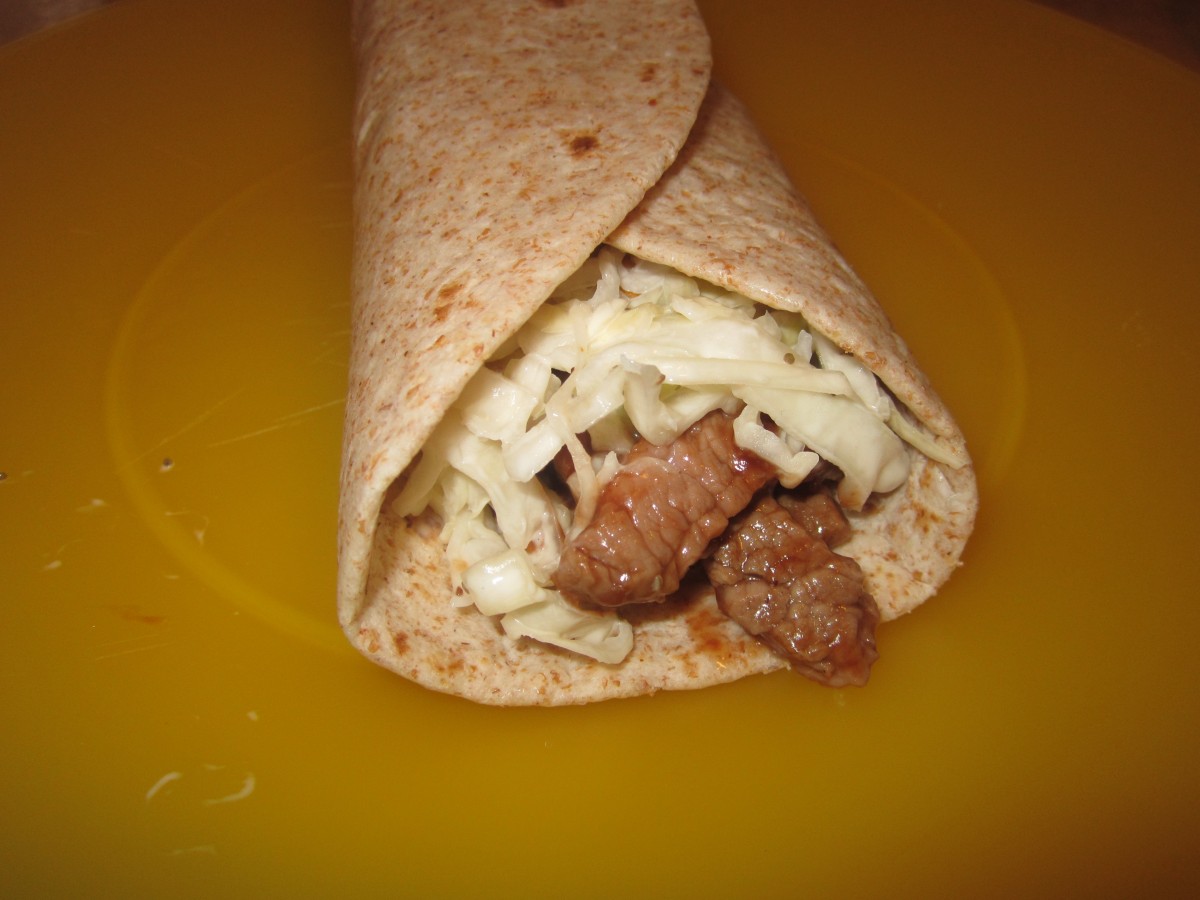
I love cole slaw and enjoy it both as a salad and right on sandwiches. Playing around and came up with this variation which includes peanuts. I really enjoyed the crunch they added to the dish.I must confess, if I had cashews I would have used them instead, but the peanuts were great, too.  Ate some as a side and then decided to make  steak wraps with some of it. Yummy!!!!

Nutty Cole Slaw

6-8 cups finely sliced cabbage

2/3 c. mayo, you can add a little more if you like- I don’t like a lot of dressing on mine

1/4 c. cider vinegar

1/4 c. sugar

1 t. celery seeds

1/2 c. peanuts, or more

Place cabbage in mixing bowl. In a small bowl combine the rest of the ingredients, except the peanuts and stir until smooth. Pour over the cabbage and toss to coat. Chill. Add peanuts before serving.


Steak and  Cole Slaw Wrap

2 tortillas- I used whole wheat

4-5 oz. cooked steak, sliced thin

2-3 T. barbecue sauce

1 c. nutty cole slaw

Place tortillas on work surface. In small bowl combine steak with the barbecue sauce. Spread the steak along the center of the tortillas. Top each of the tortillas with half of the coleslaw and wrap them up. serves 2.

Steak and nutty cole slaw wrap

Steak and nutty cole slaw wrap


Posted in Cooking |

Pink Lemonade and Strawberry Facts

Pink Lemonade

Pink Lemonade

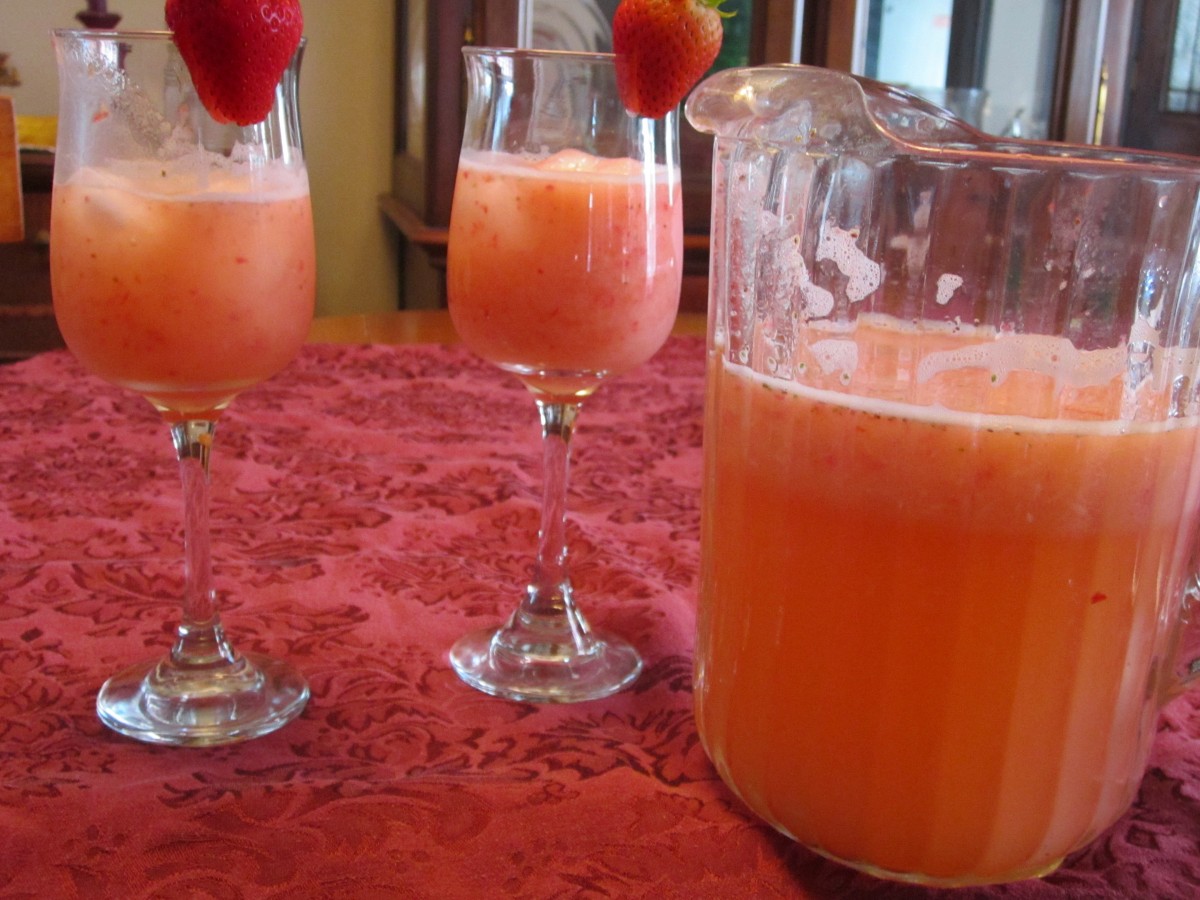
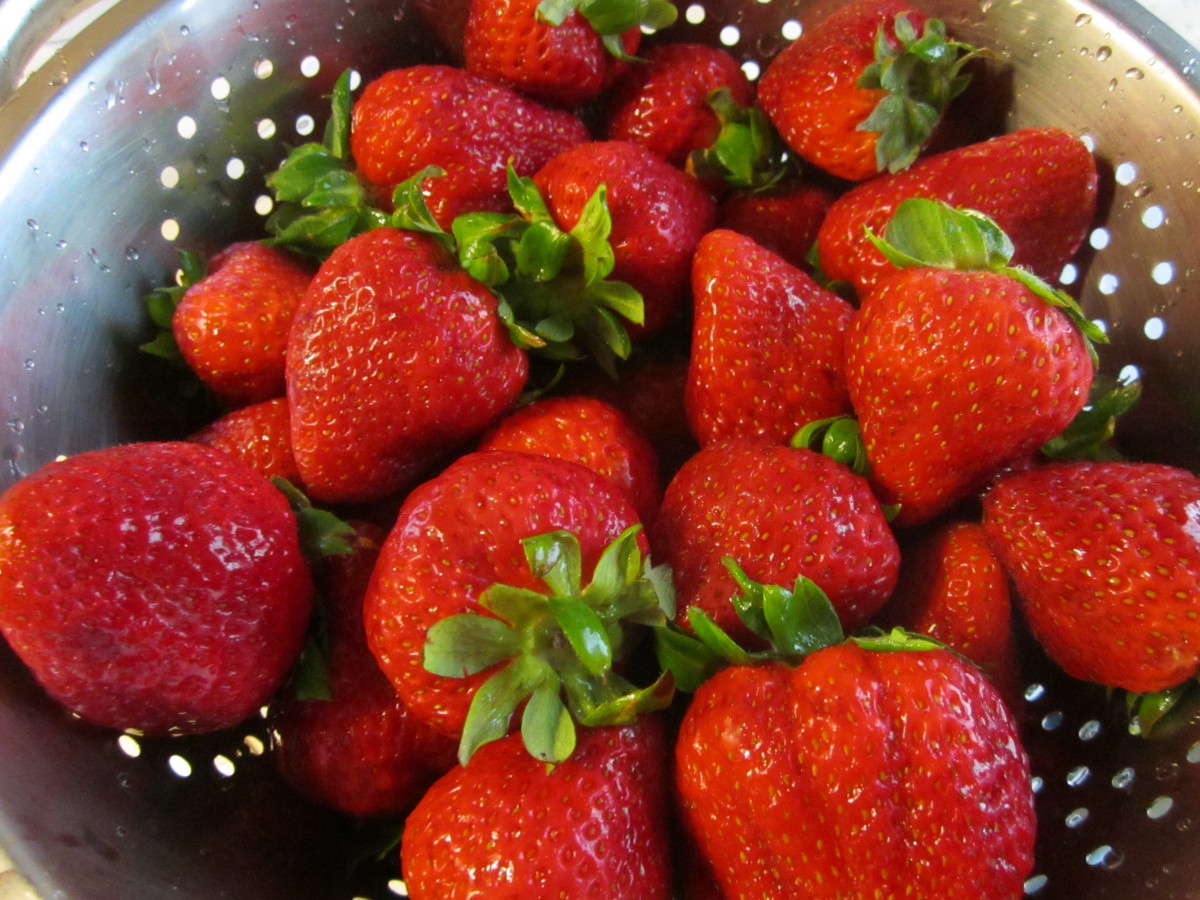
This is a great drink for hot summer days. Heck, I think its a good drink anytime.  Also read below for some helpful information when buying strawberries.

 Pink Lemonade

2 qts. prepared lemonade

1 pint strawberries, washed and hulled


Place berries in blender and add about 2 cups of the lemonade. Process until strawberries are pureed. Add strawberry mixture to the remaining lemonade. Serve over ice, garnishing with whole berries, if desired. Watch as seeds will accumulate on the bottom of the pitcher.

IMG_1565

Shopping Tip

When berries are priced by weight or volume it is not always easy to decide which is the best price. If one store has quarts for $2 and another had berries for $2 per pound where would you get the better deal? Also, if a recipes calls for 4 cups sliced berries how many do you need to buy? Here are some approximate guidelines.

3/4 lb. = 1 full pint

1 1/2 lbs. = 1 full quart

1 1/2 lbs. = 4 cups sliced

1 lb. frozen = 1 1/3 c. whole berries

To help your berries last longer soak them in a water/vinegar solution for a few minutes as soon as you get them home. Then just drain and put in the fridge. This will keep them from getting mold as quickly. I use 1/2 cup of vinegar and 4 cups of water.


Posted in Cooking |

Beet Relish

Beet Relish

Beet Relish

Sometimes called Red Relish , Beet Relish is one of my favorite beet dishes. Its also a good way to preserve beets for later use. You can use it like other relishes. Fun part is the lovely color it adds to dishes along with great flavor.

Beet Relish

1 qt. chopped cooked beets, about 12 medium

1 quart chopped cabbage, about 1 small head

1 c. chopped onion

1 c. chopped red sweet pepper

1 1/2 c. sugar

1 T. prepared horseradish

1 T. canning salt ( non-iodized)

3 c. vinegar, white or cider

Combine all ingredients in a pot and bring to a boil. Simmer 10 minutes. Bring mixture to a boil. Pack hot relish into hot jars leaving 1/4 -inch head space. Seal jars and process in a boiling water bath 15 minutes. Yield about 10 half-pint jars.

Posted in Cooking |

Canning Safety

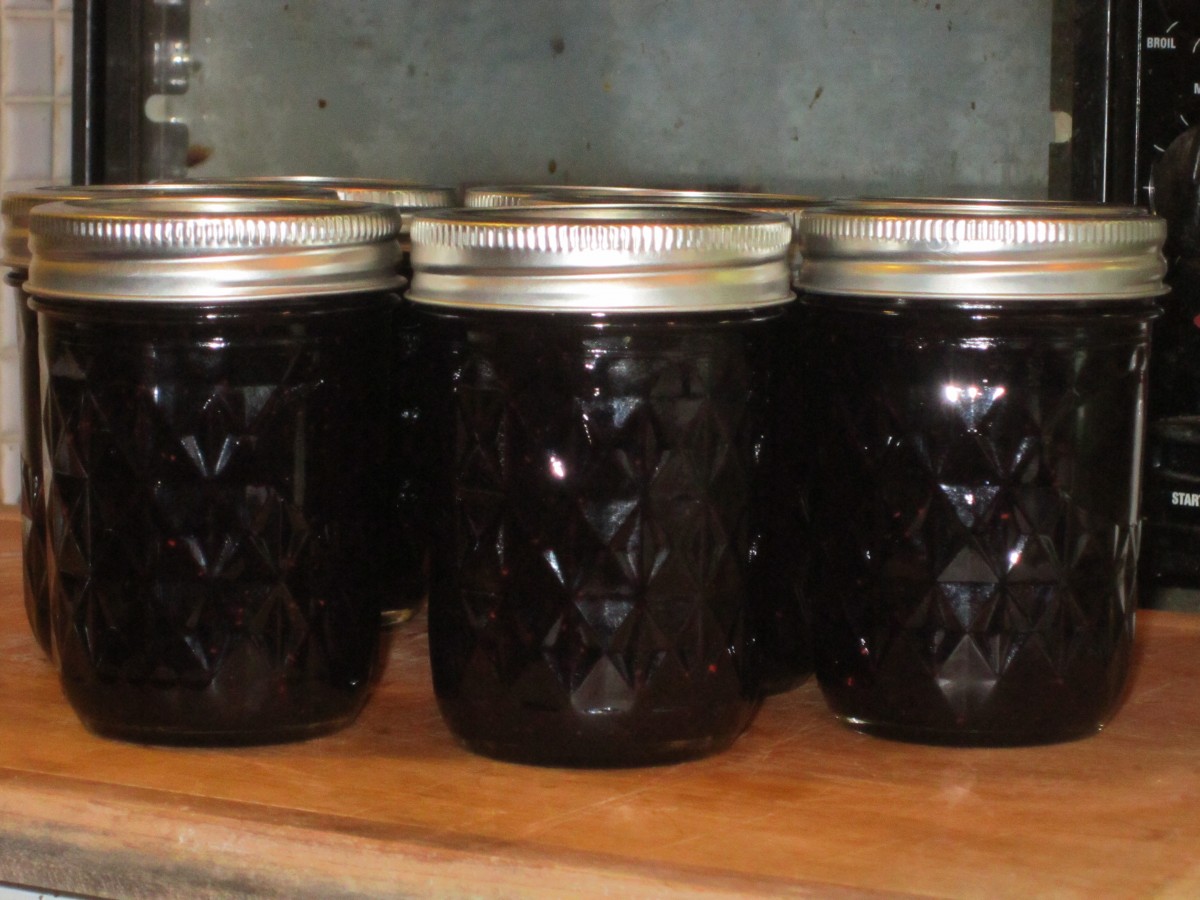
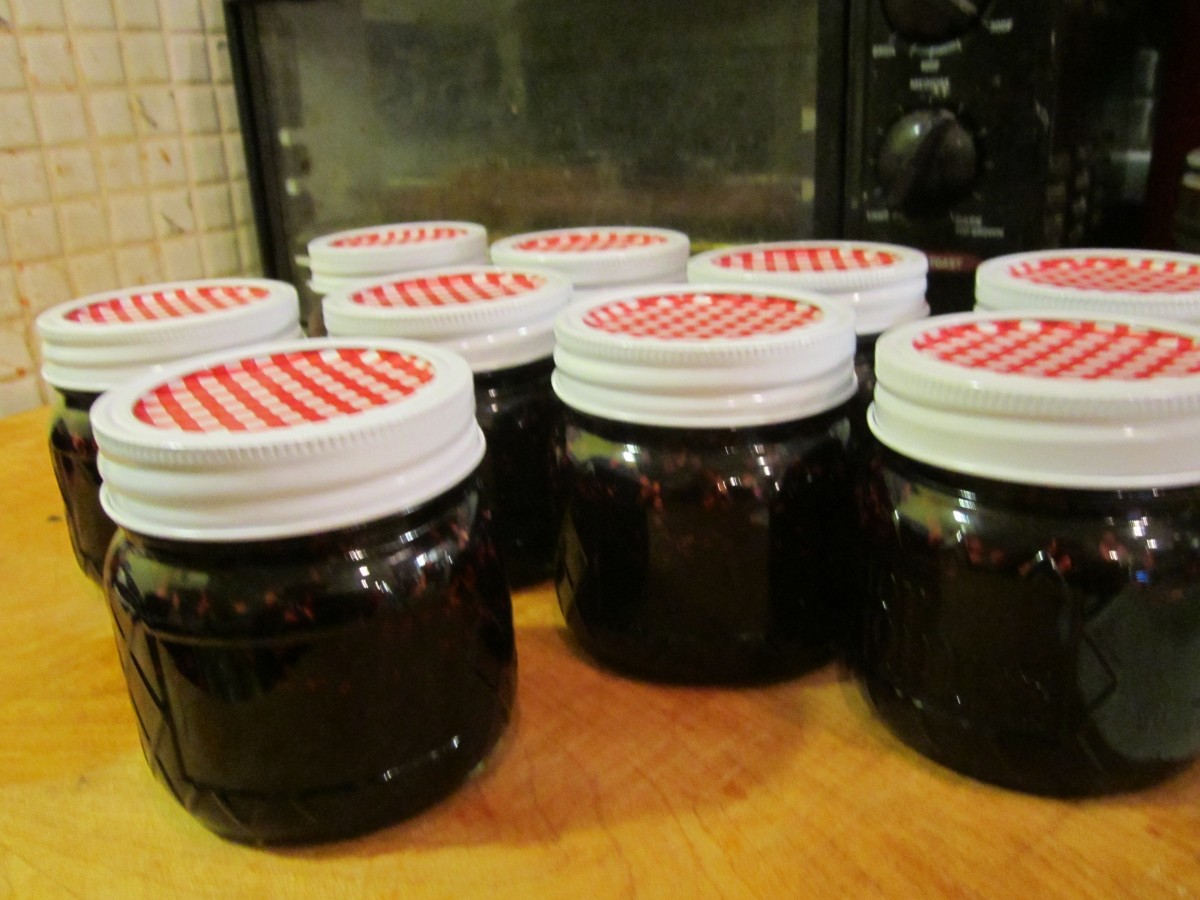
Fresh Blueberry Jam

Fresh Blueberry Jam

Since so many people are going to be canning I thought this might be a good time to post some canning information.

Canning Basics

Before canning there are some basics you should know.  There are general guidelines that need to be followed and some equipment that will make the job easier.The USDA recommends that all jams and jellies be processed in a boiling water bath, unless it is a recipe that is frozen or unless all the preserves are to be kept refrigerated. Sealing jars with paraffin is no longer considered to be a safe way to preserve jams and jellies. Other high acid foods, like tomatoes (when acidified) and fruits and fruit products or pickled foods can also be canned in a hot water bath. Low acid foods, like vegetables and meats must always be processed in a pressure canner.Since the jars are sterilized in the canning process there is no need to sterilize jars as a rule. They should be freshly washed in hot, soapy water, rinsed and kept warm in a pot of hot water or in a low oven until ready to use. You can also run them through the dishwasher and keep them in there until ready to fill. Because jams and jellies are packed when hot, cold jars might crack. Before starting make sure the jars are free of nicks and cracks, being extra careful to check the rims.

Note: the only time you must sterilize a jar is if it contained food that had spoiled. When I get jars second-hand I also sterilize them before use. To sterilize jars submerge them in boiling water for twenty minutes.

To prepare water bath have a canner  (large kettle with a wire rack) filled with enough water to cover the jars by 1-2 inches and have it boiling when the jars are added. Timing begins when the water comes back to the boil (usually only a minute or two when hot jelly-filled jars are added).  I get the water in the canner boiling first and turn it down to a high simmer until just before it is needed. Keep it covered to heat up faster and to prevent evaporation. If you do not have a canner and kettle deep enough to accommodate the jars can be used but you must cover the bottom with a towel. Jars that touch the bottom of the pan directly will break during processing. Also the lid of the kettle is left on during processing. Timing starts when water returns to the boil.


To prepare a pressure canner add several inches of hot water in the bottom of the canner. The canner will usually come with specific directions or a fill line. Follow what the manufacturer recommends. My canner calls for 3 quarts of boiling water to be added.  After jars are added to the canner the lid is secured and the heat is turned on. When proper pressure is attained timing begins. When the time is up the canner is removed from the heat and allowed to cool down before removing the lid. It is like a pressure cooker. If you remove the lid too soon, the lid will fly off and you’ll likely get burned. Besides, the cooling down time is part of the canning time. Don’t hurry the cooling down process by placing the canner in cold water or outdoors on a chilly day.


Prepare foods for canning in enamel, non-stick or stainless steal pans. Never use aluminum or copper, or enamel cookware that has chips.


 Today, lids are two pieces consisting of the ring and a flat lid with a rubber ridge. Lids should be prepared according to the manufacturer’s instructions. Some ask you to boil them, others may just ask you to wash them and hold in warm water until ready to use. The rings can be used over and over, but the flat lids should only be used once. They may fail to seal if processed a second time.Jar-lifters can be a handy tool to have. They allow you to place and remove the jars easily, with little risk of dropping them. They are available at many grocery stores and in cookware and department stores as well. A wide-mouth funnel (or canning funnel) is also real handy when trying to ladle hot liquids into jars.  Be sure to wipe off jar rims before putting the lid on to prevent food from causing the jars not to seal.Screw the ring on firmly, but not too tight, or the jars will not seal properly.Jars removed from the water bath should be placed on a wire rack or on a towel to cool. Keep them away from drafts until cooled down. When completely cooled check to make sure that the jars have sealed. Press down on the middle. If the lid make a “plink” noise it is not sealed. After jars have sealed and cooled remove outer ring, wipe with a damp cloth and store in cupboard until ready to use.


Always start with top quality produce. Bruises and blemishes will lead to spoilage. Small blemishes can be cut off but be sure to remove all areas of spoilage.

If you are canning tomatoes and have a lot of imperfect fruit you are better off trimming off any bad spots and using this produce in recipes that will be frozen rather than canned.


When canning always use non-iodized salt, or preferably canning salt. Iodine will cause an off-flavor in canned foods.


When using older books always check with your local Extension Office or the USDA for most current information and canning times. Periodically times are changed or ingredients are adjusted for maximum safety. If you have old family recipes also check with your local Extension Office to find out if the recipe is still considered safe.


Never can in an oven or in a steam canner. Both of these methods are not USDA approved.


Nothing beats planning. When getting ready to can read the recipe all the way through and get all your equipment out. It is often easier and more fun to can with a friend or two. The extra hands always come in handy and when time is critical the extra help will make errors less likely.

In tomato based products herbs can be added for flavor but do not randomly start adding other vegetables (like onion, peppers etc.,) They will reduce the acidity and may make the product unsafe to can in a water bath. 

Posted in Cooking |