Giant Strawberry Shortcake

Giant Strawberry Shortcake

Giant Strawberry Shortcake

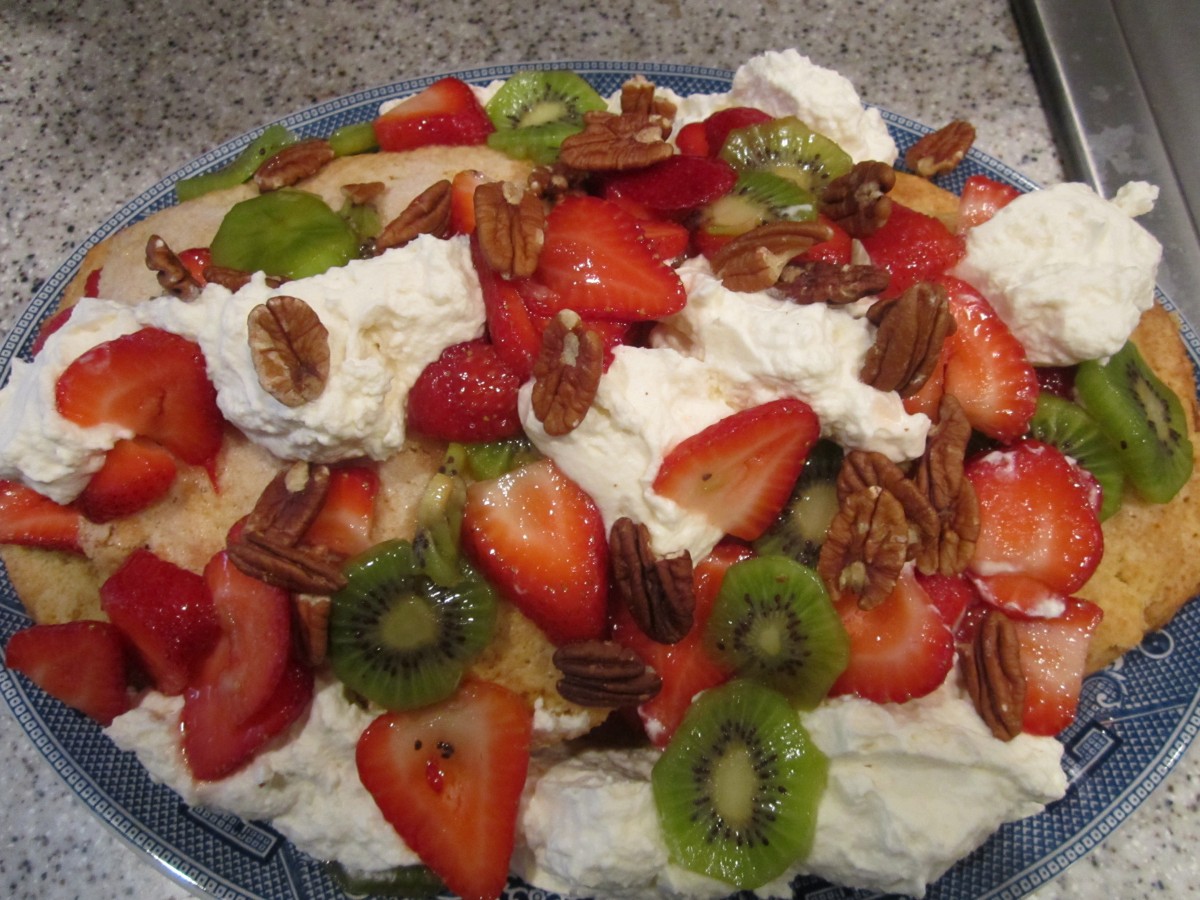
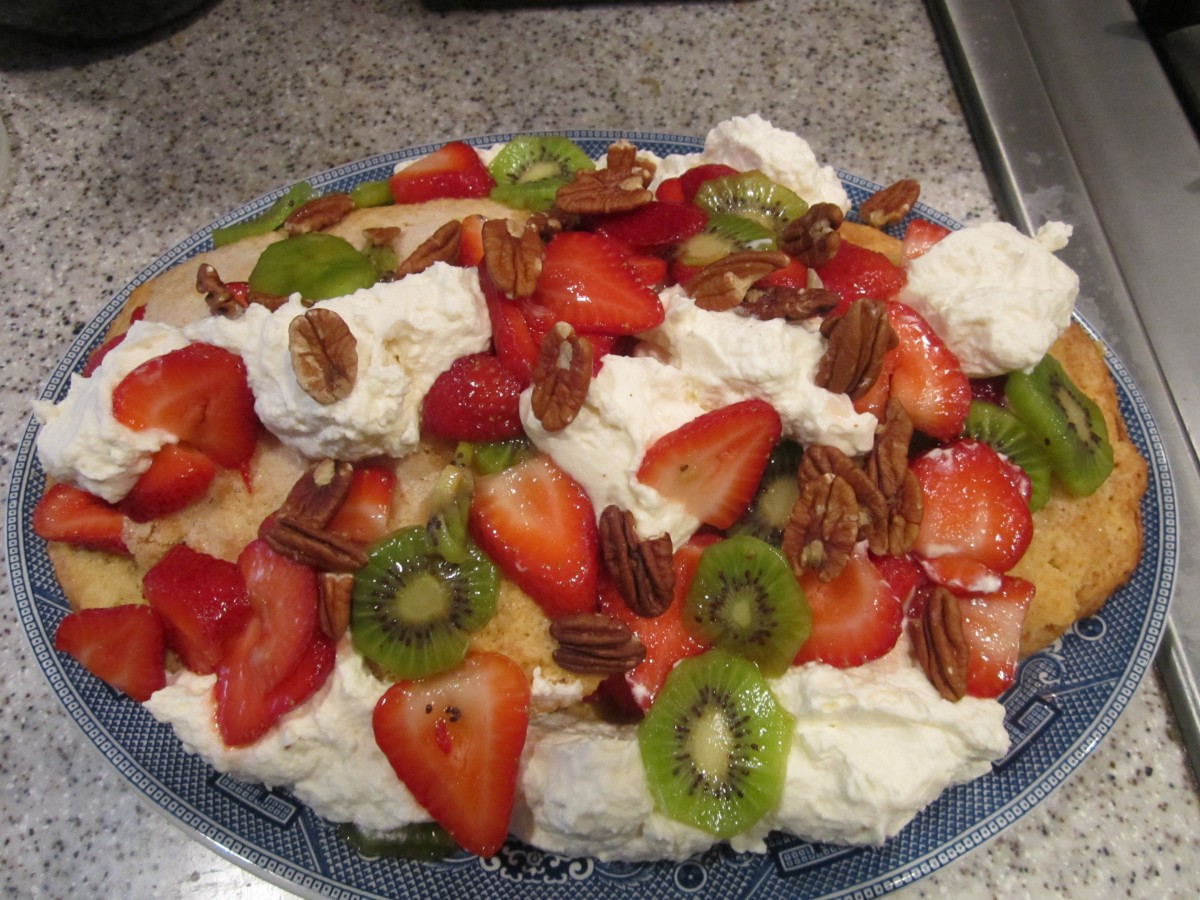
If you are looking for a fun twist on shortcake try making one large one for your next gathering. Makes quite an impression. Made this one for a dinner with friends. So well received. Feel free to switch up which fruits you use based on likes and availability.

Giant Strawberry Shortcake

1 egg

3/4 c. milk

1/2 t. lemon juice

2 c. flour

1/4 c. brown sugar

1 T. baking powder

1/2 stick cold butter plus 1 T. softened

1/2 c. plus 1 T. sugar

1 qt. strawberries, sliced thin

2 kiwi fruit, peeled and sliced thin

1/4 c. chopped nuts, toasted

whipped cream, optional


In small bowl combine egg, milk and lemon juice and set aside. In larger bowl combine the flour, brown sugar and baking powder. Cut in cold butter to resemble coarse crumbs. Add egg mixture and stir until mixture forms into a soft dough.  Knead dough gently on a lightly floured surface about 10 times. On greased baking sheet pat dough into a 15×6-inch oval. Sprinkle dough with the 1 tablespoon of sugar and dot with the softened butter. Bake in a preheated 400 degree oven for 20-25 minutes, or until lightly golden. Place on wire rack to cool. Toss the berries with the remaining 1/2 cup of sugar. Allow to stand 30 minutes. Split the shortcake lengthwise and remove the top. Spoon over the half the berries and replace top of shortcake. Combine the kiwi with the remaining berries.Spoon over the remaining fruit and sprinkle with the nuts. Dot with whipped cream, if desired.  Cut in wedges to serve. Serves 8.

Note: you can bake shortcake day ahead and prep the fruit day ahead, keeping it chilled and just assemble when ready to serve.

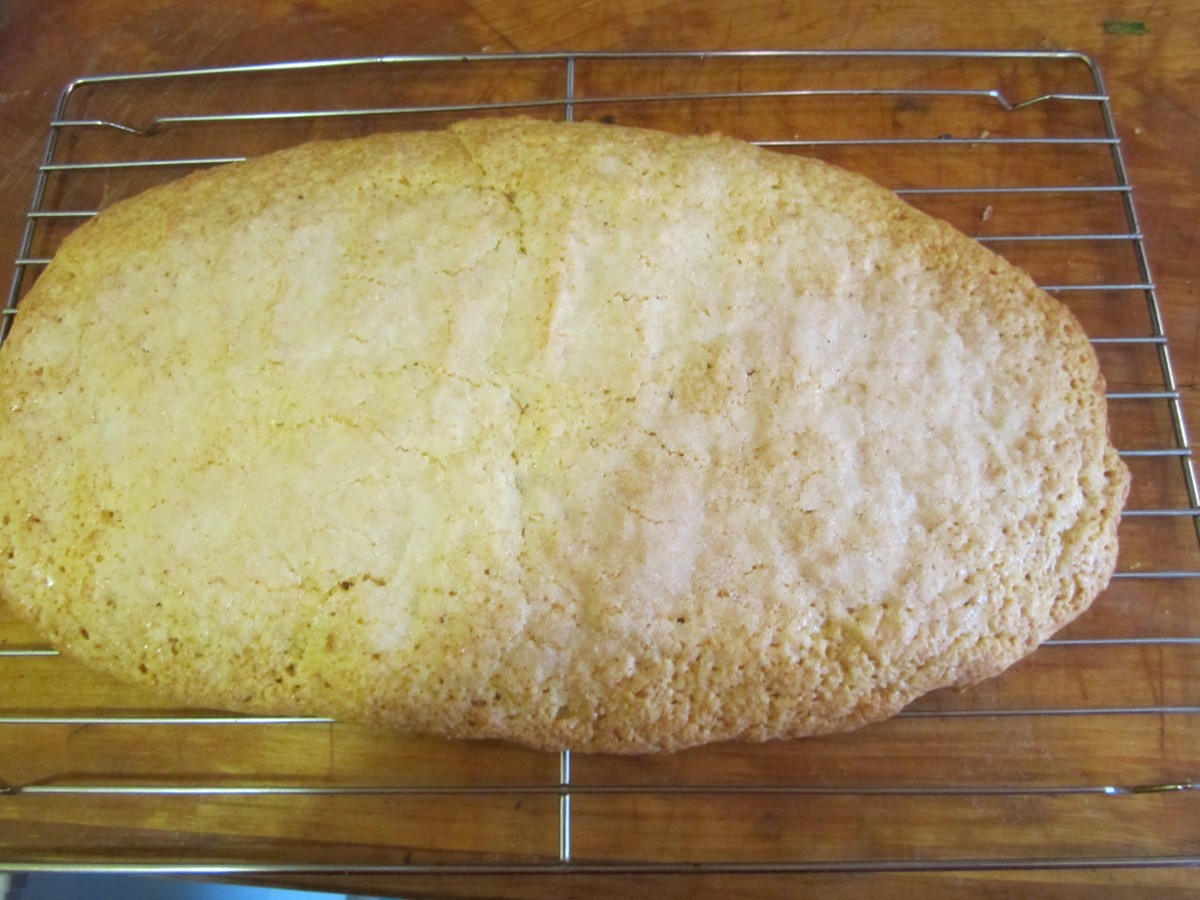
Freshly baked shortcake

Freshly baked shortcake

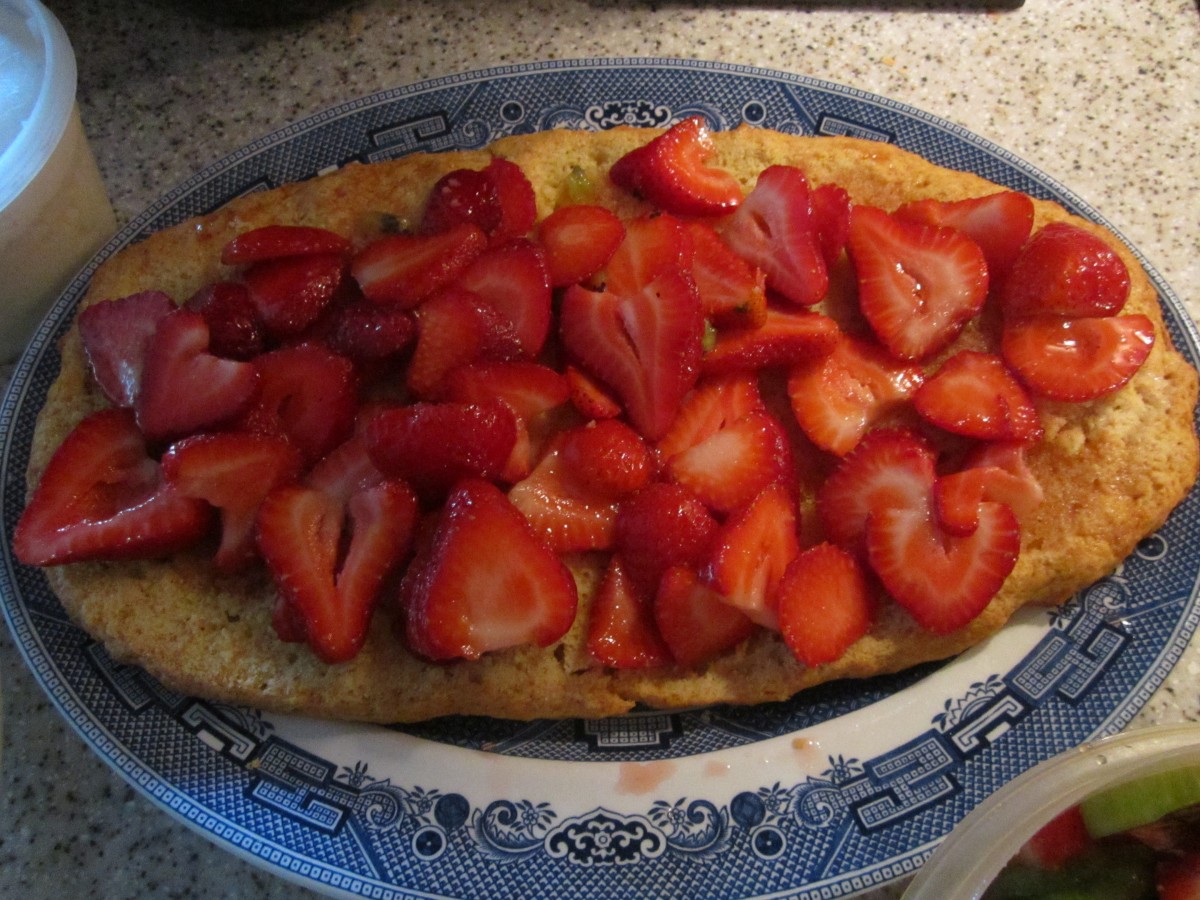
Place half the berries on bottom of the shortcake

Place half the berries on bottom of the shortcake

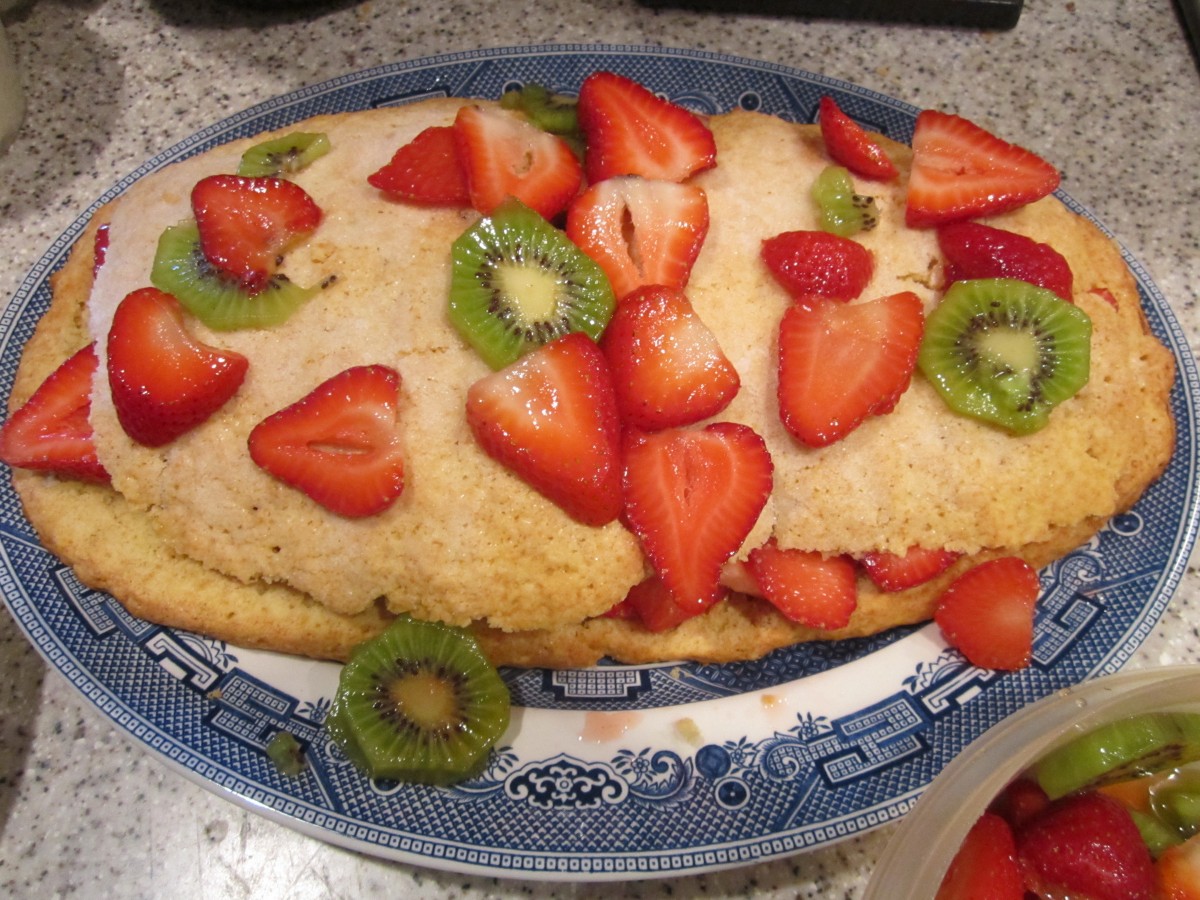
Replace top of shortcake and spoon on remaining fruit

Replace top of shortcake and spoon on remaining fruit

Finish with whipped cream and toasted nuts

Finish with whipped cream and toasted nuts


Posted in Cooking |

Homemade Chicken Stock

Homemade Chicken stock

Homemade Chicken Stock

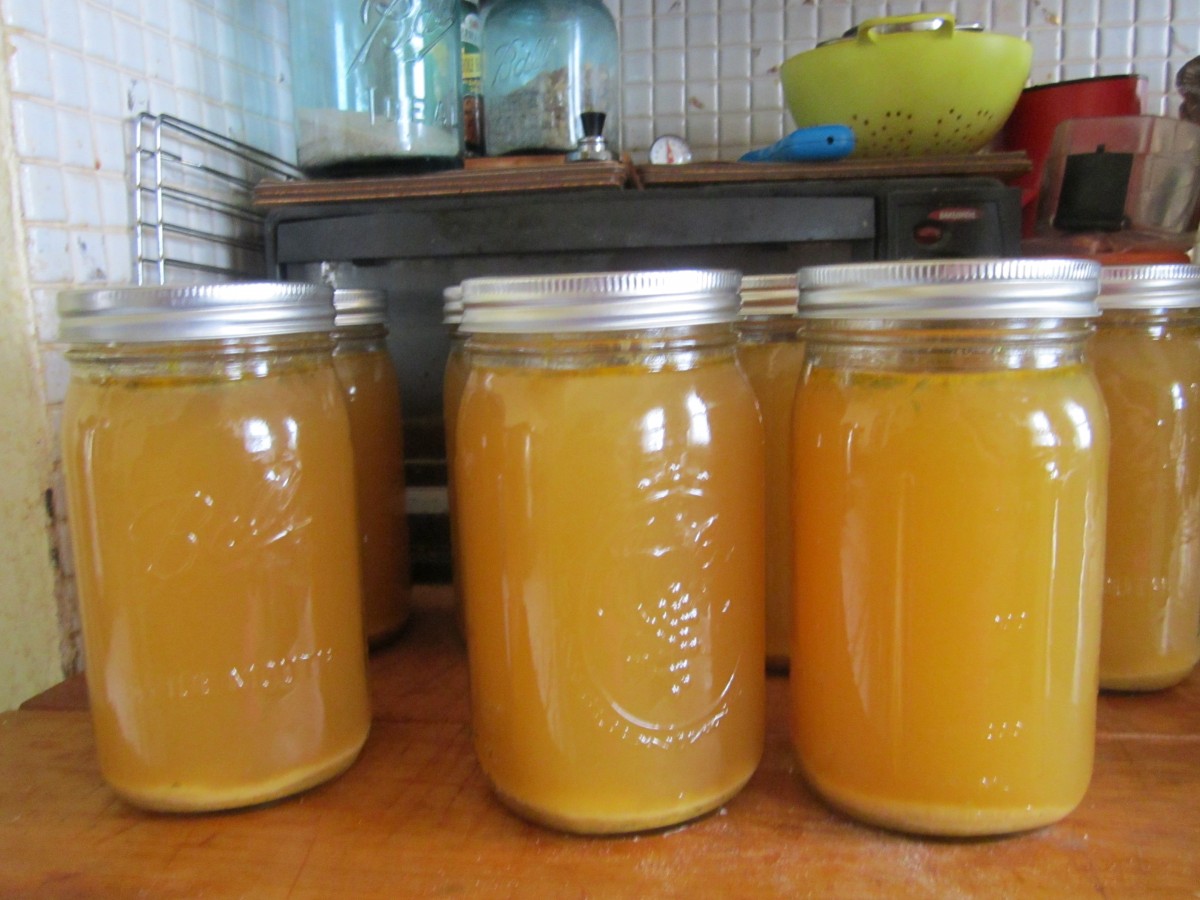
I was given a good amount of local chicken, well, chicken parts, and I wanted to use them for stock. Freezer space is at a premium right now so I decided to can it. It was really easy and now whenever I want to make soup I’ll have homemade stock on hand. Seven quarts so far and making another batch tomorrow. I made my stock the way I normally do but I used non-iodized salt. Iodized salt should never be used in canning- it can result in an off flavor. I added the chicken with lots of veggies to a stock pot. I browned them a little first then added water to cover and cooked for a few hours. Seasoned with salt, pepper, turmeric and parsley. Strained the stock, cooled it down and put it in the fridge to chill. That way I could easily skim off the fat. The next day heated up the stock to boiling and placed in quart jars, leaving 1 inch of headspace. Processed in a pressure canner for 25 minutes  at 10 pounds pressure.For low acid food, like stock and any meat product, you must use a pressure canner- a water bath will not get hot enough to insure a safe product.

Just a fun bit of information. When I took the stock out of the fridge it was very gelatinous. Normal with soups made with bones. However, after canning and cooling down the stock was liquid. Why? In pressure canning the temperature goes up high enough to break down the gelatin in the stock.

Posted in Cooking |

Jams and Jellies 101

Blueberry Jam

Blueberry Jam

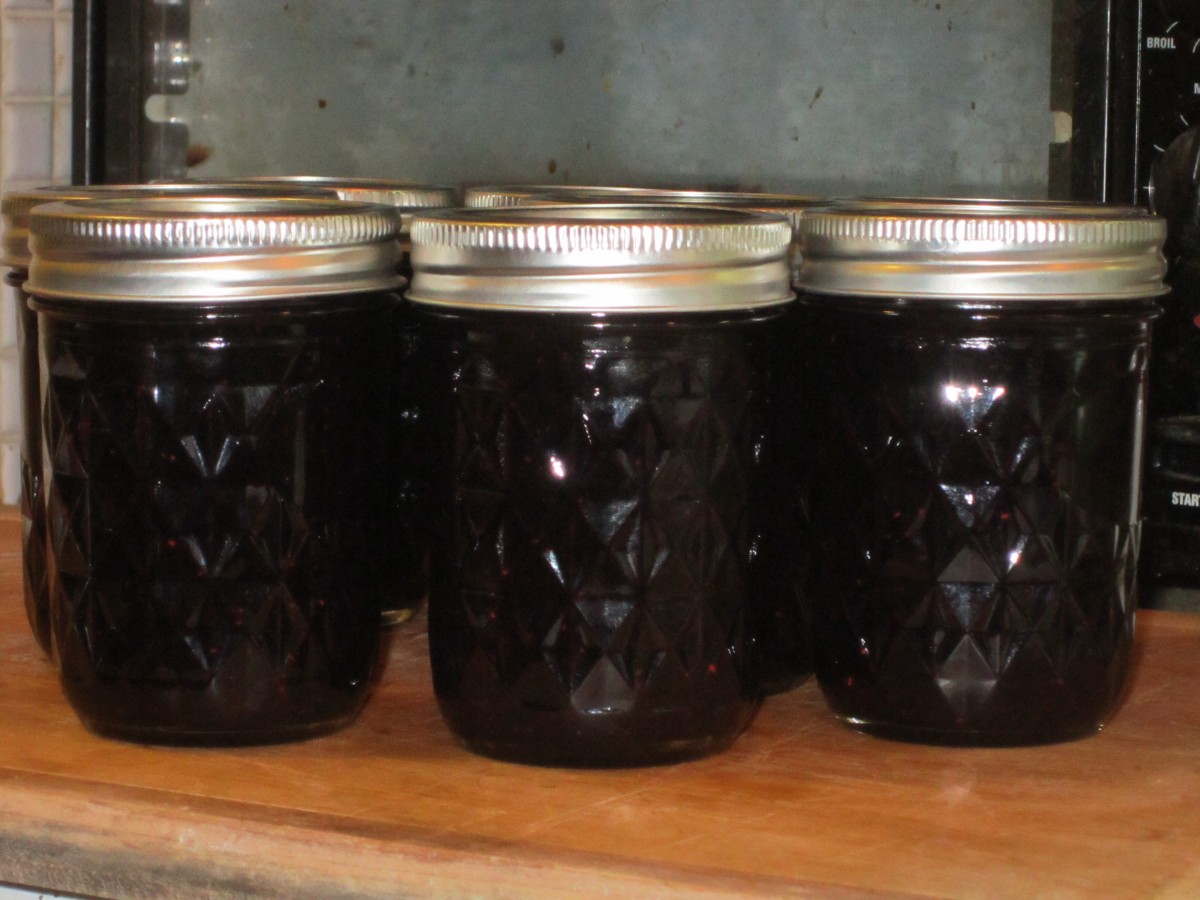
Since so many people are making jams,  jellies and preserves I thought I share some info to help your efforts produce perfect results.

Definitions


These are the definitions of several types of fruit-based products


Jelly: Made from juice only. Fruit is cooked and strained, juice combined with sugar and sometimes pectin and cooked until reaching proper jelling state


Jam: Fruit is crushed and cooked with sugar and sometimes pectin to a soft gel stage


Preserves: Preserves contain larger pieces of fruit suspended in a thickened syrup or gel


Conserves: Usually made from a mixture of fruits and often contains nuts and raisins


Butters: Fruit pulp and sugar are cooked over low heat for longer period until thickened


Marmalades: Citrus fruit product containing fruit pieces and peel suspended in a gel


Four Essential Ingredients


Fruit: Imparts the flavor and may provide pectin and/or acid to the recipe. Never use over ripe fruit!


Pectin: Starch found in unripe apples and the white pith of citrus fruits that expands and forms a thickened substance when heated with sugar and acid foods. There are pectins (low methoxyl) on the market now that will gel without the presence of sugar or with reduced amounts of sugar. When using powdered pectin it is added at the beginning of the cooking process. Liquid pectin is added at the end of the process.


Sweeteners: Granulated sugar is best. Do not use any sugar that is labeled “sucrose and dextrose blend”. It will not gel. Brown sugar is not recommended. In recipes that do not require pectin you can replace up to 1/4 of the sugar (jellies) or 1/2 the sugar (jams and preserves) with light corn syrup. Honey is much sweeter than sugar but can be used for up to half the sugar in recipes without added pectin and up to 1 cup in recipes with added pectin. Artificial sweeteners should only be used in recipes specifically designed for them.


Acid: Amount present in different fruits varies. Under ripe fruit contains more acid. Some recipes may call for the addition of lemon juice.  


Pectin and Acid Content of Common Fruits


Group 1: No pectin generally needed

Sour apples, sour blackberries, crab apples, cranberries, currents, gooseberries, concord grapes, lemons, plums (not Italian) and quinces


Group 2: May need pectin

Ripe apples, ripe blackberries, sour cherries, elderberries, grapefruit, table grapes, oranges


Group 3: Always need acid or pectin

Apricots, blueberries, peaches, pears, prunes and Italian plums, raspberries, strawberries


Note: This is about making jellies. For preserves and jams, since a softer gel is required you may not need added pectin or acid for all the fruits in group 3.


Will it Gel?


When you are making jelly recipes that will sometimes say to cook to the jelly stage and I bet you are thinking  “and that is…:.” There are 3 ways you can check to see if you have cooked your recipe long enough.

1.    Use a candy thermometer, attached to the  side of the pan and down in the jelly far enough to cover the bulb of the thermometer, but not touching the bottom of the pan. This is the most accurate method.

2.    Spoon test by using a cool metal spoon dipped in the jelly and held on its side so the jelly can run off the edge. When jelly is not ready the drops will be light and syrupy. As it gets thicker the drops will falls off the spoon 2 at a time. When it has reached the proper stage two drops will form together and sheet off the spoon.

3.      Freezer test just involves spooning a small amount of jelly on a plate and placing it in the freezer for a few minutes, to cool it down quickly. If the mixture gels, it should be done. While waiting for jelly test to cool, remove jelly from heat.


How much pectin is in my fruit?


When you are making jelly without added pectin you need to check how much pectin is in the juice you are using. I use the alcohol test. In a container that has a tight fitting lid combine 1 teaspoon prepared juice with 1 tablespoon rubbing alcohol. Place lid on container and shake to mix well. Fruit high in pectin will form a jelly-like mass that you could pick up with a fork. This juice will form jelly without added pectin. If it clumps into several small lumps you will need pectin to make your jelly set up.   


Posted in Cooking |

Pineapple Glazed Chicken Wings

Pineapple Glazed Chicken Wings

Pineapple Glazed Chicken Wings

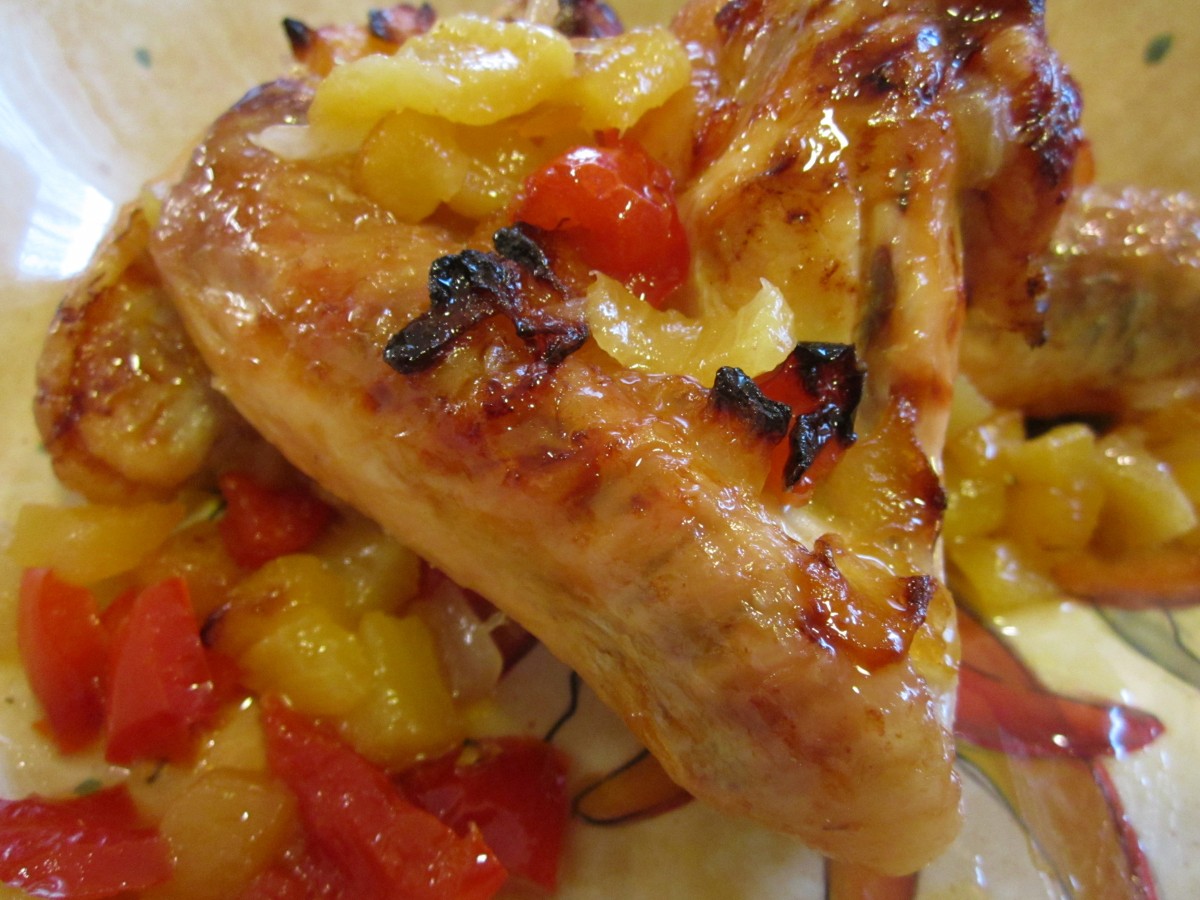
Had a small package of chicken wings and decided to use up some fresh pineapple I also had. Sometimes the best dishes are the ones we make with what’s on hand.

Pineapple Glazed Chicken Wings

1 lb. chicken wings

oil

1 onion, chopped

2c. fresh diced pineapple- or use canned

1 diced sweet pepper

1 T. soy sauce, or to taste

3 T. cider vinegar

dash of hot sauce

1 t. minced garlic

1 T. honey

Place chicken wings in baking dish and cook in a preheated 400 degree oven for 40 minutes. Meanwhile,  heat oil in skillet and cook onions until tender. Add pineapple and pepper and cook until vegetables are light golden in color. Add remaining ingredients and cook over low heat until sauce has thickened. Adjust seasonings. Remove wings from oven and drain any fat from the pan. Return wings to pan and cover with the sauce. Return to oven and cook 20 minutes longer. Glaze on wings should be sticky.  Serve over rice or pasta. Serves 2-3.


Posted in Cooking |

Hummus with Greek-Style Olives

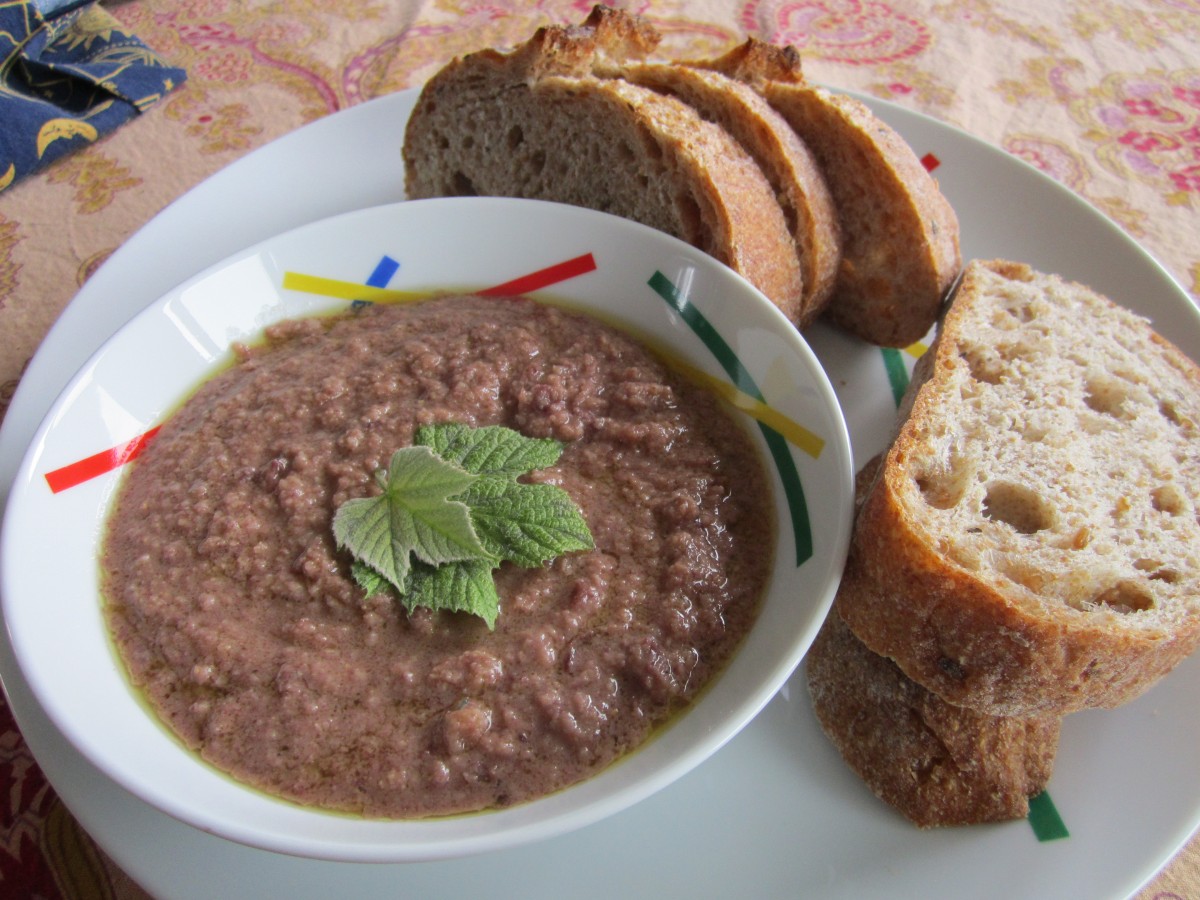
Black Olive Hummus

Black Olive Hummus

My friend Jared Bendis loves hummus. He told me what he really likes is hummus with black olives. Was asked to make humus for a dinner recently so I decided to make olive hummus. It was a huge hit at dinner. You can use fancy olives or even just black olives out of a can. I used black olives out of a can but doctored them up by steeping them for several days in a mixture of lemon juice, olive oil, garlic and oregano. Recipe follows. Really made a difference.   

Hummus with Olives

1 can garbanzo beans, drained

1 c. black olives, drained

1/4 c. olive oil

2 T. lemon juice

2 T. tahini (sesame seed paste)

2 cloves garlic

salt and hot pepper sauce to taste


Combine all ingredients in a blender or food processor until smooth. Adjust seasonings. Chill. Serve with pita bread, crackers or fresh vegetables. Also nice spread in a pita bread with sliced tomatoes, cucumbers and lettuce. Freezes well.

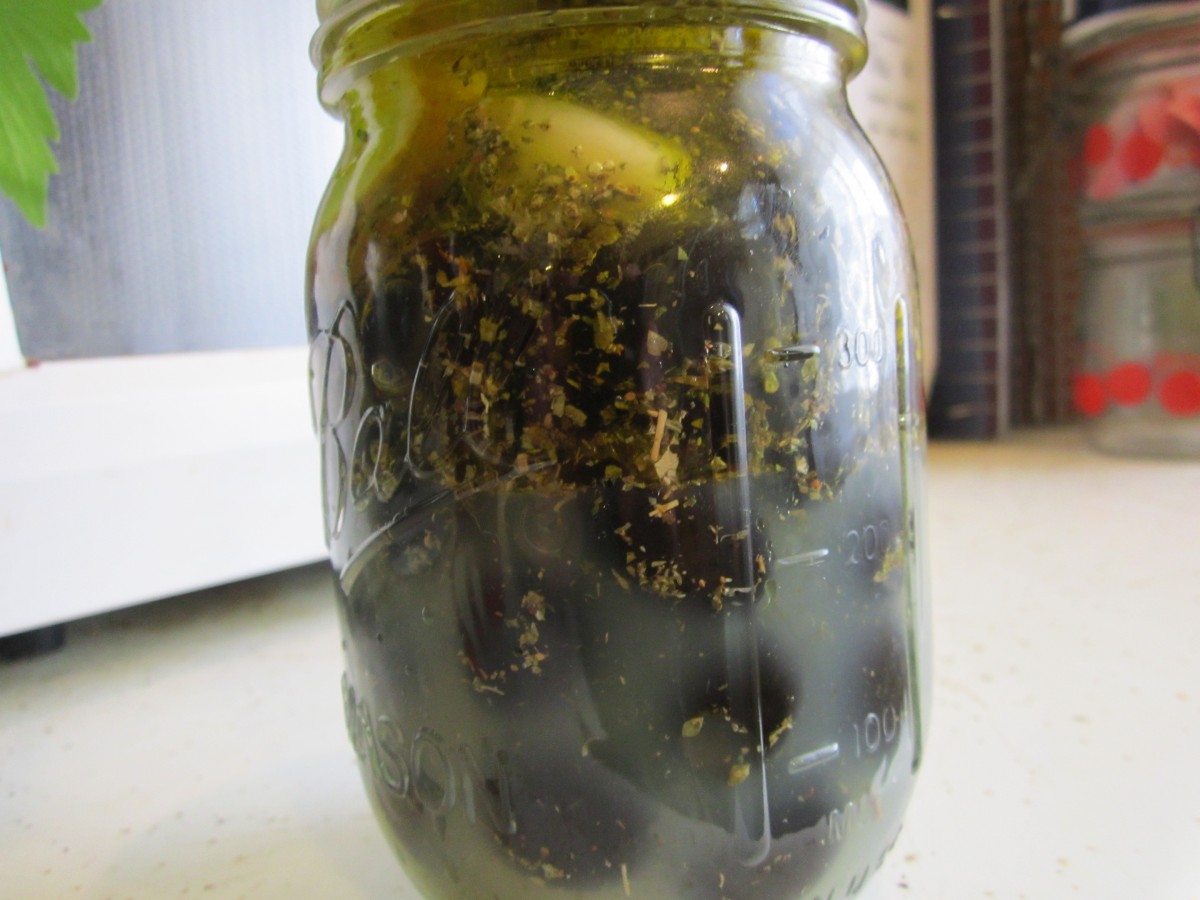
Greek- Style Olives

Greek- Style Olives

Marinated Greek-Style Olives

1 can pitted black olives, drained and rinsed

1/4 c. lemon juice

2 slices lemon

2 whole garlic cloves

1 t. oregano

1/2 c. olive oil


Combine olives with all the ingredients, except the oil, and place in a covered dish in the fridge for 3 days. Add the oil and return to fridge for up to a couple of weeks, but at least 1 day. Drain before serving and allow to come to room temperature. Makes about 1 1/3 c.


Posted in Cooking |

Strawberry Jam

One of my favorite things to make. The hardest part is trying to save some for winter.

Here is the recipe.

Strawberry Jam

2 qts. strawberries, stemmed, washed and crushed

1 package dry pectin

1/4 c. lemon juice

7 cups sugar

Combine  berries, pectin and lemon juice in large saucepan and bring to a boil over medium heat, stirring often.  Add sugar and turn heat up to high. Stir often until mixture comes to a boil. Boil hard one minute stirring constantly. Ladle hot jam in to jars leaving 1/4 inch headspace.  Wipe rims add screw on lids comfortably tight. Place in boiling water bath and process 5 minutes. Remove to cooling rack, towel or wooden surface to cool. Makes 8-9 half pints.

Posted in Cooking |

Honey Bunnies

Honey Bunny

Honey Bunny

These rolls are really tasty and just adorable. Rich and soft they can be served with breakfast, brunch or dinner. The dough is made and then chilled for anywhere from 2-24 hours so you can make the dough in the evening and roll and bake the next day.  Fresh out of the oven they are brushed with a honey-butter glaze that gives them a beautiful shine and just a touch of sweetness.


Honey Bunnies

 4-5 c. flour

2 packages yeast

1 t. salt

2/3 c. evaporated milk

½ c. each water, honey and butter or margarine

2 eggs

Raisins, optional

Honey glaze

1/2 c. honey and 1/4 c. butter or margarine heated together until warm.

In bowl combine 1 c. flour, yeast and salt. Heat together milk, water, honey and butter until very warm and beat into the flour mixture. Beat 2 minutes on high speed. Beat in 1 cup flour and eggs. Beat 2 more minutes, until batter thickens. Stir in enough flour to make a stiff batter and chill, cover with plastic wrap for 2-24 hours.

Place dough on lightly floured surface and divide into 15 equal pieces. Roll each into a 20- inch rope. Cut rope into a 12- inch piece, a 5-inch piece and 3 one-inch pieces. Coil 12-inch piece to form body, five-  inch piece to form head and inch pieces to form ears and tail. Place on greased cookie sheet and let rise, covered until doubled, about 25 minutes. Don’t worry about the pieces falling apart. As they rise they get a little sticky and they will stay together when baked. Bake in a 375-degree oven for 12-15 minutes. Remove to cooling rack and brush with honey glaze. Place raisins on each to make eyes, if desired. Brush with additional glaze before serving, if desired. Makes 15 bunnies.*

* Feel free to cut the rolls a little larger or smaller. These rise a lot when they are baking so you might want to cut dough into anywhere from 12-18 pieces. Baking time will only be a few minutes less for smaller rolls and a few minutes longer for larger rolls.

Cut rope of dough into 5 pieces

Cut rope of dough into 5 pieces

Role pieces into bunny shape

Role pieces into bunny shape


Bunnies rising

Bunnies rising

Brush warm bunnies with honey glaze.

Brush warm bunnies with honey glaze.


Honey Bunnies

Honey Bunnies


Posted in Cooking |

Caponata- Fun Appetizer- and More

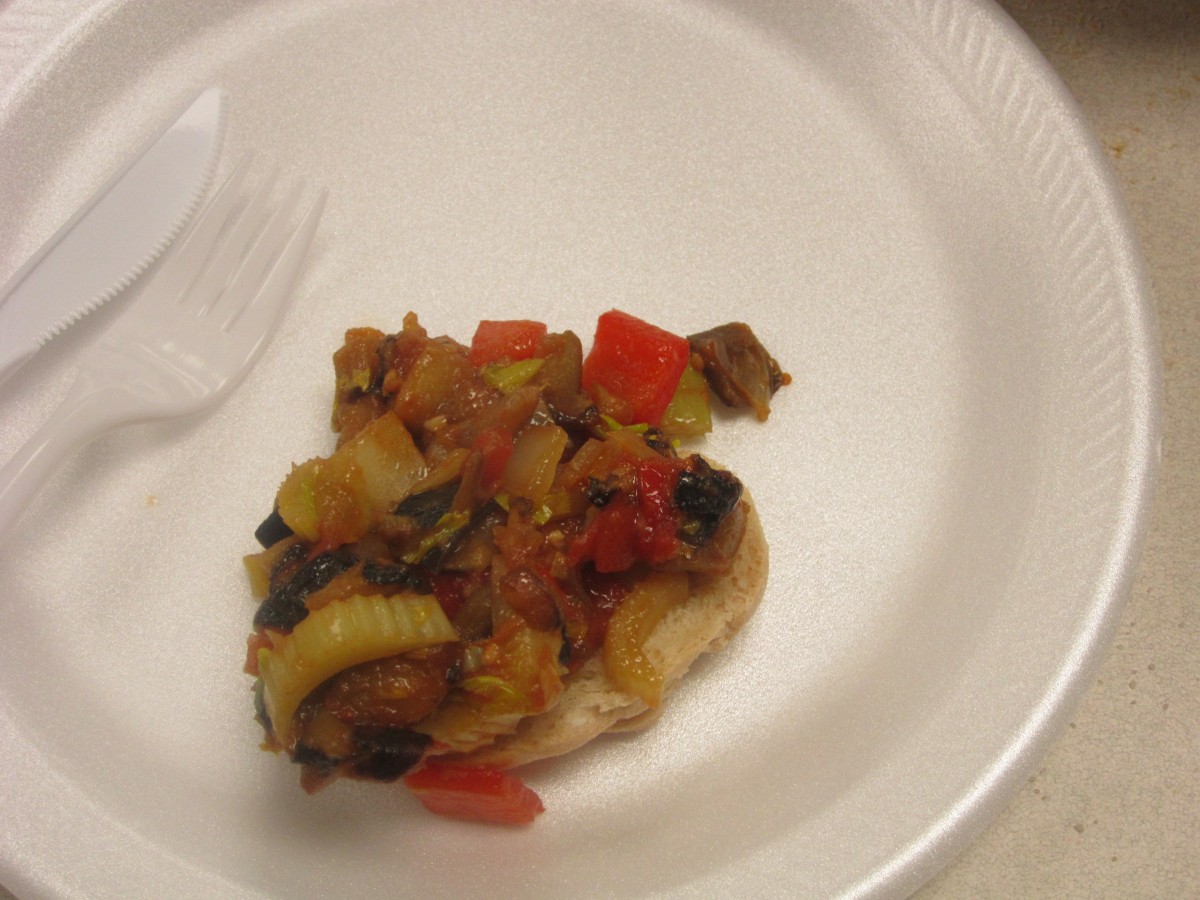
Caponata on crusty bread

Caponata on crusty bread

For an Italian cooking class the other night I made Caponata. Someone once asked me what it was and I said kind of like salsa-  only with Italian ingredients. Not sure if that sums it up but Caponata is a mix of several vegetables with some seasonings. It can be served cold, at room temperature or hot. I enjoy it as an appetizer with crusty bread but I also add it to marinara sauce, top pizza with it or add it to vegetable stock with some cannelini beans for a great vegetarian soup. While my version does not contain capers- I sometimes add them, They marry well with the other flavors in this dish. This is one of those vegetarian dishes that everyone seems to love.  The version here is vegan- but I like it with a few curls of Parmesan on the top. I used canned tomatoes for this recipe since its winter now and good tomatoes are pretty hard to find but when in season I always prefer fresh.

 Caponata

2 small eggplants, unpeeled and cut into 1/2-inch pieces, about 5-6 cups

1 large onion, chopped

1/2 c. olive oil, or a little more

4 celery ribs, sliced

2 sweet peppers, seeded and chopped

1 heaping tablespoon chopped garlic

3 tomatoes, chopped- or 1 (14.5) can diced tomatoes- undrained

1 c. sliced black olives

3-4 T. red wine vinegar

salt and pepper to taste*

Soak eggplant in salted water for at least 15 minutes. Rinse, drain and pat dry. Set aside. Meanwhile in skillet cook onion in 2 tablespoons of the oil until tender. Add the celery and cook until the celery is tender-crisp. Place mixture in a mixing bowl and set aside. Heat 2 tablespoons more of the oil and cook the peppers until tender. Add garlic and cook 1 minute longer. Add the tomatoes and cook 1 minute longer. Add this mixture to onion mixture and return skillet to the heat. Add remaining oil to skillet and cook eggplant until golden brown and tender. You may have to do this in 2 batches. Add remaining ingredients to bowl while eggplant is cooking. When eggplant is done add it to the bowl and mix well., Season to taste. Serve with crusty breads cold, hot or at room temperature. Serves 10-12.

* While I don’t have any herbs listed in the ingredients I often add oregano and basil or an Italian or Tuscan seasoning blend. I also like to add capers.

Fresh made Caponata

Fresh made Caponata

Saute eggplant until it starts to brown.

Saute eggplant until it starts to brown.


Posted in Cooking |

Easy Triple Berry Trifle

Triple Berry Trifle

Triple Berry Trifle

If you need a dessert and don’t have a lot of time this trifle might be what you are looking for. Not a traditional trifle in any sense of the word it is simple and tasty. I used vanilla wafers but you could substitute pound cake, angel food cake or even torn up cupcakes. Be creative and use what you have on hand.

Triple Berry Trifle

2 c. blueberries

1-2 c. blackberries

1 lb. strawberries

1/2 c. sugar, or to taste

1 c. prepared vanilla pudding

2 c. whipping cream, whipped

1 box vanilla wafers, you won’t need the whole box

Sprinkles or extra berries for the top, optional.

Combined washed berries in bowl with the sugar and toss to coat. Let sit 10 minutes. Meanwhile, whip the cream until stiff peaks form and fold in the pudding. Set aside. In glass bowl place a layer of cookies. I used a pretty good handful- maybe 12 cookies. Spoon some of the berry mixture over the cookies- about 1/3 of the mixture. Top with 1/4 of the pudding mixture. Repeat the process, placing cookies in a single layer and adding more fruit and cream. Save a little more of the cream for the top layer so you’ll have enough to cover the whole thing. Repeat process one last time- you’ll have 3 layers in all. I added patriotic sprinkles on the top- just for fun. You could also add a few berries, if you like. Chill several hours or overnight.

Posted in Cooking |

Sweet Potato Salad

Sweet Potato Salad

Sweet Potato Salad

Don’t limit yourself to plain old potato salad. Sweet potatoes can be a great change of pace and will certainly be a hit with people, like me, who love sweet potatoes.

Sweet Potato Salad

3 large sweet potatoes, peeled and quartered

2 c. corn kernels, fresh off the cob preferred but frozen is O.K.

2 ribs celery, sliced

1 sweet onion, diced

¼ c. diced roasted red pepper*

1 t. Dijon mustard

3 T. red wine vinegar

1 T. lemon juice

1 clove garlic, minced

Salt and pepper to taste

1/3 c. olive or canola oil

½ c. roasted peanuts


In medium saucepan boil potatoes and cook until tender, about 15 –20 minutes. Remove with slotted spoon and place in a large bowl of ice water. Add corn to saucepan and cook until just tender about 2-3 minutes. Drain corn and add to ice water with the potatoes. Once the vegetables have cooled down drain them and cut the potatoes into bite-sized pieces. Place potatoes and corn in a mixing bowl with remaining vegetables. Combine mustard with vinegar, lemon juice and garlic in a blender and mix until smooth. Add the oil in a steady stream  with the machine running until dressing is blended. Adjust seasonings and toss over potato mixture. Chill until ready to serve. Toss in peanuts just before serving. Serves 6.

*Roasted red peppers are available in jars in many grocery stores. You can also roast your own by just placing a pepper on an open flame on a gas stove , turning until all sides are charred. This can also be done under the broiler in an electric stove or even on the grill. Once the pepper is completely charred- yes I mean blackened- remove from the heat and wrap in paper towels to cool or place in a paper bag. Once cooled down remove the pepper from the towel and gently rub to remove the charred skin. Cut open and remove seeds as well. the pepper will be soft and can then be chopped up and used. The flesh becomes quite sweet in the roasting process.

Posted in Cooking |