Tag Archives: dessert

Cherry Bombs

Cherry Bombs

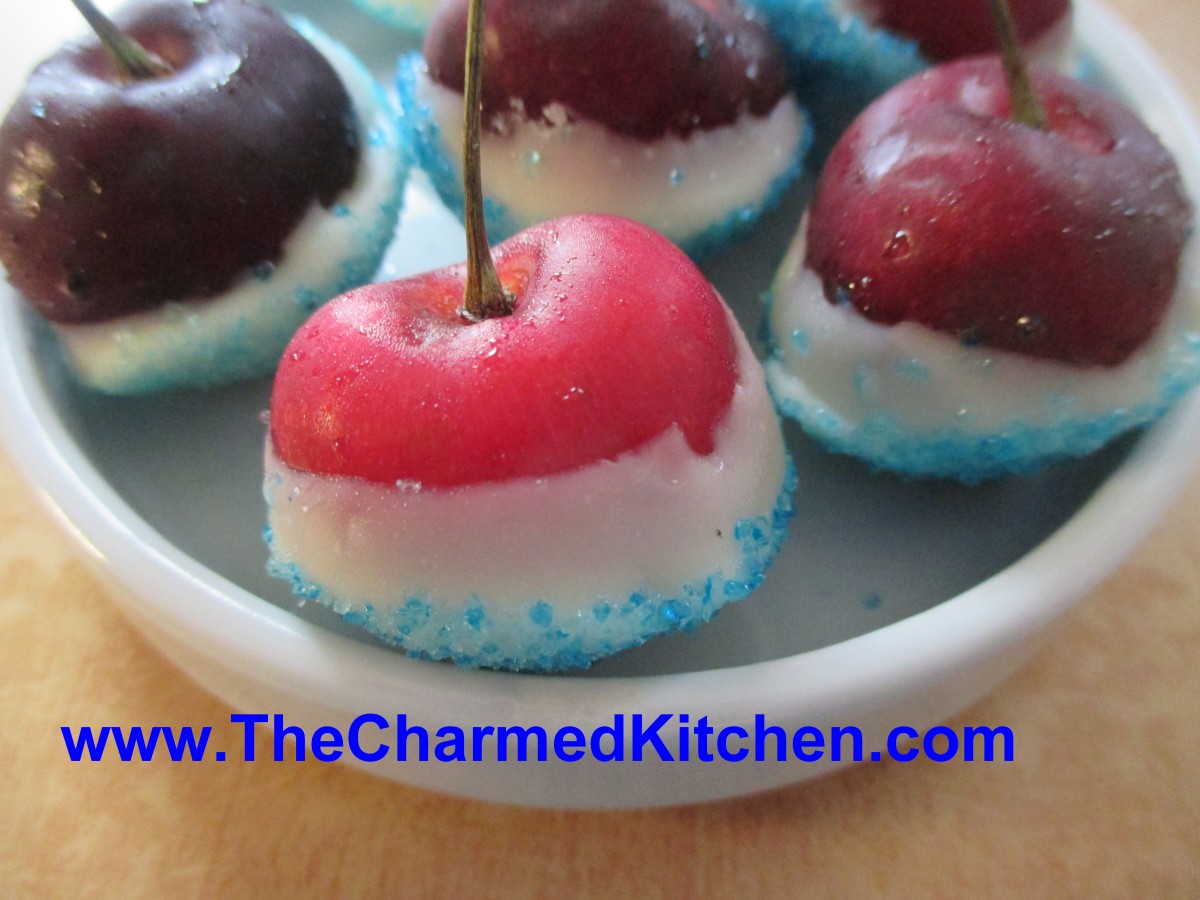
These little treats make a great addition to your 4th of July party. They are simple to make, with only three ingredients.  You can make them in no time at all. It is a fun treat for kids to make, too.

Think of the cherry bombs as a type of candy. A simple, sweet treat that can be served just as they are. They can also be used to top a cake or other dessert. You can even garnish a cocktail with them. I did the same thing with strawberries, but “strawberry bombs” did not have the same ring to it.


To make the cherry bombs, you will need cherries, white chocolate and blue sugar. If you don’t have blue sugar, you can put granulated sugar in a bag, add a few drops of blue food coloring, seal the bag and shake it up. The sugar will turn blue. You could also use blue sprinkles.

Wash and dry off some large, sweet cherries. Melt white chocolate, stirring until smooth. Dip the cherries in the white chocolate, then the blue sugar. Place on wax paper to firm up. Store in fridge.

Cherry and Almond Sorbet

Cherry and Almond Sorbet

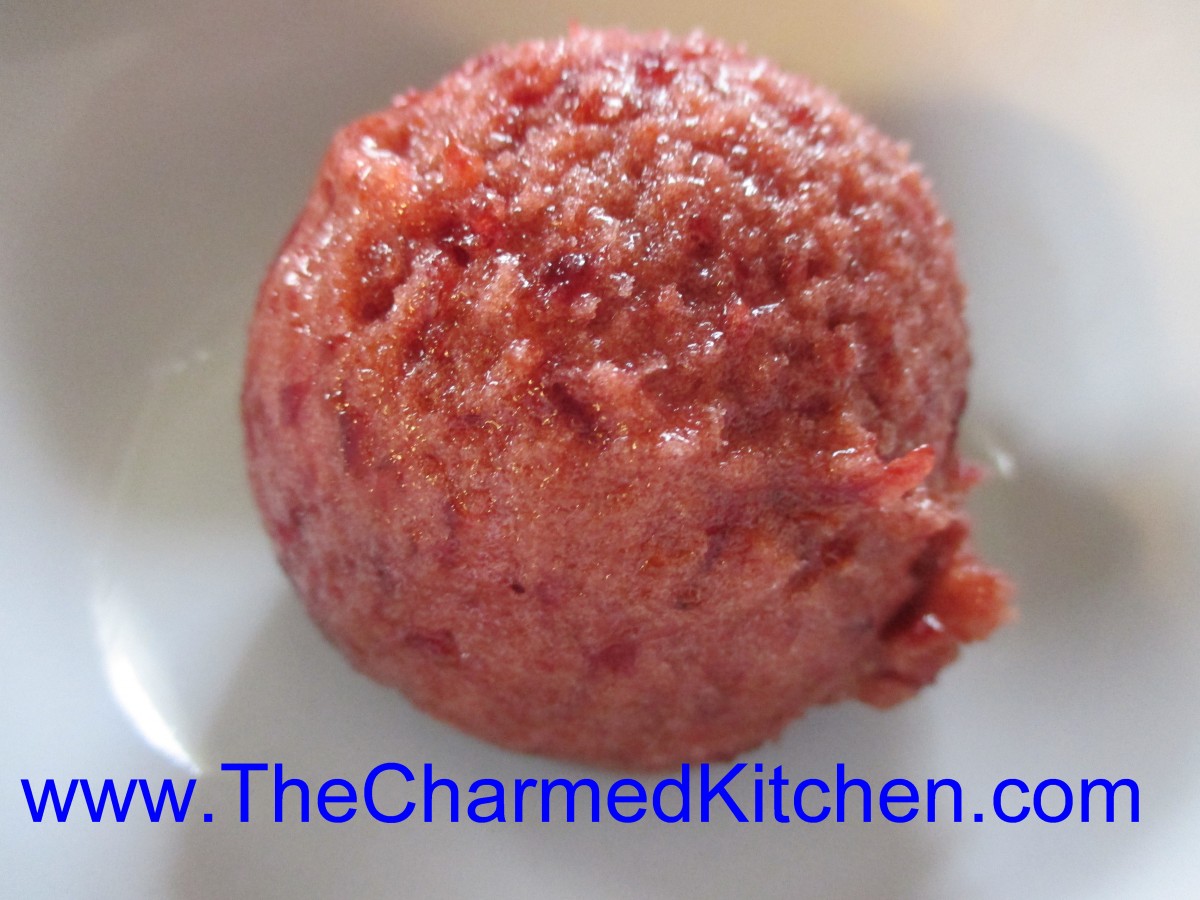
I love all sorts of sorbets. I make them all year long, but I seem to make more when summer arrives. The basic recipe is simple –  just pureed fruit, some sweetener and usually, some flavoring or herb, to add interest. They are so light and refreshing. The perfect dessert for summer.

So far I have make sorbet from pineapples, mangoes, strawberries, blueberries (with red grapes), peaches, cranberries and coconut. I am sure I have forgotten some of them.

I picked up fresh cherries at the market, so I could make cherry sorbet.

Fresh cherries are one of my favorite fruits of all time. I love both sweet and sour cherries. For the sorbet, I just pitted a pound of cherries, added sugar and some lemon juice. It needed a little something more- so I added almond extract. Really worked well with the cherries.

So here is the recipe. Simple and sweet.

Cherry Almond Sorbet

1 lb. cherries, pitted

3/4 c. sugar, or to taste*

3 T. lemon juice – it helps the cherries retain their color

1 t. almond extract

Place cherries in blender or food processor, with the sugar and extract. Blend until smooth. Adjust sweetener to suit your taste. Place in a container with a lid and freeze. Once mixture is frozen, remove from the freezer, break into chunks and place in food processor. Process until mixture looks creamy and smooth. You might have to do this in batches, depending on the size of your food processor. Eat or return to freezer until ready to use. Makes just over a quart of sorbet.

*Feel free to use other sweeteners you like in place of the sugar. Honey or maple syrup would both work nicely.

Strawberry Cupcakes

Fresh Strawberry Cupcake

I just don’t get tired of strawberries. Maybe because the season for local berries is so short- and sweet. Local strawberries are at all the markets now- and they are fabulous. The season for local berries is short and I try to use them as much as I can. I also will freeze some for use throughout the year.

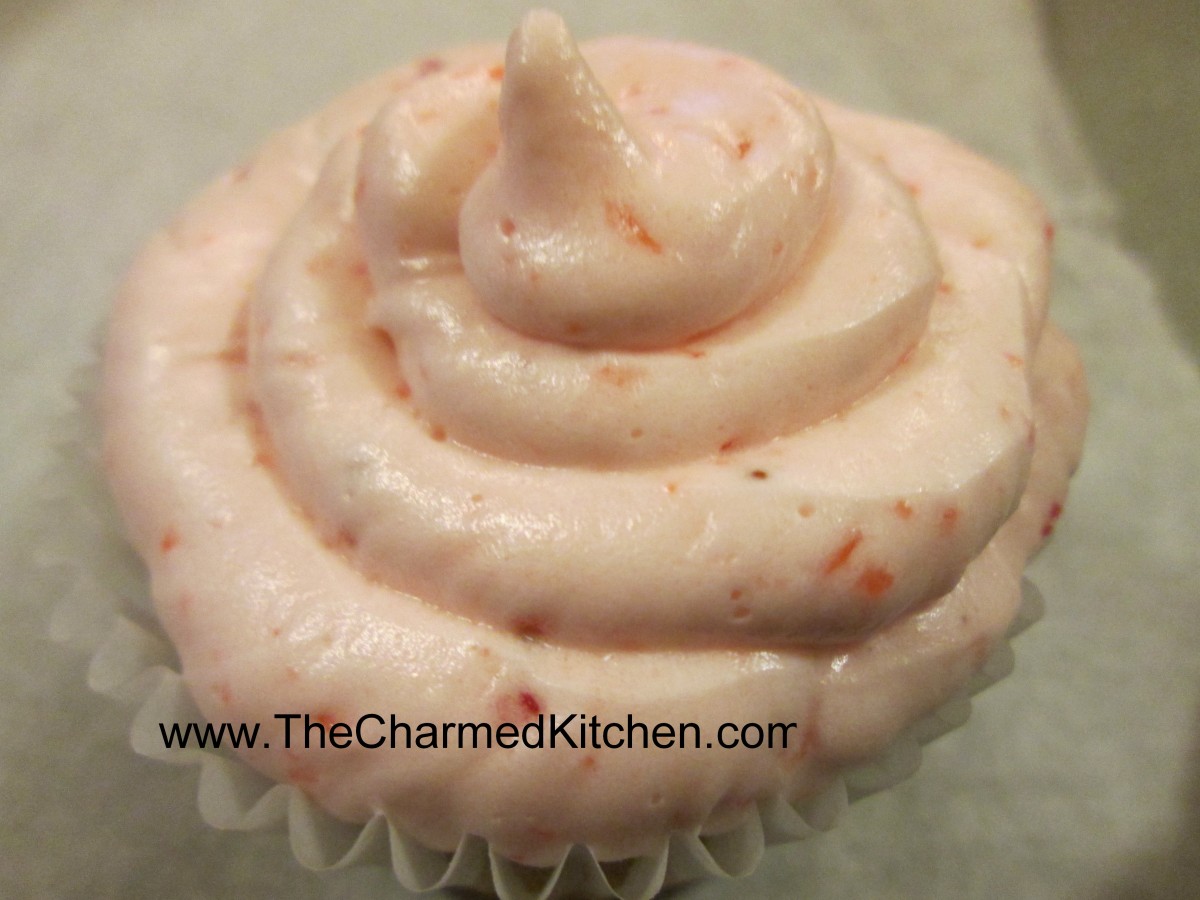
I was making cupcakes for some friends and decided to make some with strawberries. As you might expect, they were a big hit. The berries add sweetness and color in a delicate, natural way. You could also  make these with frozen berries. I like to get extra strawberries and freeze some, so I will have them, even when the season is over.


Strawberry Cupcakes

2/3 cup whole fresh strawberries

1 1/2 cups all-purpose flour, sifted

1 teaspoon baking powder

1/4 teaspoon coarse salt

1/4 cup whole milk, room temperature

1 teaspoon pure vanilla extract

1/2 cup (1 stick) unsalted butter, room temperature

1 cup sugar

1 large egg, room temperature

2 large egg whites, room temperature

Preheat oven to 350 degrees. Line a 12-cup muffin tin with cupcake liners; set aside. Place strawberries in a small food processor; process until pureed. You should have about 1/3 cup of puree, add a few more strawberries if necessary or save any extra puree for frosting; set aside. In a medium bowl, whisk together flour, baking powder, and salt; set aside. In a small bowl, mix together milk, vanilla, and strawberry puree; set aside. In the bowl of an electric mixer fitted with the paddle attachment, cream butter on medium-high speed, until light and fluffy. Gradually add sugar and continue to beat until well combined and fluffy. Reduce the mixer speed to medium and slowly add egg and egg whites until just blended.

With the mixer on low, slowly add half the flour mixture; mix until just blended. Add the milk mixture; mix until just blended. Slowly add remaining flour mixture, scraping down sides of the bowl with a spatula, as necessary, until just blended.

Divide batter evenly among prepared muffin cups. Transfer muffin tin to oven and bake until tops are just dry to the touch, 22 to 25 minutes. Transfer muffin tin to a wire rack and let cupcakes cool completely in tin before icing. Makes 12.

Strawberry Frosting

1/2 cup whole fresh strawberries or frozen strawberries, thawed

1 cup (2 sticks) unsalted butter, firm and slightly cold

Pinch of coarse salt

3 1/2 cups confectioners’ sugar, sifted

1/2 teaspoon pure vanilla extract

Place strawberries in the bowl of a small food processor; process until pureed. In the bowl of an electric mixer fitted with the paddle attachment, beat together butter and salt on medium speed until light and fluffy. Reduce mixer speed and slowly add confectioners’ sugar; beat until well combined. Add vanilla and 3 tablespoons strawberry puree (save any remaining strawberry puree for another use); mix until just blended. Do not over-mix or frosting will incorporate too much air. Frosting consistency should be dense and creamy, like ice cream. Makes enough for 1 dozen cupcakes.

Strawberry Waffles

Strawberry Waffles

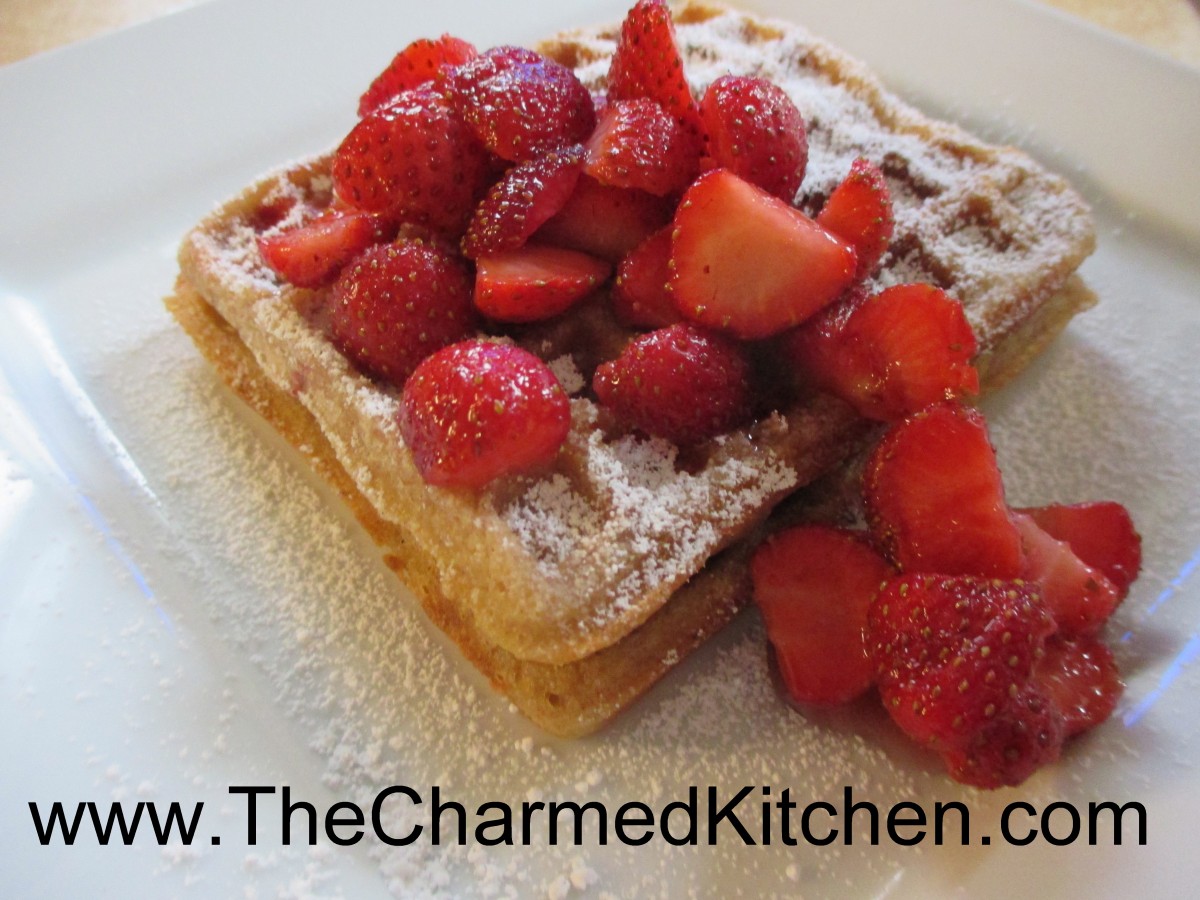
These waffles would make a great breakfast. We actually had them for dessert last night. That’s the thing about waffles. They can be eaten any time of the day.

I have been enjoying fresh strawberries in everything!!! The season for local berries is pretty short, so I try to enjoy them as much as possible, while I can.

This waffle recipe came about because I needed a dessert for dinner with a friend. It was a last minute dinner, so I didn’t have a lot of time. Waffles seemed like a great idea. They don’t take a lot of time to make, and  they highlighted the berries. My friend really liked them. I did, too.

I made the waffles with fresh strawberries in the batter. Then, the  waffles are served topped with more fresh berries and a dusting of powdered sugar.

They were a perfect dessert. I could see topping them with ice cream or whipped cream, too. Any leftover waffles can be frozen.

For the fresh strawberry topping, you just combine fresh, sliced berries with some sugar. If you can make it ahead of time, the sugar draws juice out of the strawberries, kind of making its own sauce. I made the topping first, then popped in the fridge.

So here is my recipe. Enjoy!!


Strawberry Waffles


1 1/3 c. flour

2 T. sugar

4 teaspoons baking powder

2 t. cinnamon

½ t. salt

2 eggs, separated

½ c. butter, melted

1¾ c. milk

2 t. vanilla

1 c. chopped fresh strawberries


Powdered sugar for topping waffles

Strawberry topping- recipe follows


In a large mixing bowl, whisk together all dry ingredients. Set aside. Separate the eggs. Set aside the yolks. Place the whites in a small mixing bowl. Beat whites until moderately stiff; set aside.  Combine milk, melted butter, egg yolks and vanilla in small bowl. Add to dry ingredient mixture and blend. Stir in berries. Fold stiff egg whites into mixture. Ladle mixture into hot waffle iron and bake. To serve, top with powdered sugar and strawberry topping. Makes 10-12 (4-inch) waffles.


Topping

1 qt. strawberries

½ c. sugar- or to taste


Wash and stem berries. Slice berries. Place in bowl and sprinkle on the sugar. Stir to combine and place in fridge until ready to use. Try to do this at least 30 minutes before using. That will give the mixture time for juice to be released from the berries.

Posted in Cooking | Tagged , , , |

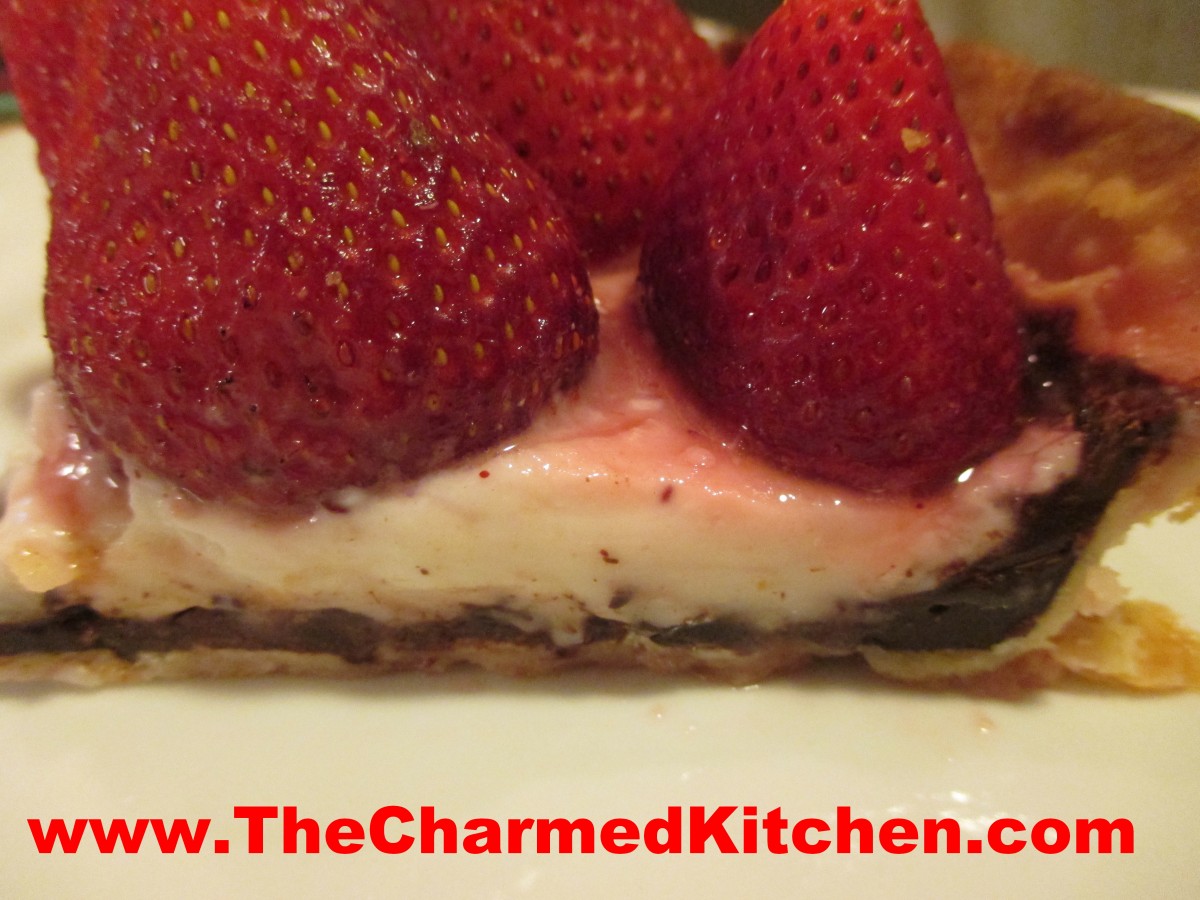
Strawberry Chocolate Cheesy Pie

Strawberry Chocolate Cheesy Pie

This pie has it all. Fresh strawberries, glazed and sitting on a flaky crust. But it doesn’t stop there. The crust is topped with chocolate and a layer of sweetened cream cheese. The chocolate and cheese are under the berries. They provide a wonderful surprise when eating the pie.

The chocolate is such a natural match for the strawberries. The cream cheese gives a little “cheesecake” feel.  In the end, the combination works perfectly together.

During strawberry season, I enjoy so many different dishes made with fresh berries. Fresh strawberry pie is always going to be a favorite. I try to make different versions and this one was definitely a version I will make again.

Strawberry Cheesy Chocolate Pie


1 9-inch pie crust * recipe follows

1 c. chocolate chips

1 T. butter

1 qt. strawberries (1¼ lbs.), hulled

1 c. sugar

2 T. cornstarch

¼ c. water

1 T. butter

8 oz. cream cheese, softened

½ c. powdered sugar

Whipped cream, optional


Using a pie pan, roll out your crust and fit it into the pan- trim off any excess. Pre-bake your crust. To do this: The prepared pie crust should be pricked all over with a fork. Cover the surface with foil and then pie weights. I use dry beans for my pie weights. Pre-heat oven to 400-degrees. Bake crust for 15-20 minutes. Check to be sure it doesn’t get too brown. Remove weights and foil. Melt chocolate chips and butter together, stirring until smooth. Pour over crust and use a spatula to spread into a thin layer on the bottom and, if you like, up the sides of the crust. Set aside and allow crust to cool and chocolate to set up. Select about 25-30 berries to be placed in pie crust, large side down, and set aside. You might need fewer berries, if they are really big. Puree or crush remaining berries. Place in a saucepan with the sugar and bring to a boil. Combine cornstarch with water and stir until smooth. Add to the strawberry mixture and cook, stirring constantly until mixture thickens and gets clear. Simmer about 5 minutes. Remove from heat and stir in butter. Set aside. Place cream cheese in a bowl and beat in the powdered sugar. Spread cheese over the chocolate layer. Arrange the reserved berries on the cheese layer, pointy side up. Put the largest berry in the middle and arrange the rest around it decoratively. Spoon the puree over the berries and allow the pie to cool down a little before putting in the fridge. Serve with whipped cream, if desired.

Note: other berries can also be used including raspberries, blackberries and blueberries, or a combination. This recipe can also be used as a filling for tarts and tartlets.


Half and Half Dough*


This is a great crust for liquid fillings like custard type pies and fresh fruit pies.

¼ c. butter, room temp

½ c. shortening, room temp- you can use lard instead, or chilled coconut oil

¼ c. sugar

½ t. salt

2½ c. pastry or all purpose flour

1/8 t. baking powder

¼ c. milk

1 t. lemon juice

Cream together the first 4 ingredients until smooth. Mix together the flour and baking powder. Set aside. Combine milk with the juice and set aside. Stir ½ c. of the flour into butter mixture. Stir until smooth. Add a little of the milk, stirring until smooth. Add remaining ingredients alternately until finished. Dough will firm up once chilled. Chill at least 4 hours before using. Makes 2 crusts. You only need half the dough for the strawberry pie.

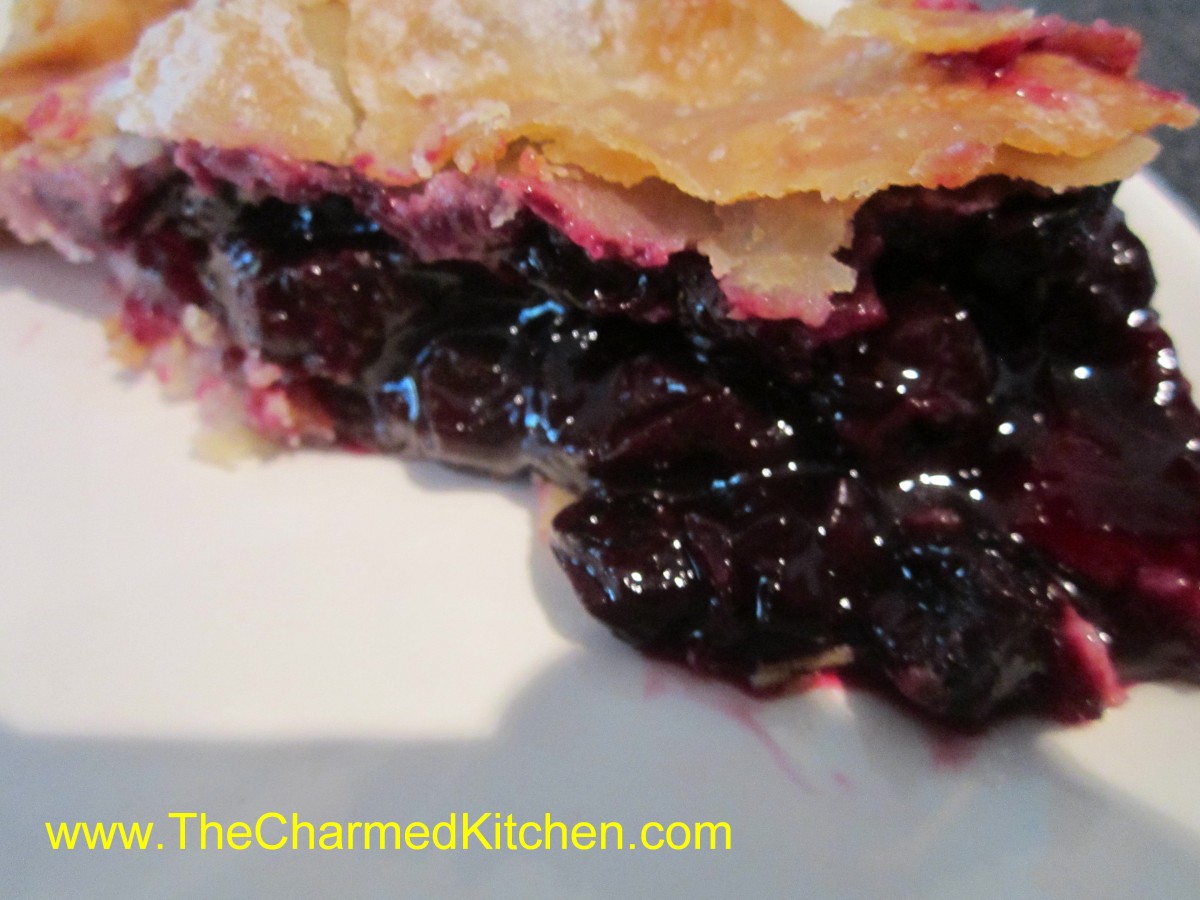
“Pi” Day Blueberry Pie

Blueberry Pie

March 14th is sometimes referred to as Pi day. It’s a math nerd kind of thing. 3.14 being the value of pi and March 14 is 3/14.  I was explaining it to a friend last night.  My friend’s response was that ANY day was Pie Day!!   I had some  blueberries in the freezer and decided maybe today was Pie Day after all.


You could certainly use fresh berries for this pie, but frozen was what I had. Also, since it is a snowy day today, baking a pie seemed like a nice way to spend the morning. My friend is home from work today. I think she will be happy when I  invite her over to have some “Pi” Day blueberry pie. It is time to put on a pot of coffee, and make a call.


Blueberry Pie

Pastry for 2 crust pie- recipe- The crust recipe I used is at the bottom of the page

2 ½ T. cornstarch

1 c. sugar

3 c. fresh or frozen blueberries

1 T. lemon juice

1 T. butter

1 T. sugar, for sprinkling

Roll out half of the crust and place in 8 or 9-inch pie pan. You can roll out the top crust ahead of time, or even cut into strips for a lattice top. Cover remaining crust to keep it from drying out. In medium bowl mix cornstarch and sugar. Toss in berries and then sprinkle in the lemon juice. Allow to stand 15 minutes. If berries were frozen be sure they are not clumped together. Spoon mixture into prepared crust and dot with the butter. Top with the second crust or place strips on in a lattice design. If using a whole crust cut in decorative slits for ventilation. I used a tiny heart-shaped cutter for my pie. Moisten then crimp edges and shape decoratively or use a fork to seal. Place pie in lower half of hot oven. Bake in a preheated 425-degree oven for 15 minutes. Reduce heat to 375 and bake an additional 40-50 minutes or until crust is brown and juices begin to bubble through the slits. Cool a little before serving.


Flaky Pie Crust

2 c. flour

1 t. salt

3/4 c. butter, chilled – you can use coconut oil, lard or shortening

1 T. cider vinegar

4-5 T. cold water

Combine flour and salt and cut in butter. Toss in vinegar and water 1 tablespoon at a time until dough holds together. Use a fork to toss the ingredients together and as soon as the mixture holds together stop adding water. Makes 2. Chill well before using.

Posted in Cooking | Tagged , |

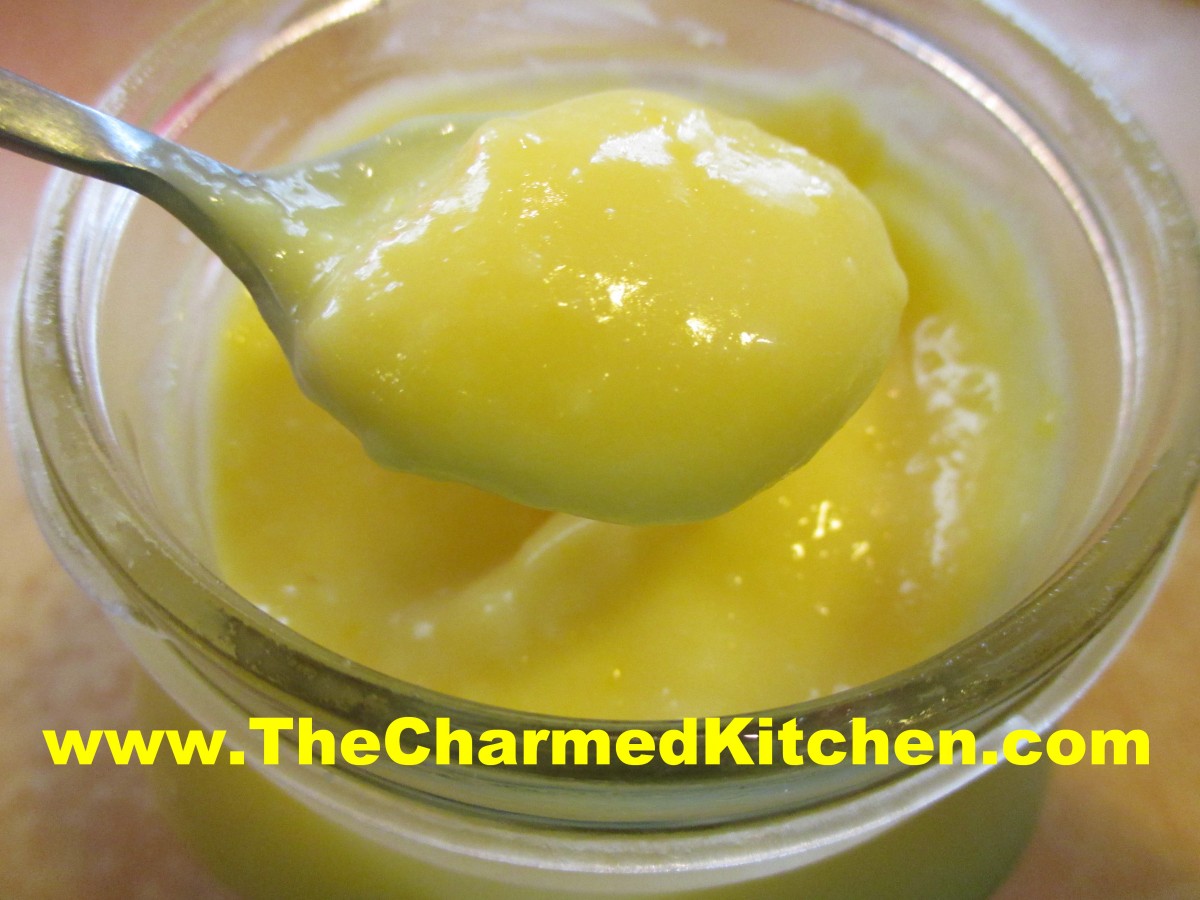
Homemade Lemon Curd

Lemon Curd

Lemon curd is such a versatile dish. It’s a sort of lemon pudding and can be served plain, or with a dollop of whipped cream. It is also great in trifle or served as a topper for any number of cakes and sweet treats. I especially like to make lemon curd to serve with scones. It is also really nice served with berry shortcakes. I am using this batch in a blueberry lemon trifle.


It is easy to make and packed with fresh lemon flavor. Lemon curd is just a few ingredients, cooked over low heat until it thickens up. You can make a batch in under 10 minutes. The longest part of the prep time is just waiting for it to cool down after cooking.


So here is the recipe for the lemon curd. If you never made your own- you might want to give it a try. Certainly worth the effort.


Lemon Curd

1/2 c. lemon juice

zest from one good sized lemon- you should have 2-3 teaspoons

1/2 c. sugar

3 eggs

6 T. unsalted butter- cut into little cubes

In medium saucepan combine all ingredients. Whisk the mixture until the eggs are well blended. Cook over medium low heat, whisking often, until the mixture thickens. This will take 5-7 minutes. Whisk more often as mixtures warms and starts to thicken. Better to heat over lower heat and take longer than over too high a heat. You don’t want the eggs to scramble. Once the mixture is thickened , transfer to a bowl or jar. Cover the surface with a piece of plastic wrap to keep the surface from developing a skin- like any pudding will do. Chill until ready to use. Makes about 2 cups. Will keep in fridge a week or two.

Posted in Cooking | Tagged , |

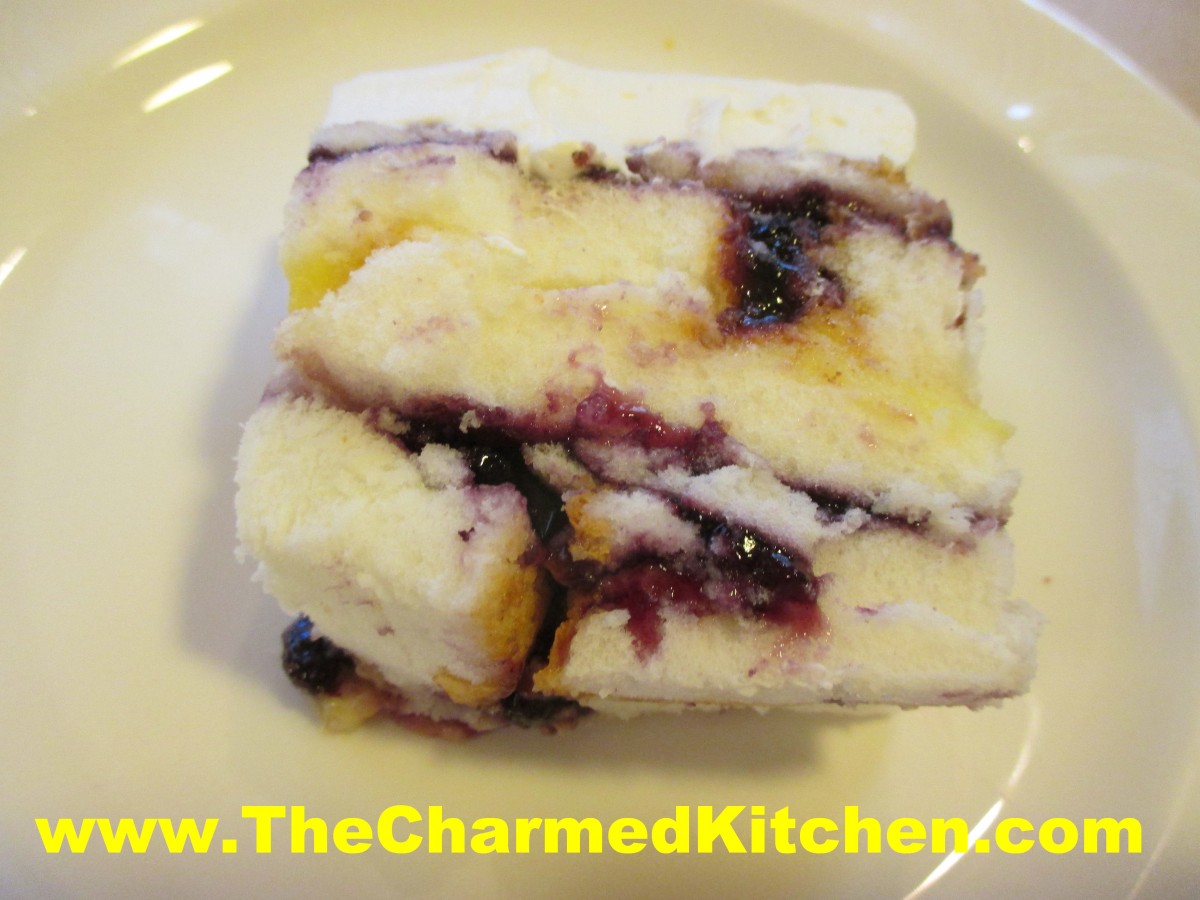
Blueberry Lemon Trifle

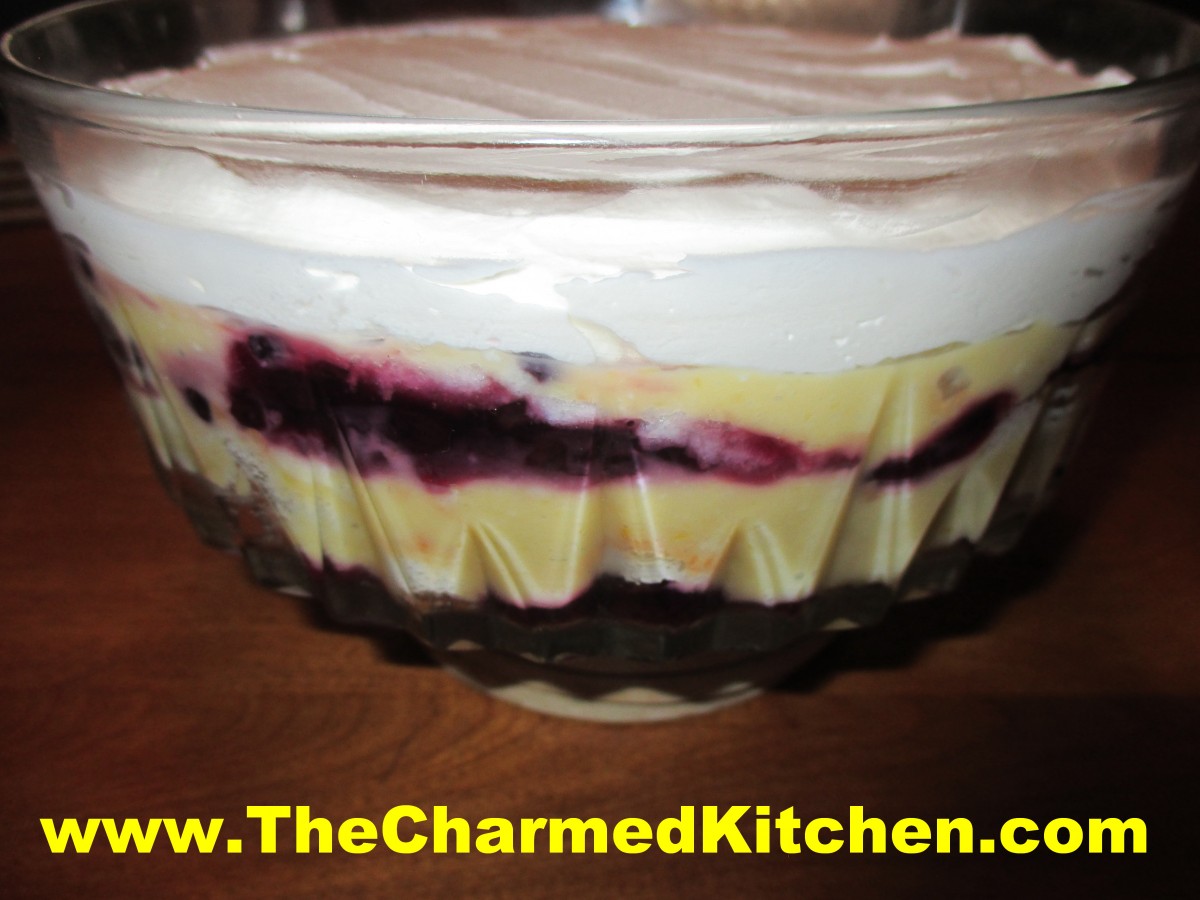
Blueberry Lemon Trifle

This blueberry and lemon trifle was a perfect finish for a Spring dinner with friends. I hadn’t planned on making a trifle. I went shopping and there was a marked down angel food cake in the bakery…. I just had to have it.

Once I got home, I realized I had to do something with the cake.  I thought of trifle right away. Trifle is one of those desserts that can be whatever you want it to be. The basics of a traditional trifle are sponge cake, layered with some sort of pudding or custard and fruit. The cake is sometimes soaked in sherry or some other alcohol. Trifles are often topped with whipped cream.

I had just finished canning blueberry pie filling. That would be the fruit element of my trifle. I also had a few lemons that needed to be used soon, so the lemon curd was a good choice. Besides, lemon and blueberries pair so nicely together.

Once you have all the ingredients, the trifle is simple to assemble. Pick a nice, glass bowl, so you can see the layers in the trifle. It is best to put your trifle together a bit in advance, so the cake can soak up some of the moisture from the berries and the lemon curd. It also helps the trifle to stay together. I could actually slice the trifle to serve it.
 

Blueberry Lemon Trifle, ready to serve


So here is the recipe. I made the pie filling and lemon curd from scratch, but you can use store bought, to save time.


Blueberry Lemon Trifle

1 angel food cake, sliced thin

2 c. blueberry pie filling- homemade or store bought- recipe follows

2 c.  lemon curd- recipe follows

1 c. whipping cream

1/4 c. powdered sugar

Place a layer of cake slices in the bottom of the bowl. Spread half of the blueberry mixture on top of the cake. Place another layer of cake slices on top of the blueberry layer and press down a little to even it out. Cut cake pieces to fit as best you can. Add half of the lemon curd and top with more cake. Repeat the process one more time. Don’t worry if something isn’t perfect in the layers- that is kind of the charm of a trifle. Just be sure to get all the ingredients in the bowl. Cover and chill the trifle. When ready to serve beat the whipping cream and powdered sugar together until stiff peaks form and spread over the trifle. You can do this part ahead of time, if you prefer, Just keep trifle, covered, in the fridge, until ready to serve. Serves 6-8.

Blueberry Pie Filling

3 1/2 c. blueberries

3/4 c. sugar, or to taste

1/4 c. Clear Gel*

1 c. water

1 T. lemon juice

In saucepan, bring blueberries and sugar to a boil, stirring often. Combine clear gel with water and lemon juice and add to the blueberry mixture. Return to the boil and cook until thickened and bubbly. Makes 4 cups. You might not need the whole batch for the cookies.

*Clear gel is a modified cornstarch. It is used in commercial pie fillings and in homemade pie fillings, as well. Unlike regular cornstarch, Clear Gel retains it’s thickness, even if you reheat it. You can find it online or in some specialty food stores.

Lemon Curd

1/2 c. lemon juice

zest from one good sized lemon- you should have 2-3 teaspoons

1/2 c. sugar

3 eggs

6 T. unsalted butter- cut into little cubes

In medium saucepan combine all ingredients. Whisk the mixture until the eggs are well blended. Cook over medium low heat, whisking often, until the mixture thickens. This will take 5-7 minutes. Whisk more often as mixtures warms and starts to thicken. Better to heat over lower heat and take longer than over too high a heat. You don’t want the eggs to scramble. Once the mixture is thickened , transfer to a bowl or jar. Cover the surface with a piece of plastic wrap to keep the surface from developing a skin- like any pudding will do. Chill until ready to use. Makes about 2 cups. Will keep in fridge a week or two.

Posted in Cooking | Tagged , |

Homemade Pineapple Sorbet

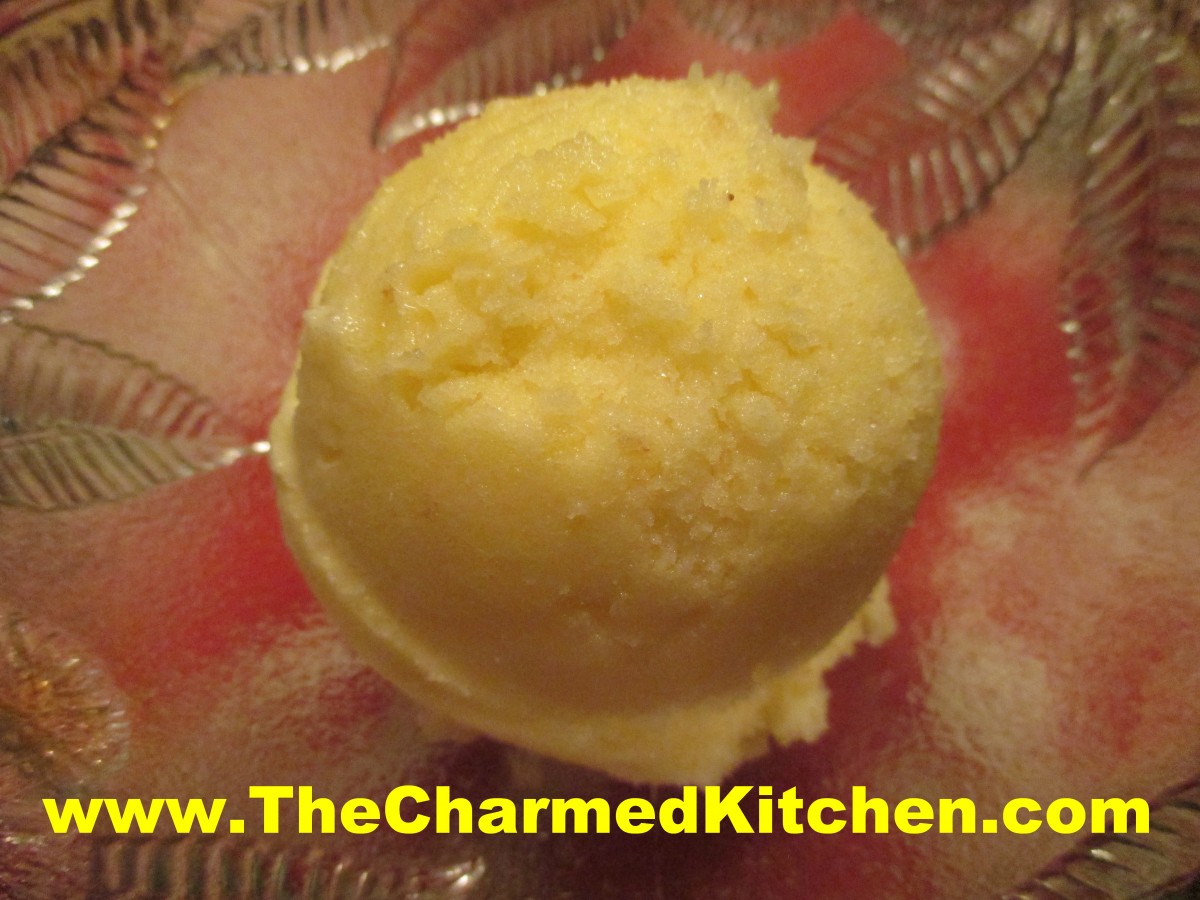
Pineapple Sorbet

Sorbet can be the perfect ending for almost any meal. I was making dinner for a couple of friends and wanted something light for dessert. I had this pineapple and knew right away I wanted to make a sorbet.

You can use pretty much any fruit to make sorbet. Pineapple is one of my favorites.  The ingredients are fruit and sweetener. After that, extras like fruit juices, extracts, herbs and spices are up to you. Keep it simple, or spice it up, to suit your mood. I often add fresh herbs to my sorbet. Mint is the obvious choice, but I have also added basil, lavender and pineapple sage.

Keep in mind that once frozen, the mixture will taste less sweet. Sweeten to taste, but allow for that change in flavor. If it isn’t sweet enough for you once it is frozen, you can add a little honey when processing it. You can also serve it topped with a fruit syrup for extra sweetness, if desired.

Pineapple Sorbet

1 pineapple

½ c. sugar- or a little more to suit your taste

1 T. lemon juice


Wash pineapple, remove rind and core. Chunk up the flesh of the pineapple and puree in a food processor until smooth. Place pineapple puree in a bowl and sweeten to taste. I had a really ripe, sweet pineapple, so I used about ½ cup of sugar. You might want more, or less, according to your own taste. Once frozen, the sorbet will taste less sweet- so make sure to sweeten it enough. You can also sweeten with honey. Stir in the lemon juice, too. Place in a container with a lid and place in freezer.


Once the mixture is frozen- remove from the freezer, let soften a little bit- just a few minutes. Use a spoon or fork to break off chunks of the sorbet. Place in a food processor and puree until smooth. Mixture should start to look creamy. I have had the most success using a smaller processor and doing this in batches, but do what works for you. Return to freezer until ready to serve.

Note: You can repeat the process of processing another time or two. Each time the frozen sorbet is reprocessed, it will get a little smoother. I only processed this pineapple sorbet one time- after it was frozen. The texture was delightful and my guests loved it.

Yield: You should get about a quart of sorbet.

Posted in Cooking | Tagged , , |

Amy’s Hot Cross Buns Bread Pudding

Amy’s Hot Cross Buns Bread Pudding

The first time I made this dish, it was sort of an accident. It was right after Easter, a few years ago. I was having dinner with friends, and I was in charge of making dessert. I had leftover hot cross buns, so I decided to re-purpose them into bread pudding.

The end result was really good. So good, that my friend Amy said it was one of the best desserts I had ever made. I now bake extra hot cross buns, just so I can make bread pudding from them.


You could use home made or store bought buns for this recipe. My recipe for hot cross buns is at the bottom of this post.

Amy’s Hot Cross Buns Bread Pudding

12 c. torn up hot cross buns- I used 8 buns

2 c. half and half

1 c. milk – I used almond milk

1 c. sugar- or less if you are using frosted buns

5 eggs

1 T. vanilla

1 T. cinnamon

Frosting:

1 c. powdered sugar

4 t. milk

In large mixing bowl place the torn up buns. Mix remaining ingredients and pour over the buns. Stir to moisten evenly. Spoon mixture into a buttered 9×13-inch pan. Bake in a preheated 350 degree oven for 35-40 minutes or until bread pudding is set and a little golden on top. While the bread pudding is baking combine powdered sugar with milk to make a frosting thin enough to drizzle. Let bread pudding cool 10 minutes and drizzle with frosting.  Serves 8-10.


Traditional Hot Cross Buns


Love you, Amy. Miss you.