pineapple dessert recipe

Pineapple Cake Roll

Pineapple Cake Roll

This cake roll makes a great dessert for almost any occasion. The tender sponge cake is filled with a mixture of sweetened pineapple, chopped nuts and coconut. Then it is topped with more pineapple and toasted coconut.

It looks difficult, but it is really easy to make. Most cake rolls are baked, then rolled,  cooled and filled. In this recipe, the filling is baked in the roll. The pineapple mixture is placed in the baking pan, then the batter is  spread on top, before baking. Once baked, the cake is rolled up and cooled. Once cooled, it is topped with the pineapple sauce and toasted coconut. You can make the cake a day or two ahead, wrap and pop in the fridge, then just add the toppings before serving. It also freezes well.

Here is the recipe. Hope you will give this one a try. I think you will love it as much as I do.

Pineapple Cake Roll

1 can (20 ounces) crushed pineapple, unsweetened

1 cup packed light brown sugar

1/3 cup flaked coconut

1/4 cup chopped nuts

1 1/2 teaspoons vanilla extract

3/4 teaspoon ground cinnamon

1/4 teaspoon ground cloves

4 large eggs

2/3 cup sugar

3/4 cup all-purpose flour

1 teaspoon double-acting baking powder

1/2 teaspoon salt

Powdered sugar

Topping, see below

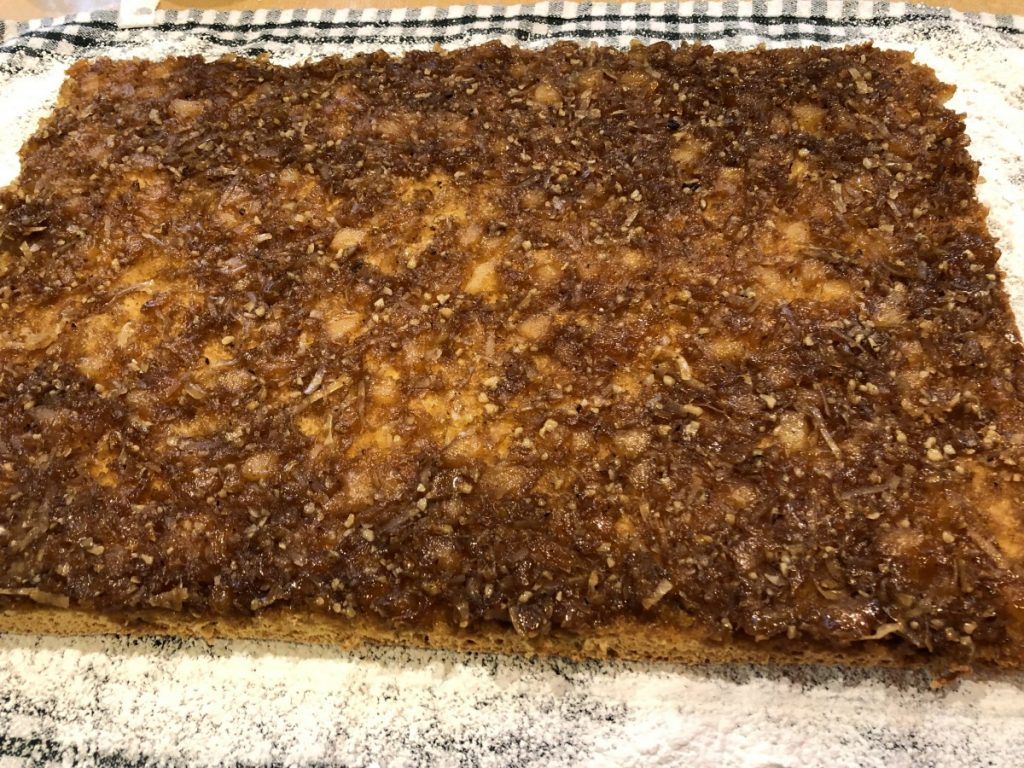
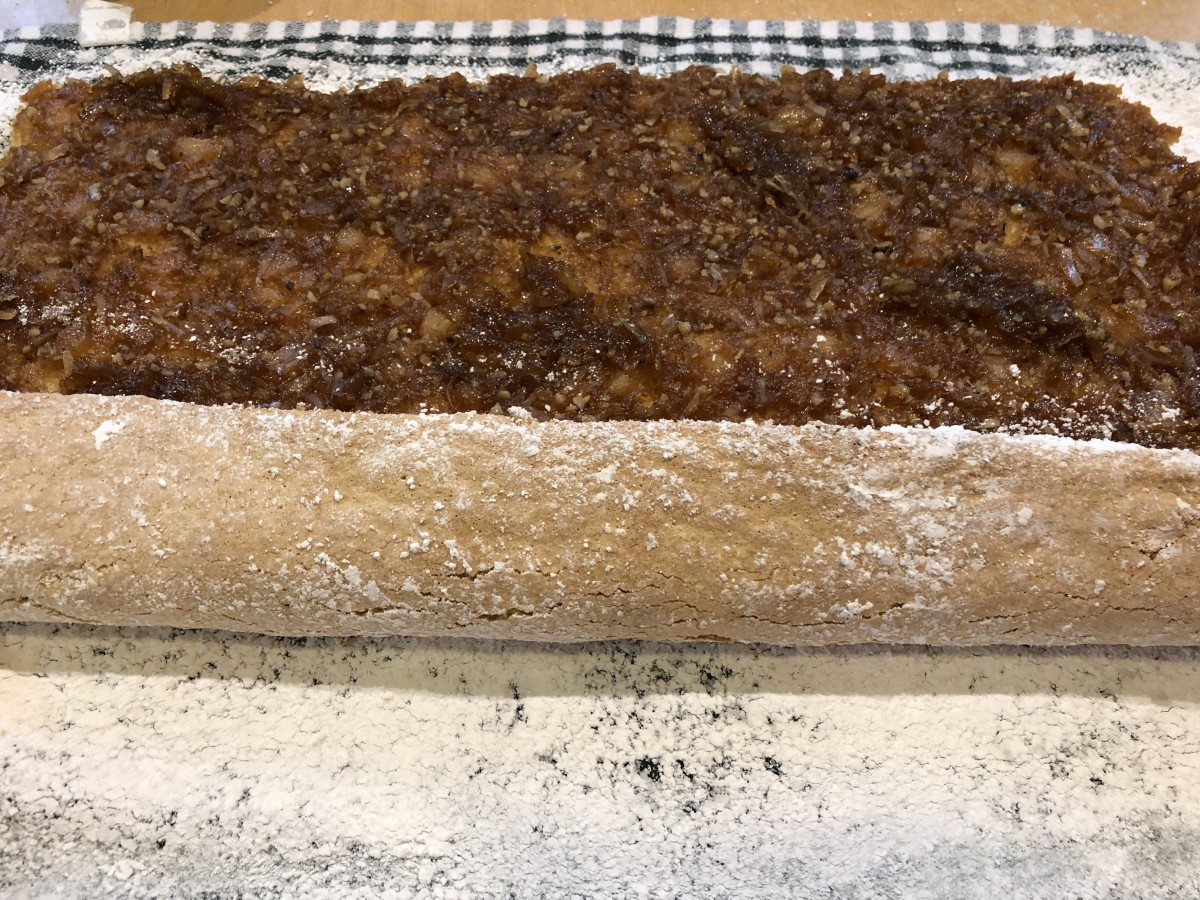
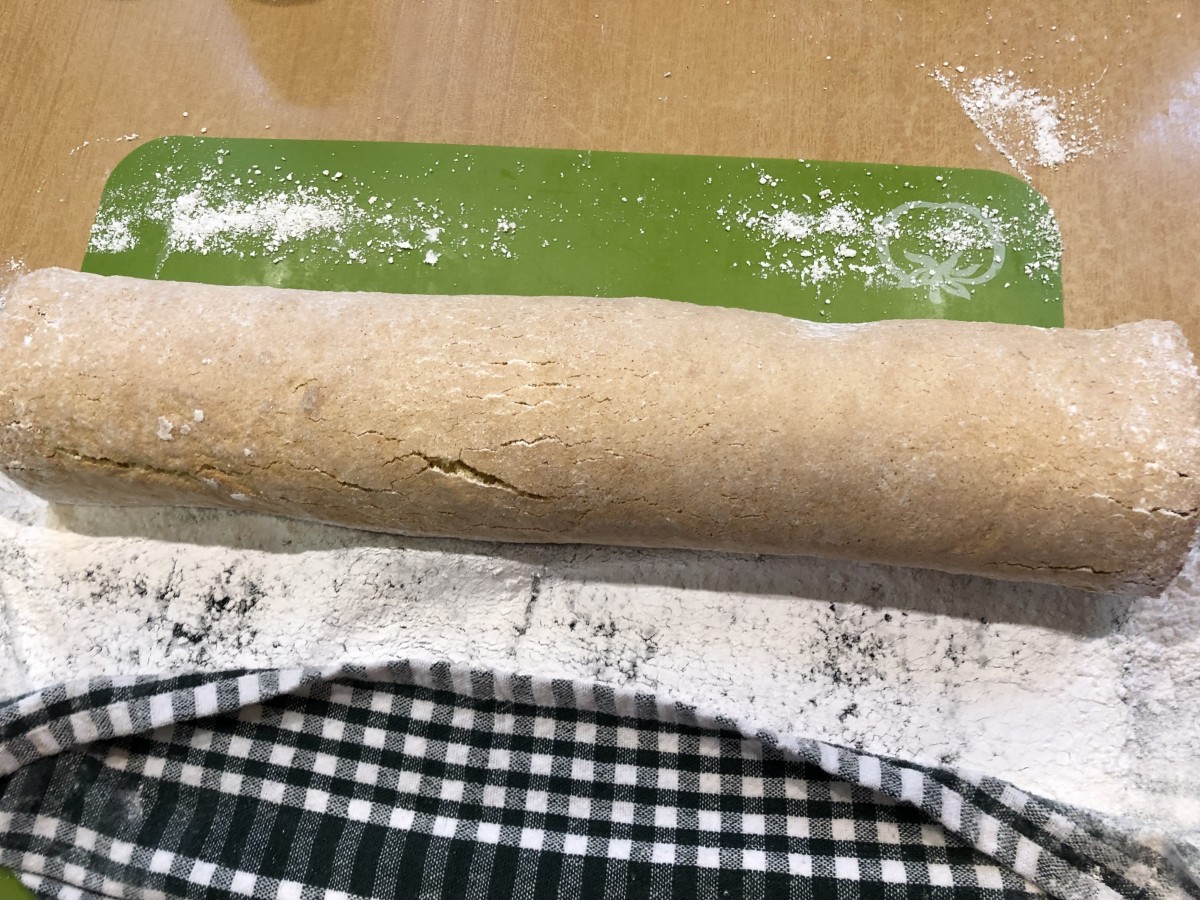
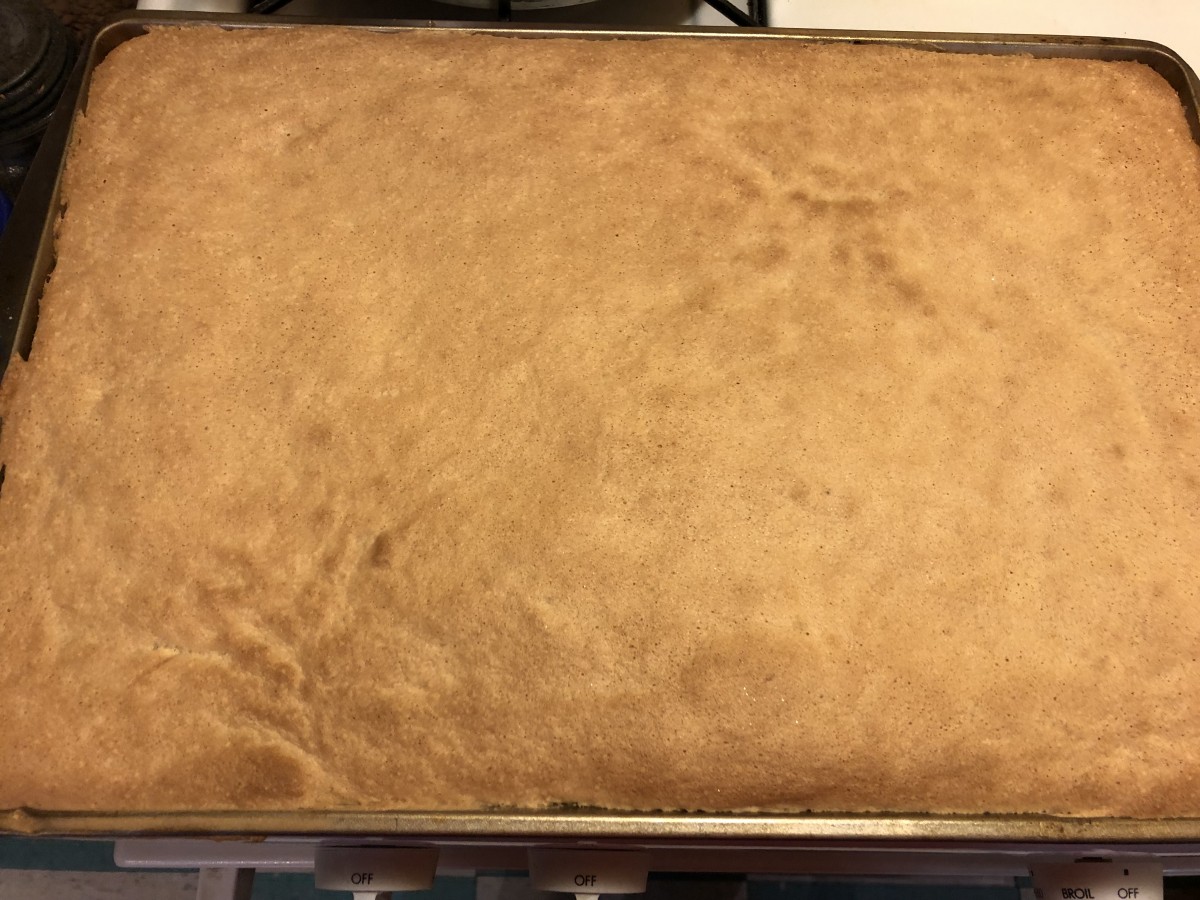
Drain pineapple well; reserve 3/4 cup juice and 1/2 cup crushed pineapple for topping. Combine in a large mixing bowl the drained pineapple, brown sugar, coconut, nuts (your choice), 1 teaspoon vanilla extract, cinnamon and cloves. Mix well and spread over the bottom of an ungreased 15 × 10 × 1-inch jelly-roll pan. Set aside. Place egg whites in a bowl and beat until soft peaks form. Gradually add 1/3 cup sugar and beat until stiff but not dry. Set aside. In a separate bowl, beat egg yolks until thick and pale yellow; gradually beat in remaining 1/3 cup sugar and 1/2 teaspoon vanilla. Gently fold egg whites into egg yolk mixture. Sift flour with baking powder and salt. Gently fold flour mixture into egg mixture. Spread batter evenly over pineapple mixture in pan. Bake in preheated 375° oven for 20-25 minutes. Carefully loosen cake around edges. Invert cake onto kitchen towel which has been sprinkled with powdered sugar. Let stand 3-4 minutes then roll up, jelly-roll fashion. Cool cake then garnish with pineapple topping.

Topping: Combine 3/4 cup reserved pineapple juice, 2 tablespoons sugar and 1 tablespoon cornstarch in saucepan; blend well. Cook until thick and clear. Stir in reserved pineapple; cool. Spoon on cake roll and sprinkle with toasted coconut.

To toast coconut- place about a cup of coconut on a baking sheet . Bake in a 350 degree oven for about 5-8 minutes, or until coconut turns a nice golden color. Watch carefully, so you don’t burn it. I like to use large flake coconut.

Fresh out of the oven
Inverted onto powdered sugar coated towel
Roll up gently
Ready for the topping

Pineapple Sorbet

Pineapple Sorbet

I had this pineapple and knew right away I wanted to make a sorbet with it. I’ve been making a lot of ice cream lately and wanted a lighter option.

You can use pretty much any fruit to make sorbet. Pineapple is one of my favorites.  The ingredients are fruit and sweetener. After that, extras like fruit juices, extracts, herbs and spices are up to you. Keep it simple, or spice it up, to suit your mood. I often add fresh herbs to my sorbet. Mint is the obvious choice, but I have also added basil, lavender and pineapple sage.

Once frozen, the mixture will taste less sweet. Sweeten to taste, but allow for that change in flavor. If it isn’t sweet enough for you once it is frozen, you can add a little honey when processing it. You can also serve it topped with a fruit syrup for extra sweetness, if desired.

Besides using sorbet as a dessert, you can add a scoop to summer drinks, too. Sorbet can add a whole new dimension to cocktails.

Pineapple Sorbet

1 pineapple

½ c. sugar- or a little more to suit your taste

1 T. lemon juice

Wash pineapple, remove rind and core. Chunk up the flesh of the pineapple and puree in a food processor until smooth. Place pineapple puree in a bowl and sweeten to taste. I had a really ripe, sweet pineapple, so I used about ½ cup of sugar. You might want more, or less, according to your own taste. Once frozen, the sorbet will taste less sweet- so make sure to sweeten it enough. You can also sweeten with honey. Stir in the lemon juice, too. Place in a container with a lid and place in freezer.

Once the mixture is frozen- remove from the freezer, let soften a little bit- just a few minutes. Use a spoon or fork to break off chunks of the sorbet. Place in a food processor and puree until smooth. Mixture should start to look creamy. I have had the most success using a smaller processor and doing this in batches, but do what works for you. Return to freezer until ready to serve.

Note: You can repeat the process of processing another time or two. Each time the frozen sorbet is reprocessed, it will get a little smoother. I only processed this pineapple sorbet one time- after it was frozen. The texture was delightful. You could also freeze it in an ice cream machine instead.

Yield: You should get about a quart of sorbet.

Pineapple Blintzes

Pineapple Blintzes

Pineapple Blintzes

I taught a class last night on cooking with tortillas. We made some traditional dishes, but we also had fun making these fruit filled blintzes. We used the  tortillas to replace the crepes. Everyone loved them.


I soaked the tortillas in milk. That is the secret to make this dish work. By soaking the tortillas in milk, they soften up and can be used like a crepe. It changes their texture completely. Soak them for at least 20 minutes, or up to an hour. I placed the tortillas in a shallow baking pan and made sure to drizzle each one with milk as I added them to the pan. They will stick together if softened too long, so you might want to put the tortillas on sheets of plastic wrap or wax paper to keep them separate as they soften. You could also soak them in almond or rice milk, or even fruit juice.


For the filling, I used a pineapple filling that I made from crushed pineapple, sweetened with sugar, a little vanilla and thickened with Clear Gel- a type of cornstarch.* Here is the recipe for the pineapple filling along with directions on how to assemble and prepare them.

Pineapple Blintzes

 Filling:

1 can ( 20 oz.) crushed pineapple, packed in juice, un-drained

½ c. sugar, or more to suit your taste

1 t. vanilla

¼ c. Clear Gel or cornstarch

2 T. cold water


Butter for frying

12 flour tortillas- 8-inch

Powdered sugar


In sauce pan, heat together pineapple, sugar and vanilla and bring to a boil. Combine Clear Gel with cold water and stir until smooth. Slowly drizzle this mixture into the pineapple, stirring constantly. Mixture will thicken quickly. You might not need to add all of the Clear Gel mixture. Once it thickens, remove from heat and cool down a little before making the blintzes. Makes about 3 cups, enough for about 12 blintzes.


To assemble the blintzes, place a softened tortilla on your work surface and spoon a little pineapple filling in the middle. You can do this with hot filling, but easier if the filling has cooled down or is even cold. Don’t over fill them or you won’t be able to fold them up. I used 8-inch tortillas and used about 1/4 cup of filling for each one. Fold the sides in until they almost meet in the middle and then roll the tortilla up to cover the filling. Place seam side down until ready to fry them.

Heat butter in a skillet, and brown the blintzes over medium heat until lightly toasted on both sides. They will be crispy on the outside, but tender in the middle. Put on a serving plate, sprinkle with powdered sugar and serve while warm.

Note: They can be assembled ahead of time, then kept in the fridge until ready to cook. You can also cook them up ahead of time, and just warm in the oven when ready to serve. If rewarming them, cover to keep them from drying out.

I have made these before and use different fruit fillings. I’ve also made a cheese filled version a few times. It seems I usually have a package of tortillas, so it is a go-to dessert for me in a pinch. Nice brunch or breakfast dish, too. For dessert, you can also top them with ice cream or whipped cream.


* Clear Gel is modified cornstarch. It is used in commercial pie fillings and in many frozen dinners. It looks just like regular cornstarch. The big difference between Clear Gel and traditional cornstarch is that Clear gel won’t get runny when reheated. If you have ever used cornstarch to thicken a stir fry, you know that the next day, if you reheat it, the sauce thins out. Clear Gel does not do that- it stays thick. Clear Gel is available at stores in Amish communities and on-line.


Subscriber to our Mailing List

Follow us on Social Media

Support This Site

Donate Now

New Release: