Monthly Archives: June 2017

Cherry Bombs

Cherry Bombs

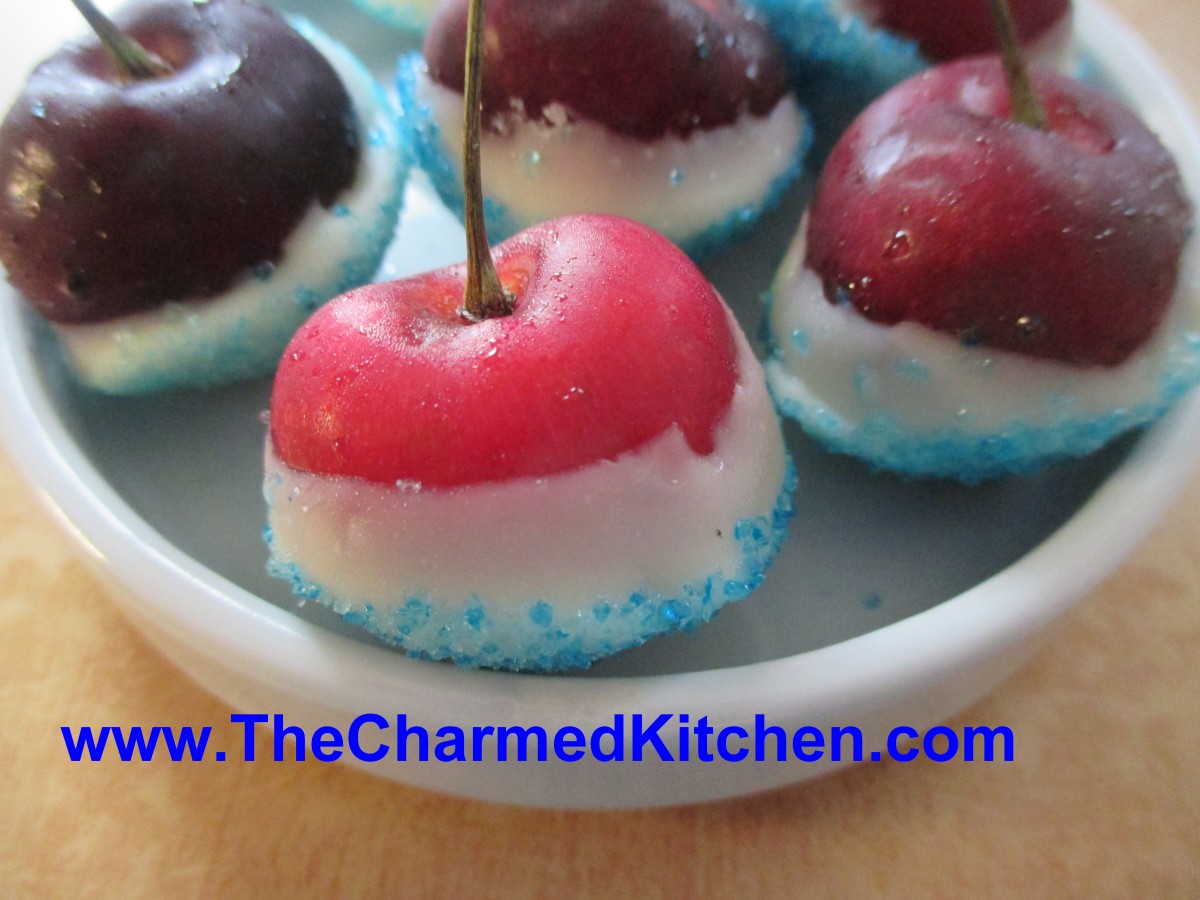
These little treats make a great addition to your 4th of July party. They are simple to make, with only three ingredients.  You can make them in no time at all. It is a fun treat for kids to make, too.

Think of the cherry bombs as a type of candy. A simple, sweet treat that can be served just as they are. They can also be used to top a cake or other dessert. You can even garnish a cocktail with them. I did the same thing with strawberries, but “strawberry bombs” did not have the same ring to it.


To make the cherry bombs, you will need cherries, white chocolate and blue sugar. If you don’t have blue sugar, you can put granulated sugar in a bag, add a few drops of blue food coloring, seal the bag and shake it up. The sugar will turn blue.

Wash and dry off some large, sweet cherries. Melt white chocolate, stirring until smooth. Dip the cherries in the white chocolate, then the blue sugar. Place on wax paper to firm up. Store in fridge.

Cherry and Blueberry Clafoutis

Cherry and Blueberry Clafoutis

I posted the picture of my clafoutis and now, as promised, here is the recipe. So what is clafoutis?

Clafoutis is a sort of pancake, sort of custard, sort of quiche. It is a lovely dessert for fresh fruit, for sure.

You can serve it plain, or topped with powdered sugar. I like to serve it with a scoop of ice cream on a hot day.

Clafoutis is really simple to make, too. You start by putting the fruit in a prepared pan. The batter is made in a blender, and takes just a couple of minutes to prepare. You pour the batter over the fruit- and bake.

I used cherries and blueberries in this one, but you can use all sorts of fruits- peaches, plums, raspberries…..

Most people enjoy it as a dessert, but it is also nice with that morning cup of coffee.

I used a combination I thought would make a nice dessert for the 4th of July. Blueberries and raspberries would work as well.

Cherry and Blueberry Clafoutis

2 c. pitted cherries, I cut them in half, but you can leave whole

1 c. blueberries

3 eggs

1 c. sugar

3 T. melted butter

½ c. flour

2 t. vanilla extract

1 t. almond extract

pinch of salt

1 c. half and half

powdered sugar, optional


Grease a 9×9-inch baking dish or pie pan. Preheat oven to 350 degrees. Place cherries and blueberries in the prepared pan. In blender, combine eggs, sugar, butter, flour, flavorings and salt.* Blend until smooth. Add half and half and blend again until smooth. Pour batter over the cherries and blueberries. Bake for 45-50 minutes or until clafoutis is browned around edges and puffed up. Allow to cool and dust with powdered sugar, if you like. It will deflate as it cools. Serves 6.


* You can whisk the ingredients together by hand, if you prefer.


Homemade Peanut Butter Ice Cream

Peanut Butter Ice Cream

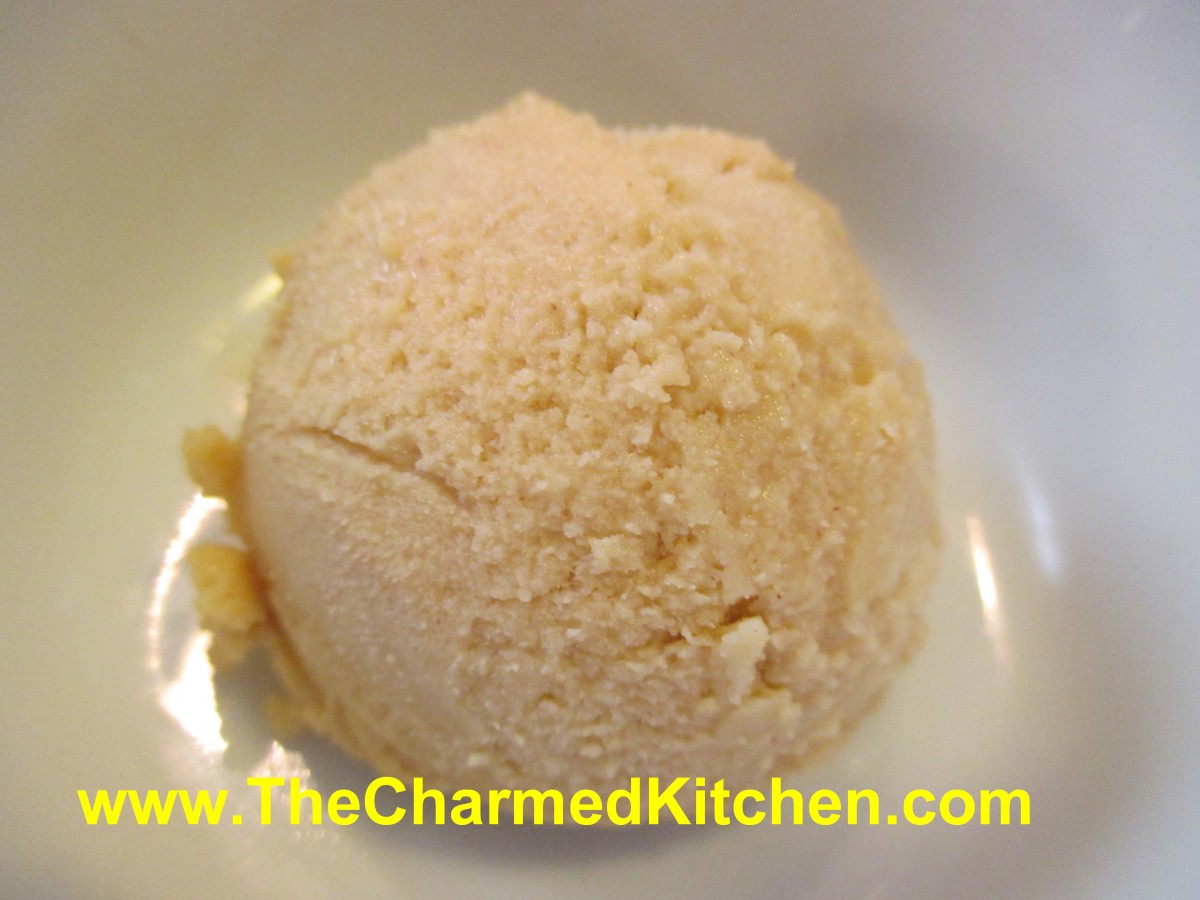
Why did it take me so long to make peanut butter ice cream? I love peanut butter and I make ice cream pretty often. I just never thought of putting those two things together.

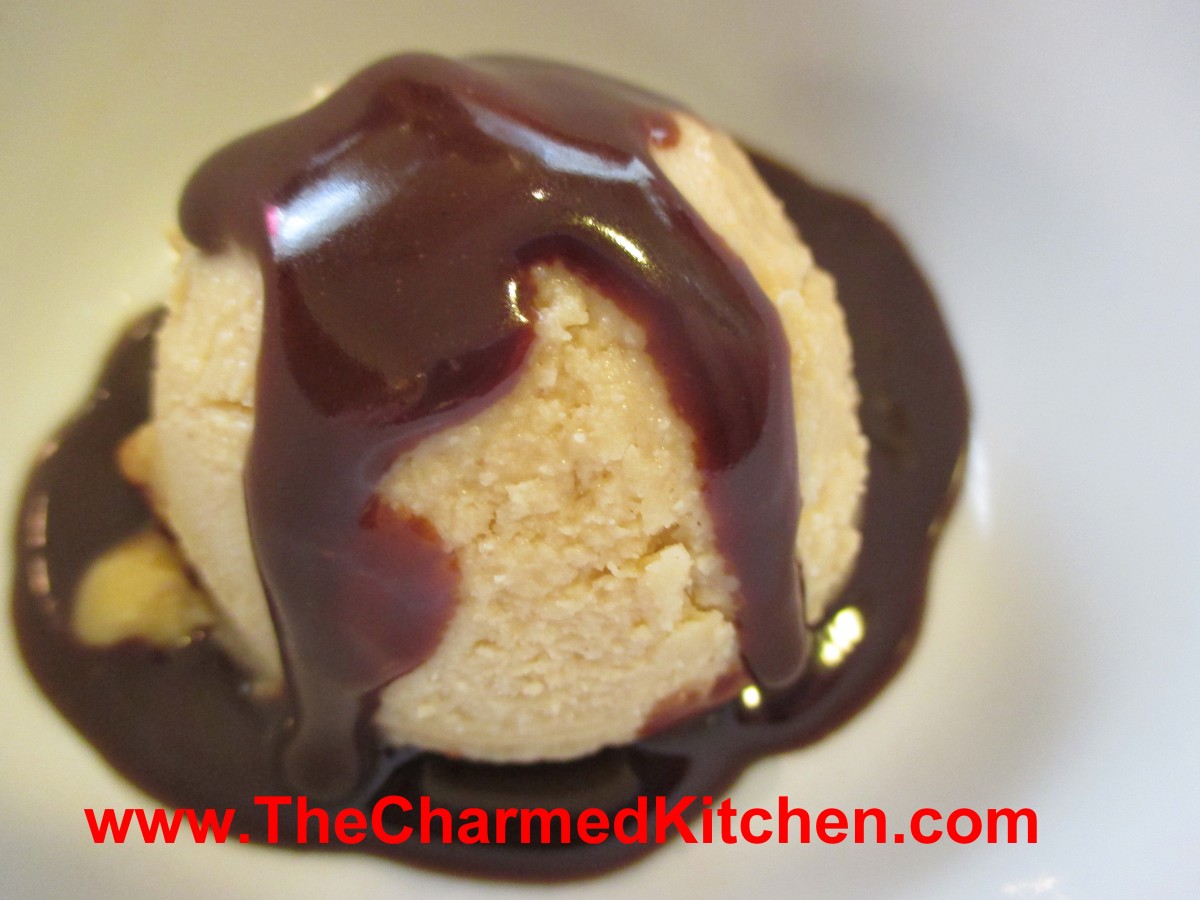
I kept it simple, and was really happy with the results. I wanted a strong peanut butter flavor- so I used a whole cup of peanut butter in the recipe. It worked out fine. Creamy and rich, but not too heavy. I thought about adding chocolate chips or maybe a swirl of jelly, but decided to leave the ice cream alone this first batch. I did serve it with homemade hot fudge sauce- recipe follows. I could see using this ice cream as the filling in ice cream sandwiches. I think I might use almond butter in the next batch.


Peanut Butter Ice Cream

1 c. peanut butter

2/3 c. sugar, or to taste – I was using natural peanut butter that had no sugar in it

2 c. whipping cream – you could use some half and half, if you prefer

1 t. vanilla

In medium bowl, combine peanut butter with the sugar, stirring until smooth. Add the whipping cream and vanilla and stir until well blended. Chill mixture. Pour chilled peanut butter mixture into ice cream machine and process according to manufacturer’s instructions. Once firm, transfer to a container with a lid and place in freezer until ready to use. Makes about 1 qt.

Hot Fudge Sauce

1 c. cocoa

¾ c. sugar

½ c. brown sugar

1/8 t. salt

1-c. heavy or whipping cream

½ c. butter, cut into pieces

1 t. vanilla extract


In saucepan , stir together dry ingredients then stir in cream and butter. Heat to boiling and boil 1 minute. Remove from heat, cool 5 minutes and stir in vanilla. Warm up before using. Store leftovers in fridge. Makes 2 ½ cups.

Peanut Butter Ice Cream- topped with homemade Hot Fudge Sauce

Peanut Butter Ice Cream- topped with homemade Hot Fudge Sauce

Rainbow Carrot and Raisin Salad

Rainbow Carrot and Raisin Salad

I love a good carrot and raisin salad.  It’s one of those salads I remember from when I was a kid. Carrots work so well in a salad, because they retain crispness. So this is also a salad you can make and eat right away, or make ahead of time and enjoy even a few days after making it.

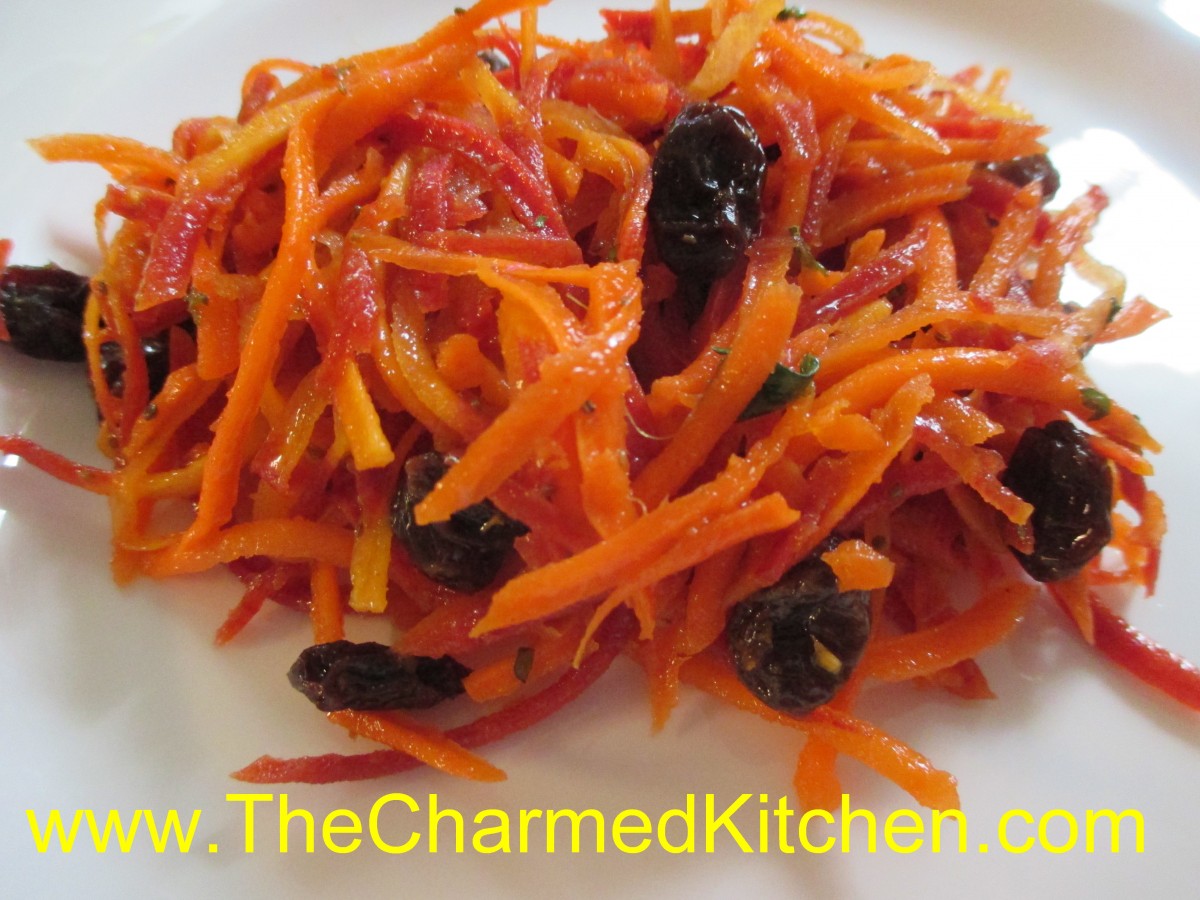
I used rainbow carrots for this version of carrot and raisin salad. I love the vibrant colors that the rainbow carrots add to the dish. I can’t always find them, so when my local produce market has them, I take advantage and stock up.

I kept it pretty simple: shredded carrots, raisins, a honey dressing and some herbs. A lot of carrot salads are made with mayonnaise based dressings. That’s fine, but I wanted something lighter with this salad.

This is a recipe you can toss together in just a few minutes. Great for last minute summer parties.

Of course, you can use any carrots in this recipe. It will taste just as nice.


So here is my recipe. Hope you will give it a try.

Rainbow Carrot and Raisin Salad

3-4 good sized carrots- peeled and shredded fine- you want 4 cups of shredded carrots

1/2 c. raisins

1/2 c. apple cider vinegar

1/3 c. oil- I used avocado oil- use what you like

3 T. honey

2 T. chopped parsley

1 t. celery seed

1 t. salt, or to taste

1 t. hot sauce, or to taste

In mixing bowl, combine the carrots and raisins. In smaller bowl combine the rest of the ingredients, whisking until well mixed. Toss the honey mixture over the carrots and raisins until evenly coated. Cover salad, and chill until ready to eat. Serves 4-6.

Note: You can eat the salad right away, but I prefer to make it at least 30 minutes ahead and give the flavors a chance to mingle.

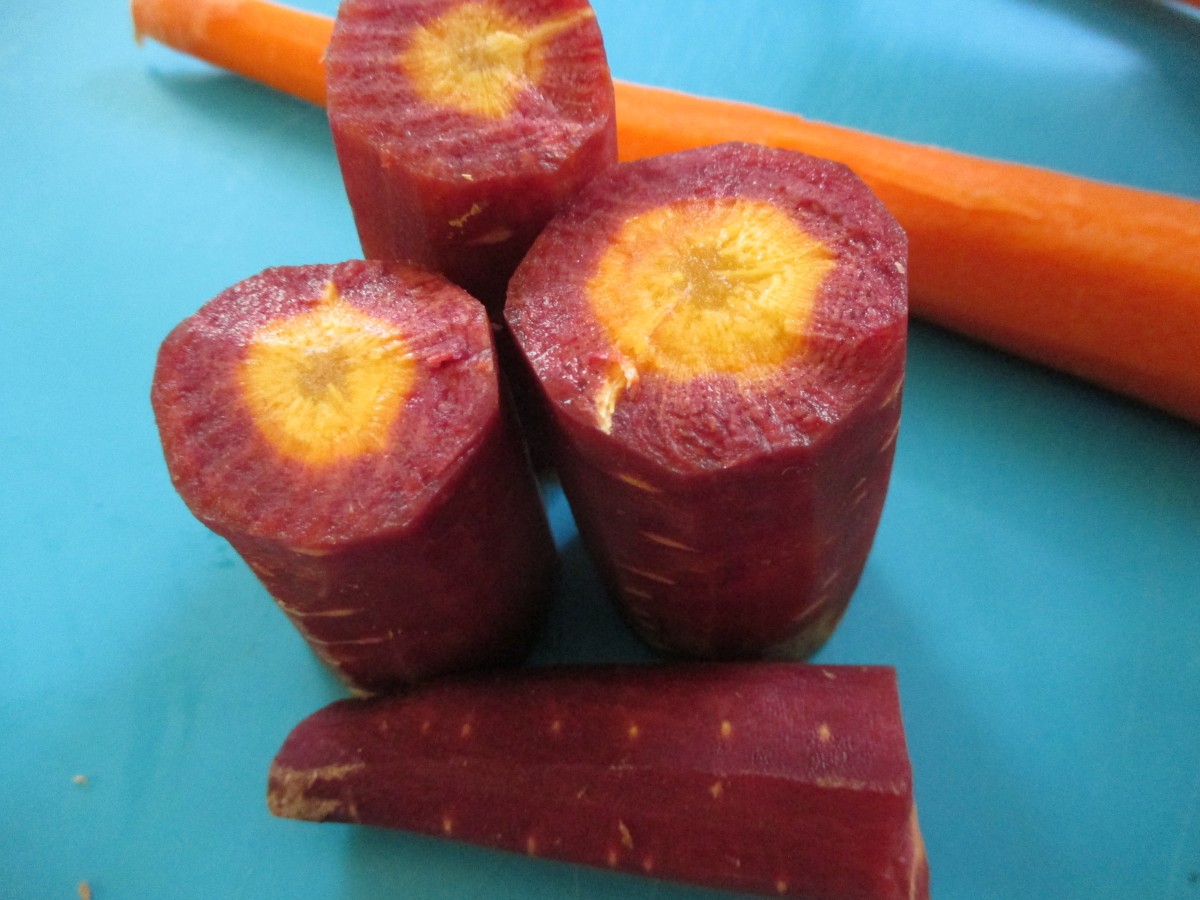
These rainbow carrots are purple on the outside and orange in the middle!

Strawberry Waffles

Strawberry Waffles

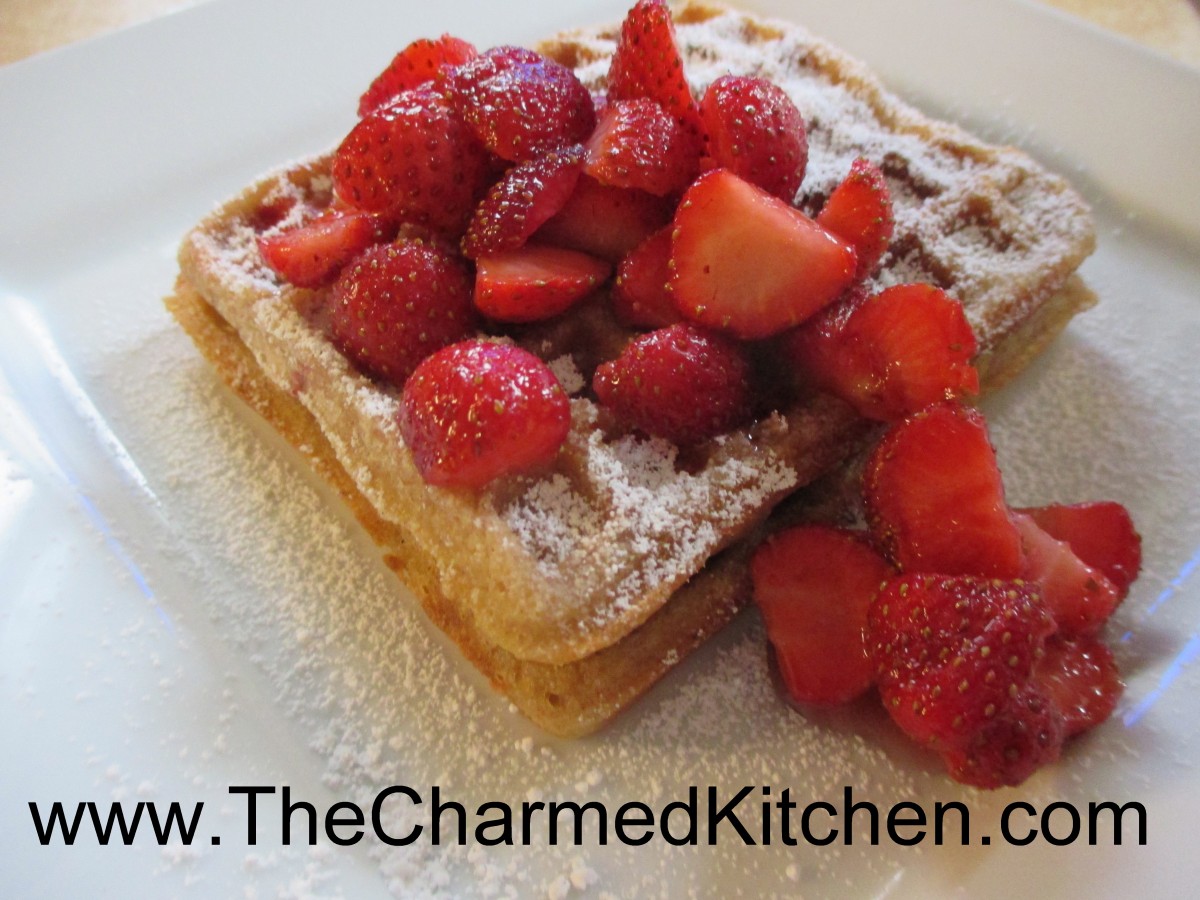
These waffles would make a great breakfast. We actually had them for dessert last night. That’s the thing about waffles. They can be eaten any time of the day. I have been enjoying fresh strawberries in everything!!! The season for local berries is pretty short, so I try to enjoy them as much as possible, while I can.

This waffle recipe came about because I needed a dessert for dinner with a friend. It was a last minute dinner, so I didn’t have a lot of time. Waffles seemed like a great idea. They don’t take a lot of time to make, and  they highlighted the berries. My friend really liked them. I did, too.

I made the waffles with fresh strawberries in the batter. Then, they are served topped with more fresh berries and a dusting of powdered sugar. They were a perfect dessert. I could see topping them with ice cream or whipped cream, too. Any leftover waffles can be frozen.

For the fresh strawberry topping, you just combine fresh, sliced berries with some sugar. If you can make it ahead of time, the sugar draws juice out of the strawberries, kind of making its own sauce. I made the topping first, then popped in the fridge.

So here is my recipe. Enjoy!!


Strawberry Waffles


1 1/3 c. flour

2 T. sugar

4 teaspoons baking powder

2 t. cinnamon

½ t. salt

2 eggs, separated

½ c. butter, melted

1¾ c. milk

2 t. vanilla

1 c. chopped fresh strawberries


Powdered sugar for topping waffles

Strawberry topping- recipe follows


In a large mixing bowl, whisk together all dry ingredients. Set aside. Separate the eggs. Set aside the yolks. Place the whites in a small mixing bowl. Beat whites until moderately stiff; set aside.  Combine milk, melted butter, egg yolks and vanilla in small bowl. Add to dry ingredient mixture and blend. Stir in berries. Fold stiff egg whites into mixture. Ladle mixture into hot waffle iron and bake. To serve, top with powdered sugar and strawberry topping. Makes 10-12 (4-inch) waffles.


Topping

1 qt. strawberries

½ c. sugar- or to taste


Wash and stem berries. Slice berries. Place in bowl and sprinkle on the sugar. Stir to combine and place in fridge until ready to use. Try to do this at least 30 minutes before using. That will give the mixture time for juice to be released from the berries.

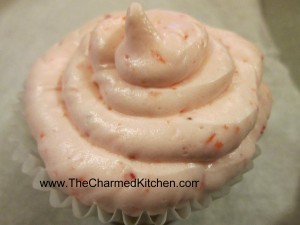
Fresh Strawberry Cupcakes

Fresh Strawberry Cupcake

I just don’t get tired of strawberries. Maybe because the season for local berries is so short- and sweet. Local strawberries are at all the markets now- and they are fabulous. The season for local berries is short and I try to use them as much as I can. I also will freeze some for use throughout the year.

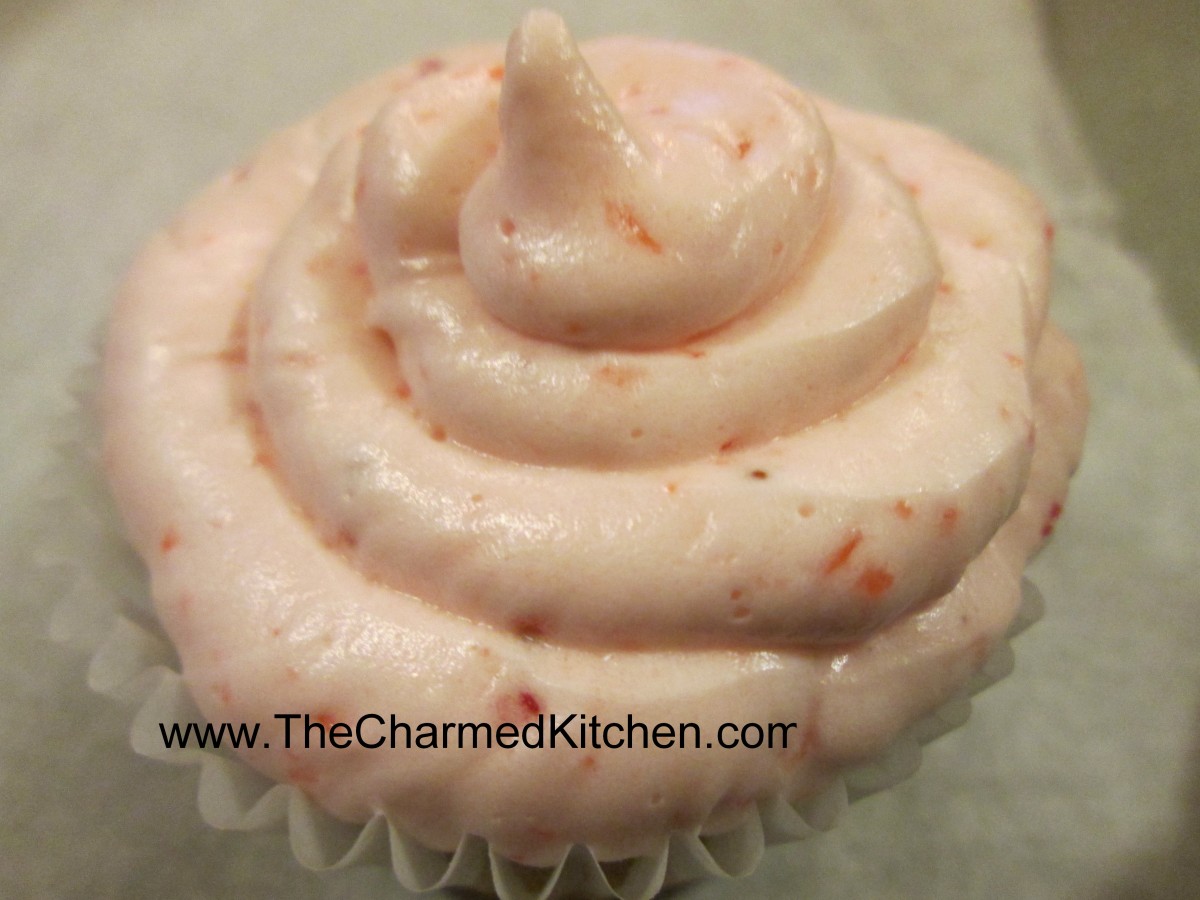
I was making cupcakes for some friends and decided to make some with strawberries. As you might expect, they were a big hit. The berries add sweetness and color in a delicate, natural way. You could also  make these with frozen berries.


Fresh Strawberry Cupcakes

2/3 cup whole fresh strawberries

1 1/2 cups all-purpose flour, sifted

1 teaspoon baking powder

1/4 teaspoon coarse salt

1/4 cup whole milk, room temperature

1 teaspoon pure vanilla extract

1/2 cup (1 stick) unsalted butter, room temperature

1 cup sugar

1 large egg, room temperature

2 large egg whites, room temperature

Preheat oven to 350 degrees. Line a 12-cup muffin tin with cupcake liners; set aside. Place strawberries in a small food processor; process until pureed. You should have about 1/3 cup of puree, add a few more strawberries if necessary or save any extra puree for frosting; set aside. In a medium bowl, whisk together flour, baking powder, and salt; set aside. In a small bowl, mix together milk, vanilla, and strawberry puree; set aside. In the bowl of an electric mixer fitted with the paddle attachment, cream butter on medium-high speed, until light and fluffy. Gradually add sugar and continue to beat until well combined and fluffy. Reduce the mixer speed to medium and slowly add egg and egg whites until just blended.

With the mixer on low, slowly add half the flour mixture; mix until just blended. Add the milk mixture; mix until just blended. Slowly add remaining flour mixture, scraping down sides of the bowl with a spatula, as necessary, until just blended.

Divide batter evenly among prepared muffin cups. Transfer muffin tin to oven and bake until tops are just dry to the touch, 22 to 25 minutes. Transfer muffin tin to a wire rack and let cupcakes cool completely in tin before icing. Makes 12.

Strawberry Frosting

1/2 cup whole fresh strawberries or frozen strawberries, thawed

1 cup (2 sticks) unsalted butter, firm and slightly cold

Pinch of coarse salt

3 1/2 cups confectioners’ sugar, sifted

1/2 teaspoon pure vanilla extract

Place strawberries in the bowl of a small food processor; process until pureed. In the bowl of an electric mixer fitted with the paddle attachment, beat together butter and salt on medium speed until light and fluffy. Reduce mixer speed and slowly add confectioners’ sugar; beat until well combined. Add vanilla and 3 tablespoons strawberry puree (save any remaining strawberry puree for another use); mix until just blended. Do not over-mix or frosting will incorporate too much air. Frosting consistency should be dense and creamy, like ice cream. Makes enough for 1 dozen cupcakes.

Giant Strawberry Shortcake

Giant Strawberry Shortcake

A few days ago, I posted a recipe for little strawberry shortcakes. So little, a friend called them sliders. Now, we go to the other extreme. One giant shortcake. Seriously, it is a fun way to make shortcake. Perfect dessert for Father’s day, too.

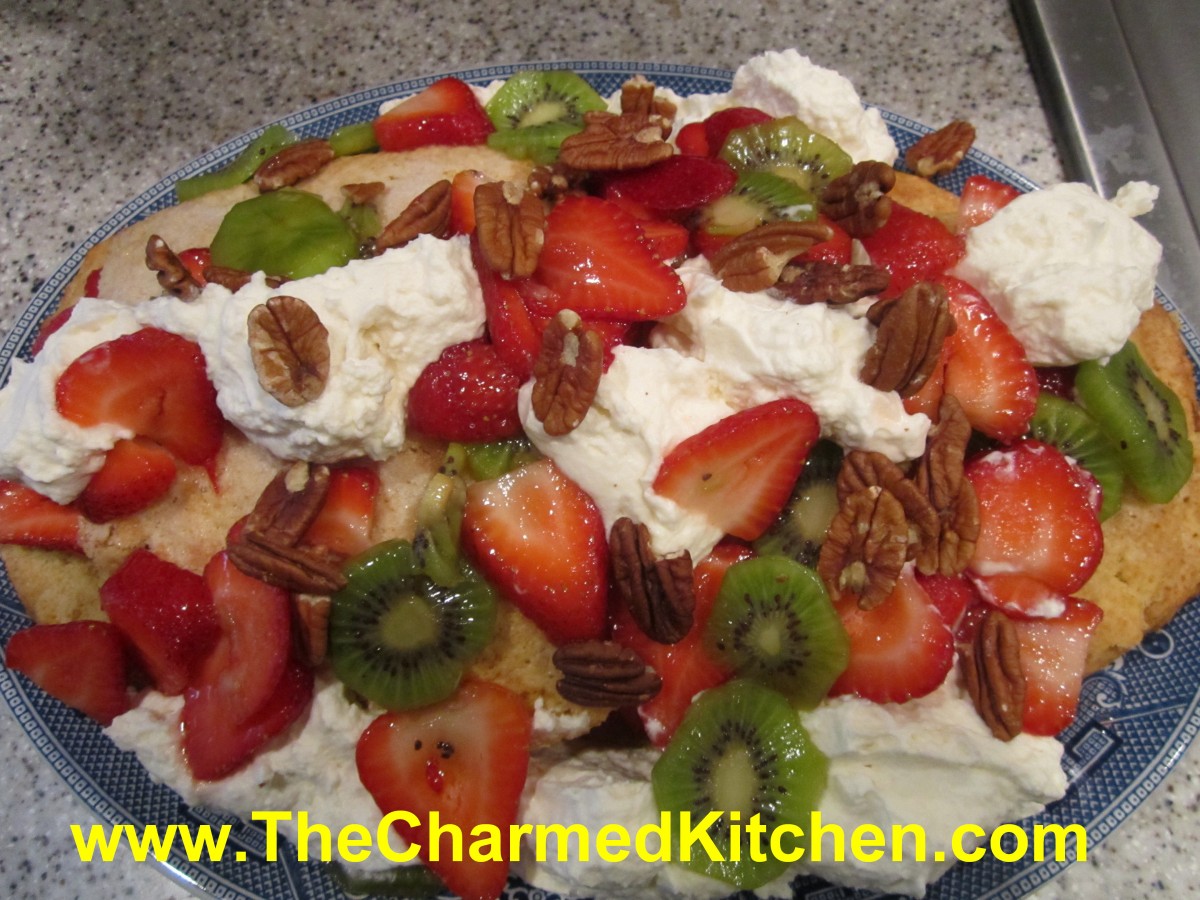
This is a great dessert for a party, picnic or barbecue. Instead of making a bunch of individual shortcakes, make one really big one. Makes quite an impression. I made this one for a dinner with friends. So well received.  When ready to serve it, just cut into slices, like cake or pie. I often serve the shortcake with ice cream on the side. Feel free to switch up which fruits you use, based on likes and availability. I used kiwi fruit, too, but you can add different fruits. Peaches would go well with the strawberries.


Giant Strawberry Shortcake

1 egg

3/4 c. milk

1/2 t. lemon juice

2 c. flour

1/4 c. brown sugar

1 T. baking powder

1/2 stick cold butter plus 1 T. softened

1/2 c. plus 1 T. sugar

1 qt. strawberries, sliced thin

2 kiwi fruit, peeled and sliced thin

1/4 c. chopped nuts, toasted

whipped cream, optional


In small bowl combine egg, milk and lemon juice and set aside. In larger bowl combine the flour, brown sugar and baking powder. Cut in cold butter to resemble coarse crumbs. Add egg mixture and stir until mixture forms into a soft dough. Knead dough gently on a lightly floured surface about 10 times. On greased baking sheet pat dough into a 15×6-inch oval. Sprinkle dough with the 1 tablespoon of sugar and dot with the softened butter. Bake in a preheated 400 degree oven for 20-25 minutes, or until lightly golden. Place on wire rack to cool. Toss the berries with the remaining 1/2 cup of sugar. Allow to stand 30 minutes. Split the shortcake lengthwise and remove the top. Spoon over the half the berries and replace top of shortcake. Combine the kiwi with the remaining berries.Spoon over the remaining fruit and sprinkle with the nuts. Dot with whipped cream, if desired. Cut in wedges to serve. Serves 8.

Note: you can bake shortcake day ahead and prep the fruit day ahead, keeping it chilled and just assemble when ready to serve.

Posted in Cooking |

“Weed” Quiche

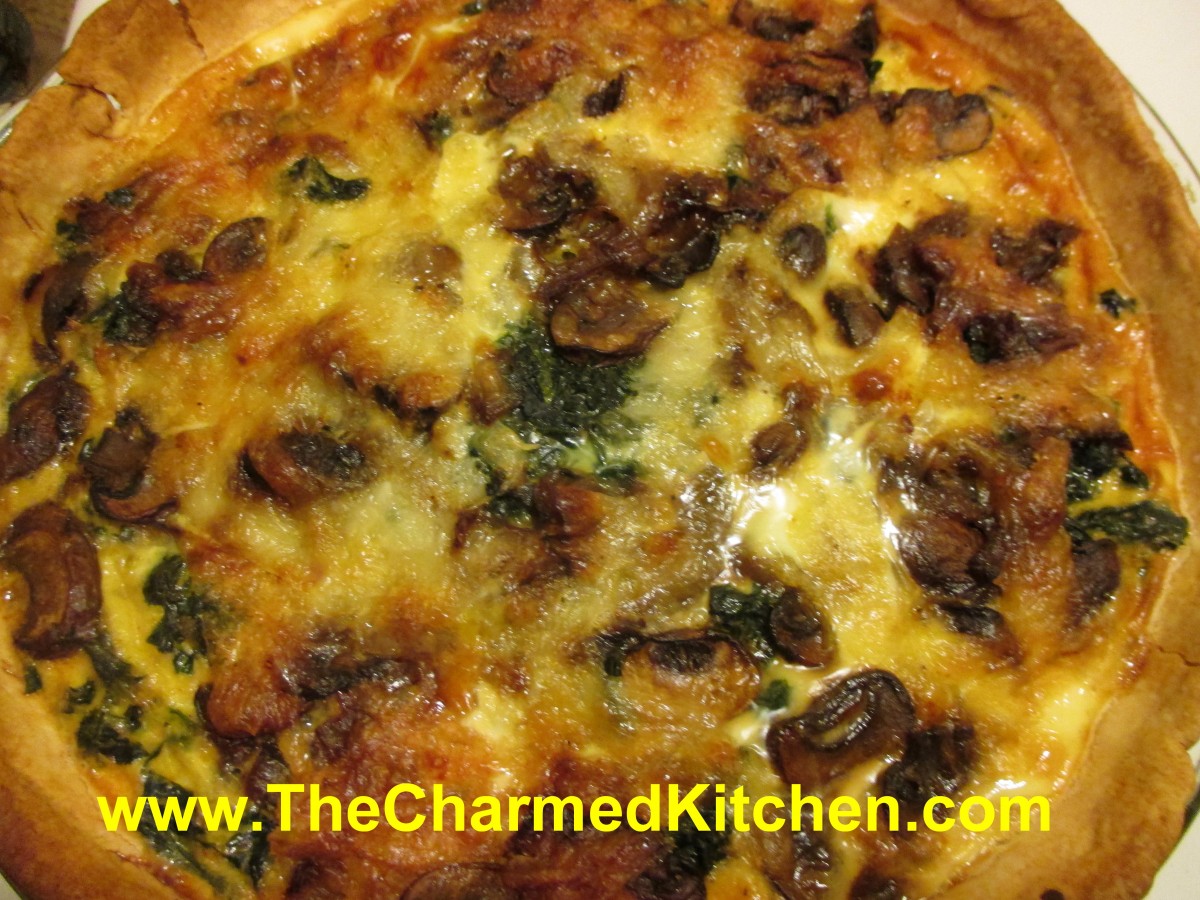
Lambsquarters and Mushroom Quiche

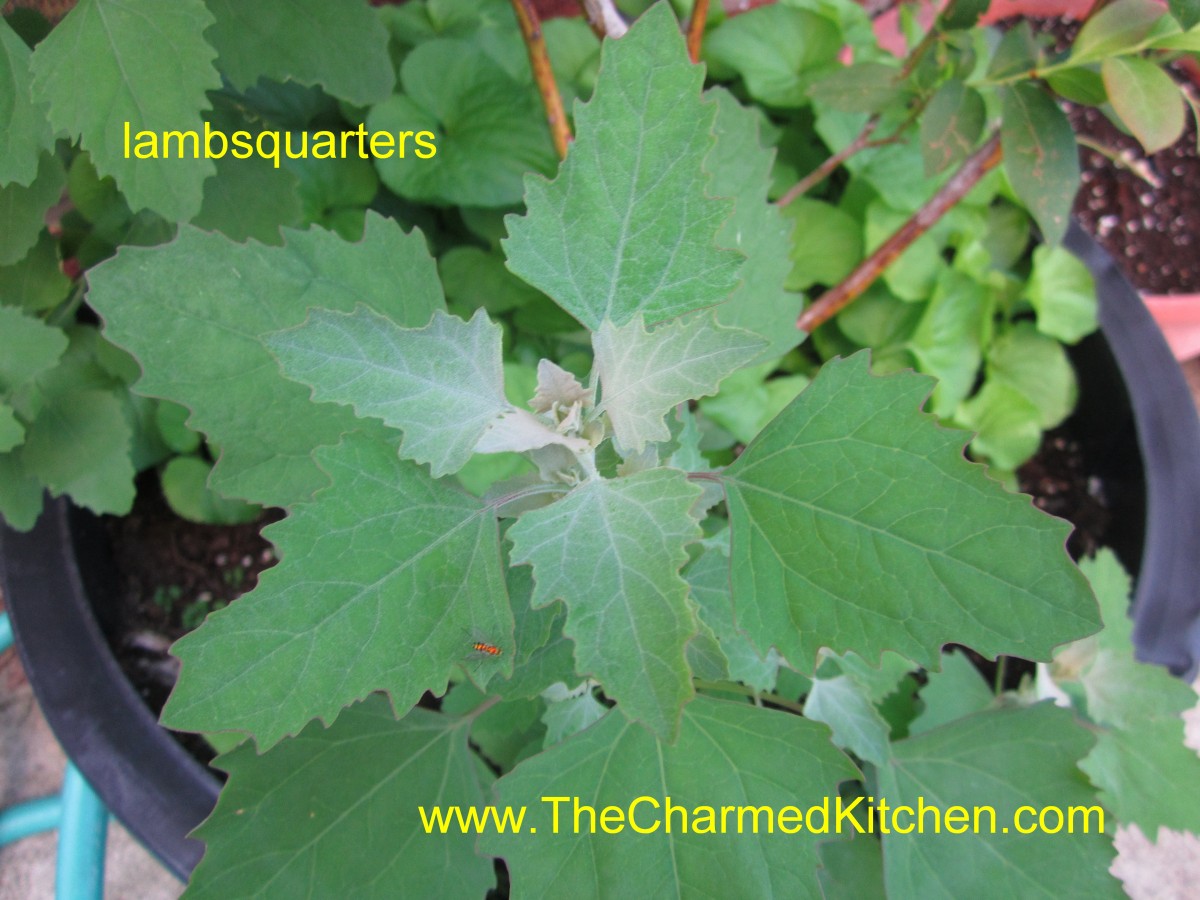
It’s not what you think. Not that “weed”.  I am referring to lambsquarters. I am a big fan of wild edibles and one of my favorites is lambsquarters. This hardy plant often grows where ground has been cultivated. It is a common plant in both vegetable and flower gardens.

Many people pull out this “weed”, never knowing how tasty it is. When cooked, lambsquarters tastes just like spinach. Unlike spinach, which goes to seed as soon as the warm weather arrives, lambsquarters thrive all season long.  If you have lambsquarters growing in your yard, rather then tossing them in the compost pile, you might want to eat them.

There is a picture of lambsquarters at the bottom of this post- so you can see what I am talking about.

For a lunch with some friends, I made this quiche. I used lambsquarters. I also added baby portobello mushrooms, caramelized onions, Swiss cheese, fresh basil, parsley and dill and some Marsala wine. The end was result was so good.

Lambsquarters and Mushroom Quiche

1 unbaked pie crust – store bought or homemade
1 T. butter
1 onion, chopped
8 oz. baby bella mushrooms, washed and sliced
¼ c. Marsala wine
1 T. each fresh chopped parsley, basil and dill
4-5 c. fresh lambsquarters leaves, washed and steamed until wilted and chopped
8 oz. shredded Swiss cheese
2 T. flour
3 eggs
1 c. milk or half and half
Salt and pepper to taste
Hot sauce to taste

Place crust in a 9-inch deep dish pan. Set aside. Heat oil in skillet and cook onion until golden. Add mushrooms and cook until mushrooms are a little golden, too. Add wine and herbs and cook until liquid is evaporated. Set aside. Preheat oven to 400 degrees. Toss 2 cups of the cheese with the flour and place in pie crust. Add the onion mixture and lambsquarters. Combine eggs with milk and seasonings, beat until smooth and pour over the ingredients in the pie crust. Top with remaining cheese. Place on a baking sheet and bake 45 minutes to an hour. Check quiche for doneness by inserting a knife off center. If it is clean, quiche is done. Makes 1.

lambsquarters


Chilled Beet and Watermelon Soup

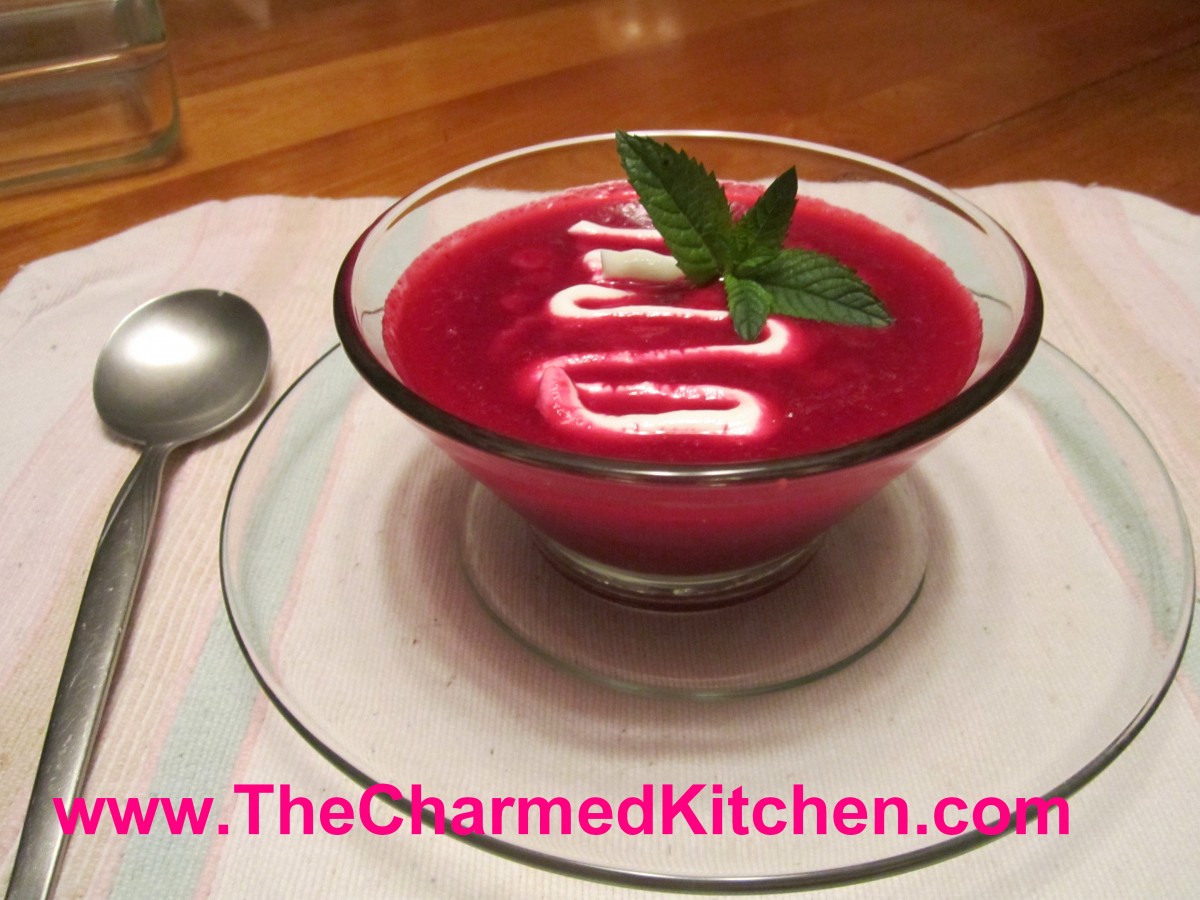
Chilled Beet and Watermelon Soup

Rather than start dinner with a salad- why not try a cold soup instead? It’s been very hot around here lately, and a cold soup sounded good to me. This is a great first course for a hot day. Or, a perfect lunch.

I got this recipe from a friend of a friend. I tweaked it a little from the original, but it is pretty much the same. It is  simple to make and full of flavor.

The sweetness of the watermelon, pairs nicely with the earthy flavor of the beets. The mint also adds a nice little pop of flavor. The color is pretty cool, too. I shared this recipe with a friend and she said she just drinks it like a smoothie. You can easily make bigger or smaller batches. Just start with equal amounts of watermelon and beets. Thin it down with a little stock, until it gets to the consistency you like. The soup will keep in the fridge for several days and freezes well.

You don’t have to serve it just at dinner or even just for lunch.  I actually have eaten it for breakfast, too.


Chilled Beet and Watermelon Soup

2 cups diced beet (cooked)

2 cups diced seedless watermelon

a few sprigs of mint

Put in blender

Add Chicken or Vegetable stock to taste/consistency

Add salt if desired

Dollop with Creme Fraiche or Sour Cream or Greek Yogurt, if desired.

Garnish with fresh mint.

With any cold soup- chill well after you make it. You might even want to chill the bowls and spoons.

Cooking with Garlic Scapes

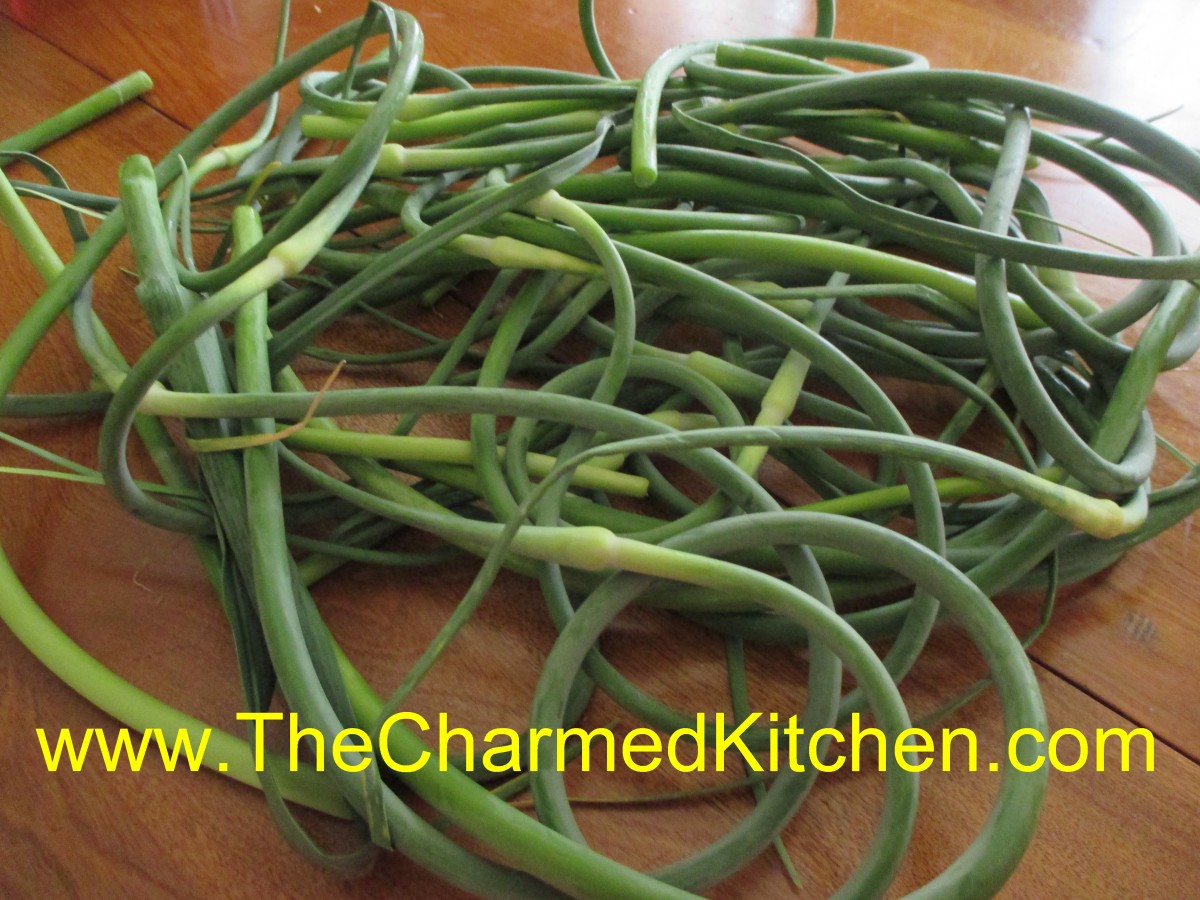
Garlic Scapes

If you have never had garlic scapes, you don’t know what you are missing. Garlic scapes are the green shoots removed from hard-neck varieties of garlic. By removing the shoots, the bulbs will get bigger. So farmers remove them.  They curl as they grow, and are good served raw, or barely cooked. They are showing up at farm markets around here right now.

When cooked, the flavor mellows a lot. I love to steam garlic scapes for about 5 minutes, then just eat like fresh green beans, with butter and salt. I steamed a bunch of scapes the other day- then chopped them up and added to potato salad. So tasty!!

They have a rich, garlic flavor that is all the sweeter because of the short time they are around. Enjoy them when you can- they will be gone soon.

I use scapes in place of basil in my pesto recipe, or combine them with parsley in a garlic scape-parsley pesto. You can also combine the garlic scapes with cottage cheese in the blender- add a little lemon juice and hot sauce for a tasty dip. Here are some more recipes for cooking with garlic scapes.

Garlic Scape Pesto Sauce

1 c. chopped scapes – you can also use half scapes, half parsely
1/4 c. olive oil
3-4 cloves garlic
Salt to taste
1/2 c. pine nuts, sunflower seeds, pecans or walnuts
1 c. fresh grated Parmesan cheese

Combine all ingredients, except the cheese, in a blender and mix until smooth. Stir in the cheese and toss over hot, cooked pasta or use as a sauce on meat and poultry. Sauce will keep a few days in the fridge and makes about 1 1/2 cups, enough for 1 lb. of cooked pasta.


Lebanese Garlic Sauce

1/2 c. chopped garlic scapes

1 cup lemon juice

1 teaspoon salt

3 cups olive oil

In the container of a blender, combine the garlic scapes, lemon juice and salt. Blend at medium speed until smooth. Continue blending while pouring olive oil into the blender in a thin stream. The mixture should become thick and white almost like mayo. Store refrigerated in a glass container.  Nice on hot pasta, cooked rice or grains or brushed on meats while cooking. It also is a great salad dressing.

Garlic Scapes with  Broccoli

1 c. chopped garlic scapes

1 1/2 teaspoons salt

1 bunch broccoli, cut into florets, steamed 5 minutes, cooled

1/3 cup olive oil

1/4 cup red wine vinegar

1 tablespoon Dijon mustard

1/2 cup grated Parmesan cheese, or to taste

Place garlic scapes in a food processor with the salt and blend into a paste. Add olive oil, vinegar, and mustard.  Pulse until smooth.  Place garlic scape mixture in a bowl and add the broccoli.  Stir to coat. Chill for 3 hours to marinate, stirring occasionally. Sprinkle with Parmesan cheese before serving. Tastes even better the next day!!!