Tag Archives: kid friendly recipe

Minty Cocoa Hearts

Minty Cocoa Hearts

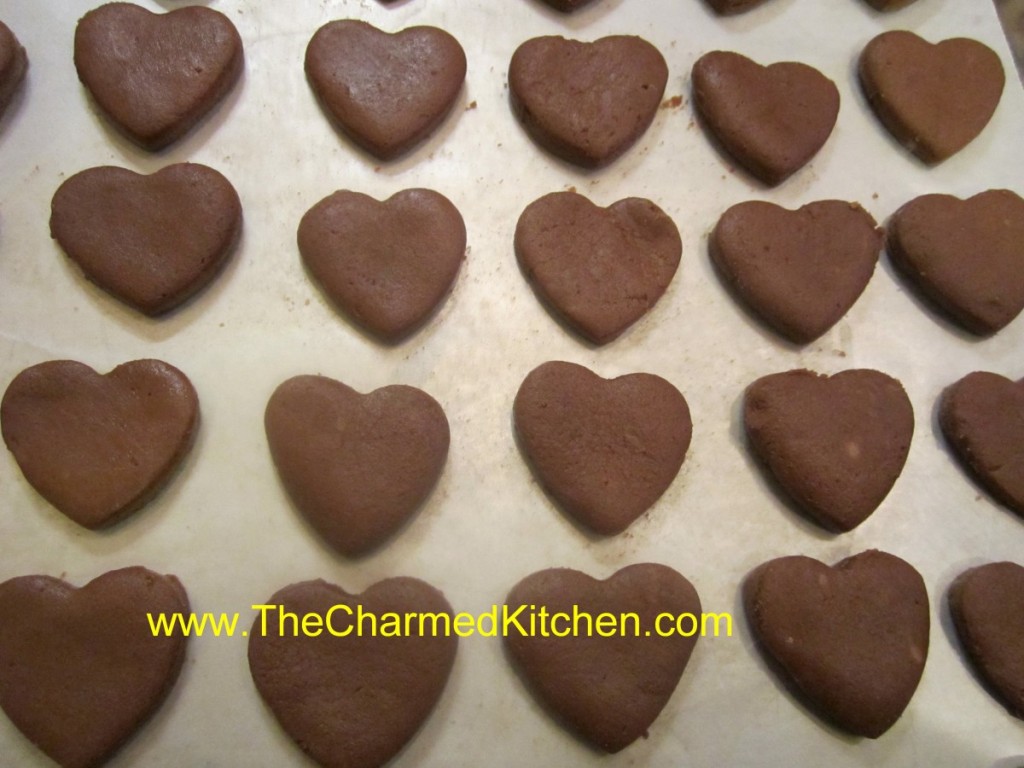
If you are looking for a simple chocolate treat- that requires no cooking – try Minty Cocoa Hearts. They are tiny, but pack a lot of flavor.

This easy to make candy is made with just a few ingredients. The “dough” is mixed and rolled out. Then you just cut them out into little hearts.

They taste great and they are also a nice project for kids. There is no special equipment needed other than a tiny heart-shaped cookie cutter.

Once they have time to set up- they can be boxed up- or wrapped in individual foils.

So if time is short, and you really want to make something homemade this Valentine’s Day- these could be the answer.

Minty Cocoa Hearts

9 c. powdered sugar
1 c. cocoa
1/2 c. butter, softened
1/2 c. water
2 t. peppermint extract

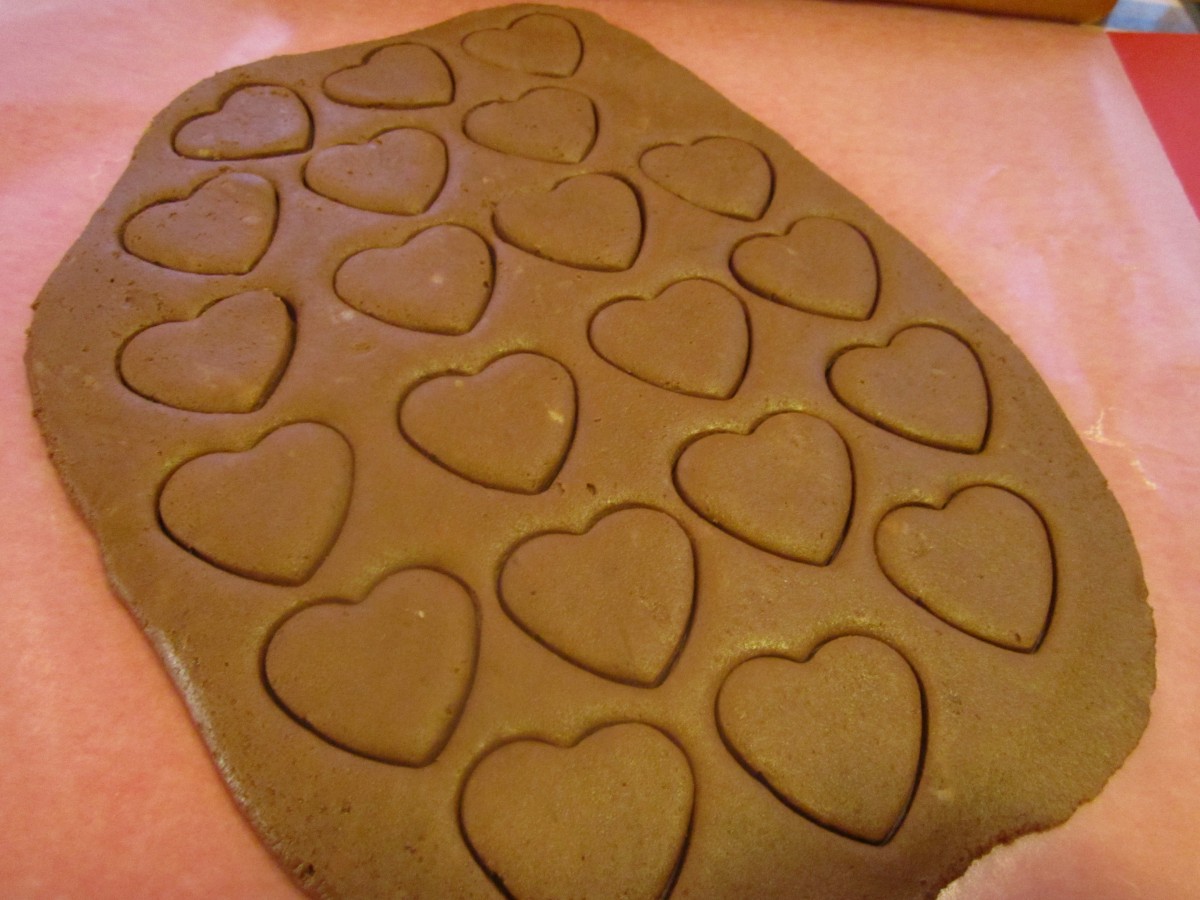
In large bowl combine ingredients until well blended. You can add more water, if needed, 1 teaspoon at a time. Divide mixture into 2 pieces and shape in balls. Place each between sheets of wax paper and roll out to 1/4 -inch thickness. Cut out with tiny cutters and place on foil-lined tray. Chill several hours, then wrap up in colored foil or place in tiny candy bags. Makes 80 (1-inch) candies.

I do love the mint flavor of these, but you can play around with other flavors like almond, anise, cherry or orange, to name a few.

Cut out with heart-shaped cookie cutters

Jack O’ Lantern Cinnamon Sugar Cookie

Jack O Lantern Cinnamon Sugar Cookie

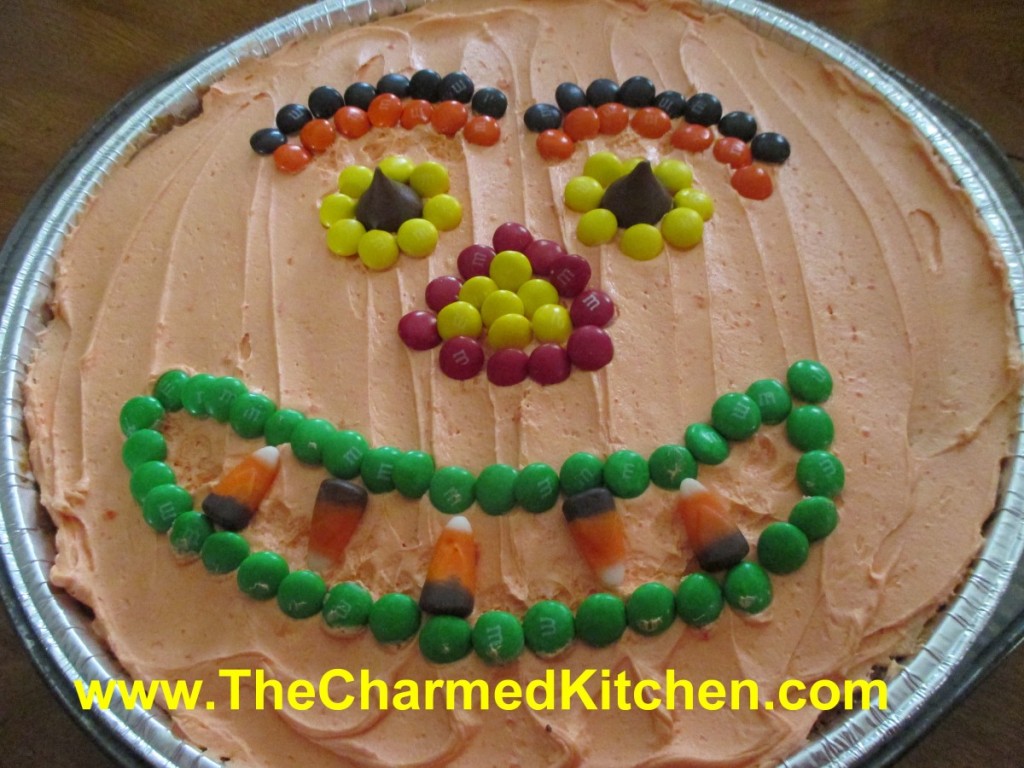
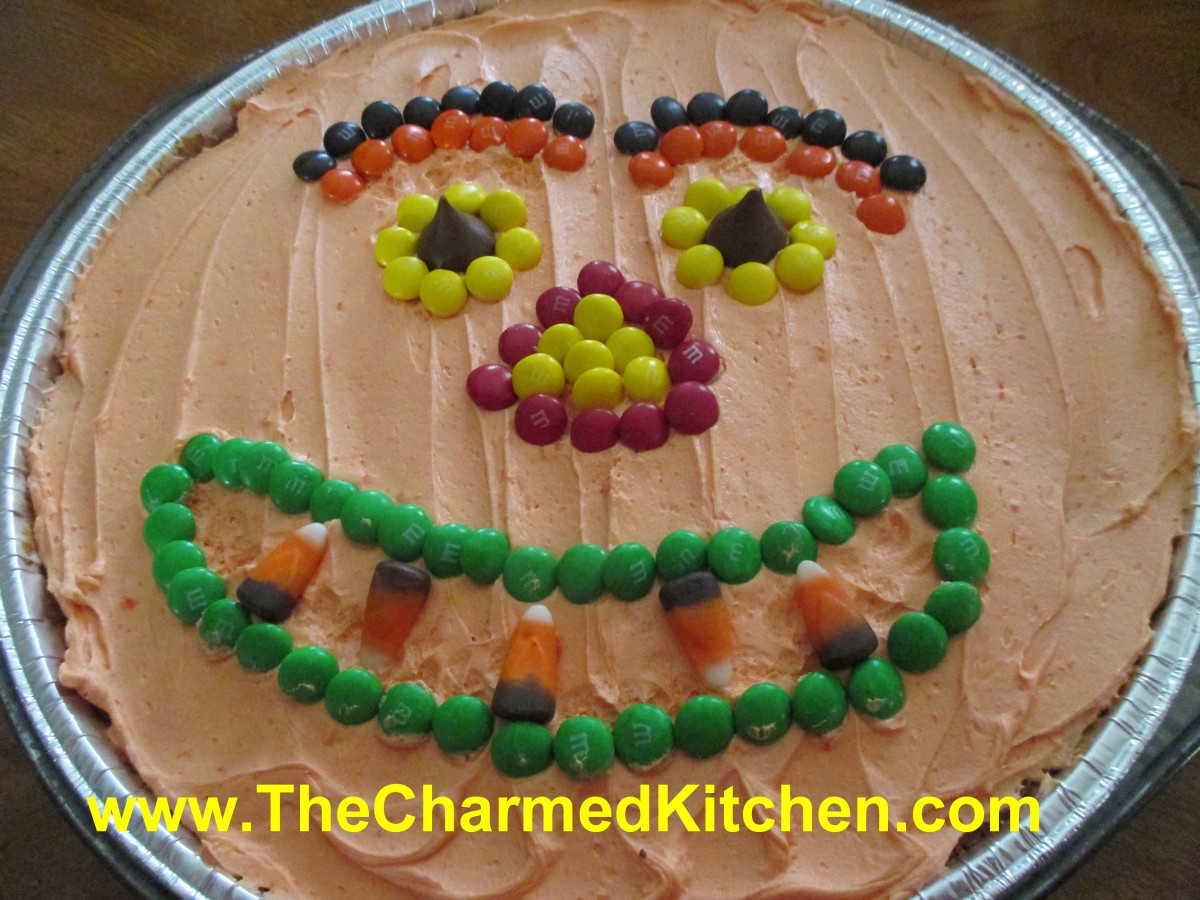
This is a fun treat for kids to make for Halloween. It is a giant cinnamon sugar cookie, baked in a pizza pan, and decorated to look like a Jack o Lantern. They are fun to make for a Halloween party, but can also be made by kids at the party. If you get aluminum (disposable) pizza pans, you can have each kid bake and decorate their own cookie to take home. Once the cookie dough is made, it is spread in a pizza pan, then baked. When the cookie is cooled, spread with orange-tinted buttercream and let the kids make a face on it with assorted candies or frosting, tinted different colors.

Jack O Lantern Cinnamon Sugar Cookie

½ c. butter, softened
½ c. packed brown sugar
1/3 c. granulated sugar
1 egg
1 t. vanilla
1 c. flour
2 t. cinnamon

Orange tinted buttercream- recipe follows

Peanuts, M&M’s or candy corn

Beat together butter and sugars until smooth. Beat in egg and vanilla. Stir in flour and cinnamon then press into ungreased 12-13-inch pizza pan. Bake in a 350-degree oven for 15-18 minutes. Remove from oven and cool down before frosting. Use remaining ingredients to make a Jack-o-lantern face on the pumpkin. Makes 12 servings.

Classic Butter Cream

1/3 cup butter
4 1/2 cups sifted confectioners’ sugar
1/4 cup milk
1 1/2 teaspoons vanilla extract
In a bowl beat butter or margarine until fluffy. Gradually add 2 cups of the confectioners’ sugar, beating well. Slowly beat in the 1/4 milk and vanilla. Slowly beat in remaining sugar. Beat in additional milk, if needed, to make of spreading consistency. Tint with food color, if desired.

“Cheeseburger” Cookies

“Cheeseburger” Cookies

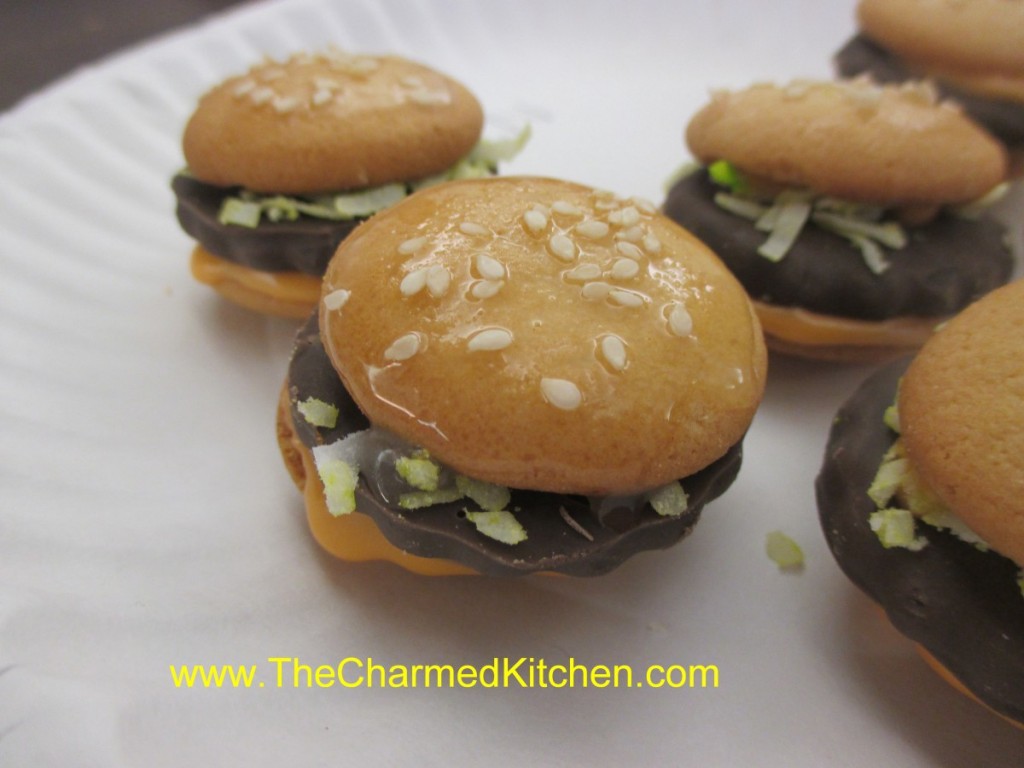
I have been doing a cooking camp in Mentor this week. We have made all sorts of dishes including these darling cheeseburgers cookies. I know, I normally cook everything from scratch, but these are so fun. Also a nice thing to make when it is too hot to be baking. They are just assembled, not baked, and even younger kids can make them.

Cheeseburger Cookies

1 package vanilla wafer cookies
1 package Keebler Fudge N Caramel or Grasshopper cookies, or other small chocolate cookies
2 c. powdered sugar
1- 2 T. milk
few drops of yellow and red food coloring
1 c. coconut, optional
several drops of green food coloring, optional
1/4 c. powder sugar
1 T. milk
sesame seeds

Combine 2 cups of powder sugar with the milk and red and yellow food coloring. This should be the color of cheese. Place the coconut in a small bag and add a few drops of green food coloring. Close the bag and shake well to evenly color. This will be the ‘lettuce’.
To assemble cookies use 2 vanilla wafers (the bun) and one Keebler cookie (the burger). The orange frosting works as the cheese and glue. The coconut is the lettuce. Place a vanilla wafer flat side up on work surface. Place a little dab of “cheese” on the cookie and then a Keebler cookie. Sprinkle a little coconut on the burger, then some more cheese and the top bun, flat side down. Combine the remaining powder sugar and milk. You should have a thin glaze. Brush this lightly on the top of the finished “burgers” and sprinkle with a few sesame seeds. Makes about 2 dozen cookies.

S’mores Ice Cream Sandwiches

S’mores Ice Cream Sandwich

Summer is the time for picnics, campfires and S’mores. Summer is also the time of year to eat lots of ice cream and other frozen treats.

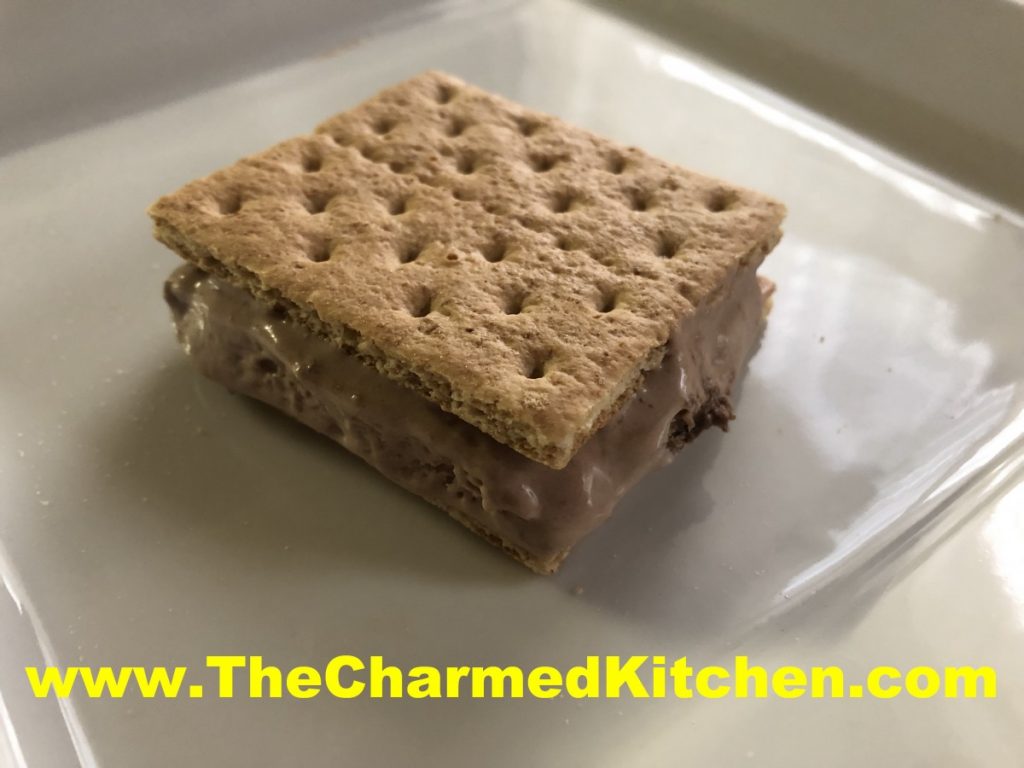
This dessert combines the ingredients of S’mores in a frozen treat. How fun is that?

They aren’t hard to make, but you need to allow time for ingredients to freeze. The mixture is frozen, then cut into squares and sandwiched between Graham crackers. They get returned to the freezer to harden up.

We made these in a cooking camp recently. The kids loved them. Of course the we skipped the step where the sandwiches are assembled and put back the freezer to harden. The kids just ate them right away. A little messy, but a LOT of fun.

So here is the recipe.

S’mores Ice Cream Sandwiches

1 (14 oz.) can sweetened condensed milk

2/3 c. chocolate syrup

1 c. coarsely crushed graham crackers

1 c. mini marshmallows

2 c. whipping cream, whipped

72 graham cracker square halves

In large mixing bowl combine sweetened condensed milk and syrup. Fold in crackers, marshmallows and whipping cream. Pour in foil lined 9×5-inch loaf pan and freeze until firm, about 6 hours, or longer. Remove from pan and peel off foil. Slice loaf in half lengthwise and then each half into 18 (½ inch) slices. Place one slice between two crackers and repeat with rest. Wrap and freeze until ready to eat. Makes 36. Note: You can slice the filling thicker. You’ll have fewer “sandwiches”, but they will have more filling.

Banana Fritters

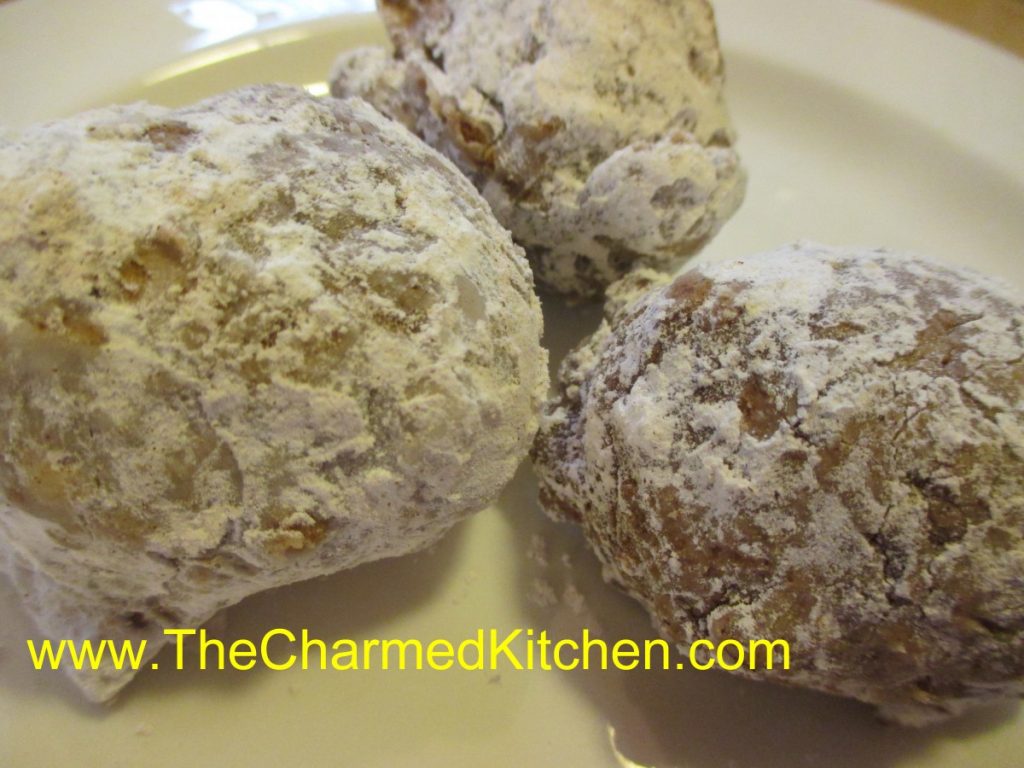
Banana Fritters, rolled in powdered sugar

I had a class with kids yesterday and we had made doughnuts. We also made fritters. We made several different fritters, including these banana fritters. These are a fun and easy dessert to make if you find yourself with some ripe bananas. Simple to make and a nice change from banana bread.

We started with a couple of bananas, which they peeled and chopped up. The recipe is basically the same one we used for the strawberry and apple fritters. You can experiment with other fruit, too. I think I may make these with peaches next.

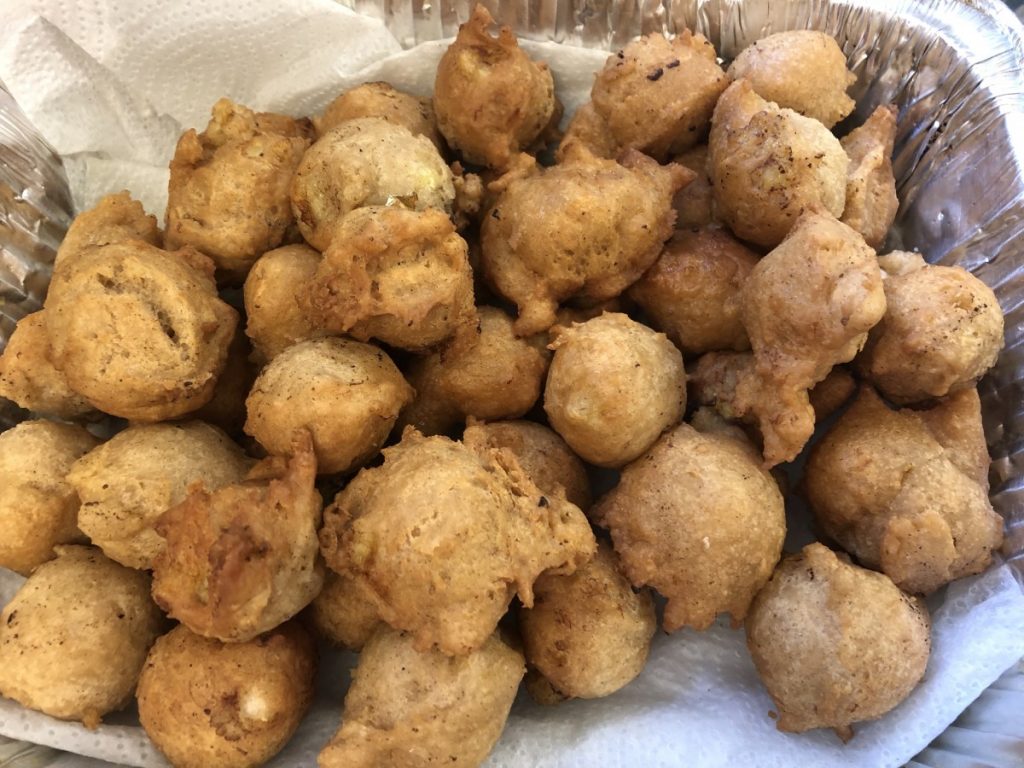
The fritters puffed up beautifully when fried. They were just a little crisp on the outside, tender and light in the middle. There is almost no sugar in the batter. The sweetness comes from the bananas and the powdered sugar or cinnamon sugar they are rolled in. I think they would be great with a powdered sugar glaze, too.

So here is the recipe. A fun way to use ripe bananas.

Banana Fritters

2 large ripe bananas- you want 1 cup diced banana

2 eggs, beaten

1 c. milk or half and half

2 T. melted butter or oil

2 c. flour

2 T. baking powder

2 T. sugar

1 T. cinnamon

1/2 t. salt

Oil for frying

powdered sugar or cinnamon sugar

Peel bananas. Cut up into small pieces. You should end up with about a cup of mashed bananas. Combine in a small bowl with the eggs, milk and oil. Combine flour with the baking powder, cinnamon and salt. Stir into the banana mixture. Heat oil in a pot to 350 degrees. Oil should be at least a couple of inches deep. By rounded tablespoonfuls, drop batter into the hot oil to fry. Only do a few at a time, so you don’t overcrowd them, or bring the temperature of the oil down too much. Fry until golden brown. It will take several minutes. Remove with slotted spoon and drain on paper towels. Repeat with all the batter. You will end up with 2-3 dozen fritters.

Once the fritters are cooled down, you can roll them in powdered sugar, cinnamon sugar or even make a powdered sugar glaze.

Banana fritters cooling down

Snickerdoodles

Snickerdoodles

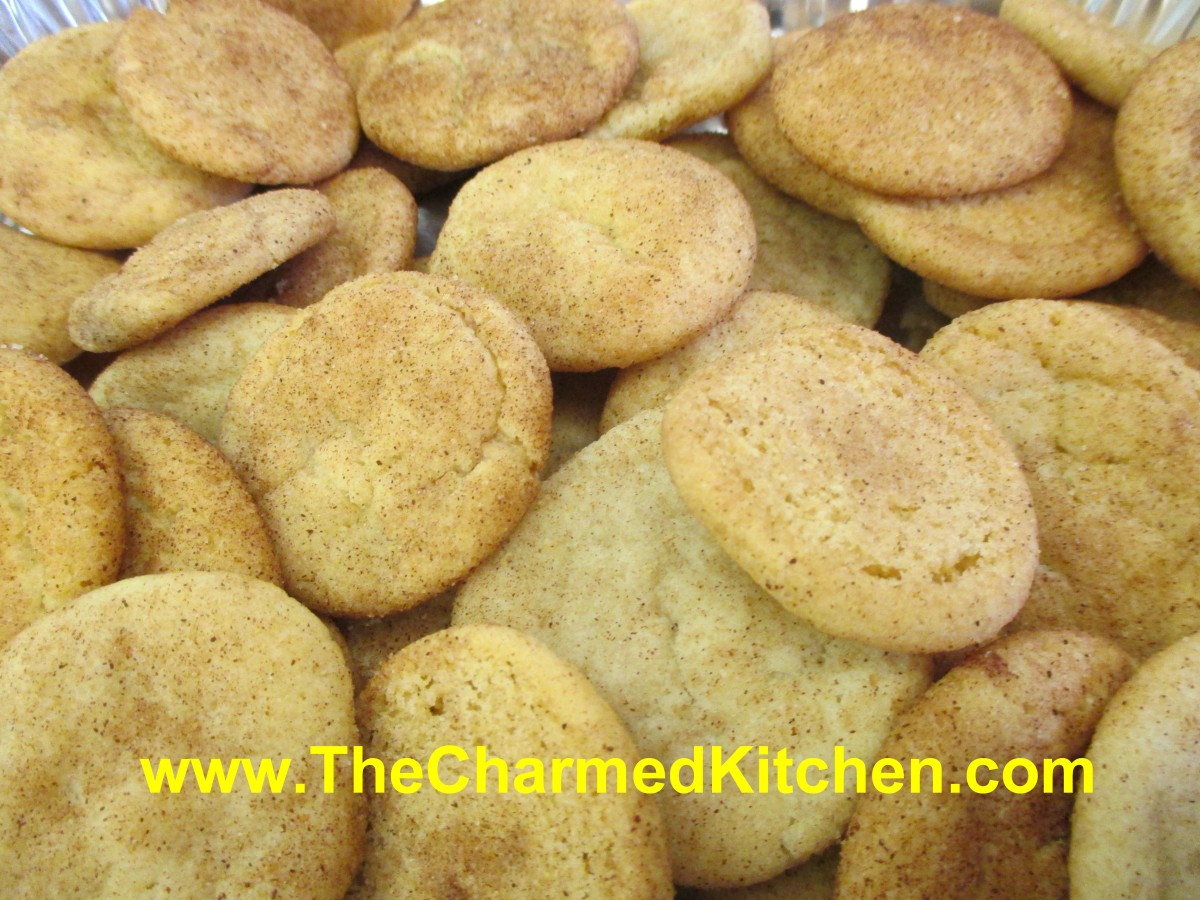
In cooking camp today,  we will be baking cookies, including Snickerdoodles. This is a recipe that has been around a long time and is still a favorite.

The kids really enjoy rolling the dough in cinnamon sugar, before baking.

The old version I had, called for shortening, but I use butter instead,  and chill the dough. I prefer the taste of butter in cookies.

These are a great light dessert for summer and they travel well, too. A nice treat to bring to your next cookout, picnic or road trip.

Snickerdoodles can also be used to make awesome ice cream sandwiches.


Snickerdoodles

1 c. butter, softened
1 ½ c. sugar
2 eggs
2 ¾ c. flour
2 t. cream of tartar
1 t. baking soda
¼ t. salt
2 T. sugar
2 t. cinnamon

Mix butter, sugar and eggs. Combine next 4 ingredients and add to egg mixture. Chill dough at least a couple of hours. Combine sugar and cinnamon in shallow bowls. Roll dough in 1-inch balls and roll in cinnamon sugar. Place 2-inches apart on ungreased baking sheet and bake in a preheated 375 –degree oven for 9-11 minutes. Makes 6 dozen.

Cherry Bombs

Cherry Bombs

These little treats make a great addition to your 4th of July party. They are simple to make, with only three ingredients.  You can make them in no time at all. It is a fun treat for kids to make, too.

Think of the cherry bombs as a type of candy. A simple, sweet treat that can be served just as they are. They can also be used to top a cake or other dessert. You can even garnish a cocktail with them. I did the same thing with strawberries, but “strawberry bombs” did not have the same ring to it.


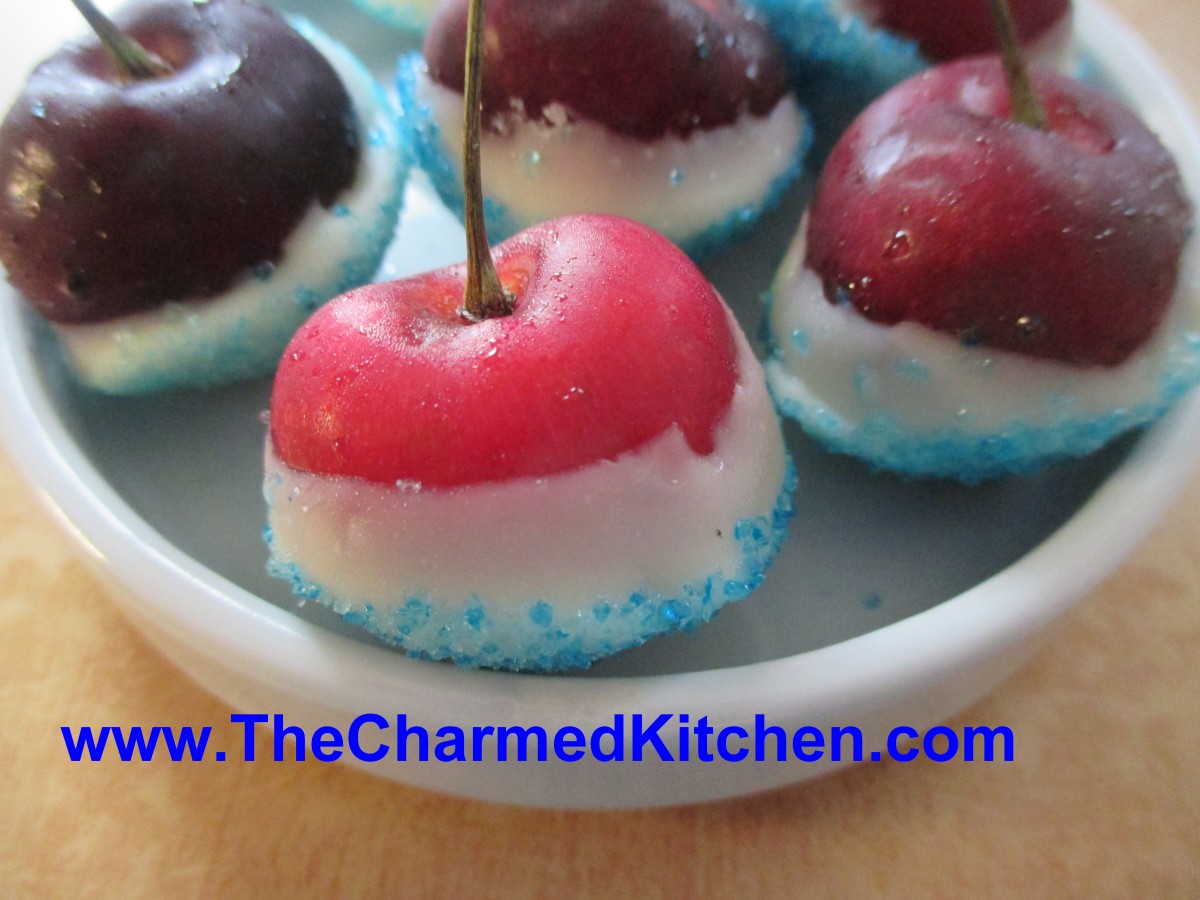
To make the cherry bombs, you will need cherries, white chocolate and blue sugar. If you don’t have blue sugar, you can put granulated sugar in a bag, add a few drops of blue food coloring, seal the bag and shake it up. The sugar will turn blue. You could also use blue sprinkles.

Wash and dry off some large, sweet cherries. Melt white chocolate, stirring until smooth. Dip the cherries in the white chocolate, then the blue sugar. Place on wax paper to firm up. Store in fridge.

Cherry Bombs

Cherry Bombs

These little treats make a great addition to your 4th of July party. They are simple to make, with only three ingredients.  You can make them in no time at all. It is a fun treat for kids to make, too.

Think of the cherry bombs as a type of candy. A simple, sweet treat that can be served just as they are. They can also be used to top a cake or other dessert. You can even garnish a cocktail with them. I did the same thing with strawberries, but “strawberry bombs” did not have the same ring to it.


To make the cherry bombs, you will need cherries, white chocolate and blue sugar. If you don’t have blue sugar, you can put granulated sugar in a bag, add a few drops of blue food coloring, seal the bag and shake it up. The sugar will turn blue.

Wash and dry off some large, sweet cherries. Melt white chocolate, stirring until smooth. Dip the cherries in the white chocolate, then the blue sugar. Place on wax paper to firm up. Store in fridge.

Marshmallows

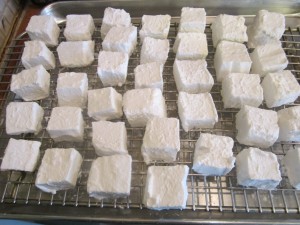
Freshly rolled marshmallows

Homemade marshmallows were a big hit in cooking camp. The kids were fascinated that this little bowl of ingredients would whip up so light and creamy- and sticky. I think that was part of the fun.

They all took turns holding the mixer. It does take 15 minutes of mixing to get the result you want. Use a stand mixer, if you can.

We made classic vanilla marshmallows today, but you can add different flavors and even colors, if you like. How fun to enjoy a S’mores made with homemade marshmallows.

As promised, here is the recipe for making marshmallows. I’ve used this recipe for ages. I like that it is super easy, and still gives you quality marshmallows. I’ve seen more complicated versions- but why make life harder than it already is?


Marshmallows

1/2 c. cornstarch

1/2 c. powdered sugar

small amount of butter

2 envelopes unflavored gelatin, or 6 sheets of gelatin*

1/2 c. granulated sugar

1/3 c. water

2/3 c. corn syrup

1/2 t. vanilla

Combine cornstarch and powdered sugar in a small bowl. Butter an 8x8x2 inch-baking pan. Sprinkle with some of the cornstarch mixture. Reserve the rest of the mixture for use later on. Combine the gelatin, granulated sugar and water in a small saucepan and cook over low heat, stirring constantly until gelatin is dissolved.** Pour gelatin mixture into a large bowl, adding the corn syrup and vanilla. Beat with an electric mixer on high speed for 15 minutes. Be precise on the timing. The mixture will be thick and fluffy, marshmallow cream, actually. Pour mixture into the prepared pan, spread evenly and refrigerate overnight. The next day, sift some of the reserved cornstarch mixture over the marshmallows. Sprinkle some more of the coating mixture on a work surface and turn the marshmallow out onto the prepared surface. Cut the marshmallows into 1-inch squares, coating as you go. The marshmallows are very sticky until completely coated. Allow to dry on a rack. Store in an airtight container for up to 3 weeks. Makes about 4 dozen candies.

You can swap out flavorings- using maybe mint or lemon in place of the vanilla. You can also add a few drops of food coloring, if you like. Oh, and when you are at the rolling the pieces around in the cornstarch and powdered sugar stage of the process- don’t wear black. You’ll thank me later for that.

* Note: 3 sheets of sheet gelatin= one packet (1 tablespoon) of powdered gelatin.

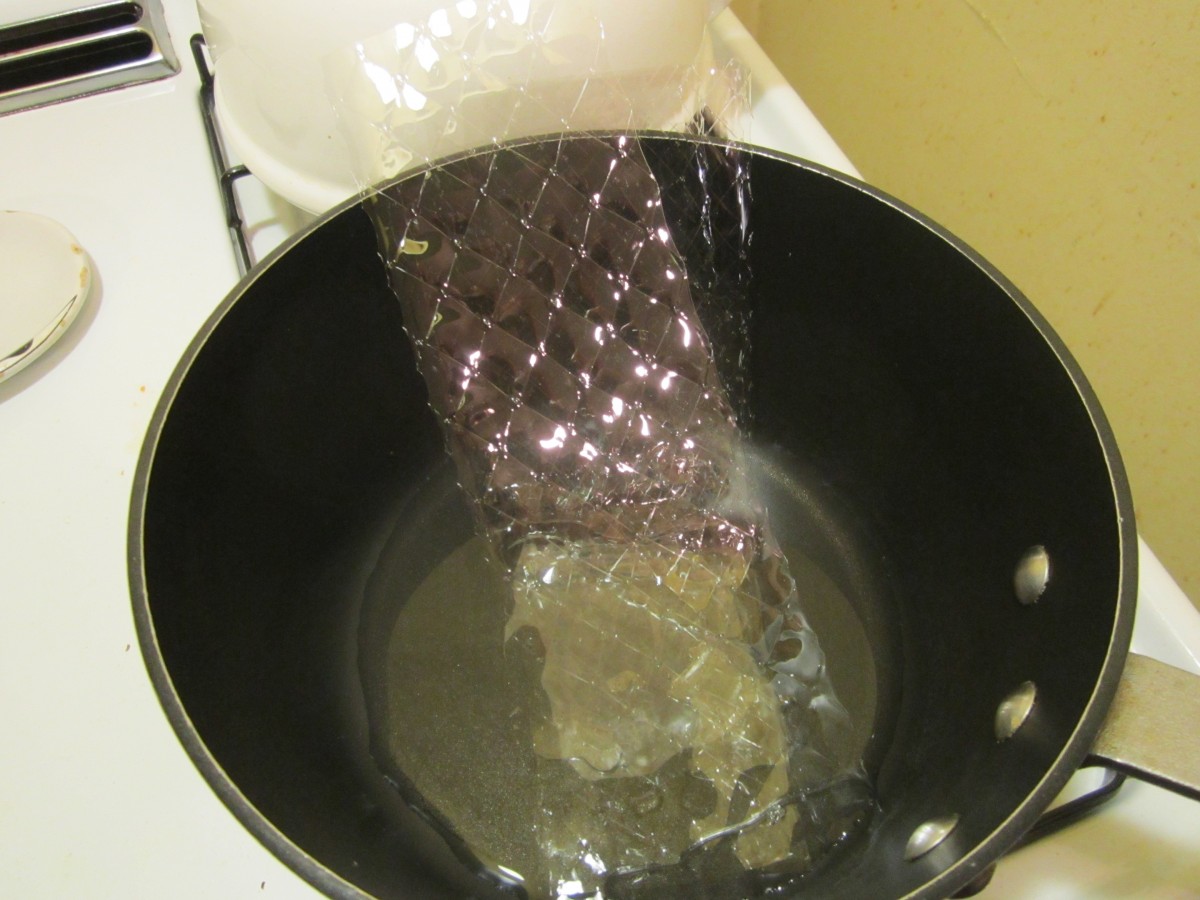
** Note: If you are using sheet gelatin place it in the pan with COLD water and stir until dissolved. Then add the sugar and just cook, over medium-low heat until just warm, stirring often. Don’t let the mixture get too hot or the gelatin will not work.
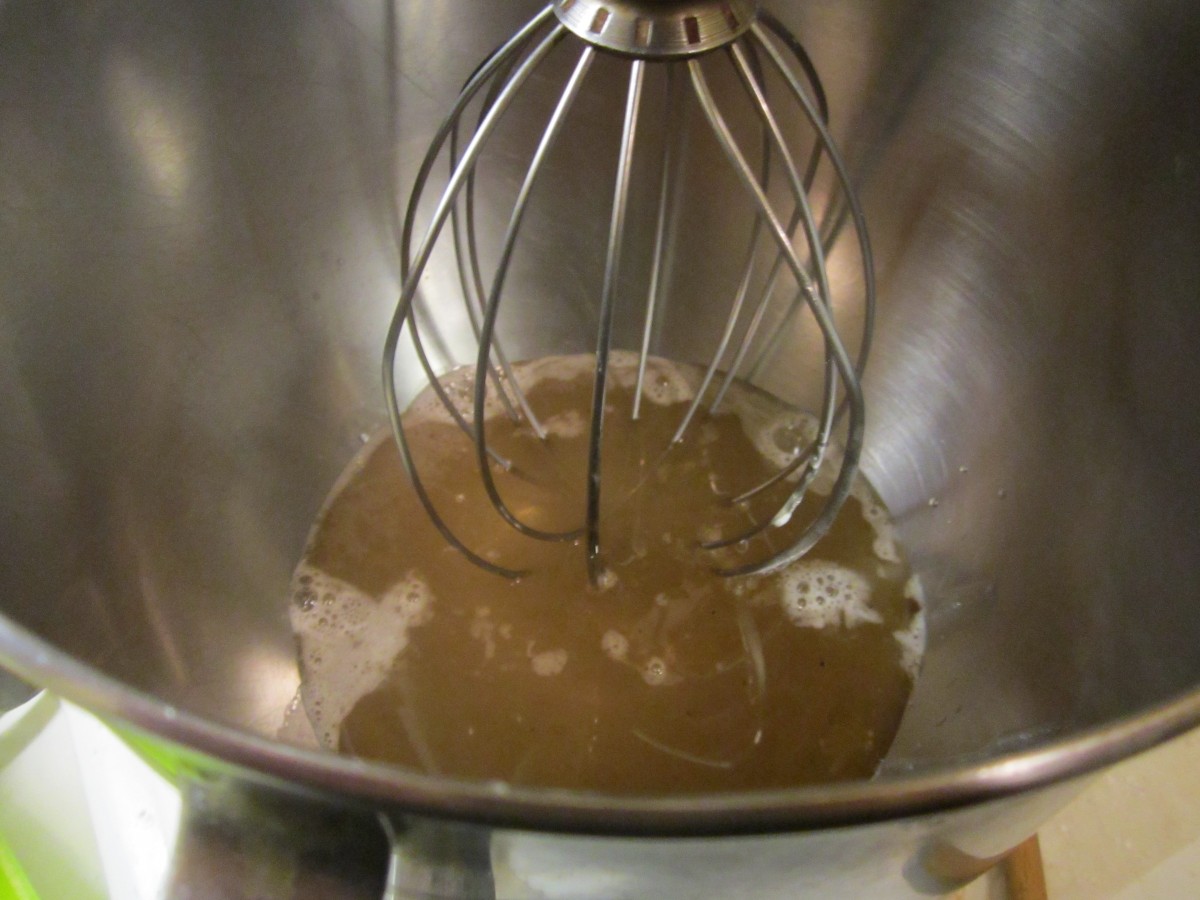
Dissolve gelatin in water
Dissolve gelatin in water

Cook with water and sugar until warm
Cook with water and sugar until warm


Combine with remaining ingredients in mixer
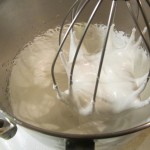
Combine with remaining ingredients in mixer

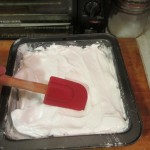
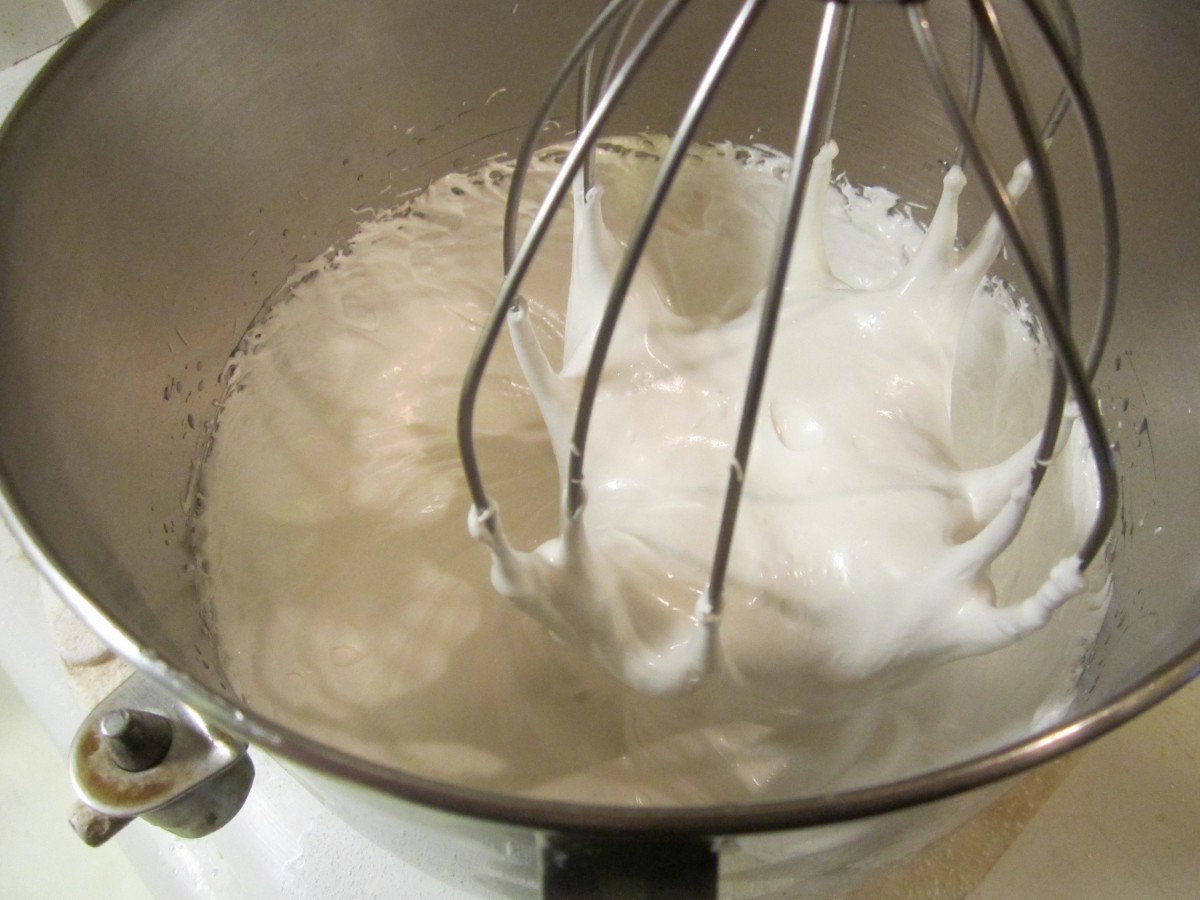
Mixture after 15 minutes of whippig

Mixture after 15 minutes of whipping

Spread in prepared pan and chill
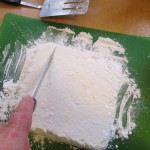
Spread in prepared pan and chill

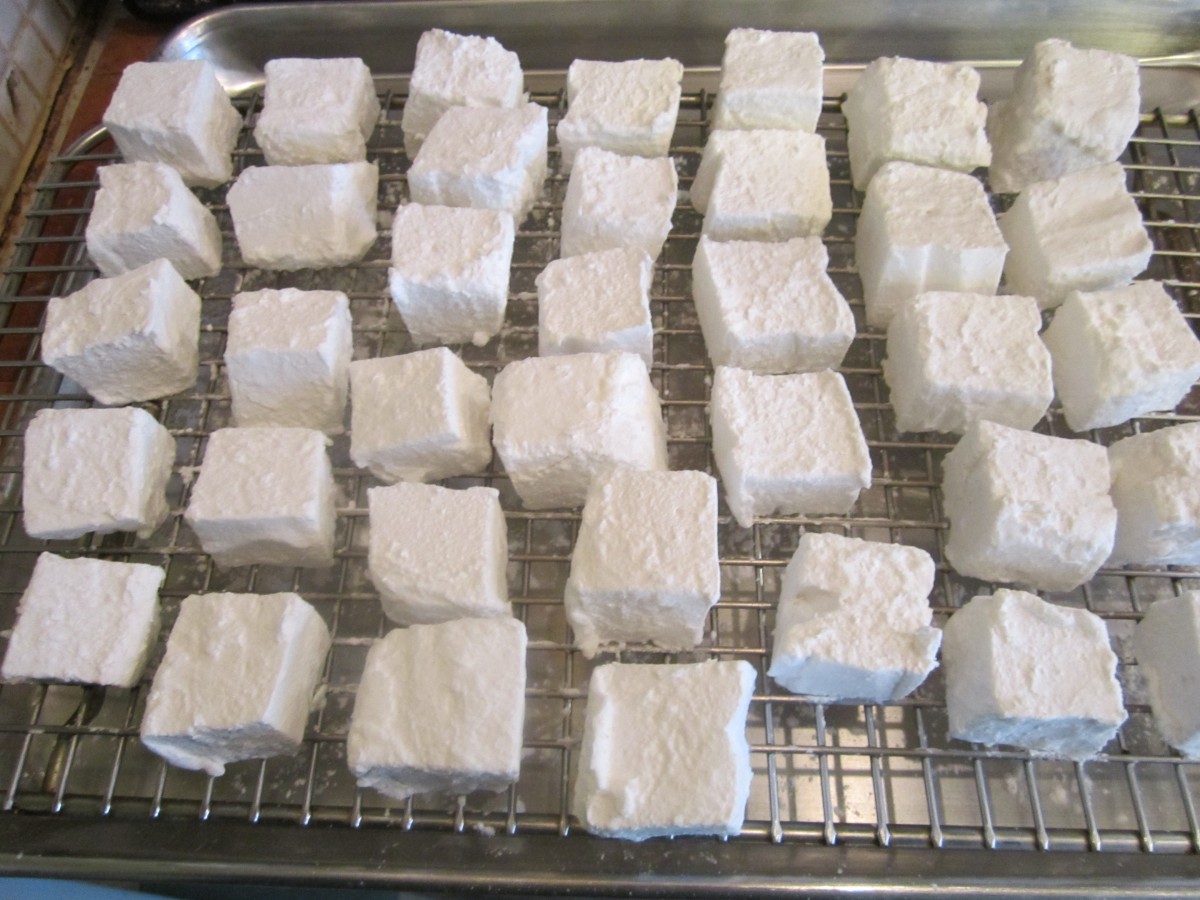
Cut into squares
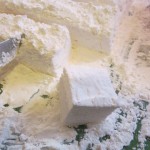
Cut into squares


Roll in cornstarch/powdered sugar mixture

Roll in cornstarch/powdered sugar mixture


Homemade Caramel Apples

Caramel Apple

I did a program with kids earlier this week and we made these caramel apples. The kids loved them and I wanted to share the recipe. Making caramel apples is a wonderful childhood memory for me. Every Autumn, we would make a batch.

We used those little store bought caramels. I was often the one tasked with unwrapping them. I can remember unwrapping one after the other.

I wanted to make my own caramel, so that is what I did with the kids. It is so much better than the store bought version.

Caramel is not that hard to make. You do need to keep an eye on it. Stir constantly. Just a hint, be sure your candy thermometer is really secure. Mine was a little slippy on the pan I was using. At one point the thermometer slid into the caramel. Not what you want to have happen!!!

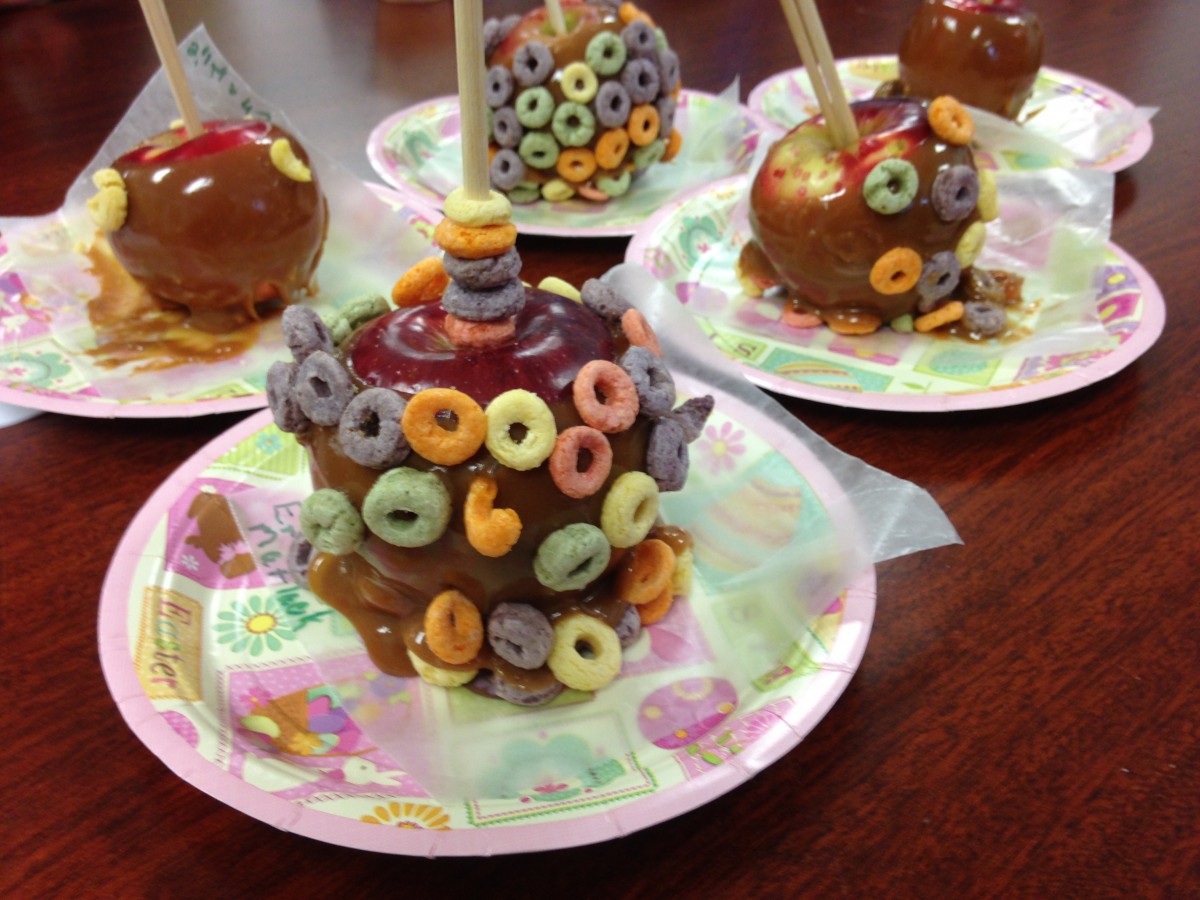
Once dipped in the caramel, you can dip the bottom of the apples in nuts, pumpkin seeds, sprinkles, cereal, or even popcorn.

Homemade Caramel Apples

1/2 c. butter, cut in cubes

2 c. packed brown sugar

1 c. corn syrup

pinch of salt

1 can sweetened condensed milk

2 t. vanilla

8-12 apples

chopped nuts, pumpkin seeds, cereal, sprinkles, popcorn for dipping the bottoms of the caramel apples, optional


In heavy saucepan combine the butter, sugar, syrup and salt. Bring mixture to a boil, stirring constantly. This will take about 10 minutes. Add milk and bring mixture up to 248 degrees. Remove from heat. Stir in vanilla. Place a Popsicle stick, skewer or chopstick down the center of each apple. Dip apples in the caramel, allowing excess to drip off- or not. Dip bottoms of apples into nuts, seeds or whatever ingredient you picked. Place on wax paper and allow to set up. If you don’t want to dip the bottoms in anything, place the dipped apples on lightly buttered wax paper. Cool before serving. Makes 8-12 caramel apples.

Note: You could also use pears in the recipe.

The kids dipped their apples in cereal.