I was recently given some beautiful blackberries. I decided to make
scones with some of them. Warm from the oven, with a cup of coffee or
tea, these are hard to beat.
The secret for tender scones is not to over work the dough. The dough for these scones is scooped onto a baking sheet, rather than being rolled and cut out. Stir until ingredients are just combined. Plus, you don’t want to mash the berries. This recipe could not be any easier to make. The dough can be prepped in the time it takes to preheat the oven.
While scones are traditionally served for breakfast or brunch, I
often use them as a dessert. These scones make a great shortcake.
For shortcakes, just split scones add fill with some seasonal fruit,
sweetened, if you like. Top with ice cream or whipped cream. Easy
dessert and perfect end to a summer dinner.
Here is the recipe for the scones.
Fresh Blackberry Scones
2 c. flour
1/3 c. sugar
1 T. baking powder
¾ t. salt
6 T. chilled butter
2 c. blackberries, fresh preferred, but you could use frozen
1 t. orange zest
2 large eggs
1/3 c. heavy cream or half and half
Mix dry ingredients together in bowl and cut in butter to resemble
coarse crumbs. Toss in berries and zest. Beat together eggs and cream
and stir into flour mixture. Mix very gently to avoid bruising berries.
Use 1/2 cup ice cream scoop to scoop batter onto a baking sheet.
Sprinkle with a little extra sugar, if you like. Bake in a preheated
375-degree oven for 22-24 minutes. Makes 10-12.
I can’t get enough of peaches these days. I have been eating them fresh, making preserves, freezing peaches and cooking with them. This recipe is one of my favorites.
I hadn’t made them in a long time, so I decided today was the day. Now I remember why I liked them so much. Perfect crumbly texture, not too sweet, and that streusel topping.
They can be for more than breakfast, too. Split, topped with sweetened fruit and ice cream, these muffins make a great “shortcake” dessert.
While they are really great warm from the oven, these muffins are still fine the next day, or even the day after that, assuming they last that long. They freeze, well, too.
Streusel Peach Muffins
Streusel topping:
1/3 c. flour
1/3 c. brown sugar
½ t. nutmeg
4 T. cold butter
Batter:
2 c. flour
½ c. sugar
¼ c. brown sugar
1 T. baking powder
1 t. cinnamon
½ t. nutmeg
½ t. salt
½ c. cold butter- 1 stick
2 eggs
¾ c. half and half or buttermilk
1 t. vanilla
1 c. finely chopped fresh peaches, about 1 large
½ c. finely chopped pecans, optional
Heat oven to 375. Line 15 muffin tins with paper liners or grease
them. Set aside. Make streusel by mixing together flour, sugar and
nutmeg in a small bowl. Use your fingers, or a pastry blender, to cut
the butter into the flour mixture until it resembles coarse crumbs. Set
aside. Make batter: In medium bowl combine flour with sugars and other
dry ingredients. Mix well. Cut in butter until mixture resembles coarse
crumbs. In small bowl beat eggs and add half and half and vanilla. Stir
into flour mixture and fold in until just mixed. Mixture will look
lumpy. Fold in peaches and nuts, if using. Scoop batter into prepared
tins, filling about ¾ full. I get more than 12 from this recipe-
normally about15, but it depends on how full you fill them. Sprinkle the
tops with streusel. Place muffin tins on a baking sheet and bake for 20
or until golden brown. Cool a little before serving, if you can wait.
Tomatoes are in season and I am loving it. I have been enjoying tomato sandwiches, tomato salad and fresh tomato sauce.
This is a great recipe for some of those tomatoes. A simple soup, with lots of flavor, it is a favorite of mine. So much better than the canned tomato soup of my childhood.
I enjoy it served hot, but this soup can also be served cold. On a hot day, this soup, served chilled, is a wonderful change from a salad with dinner.
I prefer to use fresh tomatoes, but I have used my home canned tomatoes, in a pinch.
If you want a stronger tomato flavor- use a couple extra tomatoes.
Cream of Fresh Tomato Soup
3 medium-sized ripe tomatoes
1 small onion, chopped fine
1 rib celery, chopped fine
3 whole cloves
1 small bay leaf
3 T. butter
3 T. flour
1 t. salt
3 c. milk or half and half
Peel and chop tomatoes. Place tomatoes in saucepan with onion,
celery, cloves and bay leaf. Bring mixture to a boil; reduce heat and
cover, simmering 15 minutes. Melt butter in a large saucepan then stir
in flour and salt. Cook mixture until bubbly. Add milk and cook until
thickened, stirring constantly. Puree tomato mixture through a strainer,
food mill or in a blender or processor. Add to milk mixture and heat
through. Serves 6.
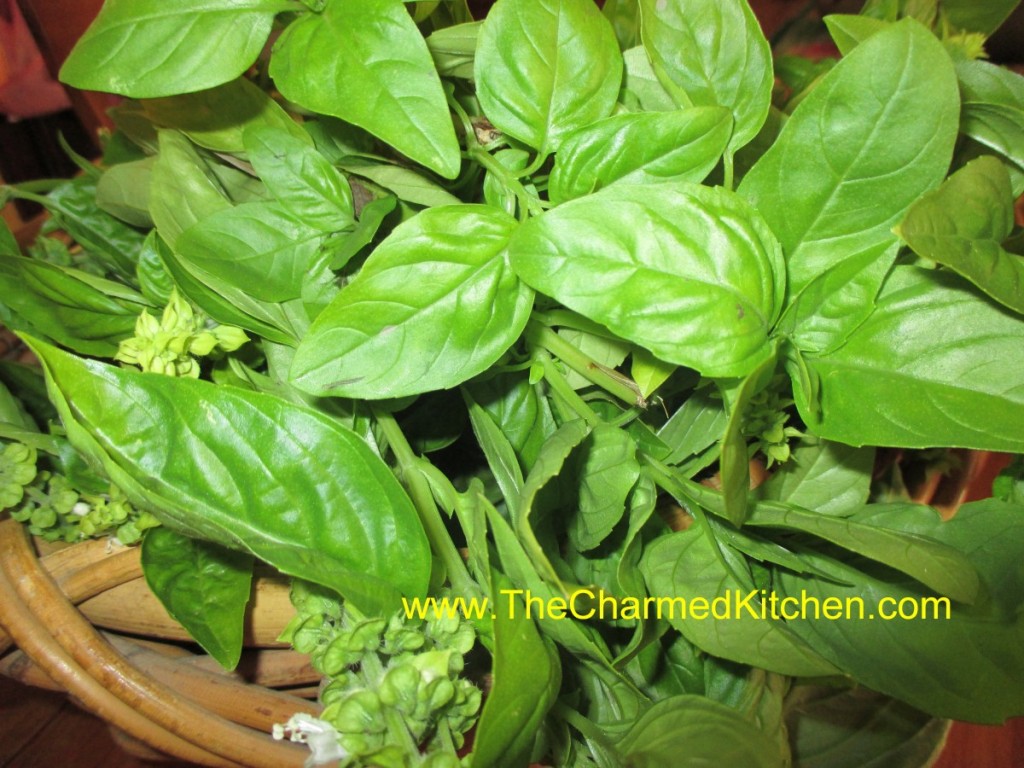
This time of year, I am looking to preserve as many herbs as I can,
to enjoy year round. Basil is one of my favorites. I grow, and use, a
lot of it. I am doing a major harvest of basil today. Some will be
frozen in olive oil, some dried, and some added to vinegar.
None of the preservation methods is difficult. Basil can be tricky to
dry, though. Unlike a lot of herbs, basil does not air dry well. I have
a dehydrator, but if you don’t have one, you can still dry your basil
successfully. Believe it or not, you can dry basil, and other herbs, in a
microwave. Directions follow.
So I am off to harvest my basil. One thing is sure- my house will smell really good today.
Freezing in Oil
To use basil in pesto sauce, dried just won’t do. You can easily
freeze your basil in olive oil and have it ready whenever you want it.
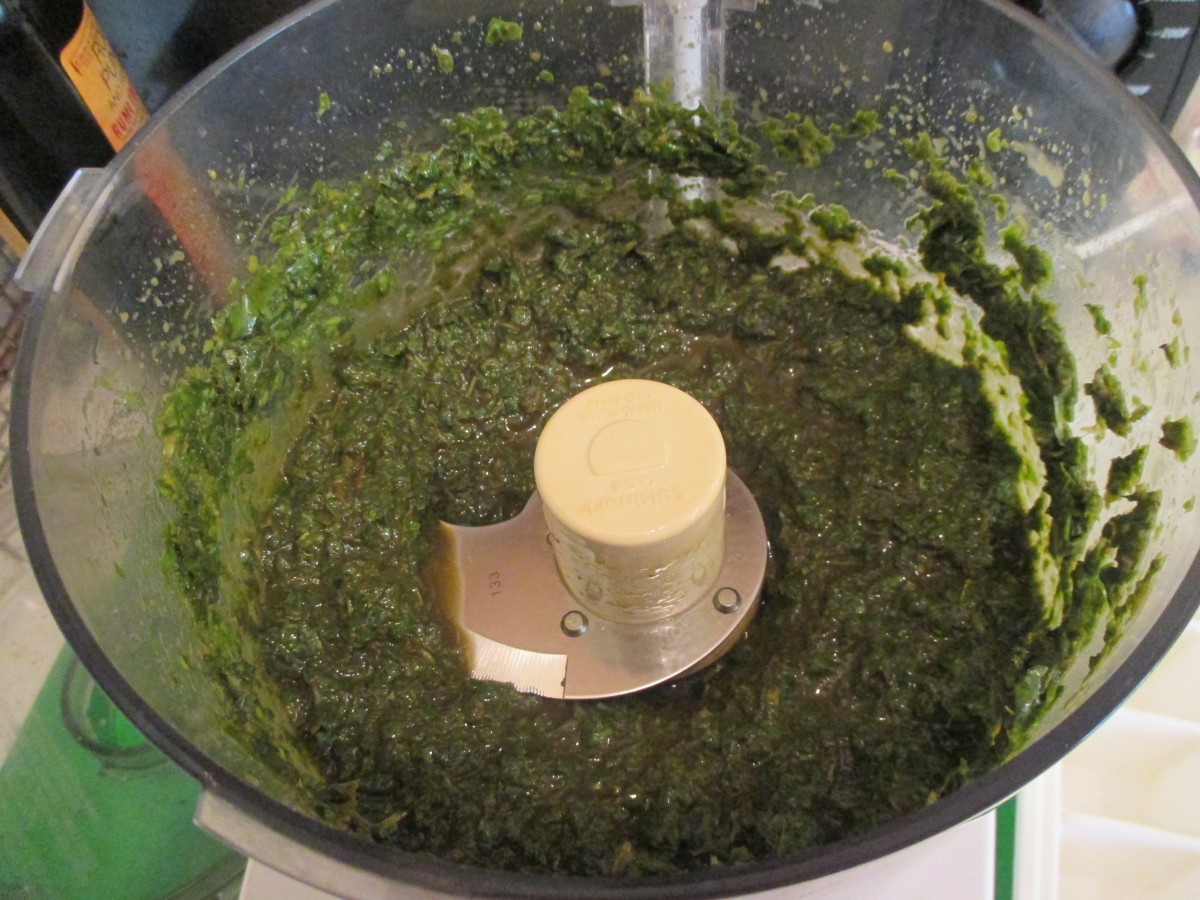
Just place clean basil leaves in a blender or food processor and add
olive oil. It is important that you use olive oil because it freezes
solid. While the machine is running pour in oil until basil is blended. I
use very little oil for two reasons. It takes up less room in the
freezer and I don’t need so much oil. I can add more oil when I use it,
but this way if I am doing a big batch i don’t go through all my oil.
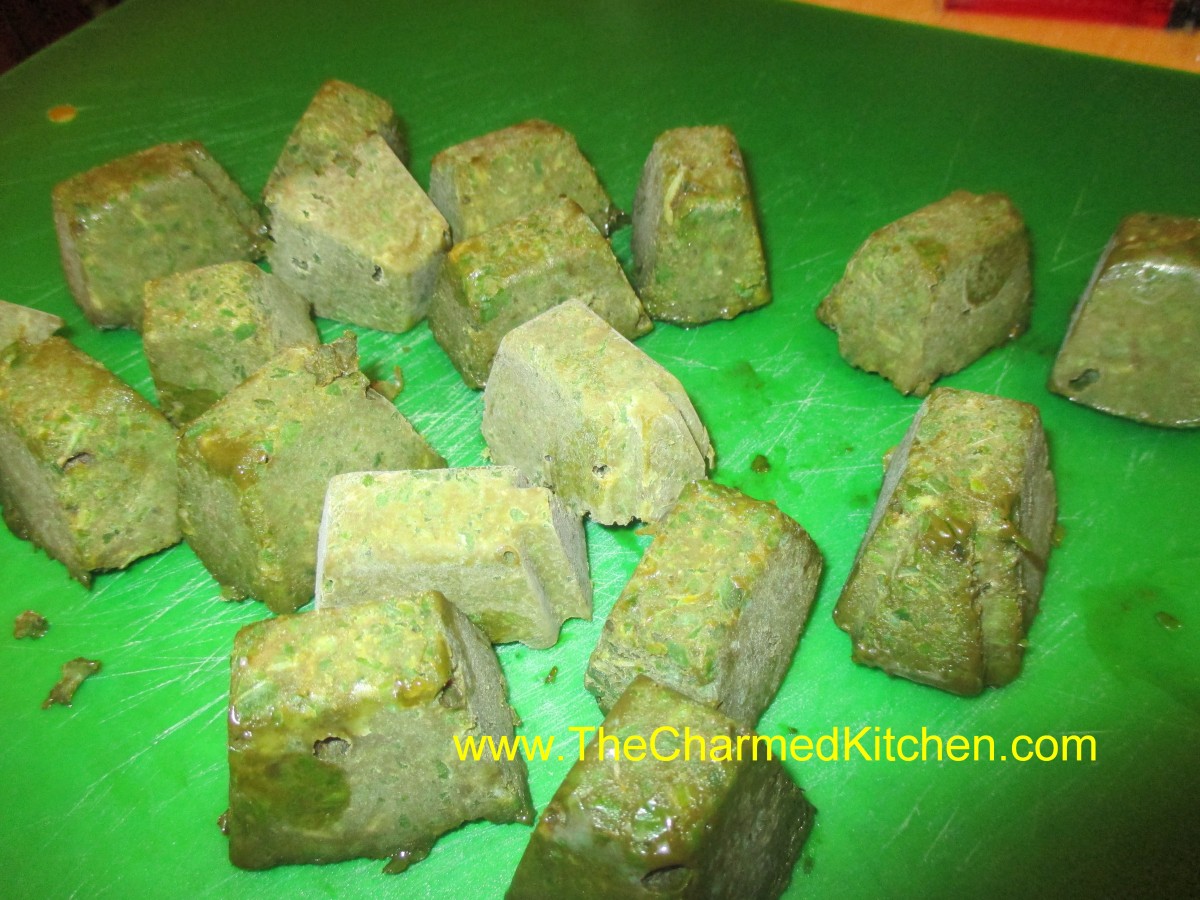
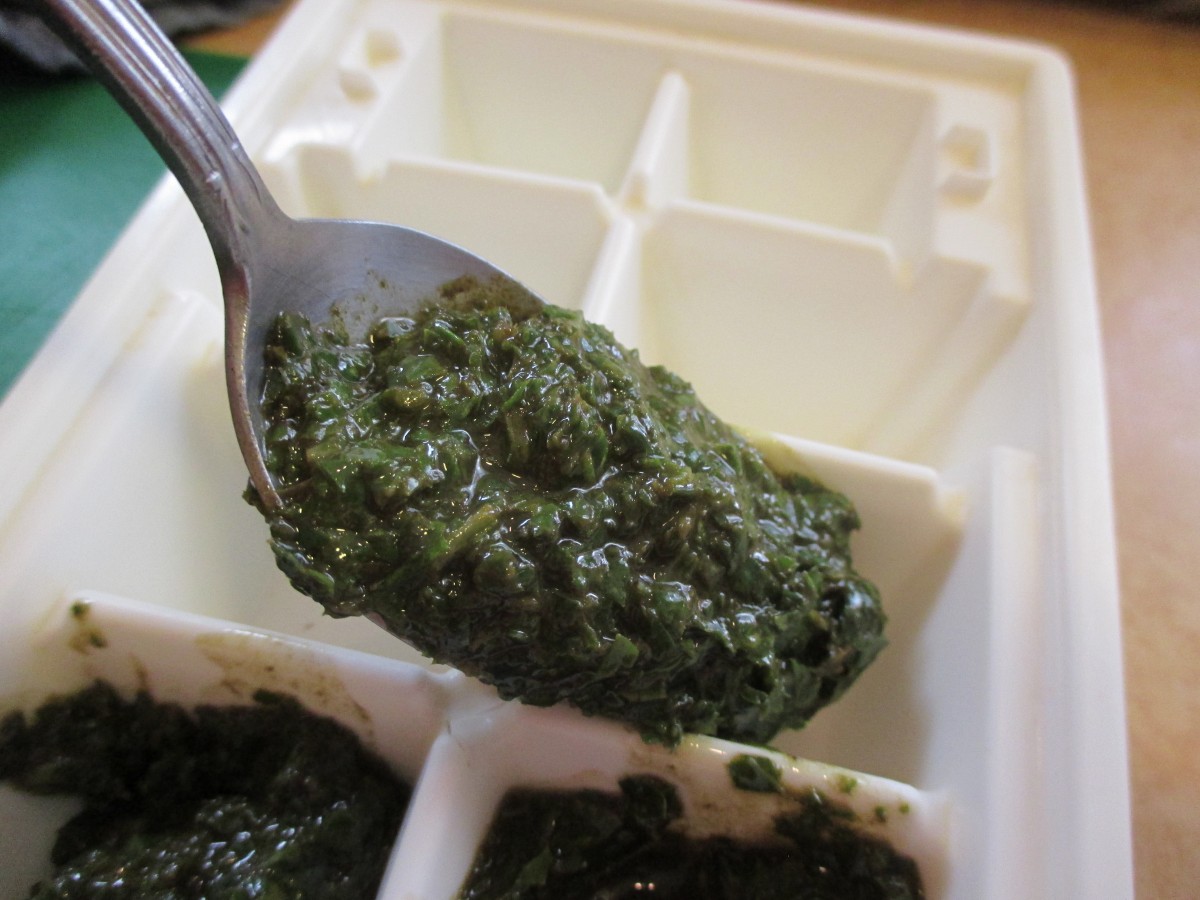
Once the mixture is blended pour or spoon it into ice cube trays and
freeze. Once frozen solid pop out the basil cubes and put in freezer
bags and return to the freezer.You can also freeze chopped basil without
the oil. I like it better in the oil, but I freeze other herbs by just
chopping them up and freezing them.
Frozen Basil Cubes
Process basil and olive oil until smooth
Spoon mixture into ice cube trays and freeze
Microwave Drying
If you don’t have a dehydrator you can dry herbs in your microwave.
It only takes a couple of minutes per batch. Just place a handful of
fresh, clean basil leaves in a linen-type kitchen towel. Fold the towel
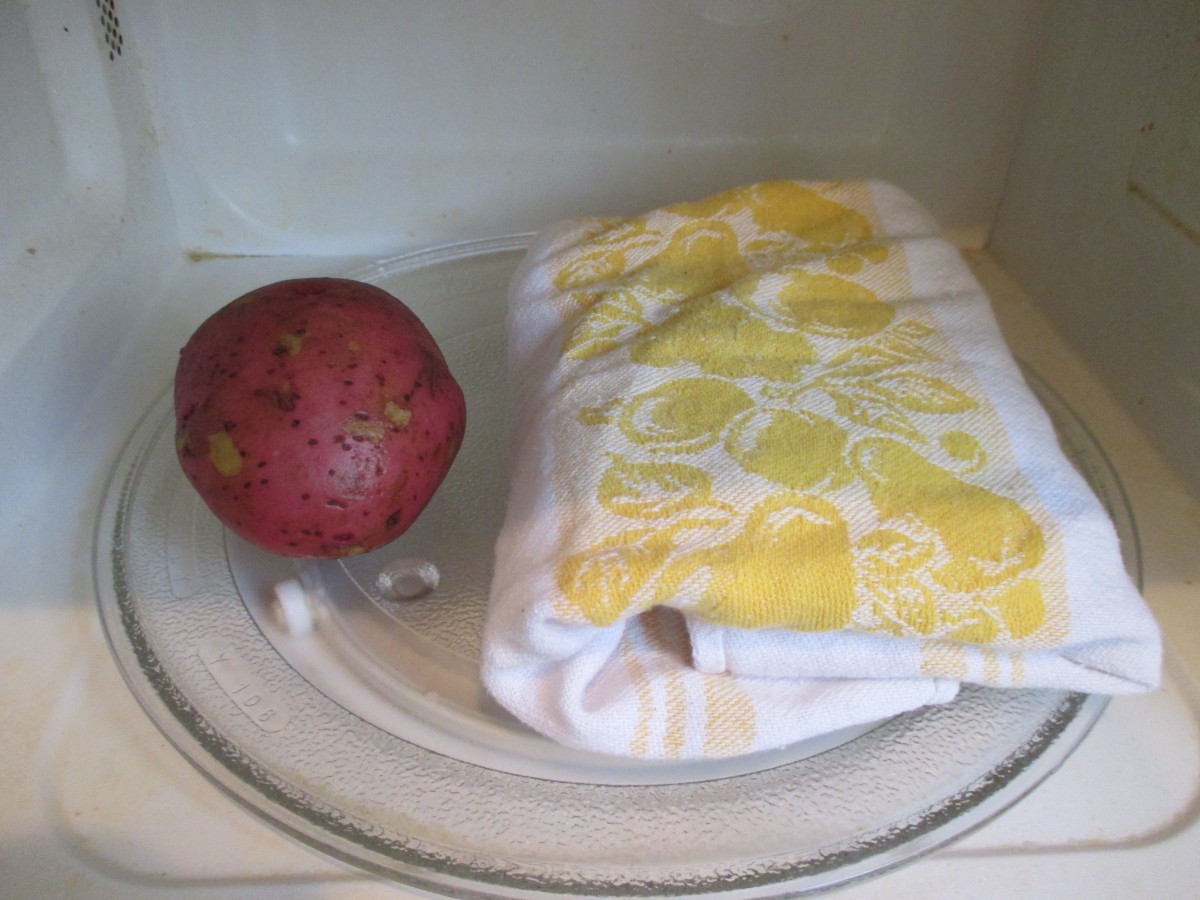
over the herbs and place in the microwave. Be sure to put a raw potato
in with the herbs in the oven. If you only put the herbs in, it is like
running the oven empty and can damage the microwave. Just put the potato
off to the side. If you do several batches you will have a baked
potato. ? If you have a turntable, just cook on high for 2 minutes.
Check and see if they are dry- you might need a little more time. I need
about 2 1/2 minutes in my microwave. Better to put them in for 15 more
seconds at a time than to over dry them. If you don’t have a turntable
microwave on high for a minute. After the first minute turn the herbs
1/4 turn and cook 15 seconds, turn again and cook another 15 seconds.
Repeat four times in all. You can dry other herbs in the microwave.
Small leaved herbs like thyme are done even faster. Remove the herbs
from the oven and allow them to cool. check if they are dry enough and
return, wrapped to cook longer if needed. Store in containers in a cool
place.
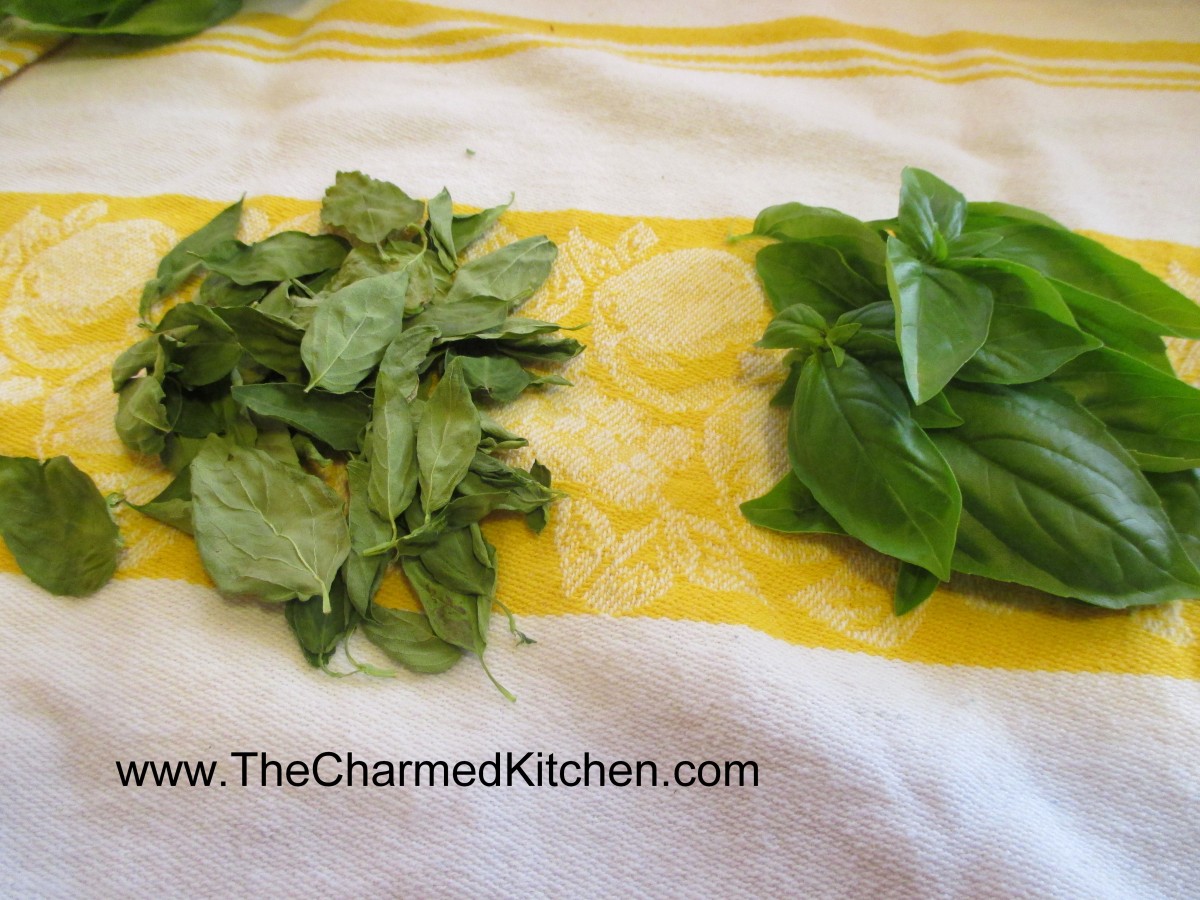
Microwave dried basil on the left and fresh basil on the right
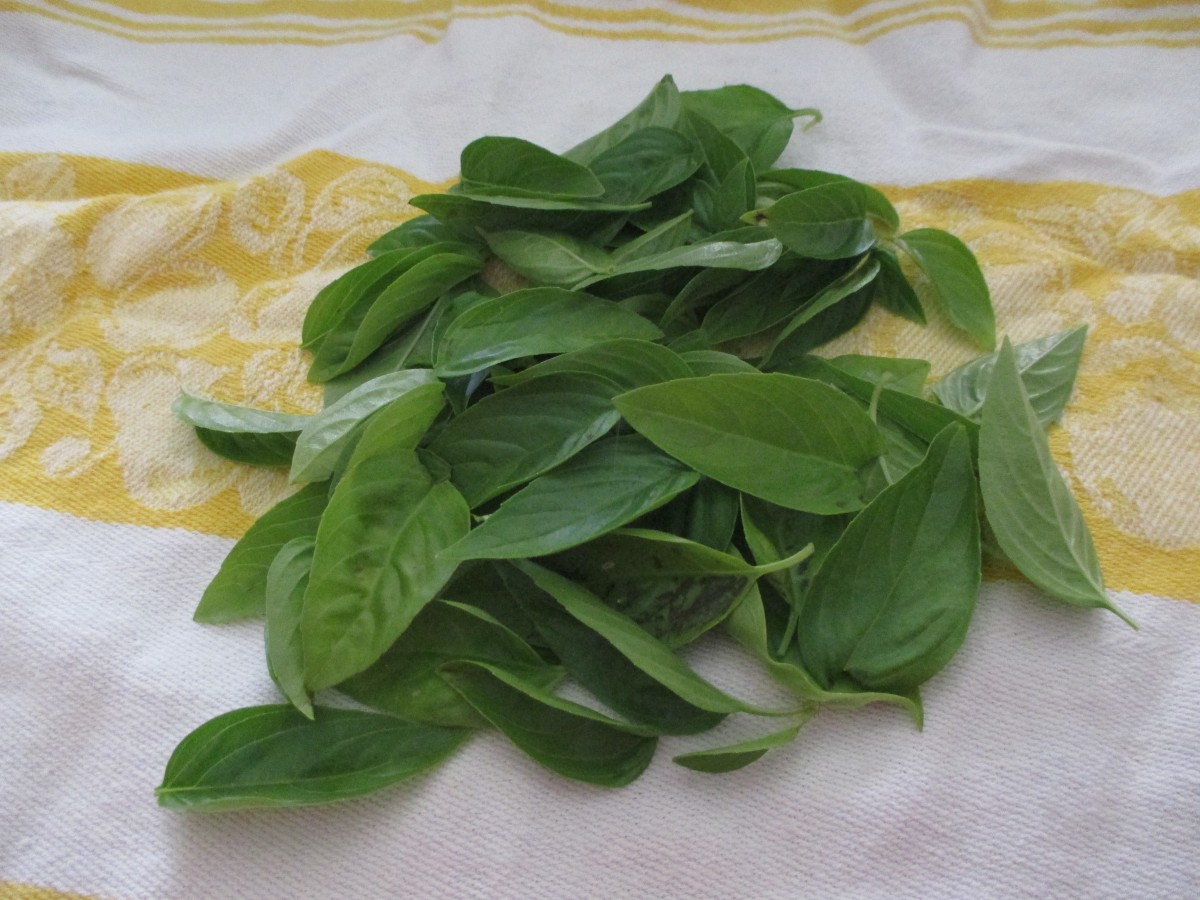
Place fresh basil on a towel and fold towel over the herbs
Place in microwave with a potato
All microwaves are different. Some will take longer and some even
less time. Watch your herbs carefully. While I have never seen it happen
I was told once that theoretically, they could catch on fire if left in
too long. Urban legend perhaps, but just be careful.
Herb Vinegar
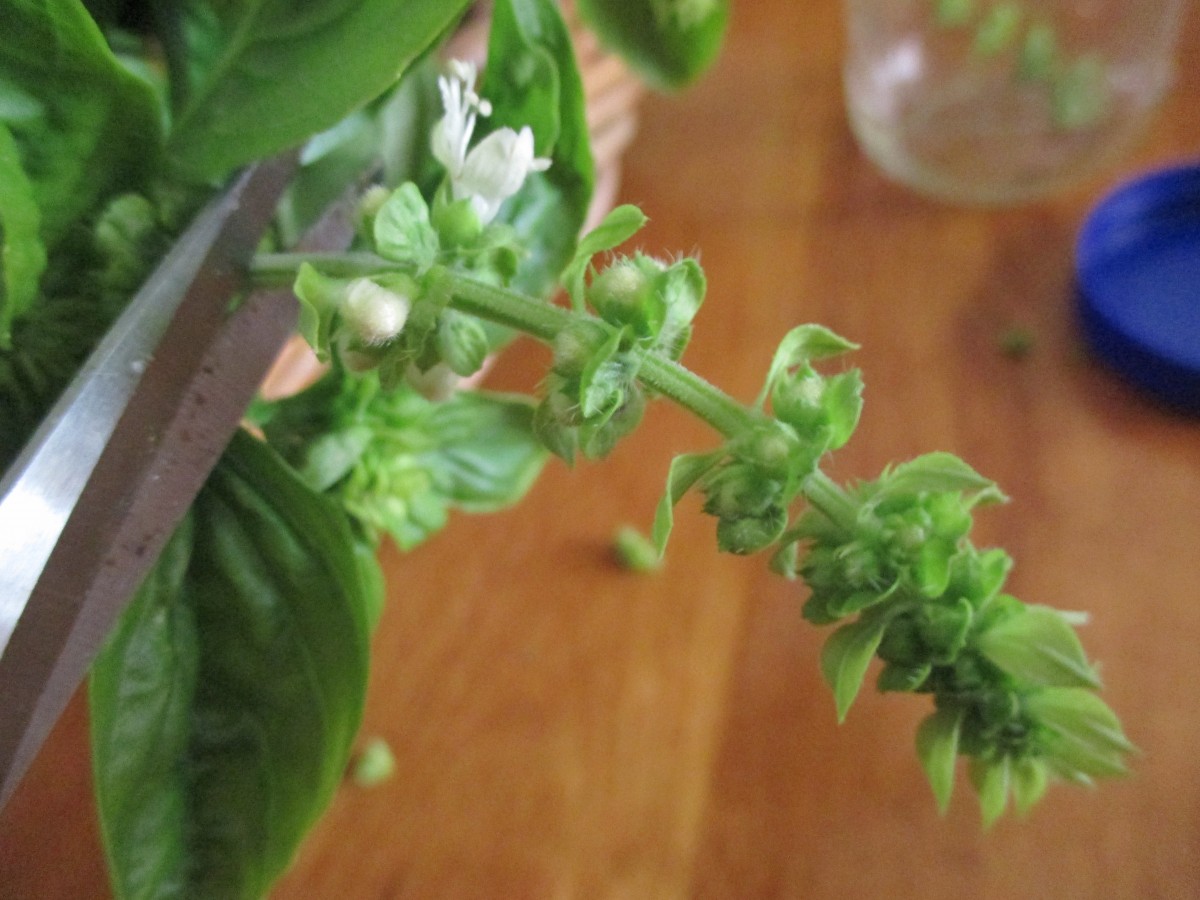
When I grow basil, I try to keep the blossoms pinched off. Better for
leaf production. But by this time of year some are blooming. Rather
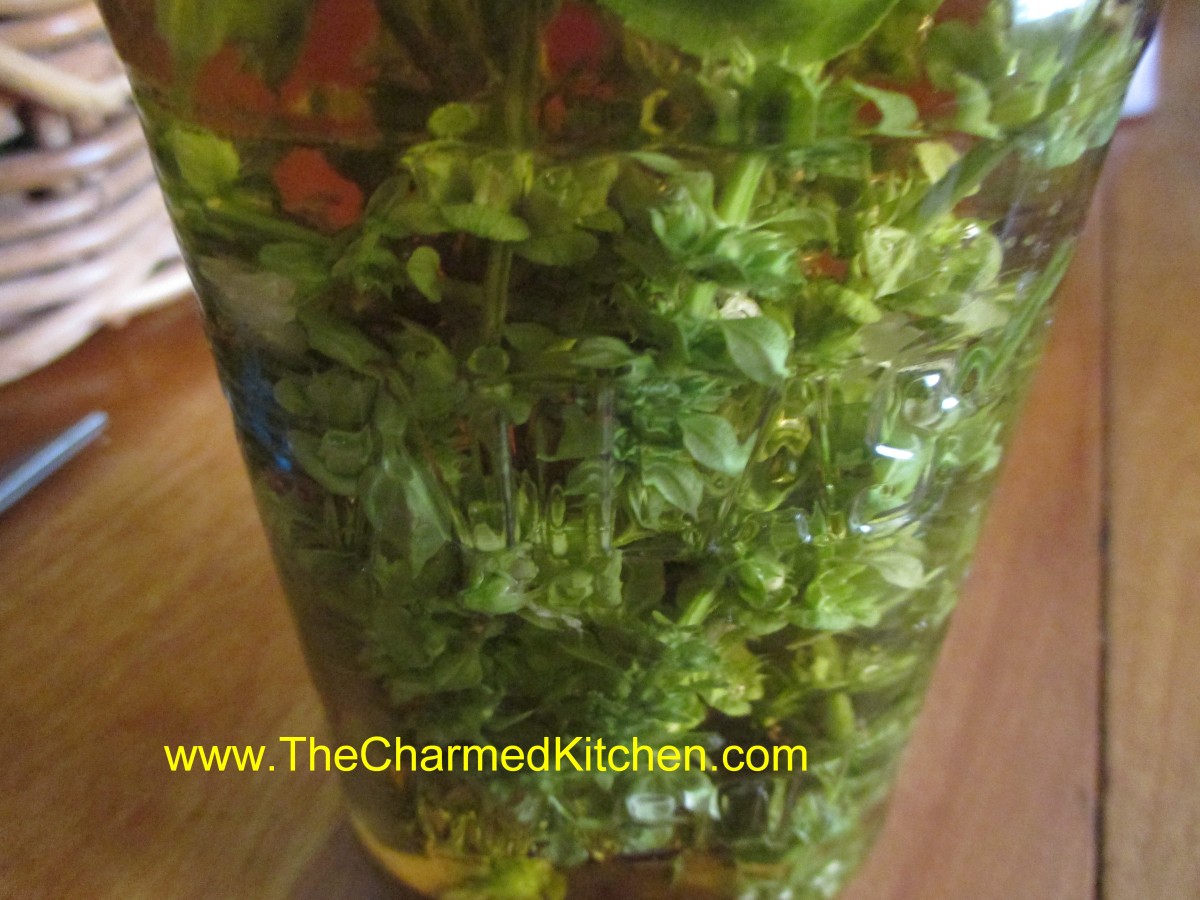
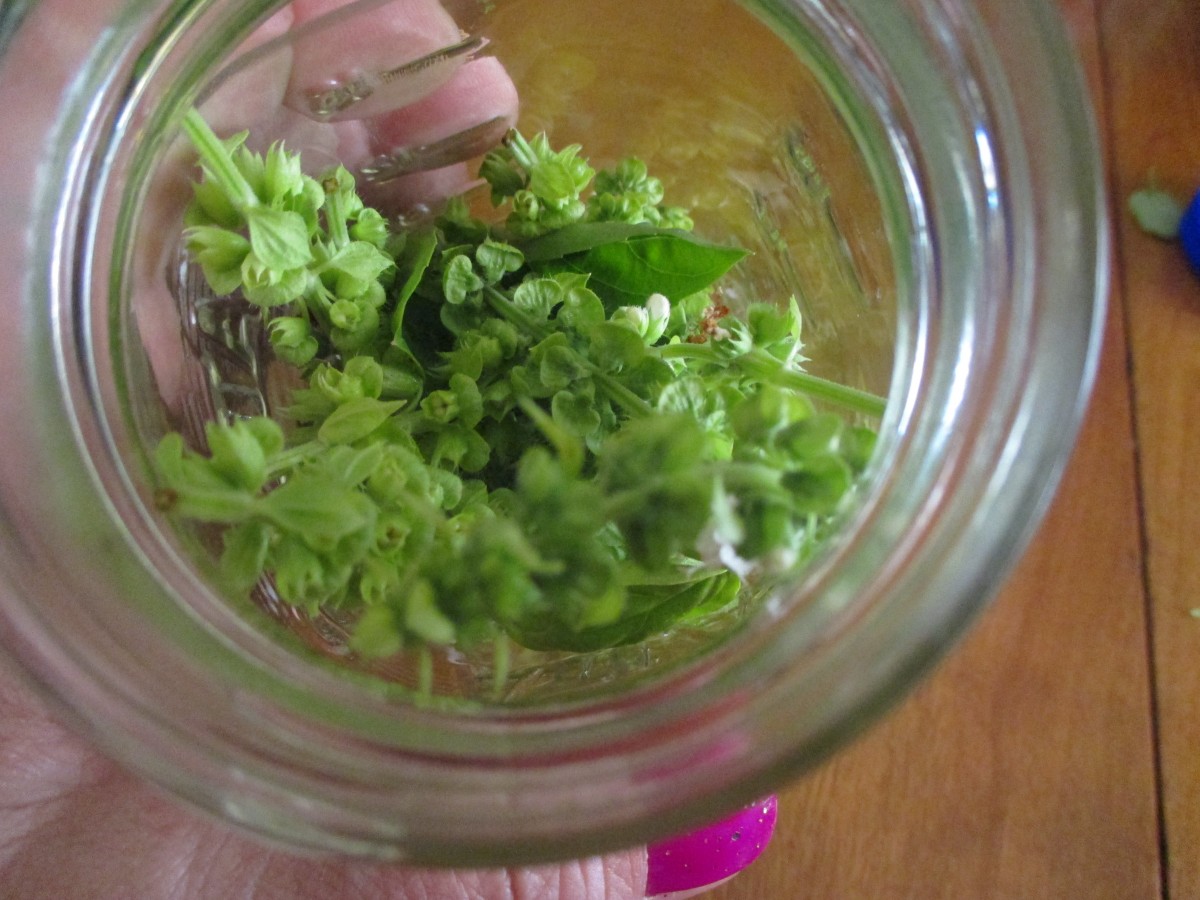
than dumping the blossoms you can use them to flavor vinegar. Just snip
off the blossoms and place them in a sterilized bottle or jar. Use
several sprigs of basil flowers for every 2 cups of vinegar. Make sure
the vinegar is at least 5% acidity. I like to use different vinegars for
different herbs. I often use cider vinegar, red wine vinegar (for
purple basil) and white wine vinegar. Leaves can be used, too. Vinegar
should be heated up to 190 degrees- or just below the boiling point.
Close up the jar and store in a cool place (50-70 degrees) for a couple
of weeks. Before using strain out the herbs and filter- I use coffee
filters or you could use cheese cloth. Store in a pretty bottle, if you
have one. They can be kept for up to a year when stored in the fridge.
Peaches are is season and I am loving it. Besides eating them fresh, I have been enjoying them in all sorts of dishes. Peach jam, peach ice cream, peach scones…. the list goes on.
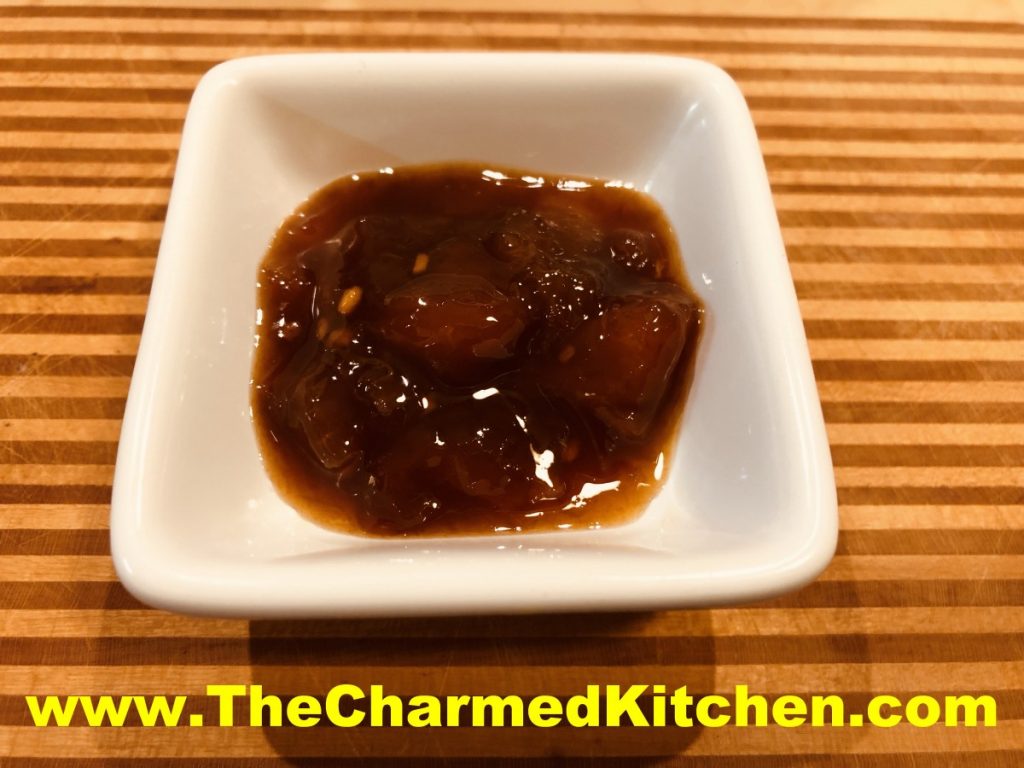
This chutney is one more way to take advantage of peach season. Chutney is a dish that walks the line between savory and sweet. I made this batch a little spicy. The heat pairs well with the sweetness of the fruit. Feel free to adjust heat to suit your own taste.
You can serve this chutney like a relish, on the side. Or, use it like a sauce, adding to meats when cooking. Another option is to use it as a glaze, brushing it on meats while baking or grilling. A vegetarian option is brushing it on grilled portobello mushrooms or eggplant slices.
I have served chutney with a cheese board, too. Fun and easy addition to the appetizer menu.
So here is the recipe.
Fresh Peach Chutney
5 medium peaches, peeled, pitted and diced
1
medium onion, peeled and chopped fine
½
c. cider vinegar
½
c. sugar
½
c. water
2
T. honey
2
T. lemon juice
2
T. minced garlic
1
T. soy sauce, or a little more to suit your taste
½
t. red pepper flakes, or more for a spicier chutney
1
T. cornstarch
2
T. cold water
Combine all ingredients in a saucepan, except cornstarch and the 2 tablespoons of cold water, and cook over medium heat until peaches are tender and onion is translucent, about 15 minutes. Stir occasionally to avoid burning. Combine cornstarch with the cold water and stir until smooth. Slowly add to simmering chutney while stirring constantly. Mixture will thicken. Adjust seasonings, if needed. Makes about 3 cups. Will keep in fridge a couple of weeks- can be frozen.
Serve
with pork or lamb. Great with duck or chicken, too. You can also serve as an
appetizer with cheese and crusty bread.
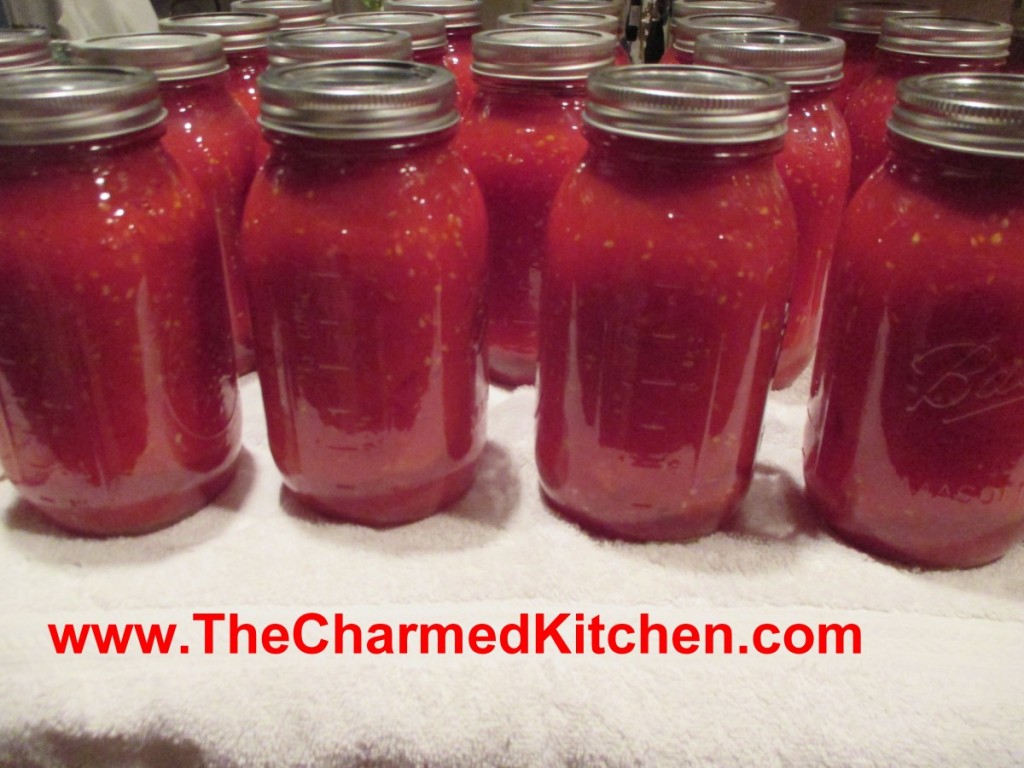
I love my home-canned tomatoes. They taste so much better than anything than comes in a can. Worth the effort.
You have options when canning tomatoes- crushed, juice, sauce- and more. The one option you won’t see for home- canned tomatoes is diced. There is a reason for that. When tomatoes are canned commercially, calcium is added to keep them firm. That is why commercially canned diced tomatoes hold their shape. Home canned diced tomatoes will just cook down, get very soft and not hold their shape. Canning tomatoes whole will give you a firmer end product, if that is what you want.
I have been asked several times in canning classes, if it is safe
to can yellow or orange tomatoes. We have all heard that yellow and
orange tomatoes are lower in acid, so are they still safe to can? The
answer is yes, they are safe to can.
Why?
In spite of you might have been told, orange and yellow tomatoes are not acid free or low acid.
Truth is, that yellow and orange tomatoes have just as much acid as red tomatoes.
Well, for the most part at least. In terms of acidity or Ph, yellow
and orange tomatoes are about average. Some cultivars have more, some
less. Bottom line is that all tomatoes are safe to can- as long as you
acidify them.
Adding salt is optional, and is for flavor only. Use canning/pickling salt or non-iodized salt when canning.
Here are some popular canning recipes to get you started.
All follow the NCHFP (National Center for Home Food Preservation) recommended procedures.
Crushed Tomatoes
Peel and core tomatoes , trim off any bad spots and quarter. Place
about 1/4 of your prepared tomatoes in the kettle and cook, stirring
constantly over high heat. Use a potato masher to crush tomatoes and
extract juices. Once they are boiling add remaining tomatoes, stirring
constantly. You don’t need to crush these tomatoes. Bring to a boil and
boil for 5 minutes. In clean, hot jars add needed acidity listed below.
You can also add 1 teaspoon of canning salt per quart if desired. Ladle
in hot tomatoes, leaving 1/2-inch headspace. Wipe jar rims clean and
adjust lids. Process in boiling water bath. Pints 35 minutes, quarts, 45
minutes. 1,000-3000 ft over sea level add 5 minutes. Twenty-two pounds
of tomatoes will yield about 7 quarts of tomatoes.
Whole Tomatoes in Juice
Use any extra tomatoes to make juice. I use tomatoes that are too big
to can whole, or those that have blemishes that need to be trimmed. Cut
up clean, unpeeled tomatoes in a kettle and cook, stirring often until
tomatoes are mushy. Strain mixture, pressing on solids or run through a
food mill or tomato juice extractor. Set aside,. Place peeled, whole
tomatoes in kettle and add enough tomato juice to cover them. Heat to a
simmer and simmer gently 5 minutes. Add lemon juice or citric acid to
jars, using amounts listed below. Add salt, if desired. Add tomatoes and
cover with hot juice, leaving 1/2 -inch headspace. Wipe rims and adjust
lids. Process both pints and quarts 85 minutes in a boiling water bath.
Tomato Juice
Wash, stem and trim bruises off tomatoes. Cut into chunks. Add about 1
pound of tomatoes to kettle and bring to a boil while crushing.
Continue to add additional cut up tomatoes slowly, keeping mixture
boiling. This will keep the juice from separating later. Simmer an
additional 5 minutes once the tomatoes have all been added. Press
mixture through a strainer , sieve or food mill to remove seeds and
skins. Add lemon juice or citric acid to jars according to directions
listed below. Add salt if desired. Return juice to boil and add to
prepared jars leaving 1/2-inch headspace. Wipe rims and adjust lids.
Process n a boiling water bath pints 35 minutes and quarts 40 minutes.
Add 5 minutes processing time at elevations between 1,001 and 3,000 ft.
Tomato Sauce
Prepare as for juice. After juice is made return to pot and start
cooking down to desired thickness. You’ll lose about 1/3 of the volume
for thin sauce and 1/2 of the volume for thick. Add lemon juice or
citric acid to prepared jars as described below. Add salt if desired.
Add boiling sauce leaving 1/4 -inch headspace. Wipe rims and adjust
lids. Process in a boiling water bath 35 minutes for pints and 40
minutes for quarts. Add five minutes at 1,001-3,000 ft. elevation.
Acidity and Tomatoes
Tomatoes must be acidified before canning. When canning either whole,
crushed or juiced tomatoes you must add either 2 T. bottled lemon juice
per quart or 1/2 t. citric acid . For pint use 1 T. lemon juice or 1/4
t. citric acid. You can also use 4 T. (5%) vinegar per quart, but it
will alter the flavor and is not recommended. You can add a little sugar
to offset the flavor, if you like.
I remember making melon balls for fruit salad, when I was a kid. My mom showed me how. It always seemed like a special occasion when we made them. I had to learn how to use the melon “baller” to get pieces that were all perfect little rounds.
I will admit, I haven’t made melon balls in a long time, but I still like the way they look.
I used melon balls at the inspiration for this dish. Funny thing is- there isn’t any melon in the dish. I made three different sorbets- strawberry, mango and kiwi. Each one is meant to resemble a different melon- watermelon, cantaloupe and honeydew. You can, of course, make sorbet from melons. I just didn’t happen to do that.
They can be served alone and make a light, wonderful dessert. You can
add a scoop of ice cream or whipped cream, if you like. They can also
be served with cake or cookies. You can even add some to a glass of
lemonade or a summer cocktail, just for fun.
This dessert is easy to make and a nice alternative to ice cream.
Don’t get me wrong, I love ice cream, but sometimes I want something
lighter. Nice for those who are lactose intolerant, too. Once made, you
can have them on hand for dessert anytime.
Strawberry Vanilla Sorbet
2 c. fresh or frozen strawberries (allow frozen berries to thaw a little first)
1/4 c. sugar, or to taste
3 T. fresh lemon juice
1 t. vanilla
Place ingredients in food processor and process until smooth. Place
in shallow pan and freeze. If you are using frozen berries re-freezing
will take only about 1 hour. Up to 30 minutes before serving remove
sorbet from freezer and allow to soften enough to break into chunks.
Place in processor and blend again until very smooth. Return to freezer
until needed.
Mango Honey Ginger Sorbet
2-3 large, ripe mangoes, seed and peeled
1/4 c. honey, or to taste
2-3 t. fresh grated ginger
Place ingredients in food processor and process until smooth. Place
in shallow pan and freeze. Up to 30 minutes before serving remove
sorbet from freezer and allow to soften enough to break into chunks.
Place in processor and blend again until very smooth. Return to freezer
until needed. For an even smoother sorbet, you can blend it another
time.
Kiwi Lime Sorbet
6 kiwi, peeled
juice of 1 lime
1/4 c. sugar, or to taste
Place ingredients in food processor and process until smooth. Place
in shallow pan and freeze. Up to 30 minutes before serving remove
sorbet from freezer and allow to soften enough to break into chunks.
Place in processor and blend again until very smooth. Return to freezer
until needed.
To serve the sorbets, use a cookie scoop to make the “melon” balls. I
made them as I was serving them, but you can also make the balls and
return them to the freezer until ready to serve.
If you don’t think of using herbs in cocktails, maybe you should.
They add a depth of flavor that can take things to a whole new level.
Of course, minty mojitos and mint juleps are classics. Still, there are even more ways you can use herbs in drinks.
I put together three recipes that use herbs in drinks. The classic
mojito, a gin cocktail that uses lavender syrup, and a spin on a gimlet,
using lemon verbena.
These are great drinks for summer, or any time, really.
Try adding other herbs to your cocktails. You might be surprised at just how tasty they can be.
You can plant a few herbs, too. That way, they will be handy for making drinks.
So here are the recipes. I hope you try them and enjoy them as much as I do.
Classic Mojito
10 mint leaves, I used a variety called Mojito mint, that has a slight lime flavor
½ a lime, cut in 4 wedges
2 T. sugar
1½ oz. rum
1 c. ice cubes
½ c. club soda
In glass place mint leaves and one wedge of lime. Muddle to release
juices and bruise mint leaves. Add sugar and 2 more wedges of lime.
Muddle until limes are crushed. Add rum, stir well. Add ice, stir and
top with club soda. Garnish with lime wedge.
Lemon Lavender Cocktail
2 oz. gin
1 ½ oz. lemon juice
1 ½ oz. lavender syrup (recipe follows)
splash of club soda
some ice
one lemon slice, for garnish
Pour gin, lemon juice and lavender syrup into a glass and stir. Top with club soda, add some ice and garnish with a lemon slice.
For the lavender syrup:
¾ c. water
¾ c. sugar
1 tablespoon dried lavender buds
Combine sugar and water in a small saucepan. Add lavender and cook on
low heat until sugar is dissolved. Bring to a boil and cook for 2-3
minutes, just until it starts to thicken a bit. Then set to the side to
cool. Strain out the lavender and refrigerate. Yields just under a cup
of syrup.
Lemon Verbena Gimlet
1 cup water
¼ c. sugar
¼ c. torn verbena leaves
¾ c. dry gin
¾ c. club soda, chilled
¼ c. fresh lime juice (about 2 limes)
Lemon verbena sprigs (optional)
Lime slices (optional)
Combine 1 cup water and sugar in a small saucepan. Rub torn verbena
to bruise; add to pan. Bring sugar mixture to a boil, stirring gently as
needed to dissolve sugar evenly; cook 30 seconds. Remove from heat;
cool completely. Strain mixture through a sieve over a bowl; discard
solids. Combine sugar mixture, gin, soda, and juice. Serve over ice.
Garnish with verbena sprigs and lime slices, if desired.