Rainbow Salad
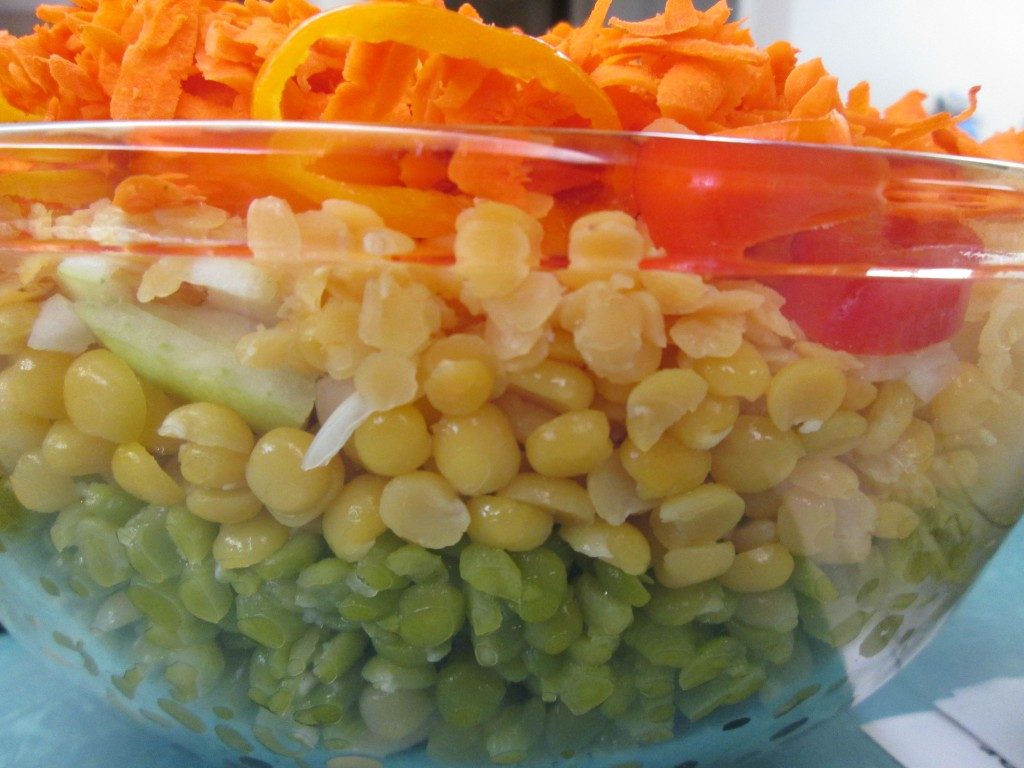
When you hear green or yellow split peas- do you think of soup? You probably do. But when cooked until just tender, split peas make a great salad ingredient. I often just add some cooked split peas to a tossed salad. They add flavor, protein and a nice texture to salads. An added bonus is that split peas can be cooked from dry to tender in about 20 minutes. That makes them a great choice when time is tight.
This is one of my favorite salads using both green and yellow split peas. Fresh and colorful, it is a big hit with vegetarian and non-vegetarian friends. If some of you are looking for new meatless meals ideas, this one is a winner.
The salad uses both green and yellow split peas, along with black beans, butter beans, red lentils and assorted veggies. It is a great combination of colors and textures. It does make a lot, but you can easily cut the recipe in half.
The dish was inspired by my nephew Danny’s love of sand art when he was a kid. The ingredients are layered in the bowl for a pretty presentation. It is also an homage to the layered salads I remember from my youth. I like this one a whole lot more.
Rainbow Salad
1 c. each green split peas, yellow split peas and red lentils
1 can black beans, rinsed and drained
1 can butter beans, rinsed and drained
1 c. diced sweet onion
1 c. diced sweet pepper
1 c. grated carrot
Cook split peas and lentils separately just until tender. Split peas, both green and yellow will take 20 minutes. Red lentils will take about 8-10 minutes. Drain and rinse each under cold water when done and set aside until ready to use, or you can cook them a day ahead and keep chilled. Each will yield about 2 1/2 c. cooked.
In large glass bowl, place the following ingredients in this order.
Black beans, butter beans, green split peas. yellow split peas. onion, red lentils. carrots and peppers. Pour over dressing and chill several hours or overnight. Serve on a bed of greens. You can also leave the salad plain and serve dressing on the side.
Dressing *
1/2 c. oil
1/2 c. vinegar, I like apple cider vinegar or red wine vinegar
1 (14 oz.) can diced tomatoes, undrained
2-3 T. sugar
1/2 c. parsley or cilantro
1 t. each chili powder, cumin and salt
dash hot sauce
Combine in a blender or food processor until smooth.
*Note: Any fresh or bottled dressing you like can be used. Balsamic works very well. I often serve it with homemade Italian dressing.
English Toffee Crunch
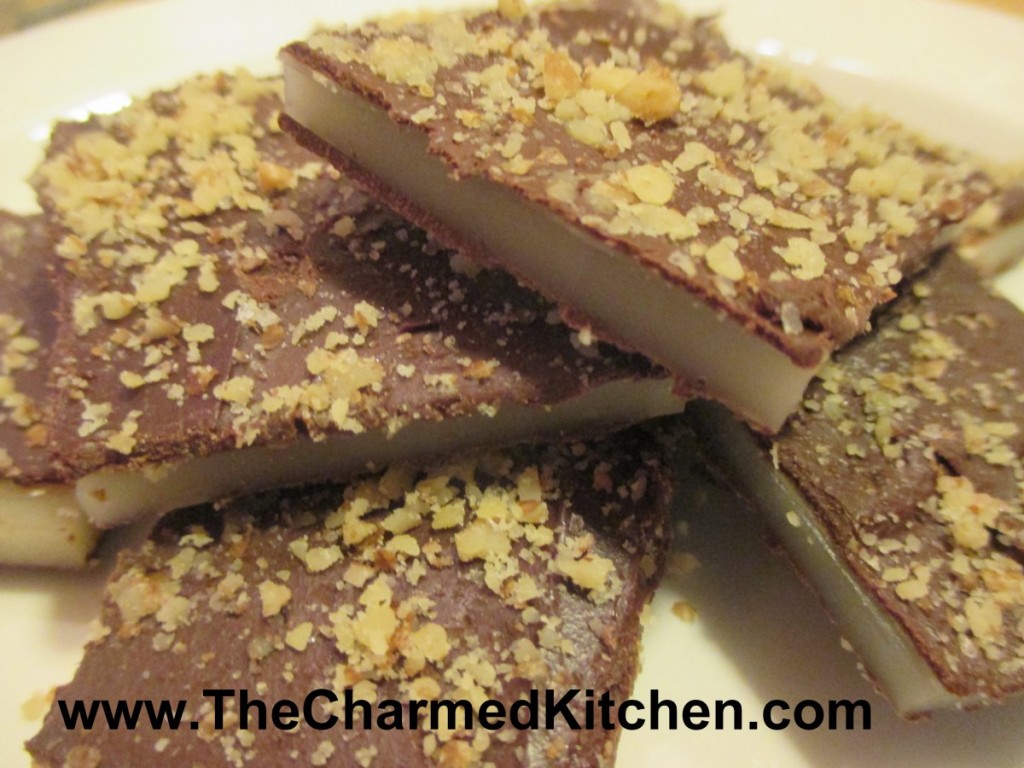
If you are looking to make a special sweet treat, English Toffee Crunch is always a good choice. The crunchy, sweet toffee is coated with chocolate on the top and bottom, along with a sprinkling of fine chopped nuts. A classic, for sure.
I know people are sometimes a little scared about making candy, but this is pretty easy to make, and well worth the effort. The only special piece of equipment you will need is a candy thermometer. Just be careful when handling the hot ingredients. The end result is a special treat. Nice gift for Father’s Day.
English Toffee Crunch
1 1/2 c. sugar
2 sticks butter
3 T. water
1 T. light corn syrup – recipe follows for a substitute
3/4 lb. milk or dark chocolate, or chocolate chips
1/2 c. very finely chopped walnuts or pecans
Over low heat, stirring constantly, cook sugar, butter, water and corn syrup until mixture reaches hard crack stage (300-310 degrees). You will want to attach a candy thermometer to the pan to monitor the temperature. Pour onto ungreased jellyroll pan tilting quickly in all directions to get toffee as thin as possible. It hardens up unbelievably quickly so work fast. I like to warm the cookie sheet a little in the oven so it buys me a few extra seconds to thin out the toffee. Harden in fridge about five minutes or let stand at room temperature until cooled down. Melt chocolate in double boiler or microwave and spread half of it over toffee, spreading to edges. Sprinkle with half the nuts and return to fridge it harden chocolate. Turn toffee carefully onto another sheet and coat the bottom with the remaining chocolate and nuts. Chill until chocolate hardens then break up into bite sized pieces. Note: you can use even more chocolate if you like a thicker coating. Store in a cool, dry place in an airtight container. Makes 1 1/2 lbs.
Homemade Corn Syrup Substitute
2 cups granulated sugar
3/4 cup Water
1/4 tsp. Cream of Tartar
dash of salt
Combine all in a large, heavy stainless steel pot. Stir and bring to a boil. Reduce heat to a simmer and cover with lid for 3 to 4 minutes to get the sugar crystals off the sides of the pan. Uncover and cook to softball stage, 238 to 240 degree’s F. or when a small amount is dropped into cold water and does not hold its shape; stir constantly. Cook for another minute. Cool and store in covered jar at room temperature, will keep well for 2 months at room temperature.
For dark corn syrup add 1/4 cup molasses
Homemade English Muffins
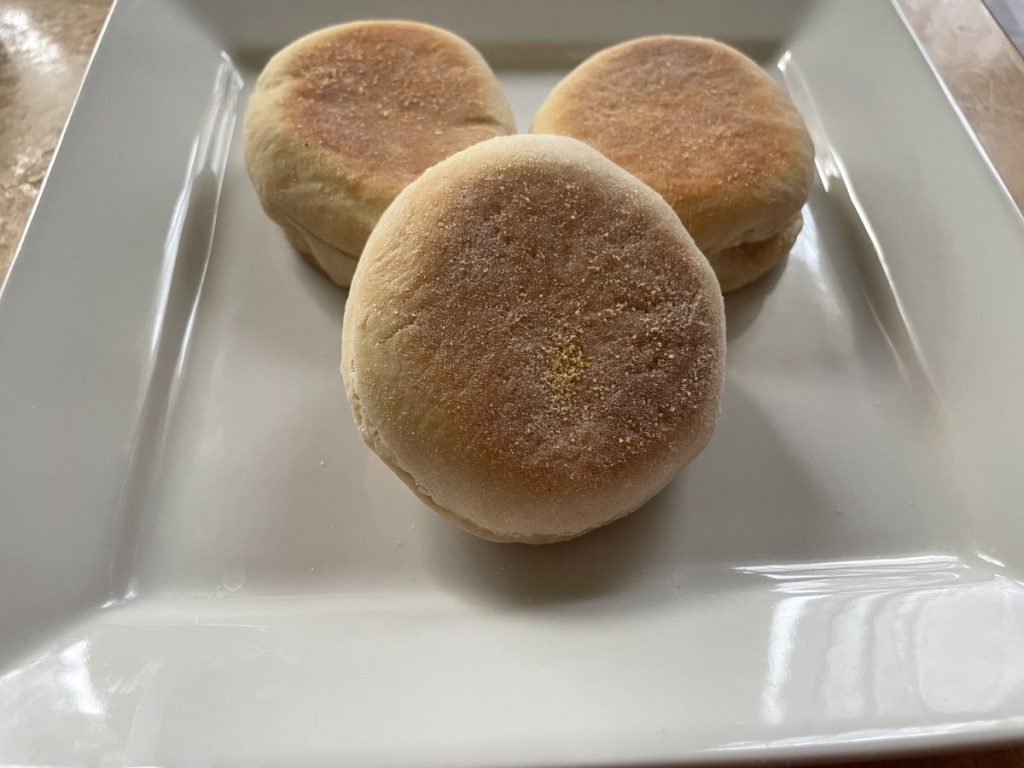
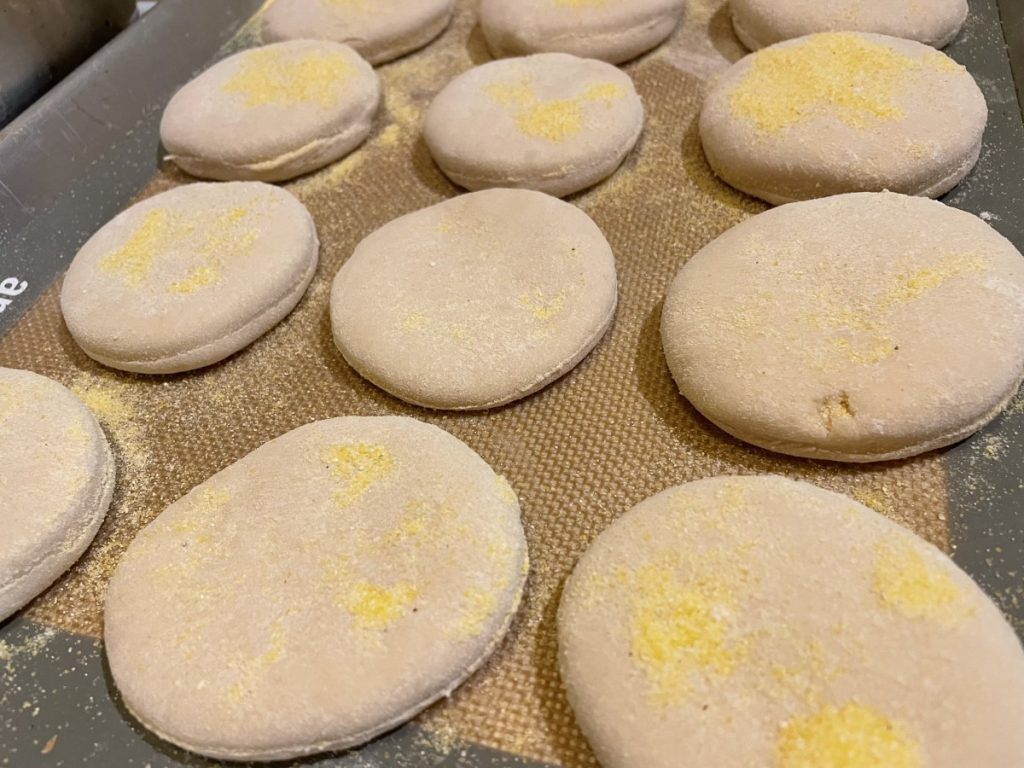
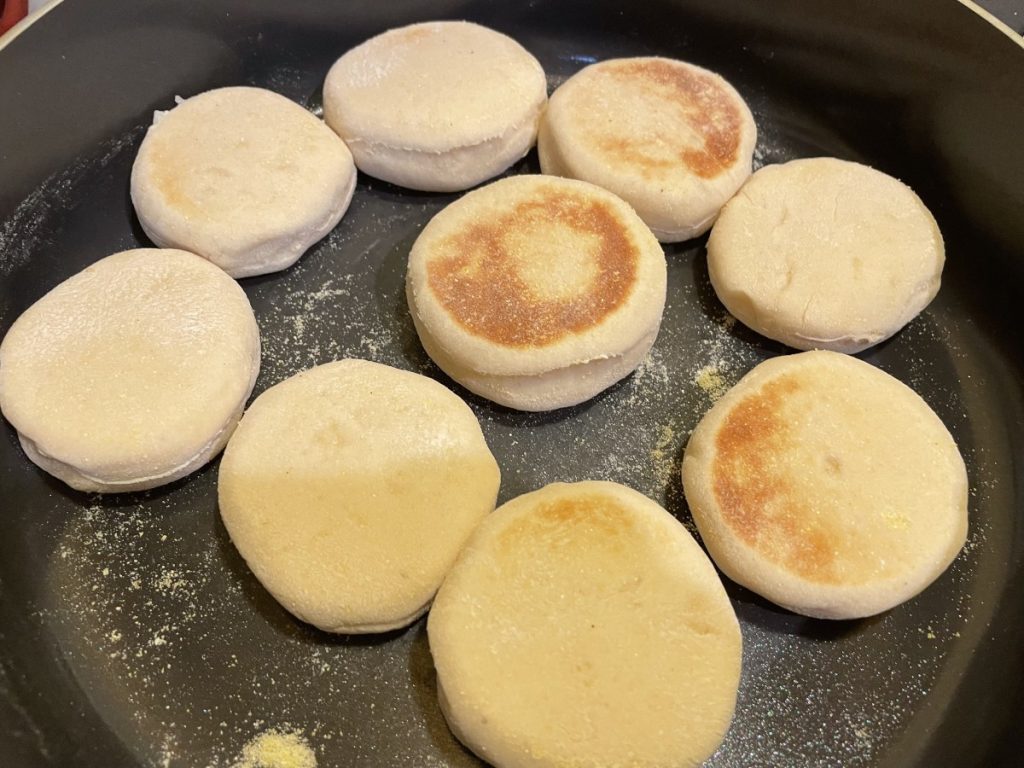
English Muffins are fun and easy to make. They also taste so much better than store bought. What you might not know, if you never made them, is that English muffins are not baked. They are actually cooked in a skillet, over medium low heat, until cooked.
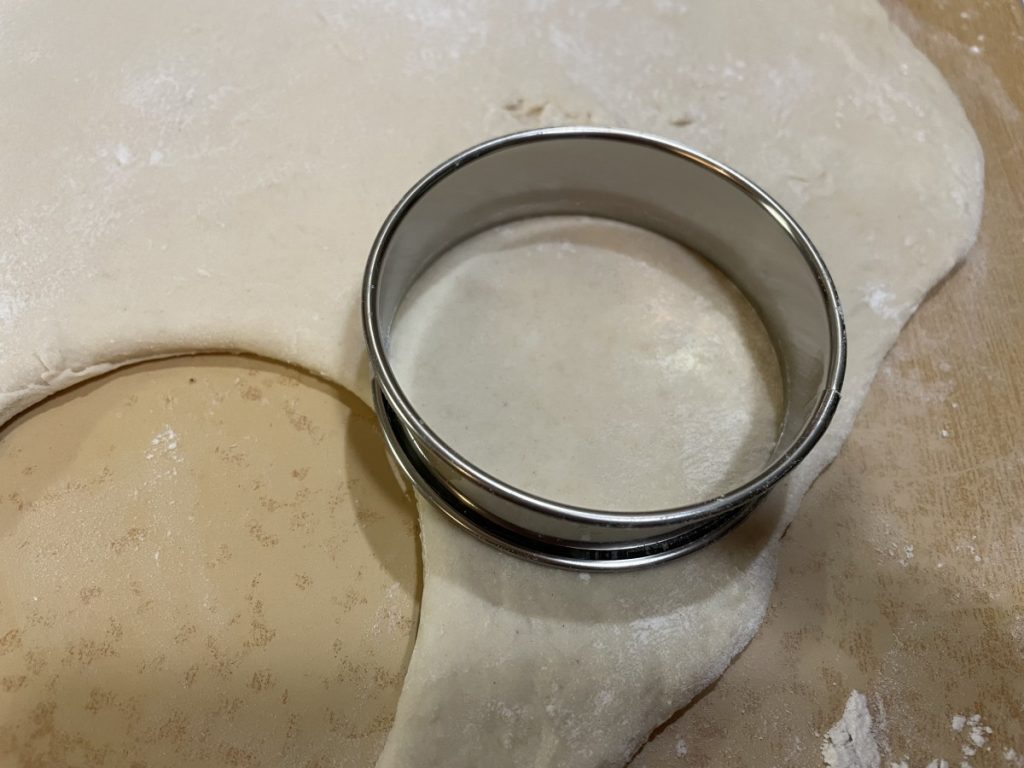
The dough is pretty much a bread dough. Once they have gone through their first rise, you roll them out and cut them out in circles. They rise another 30 minutes, then are cooked in the skillet. You can use a 4-inch cutter for full sized muffins. I used a 3-inch cutter and got a few more out of the recipe.
The recipe is correct when it says to roll them a bit under 1/2-inch thick. They rise and then get thicker when cooked.
English Muffins
2 packages yeast
5-6 cups bread flour
2 T. sugar
2 t. salt
2 c. milk
¼ c. butter
Cornmeal
In large bowl combine yeast, 4 cups of the bread flour. Warm milk and butter and add to flour mixture and beat 3-4 minutes. By hand stir in enough flour to make a moderately stiff dough. Turn onto floured surface and knead until dough is smooth and elastic, about 8-10 minutes.
Place dough in greased bowl and turn to grease top. Cover and allow to rise until doubled, about 1 ¼ hour. Punch dough down and allow to rest 10 minutes. On lightly floured surface roll dough to just under ½-inch thick. With 4-inch biscuit cutter cut out rounds of dough, re-rolling and cutting scraps. Dip both sides in cornmeal and cover, allowing to rise about 30 minutes. In ungreased griddle pan or skillet cook muffins over medium-low heat, turning frequently, until they are golden on both sides and cooked through. This will take about 20-25 minutes. If they are browning too quickly, turn down the heat a little. To serve, split and toast. Makes 12-18, depending on the size you cut them.
Blackberry Pie Filling
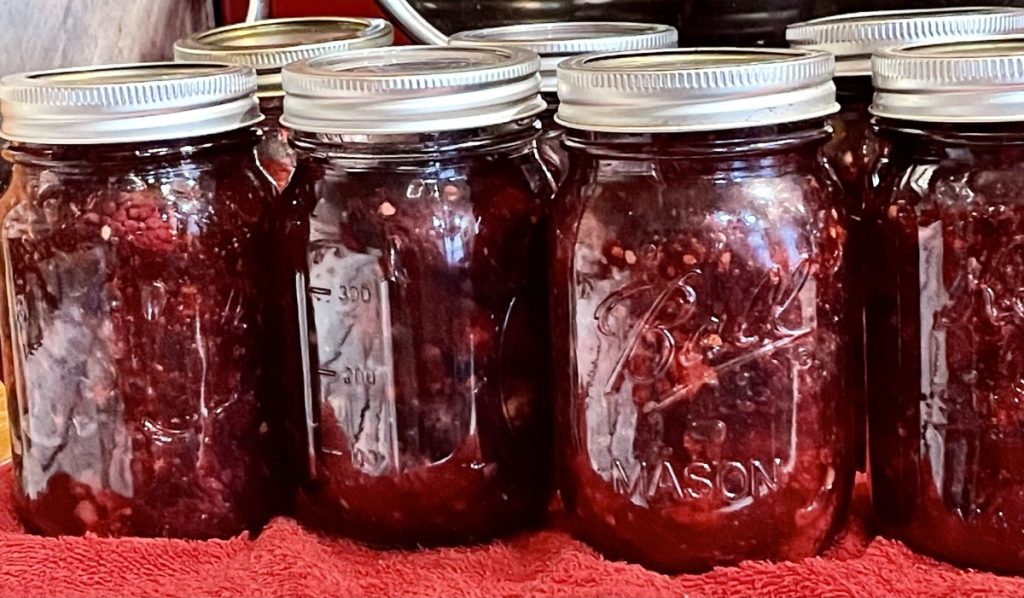
I have been a little obsessed with blackberries lately. A store in my area has been having great prices on them lately. I picked up this most recent bunch for 99 cents per 6 ounce package. I made sorbet, ate plenty of them fresh and shared with friends.
I had made plenty of blackberry jam, so this time I decided to make pie filling. I found an Extension approved recipe, that I felt confident would work.
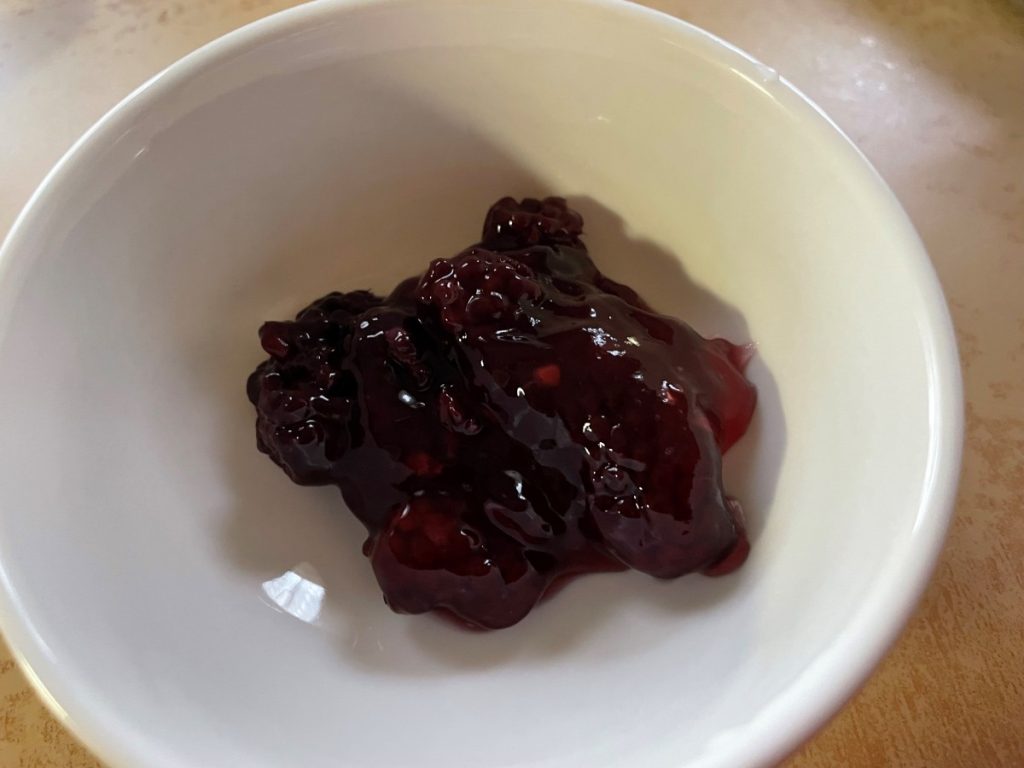
It came out great. One option in the recipe is to use juice- blackberry juice specifically. I had thought about it, but just used water in the end.
So here is the recipe.
Blackberry Pie Filling
6 qts. Whole blackberries, about 14-15 lbs.
6 c. sugar
2¼ c. Clear Gel
7 c. cold water or juice
½ c. bottled lemon juice
Prepare canner by filling with water and bringing to a simmer. Wash and prepare jars and lids. Bring a pot of water to a boil and blanch the berries in the water for 30-60 seconds. The berries should be warmed through. You can do this in batches. Remove the berries with a slotted spoon gently and place in a bowl. Cover with a towel and keep warm while you prepare the rest of the ingredients. In a large pot, combine the sugar, Clear Gel and cold water or juice. Whisk until Clear Gel is completely dissolved. Place over medium high heat and stirring constantly, bring to a simmer and until mixture thickens. Add the lemon juice and continue cooking another re minute. Fold in the berries. Ladle mixture into the jars, leaving an inch of head space. Be sure to get all the bubbles out with a plastic utensil. Wipe jar rims, adjust lids and repeat with the remaining ingredients and jars. Place jars in canner and start timing when water returns to the boil. Process pints or quarts 30 minutes. Makes 7 quarts or 14 pints.
Note: I made a half batch and ended up with 7 pints. Times and directions remain the same.
Source : Washington State Extension Service
Blueberry Crumb Cake
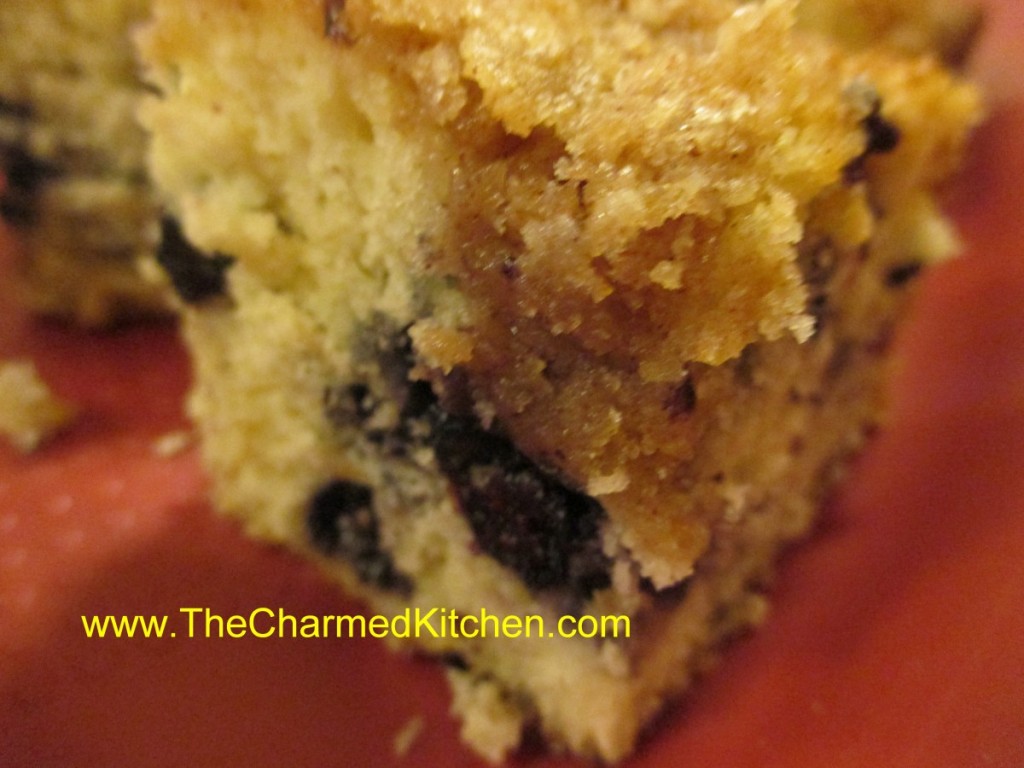
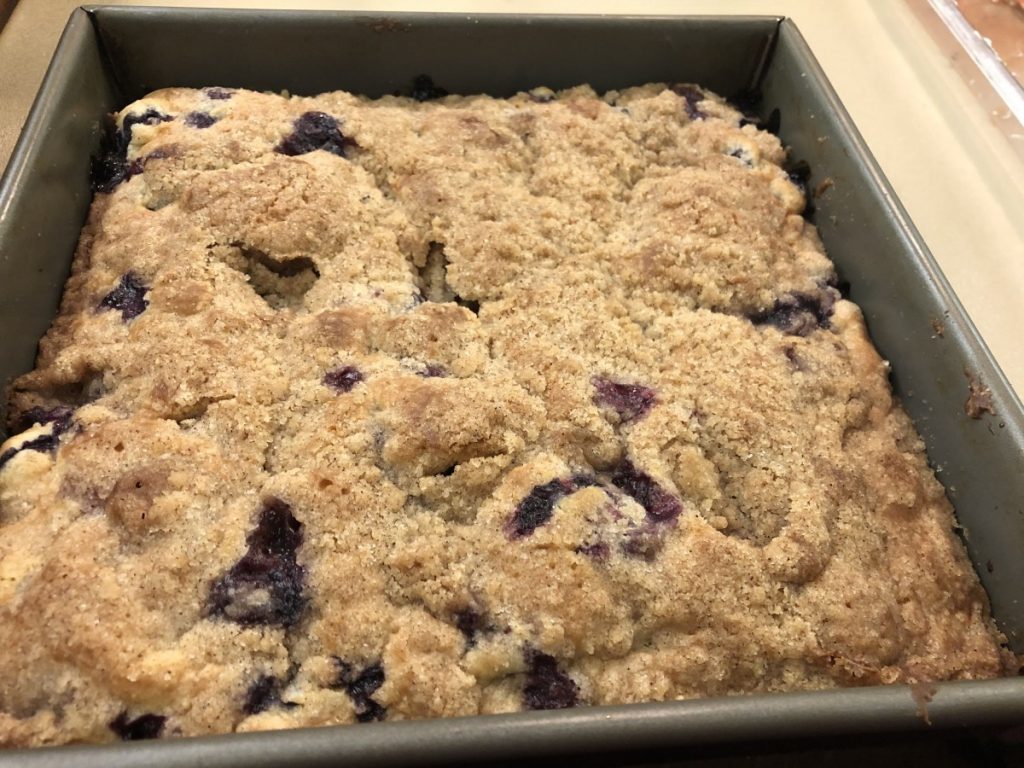
This has always been a favorite cake of mine. The mixture of moist cake and berries would be great on their own, but that crunchy, crumb topping- oh my! Talk about a wonderful combination.
It isn’t a difficult cake to make at all. It is an extra nice cake to take along to picnics and cook outs since there is no frosting to worry about. It can be served plain, or served with a scoop of ice cream of some whipped cream.
So here is the recipe. Enjoy!!
Blueberry Crumb Cake
For cake batter:
2 c. flour
2 t. baking powder
½ t. salt
½ stick (¼ cup) butter, softened
¾ c. sugar
1 egg
½ c. milk
1 pint blueberries, fresh or frozen
For topping:
½ c. sugar
¼ c. flour
½ t. cinnamon
½ stick (¼ c. butter, chilled and cut into bits)
Combine dry ingredients and set aside. In mixing bowl with electric mixer, beat butter and sugar until light and fluffy. Beat in egg and milk. Add flour mixture gradually until just mixed in. Fold in blueberries. Grease and flour an 8 or 9-inch square baking pan and add prepared batter. Combine topping ingredients until they resemble coarse crumbs. Sprinkle over batter in pan and bake in a preheated 375-degree oven and bake for 35-45 minutes. Use toothpick to test.
Note: I have used a 9-inch round pan and it worked fine.
Blueberry and Red Grape Sorbet
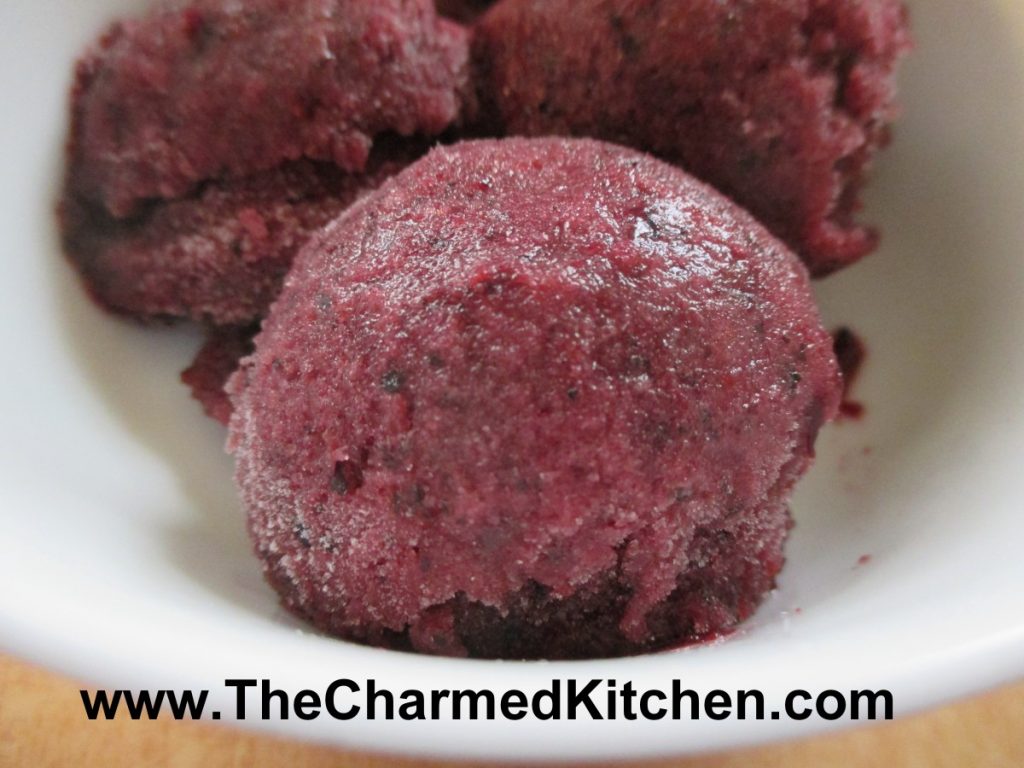
The first time I made this sorbet, it was kind of an accident. I was in the mood for sorbet and decided on making blueberry. I grabbed a few containers of blueberries out of the freezer and put them on the counter to soften for a few minutes. Well, instead of three containers of blueberries I had grabbed one of blueberries and two of red grapes.
I decided to use them together. It really worked out well, because the grapes added a lot of natural sweetness to the blueberries. I added a couple of tablespoons of sugar to the fruit, but in hindsight, I think the sorbet would be sweet enough without any added sugar. I also added a little fresh mint. It really is a light, refreshing dessert.
Of course, you can start out with fresh fruit in this recipe, you just have to freeze them as some point. We made it in cooking camp last summer and the kids loved it. We made it without adding any extra sugar and the kids thought it was sweet enough. It ends up as a satisfying dessert- that is really just fruit.
Blueberry-Red Grape Sorbet
4 c. red grapes, fresh or frozen
2 c. blueberries, fresh or frozen
sugar to taste- I used a couple of tablespoons
a few sprigs of fresh mint, optional
Combine all ingredients in a food processor and blend until smooth. You might have to do this in a couple of batches. Place in a container and freeze until solid. Remove from freezer and allow to soften for about 20 minutes, or even a little less. Mixture should still be frozen, but soft enough to break into chunks. Place in processor and mix again. Mixture will get smoother and softer. You can also do this step in a stand mixer or even with a hand mixer. Return sorbet to freezer, until ready to eat it. For even smoother sorbet, repeat the step of softening and running through the processor again.
Grilled Quesadillas
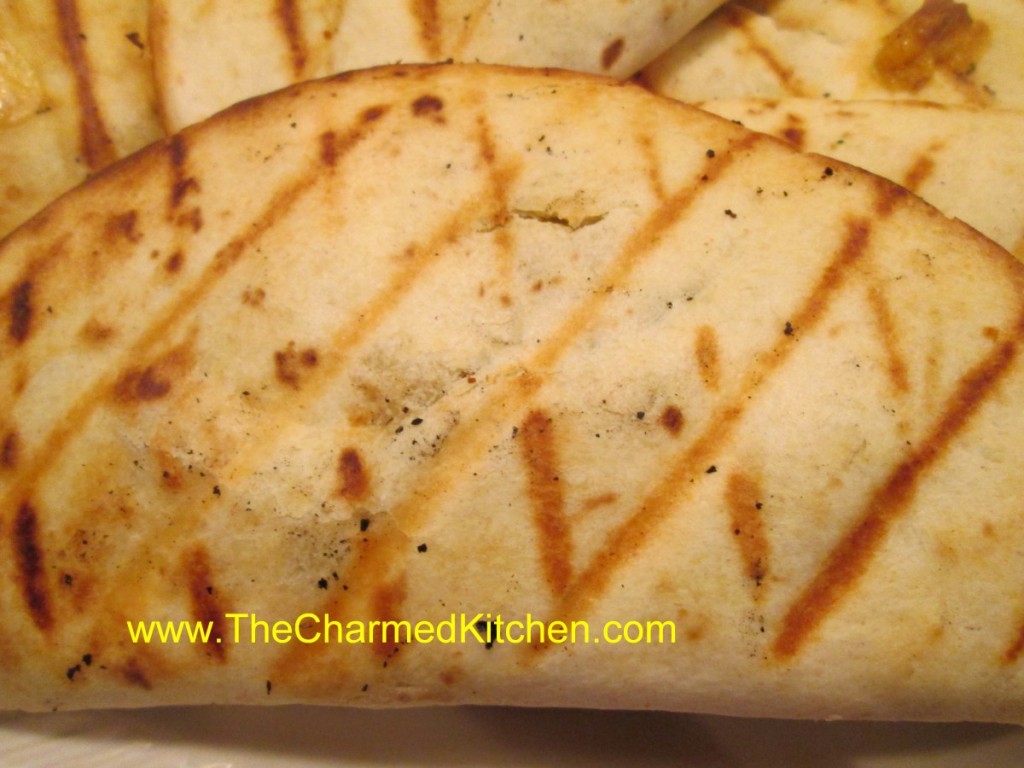
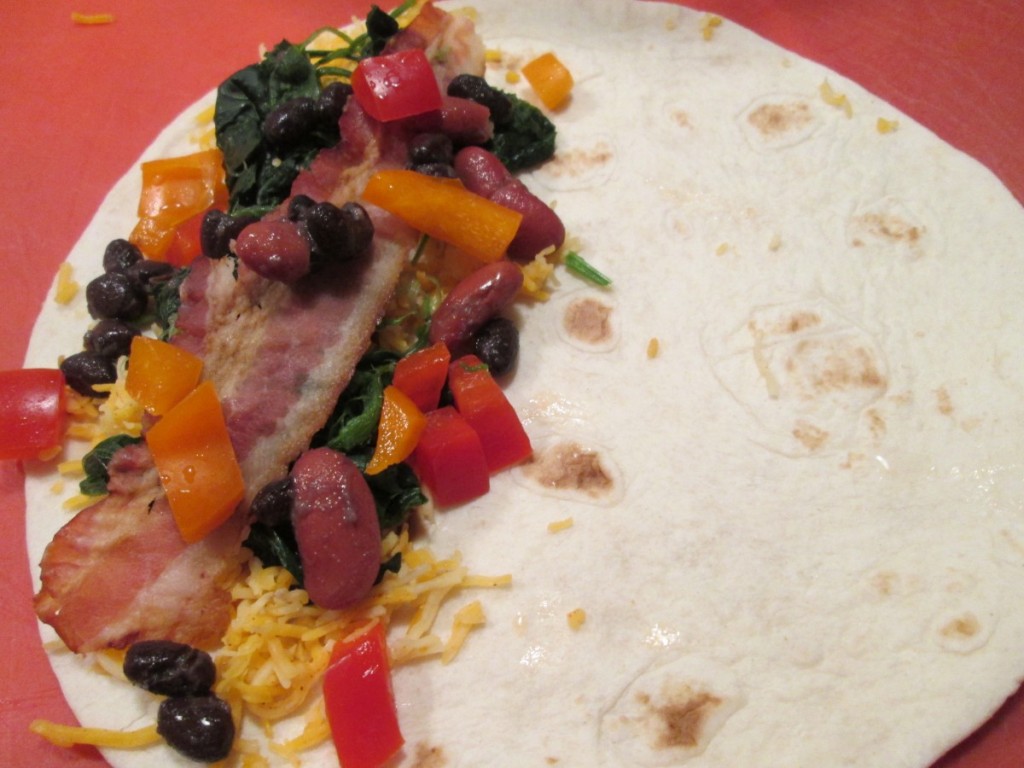
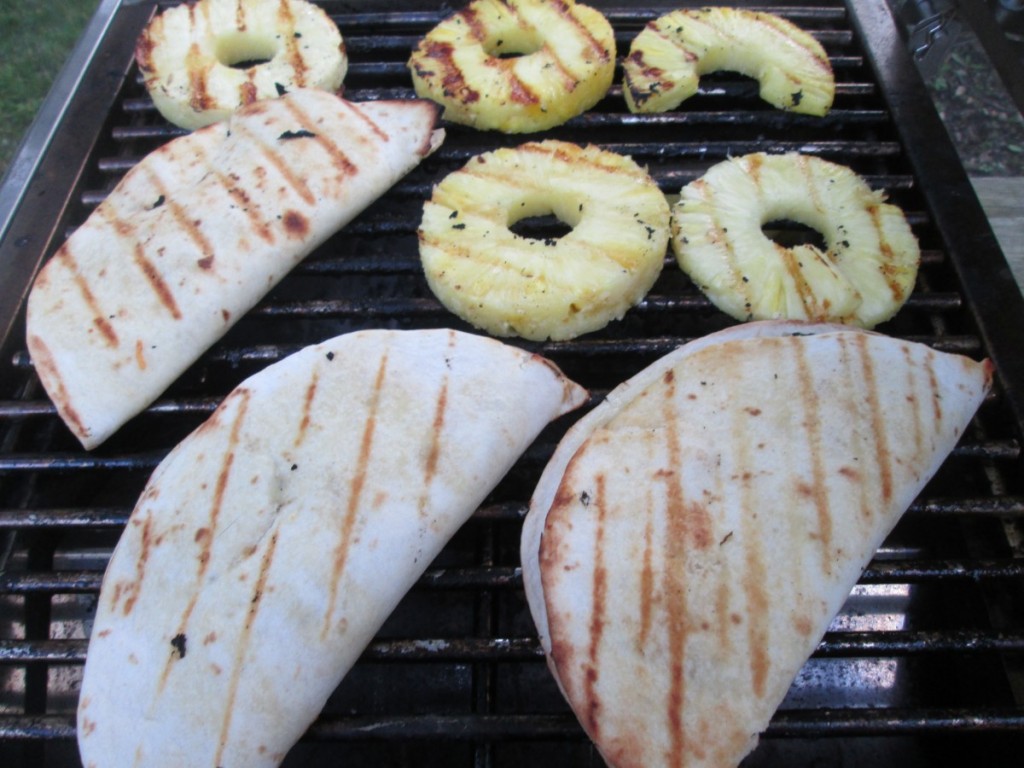
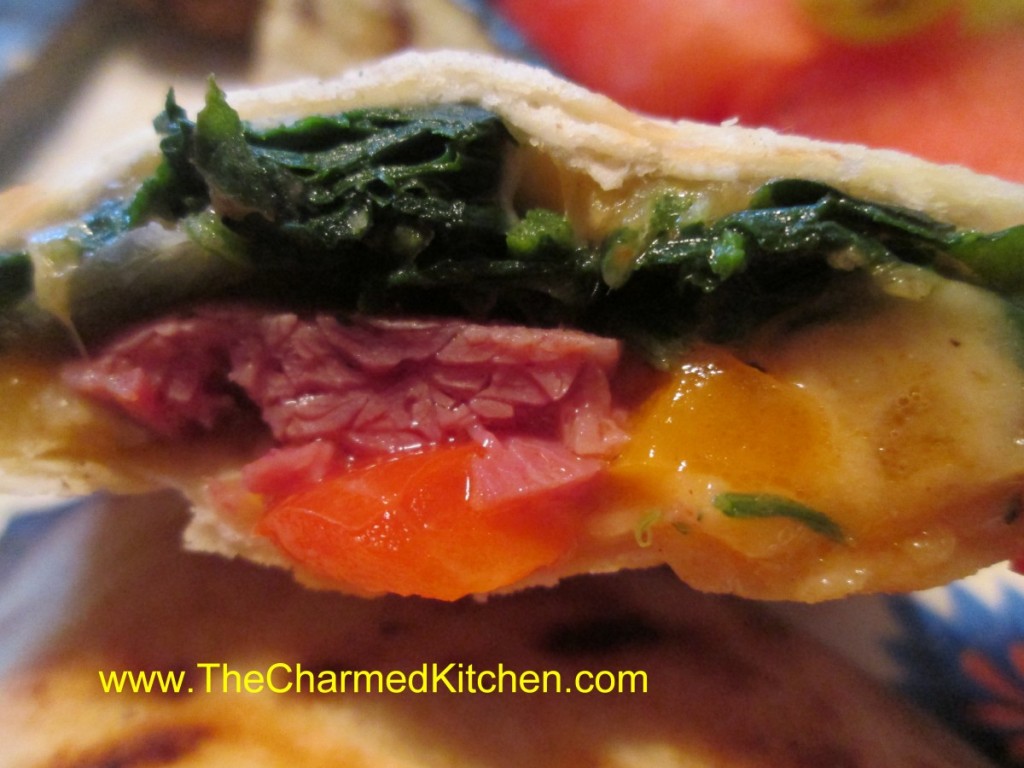
We’ve been cooking out more and decided to cook quesadillas on the grill the other night. They were super easy and fast to cook. The nice thing is that you can fill them with almost anything. We started with flour tortillas and shredded cheese. After that we used what we had on hand. You can set out ingredients and let everyone make their own. Just place some cheese on one half of a tortilla. Top with some other fillings and then a little more cheese. Fold the tortilla over to cover the fillings and press down. If the tortillas are not staying closed you can use a toothpick to secure them. The melting cheese will help the tortillas to stay closed once cooked. You can make them without cheese. Brush the quesadillas with a little oil and grill until both sides are browned and the fillings have heated through. Depending on the heat of the grill this will take from 5-7 minutes per side- maybe less. You can brush them with extra oil once they are on the grill to make them ever crisper.
Some filling ideas: various cooked meats- we had bacon, pulled pork, corned beef and chicken, cooked and raw veggies- sweet peppers could be raw or sweet onion- we had cooking onions so I sauteed them in oil first, sliced olives, beans-kidney and black beans, diced tomatoes, sliced hot peppers, mushrooms- best if cooked first to get out some of the water in them, cooked spinach, summer squash, sliced. You get the idea here. See what you have and set out the fillings. Let guests make their own combinations. Serve them with salsa on the side. We also served our with guacamole and sour cream.
Mini Fruit Tarts
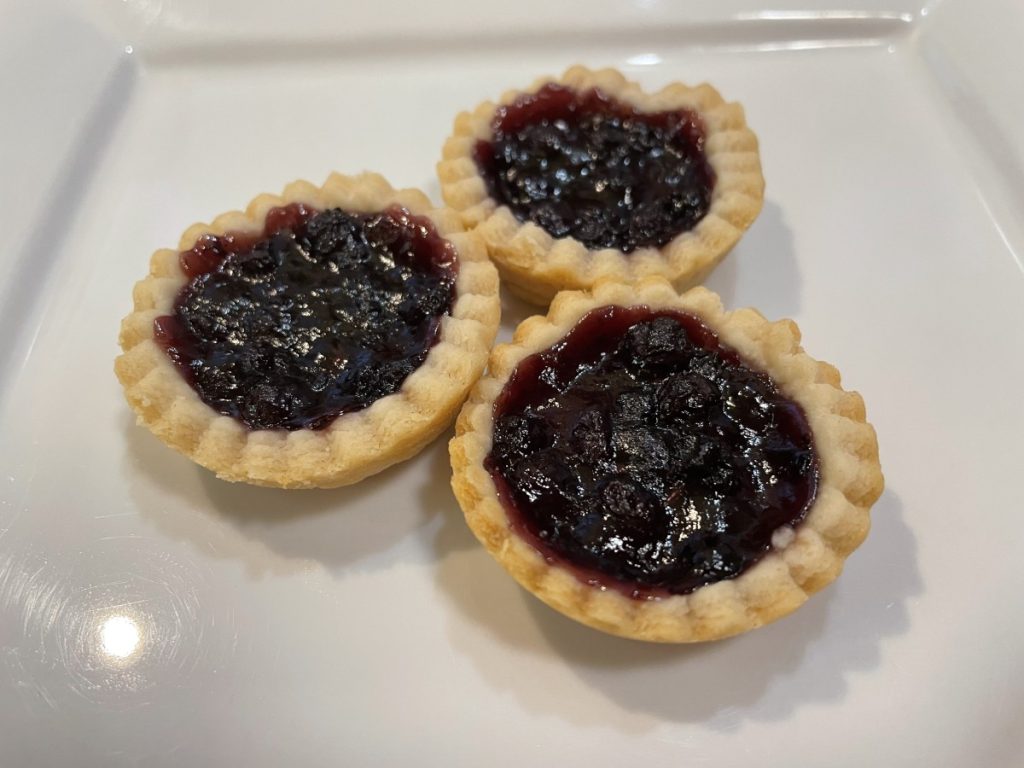
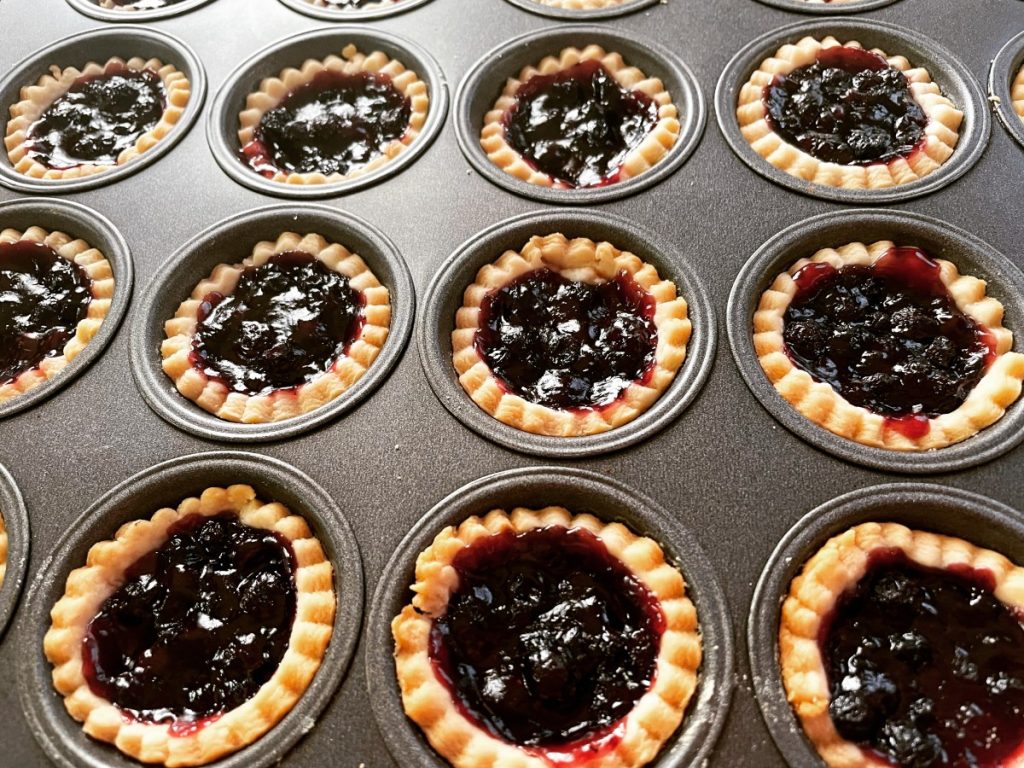
These little tarts are a perfect dessert any time or place. They are a wonderful dessert for picnics. They pack and travel well and make use of seasonal fruit. I used blueberries this time, but cherry or peach pie filling would also work. You can also fill them with jams. I have a nice supply of cherries in the freezer and I think cherry tarts might be next.
I used coconut oil in the crust recipe instead of butter. The crust worked out fine, although it is very crumbly. The texture after baking is amazingly tender, but I found the dough a little harder to handle than when made with butter. It’s a nice choice if you need a vegan dessert.
I used a jar of homemade blueberry pie filling made with wild Maine blueberries. You can use store bought, but I include the recipe at the bottom of the post. The recipe makes 4 cups of filling- you can use all the dough and all the filling and have 48 tarts. I didn’t need that many.
I made 24 and used a little over half of the dough recipe. Had I rolled them out a little thinner, half a recipe would be enough. I had a little blueberry filling left over, too.
Blueberry Mini Tarts
dough for 1 pie crust
About 2 cups blueberry pie filling, room temp or chilled
Flaky Pie Crust
2 c. flour
1 t. salt
3/4 c. coconut oil, chilled – you could use butter, lard or shortening
1 T. cider vinegar
4-5 T. cold water
Combine flour and salt in food processor and add coconut oil. Pulse until mixture resembles coarse crumbs. Toss in vinegar and water, 1 tablespoon at a time, pulsing as you add, until dough just holds together. Remove from processor and press dough together to form a ball. Chill at least 30 minutes before using. Makes enough for 2 pie crusts or up to 48 tarts.
Blueberry Pie Filling
3 1/2 c. blueberries, fresh or frozen
3/4 c. sugar, or to taste
1/4 c. cornstarch
1 c. water
1 T. lemon juice
In saucepan, bring blueberries and sugar to a boil, stirring often. Combine cornstarch with water and lemon juice and add to the blueberry mixture. Return to the boil and cook until thickened and bubbly. Makes 4 cups. You will not need the whole batch for the tarts.
Note: This recipe could also be made with blackberries or raspberries.
To make the tarts: Preheat oven to 400 degrees. Roll out the dough to 1/8 inch thickness on lightly floured board. Cut out with 2-inch round cutter and place dough circles in mini muffin tins or mini tart pans. Re-roll scraps and keep cutting out until you have 24 circles. Save the rest of the dough for another use. It can be frozen. Place a rounded teaspoon of filling in each tart. I used fairly shallow pans, you can add more filling if your pans are deeper. Bake for 10 minutes, then turn down the oven to 350 and bake about 15 minutes longer, or until edges of the tarts are golden brown. Cool a little before you remove from the pans. Makes 24.
Mini Picnic Quiches

These tiny quiches pack a lot of flavor. They are also a great take along for picnics and cook outs. Since you can eat them hot or cold, they make a nice food for road trips, too.
The quiche recipe is made up of three parts- the crust, the filling and the custard. They are baked in muffins tins and each recipe makes a dozen. I have two crust recipes- including a gluten-free crust that is made from rice and zucchini. There are three filling choices, but you can get creative and make a number of different variations. The custard is pretty straightforward- half and half, eggs and seasonings. I make a couple of batches at a time and then freeze some for later.
Picnic Quiches
Crust Options:
Rice Zucchini Crust (Gluten free)
1½ c. shredded zucchini
1¼ c. cooked rice (white or brown)
1 egg
¼ c. Parmesan cheese
Crouton Crust
3½ c. garlic-cheese croutons, about 5 oz., ground
1/3 c. melted butter
Fillings:
Mushroom and Onion
1 medium onion, chopped
Oil
8 oz. mushrooms, cleaned and chopped
3-4 oz. cheddar cheese, shredded or cubed fine
In skillet cook onion in oil until lightly browned. Add mushroom and cook until mushrooms are golden. Cool and combine with cheese before using.
Spinach and Bacon
12 oz. bacon, cooked and crumbled
10 oz. package of frozen spinach, thawed and squeezed dry
4 oz. Swiss cheese, shredded
Combine all ingredients. Set aside until ready to use.
Confetti
1 ear corn, cooked and kernel cut off the cob- about ½ cup
½ c. mined fresh sweet pepper
¼ c. chopped green onion
4 oz. shredded cheese- I like a sharp cheddar in this filling
Custard:
1c. half and half
3 eggs
½ t. each basil and salt
1/8 t. each garlic powder, pepper and paprika
Directions
Grease 12 muffin cups (3 inch). Prepare crust of your choice by mixing crust ingredients together. Pat 2 tablespoons of the crust mixture into each muffin cup. Bake in a 350 degree oven for 10-12 minutes. Cool before filling. While baking and cooling crusts, prepare filling of your choice and make the custard.
Spoon 2 tablespoons of filling over each cooled crust. Spoon about 3-4 tablespoons of the custard over the filling. Bake in a 375 degree oven for 15-20 minutes. Cool on wire racks, chill completely before packing for your picnic.
Picnic Food Safety
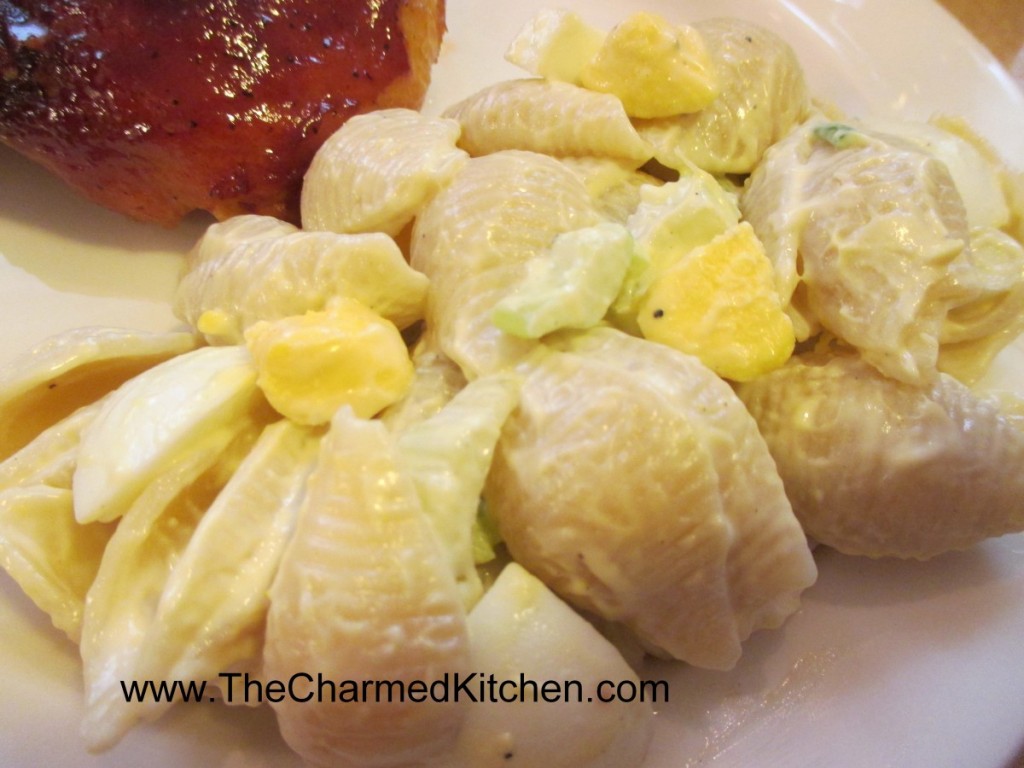
With picnic and cook-out season here-I thought it would be a good time to post some tips to keep your picnic safe.
Common Picnic Problems
Besides ants, the biggest concern at a picnic should be food safety. While most of us know to keep cold foods cold, and hot food hot, there are some basic things we should all do to insure a safe, happy day.
Away from home and refrigeration, it is can be tricky to keep foods cold until ready to serve. Bring plenty of ice and coolers for all perishable food. Keep food cold until you are ready to cook or eat it. Get food back into coolers as soon as everyone has finished eating.
Package raw meats extra carefully. Raw meat juices, spilling on salads, will make them inedible. Pack raw meats separately if you can, or on the bottom of the cooler in a leak-proof container. You might also consider bringing meats like burgers frozen to thaw on the grill or in the cooler. Smoked meats are safer than their non-smoked counterparts but both types can spoil. The ideal is to have one cooler only for raw meats.
Don’t make burgers on site. Outdoor prep is always tricky. Better to form burgers at home, where you can wash all surfaces, as well as your hands, thoroughly. If you make them there- bring disposable gloves and a lightweight cutting board to work on.
Never use ice for drinks that have been in contact with raw meat, or even if any raw meats have been stored in the ice. Keep beverage ice in its own cooler, or keep it bagged to insure it is clean and safe.
Solid blocks of ice melt more slowly than cubes and make good cooler inserts for long, hot summer days. Also, keep coolers in the shade to offset the power of the sun.
Meat should be cooked thoroughly and ground meat is always more at risk for contamination. Make sure your fire is hot enough. Allow for chilly, windy days and pack extra coals or other fuel, to keep the fire hot throughout the cooking process.
Make sure you don’t put cooked meats on the tray that the raw meat was on. Also have different prepping and serving utensils for both the raw and cooked meats.
You can also precook meats (like chicken pieces or ribs), cool and chill until ready for dinner. Then just heat them up over the coals. This way you don’t have the worry of bringing along raw meats and you’ll spend less time cooking and more time having fun.
Mayo is not the evil purveyor of bacteria some people think. Mayo from a fresh jar, can actually retard the growth of bacteria. This does not mean you can leave the potato salad in the trunk for 3 hours because it has mayo in it. It just means that mayonnaise is not the culprit for food spoilage- bad handling was likely the cause.
While 2 hours is the maximum for food to be left out before being refrigerated again, use common sense. Obviously, on a 95 degree day that time is much shorter. Rather than one big bowl of pasta salad, bring several smaller ones that you can switch out. That way you always have cold salad that is safe. And bring plenty of serving spoons. It does no good to swap out the bowls of pasta salad for a fresh bowl, if you keep using the same serving spoon. Try to stay in the shade, too. Bringing some sort of canopy can keep food cooler than sitting in direct sunlight.
I am a big believer in a good hand washing being the best way to clean your hands- but you might not have running water where you are. Hand sanitizers are great when you don’t have hand washing as an option. I also bring a package of sanitizing wipes, in case a surface needs cleaning up, too.
If it is a hot day- you might want to have a large container, filled with ice, that you can put the bowls of salad into, to keep them colder. That way the salads are surrounded by the ice and stay cold a lot longer. You can use a small baby pool. I like to use a container designed for under the bed storage. Nice size.
In the end, it is about using common sense, and copious amounts of ice. Remember, that if you lose track of time, forget to put something back in the cooler or leave something in the trunk, it is always better to play it safe. When in doubt-throw it out.


