Canning Safety

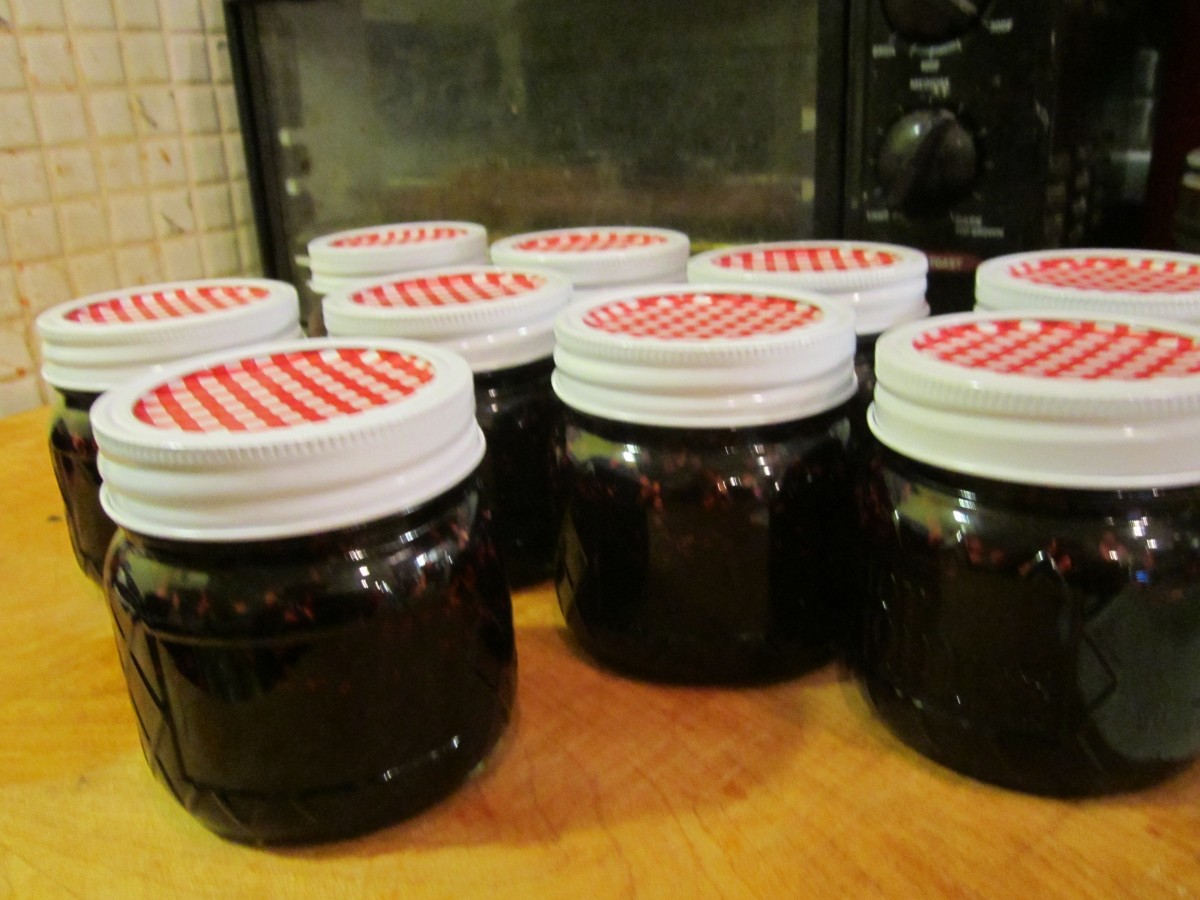
Fresh Blueberry Jam
Since so many people are going to be canning I thought this might be a good time to post some canning information.
Canning Basics
Before canning there are some basics you should know. There are general guidelines that need to be followed and some equipment that will make the job easier.The USDA recommends that all jams and jellies be processed in a boiling water bath, unless it is a recipe that is frozen or unless all the preserves are to be kept refrigerated. Sealing jars with paraffin is no longer considered to be a safe way to preserve jams and jellies. Other high acid foods, like tomatoes (when acidified) and fruits and fruit products or pickled foods can also be canned in a hot water bath. Low acid foods, like vegetables and meats must always be processed in a pressure canner.Since the jars are sterilized in the canning process there is no need to sterilize jars as a rule. They should be freshly washed in hot, soapy water, rinsed and kept warm in a pot of hot water or in a low oven until ready to use. You can also run them through the dishwasher and keep them in there until ready to fill. Because jams and jellies are packed when hot, cold jars might crack. Before starting make sure the jars are free of nicks and cracks, being extra careful to check the rims.
Note: the only time you must sterilize a jar is if it contained food that had spoiled. When I get jars second-hand I also sterilize them before use. To sterilize jars submerge them in boiling water for twenty minutes.
To prepare water bath have a canner (large kettle with a wire rack) filled with enough water to cover the jars by 1-2 inches and have it boiling when the jars are added. Timing begins when the water comes back to the boil (usually only a minute or two when hot jelly-filled jars are added). I get the water in the canner boiling first and turn it down to a high simmer until just before it is needed. Keep it covered to heat up faster and to prevent evaporation. If you do not have a canner and kettle deep enough to accommodate the jars can be used but you must cover the bottom with a towel. Jars that touch the bottom of the pan directly will break during processing. Also the lid of the kettle is left on during processing. Timing starts when water returns to the boil.
To prepare a pressure canner add several inches of hot water in the bottom of the canner. The canner will usually come with specific directions or a fill line. Follow what the manufacturer recommends. My canner calls for 3 quarts of boiling water to be added. After jars are added to the canner the lid is secured and the heat is turned on. When proper pressure is attained timing begins. When the time is up the canner is removed from the heat and allowed to cool down before removing the lid. It is like a pressure cooker. If you remove the lid too soon, the lid will fly off and you’ll likely get burned. Besides, the cooling down time is part of the canning time. Don’t hurry the cooling down process by placing the canner in cold water or outdoors on a chilly day.
Prepare foods for canning in enamel, non-stick or stainless steal pans. Never use aluminum or copper, or enamel cookware that has chips.
Today, lids are two pieces consisting of the ring and a flat lid with a rubber ridge. Lids should be prepared according to the manufacturer’s instructions. Some ask you to boil them, others may just ask you to wash them and hold in warm water until ready to use. The rings can be used over and over, but the flat lids should only be used once. They may fail to seal if processed a second time.Jar-lifters can be a handy tool to have. They allow you to place and remove the jars easily, with little risk of dropping them. They are available at many grocery stores and in cookware and department stores as well. A wide-mouth funnel (or canning funnel) is also real handy when trying to ladle hot liquids into jars. Be sure to wipe off jar rims before putting the lid on to prevent food from causing the jars not to seal.Screw the ring on firmly, but not too tight, or the jars will not seal properly.Jars removed from the water bath should be placed on a wire rack or on a towel to cool. Keep them away from drafts until cooled down. When completely cooled check to make sure that the jars have sealed. Press down on the middle. If the lid make a “plink” noise it is not sealed. After jars have sealed and cooled remove outer ring, wipe with a damp cloth and store in cupboard until ready to use.
Always start with top quality produce. Bruises and blemishes will lead to spoilage. Small blemishes can be cut off but be sure to remove all areas of spoilage.
If you are canning tomatoes and have a lot of imperfect fruit you are better off trimming off any bad spots and using this produce in recipes that will be frozen rather than canned.
When canning always use non-iodized salt, or preferably canning salt. Iodine will cause an off-flavor in canned foods.
When using older books always check with your local Extension Office or the USDA for most current information and canning times. Periodically times are changed or ingredients are adjusted for maximum safety. If you have old family recipes also check with your local Extension Office to find out if the recipe is still considered safe.
Never can in an oven or in a steam canner. Both of these methods are not USDA approved.
Nothing beats planning. When getting ready to can read the recipe all the way through and get all your equipment out. It is often easier and more fun to can with a friend or two. The extra hands always come in handy and when time is critical the extra help will make errors less likely.
In tomato based products herbs can be added for flavor but do not randomly start adding other vegetables (like onion, peppers etc.,) They will reduce the acidity and may make the product unsafe to can in a water bath.


