Five Fast Food Gifts

Buckeyes
If you are looking for some last minute food gift ideas, these might help. All of them can be put together in no time and require little, or no cooking.
I find my friends and family really appreciate homemade gifts. I start making some items well in advance. Other things really need to be made last minute.
I have made a lot of cookies for gifts, but sometimes I just want to make something different. Here are some of my most popular gifts, based on how many people ask for them again. My friends and family are not shy!!!
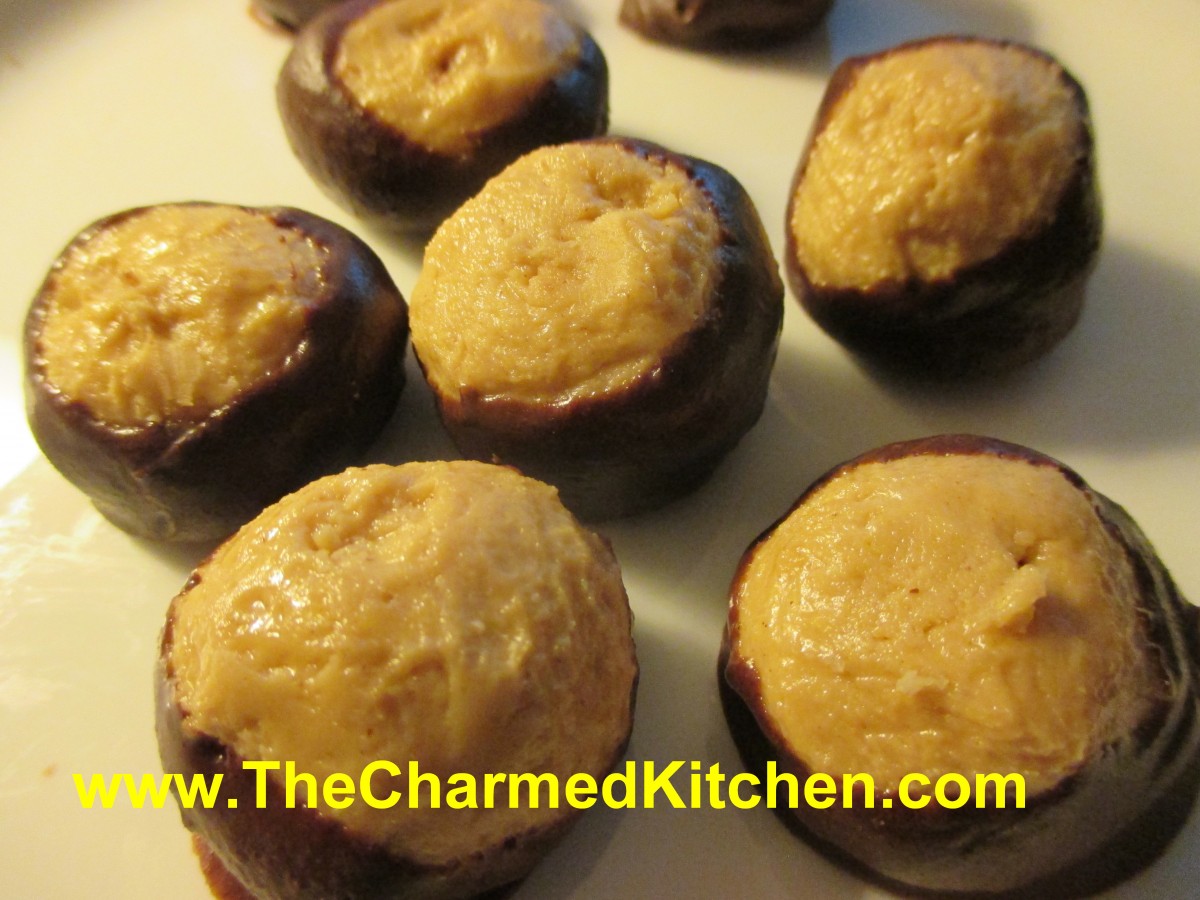
Buckeyes
Buckeyes are a favorite treat here in Ohio, but everybody loves them. They are made with peanut butter, powdered sugar, butter and a chocolate mixture for dipping. Easy and very tasty. This is a treat kids can help make, too.
1 ½ lb. powdered sugar
1 ½ c. peanut butter
2 sticks softened butter
12 oz. chocolate chips
2 T. coconut oil or shortening
Mix together sugar, peanut butter and butter. Chill. Roll into balls, about 1-inch big. Flatten slightly. Melt chocolate and coconut oil. Dip in melted chocolate to cover about ¾ of the surface. Using a toothpick or fondue fork makes this job a lot easier. Allow to harden on wax paper. Store in a cool place. Can be frozen. Makes about 80.
Susie’s Giant Peanut Butter Cup
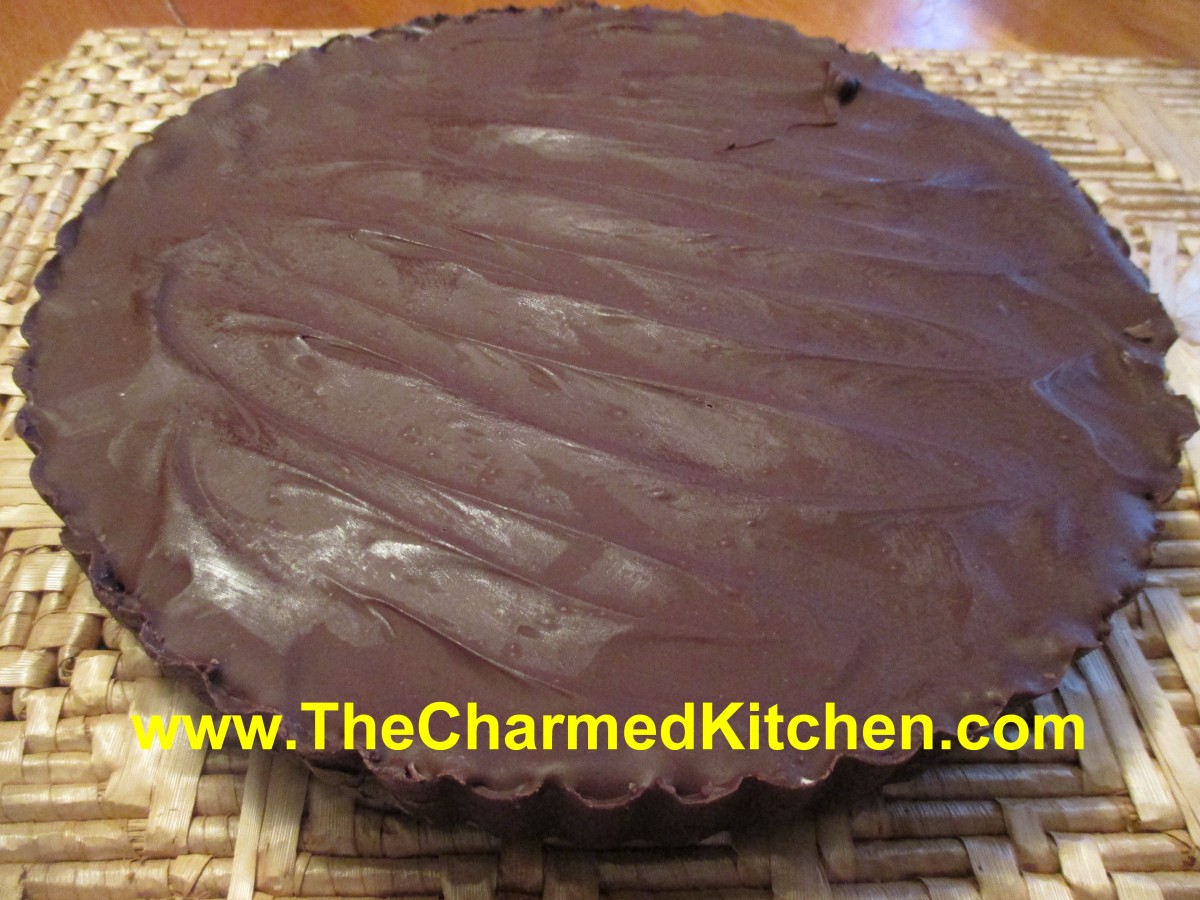
Giant Peanut Butter Cup
I wanted a food gift, for a friend. I wanted to make her something special. I decided to try my hand at making a giant peanut butter cup. I’ve made small ones in the past, so I knew the basic structure. Using a 10-inch tart pan offered different challenges, but I went ahead and gave it a try. I wasn’t worried about the components. I had good quality dark chocolate and peanut butter. I knew it would taste good. I wasn’t sure it would stay in one piece. After using more than a pound of chocolate, I didn’t want to bring her a pile of broken pieces. It worked, and here is the result. Since I haven’t given it to her yet, I don’t have any pictures of it sliced. I used a pretty good amount of chocolate. You could probably use less, but I wanted the chocolate thick enough on the bottom the make it sturdy. I also used a slightly altered version of the filling I use when I make buckeyes. I am pleased with how it came out. Who am I kidding? I am just happy it came out in one piece.
Here is how I did it.
1- 1½ lbs. chocolate – I used a nice quality dark chocolate
1½ c. peanut butter
1 stick (½ cup ) butter, softened
2 ½ c. powdered sugar
2 t. vanilla
You will need a tart pan with a removable bottom. I used a 10-inch pan, but a 9- inch pan would work, too. Cover the removable bottom of the tart pan with wax paper. It will make it easier to get the thing out in one piece later. I cut out a square and just folded the extra wax paper under the pan and taped it down. Melt the chocolate and pour enough of it into the bottom of the tart pan that you can cover the bottom generously. Use a small spoon to push chocolate up the sides of the pan.
Now at this point you could just keep tipping the pan to get the chocolate evenly coated inside. I know my limitations. I just pictured myself dropping the pan of melted chocolate, so I used the spoon method instead. The important thing is that the entire inside get a coating of chocolate. Place pan in fridge to cool and chocolate to set up. Meanwhile, in medium bowl mix peanut butter and butter together until well mixed. Stir in sugar and vanilla and mix until smooth. Spread this mixture over the chocolate shell. Don’t press too hard. You don’t want to break the shell. I will confess that before I added the peanut butter, I played around with loosening the chocolate shell. I was worried it would not come out later. After I added the peanut butter mixture, I put it back in the fridge to firm up. Once the peanut butter mixture was chilled, I melted the rest of the chocolate and poured it over the top.
I used a lot of chocolate in the base and needed to melt more chocolate than I originally planned on. I do think the thicker shell helped when it came time to get it out of the tart pan.
To remove the peanut butter cup- make sure it is completely hardened. I gently pulled at the sides all around the edges of the tart pan, to loosen it. Then I pushed up on the removable bottom of the pan. After a few gentle pushes, it came out. I had to trim a little chocolate off the bottom when removing the wax paper, but it helped in getting the peanut butter cup out in one piece.
Homemade Cashew Brittle
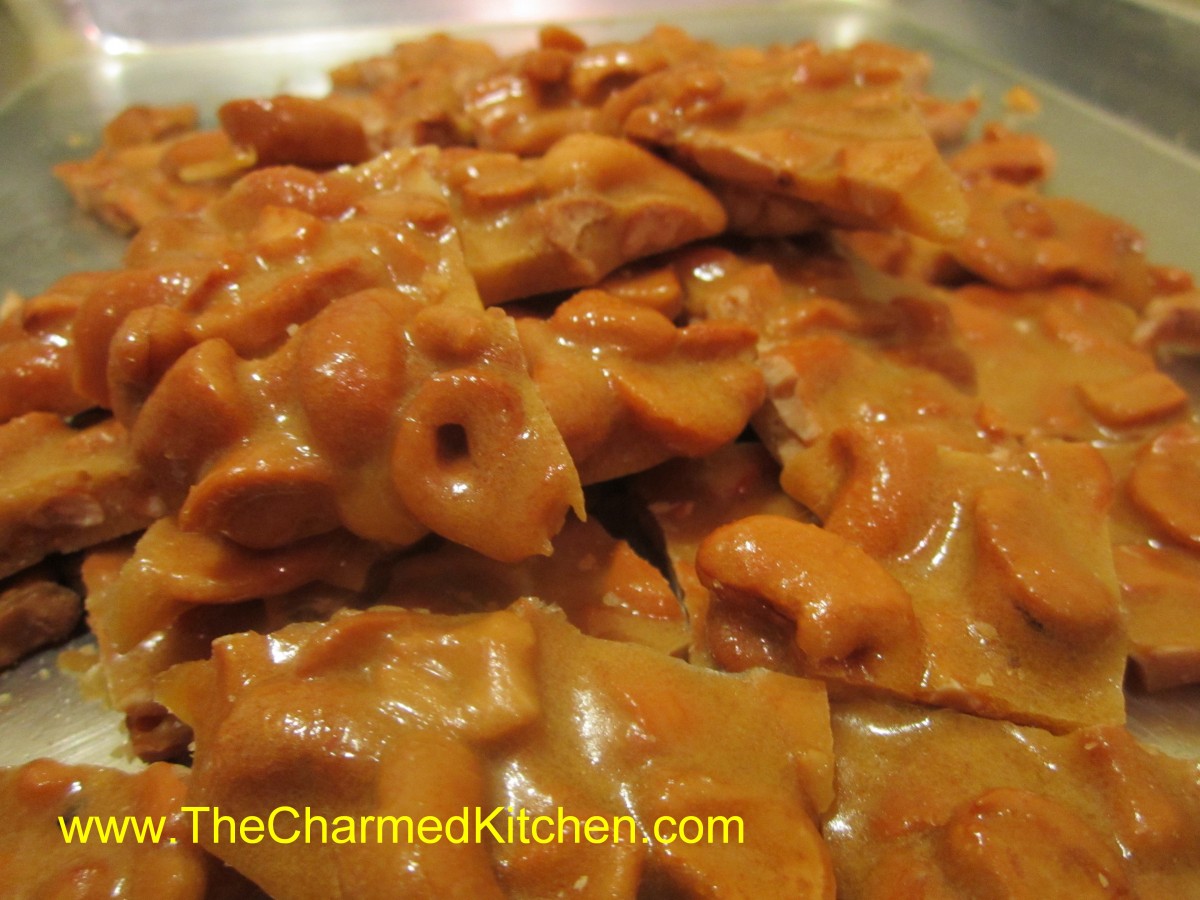
Homemade Cashew Brittle
If you need a great food gift- perhaps something to bring to a holiday party- this brittle might just be the answer. I was given this recipe at a craft show a few years ago. The brittle is cooked in the microwave. No special thermometers or equipment required. Just a glass bowl and a few minutes of your time. It could not be simpler. It is really good, too. You can use other nuts, if you prefer, or peanuts. You can also dress it up with a drizzle of chocolate, once cooled. Stored in a covered container, in a cool dry place, the brittle will stay crunchy for weeks.
2 c. cashews*
1 c. sugar
1/2 c. corn syrup
1/8 t. salt
1 t. butter
1 t. vanilla
1 t. baking soda
Butter or oil a large baking sheet and set aside. In a 3-4 quart glass bowl combine the nuts, sugar, corn syrup and salt. Microwave on high for 3 minutes. Remove from microwave, stir well and return to microwave. Cook 3 more minutes in microwave. Remove and stir in butter and vanilla, stirring until butter has melted. Return to microwave and cook for 2 more minutes. Remove from microwave and stir in baking soda. Stir until well blended and pour mixture onto prepared baking sheet. Spread out quickly, then allow to cool. Once cool, break into pieces. Store in a cool, dry place. I normally store it in a tin or plastic container with a tight-fitting lid.
* I used salted cashews but feel free to experiment with other nuts
Note: Use high power setting on microwave.
Homemade Liqueurs -Using Extracts
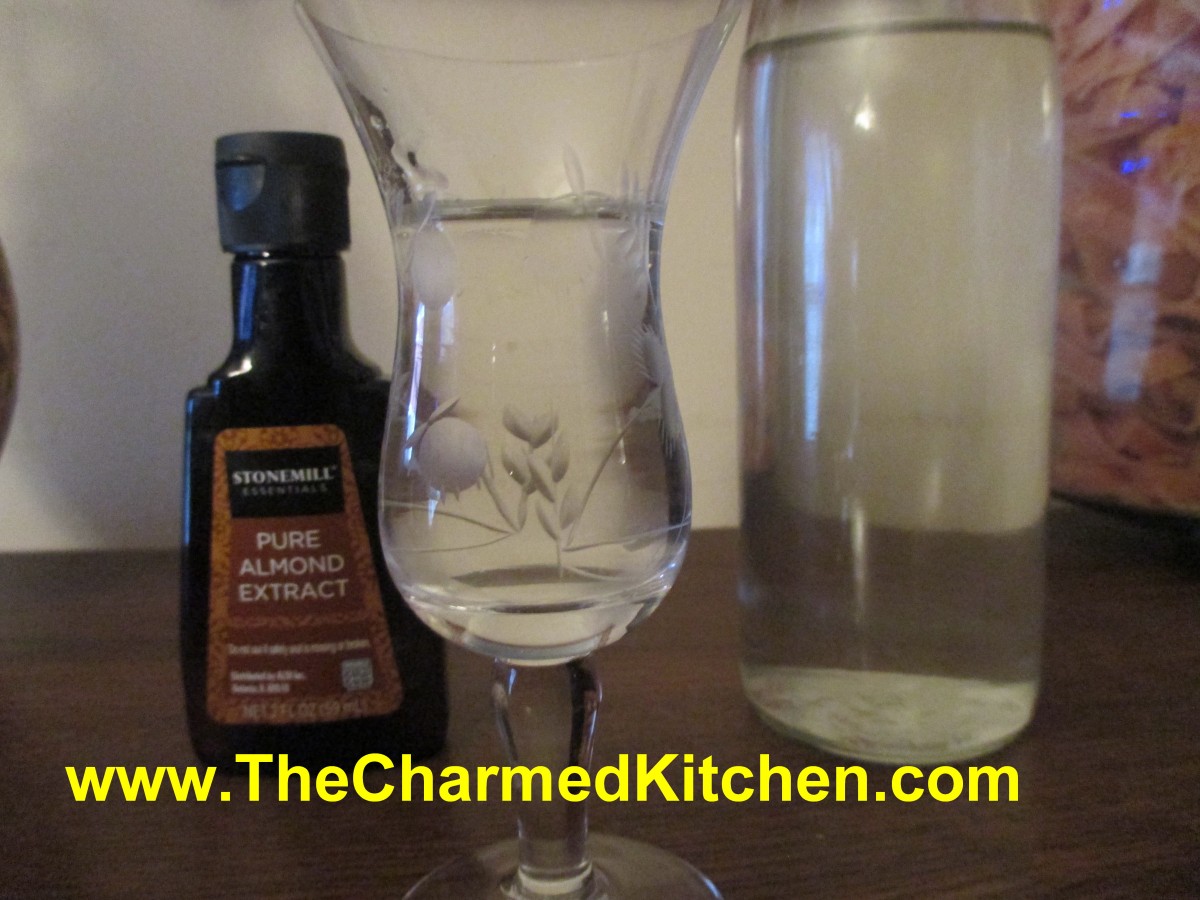
Homemade Almond Liqueur
I enjoy making liqueurs with seasonal fruits, but when fruit is in short supply, you can also use extracts. Pure extracts will give your liqueur a nice, true flavor, but no color. I have made almond, hazelnut, walnut and peppermint. You can use whatever flavors you think you might like. One advantage is that liqueurs made from extracts are ready to drink in less than a week. Fruit based liqueurs often take weeks and weeks to fully develop. So if you like a little almond flavor in your coffee- you can make your own liqueur with almost no effort. Another advantage is that you can adjust the sweetness to your own taste as well. I have included the recipes for almond and peppermint, but the recipe is the same for any extract flavor you might want to make.
Almond Liqueur
1 t. pure almond extract
3 c. vodka
1 c. simple syrup
Combine all ingredients and let mature several days. Makes 4 cups.
Peppermint Liqueur
1 t. pure peppermint extract
3 c. vodka
1 c. simple syrup
Combine all ingredients and let mature several days. Makes 4 cups.
Sweetening- Simple syrup is made from 1 cup of sugar and ½ cup of water. Bring to a boil, then cool. You will have 1 cup of syrup. You can sweeten your liqueur with honey, if you prefer. Watch when you substitute honey for sugar, as it is sweeter and stronger flavored. Better to use orange or clover honey. Add to suit your taste.
Homemade Hot Cocoa Mix
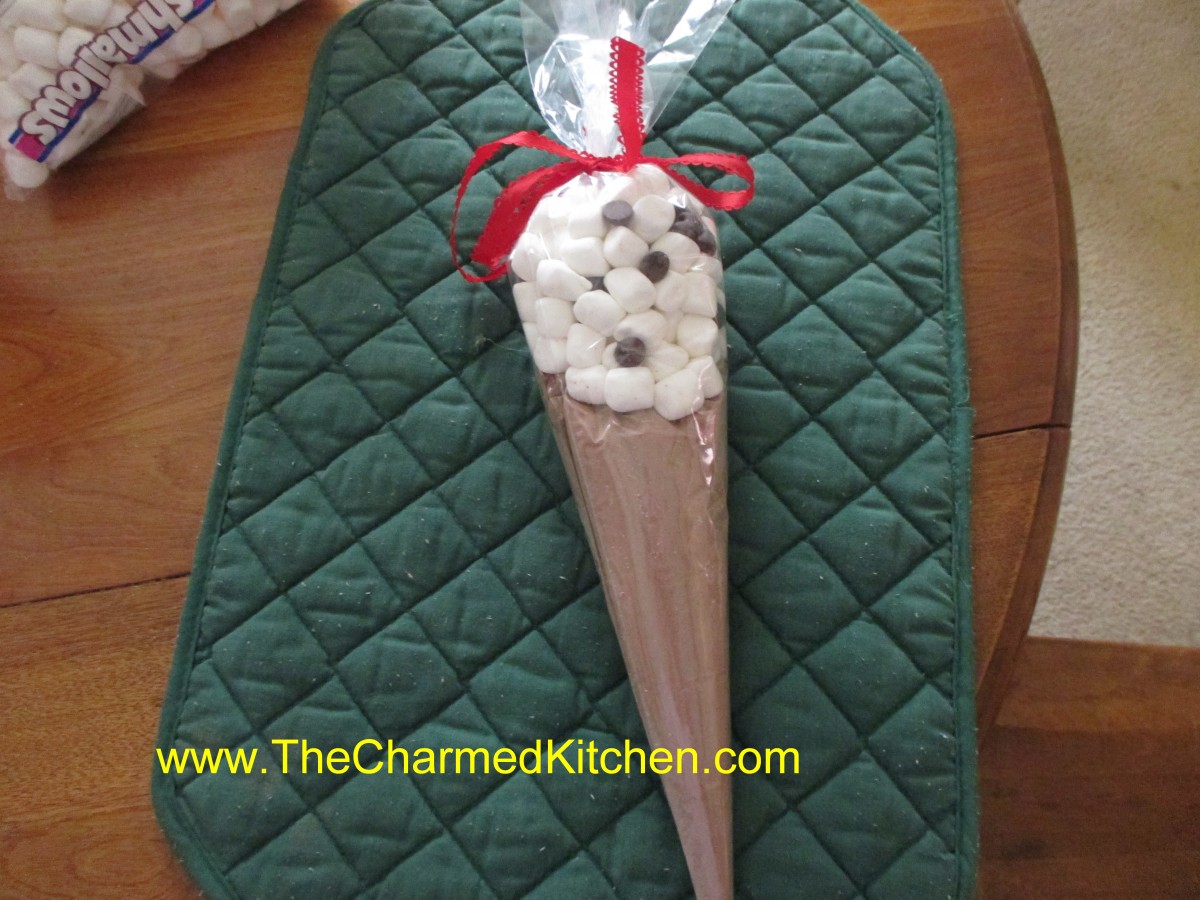
Hot Cocoa Ice Cream Cone
I am always looking for homemade gift ideas for the holidays. I really like gifts that both adults and kids can make. This one is just a simple way to package homemade hot cocoa mix to make it special. We made these in a holiday gift class the other night. People really enjoyed making them.
You start with hot cocoa mix- recipe follows. Then you get these cone shaped bags. I use a 12-inch size and a 17-inch size. I buy my online but they are available in some craft and candy making stores. Just put about 1 cup of the hot cocoa mix in the smaller cone shaped bag. Fold the top down and tape it shut. Now place the smaller bag inside the larger bag. Add about a cup of mini marshmallows mixed with some chocolate chips. The chips are optional. Tie shut with a ribbon. It ends up looking (sort of) like an ice cream cone. I add a label that says “Hot Cocoa for Two” with directions that say, “Divide hot cocoa mix between two large mugs. Fill with a cup of boiling water in each. Stir and top with the marshmallows”. You can make whatever label you like. A quick and simple gift. You could also include mugs with the gift. This is a great idea for kids to make for grandparents, teachers, etc.
Here is the recipe for the hot cocoa mix.
Hot Cocoa Mix
3 c. nonfat dry milk
1 c. cocoa
1 c. sugar
1/4 t. salt
1 c. mini marshmallows (optional)
In large bowl, mix all ingredients well. I like to sift the ingredients in because it powders the milk even finer than the way it comes. Store in an airtight jar and use within 6 months. To use add 5 tablespoonfuls to 8 ounces boiling water. Variation, flavor with cinnamon, instant coffee, cayenne pepper or even dried orange peel.


