Peppermint Candy Trays
Peppermint Candy Tray
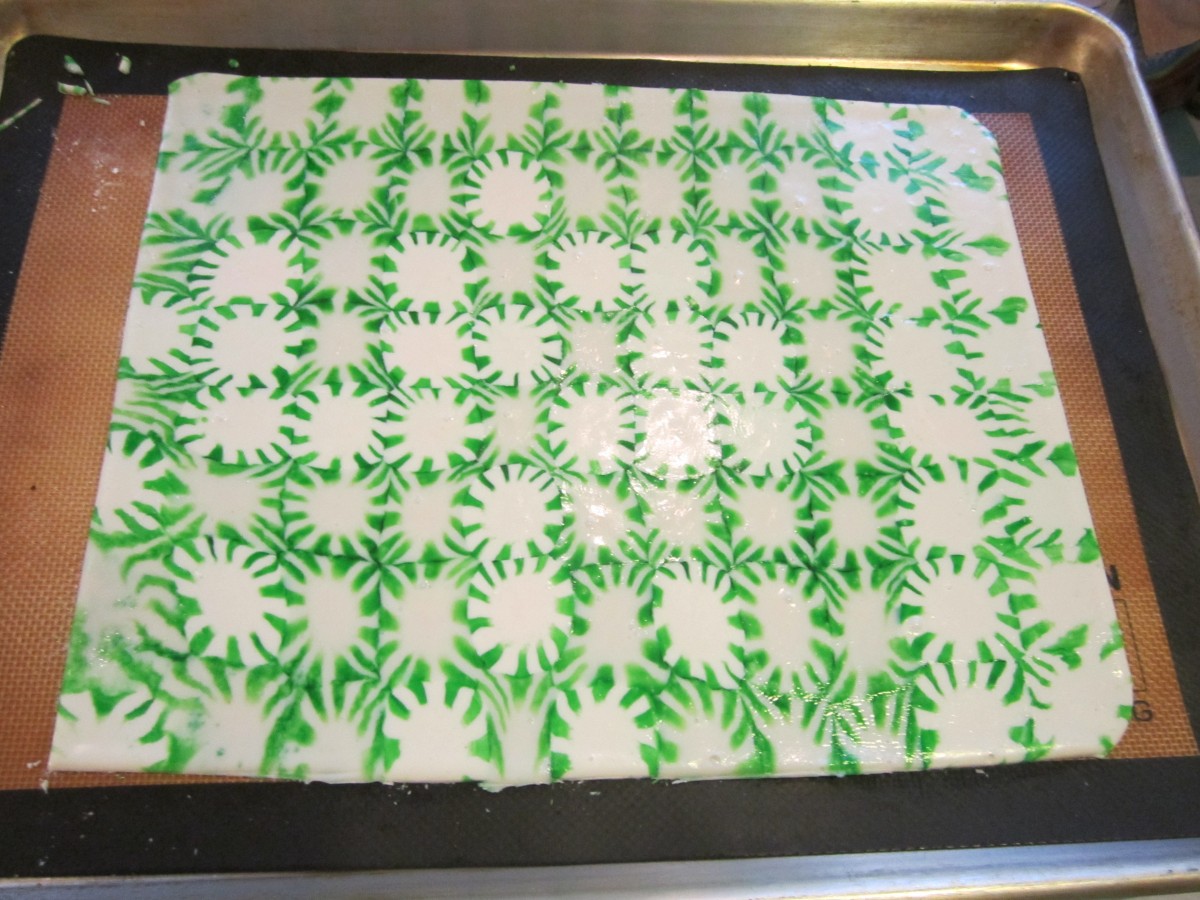
My friend Sue saw these being made on TV and asked if I would be willing to try making one. We did and here are the results. The trays are just peppermint candies that are melted in the oven and cooled. Cool, huh? We also made a bowl. The process is pretty simple. Preheat your oven to 350-degrees. Line a baking sheet with parchment paper or a silicone baking sheet. Unwrap the candies and place them about 1/4 -1/2 – inch apart on the baking sheet. We set the timer for 5 minutes- but they actually took about 10 minutes to melt and come together in a flat “tray.” Remove from the oven and cool a few minutes- you can trim the edges once they have cooled a little- but before they are completely cool or they will have gotten hard and will shatter. The first attempt was super easy. The second time we arranged them in a circle and melted them as the first batch. Took it out of the oven and placed it on top of a metal bowl to cool. The result is a bowl made from candy. Fun project to do with kids.
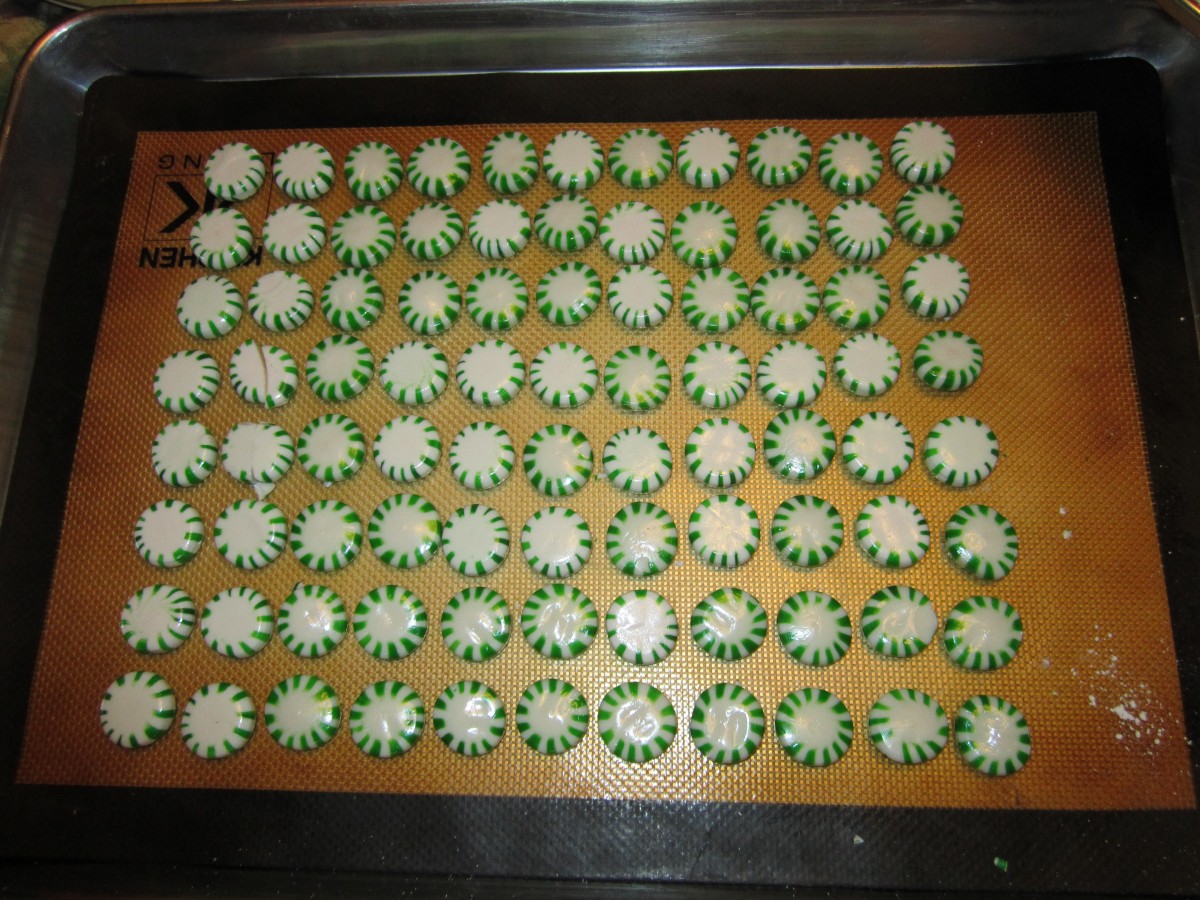
Place unwrapped candies on a baking sheet
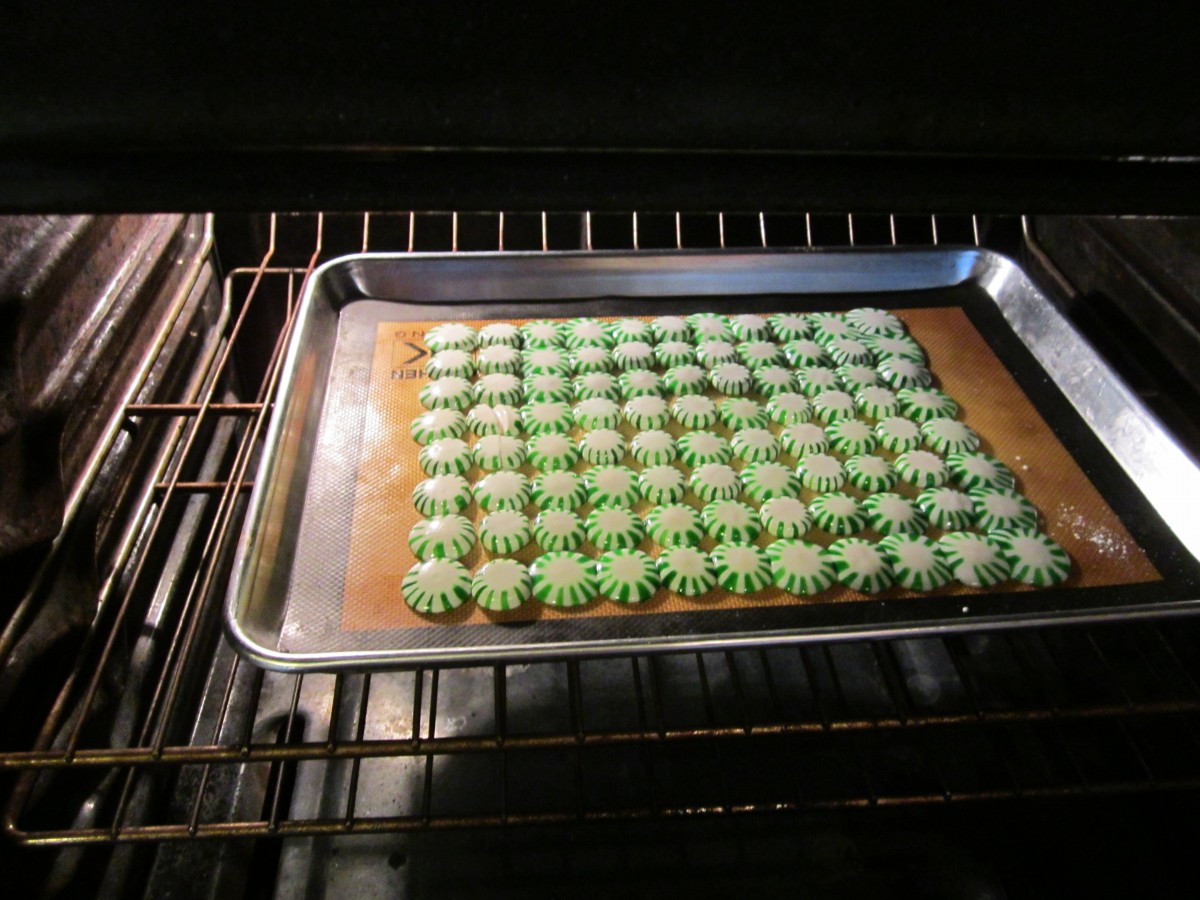
Candies melting together

Trim while still warm
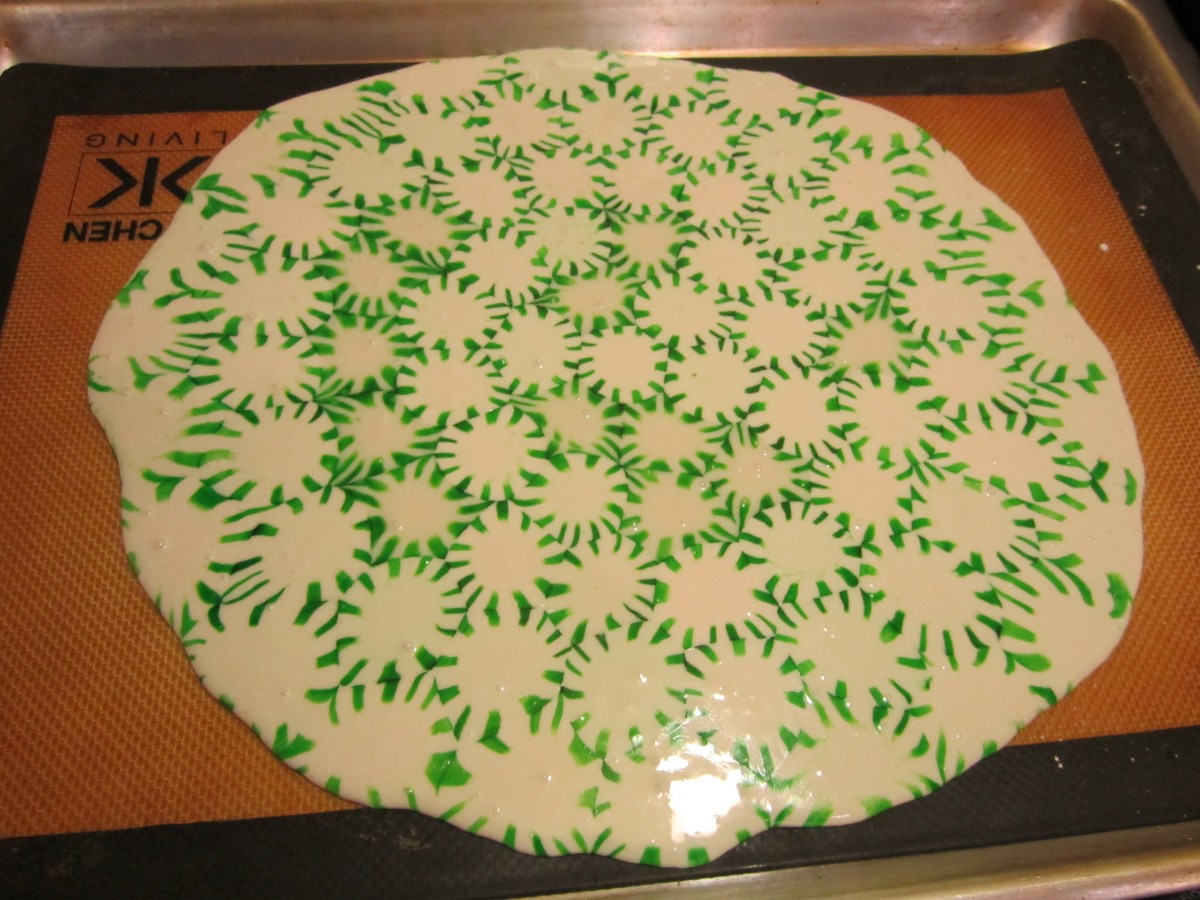
Arrange in a circle to make a bowl
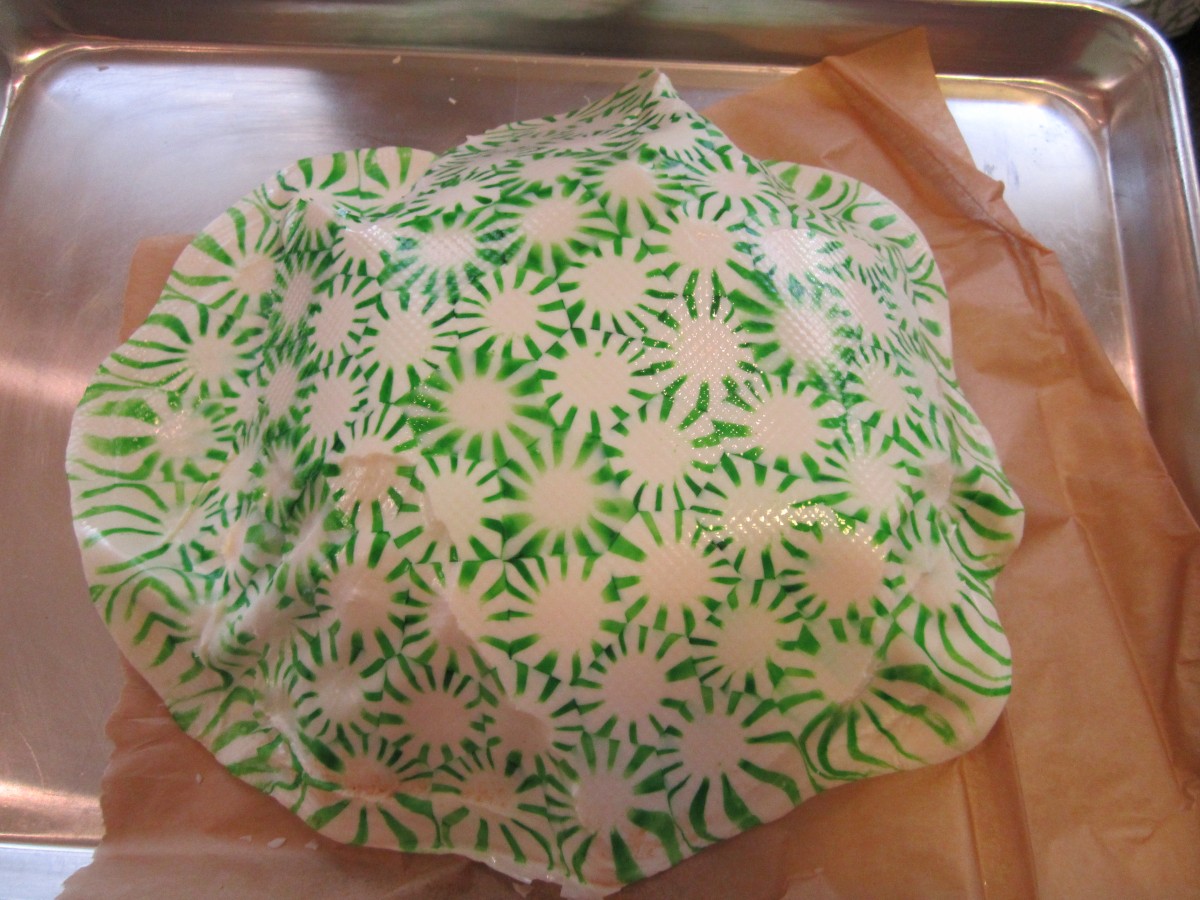
While warm place over metal bowl to cool

Peppermint Candy Bowl
Bean and Barley Soup
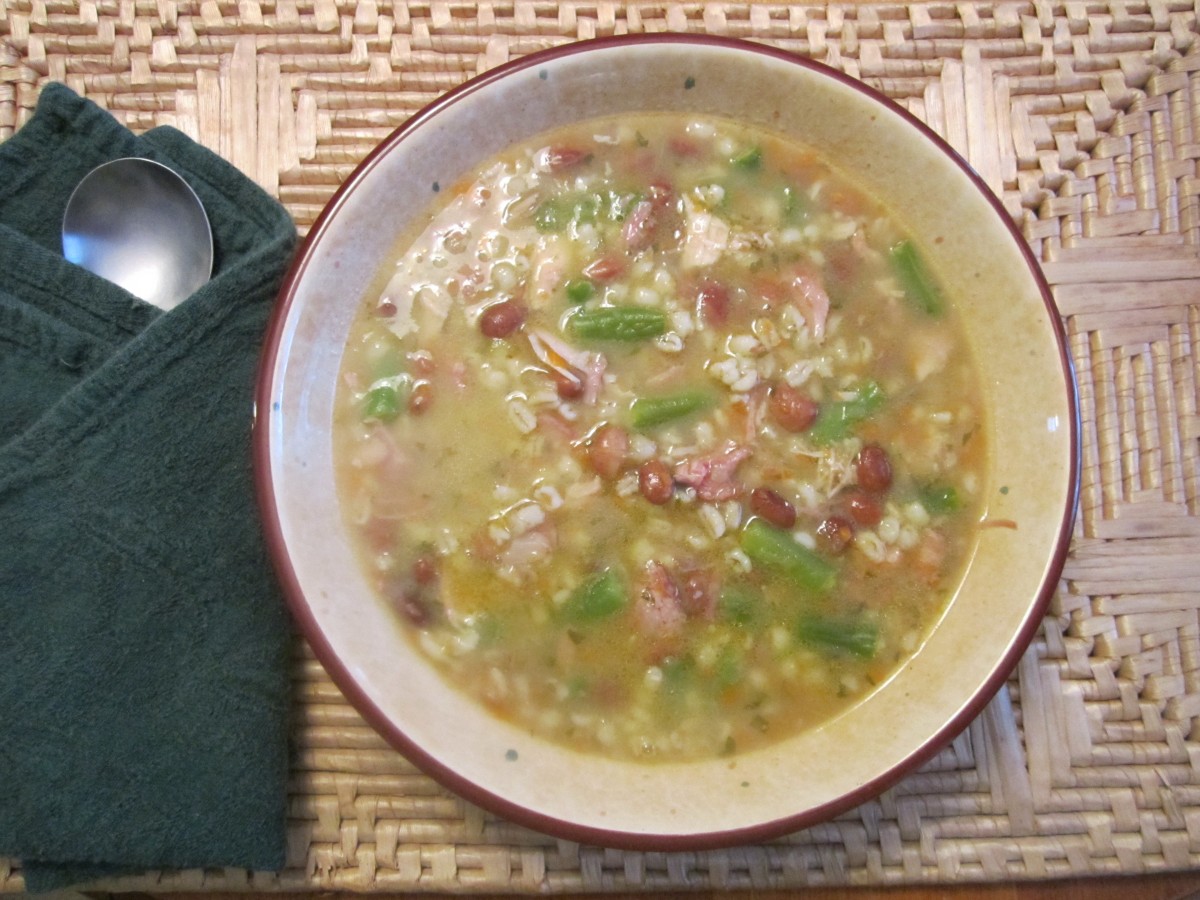
Bean and Barley Soup
Very cold, even by December standards. Seemed like a great day for a hot bowl of soup. I love this Bean and Barley soup. It takes a while to cook but that only helps to warm the house on a chilly day. This recipe makes a pretty big pot of soup. I make it when I have company, although it does freeze well.
Bean and Barley Soup
8 oz. dry pinto beans, rinsed
1 T. oil
1 onion, chopped
2 cloves garlic, minced
2 carrots chopped fine
2 ribs celery, chopped fine
1 lb. Spare ribs or 1 lb. turkey drumstick or thigh
1 lb. ham hock or 1 lb. smoked turkey drumstick or wing
1 qt. chicken stock
2 qts. Vegetable stock or water
1 c. barley
½ lb. green beans, cut
salt and pepper to taste
1 T. parsley
Place beans in saucepan with water and boil 5 minutes. Set aside to soak 1 hour. Drain. Meanwhile cook vegetables and garlic in oil in large kettle. Add meats and stocks and bring to a boil. Stir in pinto beans. Cover and simmer on top of the stove for 1 hour. Or, if pan is ovenproof place in 350-degree oven and cook 1 hour. Stir in barley and beans and cook 1 hour more. Remove from heat and remove meat. Remove any meat from bones, shred and return meat to soup, discard bones. Stir in parsley and adjust seasonings. Serves 8-10.
Holiday Open House

Pineapple-Ginger Preserves
Since my schedule did not permit me to do a couple of shows I normally do I have decided to do an Open House at my home this year. It is a chance for you to pick up some last minute gifts, have a visit and have some food.
I’ll have my books, herb packets, beer bread mixes, bean soup mixes, herb vinegars and jams and jellies for sale. I only have a few jars of the pineapple ginger preserves left so if you want one of those be sure to let me know asap.
I will also have baked goods for tasting. I will have order forms for cookies and other baked goods which I am also doing this year.
Hope you can make it. Bring a friend.
Open House
Hours 11-7
Saturday, Dec. 14
18007 East Park Dr.
44119
Sweet Potatoes with Apples
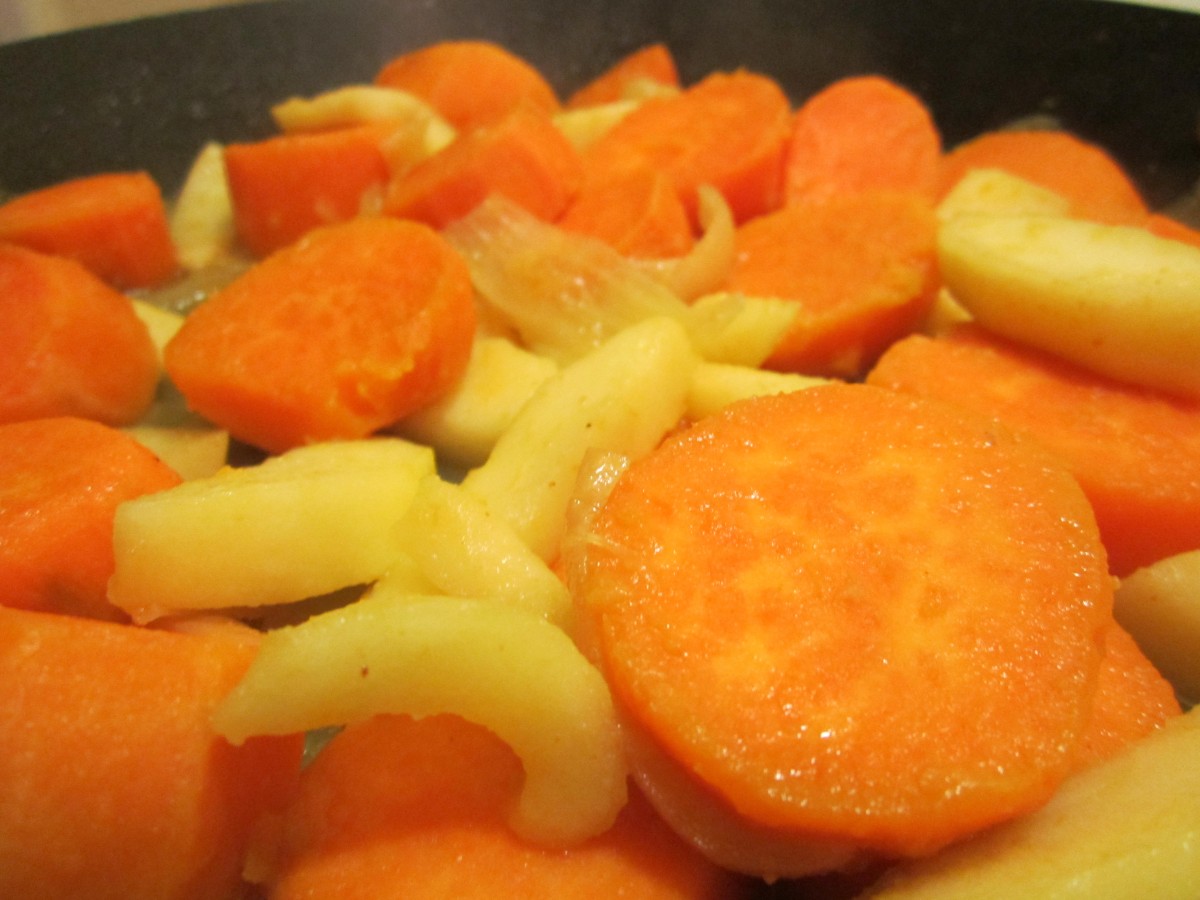
Sweet Potatoes with Apples
I was looking for an easy side dish to have with duck. I ended up making a quick saute of sweet potatoes with onions and apples. I loved it with the duck but would certainly serve it with other foods. I thought it would pair nicely with pork, too. Here is what I did.
Sweet Potato and Apple Saute
2 T. oil or butter
1 large onion, peeled and sliced
3 small sweet potatoes, peeled and sliced about an inch thick
1/2 c. water or stock
2 apples, peeled, cored and sliced
2 T. honey
2 T. cider vinegar
salt and pepper to taste
dash of hot sauce
Heat oil or butter in skillet and add the onion. Cook until golden. Add sweet potatoes and water or stock and cook until sweet potatoes are almost tender. Add apples and cook until apples are heated through. Add honey and vinegar and cook until most of the liquid disappears. Season to taste and serve.
Roasted Duck

Roast Duck
There is something about duck that just appeals to me. The richness and sweetness of the meat make duck a favorite of mine no matter how it is prepared. I grew up eating Czarnina (Polish Duck Soup) that was mostly prepared for holidays. That made the soup even more special. As a kid I only ate duck that had cooked in the soup all day. It wasn’t until I was in my teens that I had it prepared any other way. I still remember my mother cooking the duck with orange glaze. It was wonderful.
I recently got 3 fresh ducks from Plumcreek Farm. I put 2 in the freezer for later but had to enjoy one of them right away. Fresh duck is a real treat. I had ordered the ducks several weeks ago and had thought about how I wanted to cook them. Various sauces went through my mind. Rhubarb perhaps or maybe a plum sauce. Red wine or something citrus based, perhaps. In the end I decided to go minimal with this first duck. No fancy sauces or even marinades. I wanted to leave the duck as close to “natural” as I could. I salted it inside and out and gave it a good sprinkle of fresh ground black pepper. I also cut up an apple and onion and placed them in the cavity. That was it. Placed the duck on a rack and roasted it in a hot oven to crisp and render the skin as much as possible. Baked it at 425 for about an hour and a half. Served it with a saute of sweet potatoes, onions and apples that suited the duck. I would not have changed a thing.
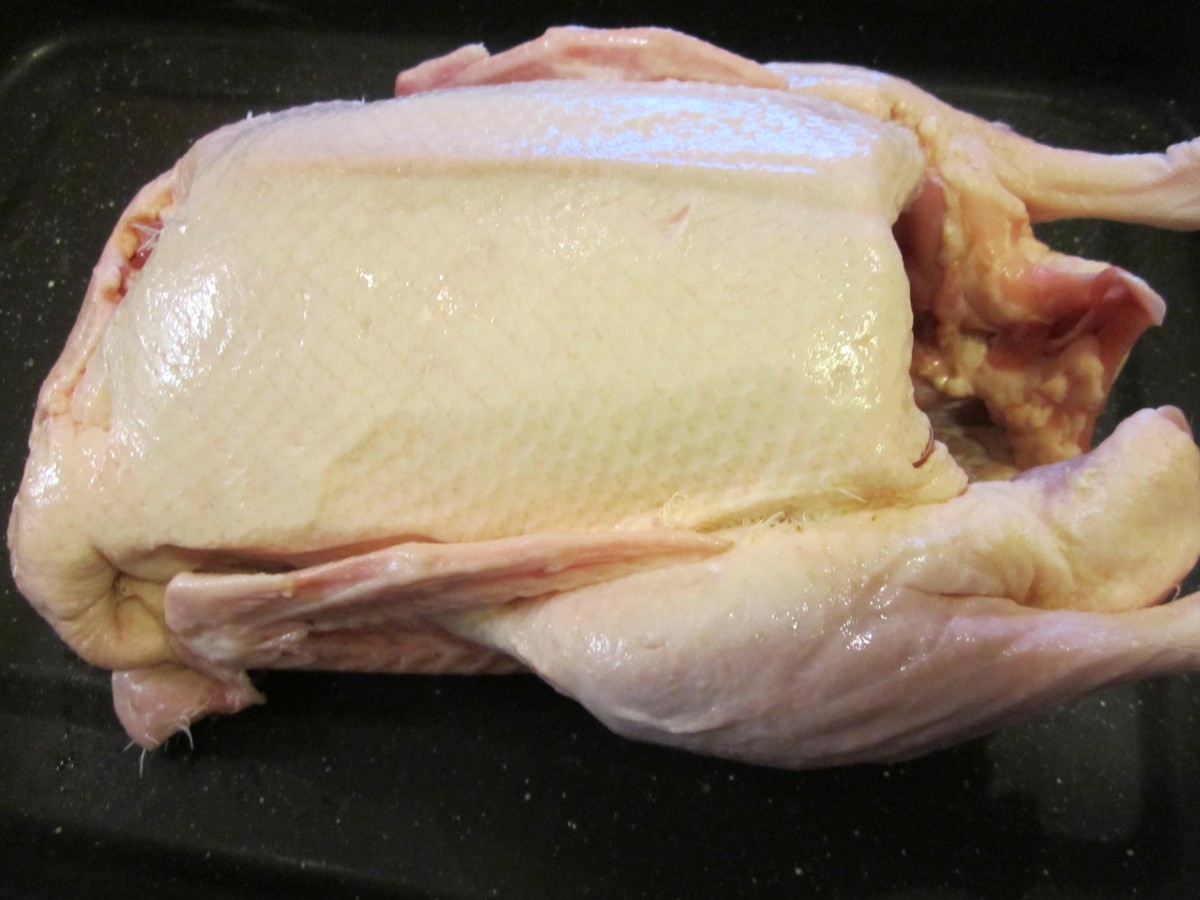
My first fresh duck
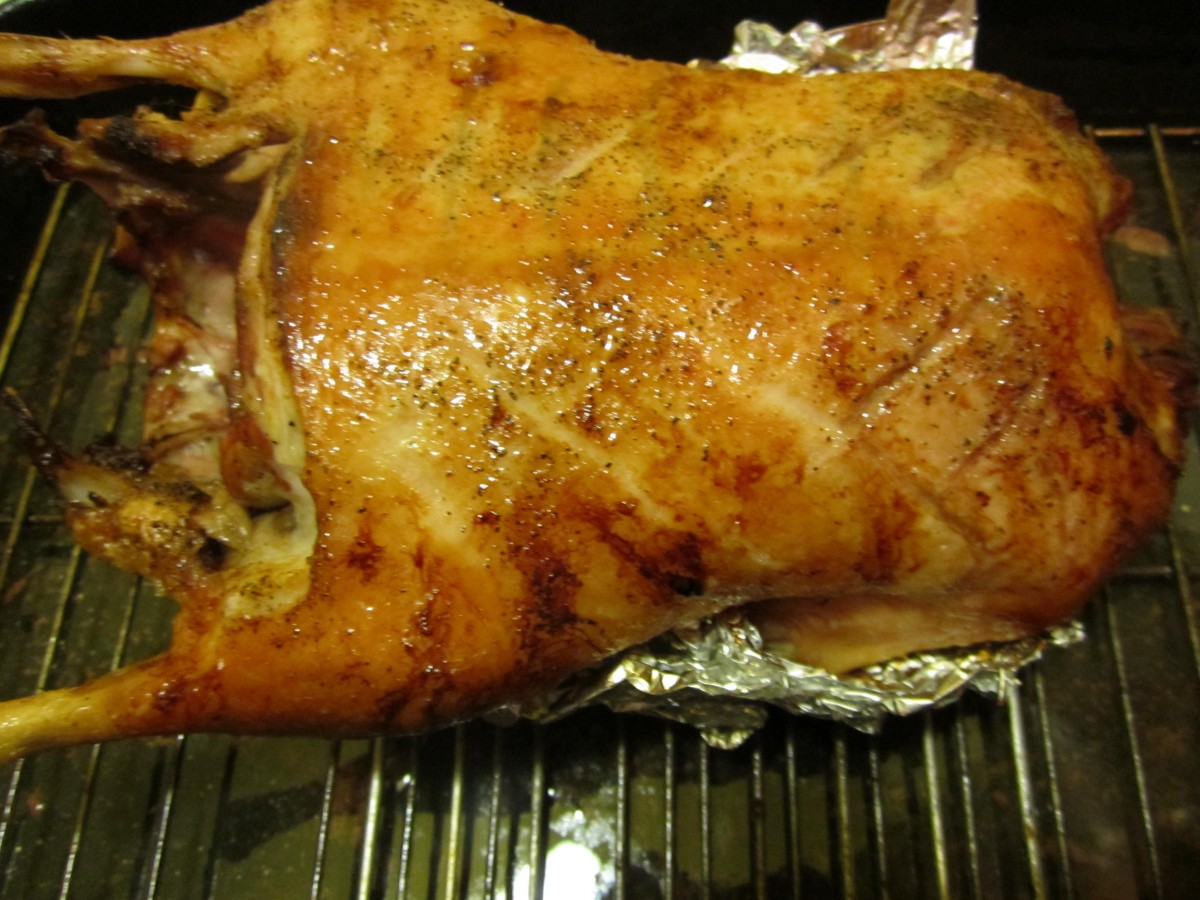
Crispy perfection
Lemon Meltaways
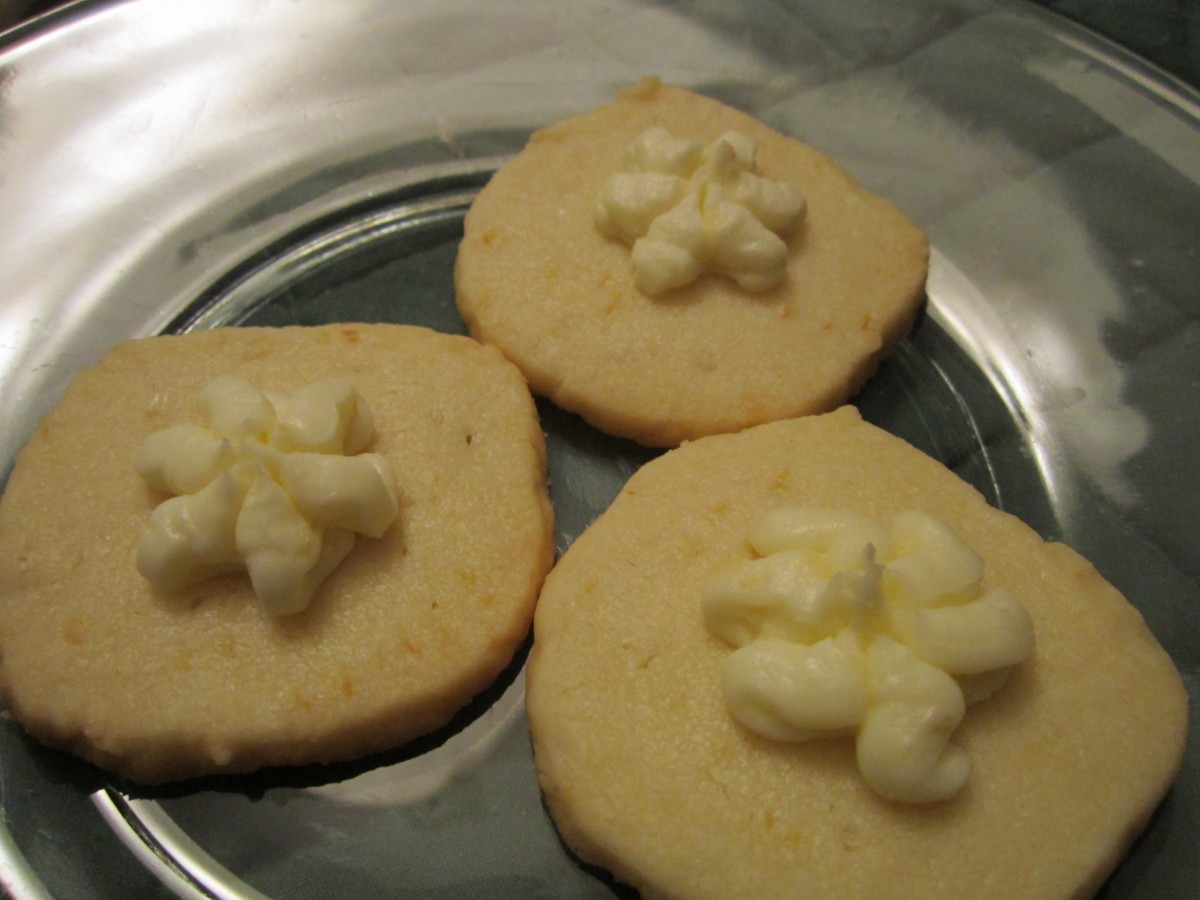
Lemon Meltaways
It is cookie season so I thought I’d share one of my favorite recipes with you. I’ll be posting more cookie pics and recipes in the coming weeks. This cookie is delicate and not too sweet with the lovely taste of lemon. Pretty and easy to make.
Lemon Meltaways
Dough:
1 ¼ c. flour
¾ c. butter, softened
½ c. cornstarch
1/3 c. powdered sugar
1 T. lemon juice
1 t. grated lemon peel
Frosting:
¾ c. powdered sugar
¼ c. butter, softened
1 t. lemon juice
1 t. grated lemon peel
In large bowl combine all dough ingredients and mix well. Divide dough in half and roll each half into an 8- inch roll. Wrap in plastic wrap and chill until firm, 1-2 hours. Slice chilled dough into ¼ inch slices and place 2 inches apart on a cookie sheet. Bake in a 350 degree oven for 8-12 minutes, or until cookies are set, but not brown. Cool completely on a rack. Combine frosting ingredients and beat until light and fluffy. Frost cooled cookies. Makes 4 dozen.
Spinach Frittata
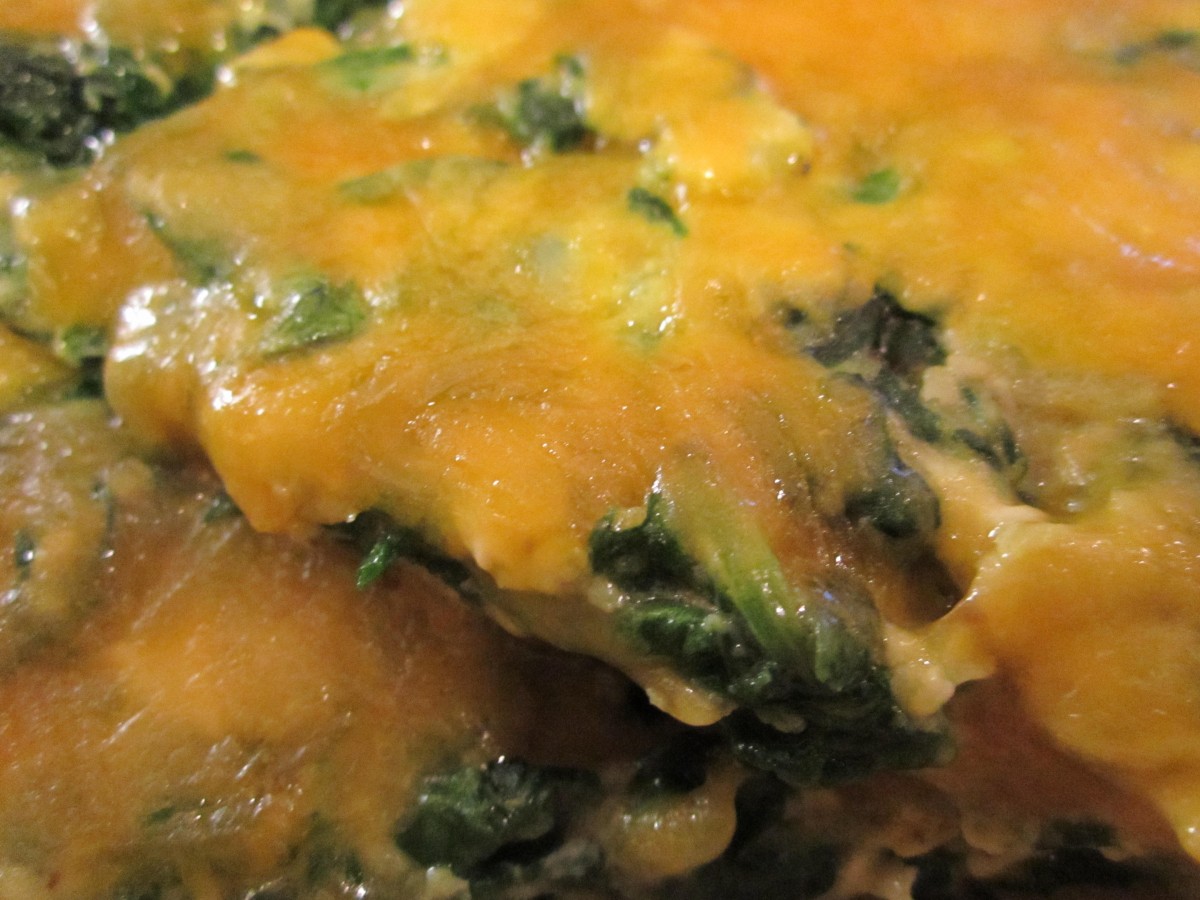
Spinach Frittata
Since I love spinach it is one of my go to greens. I decided to make breakfast just a little healthier with the addition of spinach to the morning eggs. I started with a pound of baby spinach that I steamed. I got the skillet hot and added butter. I put the spinach in the pan and heated it through. Then I beat together 3 eggs and added salt and fresh ground pepper. I added the eggs to the pan and used a spatula to lift the eggs and let the uncooked eggs get to the bottom of the pan. When the eggs were set I sprinkled the frittata with shredded cheddar cheese and turned down the heat. I put a lid on the skillet to allow the cheese time to melt. Full of spinach and cheesy goodness this breakfast was quite a hit.
Cranberry-Rosemary Vinegar
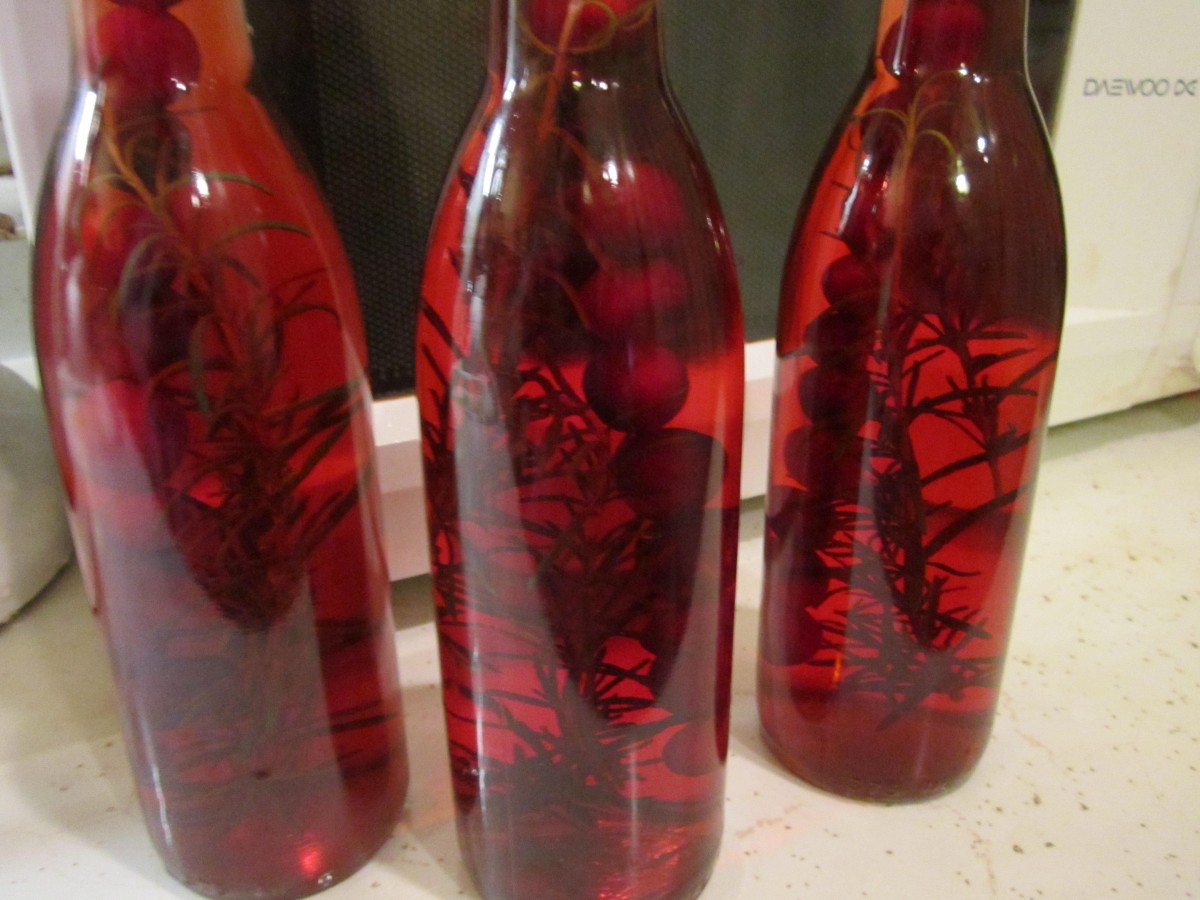
Cranberry-Rosemary Vinegar
I am always looking for more ways to use cranberries. I have made relish and frozen some, baked with others and will make jam next week. I also preserve some by using berries to flavor vinegar. By adding rosemary the end result is a great tasting vinegar that is perfect for winter salads. It is also a lovely gift.
All you need are bottles with corks or screw top lids. If using corks be sure they are food grade. You’ll also need cranberries, bamboo skewers, fresh rosemary and vinegar- 5% acidity. I use red wine vinegar. Other vinegars will work, too. If you use white vinegar or cider vinegar they will pick up color from the berries.
Make sure the skewers will fit in the bottles. Cut them down to fit, if needed. Skewer the berries on the skewers leaving a little room on the top. Place a few sprigs of rosemary in each bottle and then add the berry filled skewers. Pour in the vinegar, leaving a little room for the cork. Sometimes you need to add a little more vinegar the next day as some will absorb into the skewers. I make decorative labels and give them as gifts. Ready to use in a week.
Chicken Florentine

Chicken Florentine
After picking up some spinach the other day I was trying to decide what to do with it. I remembered a dish my Mother used to make. Pork Chops Florentine. Basically, pork chops baked with spinach. Mom added potatoes to the dish, too. I remember how much I loved it and how I thought there was never enough spinach. Spinach cooks down a lot so prepare to use more than you might think. I used a one pound package of spinach and could have used more. It was quite easy to make and since I bought 2 pounds of spinach I’ll likely do something similar with the rest of it. I didn’t have pork chops so I used 4 bone-in chicken thighs but any cut of chicken would have worked. Boneless will take a lot less time to cook. Pork chops would also be wonderful in this dish.
Season the chicken pieces with salt and pepper. Brown the chicken pieces in a skillet. Once it’s nice and brown on both sides turn down the heat and cover the skillet. Cook until juices run clear when chicken is poked with a fork. This took about 30 minutes with the thighs. Remove the chicken from the pan and spoon out most of the fat. Add 1 large onion, sliced, and cook until golden. Add the spinach- I used a pound and it was freshly washed so it had some water on the leaves. Stir the spinach over medium high heat until it wilts down. You can even turn the heat down and cover the pan to speed up the process. While the spinach is wilting place 1 cup of milk or half and half in a jar with a tight-fitting lid. Add 2 T. flour- put on the lid and shake until the mixture is smooth. Pour milk mixture over the wilted spinach and stir until mixture becomes thickened and bubbly. Add salt and pepper to taste and a some grated nutmeg. I also added a dash of hot sauce. Return chicken to the pan, turn down the heat and simmer for 5 minutes or until everything is nice and hot.
Chocolate Truffles
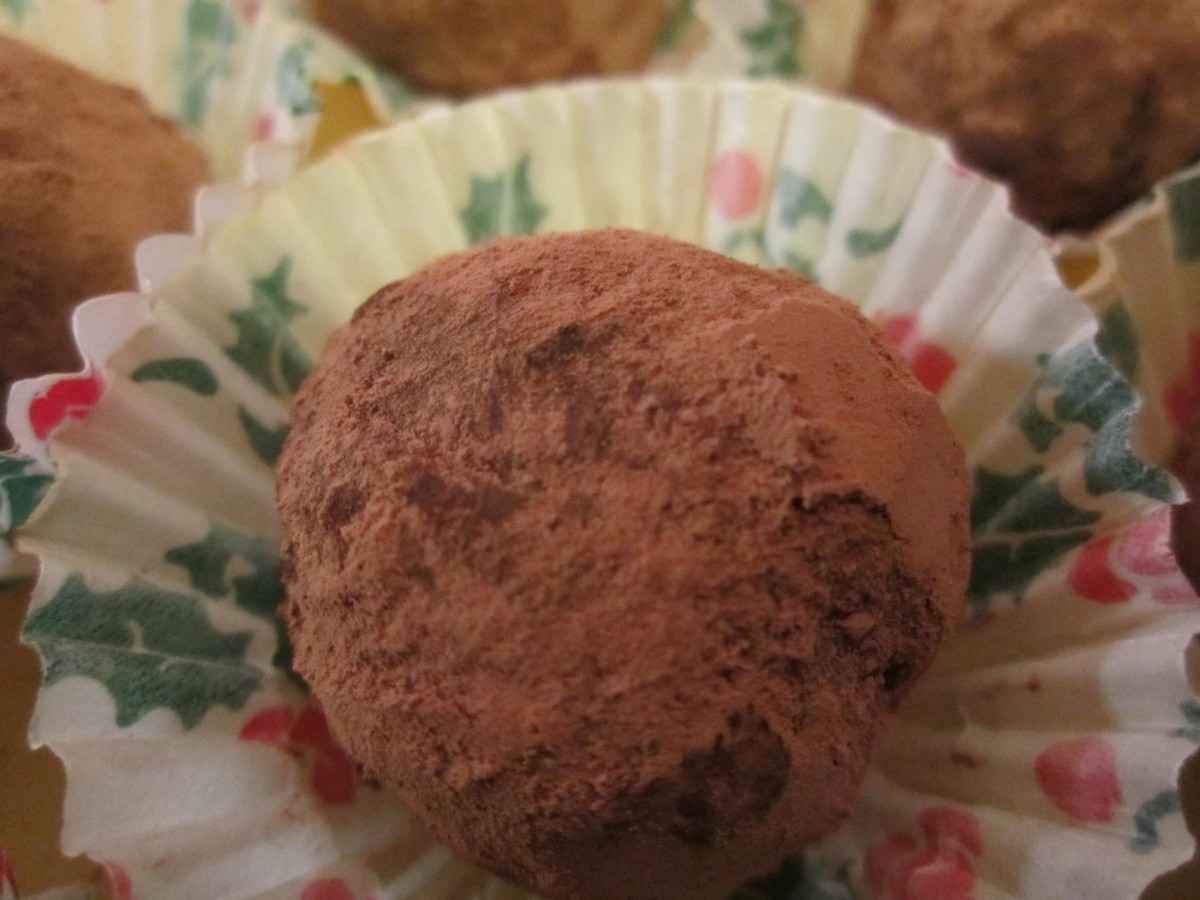
Chocolate Truffles
These decadent little bites of chocolate are always a nice gift for the holidays. I like to take a box to parties as a thank-you to the host or hostess. These are easy to make, too. Only 4 ingredients and you can make a batch in no time. You’ll need 12 ounces of bittersweet chocolate. You can use 2 cups of chocolate chips or splurge and get a really nice high end chocolate. Just up to your own taste and budget. Another thing to remember- one of the rules when working with chocolate- always wear brown.
Truffles
1/3 c. Whipping cream
6 T. butter, cut into small pieces
2 c. chocolate chips- or 12 oz. chocolate, grated or chopped coarsely
Unsweetened cocoa
Heat cream to boiling in small saucepan. Stir in butter and cook until melted. Remove from heat and stir in chocolate until melted. Place in shallow bowl and chill until firm, at least a couple of hours. Roll mixture into 1-inch balls and roll in cocoa. Sometimes the mixture is quite firm and hard to roll into perfectly smooth balls. You can roll them out as smooth as you can, roll in cocoa and then roll again to smooth out. You might want to give them another roll in the cocoa after that. Makes about 30.


