Peanut Butter Thumbprint Cookies

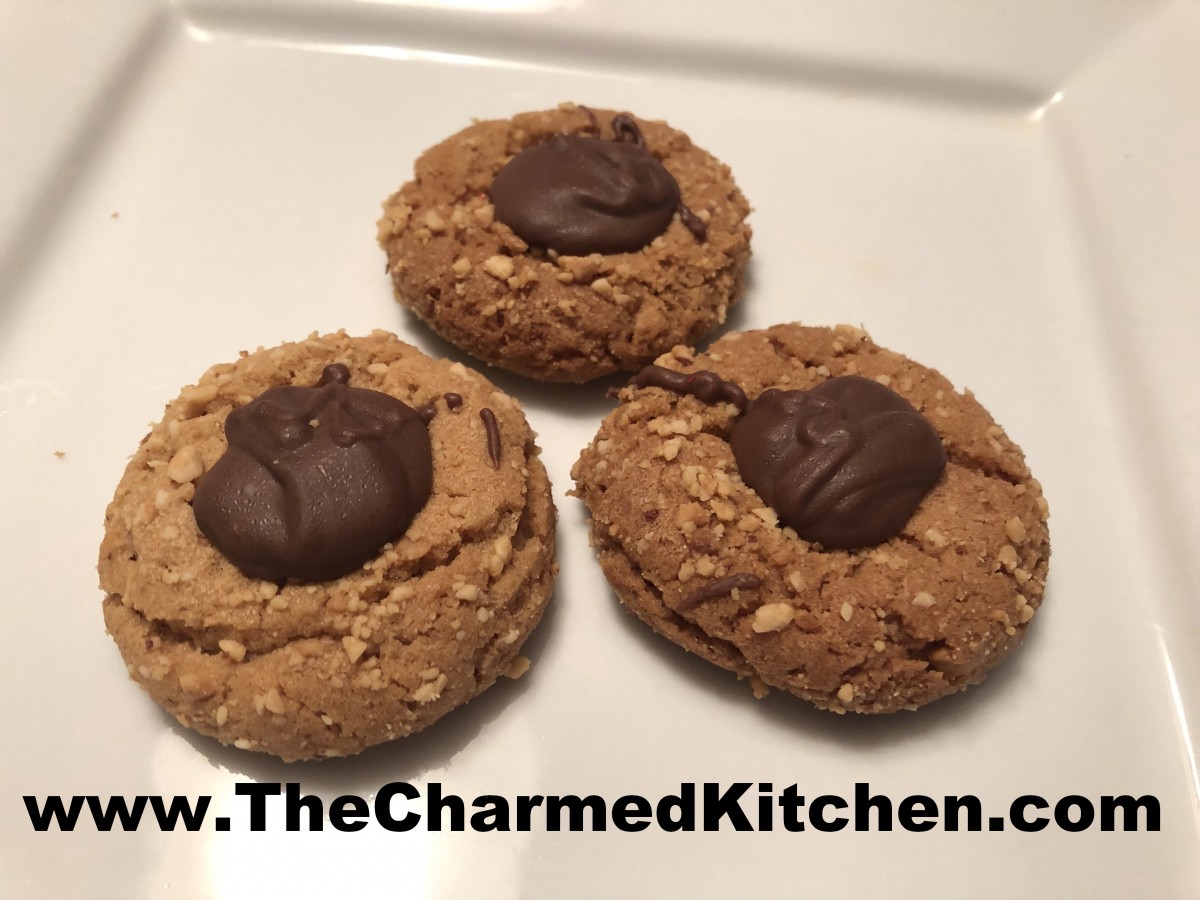
Peanut Butter Thumbprints
The combination of peanut butter and chocolate is a classic. This cookie brings those two flavors together perfectly. The cookie itself has a wonderful outer crunch, but is also tender and melts in your mouth. The addition of a dollop of chocolate finishes the cookie just right.
While making cookies for this holiday season I came upon this recipe. I couldn’t remember the last time I had made them, so I decided to bake up a batch.
I forgot just how much I loved these cookies. I am definitely going to be making them more often.
Of course, you could also use a spoonful of jam or jelly to fill in the cookies. Peanut butter and jelly are also a classic combo. No matter what filling you use, these thumbprint cookies are going to be a big hit.
Peanut Butter Thumbprints
1 c. butter, softened
2 c. packed light brown sugar
1 1/2 c. peanut butter (smooth or crunchy)
2 eggs
1 t. vanilla
2 1/2 c. flour
1 t. baking powder
1/2 t. baking soda
1 3/4 c. finely chopped unsalted, dry roasted peanuts
Melted chocolate, about 2 cups
In mixing bowl, cream together butter, sugar and peanut butter. Beat in eggs and vanilla. Combine flour with dry ingredients and mix into butter mixture. Shape dough into 1-inch balls and roll in the peanuts. Place on ungreased baking sheets. Bake in a 350-degree oven for 8-10 minutes or until cookies are just set. Press thumb gently into the middle of each cookie and cool on rack. Spoon about a teaspoon of melted chocolate into each cookie. Makes about 8 dozen.
Cinnamon Pecan Shortbread

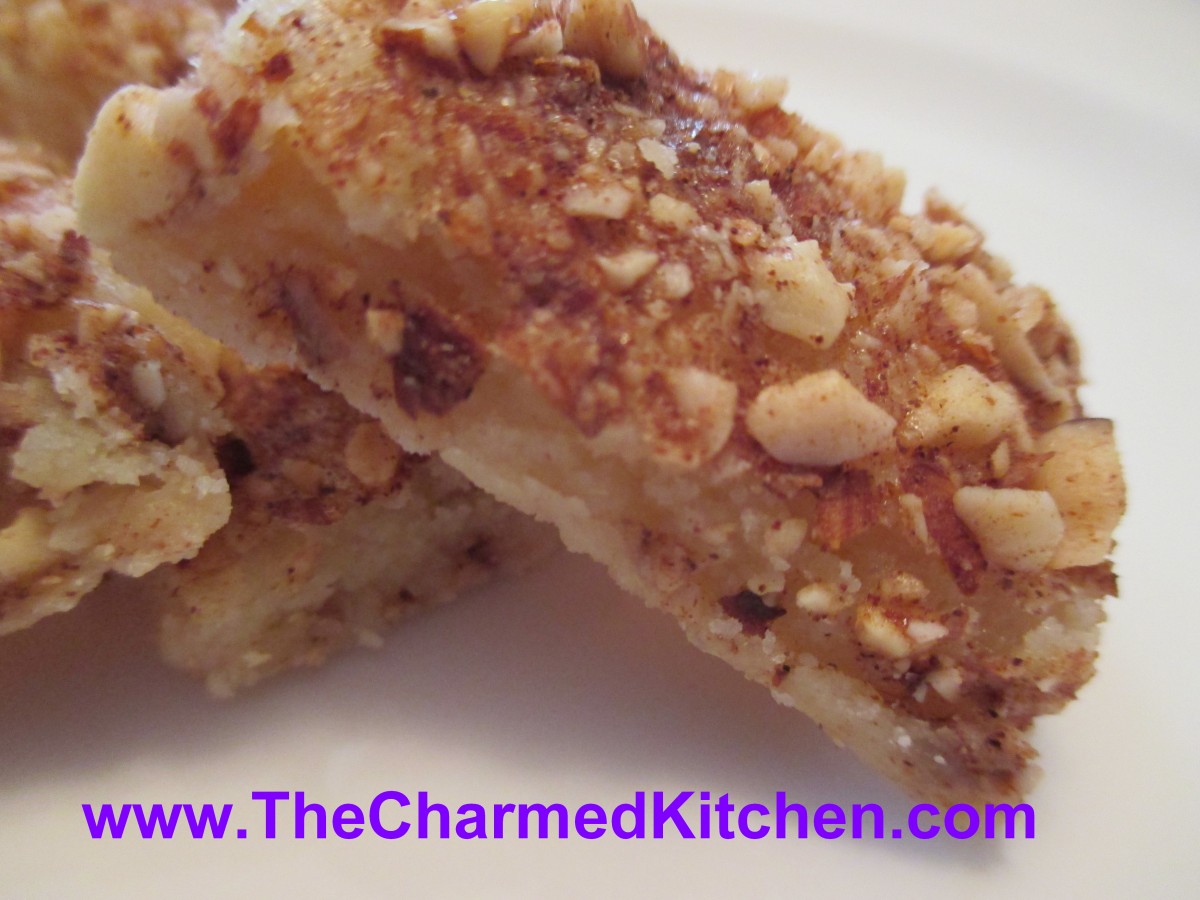
Cinnamon Pecan Shortbread
It seems I am always making variations on shortbread cookies. I love shortbread. I am not alone- so many friends have told me the same thing. There is something about the crumbly texture of shortbread that makes them a favorite for a lot of people.
This recipe is a classic shortbread, topped with cinnamon and pecans. They are really good. You just make a batch of dough, top with a cinnamon – pecan mixture, and bake. Could not be simpler.
As soon as they come out of the oven cut them into little strips. I got nearly 100 out of one batch. It depends on the size you cut them. If you are looking for a simple, yet wonderful cookie, you might want to try these.
This recipe was made for a tech friend who had done me a BIG favor. I call them “Tech Support” cookies, in his honor.
Whatever you call them, I am sure you and your family will love them.
Cinnamon Pecan Shortbread Cookies
1 c. butter
1 c. sugar
1 egg, separated
2 c. flour
1 T. water
½ c. finely chopped pecans
3 T. sugar
2 t. cinnamon
Lightly grease jellyroll pan (10×15). Mix butter, sugar and egg yolk then stir in flour. Pat into pan. Beat egg white with water until frothy and spread over dough. Combine pecans, sugar and cinnamon. Sprinkle nut mixture over the dough and bake in a 350-degree oven for 20-25 minutes or until lightly browned. Cut immediately into tiny strips, makes 50- 100.
Chocolate “Brownie” Cookies

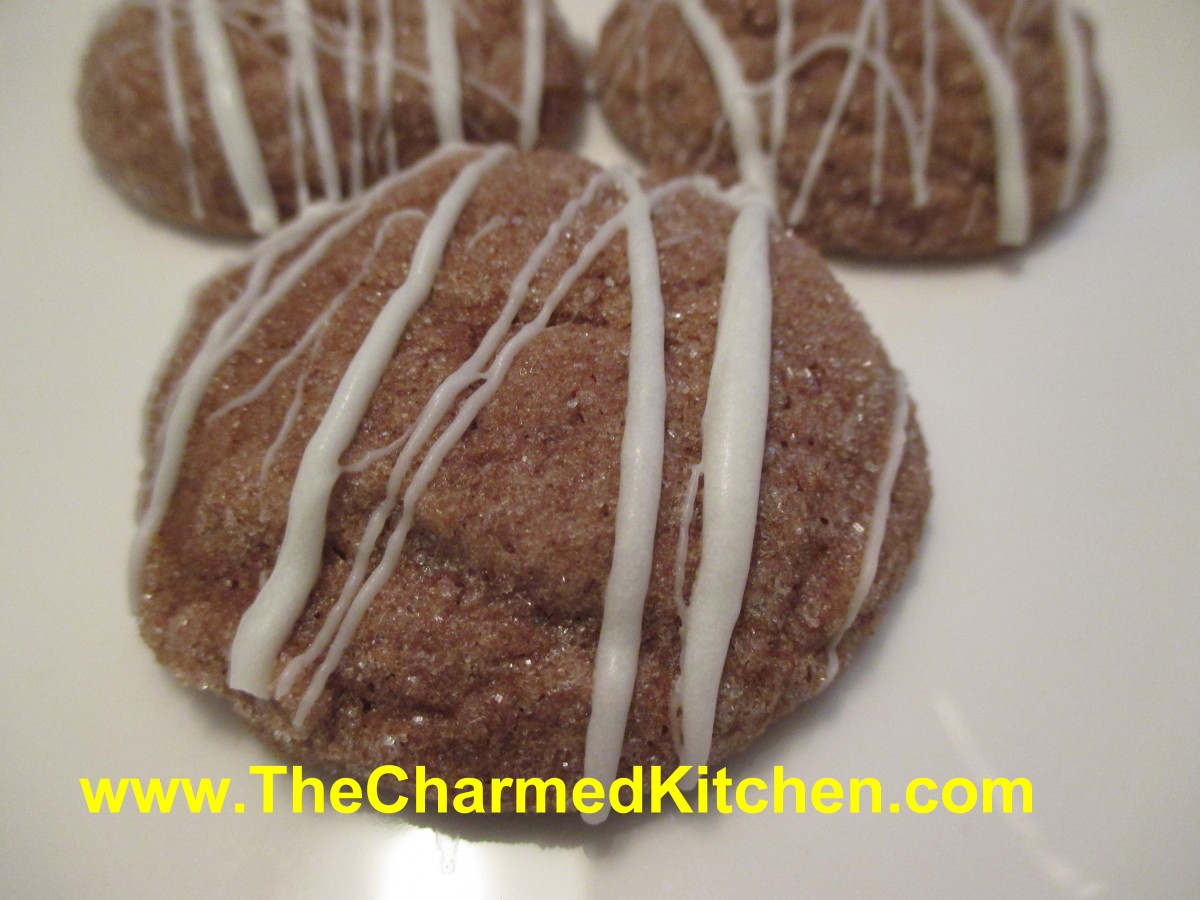
Chocolate “Brownie” Cookies
These delightful cookies are like a cross between a cookie and a brownie. Their texture reminds me of a brownie. They are soft inside, with just a little crunch on the outside. These are a fun addition to any holiday cookie tray. Plus, they are chocolate – which is always a good thing!!
I like to finish them with a drizzle of white or dark chocolate. It just dresses them up for the party a little. You can dust them with powdered sugar, or roll them in cinnamon sugar when they are still warm. You can also frost them and add sprinkles, if you like.
Trust me, even plain, everyone is going to love these cookies. They freeze well, so you could make a double batch, then freeze some to enjoy later.
Chocolate “Brownie” Cookies
1 c. butter, softened
1 ¼ c. sugar
2 eggs
2 oz. unsweetened chocolate, melted
½ t. vanilla
2 2/3 c. flour
2 t. cream of tartar
1 t. baking soda
½ t. salt
¼ c. sugar
Chocolate for drizzling, optional
Cream together butter and sugar. Beat in eggs, chocolate and vanilla. Stir in next four ingredients. Chill dough. Shape dough into 1” balls and roll in ¼ cup sugar. Place about 2 inches apart on an ungreased baking sheet. Bake in a preheated 375- degree oven for 8-10 minutes. Once cooled, drizzle with melted chocolate, if you like. Makes 5-6 dozen.
Cookie Day in Hudson

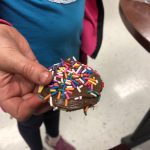
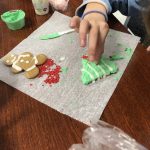
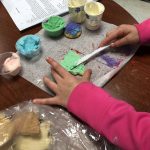
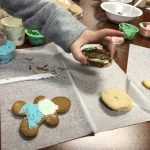
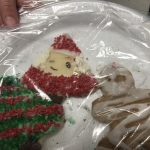
 The last day of my 4 week camp in Hudson was all about cookies. The kids had so much fun. Since we don’t have an oven available at the school, I baked cookies at home for the kids. They got the fun/best part- decorating them. Each child got their own bag of plain cookies, to decorate as they liked.
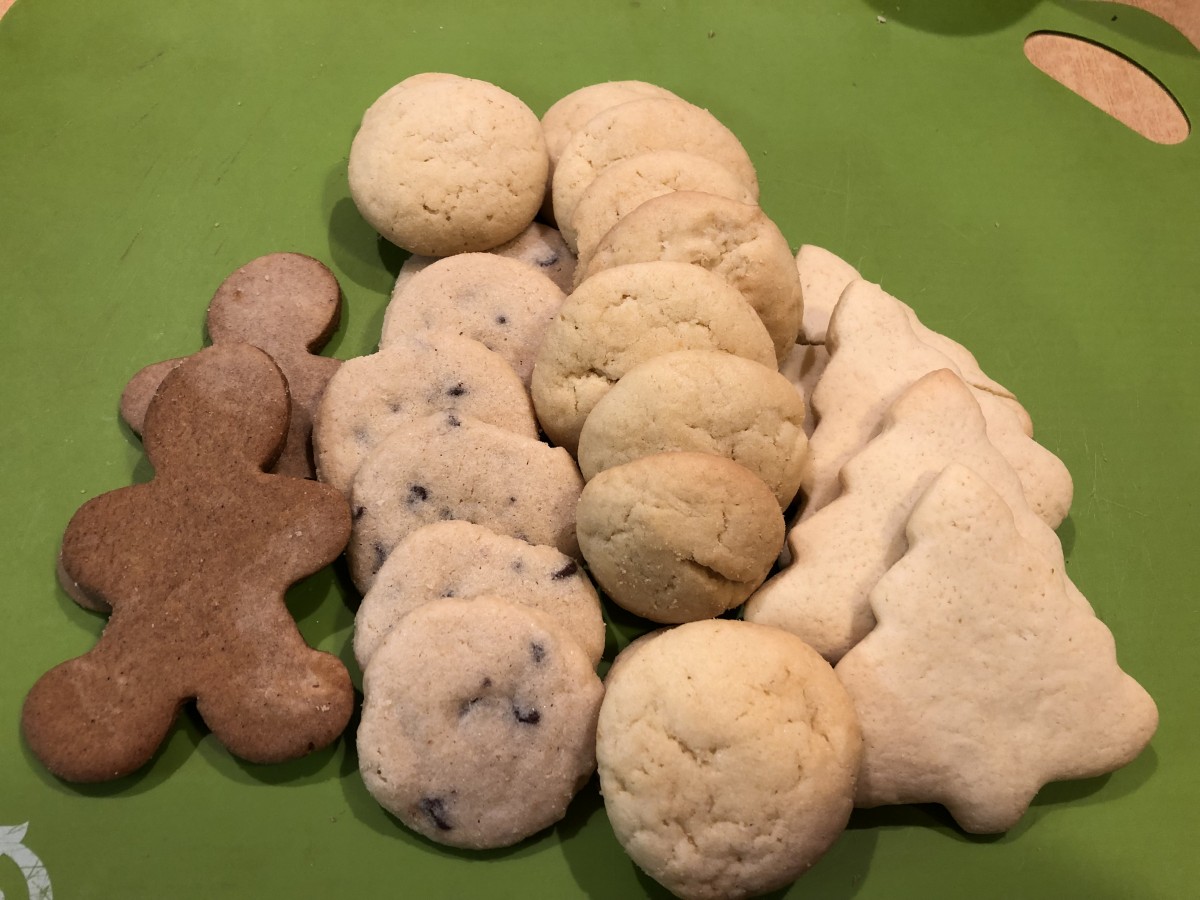
The cookies each child started with
To decorate the cookies, we had a basic buttercream frosting, a lemon glaze, melted chocolate and lots and lots of sprinkles and colored sugars. I also provided each child with the recipes.
Yes, it was a lot of work – but well worth the effort.
So here are some more pictures from “Cookie Day” in Hudson. Recipes follow, too.


Sugar Cookies
1 c. butter
1 c. sugar
1 egg
1 t. vanilla
3 c. flour
2 t. baking powder
3 T. milk
Extra sugar for sprinkling, if desired
Beat butter and sugar until fluffy. Beat in egg and vanilla. Combine dry ingredients and add to butter mixture. Beat in milk. Heat oven to 375-degrees. Roll dough on lightly floured surface to about 1/3- inch thickness. Cut out with lightly floured cutters and sprinkle with sugar or colored sugar if you like and if you are not going to frost them. Bake on an ungreased baking sheet for 10-12 minutes. Cool on baking sheet 3 minutes before placing on wire rack to cool completely. Frost when cooled. Makes about 4 dozen.
Decorating your cookies:
You can use buttercream frostingor use royal icing. Because royal icing contains egg whites it gets hard. Cookies have a smooth appearance and can be stacked. When making royal icing ALWAYS USE PASTUERIZED EGG WHITES OR POWDERED EGGS WHITES TO PREVENT SAMONELLA.
You can also use colored sugar and sprinkles and mini chocolate chips for eyes.
Royal Icing
1 lb. powdered sugar
½ t. cream of tartar
5¼ t. egg white powder
6 T. water
½ t. vanilla, optional
Assorted food colorings
In large mixing bowl combine dry ingredients and mix well. Add water and vanilla and beat until light and fluffy, about 10 minutes. Divide into small bowls and tint each batch as needed. Keep bowl covered with a damp towel while waiting to use so frosting will not dry out.
Classic Butter Cream
1/3 cup butter
4 1/2 cups sifted confectioners’ sugar
1/4 cup milk
1 1/2 teaspoons vanilla extract
In a bowl beat butter or margarine until fluffy. Gradually add 2 cups of the confectioners’ sugar, beating well. Slowly beat in the 1/4 milk and vanilla. Slowly beat in remaining sugar. Beat in additional milk, if needed, to make of spreading consistency. Tint with food color, if desired.
Soft Butter Cookies
1 c. butter
1 c. oil, I used avocado oil
1 c. sugar
1 c. powdered sugar
2 eggs
1 T. vanilla
1 t. baking soda
1 t. cream of tartar
½ t. salt
4 ½ c. flour
In mixing bowl, beat together butter, oil, sugars and vanilla. Once well blended, beat in eggs. Stir in the baking soda, cream of tartar and salt, then add the flour, mixing until well combined. Heat oven to 350 degrees. Roll dough into one inch balls and press tops of cookies in sprinkles or colored sugar, if desired. Place one inch apart on ungreased baking sheets. Bake for 12 minutes, or until light golden on bottom. Leave cookies on baking sheets 3 minutes before placing on cooling rack. Makes about 6 dozen cookies.
Chocolate Chip Shortbread Cookies
1 c. butter (no substitutions), softened
½ c. brown sugar
1 t. vanilla extract
2 c. flour
¼ c. cornstarch
½ c. mini chocolate chips
2-3 T. granulated sugar
With electric mixer beat butter, brown sugar and vanilla until well mixed. Stir in flour and cornstarch and then stir in chips. Form into 1-inch balls and place on ungreased baking sheet. Pour granulated sugar on a small plate and dip bottom of drinking glass into the sugar and use this to gently flatten down the cookies. Press small indent in each cookie with a teaspoon. Bake in a preheated 300-degree oven for 15-20 minutes or until the cookies start to brown on the bottom. Cool on sheets 5 minutes before removing to a cooling rack. Makes about 3 ½ dozen.
Gingerbread Cookies
3/4 c. (1 1/2 sticks) butter, softened
3/4 c. packed brown sugar
2/3 c. molasses
1 large egg
1 tsp. pure vanilla extract
3 1/4 c. all-purpose flour
1 tbsp. ground ginger
1 tsp. baking soda
1 tsp. ground cinnamon
1/2 tsp. ground cloves
1/2 tsp. kosher salt
1/4 tsp. ground nutmeg
Sugar Cookie Icing, for decorating
Sprinkles, for decorating
In a large bowl using a hand mixer, beat butter, brown sugar, and molasses until fluffy, about 2 minutes. Add egg and beat until combined. In a medium bowl, whisk flour, spices, baking soda, and salt until combined. With the mixer on low, gradually add dry ingredients to wet ingredients until dough just comes together. (Do not overmix!)
Divide dough in half and create two discs. Wrap each in plastic wrap and chill until firm, about 2 to 3 hours.
Preheat oven to 350° and line two large baking sheets with parchment paper. Place one disc of dough on a lightly floured surface and roll until 1/4″ thick. Cut out gingerbread men and transfer to baking sheets.
Bake until slightly puffed and set, 9 to 10 minutes, depending on the size of your cookie cutters. Let cool on baking sheets for 5 minutes before transferring to a cooling rack to cool completely.
Repeat with remaining disc of dough. Decorate with icing and sprinkles as desired.
Fig Kolachy

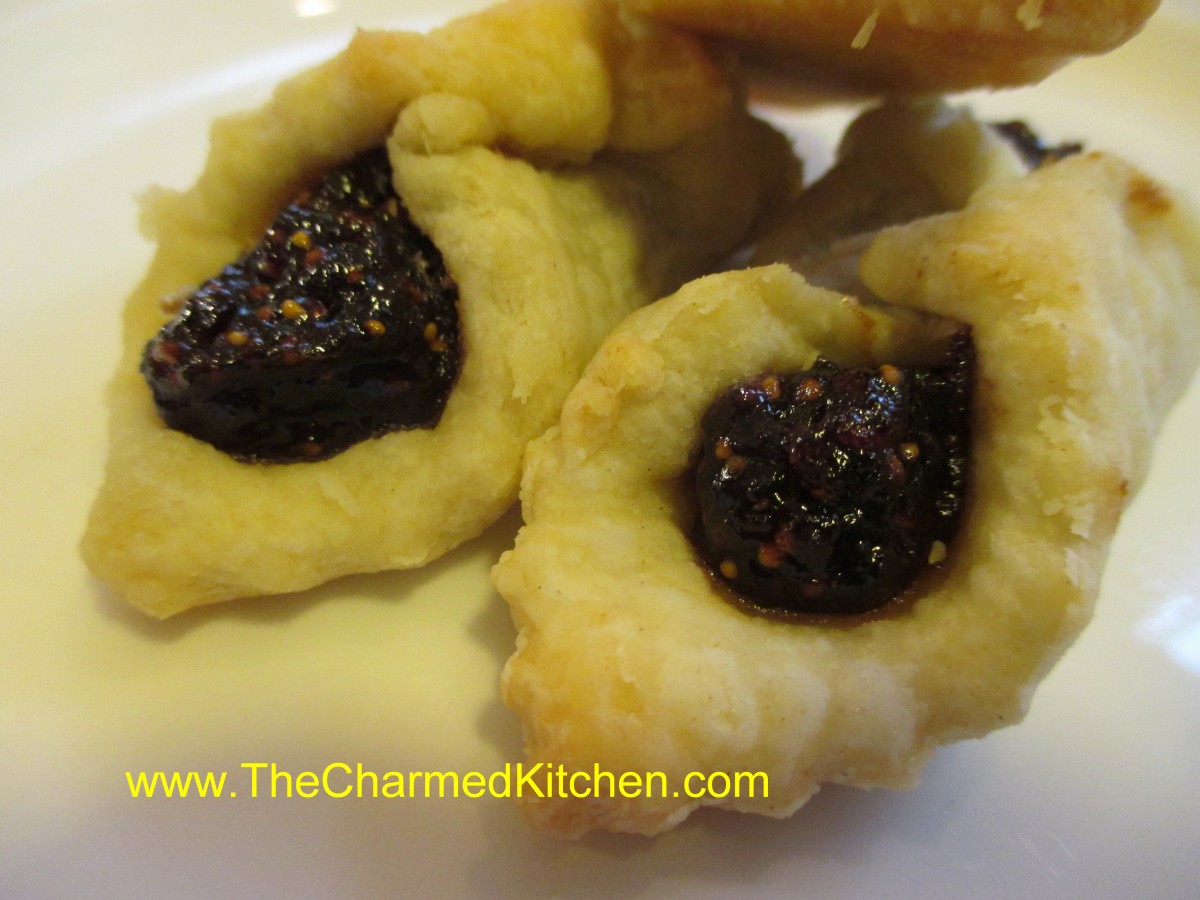
Fig Kolachy
These cookies really speak to me about the holidays. I have fond memories of making these delicate cookies with my Mother every Christmas. I still make them.
I often make them with a cherry filling, but have also used blueberry, apple or nut fillings. I decided to make a batch with fig jam, for a change.
I made my own fig jam, (recipe follows) but you could use store bought, if you prefer. Any leftover fig jam can be served with assorted cheeses and crackers as a fun and easy holiday appetizer.
You can finish off the cookies with a light dusting of powdered sugar, if you like. I really love the way they taste. Something rich about the cookie. Perfect end to a holiday meal.
Fig Kolachy
Dough
3 sticks butter
8 oz. cream cheese, softened
3 cups flour
Fig Jam– recipe follows
Powdered sugar, optional
Mix dough ingredients together and chill well before using.
Roll out chilled dough into squares or circles. Spoon a little fig filling into the center and pinch 2 ends or corners together. Bake in 350-degree oven for about 12 minutes, or until golden on edges. Cool and dust with powdered sugar. Makes 4-5 dozen.
Fig Jam
1 lb. dried figs
2 c. water
1-2 c. sugar- I used 1 cup, but use according to your taste
Zest of 2 lemons
2 t. cinnamon
Chop up figs and place in saucepan with the water and cook until tender, about 30 minutes. Add sugar, zest and cinnamon and cook until thickened, about 20 minutes. Stir often to prevent sticking. Puree mixture and set aside to cool.
Date Pinwheel Cookies

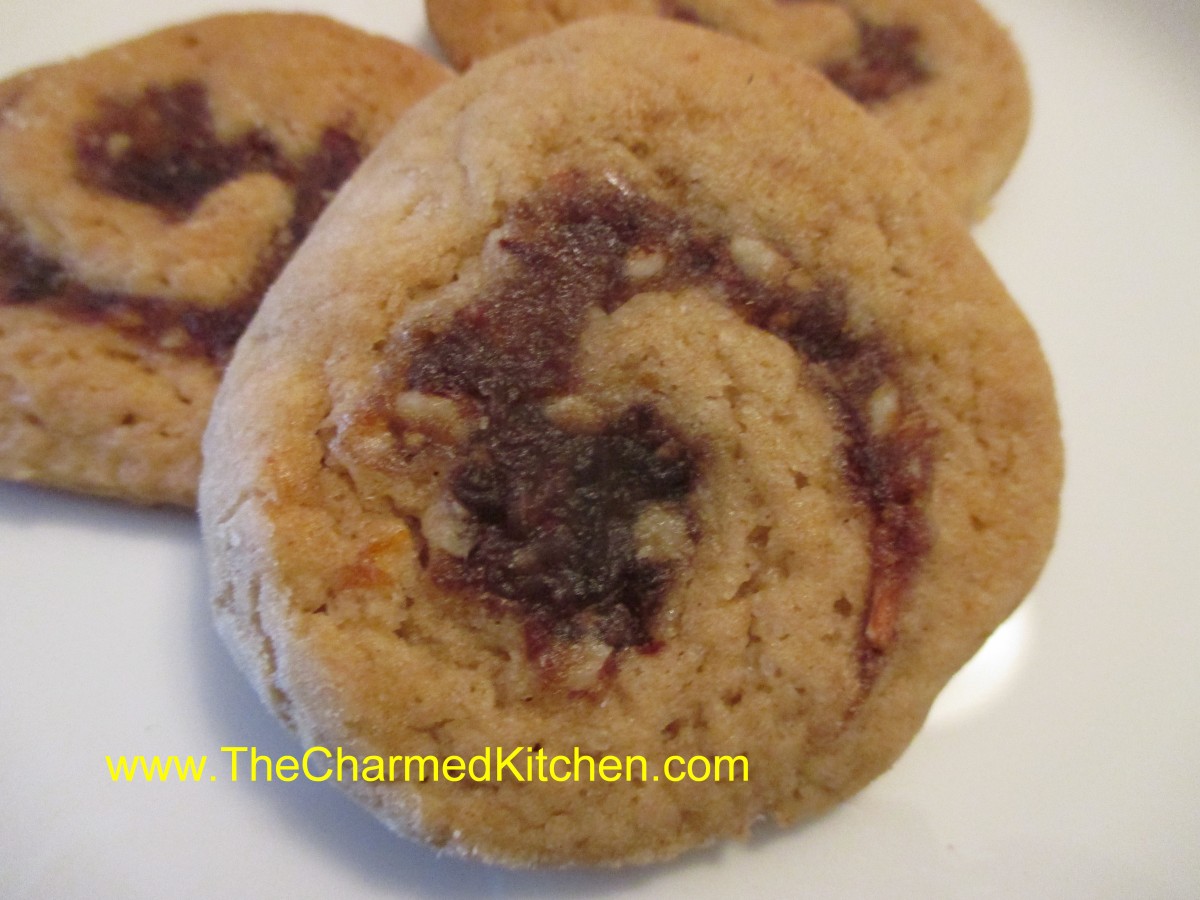
Date Pinwheel Cookies
I love the sweetness of dates, and really enjoy using that natural sweetness in baking. I always seem to make several dishes with dates around the holidays.
These date-filled cookies are one of my favorites. Moist and cake-like, with the wonderful flavor of the dates, nuts and citrus zest, these cookies are full of flavor.
The cookie dough, made with brown sugar, has an almost caramel-like flavor. The combination is a winner for sure.
The recipe calls for pitted dates. I normally buy dates with the pits, then remove the pits when I want to bake with them. If you are pitting your own dates, like I do, weigh them after pitting. 14 or 15 ounces of dates with the pits should yield the 12 ounces you’ll need for this recipe.
Date Pinwheel Cookies
Date Filling
12 oz. pitted dates, chopped
1/3 c. brown sugar
¼ c. water
Juice of 1 lemon
Zest of 1 lemon
Zest of 1 orange
½ c. finely chopped nuts
Combine dates with all ingredients (except the nuts) in a small saucepan. Cook, stirring constantly, until thickened, about 5-10 minutes. Stir in nuts. Cool.
Dough
½ c. butter, softened
1 c. brown sugar
1 egg
1 t. vanilla
1¾ c. flour
½ t. baking soda
½ t. salt
In bowl combine butter and sugar and beat until fluffy. Add egg and vanilla and beat well. Combine dry ingredients and stir into butter mixture. Divide dough in half. Roll or pat one half of the dough into a rectangle about 7×11- inches in size. Spread with half of the cooled date filling. Starting at long end, roll dough up . Repeat with remaining dough and filling. Wrap rolls in wax paper or plastic wrap and chill in fridge several hours. This dough/roll is pretty soft. I sometimes put the rolls in the freezer for an hour or two before baking to make them easier to slice.
To make the cookies: Preheat oven to 375 degrees. Slice the rolls into ¼ -inch slices and place an inch apart on a lightly greased baking sheet. Bake about 12 minutes- or until cookies are a light golden color. Cool on wire rack. Makes about 5 dozen.
Lemon Meltaways

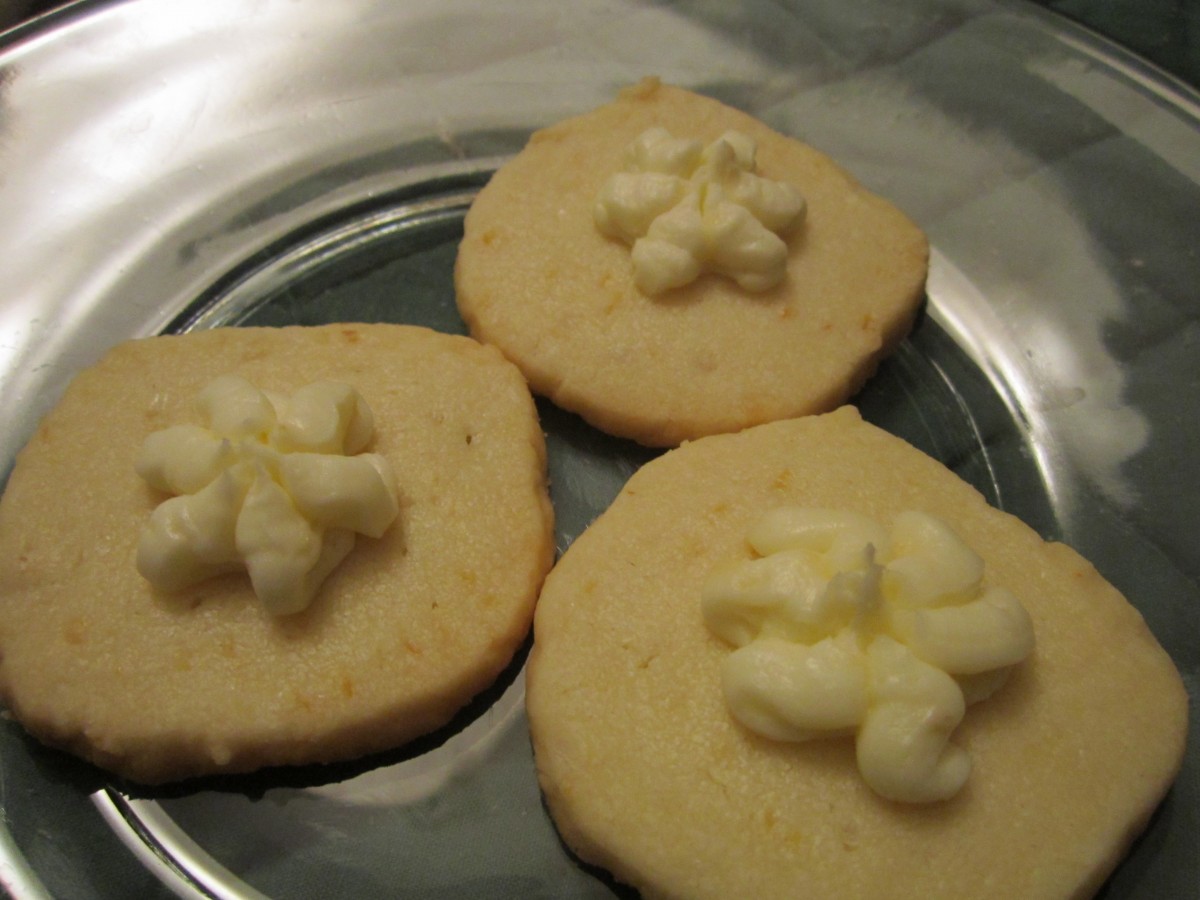
Lemon Meltaway Cookies
These cookies have a great lemon flavor and delicate texture. The cookie is so tender, in part, because there is cornstarch in the dough. I think you and your family and friends will love them as much as I do.
I will admit to adding a little more lemon zest to the dough and frosting, for even more lemon flavor.
They are also easy to make. They are a slice and bake cookie. That means you make the dough, form into a roll, and chill. Now you can just slice and bake when you have the time. I sometimes make a batch and freeze them- so I can make fresh cookies whenever I like.
In a season of heavy meals and rich desserts, these cookies are light and refreshing.
Lemon Meltaways
Dough:
1 ¼ c. flour
¾ c. butter, softened
½ c. cornstarch
1/3 c. powdered sugar
1 T. lemon juice
1 t. grated lemon peel
Frosting:
¾ c. powdered sugar
¼ c. butter, softened
1 t. lemon juice
1 t. grated lemon peel
In large bowl combine all dough ingredients and mix well. Divide dough in half and roll each half into an 8- inch roll. Wrap in plastic wrap and chill until firm, 1-2 hours. Slice chilled dough into ¼ inch slices and place 2 inches apart on a cookie sheet. Bake in a 350 degree oven for 8-12 minutes, or until cookies are set, but not brown. Cool completely on a rack. Combine frosting ingredients and beat until light and fluffy. Frost cooled cookies. Makes 4 dozen.
Alfajores Cookies

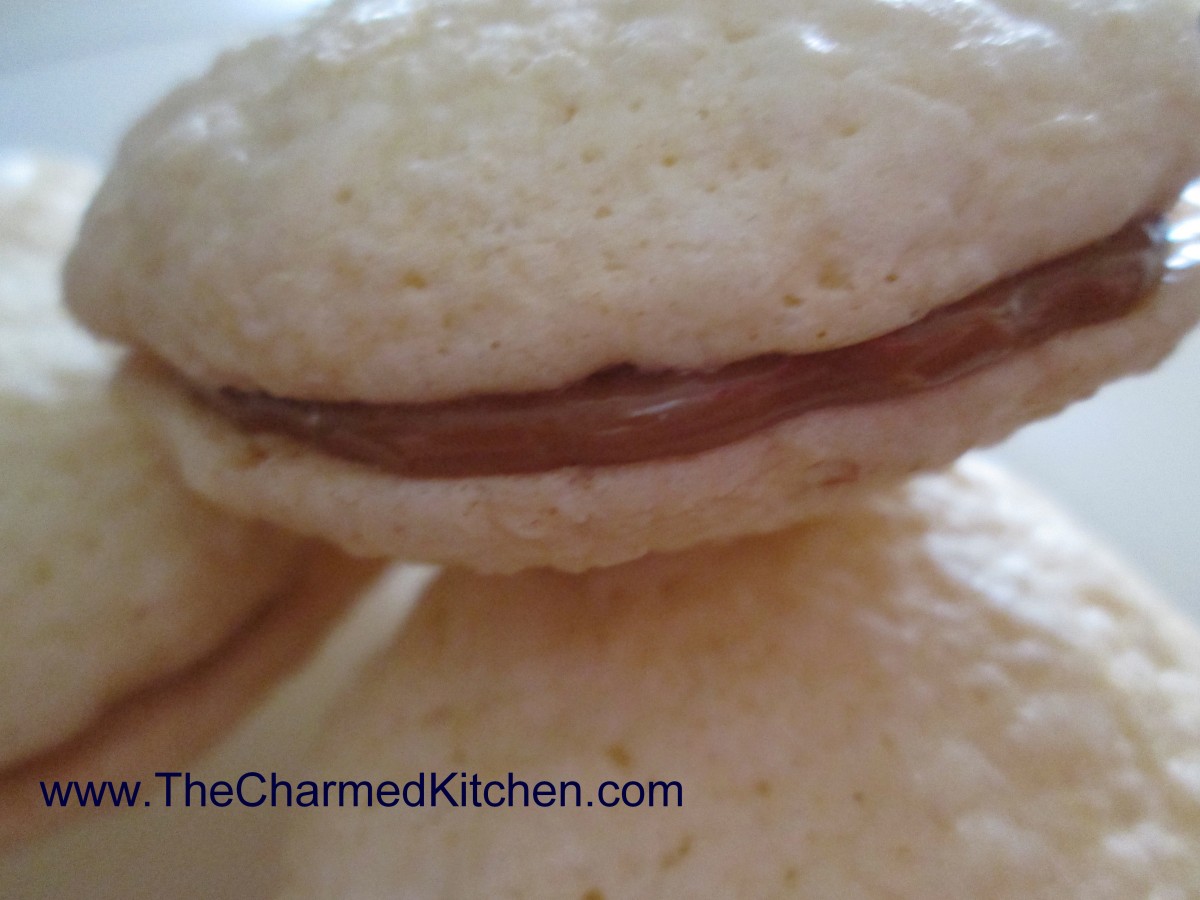
Alfajores Cookies
This is one of those cookies- that looks kind of normal- but tastes amazing!! I fell in love with alfajores cookies the first time I tasted them.
It is the time of year when many of us are baking cookies. I have certain cookies I make every year, but I always look for new recipes, too. I started making alfajores cookies a few years ago- and I really love them.
If you are looking for a new cookie recipe, you might want to try these. Made with cornstarch as a primary ingredient, they are very crispy and light. Sandwiched together with dulce de leche they make a wonderful dessert.
Alfajores cookies are popular in a number of South American countries and in Spain, although the origin is probably from the Middle East.
Alfajores Cookies
1/2 cup butter
1 cup sugar
1 egg
2 egg yolks
1 tsp. vanilla
2 tsp. lemon rind, grated
1 1/2 cup cornstarch
1/2 cup flour
1 tsp. baking powder
1/4 tsp. salt
Cream butter; add sugar and beat until fluffy. Add egg and egg yolks, one at a time, beating well. Beat in vanilla and lemon rind. Sift together cornstarch, flour, baking powder and salt. Add to mixture and mix well. Drop batter by small spoonfuls onto well-buttered baking sheet. Bake at 350 degrees for 15 minutes. Remove immediately. Sandwich the cookies together with (dulce de leche) sweet milk dessert. Makes 40 cookies.
Dulce de Leche (Milk Jam)
This is the easiest way to make Dulce de Leche…the taste is pretty authentic and the work is almost completely eliminated!
1 can sweetened condensed milk
Place the can inside the pot on top of a wire rack. I use a round rack used for cooling cakes. If you don’t have a rack place a towel on the bottom of the pot. Add water to completely cover can, plus 1-2 more inches. Simmer for 4 hours, making sure the can is always completely covered with water…if not…there is an explosion!! Leave the can to cool several hours and only then open it and serve. Serve the golden-brown confection over flan, as a filling for crepes, cakes or just plain. For breakfast you can spread it on croissants, rolls or toast.
Chocolate Chip Shortbread Cookies

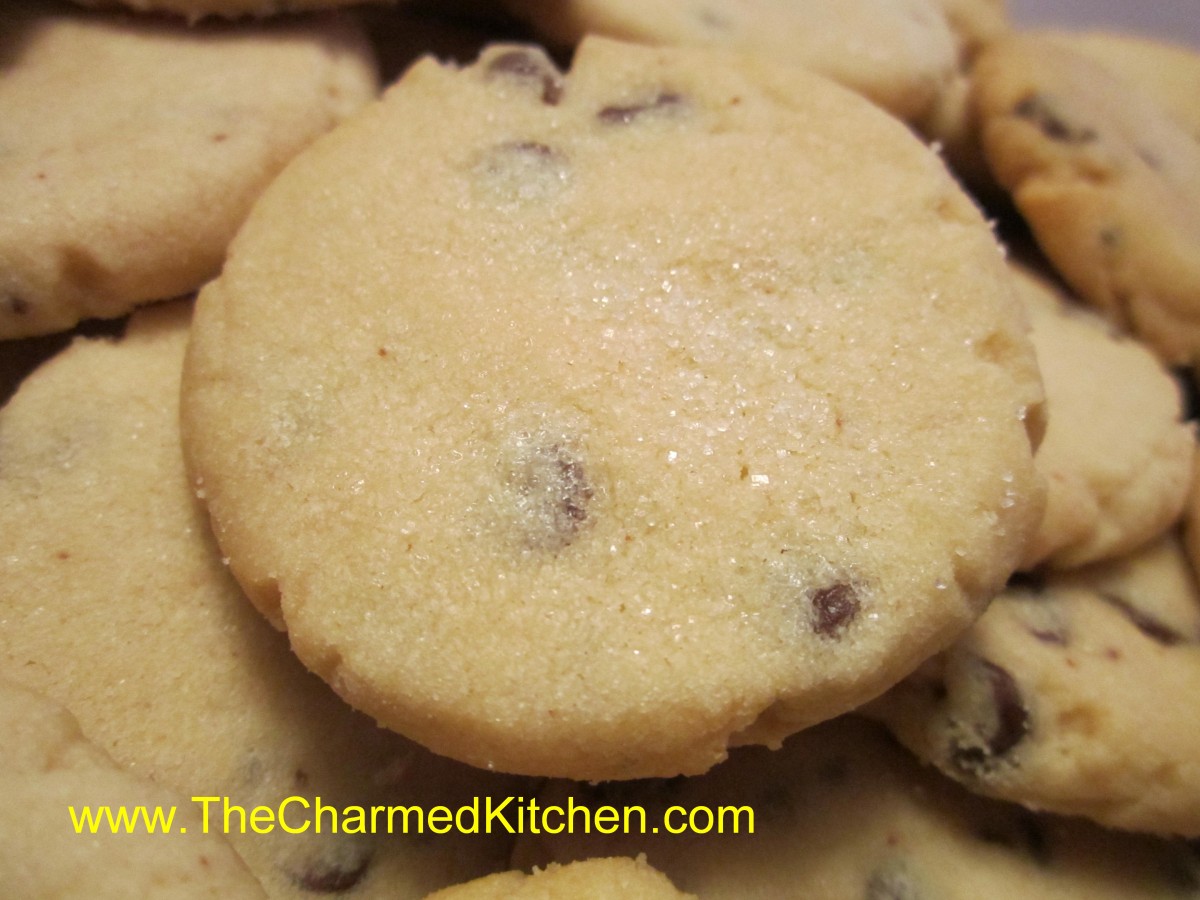
Chocolate Chip Shortbread Cookies
It is the time of year when a lot of people are baking cookies. I thought I would share one of my favorite cookie recipes with you. It takes the chocolate chip cookie to another level. Kind of dressed up for the holidays.
These little cookies are delicate and full of flavor. I will admit to being a big fan of shortbread cookies.I make a lot of different shortbread cookies for Christmas. This one is always on my list.
These are enhanced with mini chocolate chips and just melt in your mouth. I leave them as is, but you could add a drizzle of melted chocolate, if you like. The cornstarch in the dough makes them extra tender.
In a kids’ cooking class next week, we are turning these into sandwich cookies.
Chocolate Chip Shortbread Cookies
1 c. butter (no substitutions), softened
½ c. brown sugar
1 t. vanilla extract
2 c. flour
¼ c. cornstarch
½ c. mini chocolate chips
2-3 T. granulated sugar
With electric mixer beat butter, brown sugar and vanilla until well mixed. Stir in flour and cornstarch and then stir in chips. Form into 1-inch balls and place on ungreased baking sheet. Pour granulated sugar on a small plate and dip bottom of drinking glass into the sugar and use this to gently flatten down the cookies. Press small indent in each cookie with a teaspoon. Bake in a preheated 300-degree oven for 15-20 minutes or until the cookies start to brown on the bottom. Cool on sheets 5 minutes before removing to a cooling rack. Makes about 3 ½ dozen.
Russian Teacakes

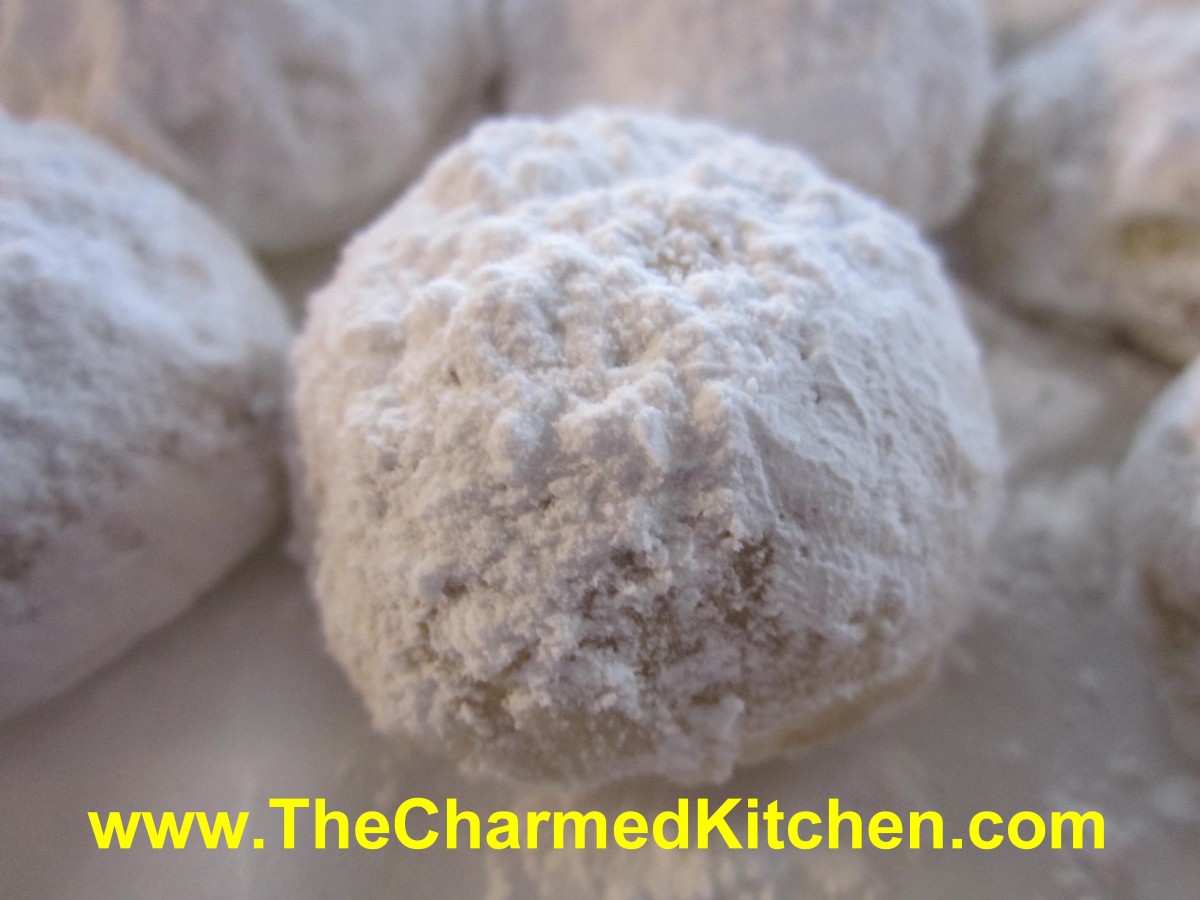
Russian Teacakes
This is the first cookie I can remember making with my Mother. She sat me down at the kitchen table with a pile of chilled dough. I think I was 7. She put a piece of wax paper on the table, then rolled out one small ball of dough. She told me to do what she had just done. Roll out the rest of the dough into little balls. I sat there and made one tiny dough ball after another, until I was done. I can’t make these cookies without thinking of her. A special memory, indeed.
I had a conversation with a childhood friend recently about these cookies. She remembered that my Mom used to make them, and she wondered if I still did. I still do make them. Wouldn’t seem like Christmas without them.
Russian Teacakes, also known as Mexican Wedding Cakes are a delicate nut-filled shortbread cookie coated in powdered sugar. The magic is created when the cookies, hot from the oven, are rolled in powdered sugar. The powdered sugar clings to the hot cookies and makes a sort of sweet coating. Once cooled, they are dusted with more powdered sugar. Whether you call them Russian Teacakes, Mexican Wedding Cakes, or as another friend always refers to them, butter balls, these cookies are a must for your holiday cookie baking.
Russian Teacakes
1 c. butter
½ c. powdered sugar, plus extra for coating
1 t. vanilla
2 ¼ c. flour
¼ t. salt
¾ c. finely chopped nuts, nearly ground
Mix butter, ½ cup sugar and vanilla well. Stir flour and salt together and then add to butter mixture. Mix well and stir in nuts. Wrap dough and chill. Heat oven to 375 degrees. Roll dough into 1-inch balls and place 1 inch apart on ungreased baking sheet. Bake 10-12 minutes. Cookies should be lightly browned on the bottom. While still warm, roll cookies in powdered sugar. Dust again with sugar once cooled. Makes about 4 dozen.


