Sugared Nuts

Sugared Nuts
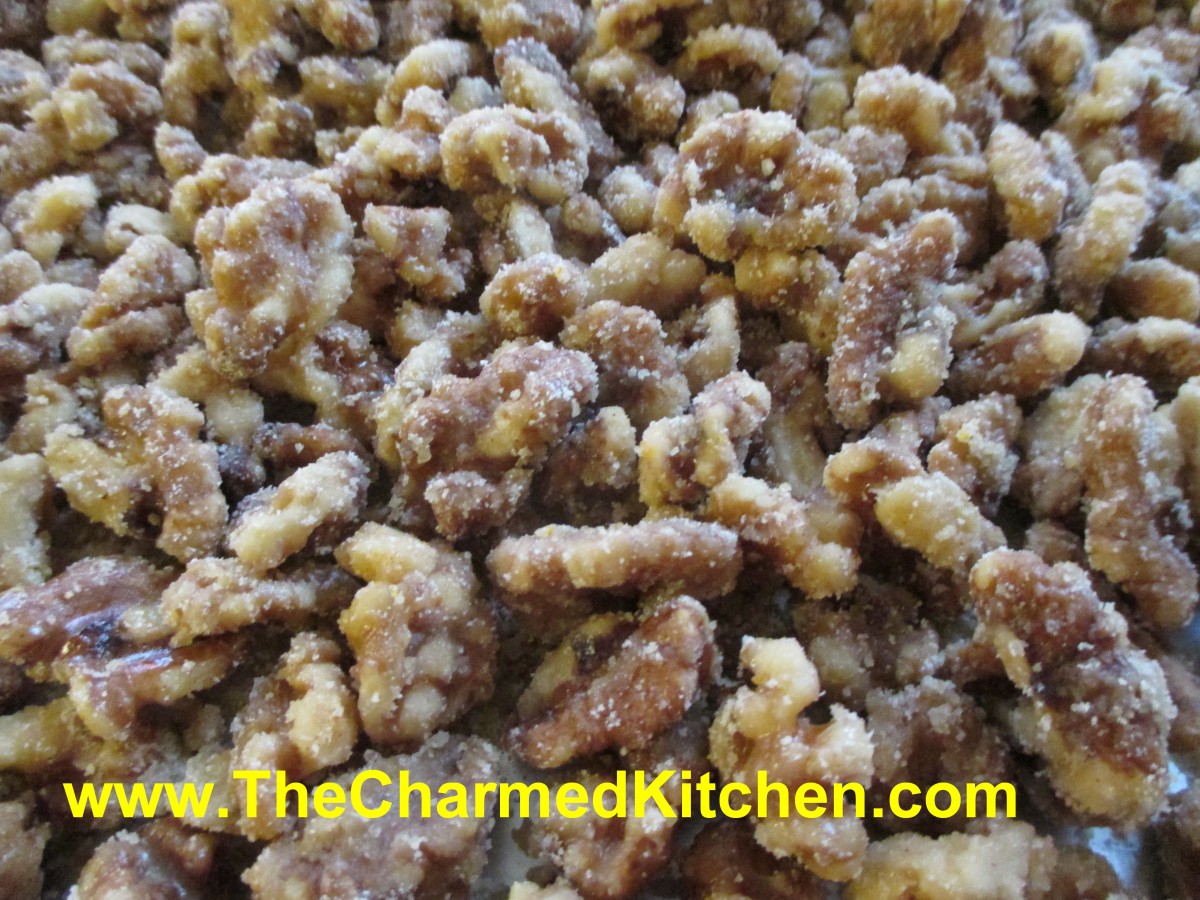
Many years ago, my sister Cindy gave me the recipe for making these nuts. I make at least a few batches every year, and they are always a big hit. I will admit to tweaking the recipe a little over time, but the basics are still the same. Nuts are placed in a heavy skillet with sugar, water and seasonings. The mixture is then brought to a boil and cooked until most of the liquid cooks off. This takes about 10 minutes, give or take. You dump the nuts onto a cookie sheet, and start stirring immediately. If you don’t stir them, they will stick together. This is where the magic happens. The nuts look wet when you pour them out and start stirring, but in a few minutes, they cool and dry, and the sugar crystallizes on the nuts. Once cooled, the nuts are crunchy and sweet and very tasty. You can use them as a snack, or in all sorts of recipes. This is a really fast confection to make, and is a nice gift, too.
Sugared Nuts
4-5 c. nuts, I like walnuts or pecans
2 c. sugar
1 c. water
1 t. cinnamon
1 t. orange peel
1 t. salt, optional
Place all ingredients in heavy skillet and cook over medium heat, stirring often, until all the water disappears. Whatever liquid in the pan will be clinging to the nuts and syrupy. Dump nuts onto a large cookie sheet and break apart with a wooden spoon to prevent clumping. As nuts cool, stir once or twice to remove any remaining clumps, and to cool faster. Nuts will lose their glossy appearance and attain a sugary crust. If it looks like nut soup, you didn’t cook them long enough, and you must return all to the skillet and cook longer. As the nuts start to get drier during cooking, you can turn down the heat a little to prevent burning. Once you’ve made a few batches, though, you will get good at judging when to stop cooking. You can also make a spicy version by adding a teaspoon of cayenne pepper along with the other ingredients. Store in cool, dry place to keep nuts fresh longer.
Turkey Noodle Soup

Turkey Noodle Soup
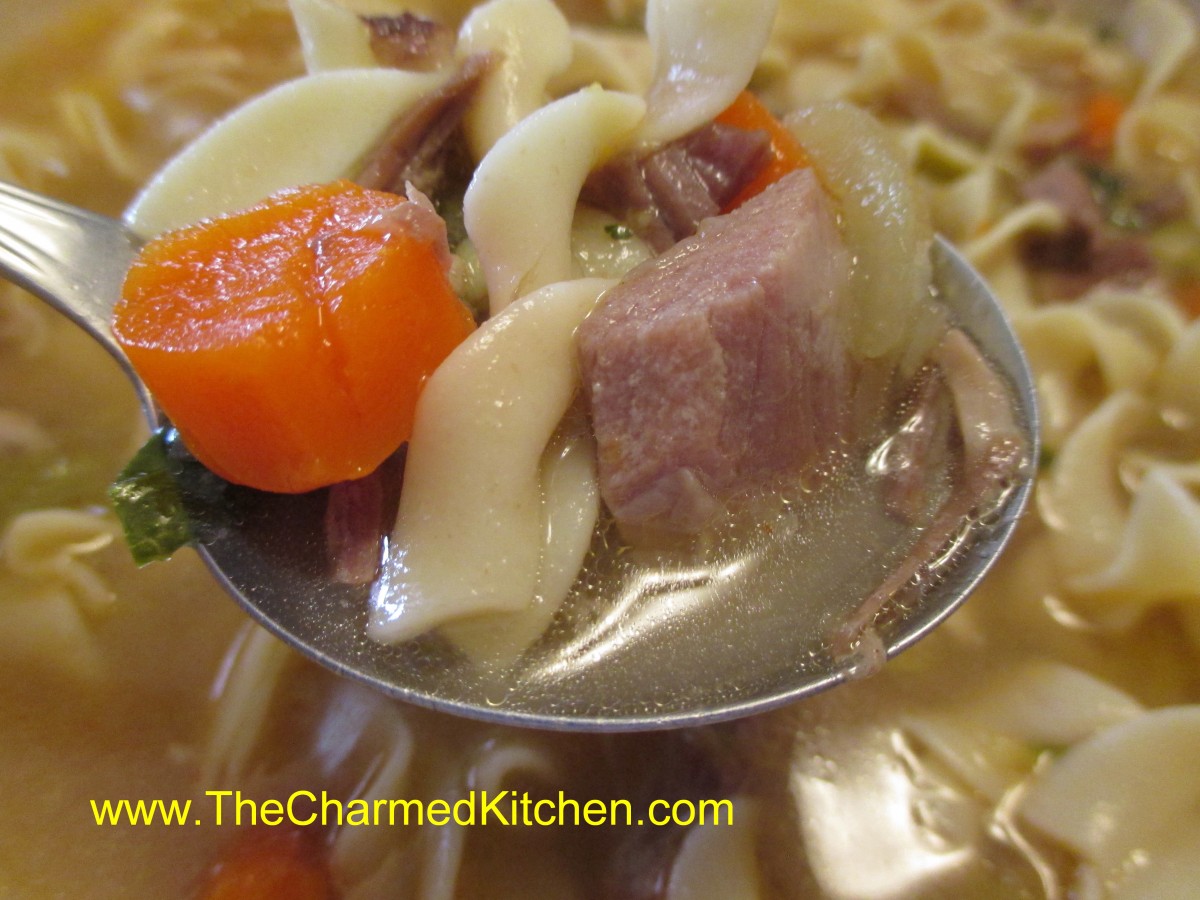
Certain foods just bring back memories. For me turkey (or chicken) noodle soup will always remind me of my childhood and my Mother. She would have the soup simmering when I got home from school and the whole house smelled so good. She always cooked the noodles separately, so we would spoon some noodles into our bowls and then ladle the hot soup over them.
A big pot of soup almost demands that we share it. I invited a friend and a couple of neighbors to enjoy this soup with me. I think it tasted even better that way.
I made turkey soup this time because I found turkey drumsticks when I cleaned out my freezer. It turned into a 2 day project. I wanted to make stock out of the drumsticks and use the meat in the soup. I started late in the day, so I only got the stock done on day one. I just browned some onions and carrots in a large stock pot then added the turkey to brown a little, too. I poured water over the meat and veggies and added celery, a parsnip, a few outer cabbage leaves and let the stock simmer away for several hours. I had half a cup of tomato sauce left over from something else and added that, too. Also tossed in a bay leaf, some parsley and basil. I added salt and pepper later on. Once it had cooked for a number of hours I let it cool a little and strained it out. I let the stock cool down a little more and then stuck it in the fridge. I put the turkey drums in the fridge and discarded the veggies- OK I ate the carrots!
On day two, I made the soup. I skimmed the fat off the stock and cut the turkey meat off the bones. I also cooked up the noodles. Here is the way I did it.
Turkey Noodle Soup
Oil*
2 onions, sliced
4 carrots, peeled and sliced
4 ribs celery, sliced
4 qts. Turkey stock
4-5 c. turkey meat, cubed
1 c. chopped fresh parsley
Salt and pepper to taste
Hot pepper sauce to taste
1 lb. wide egg noodles, cooked
Heat oil in soup pot and cook onions until starting to brown. Add carrots and celery and cook a few minutes more. Add stock and meat and simmer, covered, until veggies are tender. Add parsley and simmer 15 minutes longer. Adjust seasonings. Warm noodles and serve on the side so everyone can add as many noodles to their soup as they like. Serves 8.
* Since I had freshly made stock I used a little fat from the stock to cook the onions.
Spiced Parsnip Cupcakes

Spiced Parsnip Cupcakes
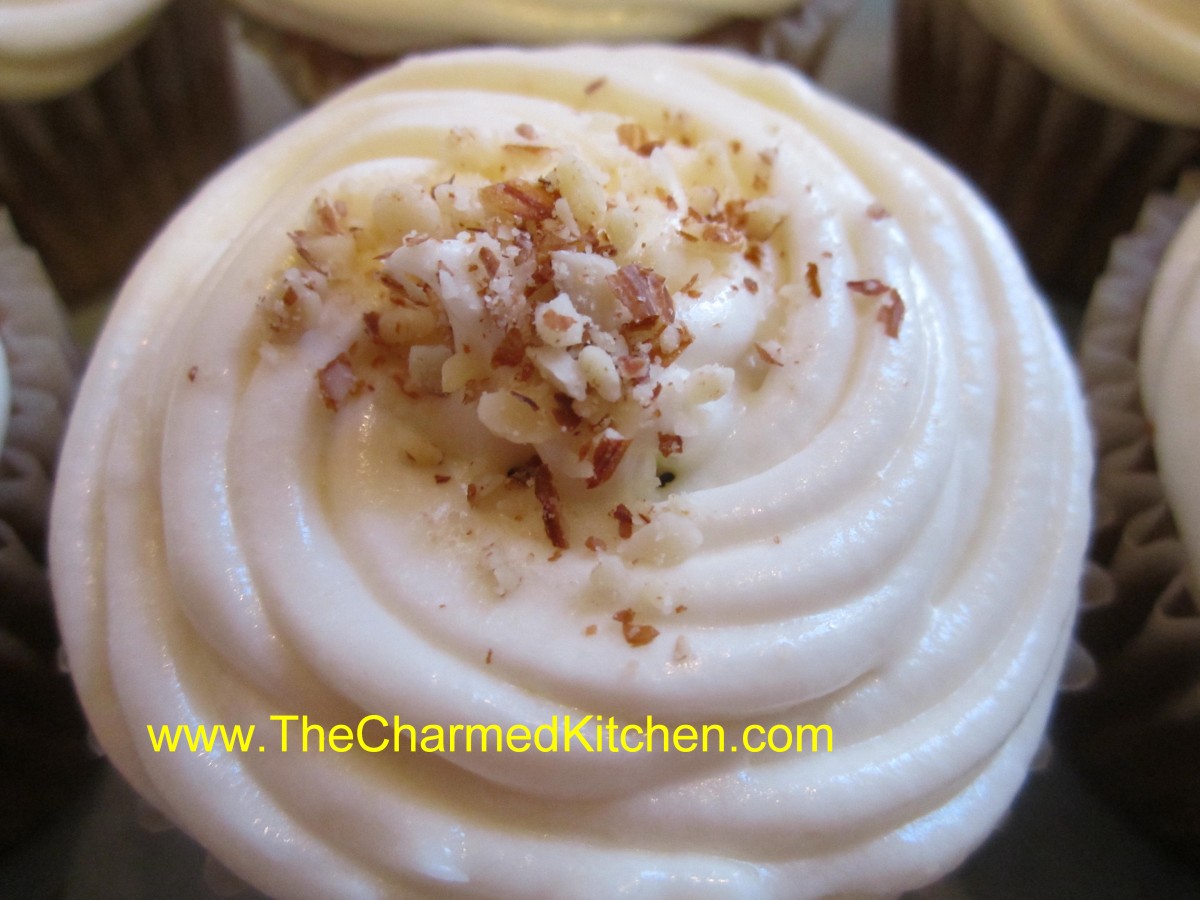
Parsnips- not just for soup anymore. If you only use parsnips in savory dishes, you might be surprised to see them used in a dessert. Truth is, parsnips are similar in flavor to carrots. Since carrots are used in cake quite successfully, why not parsnips? While not exactly the same in flavor, think of parsnips as white carrots. Combined in a spiced batter they make wonderful cupcakes. Good any time of the year, they seem especially nice for a fall dessert.
Spiced Parsnip Cupcakes
1 1/2 c. flour
1 c. sugar
1 T. ground ginger
1 T. cinnamon
2 t. baking powder
1 t. nutmeg
1 t. allspice
1 t. salt
1/2 t. cloves
3 eggs
1/2 c. oil
1/2 c. milk or half and half
2 t. vanilla
2 c. packed peeled and shredded fresh parsnips, 2-3 large
1/2 c. chopped nuts, optional plus extra for topping, optional
1 recipe cream cheese frosting- see below
Preheat oven to 350. Line 24 cupcake pans with paper liners- or grease lightly. Combine dry ingredients in a mixing bowl. In smaller bowl combine eggs, oil, milk and vanilla and mix well. Stir egg mixture into flour mixture until smooth. Stir in parsnips and nuts, if adding. Spoon batter into the prepared pans, filling half-full. Bake for 15 minutes – or until toothpick inserted into a cupcake comes out clean. Cool and frost. Sprinkle with fine chopped nuts, if you like. Makes 24.
Cream Cheese Frosting
8 oz. cream cheese, softened
4 0z. (1 stick) butter, softened
1 c. powdered sugar
1 t. vanilla
Beat all ingredients together until fluffy. Frost cupcakes and chill until ready to eat.
Homemade Sticky Buns

Cinnamon Sticky Buns
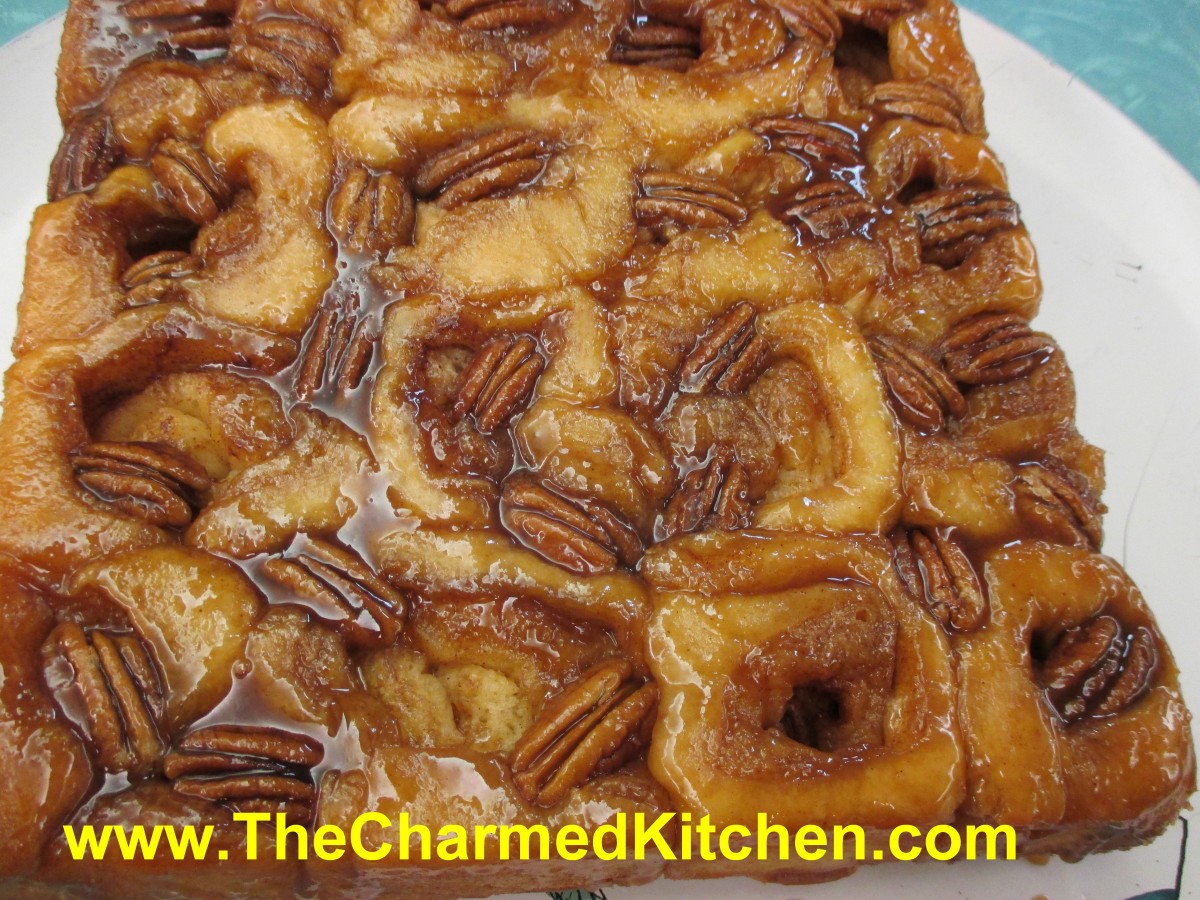
What could be better than a warm sticky bun? These are even better with the addition of plenty of nuts and cinnamon. I like this recipe because they are rich, soft and not too sweet. The rolls are full of brown sugar, butter and cinnamon and topped with a lovely later of soft caramel. They aren’t hard to make, although they look tricky. While the recipe makes 12 rolls you can cut them bigger, or smaller, to suit your needs.
Cinnamon Sticky Buns
Dough:
1/3 c. milk
¼ c. sugar
½ t. salt
¼ c. butter
¼ c. warm water
1 package active dry yeast
1 egg
2 ½ c. flour
Topping:
¼ c. butter, softened
¼ c. brown sugar
½ c. pecan or walnut halves – I use a little more, maybe 2/3 cup
Filling:
¼ c. soft butter
½ c. brown sugar
½ c. raisins, optional
1 t. cinnamon
In small pan heat milk until bubbles just form around edges. Remove from heat; stir in sugar, salt and butter. Allow to cool to lukewarm. Dissolve yeast in warm water in medium bowl and stir in milk mixture, egg and 2 cups of the flour. Mix by hand until dough leaves sides of the bowl. Turn onto lightly floured surface and knead until dough is smooth and elastic, adding more flour if needed. Lightly oil dough in bowl and cover with a towel allowing to rise in a warm place until doubled, about 1-1 ½ hours. Meanwhile, make topping. Cream together butter and brown sugar and spread on bottom and sides of 9×9 inch baking pan. Sprinkle with nuts and set aside.
Punch down dough and roll into a 16×12- inch rectangle. Spread with the softened butter, sprinkle on the brown sugar, cinnamon and raisins. Roll up from long side. Cut crosswise into 12 pieces. Hint: Using a knife tends to flatten the rolls. Instead use a piece of thread, string or even dental floss. Slide piece of string under dough where you wish to slice. Holding string ends above roll cross the ends over each other and pull outward. String will cut through easily. Repeat with remaining rolls. Place in prepared pan and cover with cloth, allowing to rise until doubled, 1- 1 ½ hours.
Bake 25-30 minutes in a preheated 375 degree oven. Invert onto board and let stand 1 minute. Remove pan. Serve warm. Makes 12.
Sweet Potato Biscuits with Herbs


Sweet Potato Biscuits with Herbs
I like sweet potatoes cooked any number of ways. Steamed, roasted, mashed. In this biscuit recipe, raw sweet potatoes are grated and added to the dough, along with some herbs. The biscuits come out tender, with great flavor and texture. They go well with any number of dishes. I enjoy them with a bit of butter, warm from the oven. When you mix the dough, don’t be worried if it seems too dry. It takes a little bit of kneading to get the moisture out of the potatoes. The extra effort is worth it.
Sweet Potato Biscuits with Herbs
2 1/4 c. flour
1 T. baking powder
1/2 t. grated lemon peel
1/4 t. each baking soda, dried basil and dried thyme
1 egg, beaten
1 1/2 c. shredded sweet potato, about 1 large
1/2 c. fine chopped green onions
1/2 c. sour cream
2T. butter, melted or olive oil
Stir together dry ingredients in large bowl and set aside. Combine remaining ingredients and add to flour mixture mixing until just blended. Turn onto lightly floured surface and knead a few times until dough just stays together. Dough will look too dry- but it will come together after you knead it. Press into an 8-inch square and cut into four squares.* Cross cut each square into four triangles. Place on greased baking sheet and bake in a preheated 425 degree oven for 20 minutes. Makes 16.
* I press the dough into a lightly floured 8×8-inch baking pan and then flip it out onto the work surface. That way you’ll get nice, even edges.
Homemade Pumpernickel Bread


Pumpernickel Bread
There are few aromas I like more than freshly baked bread. I like to bake all sorts of bread. I don’t bake much during the hot summer months and look forward to cool Autumn days and fresh baked bread. Today I made Pumpernickel Bread. The dark color comes from a mixture of rye flour, strong coffee, cocoa powder and molasses. These ingredients also give this bread a richness and texture I adore. It’s hard for me to find a store bought Pumpernickel bread that comes close to this one. Some store bakeries rely on caramel coloring for the color in the bread. For real flavor you need the real ingredients.
Pumpernickel Bread
2 Packages active dry yeast
½ c. warm water
2 c. lukewarm strong coffee
¼ c. each molasses and unsweetened cocoa
2 T. Caraway seeds
2 t. salt
5-6 c. flour- I use bread flour
2 c. rye flour
Cornmeal
1 egg white, slightly beaten
In large bowl dissolve yeast in warm water. Stir in coffee, molasses, cocoa, seeds, salt and 3 cups of flour. Beat with wooden spoon about 2 minutes. Stir in rye flour and enough of the remaining regular flour to make soft dough. Turn onto floured surface and knead until dough is smooth, about 10 minutes. Place in greased bowl, turning to grease top, cover and let rest until doubled, about 1 hour. Grease large baking sheet and sprinkle with cornmeal. Set aside.
Punch down dough, divide in 2, and form into balls. Place on baking sheet and cover. Let rise until double, brush with egg whites, slash tops and bake at 375 for 35-40 minutes. Makes 2 loaves.
Curry Roasted Cauliflower


Curry Roasted Cauliflower
I have been on a cauliflower kick lately. I keep seeing beautiful, big heads of cauliflower at the local markets. I can’t resist. I bring them home and start hacking away. I might sliced some off to add raw to a salad. Sometimes, I cook it up and mash like potatoes, adding butter and milk. Stir fries, soups, even a low carb pizza crust. Cauliflower is so versatile.
One of my favorite ways to prepare cauliflower is roasted. The roasting brings out a whole different taste and texture. Simple and very tasty. I made some for a recent brunch with friends. I often pair up cauliflower with curry- so it was natural to add it to this preparation. You can also make this dish ahead of time- even a day ahead- and warm it when ready to eat.
Curry Roasted Cauliflower
1 head cauliflower
Olive oil
Salt and pepper
1-2 T. curry powder- or more to taste
Preheat oven to 375 degrees. Wash cauliflower and break up into flowerets. Place in roasting pan and drizzle with oil. Use a spoon to toss the cauliflower with the oil. Sprinkle generously with salt, pepper and curry powder. Toss to coat evenly. Place in oven and roast until cauliflower is tender and has gotten some color on it. Takes about 35-45 minutes. Spoon into serving dish. Adjust seasonings. Serves 6.
Candy Spiders


Candy Spider
This is the only kind of spider I want in my house. If you are looking for a quick spooky decoration/treat idea, you might want to make some candy spiders. These are about the size of a tarantula. Super simple and kids can make them, too. You only need a few ingredients. The body is made from marshmallows, the legs are chow mein noodles and the eyes are small candies. I used melting chocolate, but you can use any kind of chocolate you like.
To start, melt some chocolate. Dip the chow mein noodles in the chocolate and tap gently to remove excess. I leave one end un-dipped to make it easier to stick in the marshmallow later. Allow to harden up before going to the next step. I set them on a flexible cutting board, but wax paper is good, too. You have to peel them off later, a flexible surface is best. You’ll need 8 for each spider- so be sure to make enough. Allow for breakage. Set a marshmallow flat side down and poke 4 holes in each side, 8 total. I used a bamboo skewer. Stick a noodle “leg” in each hole. Spoon chocolate over the marshmallow until coated. Whatever drips off can be re-melted and used again. While the chocolate is still soft, press 2 candy eyes into place. Hold them for a minute to be sure they are secure. Now, you can decorate cakes with them, use them on a dessert tray- or just eat them.
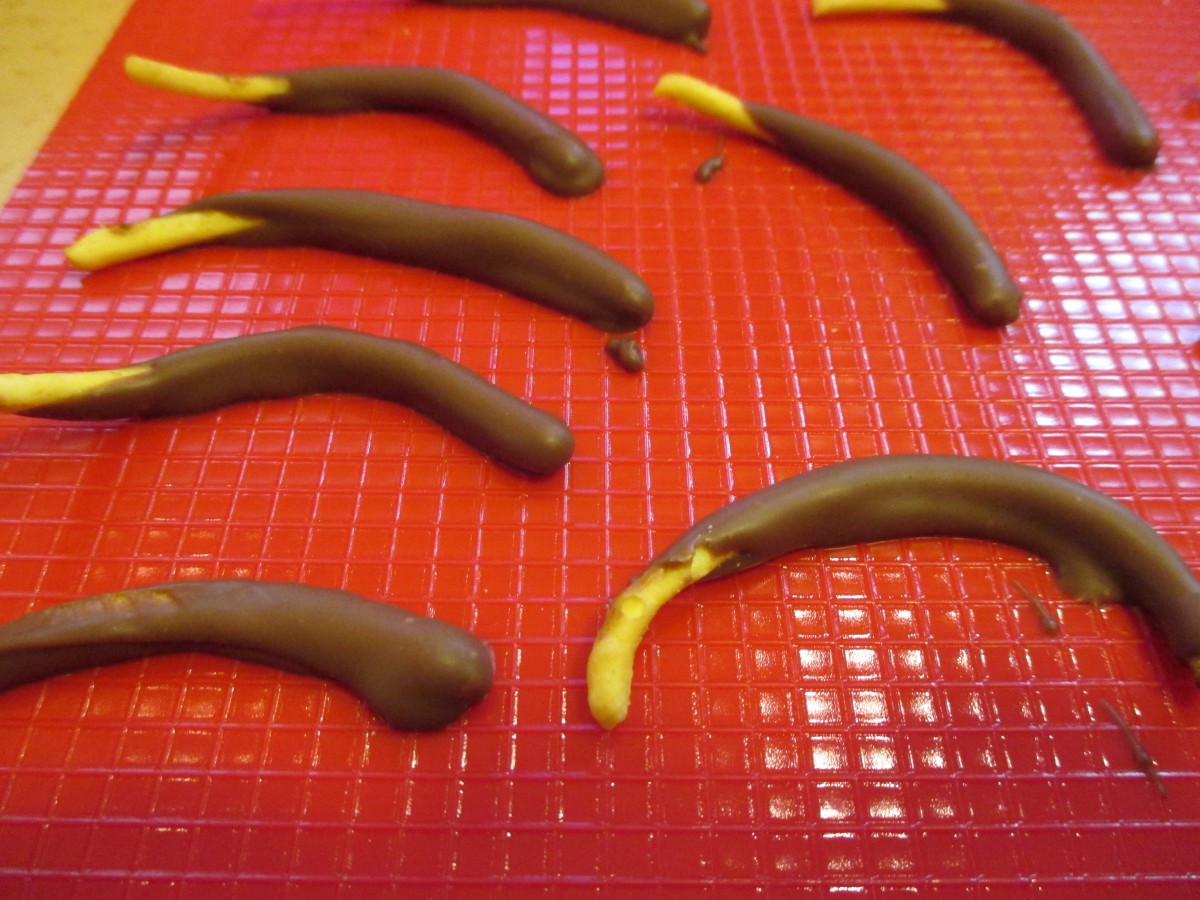
Chow mein noodle legs

Insert legs into marshmallow
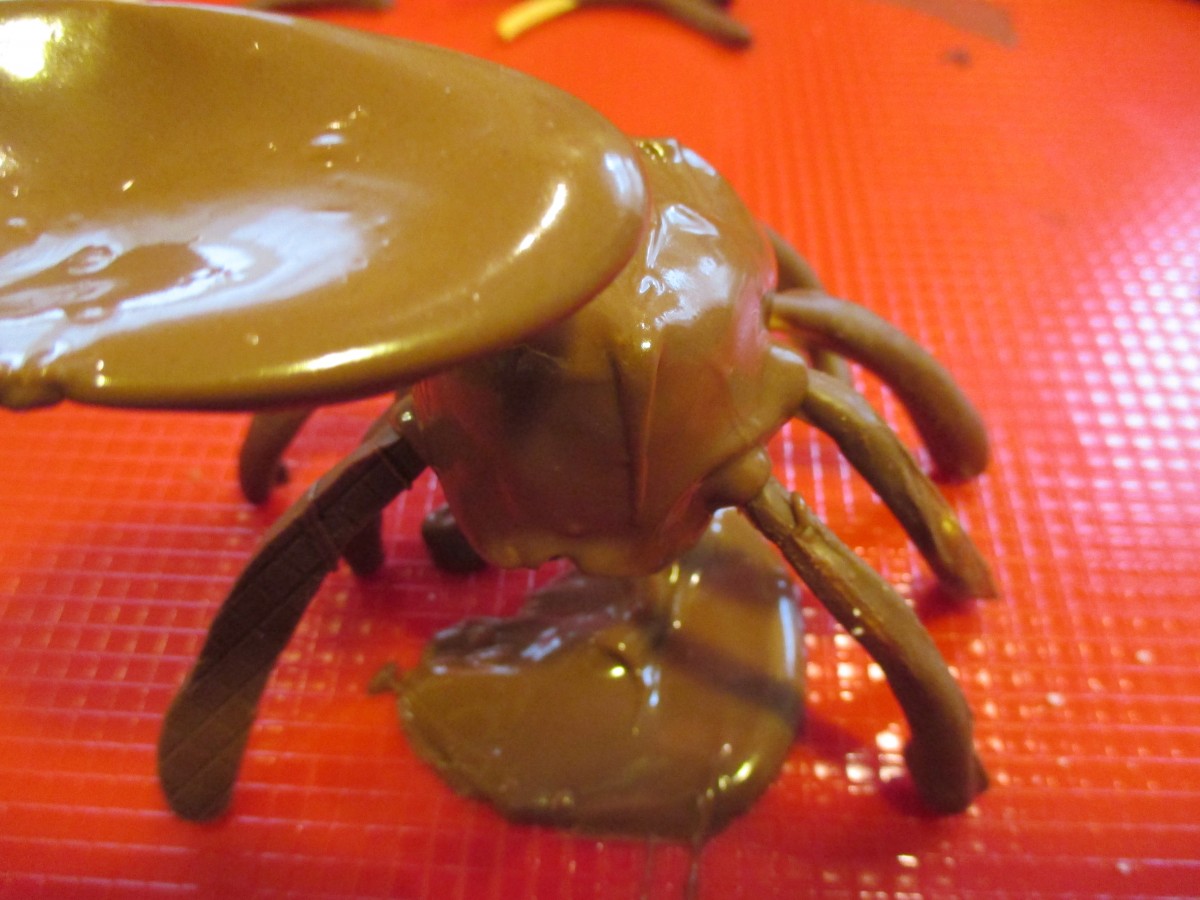
Spoon chocolate over the marshmallow to cover it.
Kitty Cat Cupcakes


Kitty Cupcakes
If you want a simple dessert your kids can brew up for Halloween, these kitty cat cupcakes are pretty cute. You can use a box mix, or make the cupcakes from scratch (kitty reference). A recipe for cupcakes follows. Then, just top with chocolate frosting, and use a couple of dollops of frosting to form the ears. I just used chocolate frosting as is, (recipe follows), but you could add some black food coloring, if you like. Use little candies for eyes and a nose and cut out fruit roll-ups for a tongue and whiskers. You can also cut out little triangles of fruit roll ups for the ears. Super easy- and not too scary for the little ones.
Classic White Cupcakes
1 cup sugar
1/2 cup butter
2 eggs
2 teaspoons vanilla extract
1 1/2 cups all-purpose flour
1 3/4 teaspoons baking powder
1/2 cup milk
Preheat oven to 350 degrees. Line a muffin pan with 12paper liners. In a medium bowl, cream together the sugar and butter. Beat in the eggs, one at a time, then stir in the vanilla. Combine flour and baking powder, add to the creamed mixture and mix well. Finally stir in the milk until batter is smooth. Pour or spoon batter into the prepared pan. Bake 20 to 25 minutes. Cupcakes are done when they springs back to the touch. Makes12.
Easy Chocolate Butter Cream
6 T. butter, softened
1/3 – 3/4 c. cocoa, depending on how dark you want your frosting.
2 2/3 c. powdered sugar
1/3 c. milk
1 t. vanilla
Cream butter. Combine cocoa and sugar. Beat cocoa mixture in alternately with the milk until frosting is spreading consistency. Beat in vanilla. You may need an additional tablespoon of milk. Makes about 2 cups.
Rice and Bean Enchiladas – Vegan


Rice and Beans Enchiladas – Vegan
When my niece and her boyfriend were in town recently, I invited them for brunch. They are vegan, which is always more of a challenge for me. I am comfortable with cooking vegan, but I always want to make them something new and fun. I decided to make enchiladas. Not a difficult dish to make, but a little more challenging without cheese. I ended up making a creamy tomato sauce using almond milk. The dish came out great. They liked it so much they asked for the leftovers for home. Here is the recipe.
Rice and Bean Enchiladas –Vegan
Filling:
1½ c. brown rice
3 c. vegetable broth
2 T. oil
1 large onion, chopped
1 sweet pepper, seeded and chopped
3 cloves garlic, peeled and chopped
1 can beans, any type you want, drained and rinsed (I like black beans in this recipe)
2 T. chili powder
1 T. paprika
2 t. cumin
2 t. oregano
1 t. smoked paprika
Salt and pepper to taste
Hot sauce to taste
9 – 10 (8-inch) flour tortillas
Sauce:
3 T. oil
3 T. flour
1½ c. almond milk (you could also use coconut, soy or rice milk)
1 can ( 14.5 oz.) canned tomatoes, I used a pint jar of home canned tomatoes
1 t. cumin
1 t. oregano
Salt and pepper to taste
Hot sauce to taste
Place rice and broth in saucepan and cook, covered, over medium low heat until rice is cooked, about 40 minutes. While rice is cooking heat oil in skillet and cook onions until golden. Add peppers and garlic and cook until peppers are tender. Combine pepper mixture with the rice, once cooked, the beans and the seasonings. Adjust seasonings. Lightly oil a 13×9-inch baking dish. Spoon some filling into a tortilla and roll up. Place seam side down in baking dish and continue with remaining tortillas and filling. Dish will be pretty full. Start sauce. Combine oil and flour in a saucepan. Add almond milk and cook over medium heat, stirring, until mixture comes to a simmer. Cook until mixture thickens and is bubbly. Add tomatoes and seasonings, adjusting to your taste. Pour sauce over the tortillas in the pan. Try to get sauce down in between the tortillas as much as you can. At this point you can bake them or cover and put in fridge until ready to bake. These can be made a day ahead, if you like. When ready to bake, heat oven to 350 degrees. Cover pan with foil and bake for 45 minutes, if freshly made, 55 minutes if cold from the fridge. Uncover and let enchiladas cook 10 minutes longer. Allow to stand 10 minutes before cutting. Makes 9-10.


