Lemonade Cookies

Lemonade Cookies
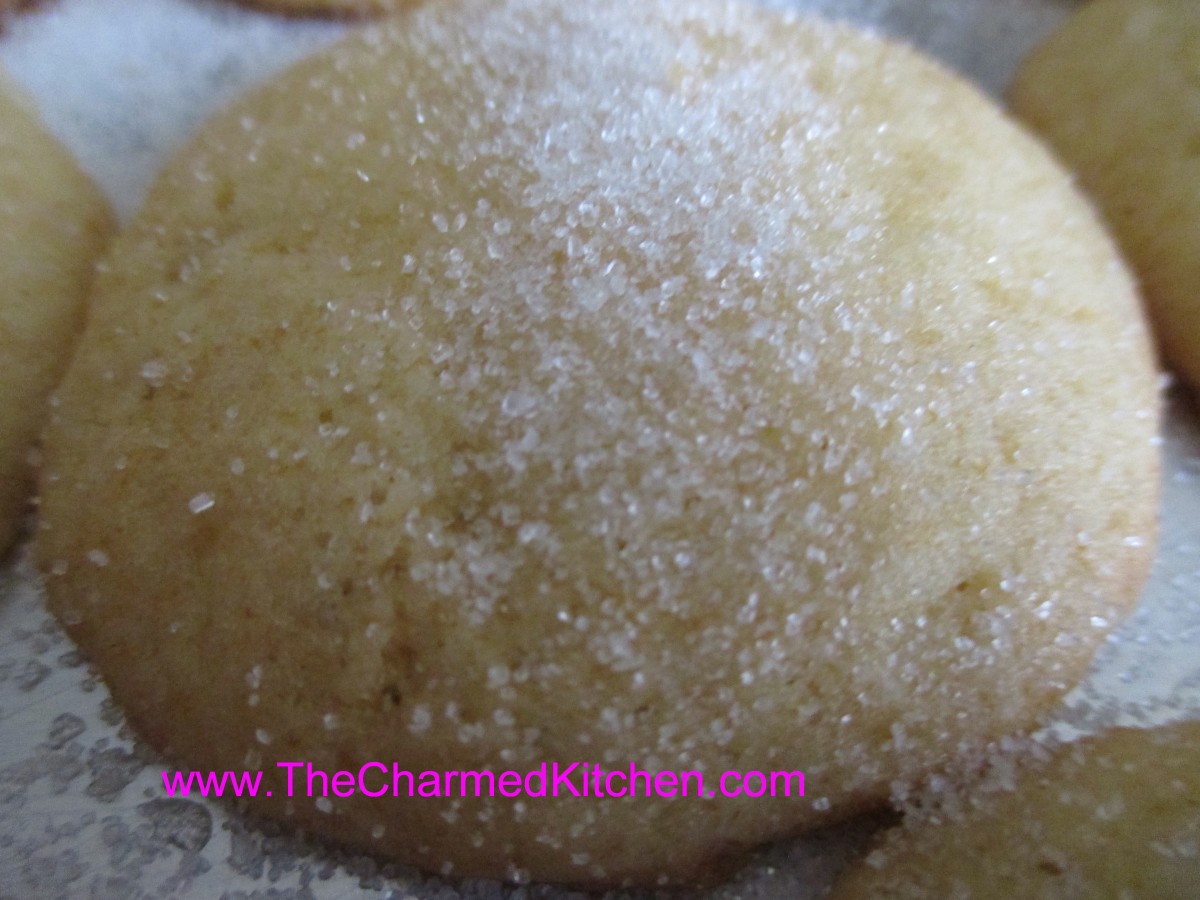
These are a perfect summertime cookie. With the sweet tangy flavor of lemonade they are a great addition to any picnic or cookout. They are soft, cake-like cookies with lemonade in the batter. Once baked they are brushed with a little lemonade concentrate and sprinkled with sugar for even more lemon flavor.
Lemonade Cookies
1 c. butter, softened
1 c. sugar, plus extra for sprinkling
2 eggs
1/2 c. lemonade concentrate, plus extra for brushing on cookies*
2 t. lemon zest
3 c. flour
1 t. baking soda
In medium bowl beat together the butter and sugar. Beat in the eggs and then add the lemonade concentrate and lemon zest. Combine the flour and baking soda and stir into the butter mixture. Chill dough 1 hour. Preheat oven to 375. Lightly grease baking sheets. Scoop dough in rounded tablespoons onto the prepared baking sheets about 1 inch apart. Bake for 10-12 minutes or until light golden. Once cookies have cooled brush with a little lemonade concentrate and sprinkle with sugar. Makes about 5 dozen.
* You can make your own lemonade concentrate- here is the recipe.
Homemade Lemonade Concentrate
1 1/3 c. lemon juice- fresh or bottled
1 c. sugar*
lemon zest, optional
Combine ingredients and stir until sugar is dissolved. Freeze until ready to use. Makes a little over 1 1/2 cups. To use: combine three parts water to one part concentrate.
* You can use honey instead of sugar- but only use 1/2 c. honey as it is much sweeter than sugar.
Alfajores Cookies

Alfajores Cookies
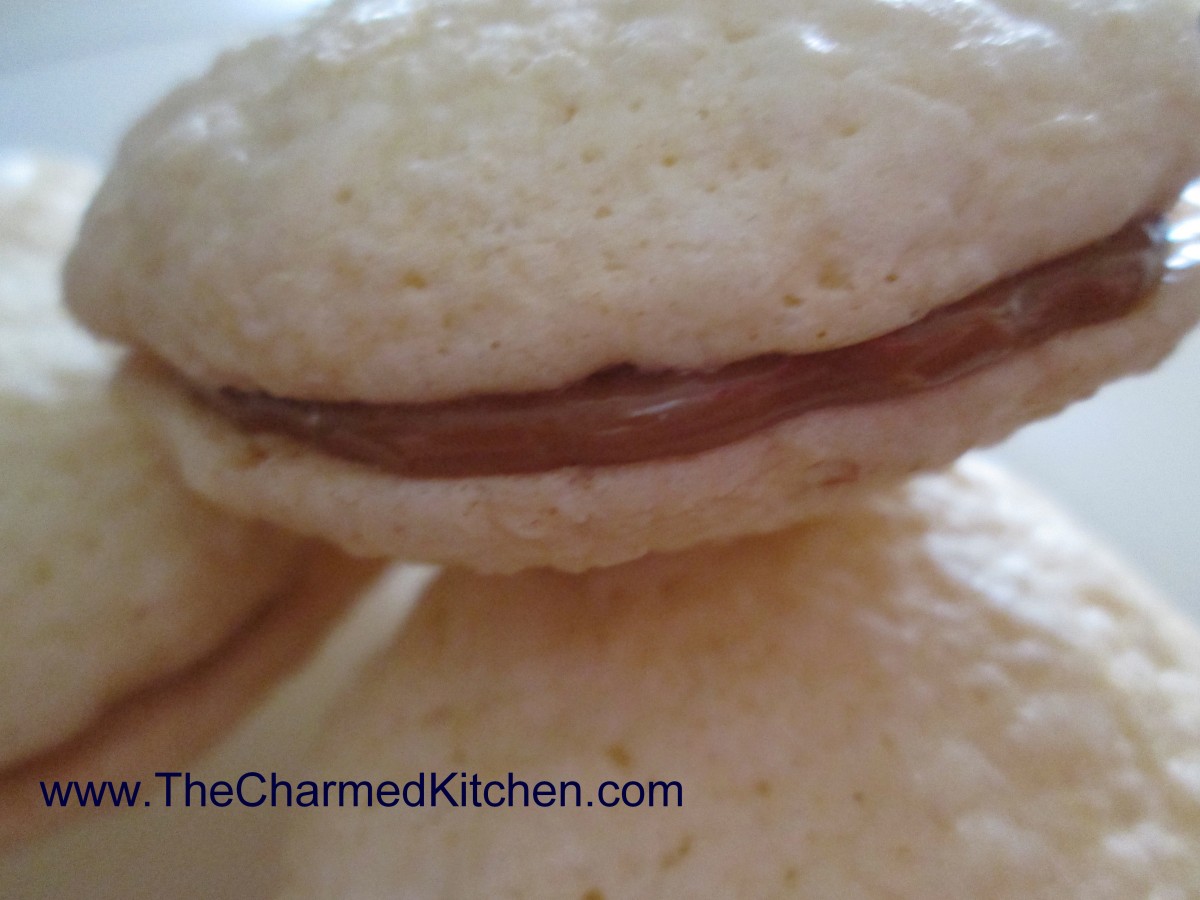
If you are looking for a new cookie you might want to try these. Made with cornstarch as a primary ingredient they are very crispy and light. Sandwiched together with dulce de leche they make a wonderful dessert. These cookies are popular in a number of South American countries and in Spain although the origin is probably from the Middle East.
Alfajores Cookies
1/2 cup butter
1 cup sugar
1 egg
2 egg yolks
1 tsp. vanilla
2 tsp. lemon rind, grated
1 1/2 cup cornstarch
1/2 cup flour
1 tsp. baking powder
1/4 tsp. salt
Cream butter; add sugar and beat until fluffy. Add egg and egg yolks, one at a time, beating well. Beat in vanilla and lemon rind. Sift together cornstarch, flour, baking powder and salt. Add to mixture and mix well. Drop batter by small spoonfuls onto well-buttered baking sheet. Bake at 350 degrees for 15 minutes. Remove immediately. Sandwich the cookies together with (dulce de leche) sweet milk dessert. Makes 40 cookies.
Dulce de Leche (Milk Jam)
This is the easiest way to make Dulce de Leche…the taste is pretty authentic and the work is almost completely eliminated!
1 can sweetened condensed milk
Place the can inside the pot on top of a wire rack. I use a round rack used for cooling cakes. If you don’t have a rack place a towel on the bottom of the pot. Add water to completely cover can, plus 1-2 more inches. Simmer for 4 hours, making sure the can is always completely covered with water…if not…there is an explosion!! Leave the can to cool several hours and only then open it and serve. Serve the golden-brown confection over flan, as a filling for crepes, cakes or just plain. For breakfast you can spread it on croissants, rolls or toast.
Swiss Chard Dumplings

Swiss Chard Dumplings
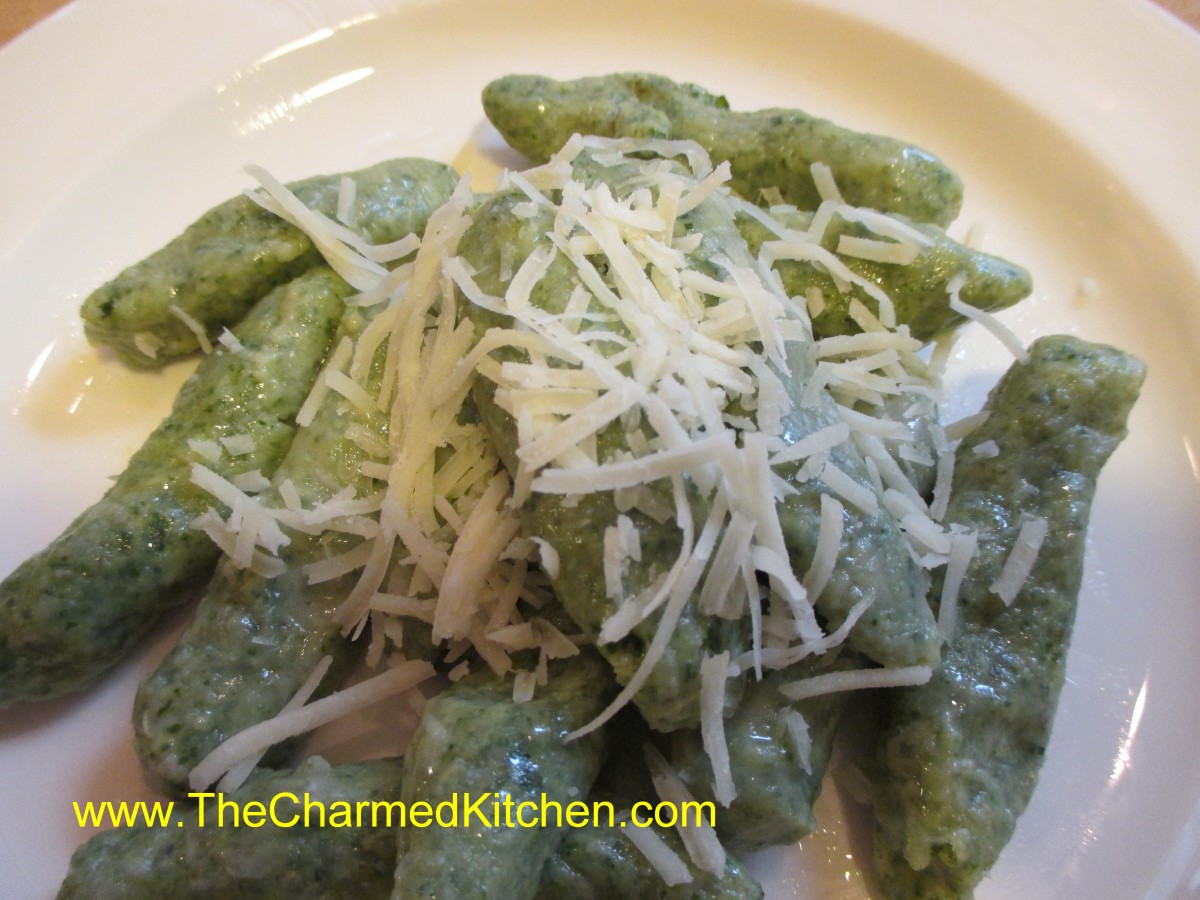
I love Swiss chard and have been enjoying a lot of it lately. It is really abundant this time of year. If you aren’t growing it- you are sure to find it at local farm markets. Swiss chard tastes like beet greens. I wasn’t in the mood to make a soup or just steam it so I decided to use some of my chard to make little dumplings. When done right they are tender and delicate. These were like little pillows of flavor. I just served mine tossed in butter and topped with fresh grated Parmesan cheese. If you are trying to get your family to eat more greens- try making these. You could also use spinach or other greens in place of the chard, if you prefer. When using greens like kale or collards, cook the greens a few minutes longer to be sure they will be tender.
Swiss Chard Dumplings
1 lb. Swiss chard, stem ends trimmed
1 c. whole milk ricotta
½ c. grated Parmesan cheese plus extra for sprinkling
¼ c. dried minced onion
1 egg
½ t. coarse salt
¼ t. fresh ground pepper
1/8 t. ground nutmeg
¾ c. flour, plus extra for rolling
Butter
Grated Parmesan cheese
Cut chard leaves from each side of center stem. Cook chard leaves in large pot of boiling salted water until tender, about 3 minutes. Drain; cool. Squeeze chard leaves until very dry; place in processor. Using on/off turns, finely chop chard. Add ricotta, ½ cup Parmesan, onion, egg, coarse salt, pepper, and nutmeg; process to blend. Transfer mixture to medium bowl. Add ¾ cup flour; stir to blend. Cover and refrigerate dough overnight.
Line rimmed baking sheet with parchment paper. Spoon some flour onto large plate. Working in batches, drop heaping teaspoonfuls dumpling dough (size of small walnuts) onto plate with flour to form about 36. Using floured hands, gently shape each into 1 1/2-inch-long, 1/2-inch-thick oval. Tap off excess flour; transfer to prepared baking sheet. They can be made 2 hours ahead. Cover and chill. Bring large wide pot of salted water to boil. Slide dumplings into pot; cook until they float to the top, about 4-5 minutes. They are very tender so remove from water gently. Toss in butter and sprinkle with cheese. Serves 4.
Vanilla-Cinnamon Belgian Waffles

Vanilla-Cinnamon Belgian Waffles
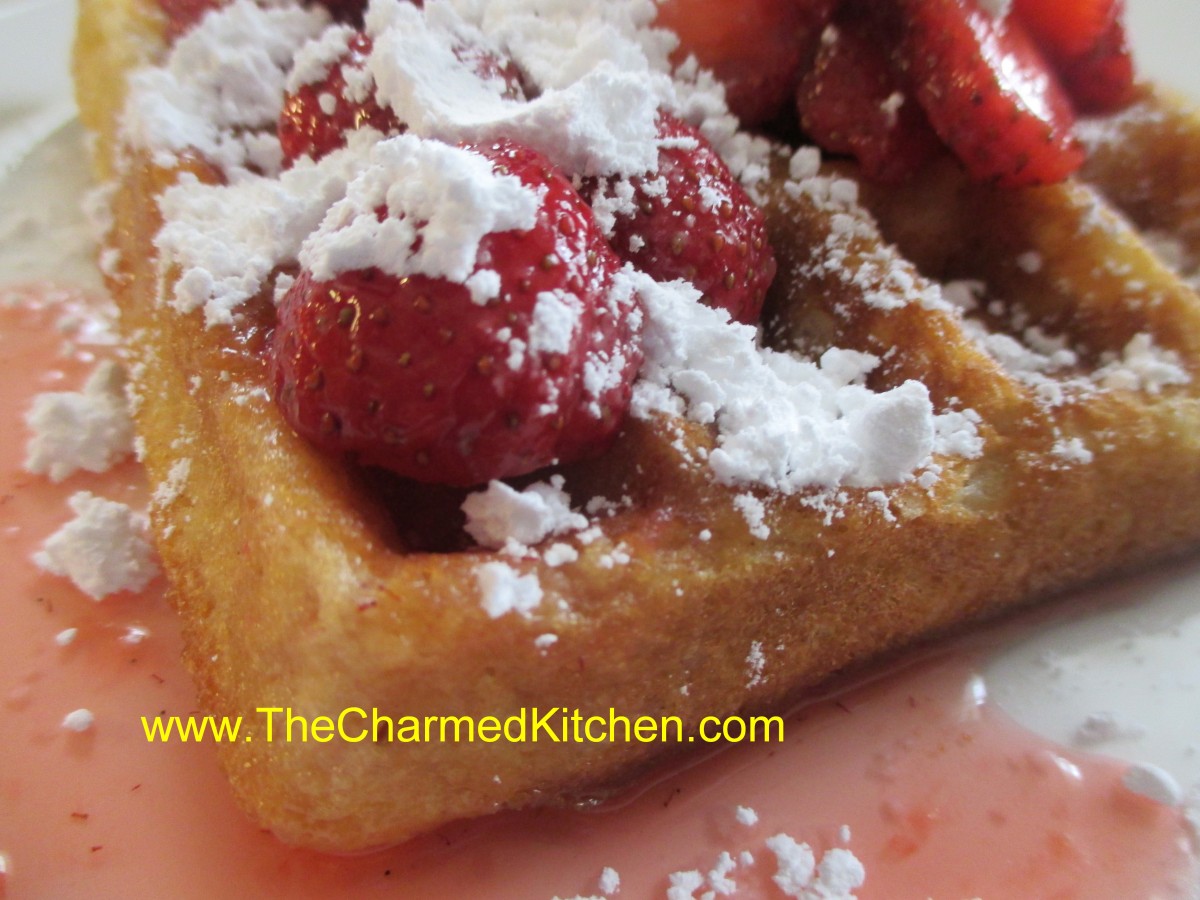
No one ever complains when you make waffles for breakfast. Or if you make waffles for lunch or dinner, for that matter. But the response is even better when you make Belgian waffles. At least that has been my experience. My theory is, that because Belgian waffles are bigger, people love them even more. These waffles are light and rich at the same time. They can be used as a dessert, too. For dessert just top them with ice cream, chocolate sauce or whipped cream – or all three. You can even freeze any extras. Oh, who are we kidding? There aren’t going to be leftovers. But if there were, you could freeze them.
Vanilla- Cinnamon Belgian Waffles
2 cups all-purpose flour
3/4 cup sugar
3-1/2 teaspoons baking powder 2 t. cinnamon
2 eggs, separated
1-1/2 cups half and half- or milk
1 cup butter, melted
2 t. vanilla extract
Sliced fresh strawberries, powdered sugar or syrup
In a bowl, combine dry ingredients. In another bowl, lightly beat egg yolks. Add milk, butter and vanilla; mix well. Stir into dry ingredients just until combined. Beat egg whites until stiff peaks form; fold into batter. Bake in a preheated waffle iron according to manufacturer’s directions until golden brown. Serve with strawberries, powdered sugar or syrup. Yield: 10 waffles (about 4-1/2 inches).
Peach and Pomegranate Glaze

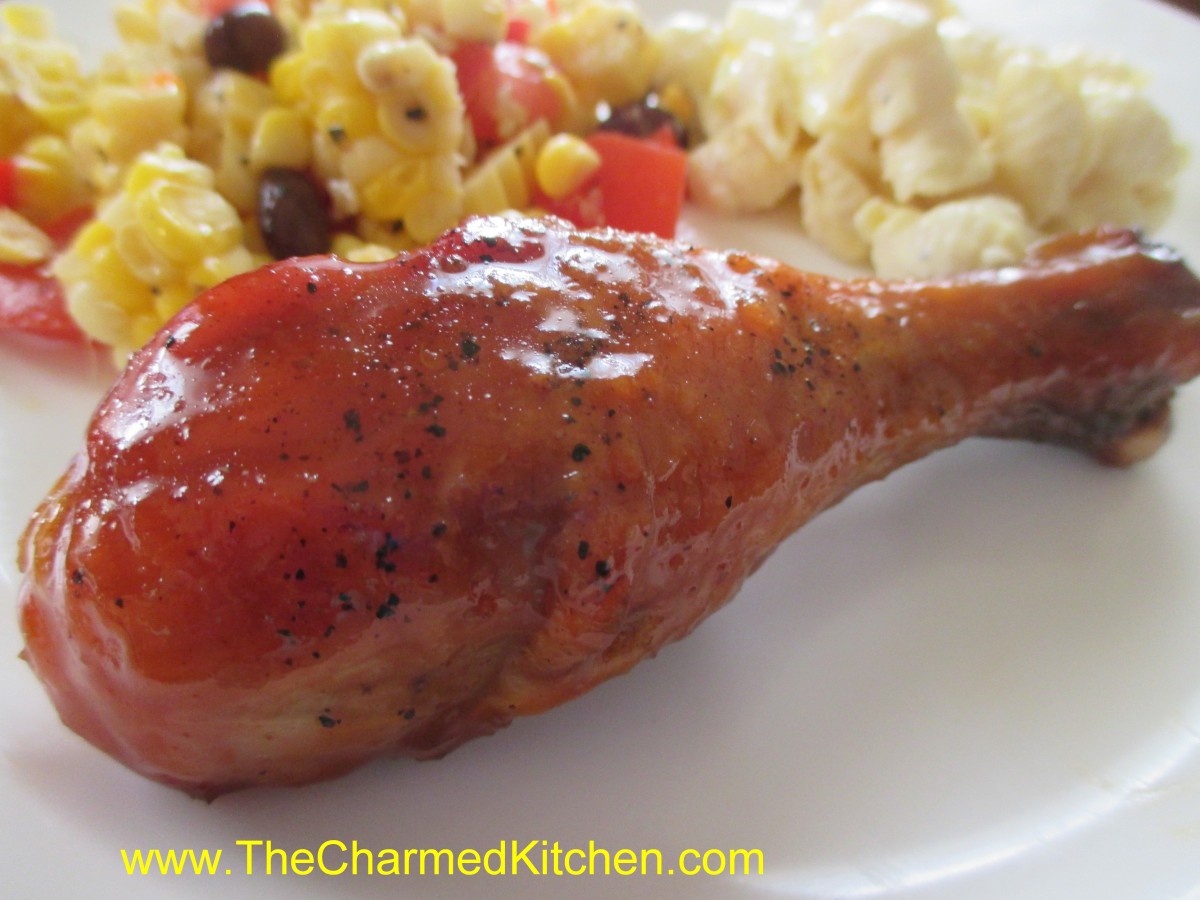
Peach and Pomegranate Glazed Chicken
I was having a cookout with friends and wanted a sauce for the chicken. Didn’t want to use the same old barbecue sauce. I rummaged around the kitchen and found a jar of peach preserves I had made last year. I used that as the base and added a few more ingredients to make the glaze. The original plan was to grill our chicken outside, but a batch of thunderstorms brought the cooking indoors. I ended up baking the chicken in the oven and topping it with this peach and pomegranate glaze. It came out just the way I wanted it- all sticky and golden. I could see using this on other meats- pork and duck both come to mind.
To make the chicken:
Place chicken pieces on a wire rack in a baking dish. Bake at 400 degrees for 45 minutes. Remove chicken and place in another baking pan. Don’t use the rack this time. Pour glaze over the chicken pieces and return chicken to the oven. Reduce heat to 350 degrees and cook chicken another 45 minutes to an hour- or until juices run clear when chicken is pierced. Serve chicken on a platter- or even in the baking dish. Place some of the glaze from the pan in a small bowl with a spoon – so guests can add more glaze, if they like.
Peach Pomegranate Glaze
1 c. peach preserves*
½ c. pomegranate molasses**
2 T. maple syrup
1 T. spicy mustard, I used a whole grain mustard
1 T. lemon juice
1 t. garlic powder
1 t. cumin
1 t. cinnamon
½ t. hot sauce- or more to taste
Salt to taste
Combine all ingredients in a small saucepan and simmer together for about 10 minutes. Brush on meat while grilling or you can pour some over the meat while baking.
* I used a jar of homemade peach preserves, but apricot preserves would also work.
** Pomegranate molasses might be a hard ingredient for you to find. To make your own- just boil pomegranate juice down until it becomes thick- like maple syrup.
Key Lime Pie


Key Lime Pie
I picked up a bag of key limes knowing I’d be making a pie with at least some of them. I made the pie for a dinner with friends and, as expected, everyone loved it. What’s not to love? I had decided to go with a classic version: graham crust, creamy filling and a little meringue to top it off. The pie itself is simple and fast to make. I think it took more time to juice all those tiny limes than it did to make the pie. One of the traditional ingredients in key lime pie is sweetened condensed milk. You can, if interested, make your own sweetened condensed milk. I’ve included the recipe at the bottom of this post.
Key Lime Pie
Crust:
1 ¼ c. graham cracker crumbs
⅓ c. melted butter
¼ c. brown sugar
Filling:
2 cans sweetened condensed milk*
1 c. key lime juice
Topping:
2 eggs whites
½ t. cream of tartar
2 T. sugar
In medium bowl, combine crust ingredients and toss until mixed well. Press crust into the bottom and sides of a pie pan. I use a 9-inch deep dish pan. Bake crust in a preheated 375 degree oven for 10 minutes. Cool. Reduce oven to 325 degrees. Combine filling ingredients in a medium bowl. Stir until well mixed. It will look sort of soupy, but as you stir, the filling becomes pretty thick- like pudding. Pour into crust. Prepare topping. Beat egg whites with cream of tartar until foamy. Slowly add the sugar, while still beating the eggs whites, until stiff peaks form. Spread or pipe the egg whites over the filling. Bake pie 25-28 minutes- or until meringue topping is golden brown. Chill at least 6 hours before serving. Serves 6-8.
* You can make your own sweetened condensed milk, if you prefer. Here is the recipe.
Sweetened Condensed Milk
1 c. dry non-fat milk
2/3 c. sugar
1/2 c. boiling water
3 T. butter, melted and hot
Combine all ingredients in a blender until smooth. Can be stored in the fridge and used within 3 days. This is the same as 1 14 oz. can.
Nisu Bread

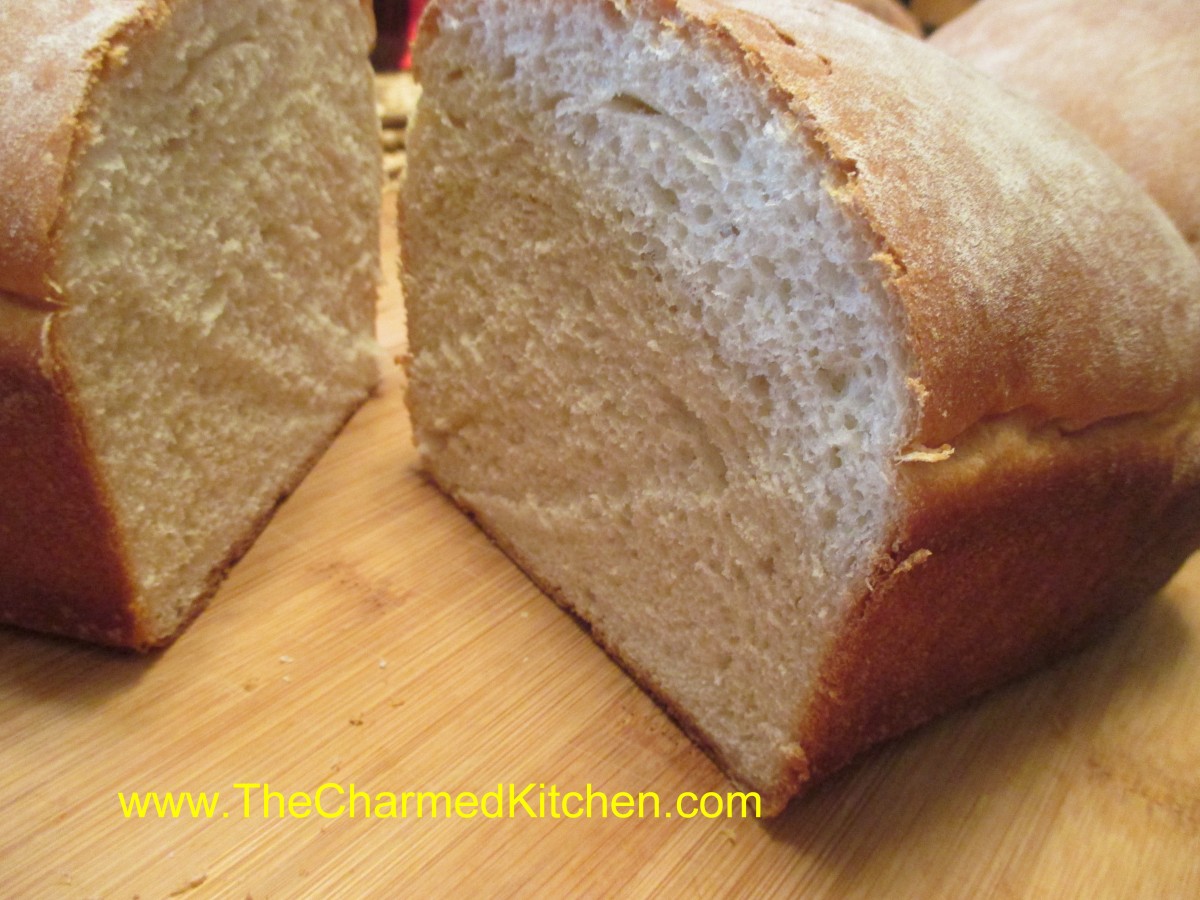
Nisu
This wonderful recipe came from the Finn grandmother of a good friend. It is a soft, slightly sweet bread made special with the addition of cardamom. Cardamom is a spice that has a rich, sweet flavor and fragrance. You can purchase it ground or whole, in pods. Cardamom is often used in baked goods and adds a nice flavor to frosting and glazes. It is also used to flavor coffee. This bread is lovely just toasted and makes great French toast.
Nisu
½ c. warm water
2 packages active dry yeast
2 c. milk
½ c. sugar
2-3 t. ground cardamom
1 t. salt
6 T. butter
6-7 c. flour, preferably bread flour
2 eggs
Dissolve yeast in water and set aside. Place milk in large bowl and add the sugar, cardamom, salt and butter. Heat in microwave until liquid is very warm. Butter might not be completely melted. Stir mixture until sugar is dissolved. Place 2 cups of flour in a mixing bowl and add the milk mixture, eggs and yeast mixture. Beat on medium speed for 3 minutes. Add 1 cup more of the flour and beat 2 minutes more. Stir in enough of the remaining flour to make a soft dough. Turn onto a floured surface and knead until dough is firm and smooth, about 10 minutes. Place in an oiled bowl and turn dough to coat. Cover with a towel and allow to rest until doubled in bulk, about 1 hour. Punch dough down and divide into 3 pieces. Roll each piece into a loaf and place in greased 9×5 inch bread pans. Cover and allow to rise until doubled in bulk, about 45 minutes. Bake in a 375-degree oven for 30 minutes or until golden and loaf sounds hollow when tapped lightly. Makes 3 loaves.
Giant Blueberry Shortcake

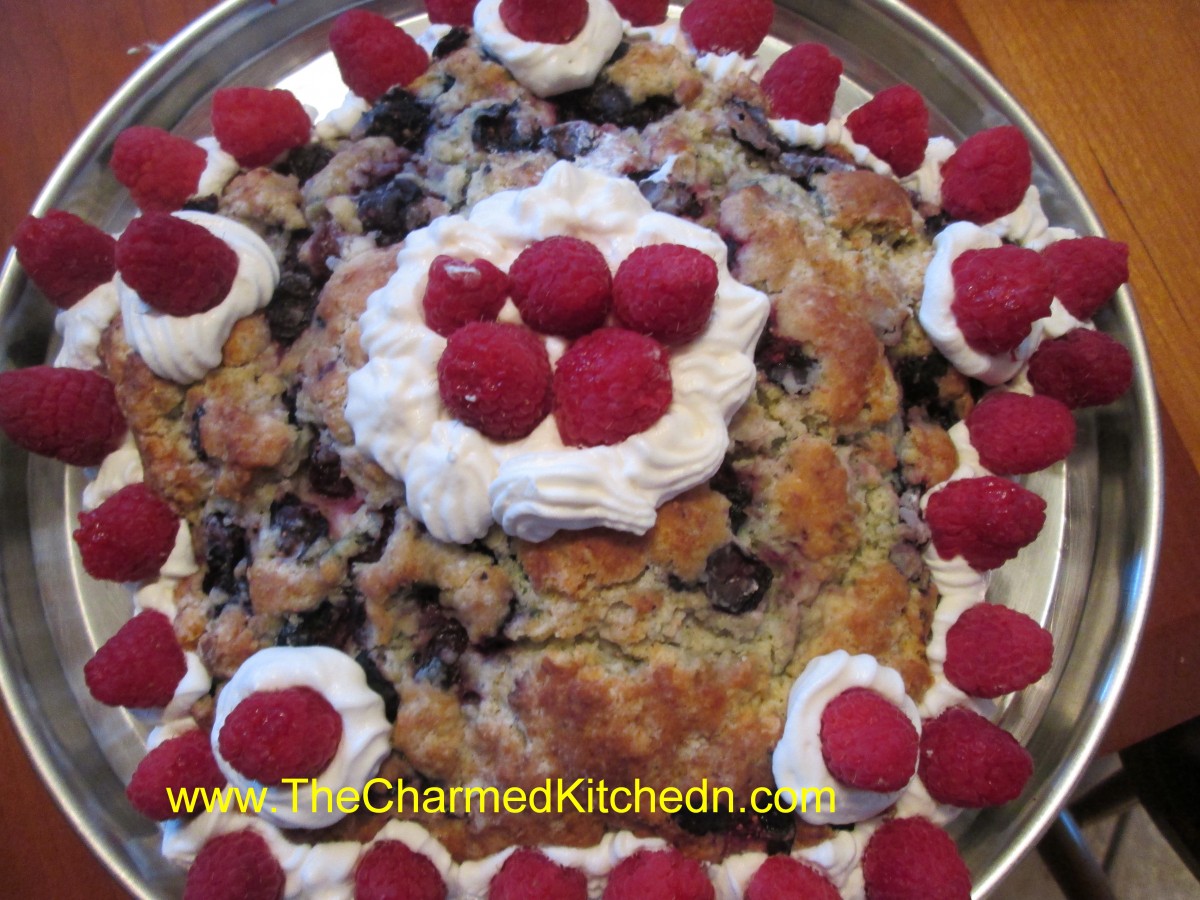
Giant Blueberry Shortcake
I needed a dessert for a cookout with friends. Rather than make little shortcakes I decided to make one really big one. I wanted a red, white and blue dessert so I used blueberries inside the shortcake and added raspberries to decorate it. I made it in a star shape, just for fun. I used an old copper star shaped mold- but it could have shaped it by hand, if needed. Once baked, I topped it with whipped cream and raspberries.
Giant Blueberry Shortcake
2 c. flour
¼ c. sugar
1 T. baking powder
¾ t. salt
½ c. chilled butter
2 c. blueberries
1 t. lemon zest
2 large eggs
1/3 c. heavy cream
1 c. raspberries
whipped cream
Mix dry ingredients together in bowl and cut in butter to resemble coarse crumbs. Toss in blueberries and zest. Beat together eggs and cream and stir into flour mixture. Mix very gently to avoid bruising berries. Place dough on a baking sheet and form into a star shape or a circle or oval shape. Flatten slightly. Brush with a little cream and sprinkle with a little extra sugar. Bake in a preheated 375-degree oven for 30-35 minutes, or until golden brown. Cool on a rack. When ready to serve top with whipped cream and raspberries. Serves 6-8.
Blueberry-Vanilla Ice Cream

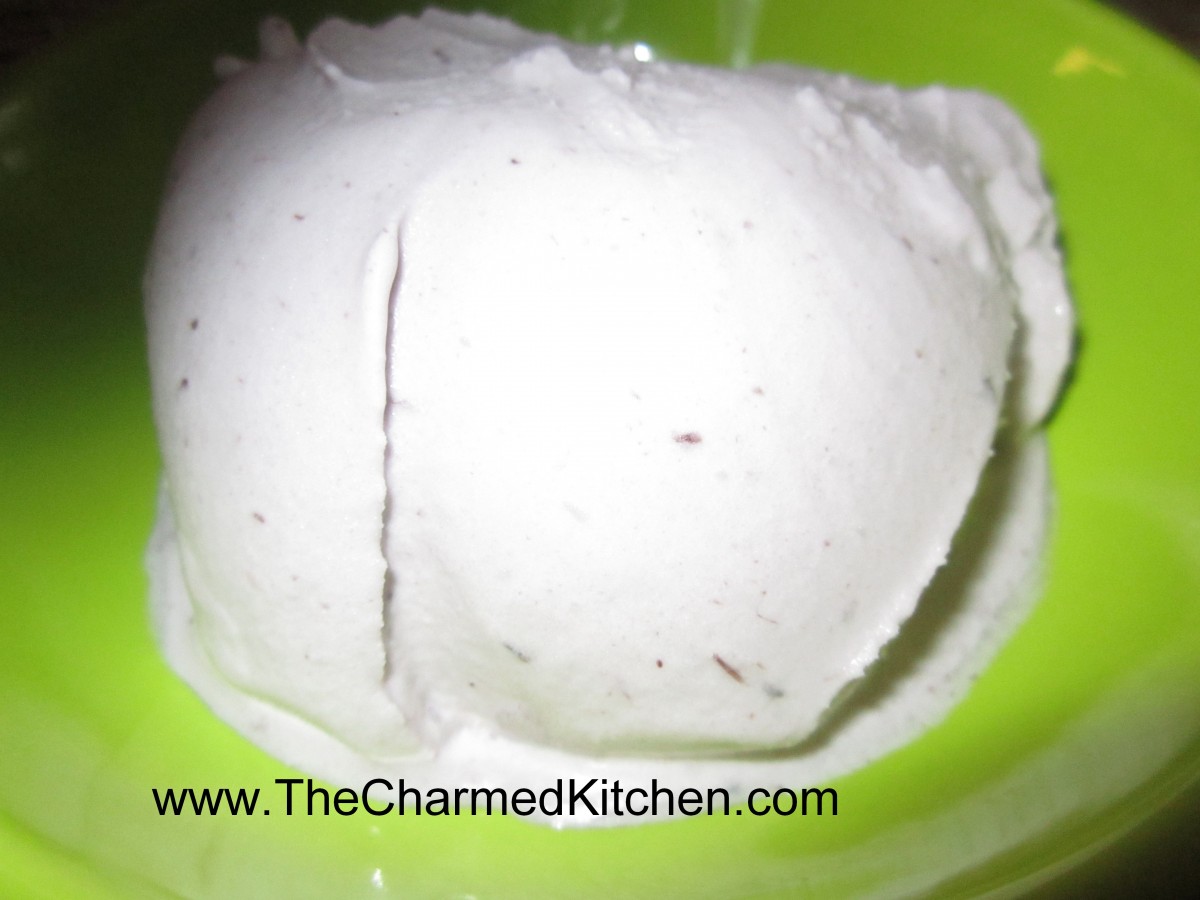
Blueberry Vanilla Ice Cream
I had some frozen blueberries and decided I wanted ice cream- blueberry ice cream. I made a batch last night. Great, creamy texture and a nice balance between the blueberries, vanilla and the sweetness. Super creamy and good. Note: If you are lactose intolerant you can use almond, rice or coconut milk in this recipe. Also feel free to add other flavorings. I added vanilla extract to mine. While it is easier to make with an ice cream maker- you don’t have to have one for this recipe. Enjoy!!
Blueberry Vanilla Ice Cream
3 c. blueberries
1 c. sugar
1/4 c. water
1 T. vanilla
1 c. heavy whipping cream
1 c. half and half
Combine berries with sugar and water in saucepan and bring to a boil. Cook, stirring often, for 5 minutes. Puree mixture and stir in vanilla. Refrigerate until completely cool. Stir in the whipping cream and half and half and freeze in an ice cream maker according to the manufacturer’s instructions. Makes 6 cups.
Note: If you don’t have an ice cream maker, freeze in shallow trays and thaw a little before whipping with a hand mixer. Better if you re-freeze and whip again later.
Homemade Lemonade Concentrate

Homemade Lemonade Concentrate
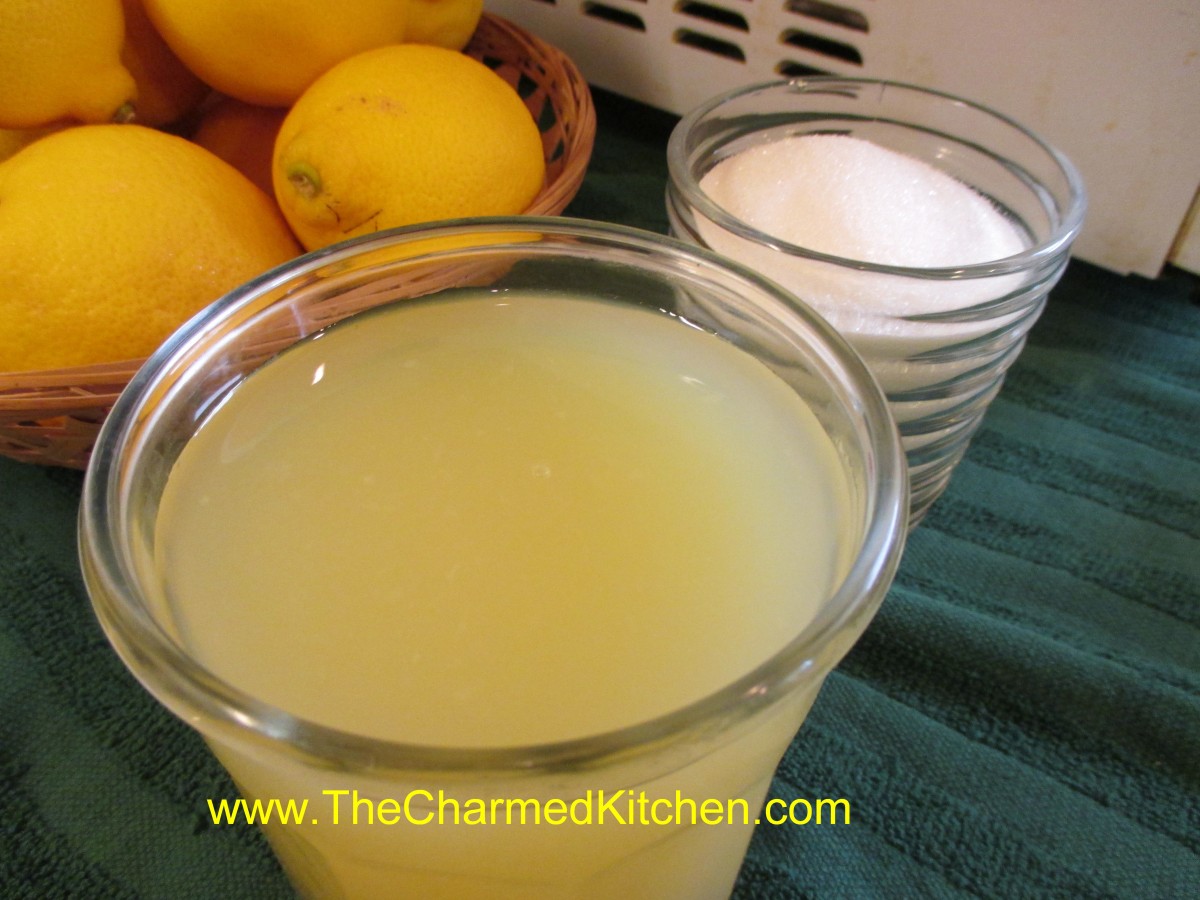
Lemonade will always be a favorite summertime drink for me. I make it plain or sometimes with berries added. I like the convenience of those frozen lemonade concentrates, but I prefer using fresh squeezed lemon juice. I started making my own concentrate a few years ago when I got a whole case of lemons from a friend. I juiced the lemons and froze much of the juice just plain. There was still a lot of juice. I decided I might as well try to make some lemonade concentrate, too. I went to the store and read the ingredients on several brands of frozen lemonade concentrate. High fructose corn syrup and concentrated lemon juice. Well I decided that wasn’t going to work for me so I did something radical. I stirred some sugar together with lemon juice until the sugar dissolved. There didn’t seem to be much point in adding water- that would defeat the purpose of it being a concentrate. Then I just froze the juice/sugar mixture.
Sometimes I freeze a whole batch together either in a plastic container or in a Ziploc bag. I also froze some of this lemonade mix in ice cube trays. That way once frozen I could pop the cubes into bags and just take out what I needed at the time. I’ll often add some lemon zest, too. Don’t toss all that zest, either. If you are going to be juicing a lot of lemon just for the juice, zest them first- and freeze or dry the zest for later use.
Well here is the recipe for my lemonade concentrate.
Homemade Lemonade Concentrate
1 1/3 c. lemon juice- fresh or bottled
1 c. sugar*
lemon zest, optional
Combine ingredients and stir until sugar is dissolved. Freeze until ready to use. Makes a little over 1 1/2 cups. To use: combine three parts water to one part concentrate.
* You can use honey instead of sugar- but only use 1/2 c. honey as it is much sweeter than sugar.


