Oyster Mushroom Marsala

Oyster Mushroom Marsala
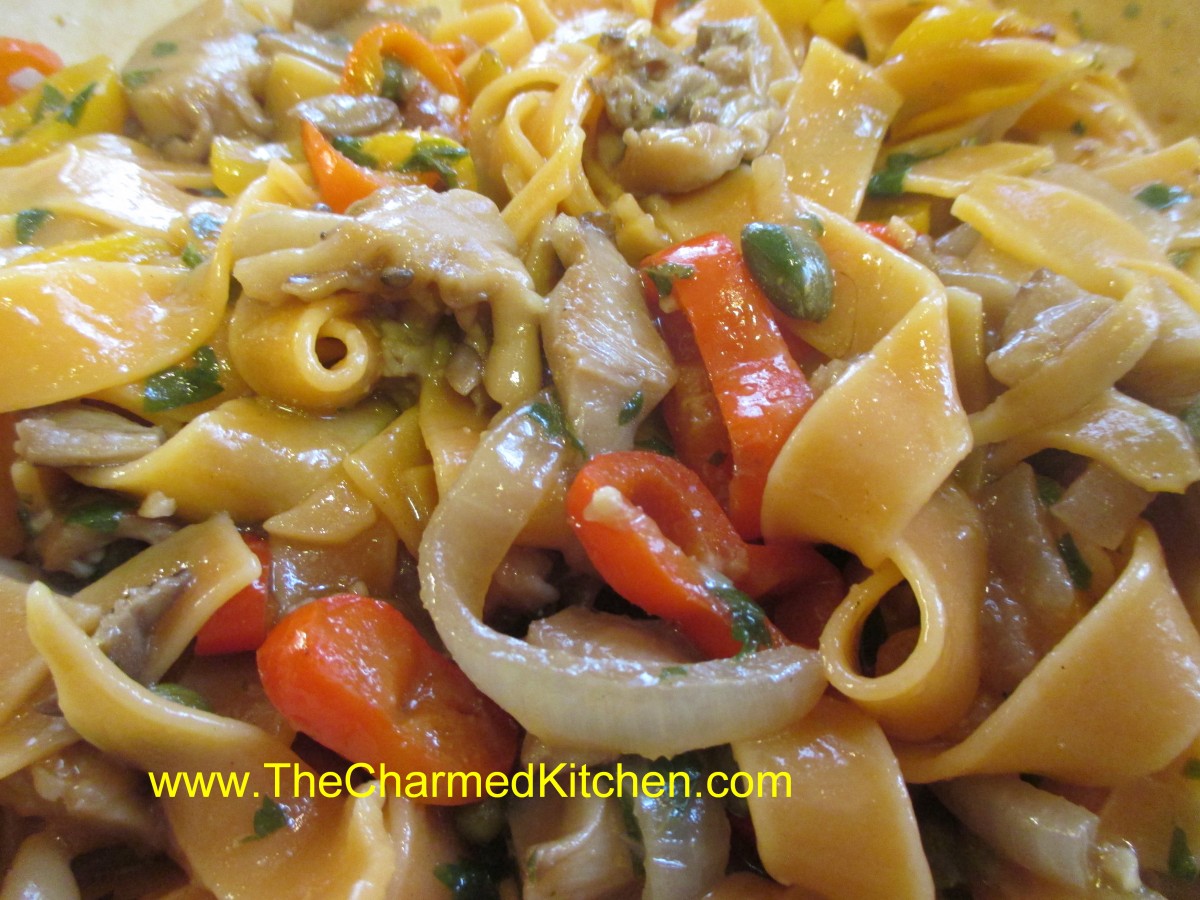
Sometimes the ingredients take you where you need to go. I had some oyster mushrooms I had gotten at a local farm market. I used some of them in an omelet a few days ago. I decided to use the rest of them in a pasta dish. The plan was for a red sauce, but as I started making the dish I tasted the mushrooms and decided to go in a another direction altogether. After the mushrooms were cooked with the onions and garlic they were so good already I didn’t want them in a red sauce at all. I am so pleased with what ended up happening. Here is the recipe.
Oyster Mushroom Marsala
2 T. oil – you could use some butter, too.
1 small onion, sliced
3 cloves minced garlic
4 oz. oyster mushrooms, washed and chopped coarsely
1 c. sliced sweet peppers – I had mini peppers so cut in rings
1 T. capers – maybe a little more
2 T. flour
1 c. stock- use what you like I used chicken, veggie or beef would be good, too
1/2 c. Marsala wine
1/2 c. chopped fresh parsely
salt and pepper to taste
hot pepper to taste
Hot cooked pasta- I used a tomato fettuccine – about 6 oz.
In skillet cook onion in oil until golden. Add garlic, mushrooms, peppers and capers and cook over medium heat until veggies are tender. Add the flour and toss to coat. Add stock, wine and parsley and bring to a simmer. Cook over medium-low heat for several minutes, or a bit longer. You want to cook it long enough to mellow out the flavor of the Marsala. Adjust seasonings and toss with hot pasta. Serves as is or add some Parmesan cheese. Serves 2-3.
Babka

Babka
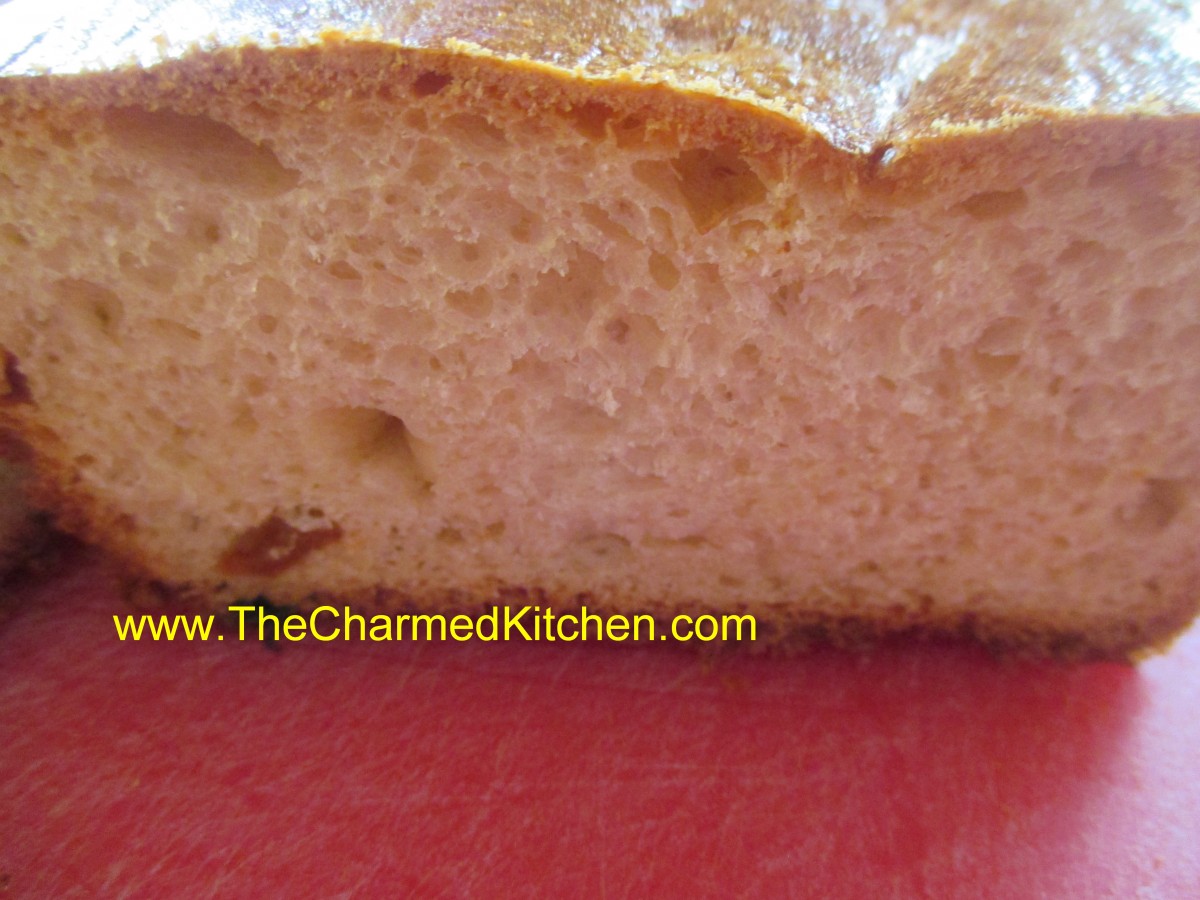
Babka is a different bread from many others that I make. For starters, the recipe makes 6 loaves of bread at once. Great for gift giving in those quantities. Babka also uses so much less flour than most of my bread recipes. Only 8 cups of flour for the 6 loaves. I often use close to 8 cups of flour for 2 loaves of other breads. The bread dough is really a batter- so sticky you have to oil up your hands to divide the dough into the bread pans. This very tiny amount of dough rises to fill 9×5-inch bread pans. The result is a bread that is very light with a crunchy exterior and tender interior. I can’t say where I got this recipe. I still have the original handwritten recipe, but it isn’t handwriting I recognize. I made it for a baking class the other night and people seemed to really like it. I hope you do, too.
Babka
3 packets active dry yeast
1 c. warm water
1 c. sugar
8 c. bread flour
1 t. salt
5 large eggs
1 stick butter
2 T. oil
Grated rinds of an orange and a lemon
2 c. warm milk
1 c. raisins
1 egg mixed with 2-t. milk
In bowl combine yeast, water, sugar, 1 c. flour, and salt. Allow to stand 10 minutes. Beat in eggs, butter, oil and grated rinds. Add remaining flour alternately with milk, beating a total of five minutes. Stir in raisins. Dust a large bowl with flour and put in dough. Cover and allow to rise until doubled, about 2 hours. Generously grease loaf pans. This recipe will fill 6 standard loaf pans – 9×5 – inch. Lightly oil hands and divide dough into portions, smoothing tops as you place dough in pans. Cover and allow dough to rise until more than doubled, about 1 hour. Brush loaves with egg and milk mixture. Bake in a preheated 325 degree oven for 1 1/2 hours or until bread is well browned and sounds hollow inside when tapped. Mine is normally done at about an hour and 15 minutes. Cool a few minutes in pans before removing to racks to cool. Babka in great eaten warm from the oven.
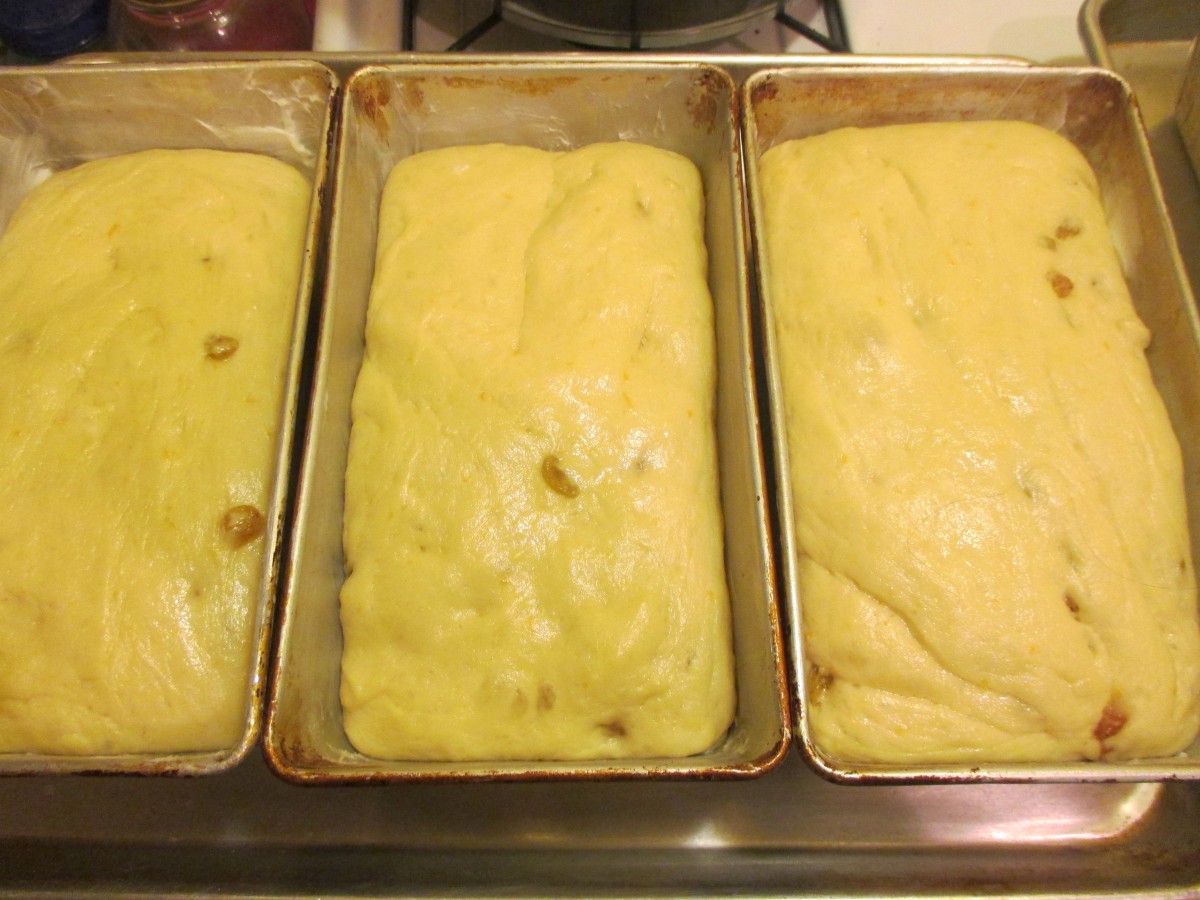
Babka dough rising
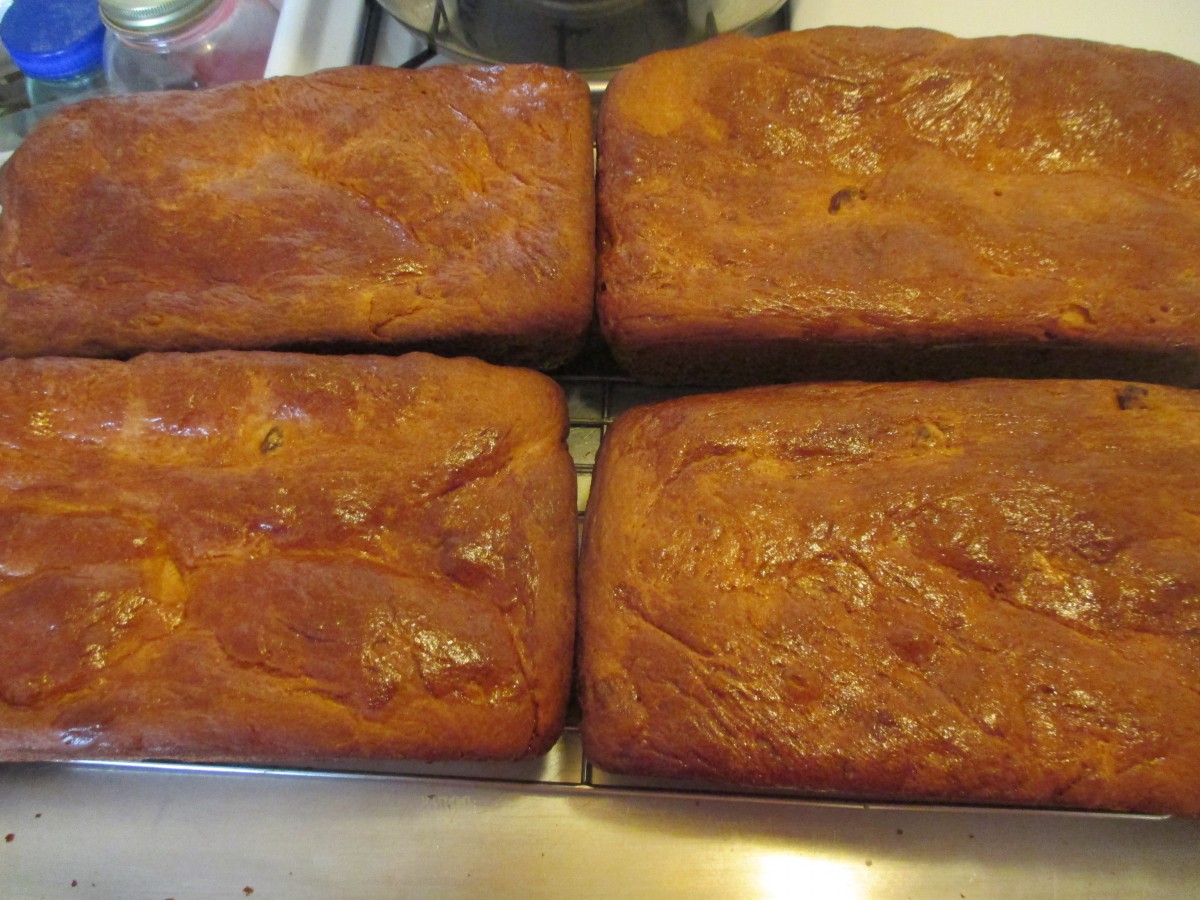
Fresh from the oven
Honey Bunny

Honey Bunny
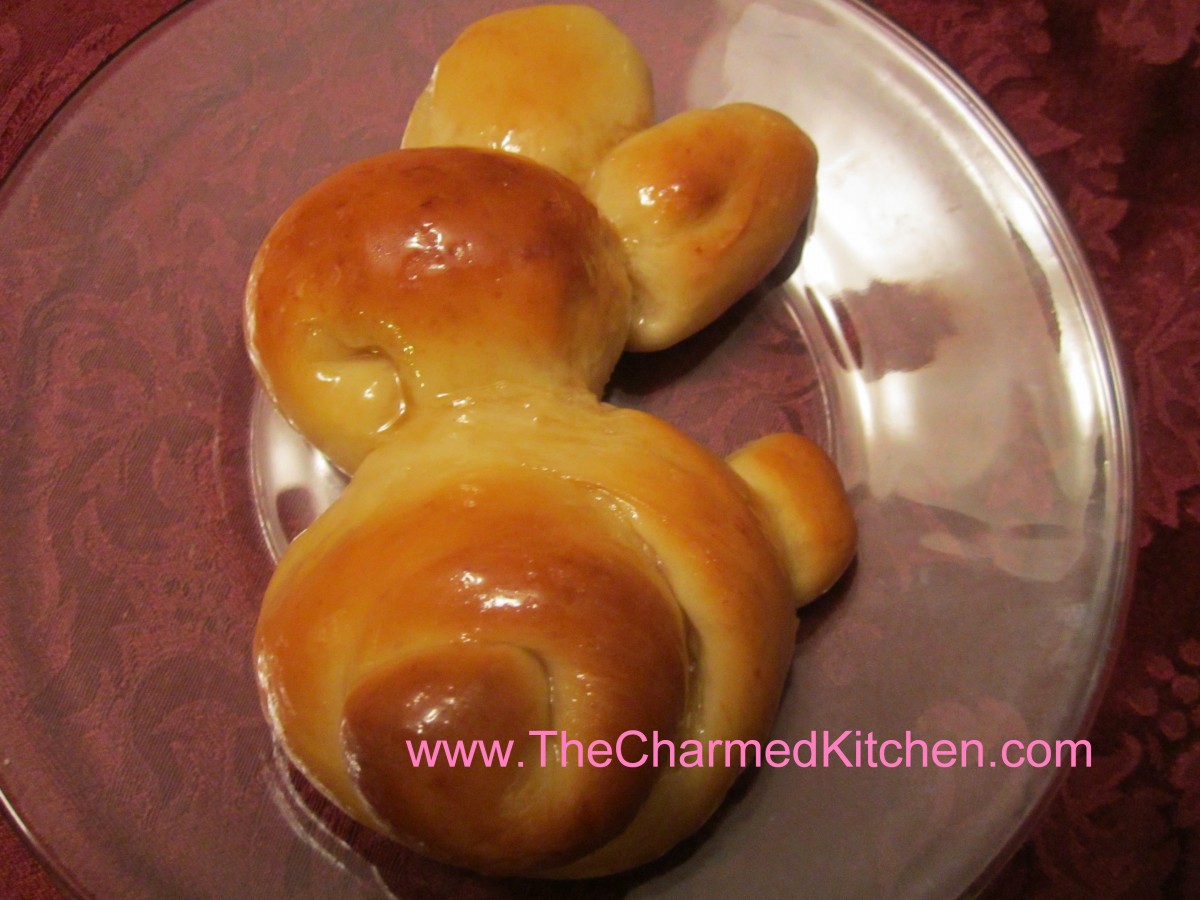
These sweet rolls are sure to be a hit if you make them for Easter. We made them in cooking class last night and everyone enjoyed them. The dough is sweetened with honey and bunnies are brushed with a honey/butter glaze while warm from the oven. I make them every year. The dough is chilled before rolling so you can mix up a batch in the evening- put it in the fridge- then roll them out the next day. Nice when time is an issue.
Honey Bunnies
4-5 c. flour
2 packages yeast
1 t. salt
2/3 c. evaporated milk
½ c. each water, honey and butter
2 eggs
Raisins, optional
Honey glaze
1/2 c. honey and 1/4 c. butter heated together until warm.
In bowl combine 1 c. flour, yeast and salt. Heat together milk, water, honey and butter until very warm and beat into the flour mixture. Beat 2 minutes on high speed. Beat in 1 cup flour and eggs. Beat 2 more minutes, until batter thickens. Stir in enough flour to make a stiff batter and chill, covered with plastic wrap for 2-24 hours.
Place dough on lightly floured surface and divide into 15 equal pieces. Roll each into a 20- inch rope. Cut rope into a 12- inch piece, a 5-inch piece and 3 one-inch pieces. Coil 12 inch piece to form body, five inch piece to form head and inch pieces to form ears and tail. Place on greased cookie sheet and let rise, covered until doubled, about 25 minutes. Bake in a 375-degree oven for 12-15 minutes. Remove to cooling rack and brush with honey glaze. Place raisins on each to make eyes, if you like. Brush with additional glaze before serving, if desired. Makes 15 bunnies.
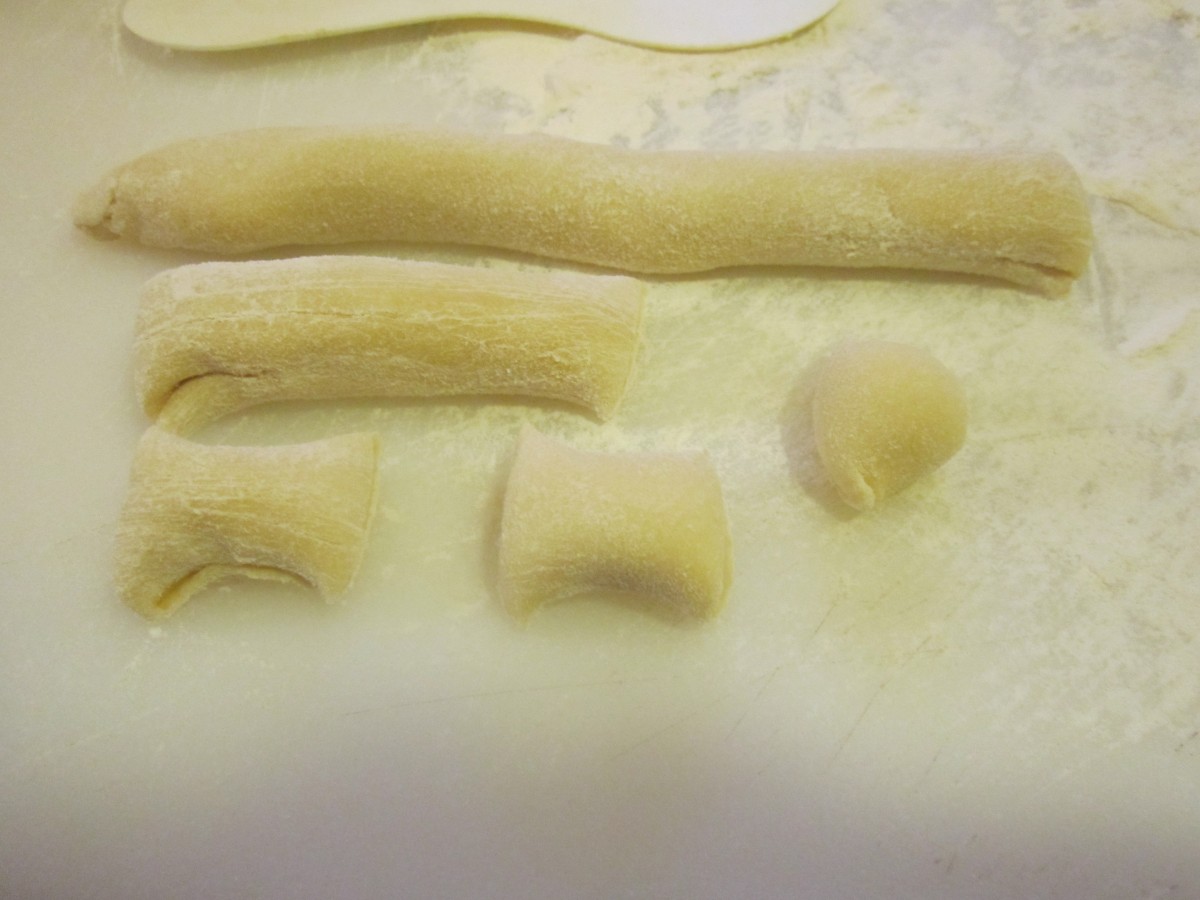
Dough is rolled out and cut into pieces for each of the bunny parts
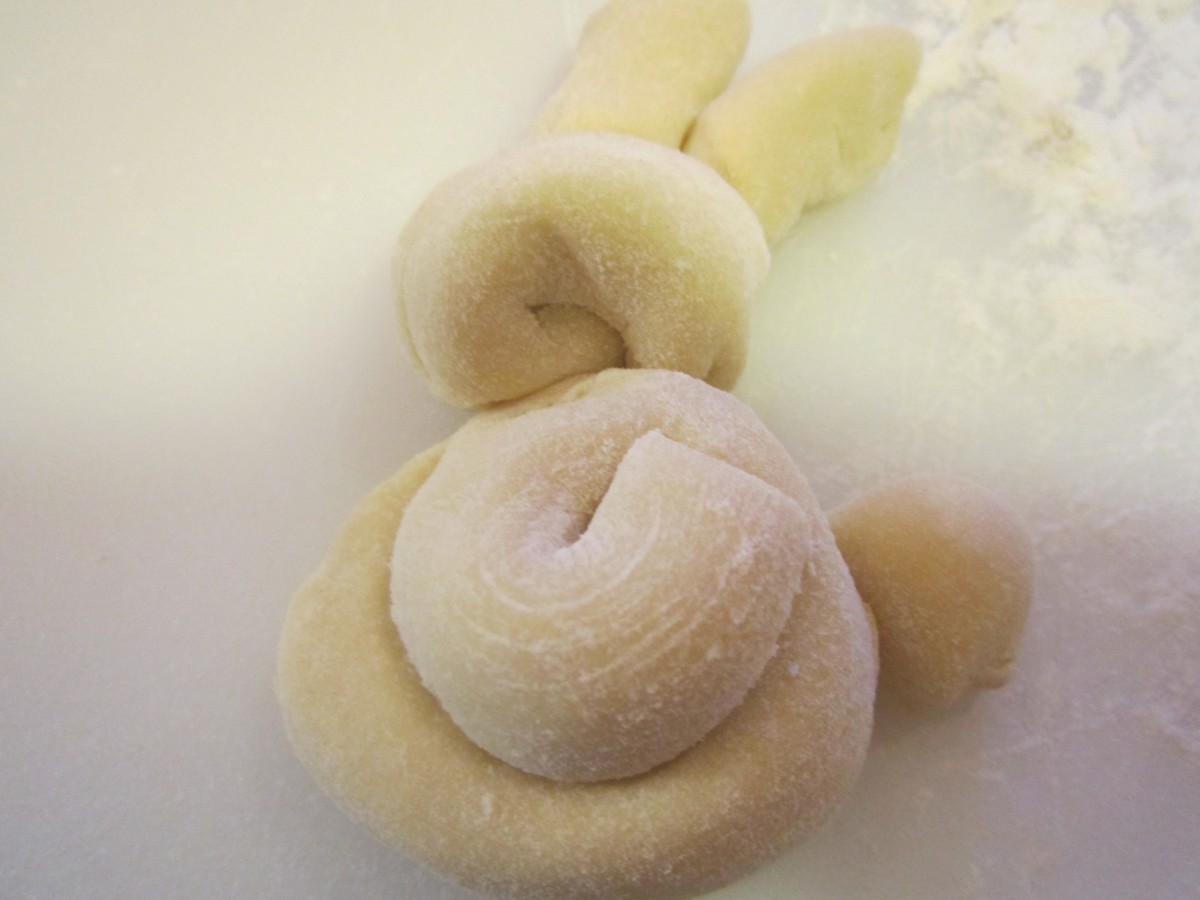
Unbaked bunny
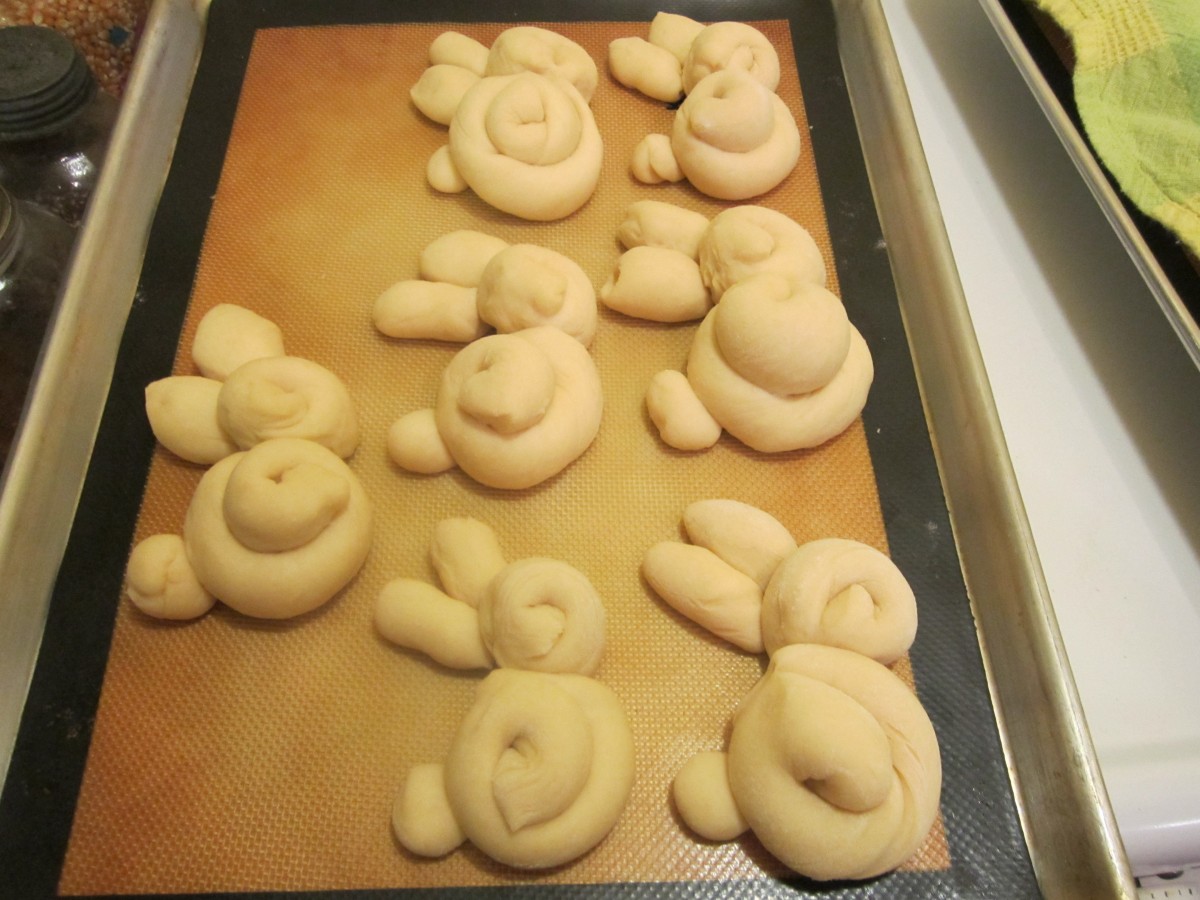
A colony of rabbits!!
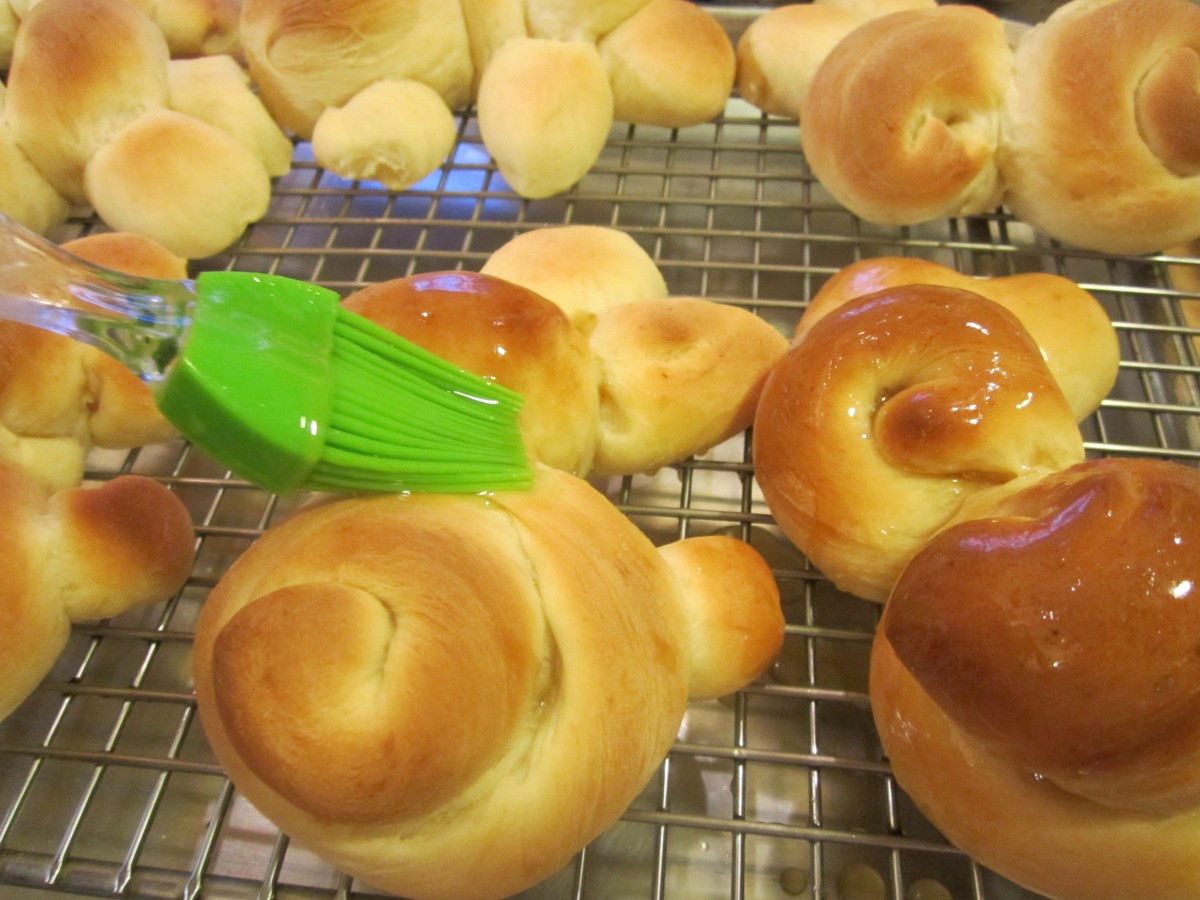
Brushing baked bunnies with honey/butter glaze
Easter Egg Biscotti


Easter Egg Biscotti
I get so many requests for this recipe I decided to post it again. This is a treat from my childhood. Rose Dieglio was the mother of my best friend, Debbi. Rose made them every year and I loved them. Years later she was kind enough to share her recipe with me. I always make a bunch to hand out to friends and family. It is a tradition I enjoy very much.
Easter Egg Biscotti
1 c. shortening or butter- I use butter*
1 ½ c. sugar
4 eggs
5 t. baking powder
1 t. salt
2 t. vanilla
1 c. milk
6 c. flour
Hard cooked eggs, plain or dyed
Powdered sugar glaze
Preheat oven to 350 degrees. Cream together butter or shortening and sugar. Beat in eggs. Add next 4 ingredients and blend until smooth. Stir in flour 2 cups at a time. Dough should be pliable. If dough is too sticky add a little more flour. Take a piece of dough about the size of a large egg and place on a greased baking sheet. Indent middle slightly and then place an egg in the center, pressing down slightly. It should look like a nest. Continue with remaining dough allowing about 2-3 inches in between as they grow. You can fit 6-8 on a large baking sheet. Bake 20 –25 minutes or until browned on the bottom. Cool on wire rack before drizzling with frosting. Makes 24-30. Store in fridge.
* If using butter- chill dough a couple of hours before baking.
Sugar glaze
2 c. powdered sugar
2-3 T. milk or orange juice
1 t. vanilla
Food coloring, if desired
Mix together until smooth and of drizzling consistency.
Oyster Mushroom Omelet

Oyster Mushroom Omelet
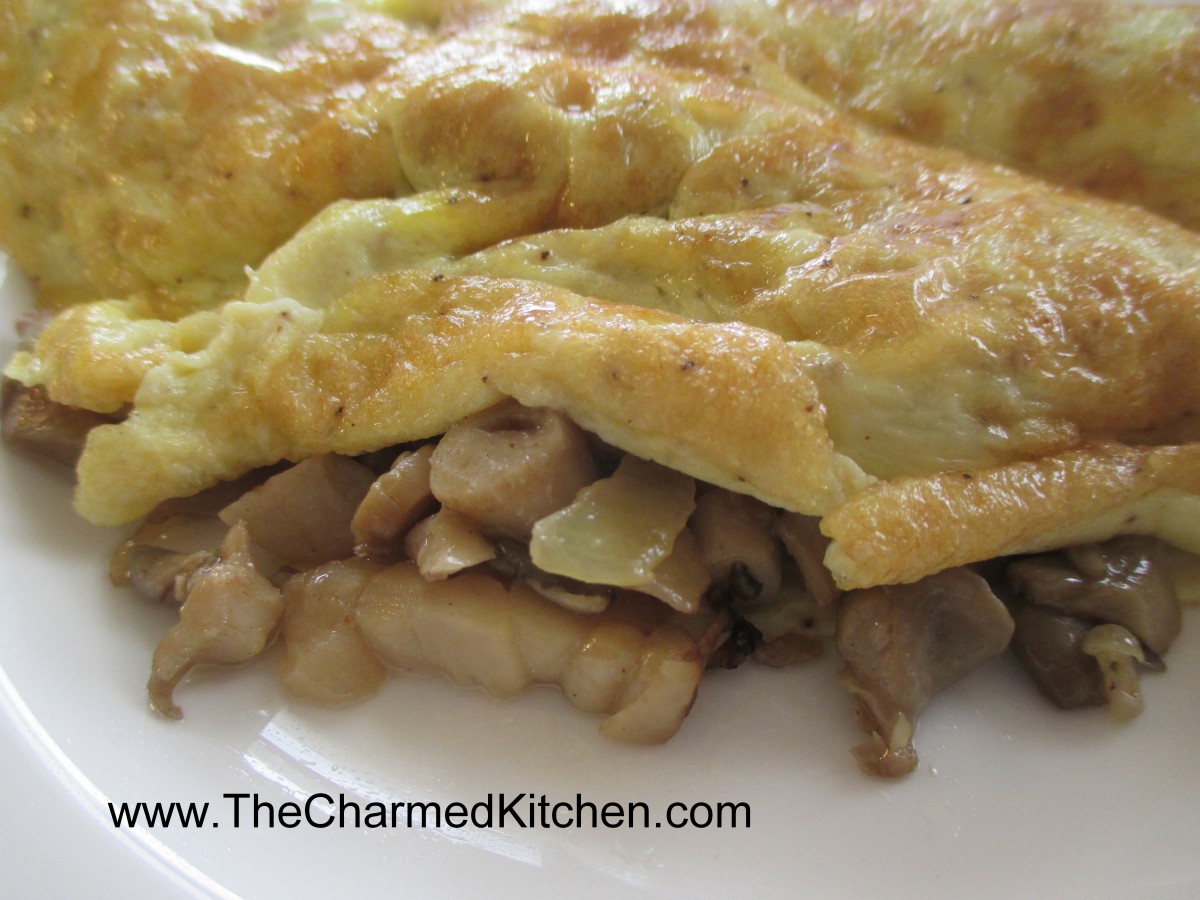
I was at a local farm market over the weekend and picked up oyster mushrooms. These were locally grown and very fresh. Oyster mushrooms have a wonderful rich flavor and almost meat-like texture. I decided to use some of them in my breakfast this morning by making an omelet. I had planned on adding cheese to it, but decided the mushrooms were all I needed. I normally just have oat bran for breakfast. This was SO much better.
Oyster Mushroom Omelet
1 T. oil
1 T. butter
1 small onion, sliced
4 oz. oyster mushrooms, washed and chopped
2 eggs
1 T. water
salt, pepper and hot sauce to taste
Heat the oil and butter in skillet and cook onion until golden. Add mushrooms and cook over medium heat until mushrooms are a little golden brown. Don’t rush this part. The mushrooms get better in flavor and texture as they cook. Turn heat down a little if they are getting brown too quickly. Season with salt and pepper. Remove from pan and set aside. Return pan to stove and put heat on medium high. Beat eggs with water, salt, pepper and hot sauce to taste. Pour eggs in to pan. As eggs start to cook use a spatula to lift eggs, while tipping pan to allow uncooked eggs to reach bottom of pan. When eggs are mostly cooked add mushroom mixture to one side of the eggs. Use spatula to fold other half of the eggs over. Cook a few more minutes. Flip onto plate to serve.
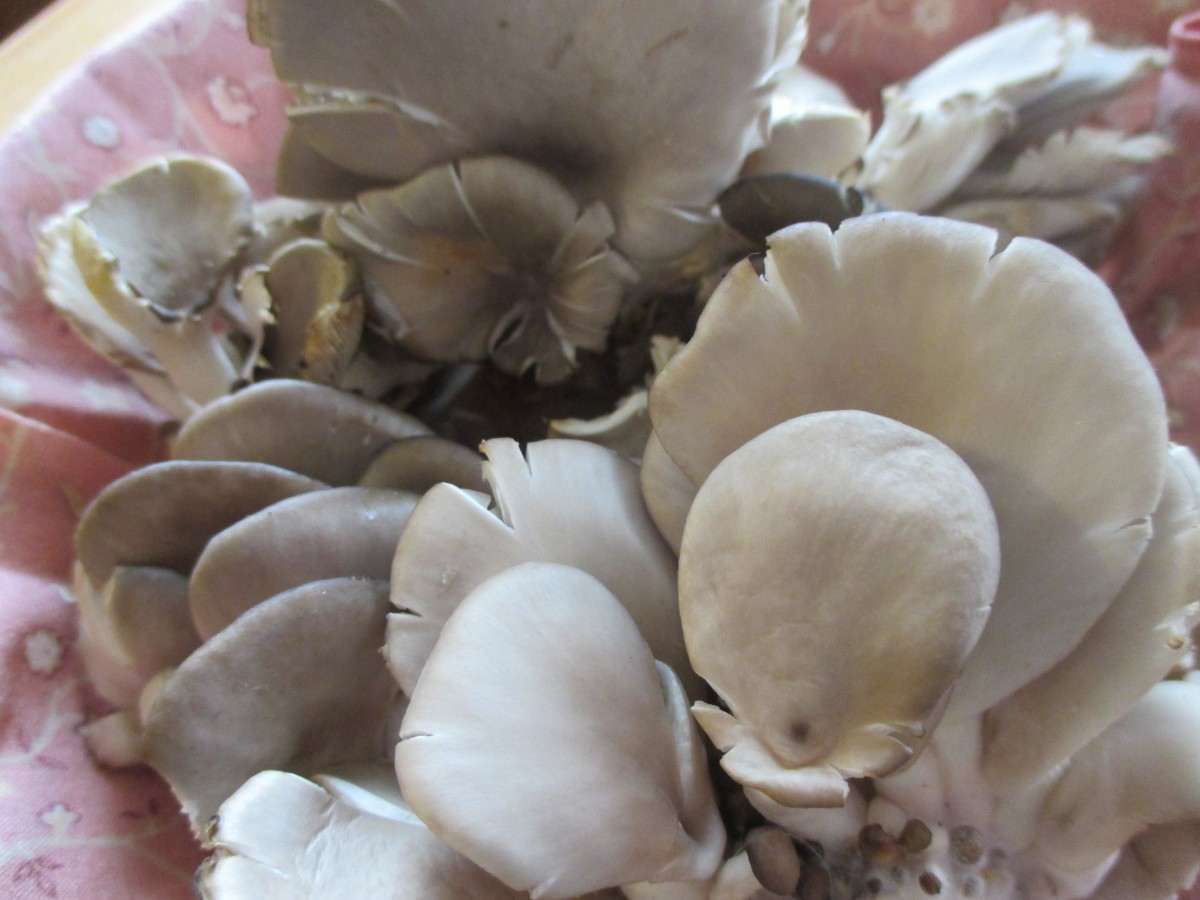
Oyster Mushrooms
Spiced Blackberry Muffins

Spiced Blackberry Muffin
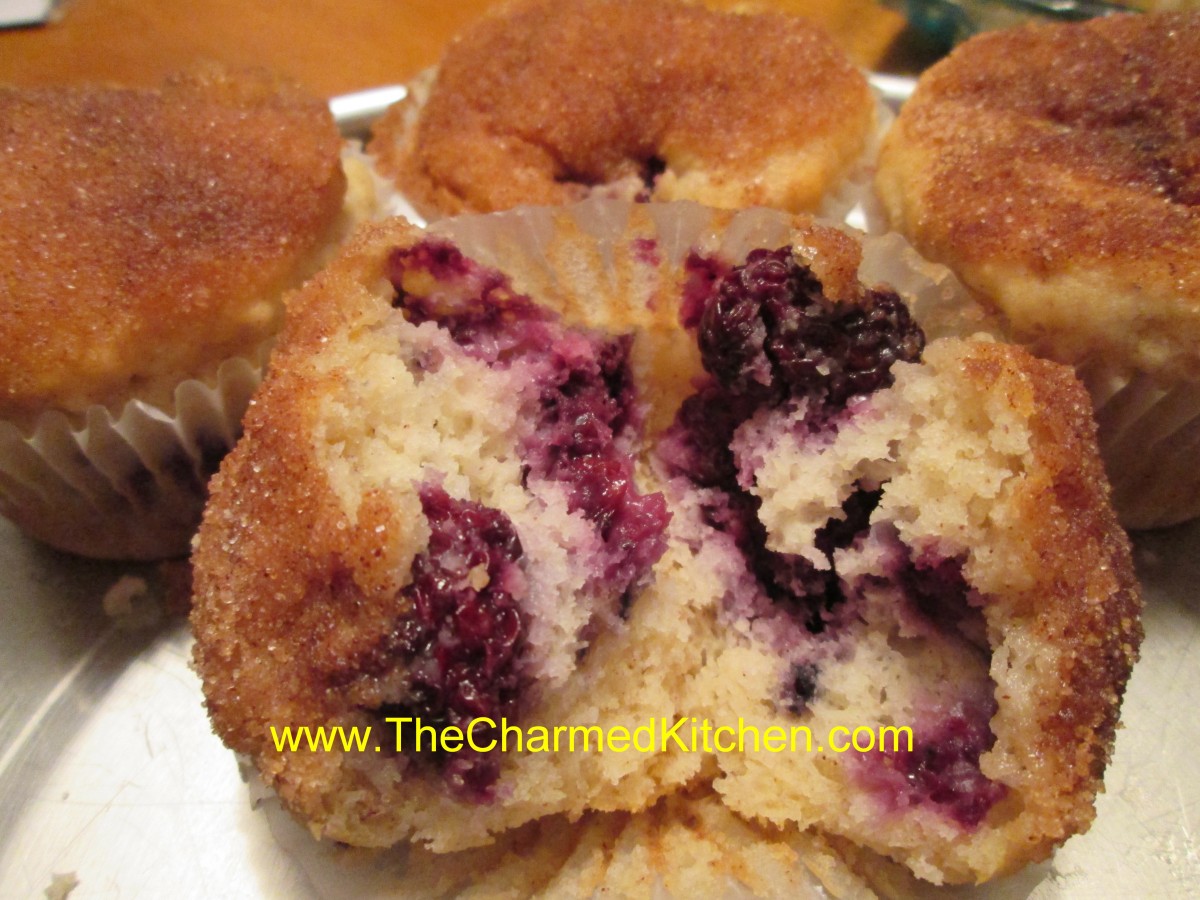
Sometimes little things can just improve your day. It might be starting the day with a mug of raspberry tea and a warm blackberry muffin, like I did today. I used a recipe I had made before, but decided to add some spices to the batter in the form of cinnamon and nutmeg. Dipped the tops of the warm muffins in melted butter and a spiced sugar mixture to finish them off. So good. So very, very good.
Spiced Blackberry Muffins
1 c. milk
1 egg
¼ c. oil
2 c. flour
1/3 c. sugar
1 T. Baking powder
¾ t. salt
½ t. each cinnamon and nutmeg
1 c. blackberries, I used fresh but frozen would work, too.
Topping:
1/2 c. sugar
1 t. each cinnamon and nutmeg
4 T. butter, melted
Beat together milk, egg and oil. Combine dry ingredients and add to milk mixture, stirring to just moisten flour. Fold in blackberries. Fill 12 paper lined muffin cups to 3/4 full. Bake in preheated 400-degree oven for 20 minutes or until golden brown. Combine sugar and spices in a small bowl. Place melted butter in another bowl. When muffins are removed from the oven carefully dip the top of a muffin in the melted butter and then in the spiced sugar. If muffins are too hot to hold wait a few minutes before dipping. Repeat with remaining muffins. Serve warm. Makes 12.
Secret Ingredient Clam Chowder


Clam and Tripe Chowder
There is an ingredient in my clam chowder that I think will surprise you. It is in there because of my Uncle John. He was my Mother’s older brother and a real smart guy. One day he and my Mom were talking about clam chowder. My Mom had made a big pot of it. She was on a tight budget and was saying that she wished she could afford to put in a lot more clams. She didn’t use canned clams- she bought fresh ones and they cost a lot of money. She also made a really good clam chowder. My uncle wondered if she could add tripe to her chowder. He said that the texture was sort of like clams. Tripe didn’t have a strong flavor on its own and surely it would absorb the flavor of the clams. He said he thought they could put them in and no one would ever know. My mother thought about it and agreed, but said the tripe, normally cut in strips, would not look like clams. She then figured out that if she put the tripe through her meat grinder on coarse the tripe would look a lot more like clams and might just work. She was pretty smart, too. So the plan was hatched. The next time my Mom made clam chowder she got tripe, ground it and cooked it until tender. She then added it to her clam chowder and invited family over to try it. Everybody loved the chowder and a couple of people even commented on how many clams were in it. So there it is – the story of why I put tripe in my clam chowder. Unlike my Mother I use canned clams. And unlike her and my uncle, I do tell people what is in it, before they eat it.
Clam and Tripe Chowder
1 lb. tripe
oil
2 large onions, chopped
8 cups water or stock
2-3 cans clams, undrained
2-3 c. peeled and cubed potatoes – about 3-4 potatoes
1 (12 oz.) can evaporated milk- or 1 1/2 cups half and half or heavy cream
2 T. flour, optional
1/2 c. chopped fresh parsley
salt, pepper and hot pepper sauce to taste
When I bought the tripe at the store the package said it had been scalded. Not sure that matters but I figured I’d mention it. I took the tripe and ground it in my meat grinder. If you don’t have a meat grinder, you can cut the tripe up a bit and chop it up in a food processor. Pulse on and off until it is chopped up to the size you want. In soup pot heat the oil and cook the onion until tender. Add the tripe and the water or stock. Simmer, covered, until the tripe is tender, about 90 minutes. Some of the water cooked off, but that was fine with me. Add the clams and their liquid, season to taste and allow to simmer another 30 minutes or so. Add the potatoes and cook, covered, until the potatoes are tender, about 15 minutes. At this point you can add just the milk or you can add the milk and the flour- depending on how thick you like your chowder. If you are thickening it- place some of the milk in a jar with a tight fitting lid along with the flour. Put the lid on and shake well until flour is mixed into the milk and there are no lumps. Add to the chowder with the rest of the milk and the parsley. Bring to a gentle simmer and cook about 5-10 minutes longer. Stir from time to time so the chowder won’t burn. Adjust seasonings and serve. Serves 6-8.
Why I Love Parsley

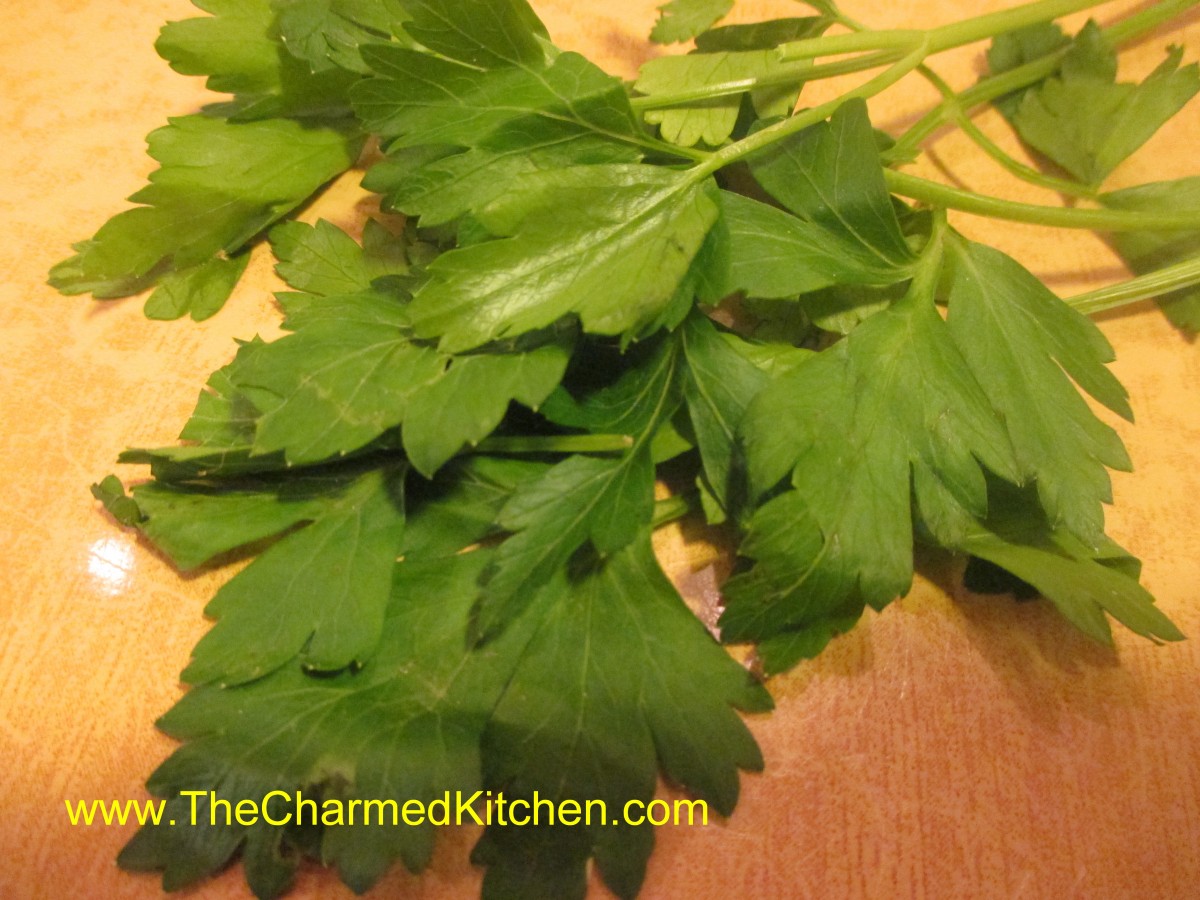
Parsley
Parsley is one of those herbs everyone seems comfortable using- and with good reason. The clean, green flavor goes well with so many foods. Even people who rarely cook with herbs seem OK using parsley. Because it is used so commonly I think it often gets overlooked for just how great an herb it is. Parsley is loaded with Vitamin C and chlorophyll for starters. It is also easy to grow.
While thought of as more of a garnish by some, the flavor can often brighten up a dish. Parsley goes well with meats, veggies, pasta, rice and more. I sometimes use it as a base for pesto. It is also essential to add when making soup stocks.
Since the leaves are so tender- you don’t need to cook it to use it. In fact, you should be careful not to overcook it in dishes. Adding chopped parsley right at the end of cooking, most times, is best. It will add a fresh flavor and a burst of green color to your food.
There are three main types of parsley- the flat leaved or Italian parsley. This is the best one for cooking. It has so much flavor. There is also the curly leaved type. This one is cute and often best suited for garnish. Tasty, but not nearly as much flavor as its flat leafed cousin. The third type is root parsley. This one produces a pretty big tap root that is great for using in soup stocks. The plants are dug up and roots are used fresh- or frozen for later use.
Lets look at growing parsley for a minute. Parsley likes a sunny location, but will tolerate some shade and does very well in pots and hanging baskets. Its fern- like leaves can be planted among flowers and look quite nice.
Parsley is a biennial. That means it produces only leaves the first year. The second year it makes flowers and seeds, then dies. For my part of the world that means I get a harvest of parsley leaves all summer long. Right up until frost I am harvesting. When Spring arrives it sprouts early, with beautiful leaves. Soon after it will produce flowers and seeds. Since I know the plant is going to die anyway I harvest all the leaves that second year – as soon as they start emerging – and freeze and dehydrate them for later use. This gives me a great harvest early in the year.
Parsley holds most of its flavor when dried and freezes great, too. In milder climates, parsley may defy the odds and produce for a third year before making seeds.
Don’t discard those stems, either. While the leaves and small stems are chopped up for fresh eating, the stems can be used to flavor stocks. I often freeze them- then add to the pot when making a stock. Too tough for eating, they are still full of flavor and are getting strained out anyway.
The tradition of using a sprig of parsley to garnish a plate was not just to decorate the plate. It was placed there to be nibbled as a way to freshen your breath after dinner.
So don’t dismiss parsley as just a garnish. It really is a great, simple and clean tasting herb that can brighten up most any dish it is added to.
Stir Fry Soup

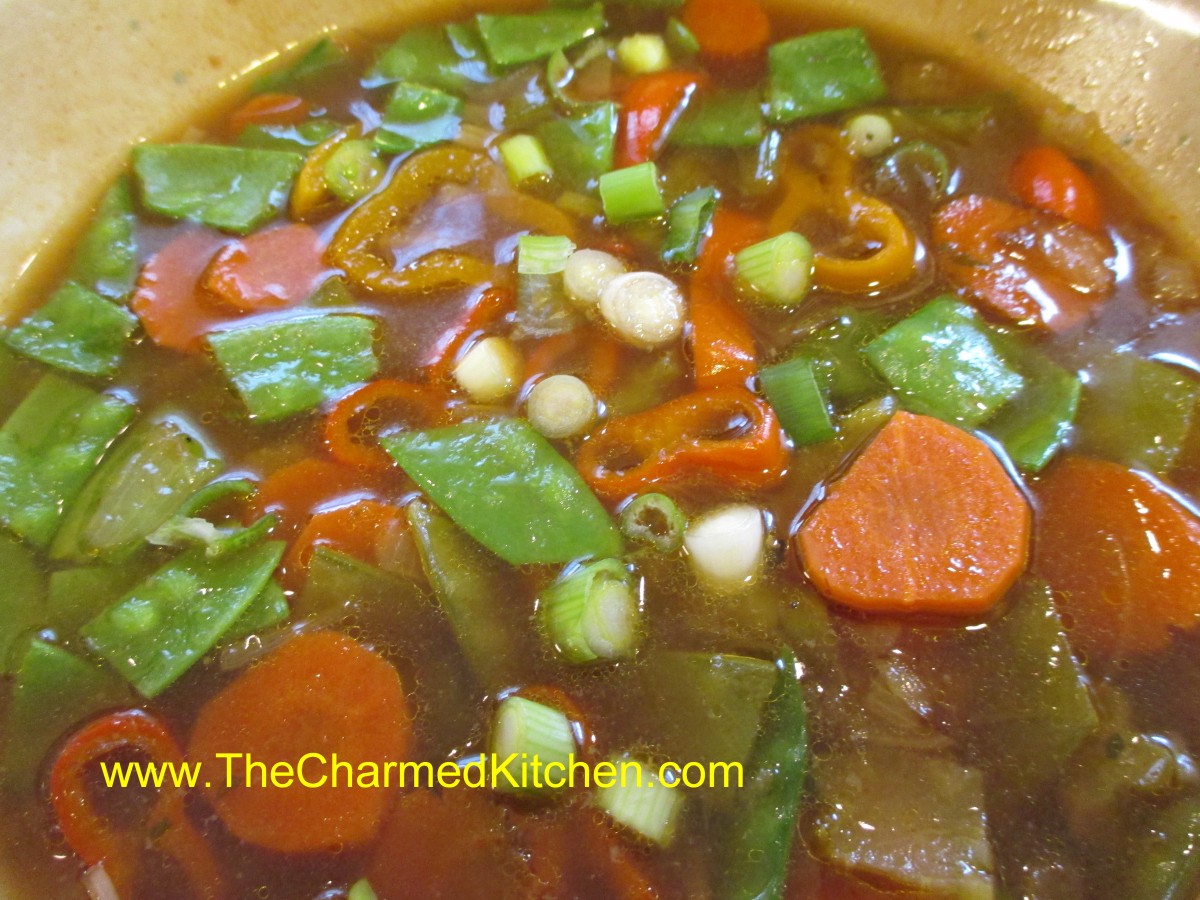
Stir Fry Soup
I wanted vegetable soup the other day and as I looked at the veggies on hand- most of them were veggies I would normally use in a stir fry. I ended up making a stir fry with the veggies then adding stock just before serving to turn it into a soup. I don’t know why I never thought to do this before. It was really tasty. The veggies were still crisp, but by stir frying them first they had the wonderful flavor of being sauteed. I finished the soup off with a drizzle of sesame oil and some chopped green onions.
Stir Fry Soup
2 T. oil
1 large onion, chopped
1 carrot, peeled and sliced
8 oz. pea pods, trimmed and chopped
4 mini sweet peppers, seeded and sliced
4 c. stock- I used chicken- but use what you like
soy sauce to taste
hot pepper sauce to taste
sesame oil
1/4 c. chopped green onions
In soup pot or wok stir fry the onion in oil until browned. Add carrots and stir fry a few minutes longer. Add pea pods and peppers and continue to stir fry until tender-crisp. Add stock and bring to a boil. Adjust seasonings and add sesame oil and green onions right before serving. Serves 4.
Brussels Sprouts Truffles

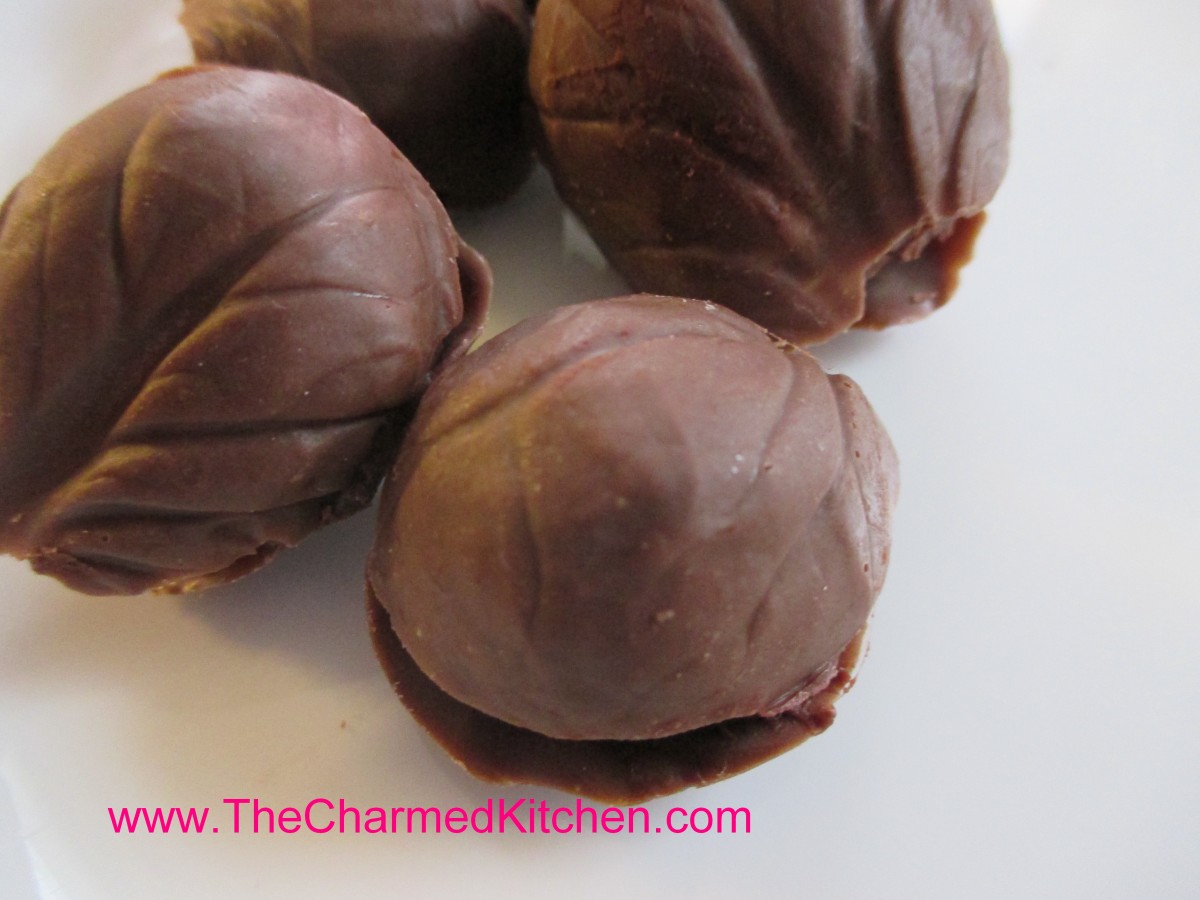
Brussels Sprouts Truffles
I have been thinking of making these for some time now. I think these truffles would be a charming thing to serve for garden parties or as a gift for any of the gardeners in your life. Nice for the chocolate lovers, too. Just the right size for a perfect bite of rich truffle. I made my truffle recipe and put it in the fridge to firm up. The recipe follows. Then I took some of the larger outer leaves off Brussels sprouts. I trimmed the bottoms off to make peeling of the leaves easier. You’ll need two leaves for each truffle so be sure to have plenty. I had about 60. I wiped the leaves clean and then melted several ounces of chocolate. I used a pastry brush to brush the insides of the Brussels sprout leaves with the melted chocolate. Once the chocolate had hardened I gently peeled off the leaves and discarded them. Since the leaves were different sizes I rolled out portions of the truffles that would fit the size of the leaves I was using. I pressed the truffle mixture in one leaf and then placed another leaf, of similar size, over the filling. Normally I would roll the truffles in cocoa powder- but in this case, I didn’t. I wanted the truffles to stick to the leaves and leaving them plain seemed like the best way to do that. The end result was very cute. Store in fridge until ready to serve.
Chocolate Truffles
1/3 c. Whipping cream
6 T. butter, cut into small pieces
2 c. chocolate chips- or 12 oz. bittersweet chocolate, grated or chopped coarsely
Unsweetened cocoa
Heat cream to boiling in small saucepan. Stir in butter and cook until melted. Remove from heat and stir in chocolate until melted. Place in shallow bowl and chill until firm, at least a couple of hours. Roll mixture into 1-inch balls and roll in cocoa. Sometimes the mixture is quite firm and hard to roll into perfectly smooth balls. You can roll them out as smooth as you can, roll in cocoa and then roll again to smooth out. You might want to give them another roll in the cocoa after that. Makes about 30.
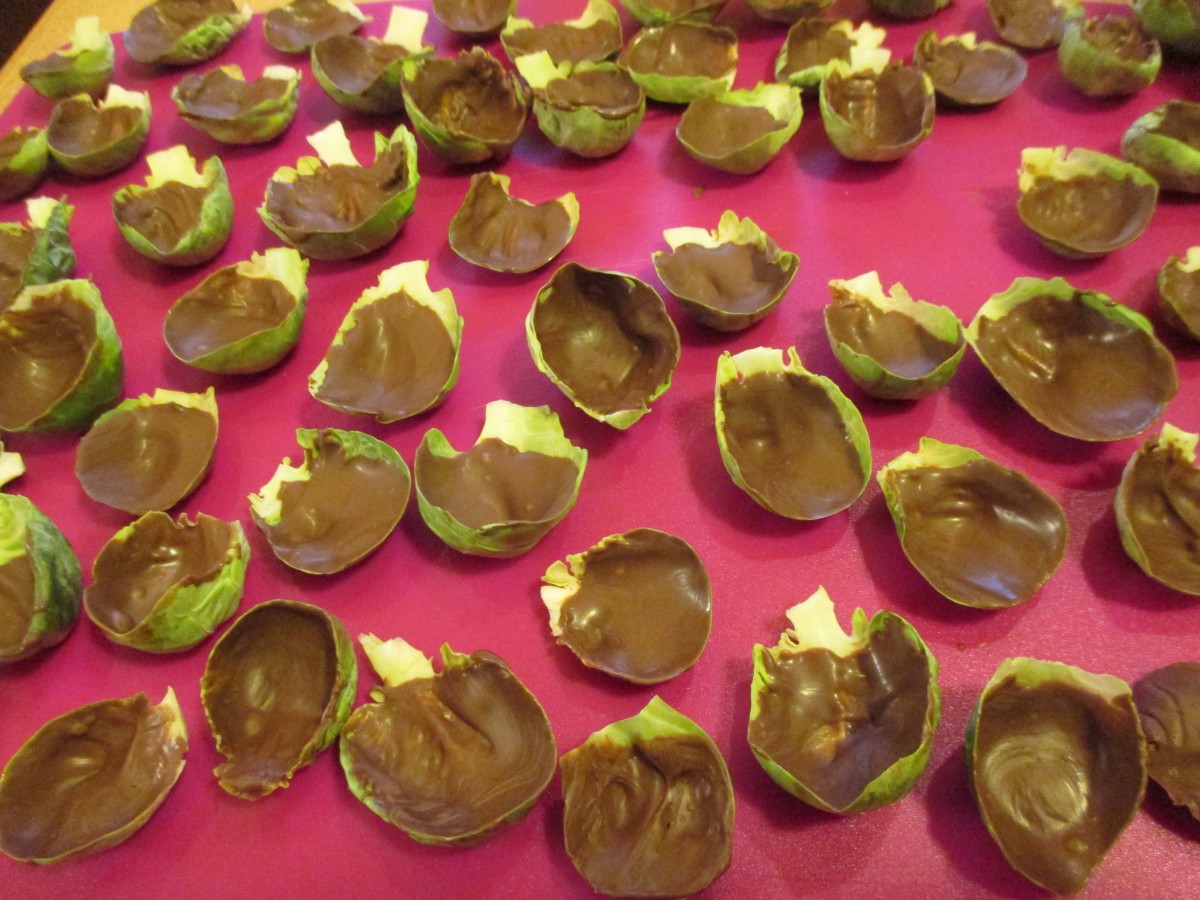
Leaves painted with chocolate
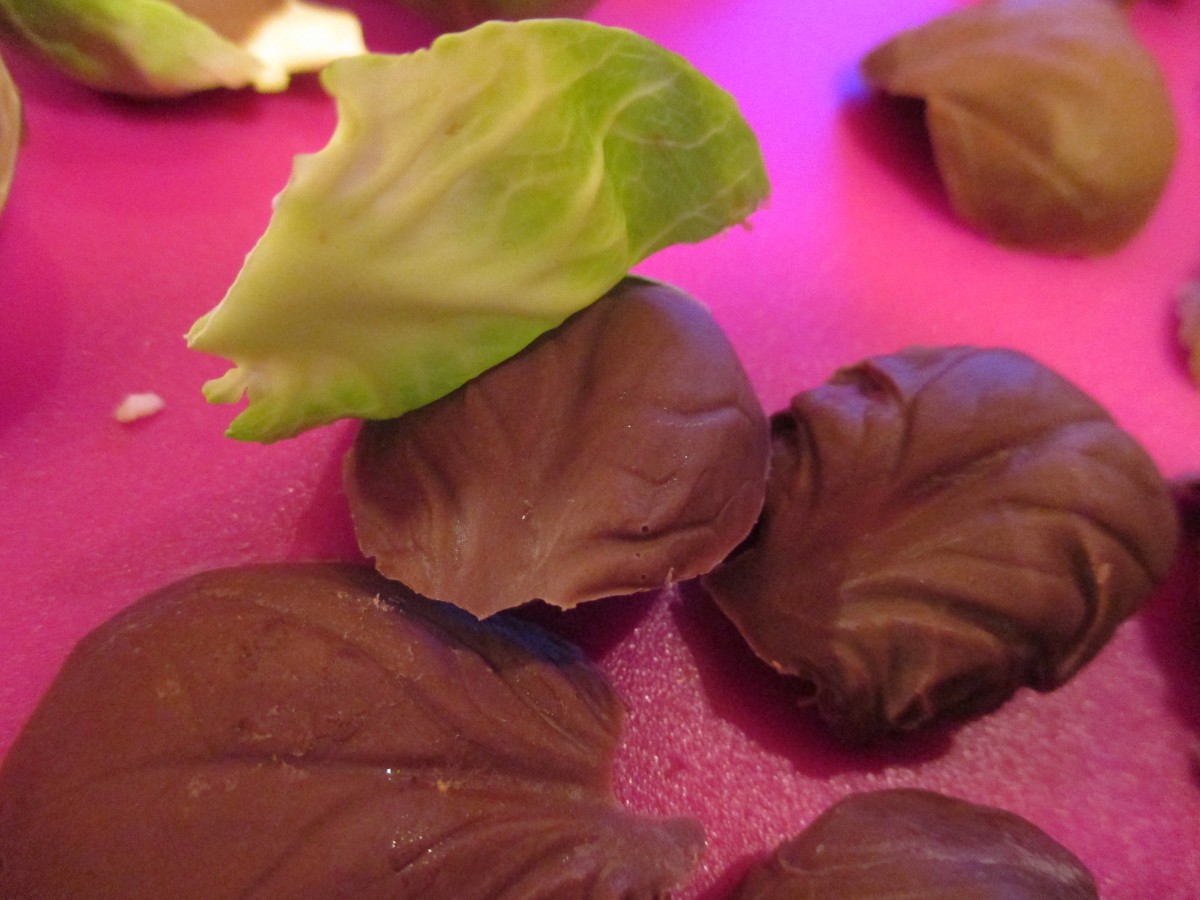
Peel leaves off gently once chocolate has hardened.
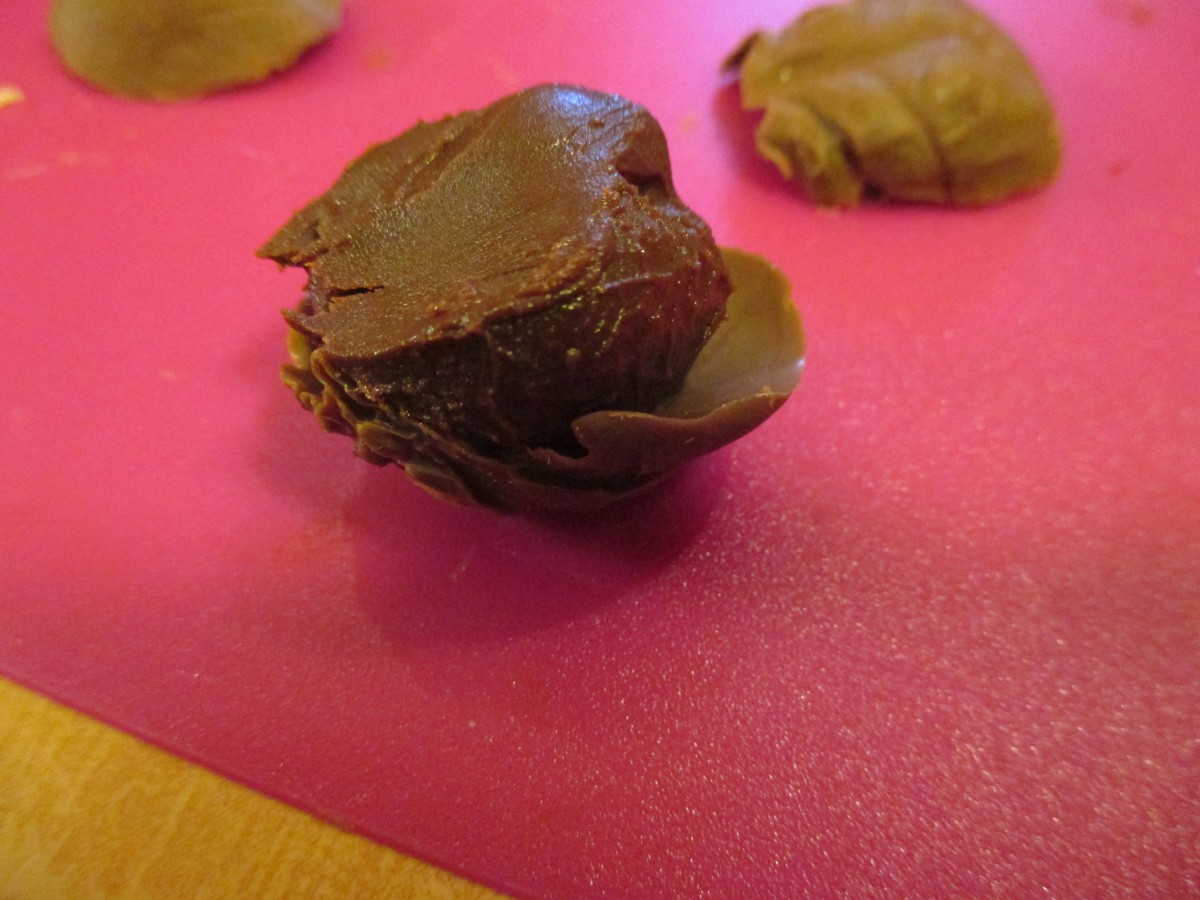
Place truffle filling in a chocolate “leaf” and top with another leaf.


