Fresh Strawberry Crepes


Strawberry Crepes
With what looks to be a great strawberry season this year I am looking forward to a lot of cooking with and just eating of fresh strawberries. One of my favorite dishes is Strawberry Crepes. The crepes take a little time but the end result is so worth the effort. These can be served as a dessert, but also for brunch or breakfast.
Strawberry Crepes
1 recipe dessert crepe batter- see below
2 lbs.fresh strawberries, washed, hulled and sliced
sugar to taste- start with 1/2 cup, then adjust to your taste
1 t. vanilla
1 t. grated orange peel
powdered sugar
whipped cream, optional
Make the crepe batter (recipe below) and cook the crepes. Toss the berries with the sugar, vanilla and orange peel. Place a crepe on your work surface and spoon berries down the middle. Fold up the sides of the crepe and move to serving dish. Repeat with remaining ingredients until you run out of something. I tend to put a lot of the berries in each crepe so I run out of berries and have left over crepes. How much fruit you put in each one is completely up to you and your taste. Dust filled crepes with powdered sugar and top with extra berries- if you have any left. You can also add some whipped cream on the top. I list it as optional- but I really think you’re going to want that whipped cream. Makes about 12 crepes, give or take.
Dessert Crepes
1 c. flour
4 eggs
1 1/2 c. milk
1 T. sugar
2-T. orange-flavored liqueur or orange juice concentrate
1/4 c. butter, melted and cooled
Mix all ingredients in blender (except butter) until smooth, scraping sides often. Add butter and blend well. Let stand for 30 minutes before using, or batter can be refrigerated, covered, over night. Beat again, just before using.Heat 6 or 7 inch skillet. Brush with butter or oil and pour in about 2 teaspoons of batter, tipping pan to cover bottom of pan completely with batter. Cook until edges start to brown, turn over and cook until lightly browned (about 2 minutes per side.) Crepes can be made day ahead or even placed between sheets of waxed paper and frozen. Makes 20.
Hearts and Flowers Pickles

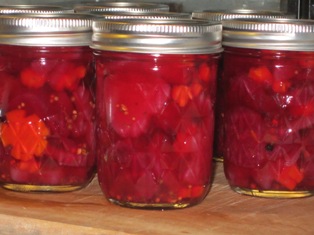
Hearts and Flowers Pickles
I made these a couple of years ago and someone recently asked for the recipe. I had a lot of beets and turnips and wanted to do a pickled dish with them. With advice from a friend I ended up cutting slices of the vegetables into little hearts and flowers shapes. I added some carrots to the mix, too. The end result was quite pretty. A bit of work, but it dressed up some simple ingredients and made them really special. I eventually decided to slice the turnips and beets and cut them out with little cookie cutters to make Hearts and Flowers pickles. Heart-shaped beets and little flower turnips. Added carrot flowers to round it out. Just peeled the carrots and ran a knife tip along them lengthwise. When sliced, the carrots looked like flowers, too. Of course, you can just cut up or slices the veggies without the cookie cutters. Will taste just as good.
Pickled Turnips*
2 1/2 pounds turnips, peeled and cut into 1/4- to 1/2-inch-thick wedges or sticks (about 8 cups) or cut into slices
6 beets, peeled and sliced
3 carrots, peeled and sliced
3 cups distilled white vinegar or cider vinegar (5% acidity)
3 cups water
2 tablespoons plus 2 teaspoons canning salt
2 tablespoons sugar
2 T. pickling spice
Combine turnips with the rest of the ingredients and bring mixture to a boil. Simmer 3 minutes. Place vegetables in pint or half pint jars and cover with the hot brine. Fill to within 1/2 inch from the top. Wipe rims and seal jars. Process in a boiling water bath for 10 minutes. Makes about 6 pint jars or 12 half-pints.
* Since I modified this from the original recipe I do store the sealed jars in the fridge- just to be safe.
Chestnut School Orange Granola

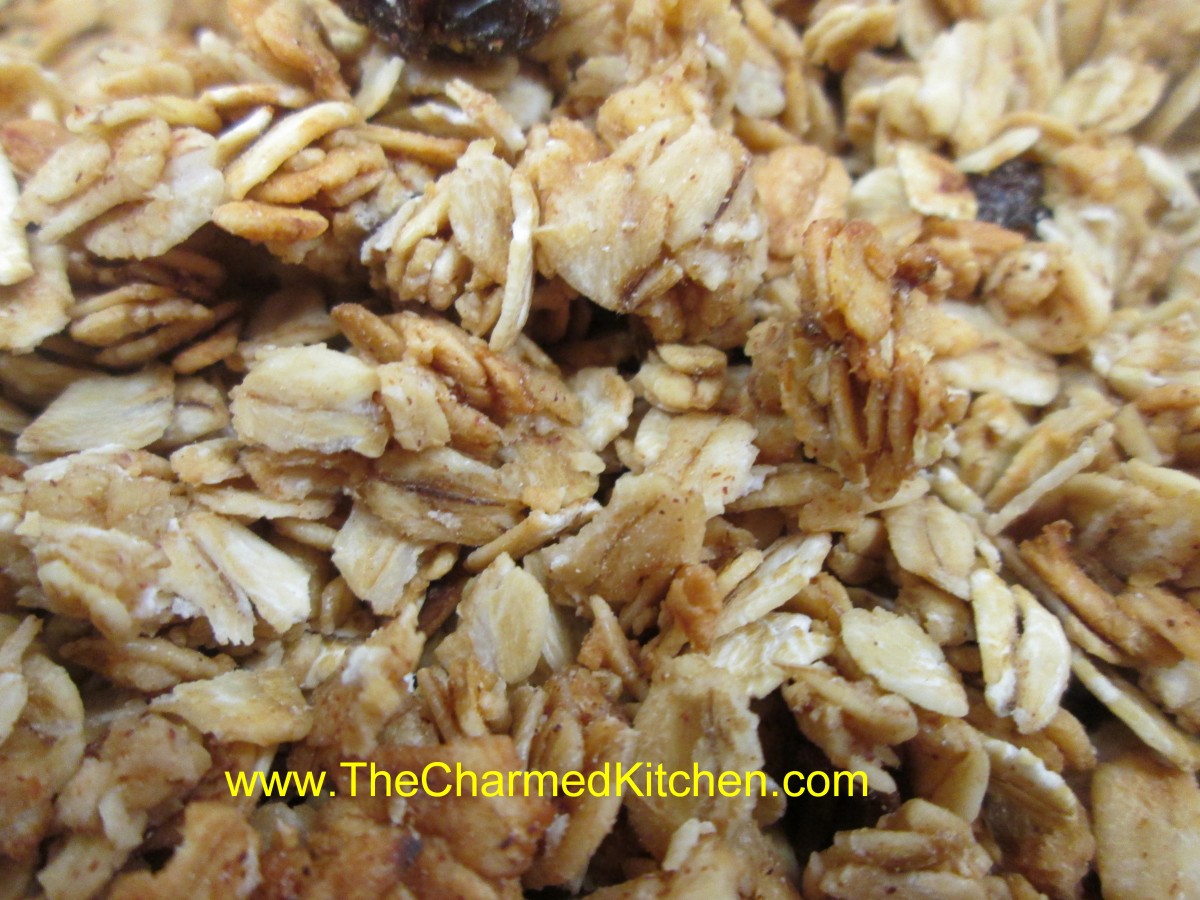
Chestnut School Orange Granola
I had the privilege of working with some of the 4th and 5th graders at Chestnut Elementary School in Painesville today. The kids were great. I was asked to come up with some healthy snack ideas for kids. We did a couple of dishes but the winner was the fresh fruit and yogurt cups with orange granola. The kids picked from several fresh fruits and diced them up and folded with yogurt. Then they topped the yogurt with some of the granola. I made this granola recipe just for this event and a lot of the kids- and adults- wanted the recipe so here it is.
Chestnut School Orange Granola*
3 c. rolled oats
1 t. cinnamon
1 t. orange peel
1/2 t. nutmeg
1/4 c. oil
2 T. honey- or add a little more if you like a sweeter granola
2 T. orange juice concentrate
2 t. vanilla
Dried fruit to equal 1 -1 1/2 cups. Some choices could include: raisins, dried cranberries, cherries, pineapple, dates, figs, apricots, bananas, blueberries etc. I used raisins.
In large bowl combine oats with seasonings. Heat together oil, honey, orange juice and vanilla and pour over oat mixture, tossing to coat evenly. Spread on a cookie sheet and bake in a 300 degree oven for 30 minutes. Halfway through the baking time stir mixture so the edges won’t burn. Remove from oven and return to large bowl. Toss with the dried fruit and allow to cool before storing in an airtight container in a cool, dry place. Use in 1 month or store in freezer or fridge to keep longer. Makes 4-5 cups.
* We didn’t use nuts because of potential food allergies in some of the kids, but feel free to add nuts and seeds with the oatmeal.
Strawberry Shortcake “Sliders”

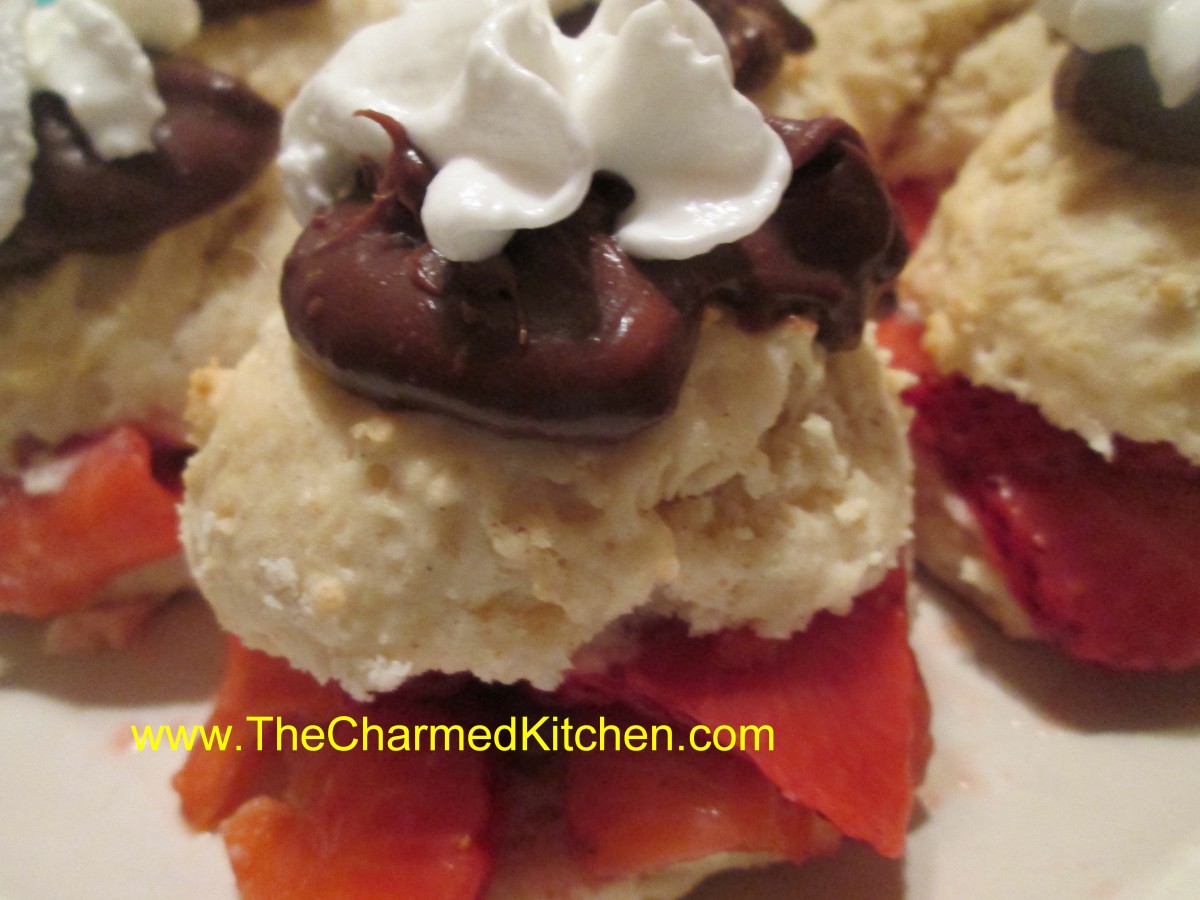
Strawberry Shortcake “Sliders”
While we were enjoying these at dinner last night one of my friends said they looked like sliders and the name stuck. I made the shortcake base with cream scones and used an ice cream scoop to put the batter on the baking sheet. They ended up looking like little sandwich buns. Split and filled with sweetened strawberries, I replaced the top and added chocolate ganache and whipping cream to finish them off. They were a big hit. The scone was tender and not too sweet. Satisfying and light at the same time.
Strawberry Shortcake “Sliders”
The shortcakes
2 c. flour
1/4 c. sugar
½ t. salt
1 T. baking powder
1 1/4 c. heavy cream or 1 cup half and half
Preheat oven to 425 degrees. Sift together dry ingredients and gradually add cream to form soft dough. Stir mixture until it just holds together. Using an ice cream scoop place batter on baking sheet a couple of inches apart. You should get about a dozen. Bake 10-12 minutes or until golden. Makes about 12. Cool on rack until ready to use.
The berries
2 lbs. strawberries, sliced thin
1/2 c. sugar, or to taste
Combine berries and sugar in medium bowl and place in fridge until ready to use. Berries should be in the sugar for at least a couple of hours and can even be prepped a day ahead to allow the juices to come out of the berries.
The ganache
1 c. semi sweet chocolate chips or 6 oz. semi sweet chocolate, chopped
1/2 c. heavy whipping cream.
Combine both in double boiler or in microwave and heat until mixture is just warm enough to melt the chocolate. Stir until smooth.
The whipped cream – use whipped cream, sweetened or unsweetened according to your taste.
Assembly: Slice the caps off the tops of the shortcakes. Place a generous spoonful of the sliced berries on the bottoms of the shortcakes and spoon some of the strawberry liquid over them as well. Place the tops of the shortcakes back on and spoon on a dollop of the chocolate ganache. I let me get to room temperature so it didn’t drip down exactly as I had planned. Top with some whipped cream and serve. Makes about 12.
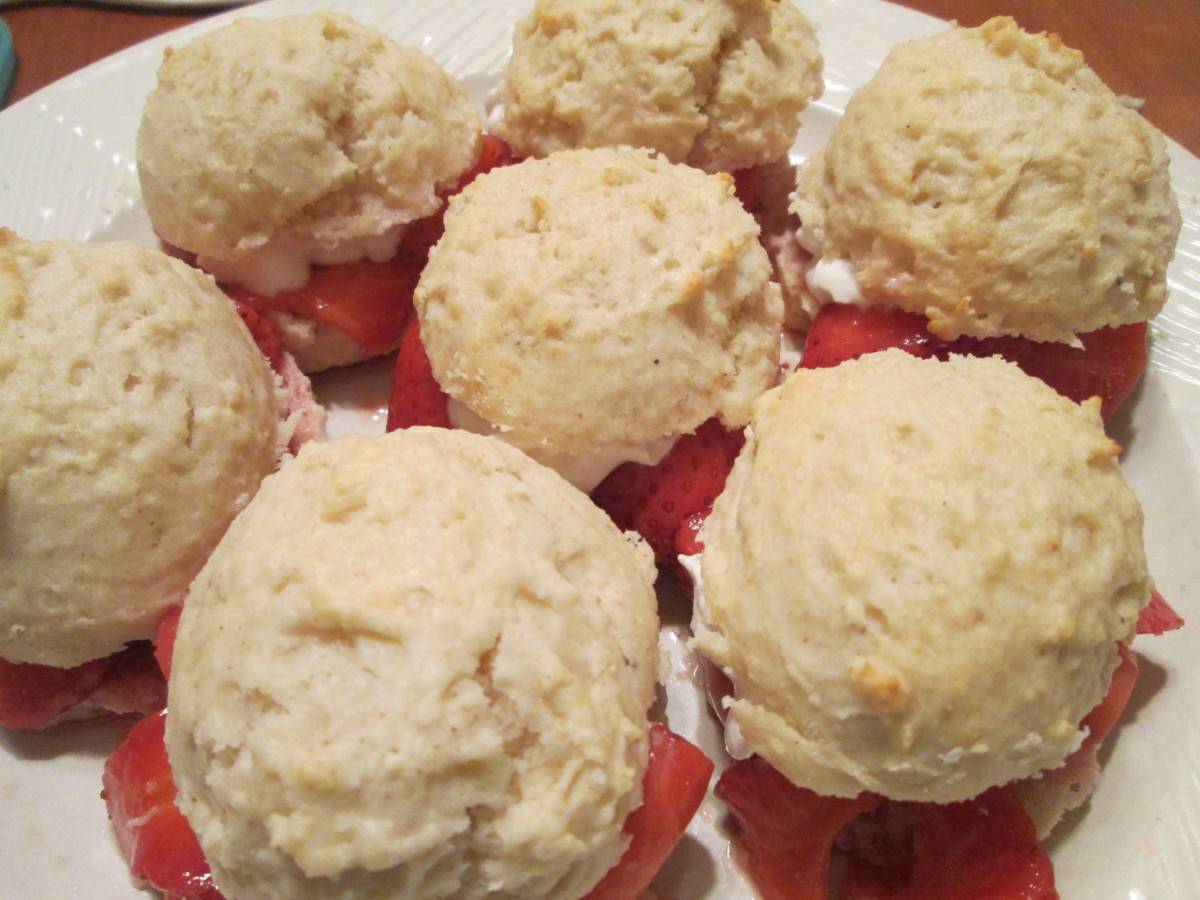
“sliders” with berries added
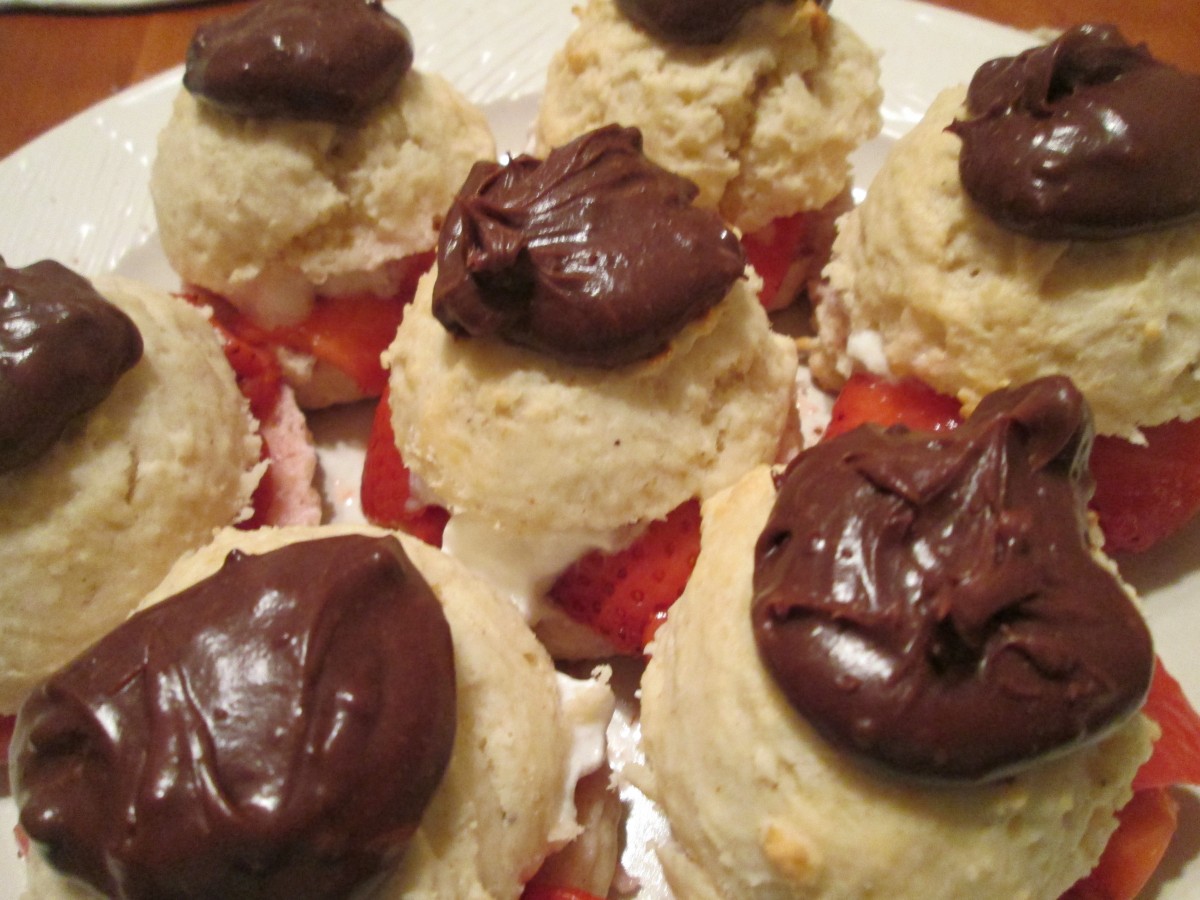
Ganache added
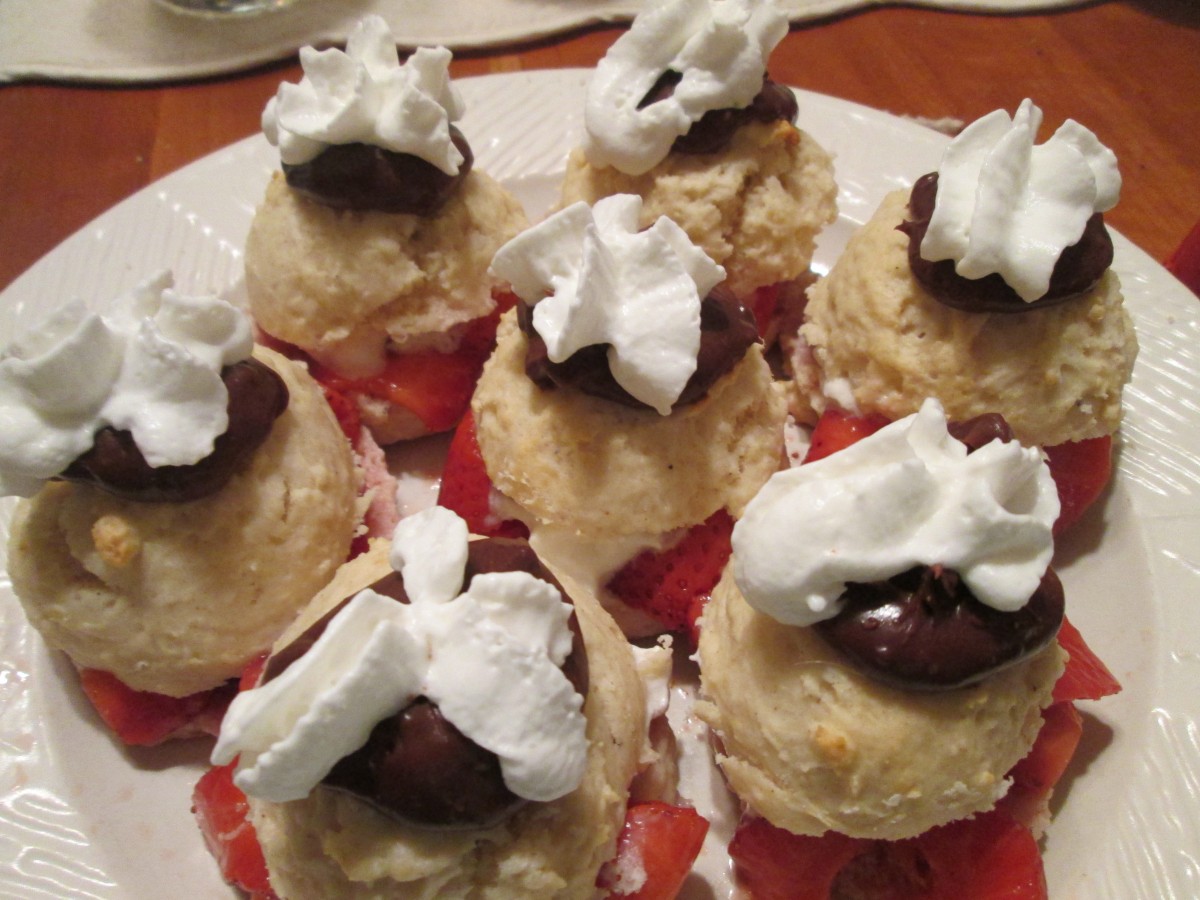
Ready to serve.
Rhubarb Glaze

Rhubarb Glazed Kebobs
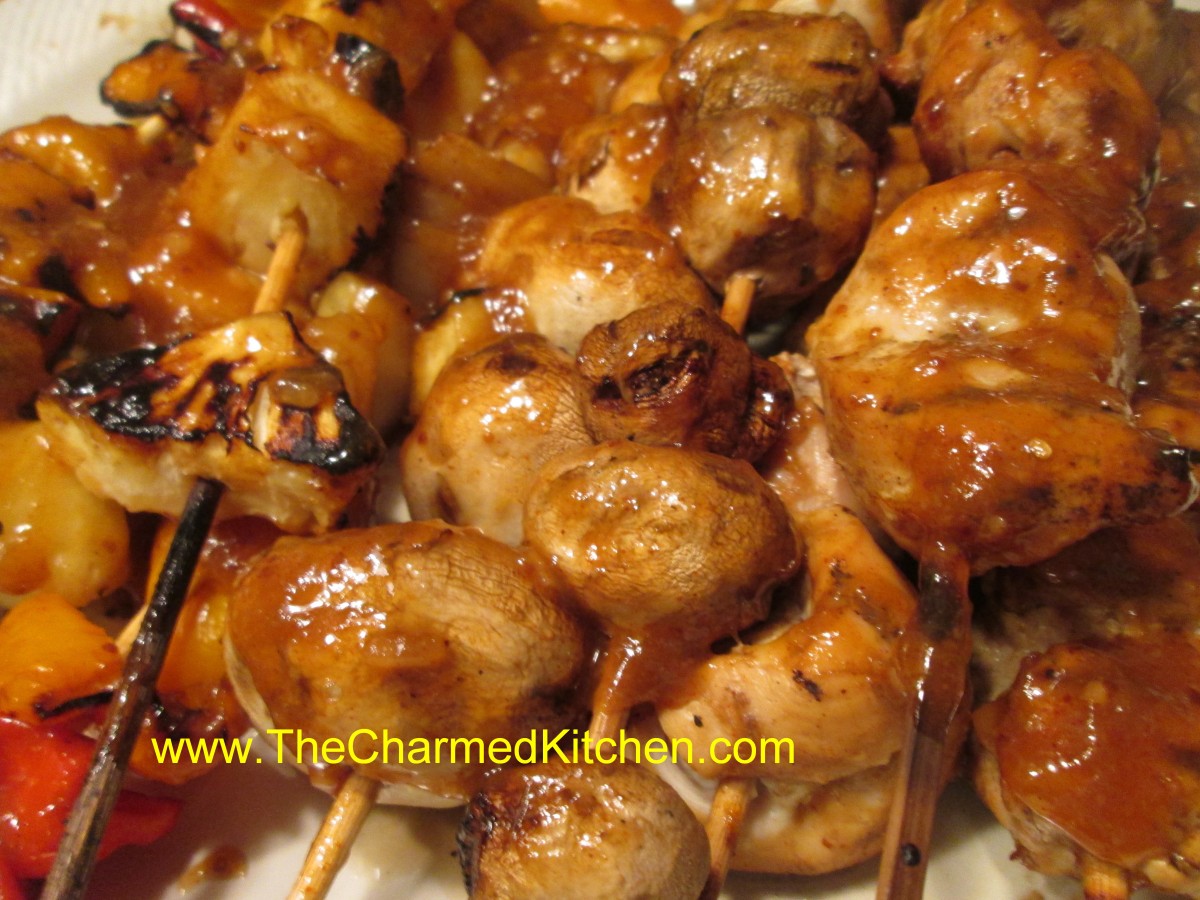
If you’ve only had rhubarb in pies and other desserts you might want to consider savory dishes as well. I was having a dinner with friends and knew we were going to be grilling. Looking for a sauce for the chicken I decided to make a glaze from rhubarb. The end result was really good. A mix or tart and sweet with just a bit of heat it went well with the chicken but also tasted great on an assortment of grilled veggies. I started by cooking the rhubarb stems down in water until they were tender. I ended up with 2 cups of rhubarb. Once I added all the ingredients and cooked it all down I ended up with 2 cups of the glaze. Similar to sweet and sour sauce, it came out a pretty orange color. Here is the recipe.
Rhubarb Glaze
2 c. cooked rhubarb
1 c. apple cider vinegar
1/4 c. brown sugar
2 T. honey
2 T. dried minced onion
1 T. hot sauce
1 T. paprika
2 t. minced garlic
1 t. Worcestershire sauce
1 t. cumin
1 t. cinnamon
salt to taste
Place all ingredients in a saucepan and cook over medium heat until thickened. Stir more often as mixture thickens. Cook until sauce has reduced to about 2 cups. Use as a glaze on meats and vegetables. It was great on chicken but would also go well on pork or duck. Note: I liked the tang of it but you could make it a little sweeter to suit your own taste. Makes 2 cups.
Note: If making this for vegetarians omit the Worcestershire sauce.
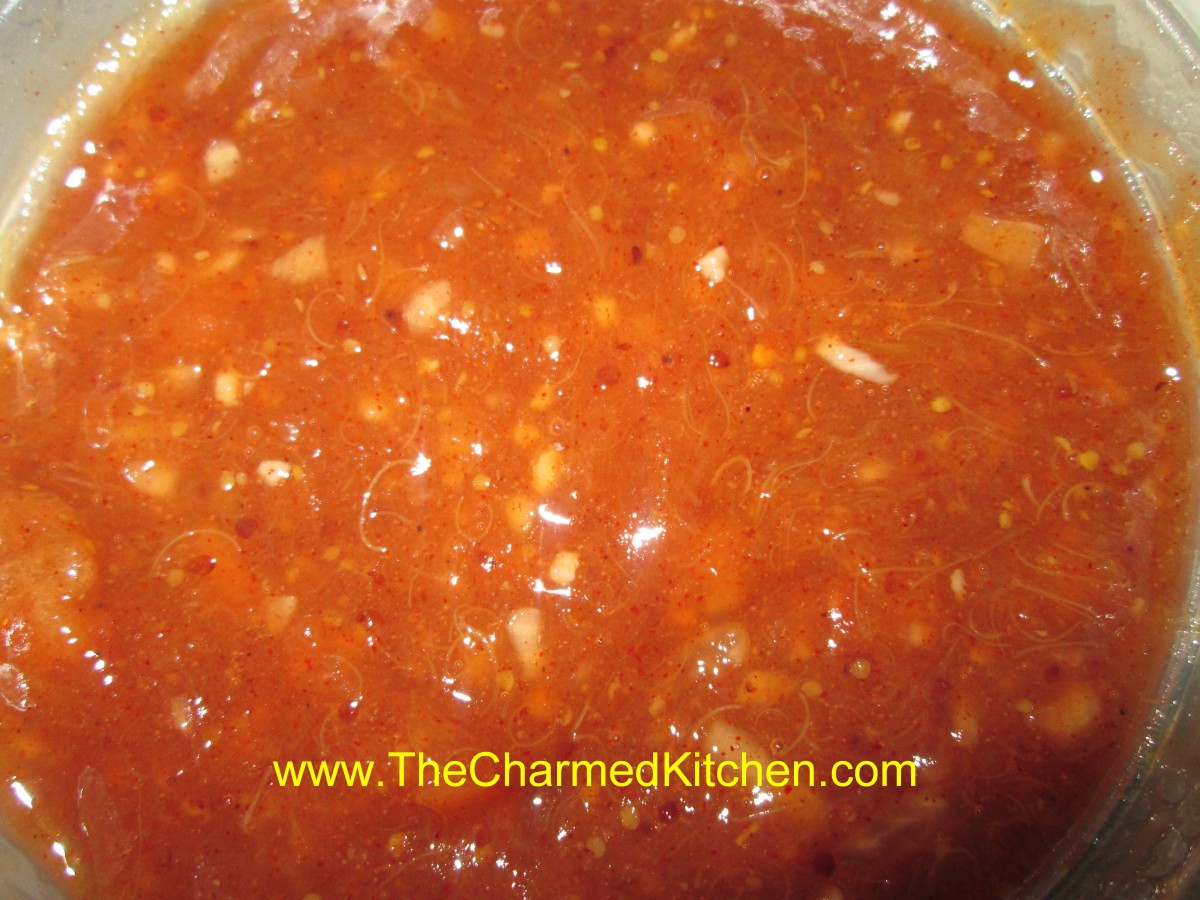
Rhubarb Glaze
Honey Mustard Chicken

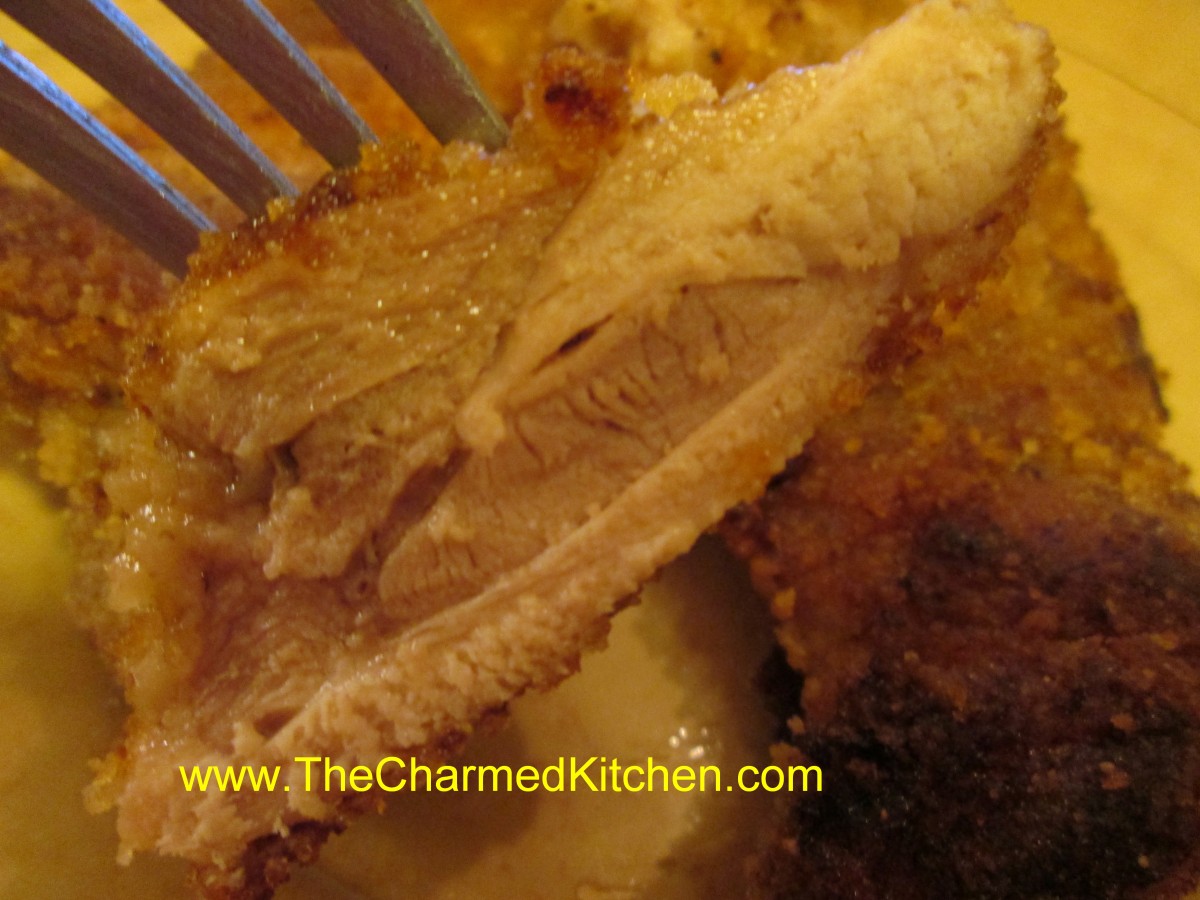
Honey Mustard Chicken
I wanted to add the flavor of honey mustard dipping sauce into chicken I was making the other night. I thought it would be neater to eat the chicken with the sauce already in it as opposed to dipping it and having it be messy. No matter how careful I am I always drip on myself. It worked really well.
I decided to try to do that by using the dipping sauce ingredients as a marinade and then as the base for breading the chicken. I had about 1 1/2 pounds of boneless chicken thighs. I think the thighs stay juicier, but you could use breasts if you prefer or even bone-in chicken but cooking times would be longer.
Here is the marinade recipe
1/2 c. mayonnaise
1/4 c. whole grain mustard
2 T. honey
salt and pepper to taste
I combined the marinade ingredients and put the chicken in it and put the whole thing in the fridge for a couple of hours. When I was ready to cook the chicken I preheated the oven to 425 degrees. I put some breadcrumbs in a shallow bowl and dredged the chicken pieces in the breadcrumbs one at a time and placed the breaded chicken on a baking sheet. I drizzled the tiniest amount of oil over the chicken and placed it in the oven to bake. I cooked the chicken for about 30 minutes, turning it over after 15 minutes. I checked one of the thicker pieces after 30 minutes for doneness and we were good to go. The chicken tasted just like the honey-mustard dipping sauce I was looking for without the mess. It was moist and juicy on the inside but had browned very nicely on the outside. May try this soon with barbecue sauce.
Kale and Bean Stew


Kale and Bean Stew
I really like most leafy greens. A lot of people don’t though and I often hear from people who would love to get family members to eat them. Sometimes you have to get creative and add them to dishes where the flavor is masked a little with other foods. This simple stew is a great way to maybe get family members to try kale in a less obvious way. It tastes pretty good, too.
Kale and Bean Stew
1½ lb. kale leaves, center ribs removed
3 T. oil
1 c. chopped carrots
1 c. chopped celery
1 c. chopped onions
2 garlic cloves, minced
1 c. dry white wine
2 (15 oz.) cans beans, rinsed and drained- I used garbanzos and lima beans
4-5 cups Vegetable or chicken stock
1 t. dried savory or thyme
1 bay leaf
1 T. white balsamic vinegar
2 T. fresh chopped herbs
Blanch kale in boiling water for 1 minute. Rinse under cold water. Drain and squeeze out excess water. Chop kale leaves coarsely. Heat oil in pot over medium heat. Cook vegetables and garlic until tender but not browned. Add wine and simmer until liquid is reduced by half. Add 4 cups of the broth, beans, savory and bay leaf and simmer over medium-low heat for 20 minutes. Add kale and simmer 5 minutes more. Add more stock if stew is too thick. Add vinegar, fresh herbs and salt and pepper to taste. Serves 6.
Strawberry-Vanilla Jam

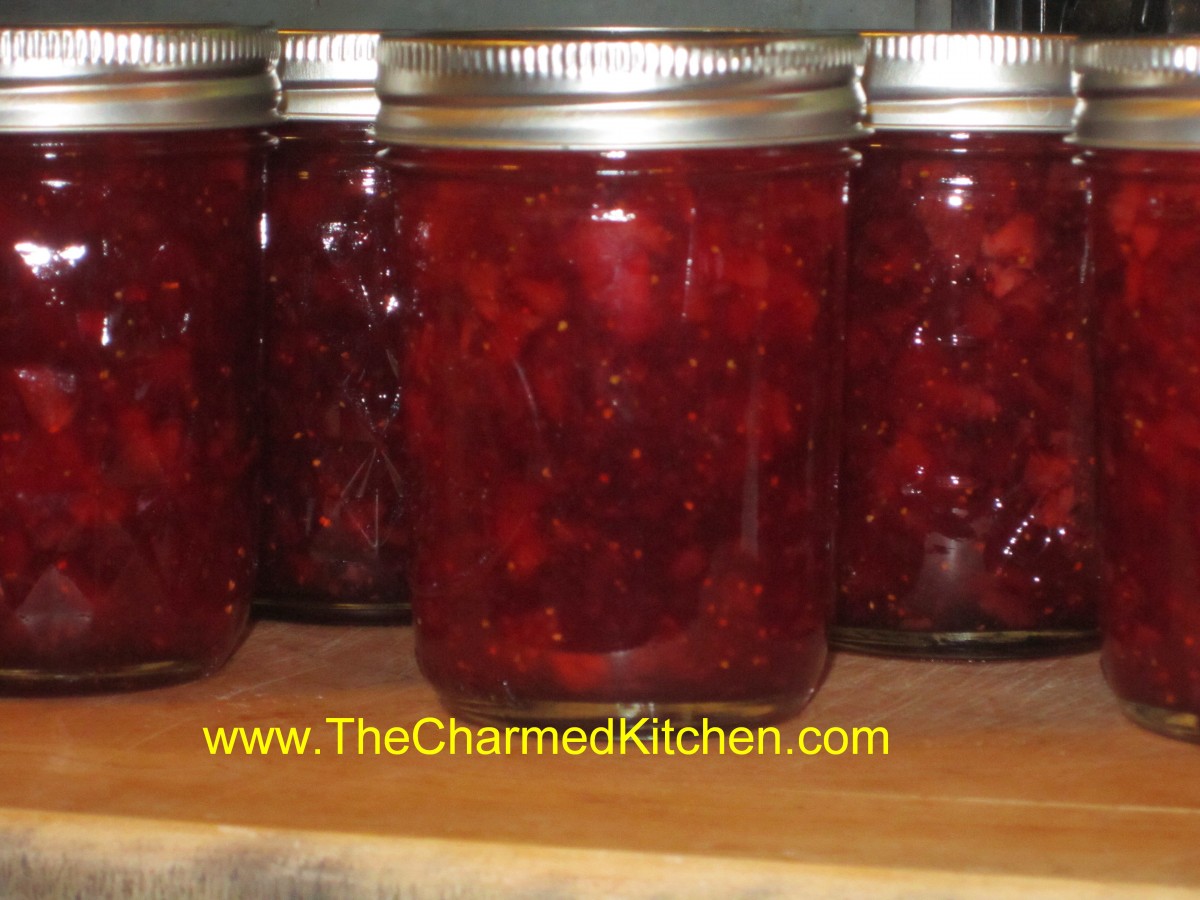
Strawberry Vanilla Jam
I picked up some great berries. Making jam this weekend. I really like the addition of some vanilla to my strawberry jam. I think it adds a nice additional layer of flavor without covering up the natural beauty of the berries. I try to make enough to last all year but I end up running out quickly. This jam is great on toast but also a nice addition to several desserts I make.
Here is the recipe.
Strawberry-Vanilla Jam
2 qts. strawberries, stemmed, washed and crushed
2 T. pure vanilla
1 package dry pectin
1/4 c. lemon juice
7 cups sugar
Combine berries, vanilla, pectin and lemon juice in large saucepan and bring to a boil over medium heat, stirring often. Add sugar and turn heat up to high. Stir often until mixture comes to a boil. Boil hard one minute stirring constantly. Ladle hot jam in to jars leaving 1/4 inch headspace. Wipe rims and screw on lids comfortably tight. Place in boiling water bath and process 5 minutes. Remove to cooling rack, towel or wooden surface to cool. Makes 8-9 half pints.
Raspberries and Cream Bread

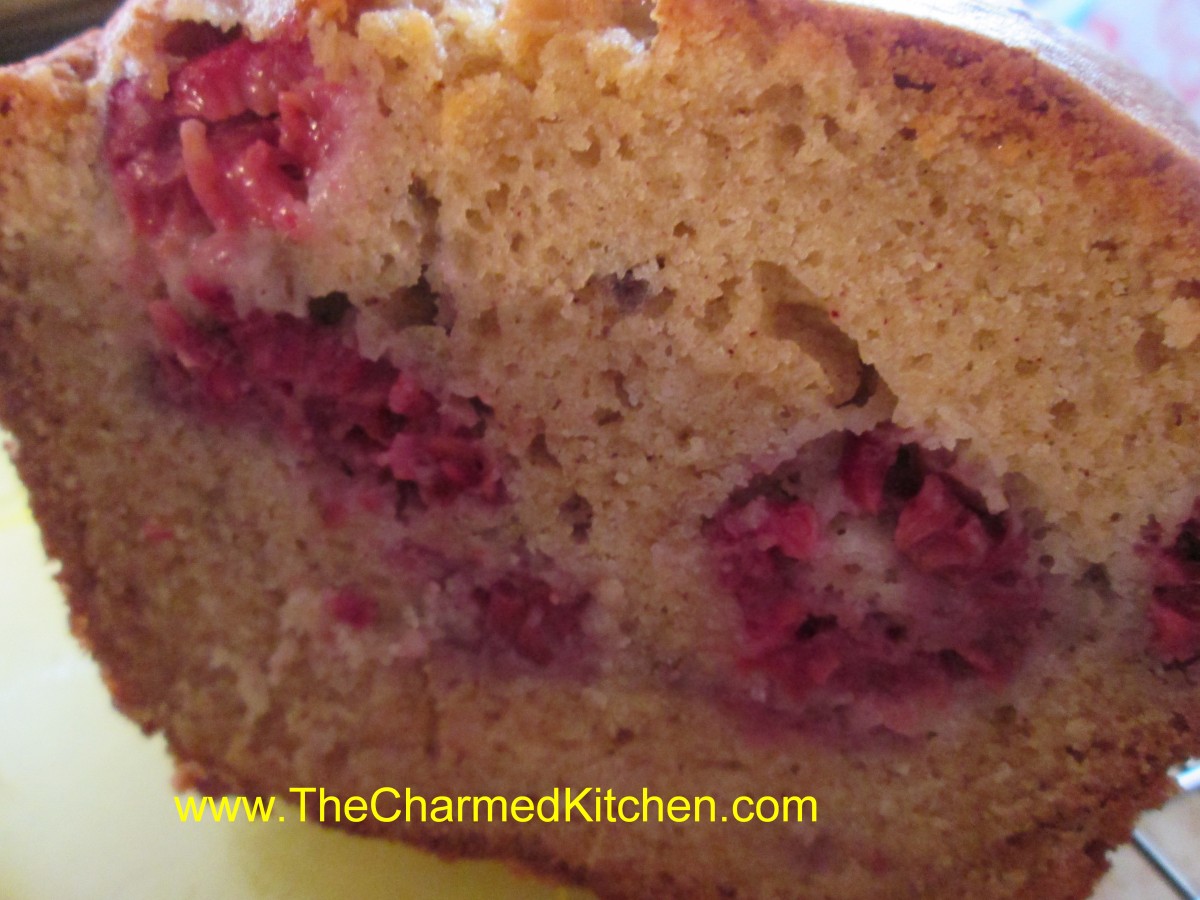
Raspberry and Cream Bread
I have some very nice memories about raspberries. We had them growing in our yard when I was a kid. I always enjoyed just eating them right off the plants or the jam my Mother would make. I also remember the time our dog got to them before we did and ate all the raspberries. This simple bread is studded with fresh raspberries. It can be eaten just plain or dressed up with fruit topping or maybe some whipped cream. I am a purist, I like to eat it just the way it is. Like most quick breads it is better if you wrap it up in plastic or foil once cooled and eat it the next day- if you can wait that long!!
Raspberries and Cream Bread
1 ¾ c. flour
½ t. baking powder
½ t. baking soda
½ t. salt
½ t. cinnamon
½ c. butter, at room temperature
¾ c. sugar
2 eggs, room temperature
½ c. sour cream, room temperature
1 t. vanilla
1 c. fresh raspberries
¾ c. chopped nuts, optional
Grease an 8×4 inch loaf pan and preheat oven to 350 degrees. In a large bowl combine dry ingredients. Set aside. In small bowl beat butter until creamy. Add sugar and beat 1 minute. Beat in eggs one at a time. Beat in sour cream and vanilla. Stir in flour mixture until just moistened. Fold in berries and nuts and place batter in prepared pan. Bake 60-65 minutes, or until toothpick inserted in center comes out clean. Let stand in pan 10 minutes. Remove from pan and cool on wire rack. Makes 1 loaf. Freezes well.
Pea Shoots with Cashews

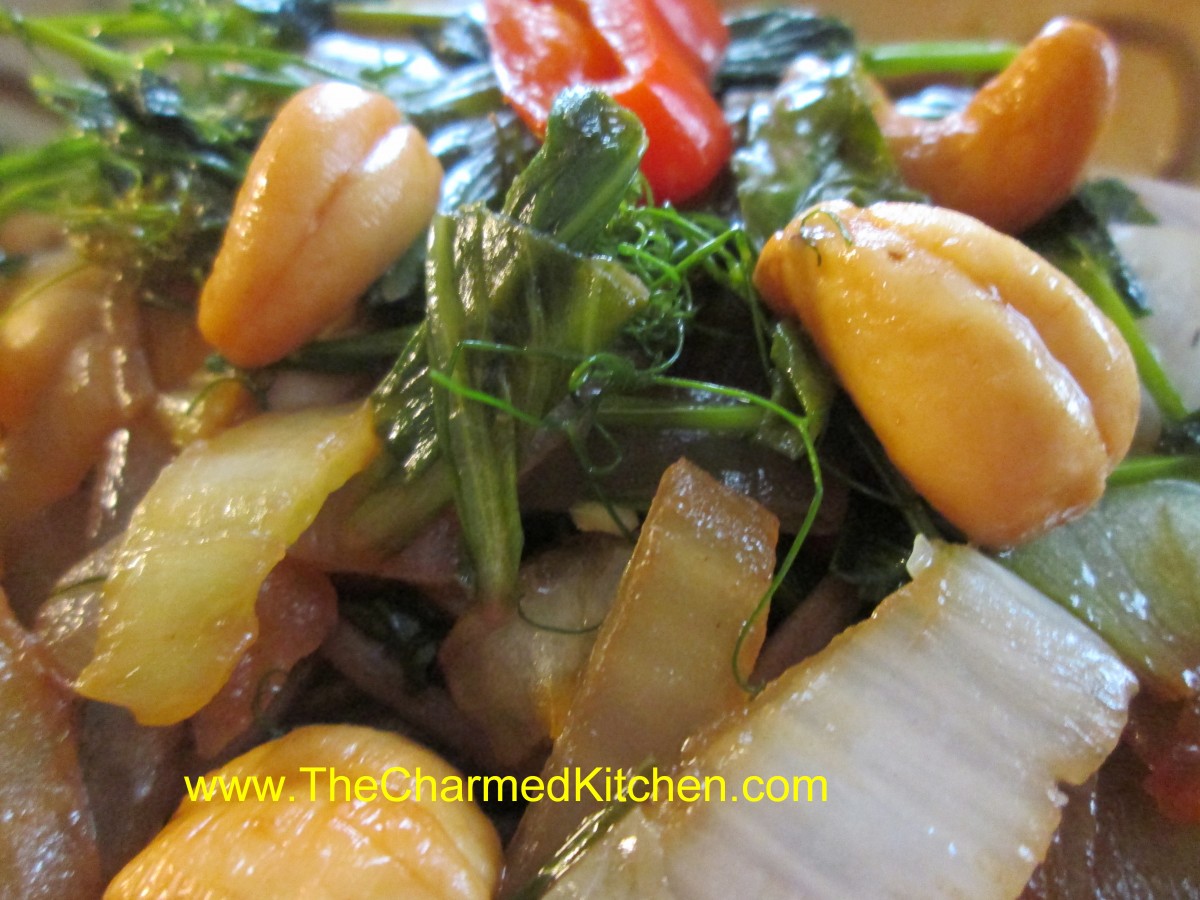
Pea Shoots with Cashews
I grow peas every year and find their tender shoots a great addition to many dishes. I trim off young, tender shoots and add them to soups, salads and stir fries. Older shoots may have tough stems. If that is the case I’ll just use the leaves. Last night for dinner I had a great veggie stir fry with onions, baby bok choy, nappa cabbage, baby peppers and pea shoots. I added some cashews for texture and tossed with soba noodles.
Pea Shoots with Cashews
oil
1 onion, sliced
1 c. nappa cabbage leaves, sliced thin
1 1/2 c. sliced baby bok choy leaves
3-4 baby sweet peppers, seeded and sliced
2 c. pea shoots
soy sauce to taste
2 t. sesame oil
1/2 c. cashews
4 oz. soba ( buckwheat) noodles, cooked and drained
In skillet or wok heat the oil and saute the onion until tender. Add the rest of the veggies and cook until tender/crisp. Season to taste with soy and add the sesame oil. Toss in the cashews and then toss in pasta and heat a minute or two. Serves 2-3.


