Monthly Archives: March 2015

Accidental Cookies

Accidental Cookies

Accidental Cookies

This is the story of how I made really great cookies- by accident. It is also a lesson on why we should measure when we bake. I was asked recently to do a demonstration on freezing convenience foods. You know, ready made meals and the like. I had plenty of things to display but wanted to show how to freeze cookie dough. For the show I needed balls of raw cookie dough to put on a baking sheet- just to show how to freeze them for later. I wasn’t going to be baking or serving the cookies- I just needed the dough. When I was at home prepping I just started tossing cookie dough ingredients in a bowl and mixing them up. Great, I had my dough, rolled them into balls and was ready to go.

The show went great.  After I was done and had packed everything up and brought the dough balls home. On a whim I decided to bake them. Better than tossing them out. I hate wasting food. Besides, I had put in all the normal ingredients, how bad could they be?  To my surprise they were good- really good. If only I had measured!!!

Last night I decided to try and make them again. I knew I had used a stick of butter and an egg, so those were easy. I had used both brown and granulated sugar and some baking powder. The chocolate chips would be easy to figure out, too. The flour. Honestly, I just kept adding flour until it was a stiff dough. So this time I measured as I went. Rolled the dough into balls and chilled them. Then I baked them. They came out pretty good. Really good, actually, and as close as I will likely get to the cookies I made when just tossing everything together. I did measure this time so here is the recipe for my cookies.


Accidental Cookies

1 stick butter, softened

1/2 c. brown sugar

1/3 c. granulated sugar

1 egg

1 t. baking powder

1 1/4 c. flour

1 1/2  c. chocolate chips

In bowl cream together the butter and sugars. Stir in the egg and stir in baking powder. Add flour and once mixed in, stir in the chips. Roll into 1-inch balls- you should get about 24 -and  put in the fridge to chill for an hour or longer. Preheat oven to 350 degrees. Place cookie balls about an inch apart on an ungreased baking sheet and bake until light brown around the edges.  I’m going to say about 10 minutes. I will confess to getting a phone call when I was baking them- so 10 minutes is my best guess. Cool on rack a little before trying to eat them. Makes 2 dozen.
Posted in Cooking |

Irish Soda Bread Scones

Irish Soda Bread Scones

Irish Soda Bread Scones

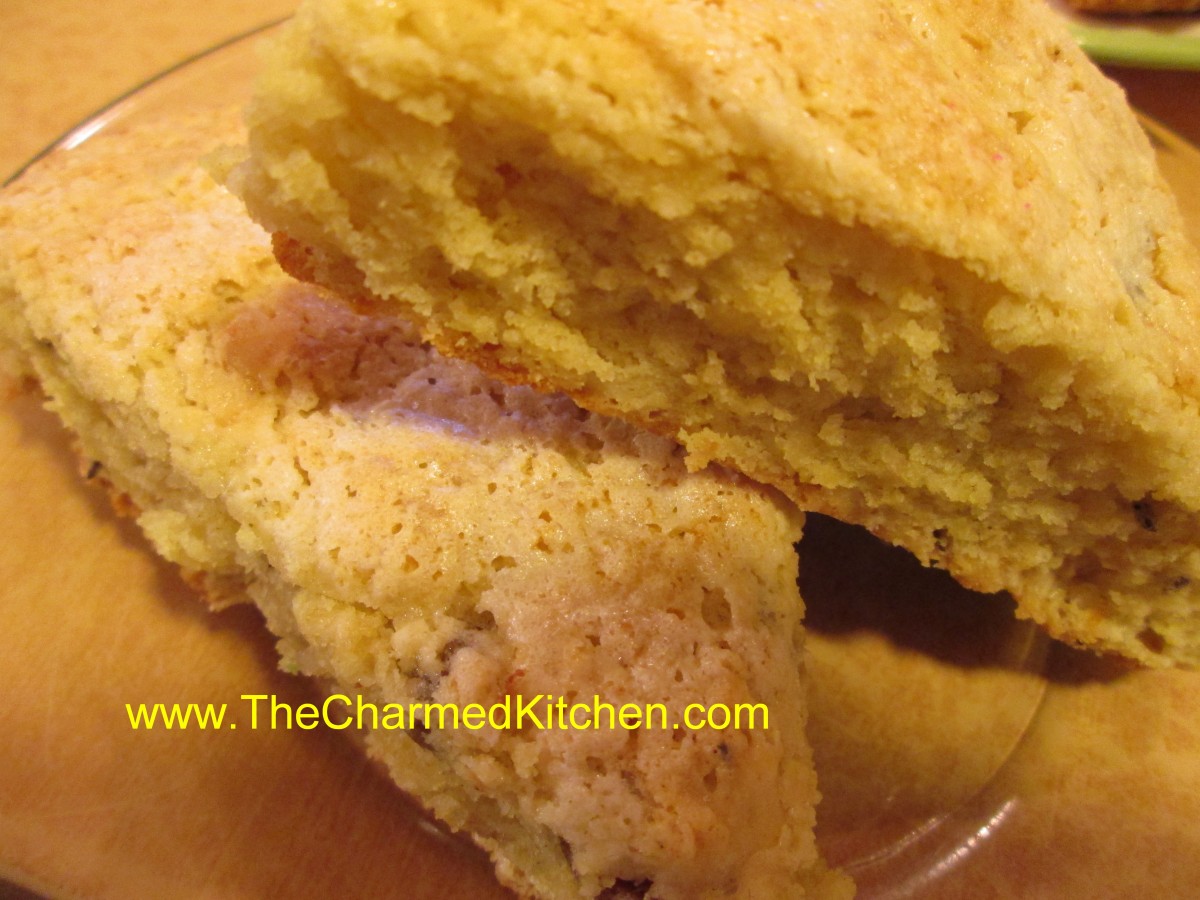
If you are in the mood for the flavor of Irish Soda Bread- you can get the same wonderful experience in a scone. I made a batch of these this morning. Perfect with some recently made blueberry jam and a fresh cup of tea. Now if I only have some Devonshire cream. I used golden raisins, but you could use regular raisins, currants, or even leave them out.


  Irish Soda Bread Scones

2 c. flour

3 T. sugar

2 t. baking powder

1 t. baking soda

½ t. salt

1/3 c. butter

½ c. golden raisins

1 t. caraway seeds

2/3 c. buttermilk

1 egg

Milk

Extra sugar for sprinkling

Preheat oven to 425 degrees and lightly grease a baking sheet. Combine dry ingredients in medium bowl and cut in butter to resemble coarse crumbs. Stir in raisins and caraway seeds. Beat together buttermilk and egg and add to flour mixture, stirring with fork until mixture just coming together. Turn onto floured surface and knead 5-6 strokes or until ball of dough holds together. Dust an 8-inch round cake with  flour. Press dough into cake pan. Invert pan over onto prepared baking sheet. I find if I do this quickly the dough comes out more easily. Remove cake pan. This will give you a perfect 8-inch circle of dough. With a sharp, floured knife cut dough into 8 wedges. Brush top with milk and sprinkle with extra sugar. Bake 14-16 minutes. Makes 8.

Posted in Cooking |

Blueberry Cheesecake Pie

Blueberry Cheesecake Pie

Blueberry Cheesecake Pie

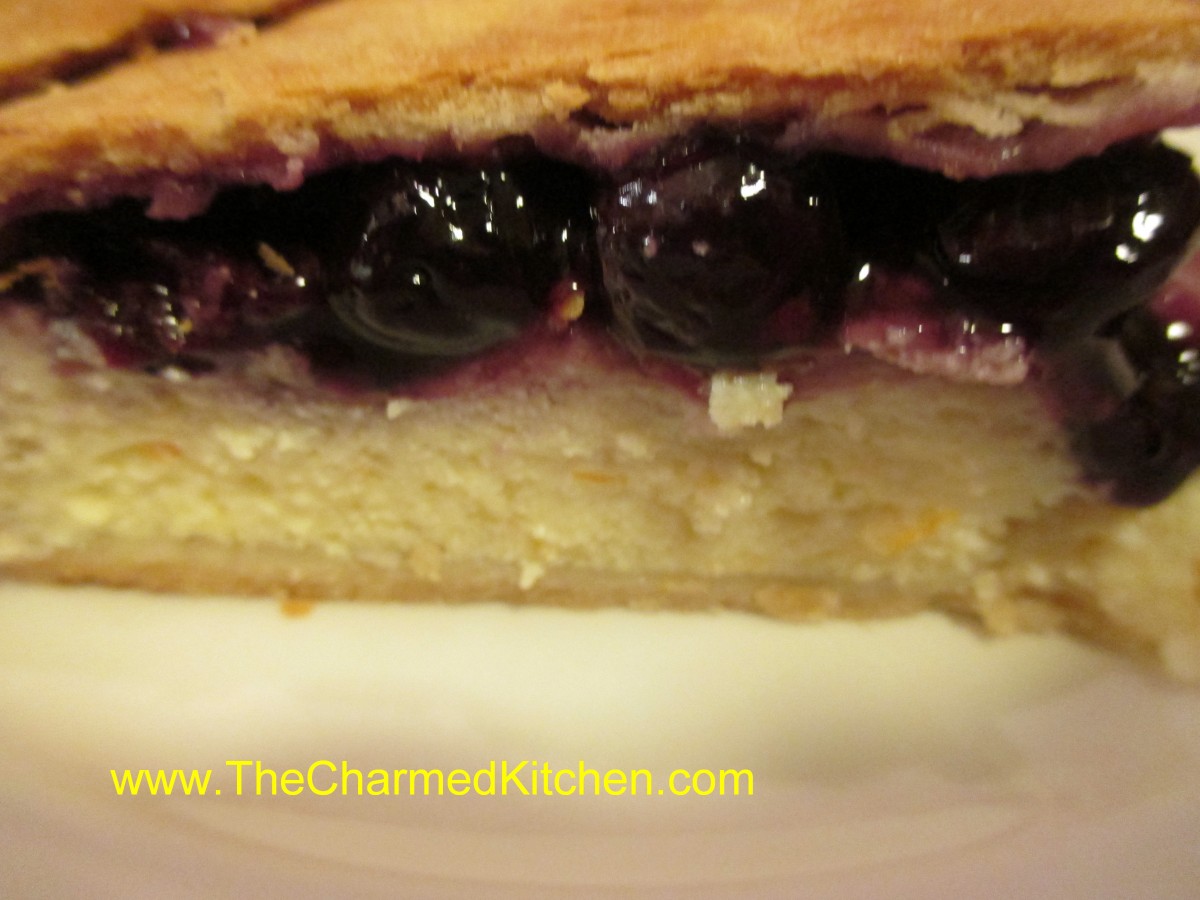
I wanted to make a fruit pie, but with a twist. I had a container of homemade blueberry pie filling in the freezer. It wasn’t enough for a whole pie. A carton of ricotta cheese inspired me to combine two of my favorite desserts into one. I decided to use the ricotta to make a cheesecake like layer and then use the pie filling as a topper. It worked out great. I was lucky that my friend, Jared, had stopped over so I let him be my official taster. He gave it two enthusiastic thumbs up. With his endorsement I decided to share the recipe with all of you. I will definitely be making this one again soon. Maybe I’ll use cherry pie filling the next time.


Blueberry Cheesecake Pie

Pastry for 2 crust pie- recipe- The crust recipe I used is at the bottom of the page

Cheesecake filling:
1 (15 oz.) carton ricotta cheese, full fat preferred
½ c. sugar
2 eggs
Zest of half an orange
Combine cheese and sugar and mix until smooth. Stir in eggs and zest and set aside.

Blueberry filling:
1½c. blueberry pie filling- I used homemade
Roll out half of the crust and place in 8 or 9-inch pie pan. You can roll out the top crust ahead of time, or even cut into strips for a lattice top. Cover remaining crust to keep it from drying out. Spoon cheese mixture into prepared crust. Spoon the blueberry pie filling over the cheese mixture. Top with the second crust or place strips on in a lattice design. If using a whole crust cut in decorative slits for ventilation. Moisten then crimp edges and shape decoratively or use a fork to seal. Place pie in lower half of hot oven. Bake in a preheated 425-degree oven for 15 minutes. Reduce heat to 375 and bake an additional 40-50 minutes or until crust is brown and juices begin to bubble through the slits. It edges start to brown too quickly, cover them with foil. Cool, then chill,  before serving.


Flaky Pie Crust

2 c. flour
1 t. salt
3/4 c. shortening, chilled – I used chilled coconut oil-  you can also use butter or lard
1 T. cider vinegar
4-5 T. cold water

Combine flour and salt and cut in shortening. Toss in vinegar and water 1 tablespoon at a time until dough holds together. Use a fork to toss the ingredients together and as soon as the mixture holds together stop adding water. Makes 2. Chill well before using.

Fresh from the oven. Cool, then chill, before serving.

Fresh from the oven. Cool, then chill, before serving.

Posted in Cooking |

Tomato Basil Breadsticks

Tomato Basil Breadsticks

Tomato Basil Breadsticks

I have had a lot of breadsticks over the years, but honestly, I didn’t like most of them. They were always too dry or flavorless. I love these. They are full of flavor and while you can bake them until they are really crisp, you can also bake them until they are still a little tender and chewy, rather than crisp.


Tomato Basil Breadsticks

2 T. olive oil
1/3 c. chopped onion
2 cloves minced garlic
1/2 c. tomato puree
1/3 c. water
3-3 1/2 c. flour
2 t. salt
1 t. sugar
2 t. dried basil
1 packet fast-acting yeast
1 egg combined with 1T. water
coarse salt for sprinkling

Sauté onion and garlic in oil until onion is tender. Stir in tomato puree and water and combine well. In bowl, with electric mixer combine 3 c. of the flour with salt, sugar, basil and yeast and stir in tomato mixture. Beat until smooth, adding the rest of the flour, Mixture should be sticky. Place dough in a well-oiled bowl, cover with plastic wrap and chill overnight. Pinch off walnut-sized pieces of the dough and roll into 8-inch long strips. Place on baking sheets covered with parchment paper. Brush lightly with the egg wash and sprinkle with the salt. Bake in upper third of 325-degree oven (it will take 2 batches) for 45 minutes (soft breadsticks) or 1 1/2 hours (crisp breadsticks). Makes about 25.

Easy Fried Catfish

Easy Fried Catfish

Easy Fried Catfish

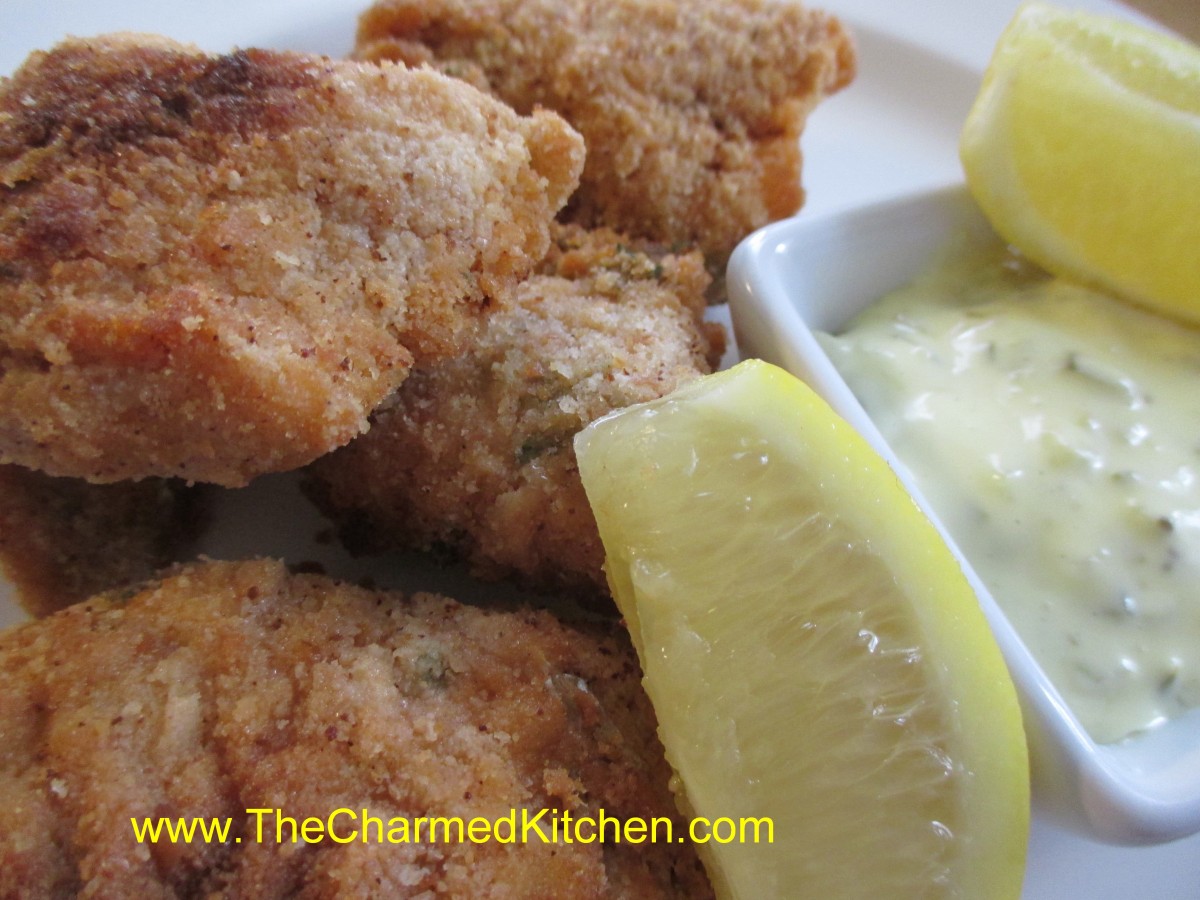
I love fried fish. I don’t make it at home that often. It is more of a treat around here than an every day meal. Note to self; Make fried fish more often. To thank two of my dear friends, who shoveled my sidewalk more than a few times this winter, I decided to have them over for dinner.  I made fried catfish with cole slaw, cabbage and noodles, homemade fries and tiramisu for dessert. I knew I wanted to make the fish. My friends and I often go to Friday fish fries this time of year and this was a Friday night, after all. I had some catfish and the big decision was going to be how to cook it. I toyed with the idea of baking it, but frying won out. Nothing quite as good as fried catfish in my mind.


This is going to be one of those recipes that is more narrative that exact amounts.  I really am good about writing stuff out. I just can’t seem to locate my notes for this one- so I’ll share what I did as best I can remember. It is also so easy to fry fish. Don’t be scared to try. Fresh fried fish is such a treat.


I started with catfish fillets that were cut down into smaller pieces. I wanted smaller pieces to serve, since we had so many side dishes. I made a mixture of eggs, a little buttermilk, salt, pepper, garlic powder, parsley and hot sauce. I dipped the fish in this mixture and let it soak in there while I got the breadcrumbs ready. I had some bread crumbs made from plain bread, so I added a little paprika, dry parsley flakes and lemon peel to the crumbs.

I took the fish out of the egg wash a few pieces at a time and dropped them in the bread crumbs. I had the crumbs in a good sized bowl- but only filled about a quarter of the way with crumbs. I added the fish and sort of tossed it in the crumbs by shaking and tossing the bowl. Placed fish on a baking sheet. Once the fish were all coated in bread crumbs I put the oil on to heat up.

I was using an electric pot with a thermometer so I knew when the oil reached 350. I wanted to fry the fish between 350 and 375 degrees. If you don’t have a pot with a thermometer you can tell if your oil has reached 350 degrees with the use of popcorn. Yes, popcorn. Just put in a kernel of popcorn when you start heating up the oil. Popcorn pops at 350 degrees. When the popcorn pops, you know the oil is ready.

I had a pan, lined with paper towels ready as I started to drop the pieces of fish, several at a time, into the hot oil. They were cooked in just a few minutes. I pulled them when they were golden brown. Allowed them to drain on paper towels in a warm oven while I cooked the rest of the fish.

I served the fish with lemon wedges and homemade tartar sauce- which is just sweet pickle relish and mayo. I sometimes  add capers and a little mustard, too.

The fish was a bit hit and I was happy to thank my very thoughtful friends.


As to the oil. You’ll have plenty left over. I let it cool and strain it out and pour it in the bottle it came from. You can save it for your next frying project, but don’t use it again and again. Just a few times, then toss the rest.  The flavor get funky after a while.


Blueberry Pie

Blueberry Pie

Blueberry Pie

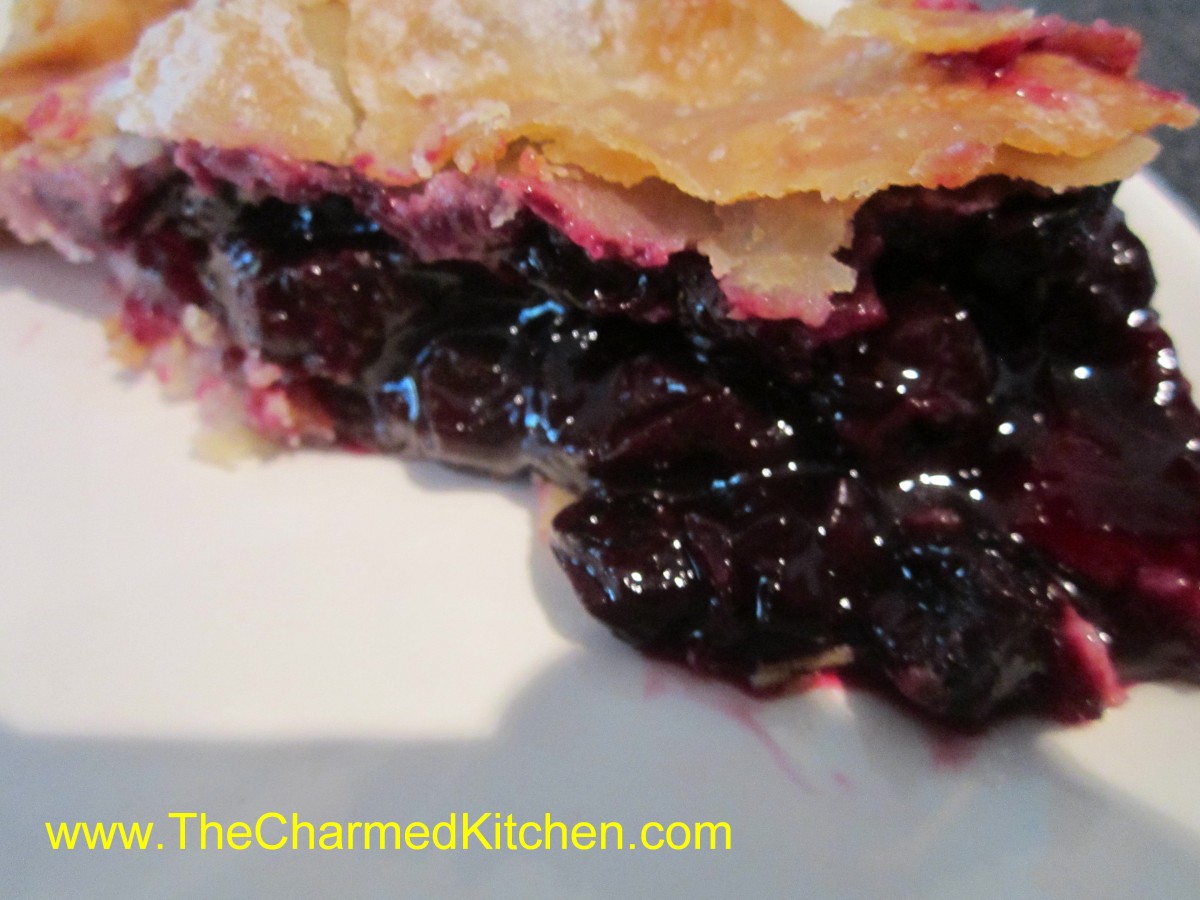
I guess I just have blueberries on my mind. I had quite a few in the freezer and decided to use some to make blueberry jam yesterday. Then, at dinner last night, the topic of pies came up. Something about “Pi” Day. My friend’s response was that ANY day was Pie Day!!   I had some more blueberries in the freezer and decided maybe today was Pie Day after all.


Blueberry Pie

Pastry for 2 crust pie- recipe- The crust recipe I used is at the bottom of the page

2 ½ T. cornstarch

1 c. sugar

3 c. fresh or frozen blueberries

1 T. lemon juice

1 T. butter

 1 T. sugar, for sprinkling

Roll out half of the crust and place in 8 or 9-inch pie pan. You can roll out the top crust ahead of time, or even cut into strips for a lattice top. Cover remaining crust to keep it from drying out. In medium bowl mix cornstarch and sugar. Toss in berries and then sprinkle in the lemon juice. Allow to stand 15 minutes. If berries were frozen be sure they are not clumped together. Spoon mixture into prepared crust and dot with the butter. Top with the second crust or place strips on in a lattice design. If using a whole crust cut in decorative slits for ventilation. I used a tiny heart-shaped cutter for my pie. Moisten then crimp edges and shape decoratively or use a fork to seal. Place pie in lower half of hot oven. Bake in a preheated 425-degree oven for 15 minutes. Reduce heat to 375 and bake an additional 40-50 minutes or until crust is brown and juices begin to bubble through the slits. Cool a little before serving.


Flaky Pie Crust

2 c. flour

1 t. salt

3/4 c. shortening, chilled – you can use coconut oil, butter or lard

1 T. cider vinegar

4-5 T. cold water

Combine flour and salt and cut in shortening. Toss in vinegar and water 1 tablespoon at a time until dough holds together. Use a fork to toss the ingredients together and as soon as the mixture holds together stop adding water. Makes 2. Chill well before using

Blueberry Vanilla Jam

Blueberry Vanilla Jam

Blueberry Vanilla Jam

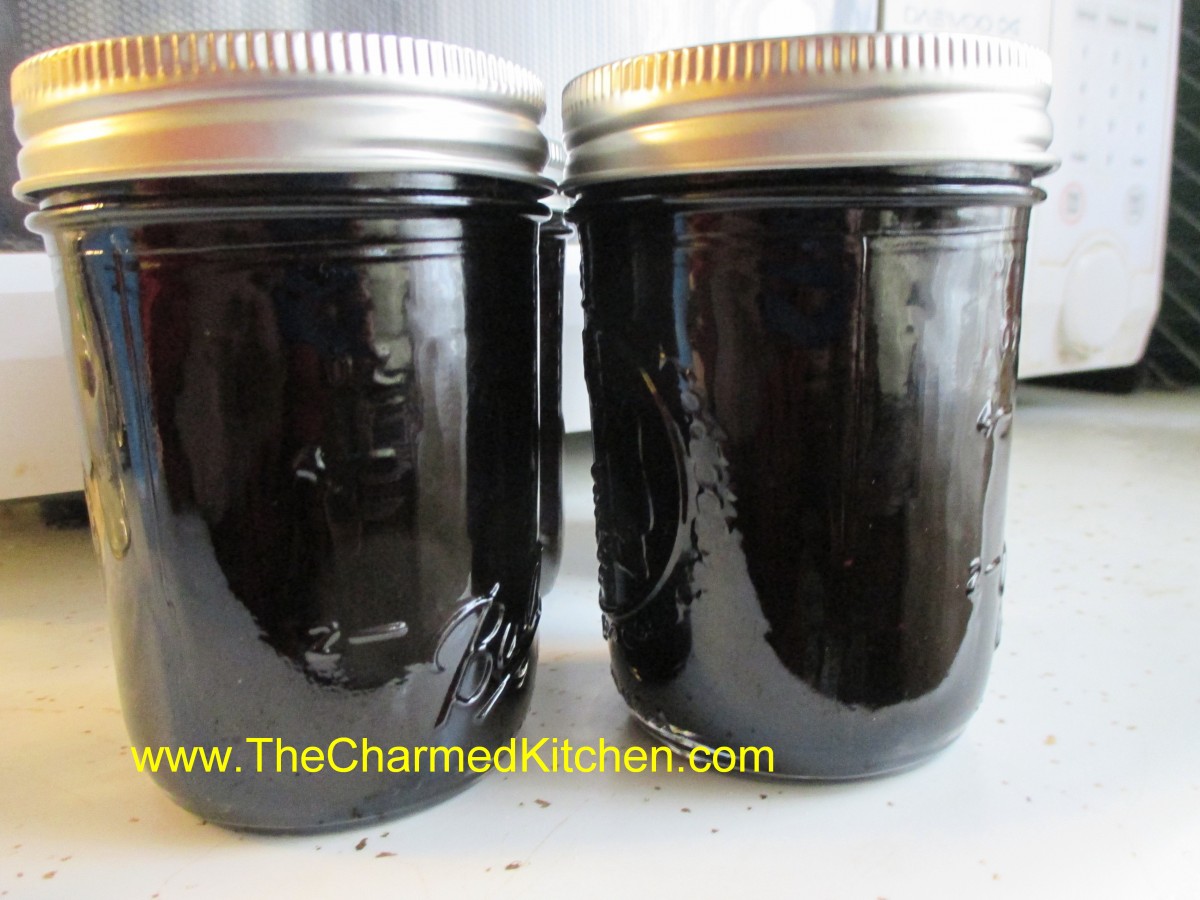
I make a lot of jams, jellies and preserves in the summer when berries are abundant. I also freeze berries and other fruits. That way I can enjoy them throughout the year. I really had a taste for some homemade blueberry jam. Since I was out I decided to use some of the blueberries I had frozen from last summer. I used the basic berry jam recipe from the Ball Blue Book, but I added some vanilla and a little lemon juice for extra flavor. How nice to have a reminder of summer days as winter comes to a close.


Blueberry Vanilla Jam

9 c. crushed fruit

6 c. sugar

1/4 c. lemon juice

1 T. vanilla

Pick over berries getting any stems. Rinse , drain and crush. Place berries, sugar, lemon juice and vanilla in a large saucepan and heat slowly until sugar has melted. Bring up heat and cook over high heat, stirring often. Stir more as mixture thickens. It will take 20-30 minutes to get to the gel stage. To check for gel stage dip a metal spoon in blueberry mixture and hold it up sideways. Allow mixture to drip off and when two drops come together to form one larger drop- you are at gel stage. You can also use a candy thermometer. When the jam reaches 220 degrees- or 8 degrees over the temp of boiling water- you are at gel stage. Ladle hot jam into clean, hot jelly jars. Fill to within 1/4 inch of the top. Wipe rims and place on lids prepared according to directions on box. Screw lids comfortably tight. Place jars in boiling water bath with water at least 1-2 inches over the tops of the jars. Cover pot and start timing when water returns to the boil. Process 15 minutes. Remove jars to towel, cutting board or cooling rack in a draft-free location. Check seals once jars are cooled. Makes 8-10 jelly jars.

Source: Adapted from Ball Blue Book

Scavenger Stir Fry

Scavenger Stir Fry

Scavenger Stir Fry

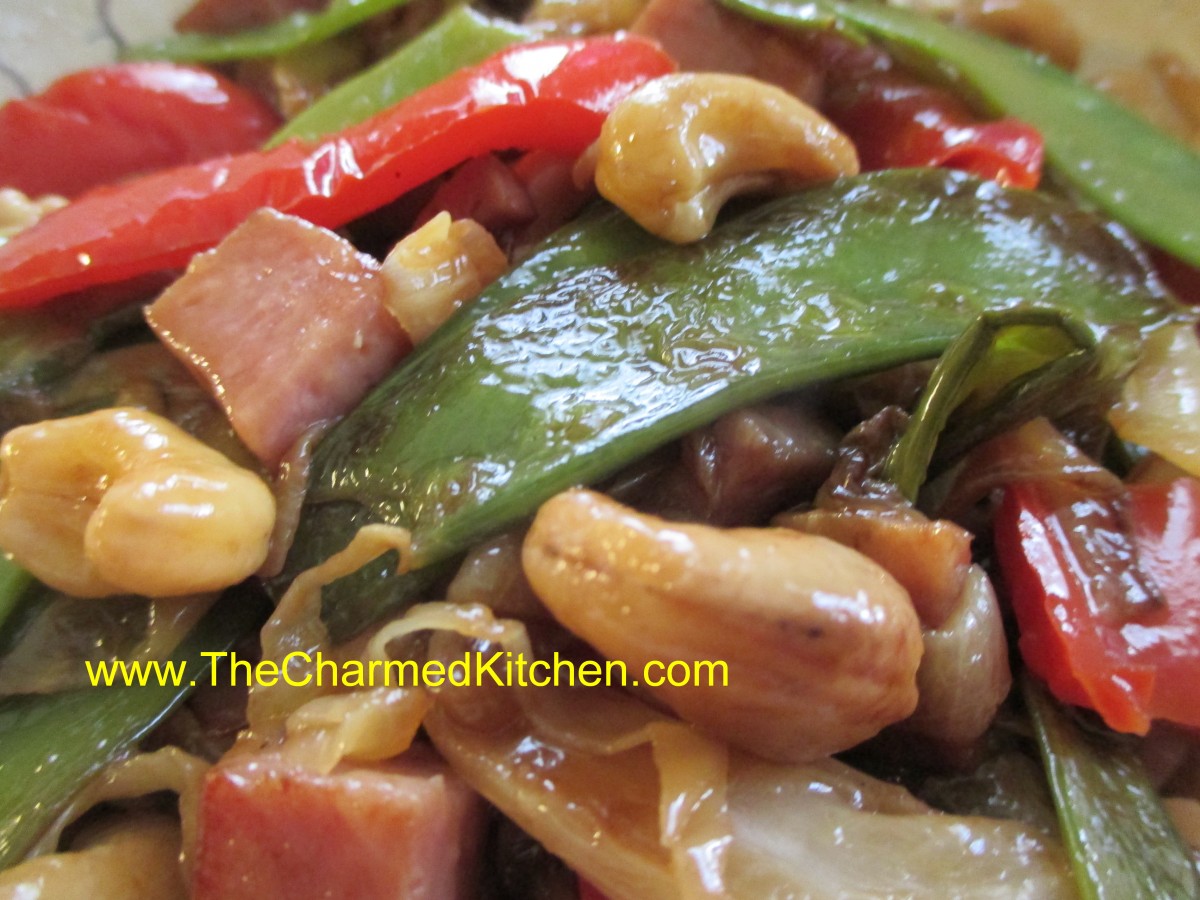
When I got a call from my Godson last night, asking if he could stop in for a visit,  I was delighted. He lives in another town and we don’t see each other that often. He wasn’t going to get here until 9 pm, so I wasn’t sure if he would want dinner. I decided to cook some rice and then I could make a stir fry, if needed. As it turned out, he did come hungry. When people ask me about favorite meals, I must admit I often go to a stir fry. I usually have a decent array of veggies and all I needed to do was figure out a protein to add. It really turned into a scavenger hunt for ingredients. What I found was onions, cabbage, pea pods and a red sweet pepper for the veggies. For the protein, I really didn’t have much, but I remembered I had some ham. Great, something easy to add that was already cooked. For extra crunch, I also added a generous handful of cashews. Dinner was ready in no time at all, and it was well received. When making a stir fry add the vegetables that require longer cooking first.

Scavenger Stir Fry

oil

 1 onion, sliced

2 c. shredded cabbage

8 oz. fresh pea pods

1 sweet red pepper, seeded and chopped

2 c. cubed ham

handful of cashews- 2 handfuls if you have small hands

vegetarian oyster sauce

 soy sauce

sesame oil

Heat oil in skillet or wok and add the onions, stirring often until they are wilted. Add the cabbage and stir fry a few more minutes. Add pea pods and peppers and stir fry until veggies are tender crisp. Add ham, cashews and seasonings, to taste. Heat through and serve over rice or hot cooked pasta. Serves 2-3.

Posted in Cooking |

Asparagus Irene

Asparagus Irene

Asparagus Irene

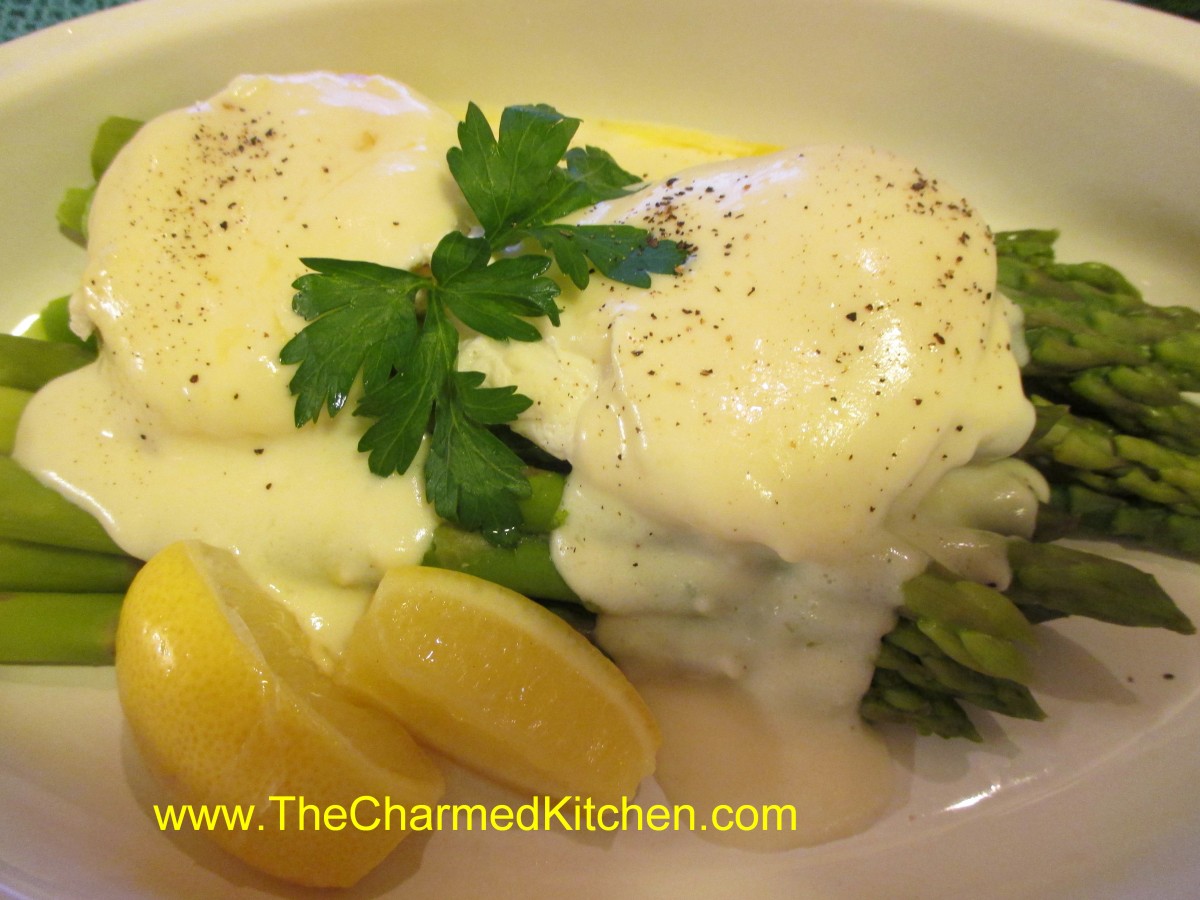
Naming a recipe can be tricky. Sometimes I just list the ingredients in the dish- like chicken with pineapple and honey. That works, but feels a little like cheating to me. I started out calling this Asparagus with Eggs, which was fine. As I started writing out the description I was thinking about my Mom and how she loved asparagus. She always wanted the bigger ones- she said they had more flavor. I remember her showing me how to break the bottom of the stalks off and how she would cook them until they were just done- not mushy. She wouldn’t consider eating canned asparagus- only fresh- so the season was short. It was something to be savored while it lasted. Most times we just placed the stalks on a plate, topped them with a pat of butter and a sprinkle of salt. One time, though, she made a white sauce and poured it over the asparagus. It was bliss. So in her memory- I named the dish after her.

For this version I used a white sauce, but topped the asparagus with 2 poached eggs first. It was a lovely dish and made for a great dinner. Here is the recipe.

Asparagus Irene

1 lb. fresh asparagus, washed and stems trimmed

white sauce- recipe follows

fresh lemon, cut in wedges

2 eggs

vinegar- for the poaching water

salt and pepper to taste

Put the asparagus in a steamer and cook for about 5 minutes- or until almost done. Set aside. Make white sauce, but add some lemon juice to it. I just kept squeezing lemon wedges in until it tasted right to me. Set sauce aside. Boil some water in a shallow pan and add a tablespoon of vinegar to the water. Drop the two eggs in and simmer, covered until the whites are opaque and the yolks are still runny. While the eggs are cooking return the asparagus to the heat and cook until just tender. Place asparagus on a serving dish. Sprinkle with a little salt. Gently place the eggs on top of the asparagus. Spoon some of the white sauce over the eggs. You will have more sauce than you need. Save it for another use. Garnish with lemon wedges and parsley, if you like. Finish with some salt and fresh ground pepper. Serves 2.

Basic White Sauce (Bechamel)

The start of many a classic dish.

2 T. butter or oil
2 T. flour
1 1/4 c. warmed milk
salt and pepper to taste

In saucepan melt butter or heat oil and add flour, stirring until smooth. Slowly whisk in milk, stirring constantly until thickened and bubbly. Turn heat down and continue to cook, stirring constantly for a couple minutes longer. Season to taste. If you are going to store the sauce for later use place a layer of wax paper on top, store in a container with a lid or pour a little milk over the top to prevent a skin from forming. Makes about 1 c.

Lemon: Add zest of a lemon, 2 T. lemon juice and 2 T. butter just before serving.

Posted in Cooking |