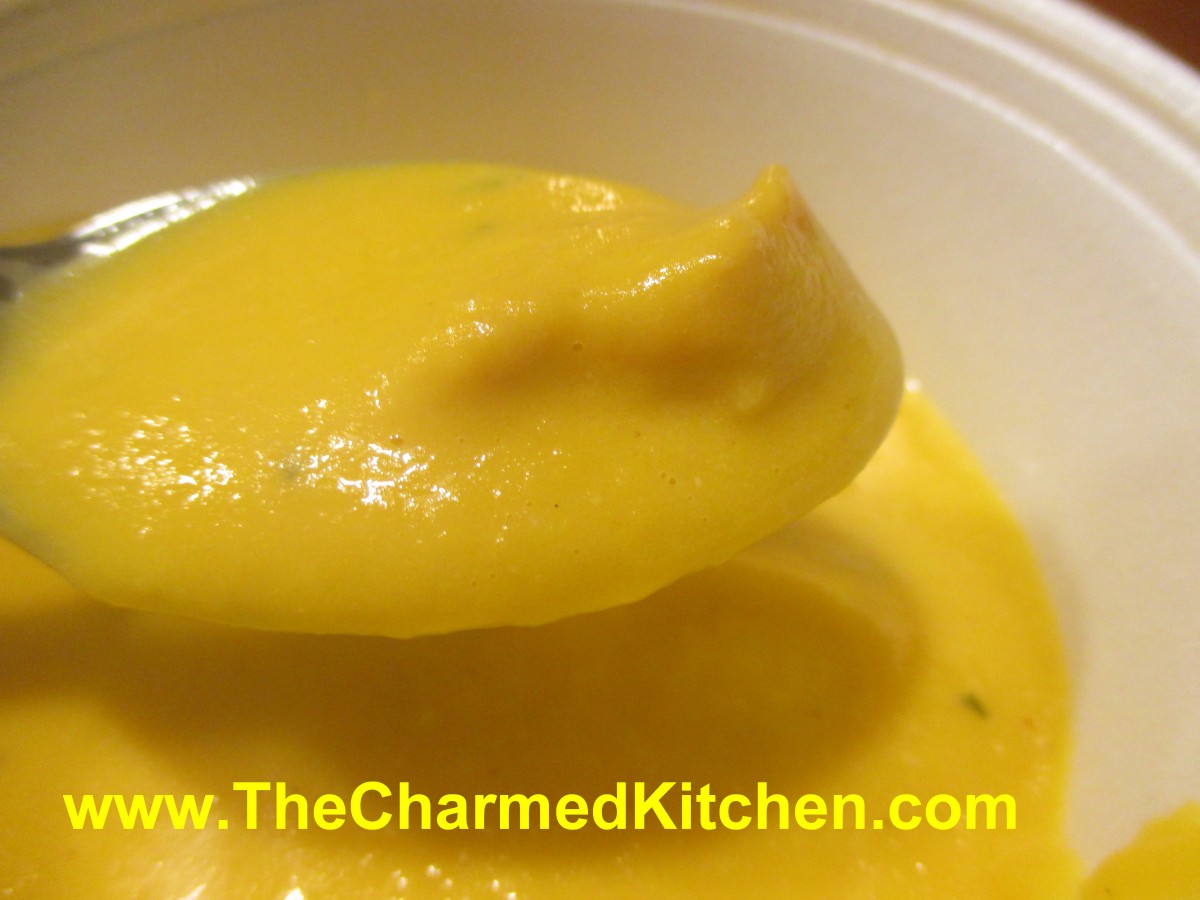
Smoky Pumpkin Soup

I was asked recently about how to use leftover pumpkins from Halloween. I think a rich soup is a great way to use them up. The soup actually has a lot more than just pumpkin in it. A mix of veggies, simmered with smoky ham, then pureed and finished with half and half, the soup is creamy and full of flavor. It makes a big batch, but freezes well so you can have some whenever you want.
Smoky Pumpkin Soup
2 qts. Water
2 lbs. uncooked smoked turkey on the bone, or a ham bone with lots of meat
2 onions, peeled and halved
3-4 large carrots, peeled and chunked
1 cauliflower, cut into flowerets
2-3 ribs celery, sliced
1-2 sweet red peppers, seeded and cut up
1 can (about 14.5 oz.), tomatoes
6 c. cubed pumpkin or winter squash (you can use 3-4 sweet potatoes instead)
1 qt. half and half
2 T. Italian seasoning (I use Tuscan, recipe follows
salt and pepper to taste, plus a healthy dash of hot sauce
Place all ingredients, except half and half and seasonings, in a large pot and bring to a boil. Cover and simmer until vegetables are very tender and meat is cooked and tender, at least 1½ hours and up to 3 hours. Remove meat to cool and add half and half and herbs. Use an immersion blender to puree the vegetables. It does not have to be completely smooth, but it should be close. Adjust seasonings if needed. Cut the meat off the bones and return meat to the chowder. Serves 10+.
Note: I make it in even larger batches because this chowder freezes well. You can add other vegetables like corn, potatoes, green beans or whatever else you have around. I often add cabbage and zucchini. If you want thicker chowder add a potato or two to the recipe. You can also add smoked sausage, if you like. Just remove the sausage, puree the chowder, slice sausage and return to the pot. I also use leftover chicken or turkey and just add a little liquid smoke for another way to get the smoky flavor. This is also a good way to use up a ham bone or leftover ham or turkey ham.
Tuscan Seasoning
½ c. dried basil
½ c. dried oregano
½ c. dried marjoram
3 T. dried minced onion
2 T. dried minced garlic
2 T. dried rosemary
2 T. dried parsley
1 t. crushed red pepper
Use this blend in tomato sauce or other Italian dishes. Also, you can add to vinegar and oil with a little salt, if desired, to make a quick salad dressing.
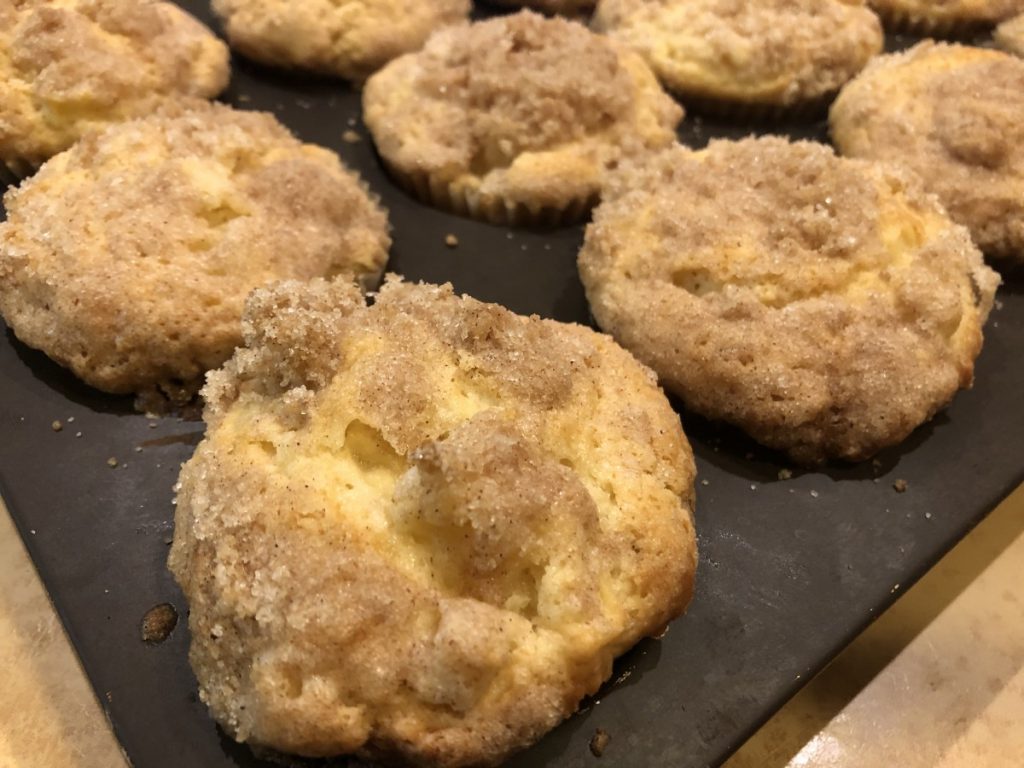
Apple Crumb Cupcakes

I wanted to make a dessert for a friend of mine. Since I had apples, I knew I wanted to use them. I decided to use my apple crumb cake recipe, but turn it into cupcakes instead. That crumb topping is so good. Just thought it would be a fun experiment. It mostly worked out.
The cupcakes worked out very nicely, and my friend was happy to get them. The only problem was that I ended up making 12 cupcakes. I should have made a few more. They were very full and rose more than I had anticipated. Don’t get me wrong, they still tasted great, but smaller cupcakes would have looked better. I would make 15-18 cupcakes the next time.
So here is the recipe. Enjoy!!
Apple Crumb Cupcakes
For cupcake batter:
2 c. flour
2 t. baking powder
½ t. salt
½ stick (¼ cup) butter, softened
¾ c. sugar
1 egg
½ c. milk
2 c. chopped peeled, cored apples
For topping:
½ c. sugar
¼ c. flour
1 t. cinnamon
½ stick (¼ c. butter, chilled and cut into bits)
Combine dry ingredients and set aside. In mixing bowl with electric mixer, beat butter and sugar until light and fluffy. Beat in egg and milk. Add flour mixture gradually until just mixed in. Fold in apples. Grease or line muffin tins with paper liners. You should get 15-18 cupcakes, depending on how full you fill them. I made 12 in my test batch, and they were too full. Divide batter among the prepared pans, filling about 2/3 full. The batter is pretty thick. That is normal. Combine topping ingredients until they resemble coarse crumbs. Sprinkle over batter in pans. Bake in a preheated 350-degree oven and bake for 20-22 minutes. Use toothpick to test. Makes 15-18.
Goblin Goo Drink
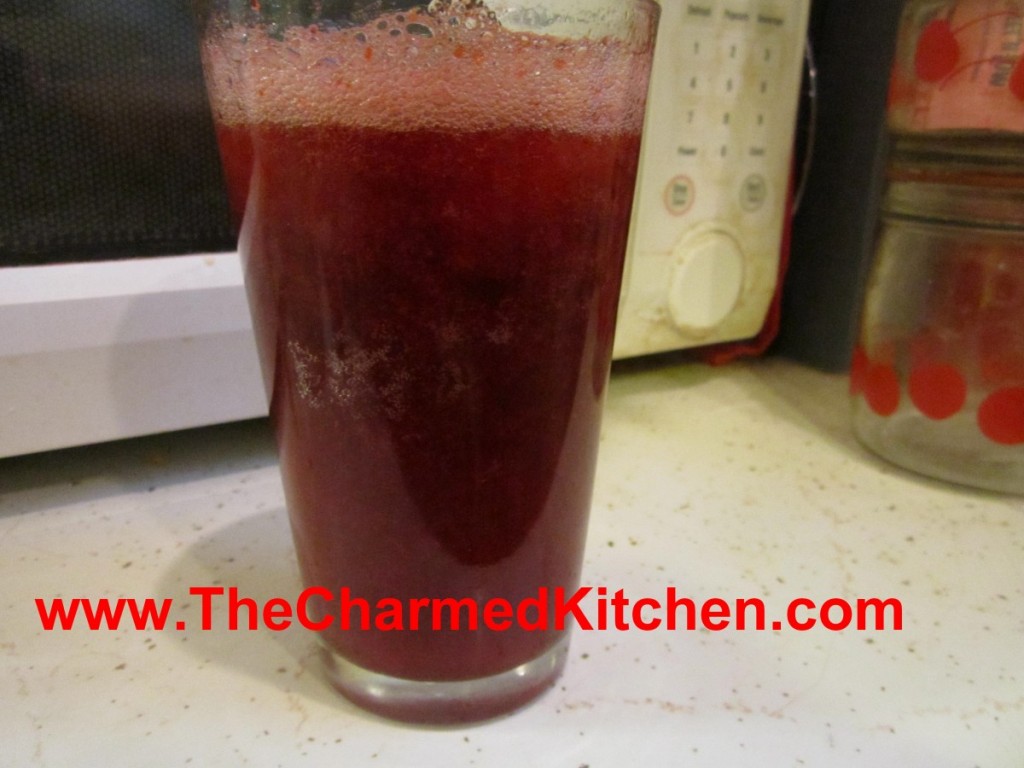
If you want a fun beverage to serve for Halloween, try this Goblin Goo Drink. It’s easy to make and will give guests a start. It’s fun for kids and adults.
The secret is Jell-o. Make whatever flavor Jell-o you like. Once it is firm, mash it with a fork into small pieces.
Place some of the mashed up Jell-o in a glass and add ice and whatever beverage you like. I used cherry Jell-o with sour cherry soda. The Jell-o is invisible that way.
When your guests take a drink, they get little gobs of Jell-o in every sip. You can also play with color combinations for fun. Grape Jell-o with orange soda looks like little black globs in the drink. Kids love it.
You can make it with Jell-o shots, for the grown-ups. Or add the mashed up Jell-o to adult beverages. You can also add the Jell-o to a punch bowl or pitcher of drinks.

Mash Jell-o with a fork

Add some Jell-o to the glass before adding ice and soda
Rye Crackers
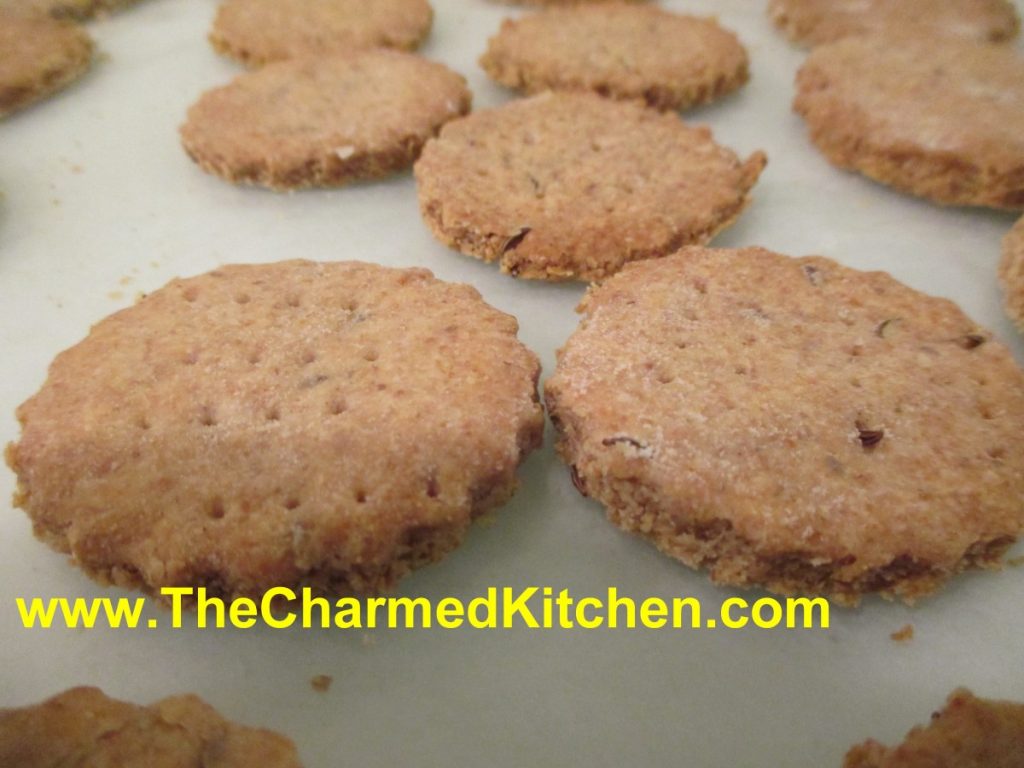
We made these tasty crackers in class the other night. Making crackers is fun, and actually pretty easy. These rye crackers are as simple to make as a batch of cookies. They are crisp and full of flavor. The thinner you roll them out, the crisper they will be.
I am a big fan of rye bread and a fan of these rye crackers, too. I love the flavor of rye flour. I think it pairs so well with any number of toppings. These are great with a little Swiss cheese melted on the top. You can also cut the crackers out in fun shapes.
So here is the recipe for rye crackers. I hope you’ll give cracker making a try.
Rye Crackers
1 c. rye flour
1 c. all-purpose flour
1 T. caraway seed
1½ t. salt
1 t. onion powder
1 t. garlic powder
1/3 cup oil
1 t. honey
¼ c. water, or as needed
Combine the rye flour, all-purpose flour, caraway seed, salt, onion powder, and garlic powder in a bowl. Stir in the oil and honey. While stirring with a fork, slowly add the water until the dough comes together in a ball. Cover and rest for 10 minutes. Preheat oven to 375 degrees. Divide the dough into 4 sections, rolling each piece out on parchment paper to 1/8 inch thick. Cut into desired shapes, then place on a baking sheet. Prick each cracker a few times with a fork. Bake until the edges are brown and the crackers are crisp, 10 to 12 minutes. Remove immediately to a cooling rack.
Bat Wings
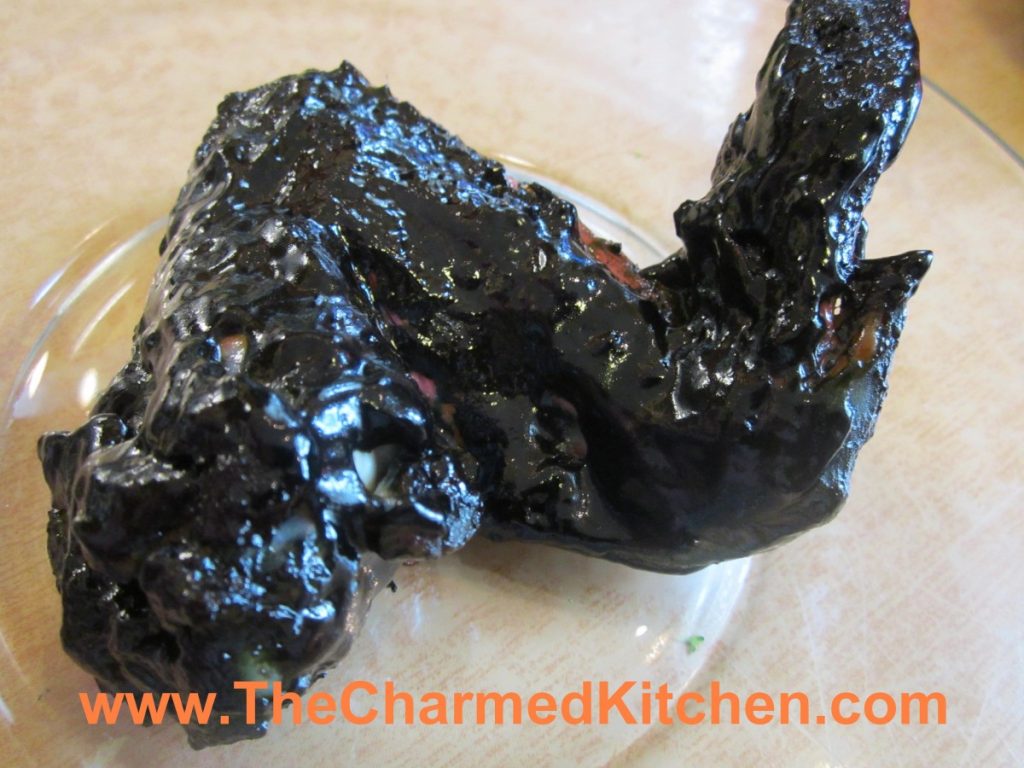
With Halloween fast approaching I thought I’d share this recipe for bat wings. OK, not really bat wings, but you already knew that. I just add black food coloring to barbecue sauce and use it to color chicken wings.
I made a batch for a Halloween party a few years ago and someone actually asked if they were real bat wings.
A word of warning- when you use black food coloring it will transfer to you. No matter how careful you are when you eat the wings, you’ll end up with purple fingers. Also, for the best effect, keep the wings intact- no trimming off of the tips. You can separate the drums before serving, if you like. Makes eating a little easier. They look pretty cool when set out on the table. Creepy- but very tasty.
Bat Wings
2-3 lbs. whole chicken wings
salt and pepper
1 c. barbecue sauce- store bought or home made
black food coloring- handle carefully- it stains
Place chicken wings in a roasting pan, season with salt and pepper and bake in a preheated 400 degree oven for 30 minutes. Meanwhile in medium bowl combine sauce with food coloring. Add just a little black food coloring at a time. Too much will alter the flavor of the food. Remove wings from the oven and dip them in the bowl of sauce. Turn to coat. Place wings on a clean baking sheet and return to the oven. Bake an addition 45 minutes. You can baste them with additional sauce during the baking, if you like. Place on a serving platter and provide plenty of napkins.
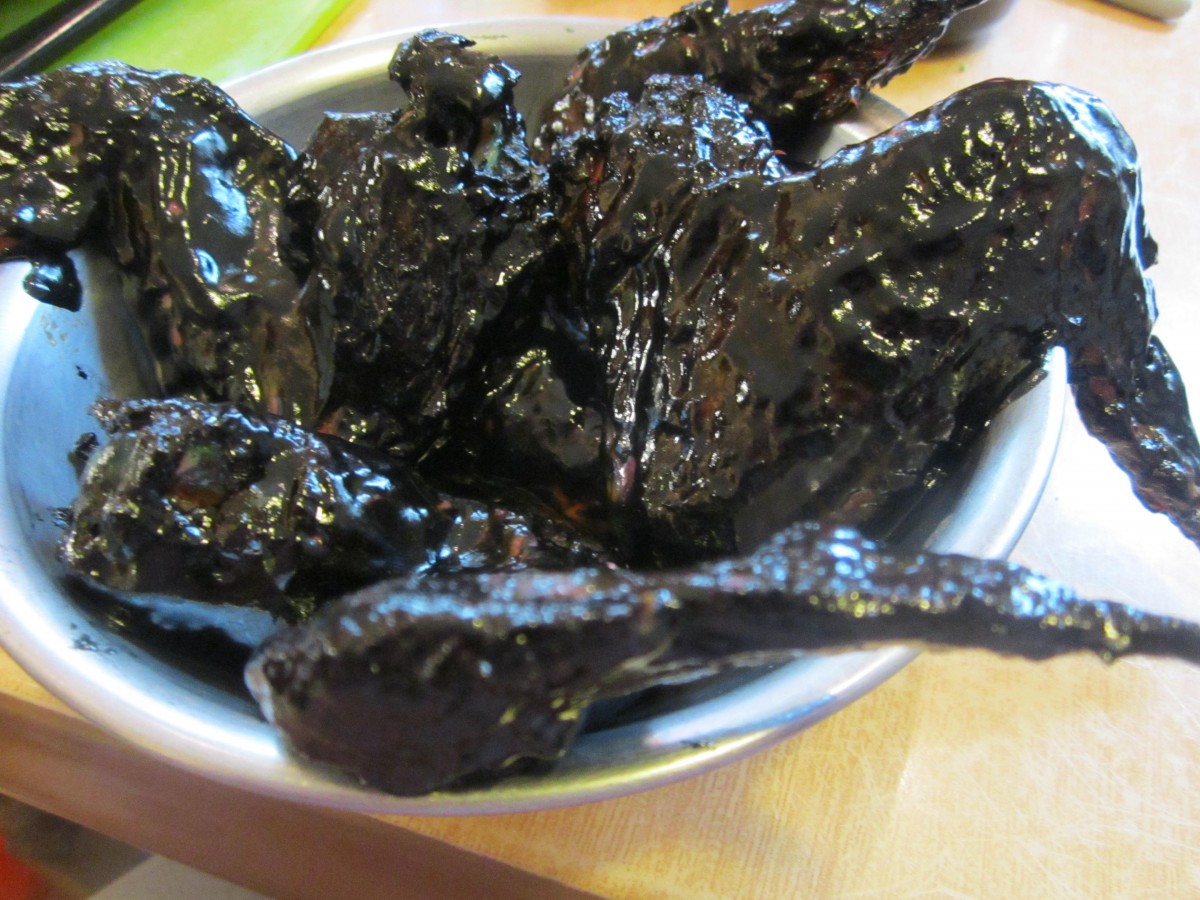
A pile of “bat” wings
Homemade Graham Crackers
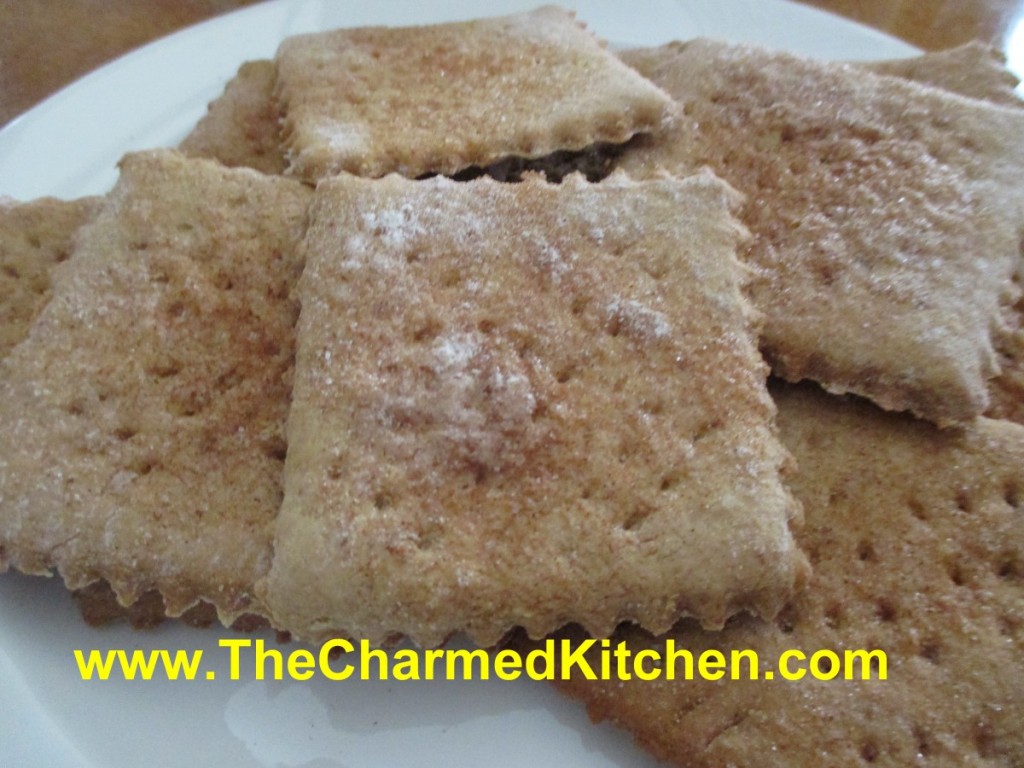
I have made graham crackers before, but it had been a few years. They aren’t all that hard to make. Rolling them to the right thickness is the hardest part. You want them pretty thin, but not too thin. We made them in cooking class last night. We were making several cracker recipes and the lady who chose the Graham crackers was not confident. She was only there because her daughter couldn’t make it and she was taking her place. I guided her along and her crackers came out great!! She nailed it!!
These taste really good and are not as sweet as grahams crackers you get at the store. If you like a sweeter cracker, add a little more sugar. I like them the way they are.
Someone asked for my marshmallow recipe last night, so I included it at the bottom of this post.
It is fun to make S’Mores using both homemade marshmallows and homemade graham crackers.
Graham Crackers
1 c. whole wheat flour or whole wheat pastry flour
1 c. all-purpose flour
1/3 c. sugar
½ t. salt
1 t. cinnamon
1 t. baking powder
1 large egg
¼ c. oil
¼ c. honey
2 to 3 tablespoons milk
additional milk for glaze
cinnamon-sugar (optional)
In a mixing bowl, combine whole wheat flour, all-purpose flour, sugar, salt, cinnamon and baking powder. In a separate bowl, beat egg till light, add oil, honey and 2 tablespoons milk. Stir into dry ingredients until you have a fairly stiff dough, adding additional milk if necessary. Wrap dough in waxed paper and chill until firm, about 1 hour (or longer, if it’s more convenient).
Turn the dough onto a floured surface and knead gently until it holds together. Roll dough out till it’s about 1/16-inch thick; make sure rolling surface is well-floured, or you’ll have trouble transferring crackers to baking sheet. Preheat your oven to 350°F.
Cut dough into 3-inch squares, prick each square several times with a fork, and place on lightly greased cookie sheets. Brush the tops with milk, sprinkle with cinnamon-sugar if you’re so inclined, and bake for 12-15 minutes, or until crackers are lightly browned. Remove crackers from oven, transfer to a wire cooling rack, and cool completely. Makes about 2 dozen graham crackers.
As promised here is the recipe for making marshmallows. I’ve used this recipe for ages and what I like about it is that it is super easy and still gives you yummy marshmallows. I’ve seen more complicated versions- but why make life harder than it already is? The recipe calls for packets of gelatin. If you want to use sheet gelatin instead, which I did, the adjustments are in the directions. Either works fine.
Marshmallows
1/2 c. cornstarch
1/2 c. powdered sugar
small amount of butter
2 envelopes unflavored gelatin, or 6 sheets of gelatin*
1/2 c. granulated sugar
1/3 c. water
2/3 c. corn syrup
1/2 t. vanilla
Combine cornstarch and powdered sugar in a small bowl. Butter an 8x8x2 inch-baking pan. Sprinkle with some of the cornstarch mixture. Reserve the rest of the mixture for use later on. Combine the gelatin, granulated sugar and water in a small saucepan and cook over low heat, stirring constantly until gelatin is dissolved.** Pour gelatin mixture into a large bowl, adding the corn syrup and vanilla. Beat with an electric mixer on high speed for 15 minutes. Be precise on the timing. The mixture will be thick and fluffy, marshmallow cream, actually. Pour mixture into the prepared pan, spread evenly and refrigerate overnight. The next day, sift some of the reserved cornstarch mixture over the marshmallows. Sprinkle some more of the coating mixture on a work surface and turn the marshmallow out onto the prepared surface. Cut the marshmallows into 1-inch squares, coating as you go. The marshmallows are very sticky until completely coated. Allow to dry on a rack. Store in an airtight container for up to 3 weeks. Makes about 4 dozen candies.
You can swap out flavorings- using maybe mint or lemon in place of the vanilla. You can also add a few drops of food coloring, if you like. Oh, and when you are at the rolling the pieces around in the cornstarch and powdered sugar stage of the process- don’t wear black. You’ll thank me later for that.
* Note: 3 sheets of sheet gelatin= one packet (1 tablespoon) of powdered gelatin.
** Note: If you are using sheet gelatin place it in the pan with COLD water and stir until dissolved. Then add the sugar and just cook, over medium-low heat until just warm, stirring often. Don’t let the mixture get too hot or the gelatin will not work.
Dissolve gelatin in water
Cook with water and sugar until warm
Apple Cider Sorbet
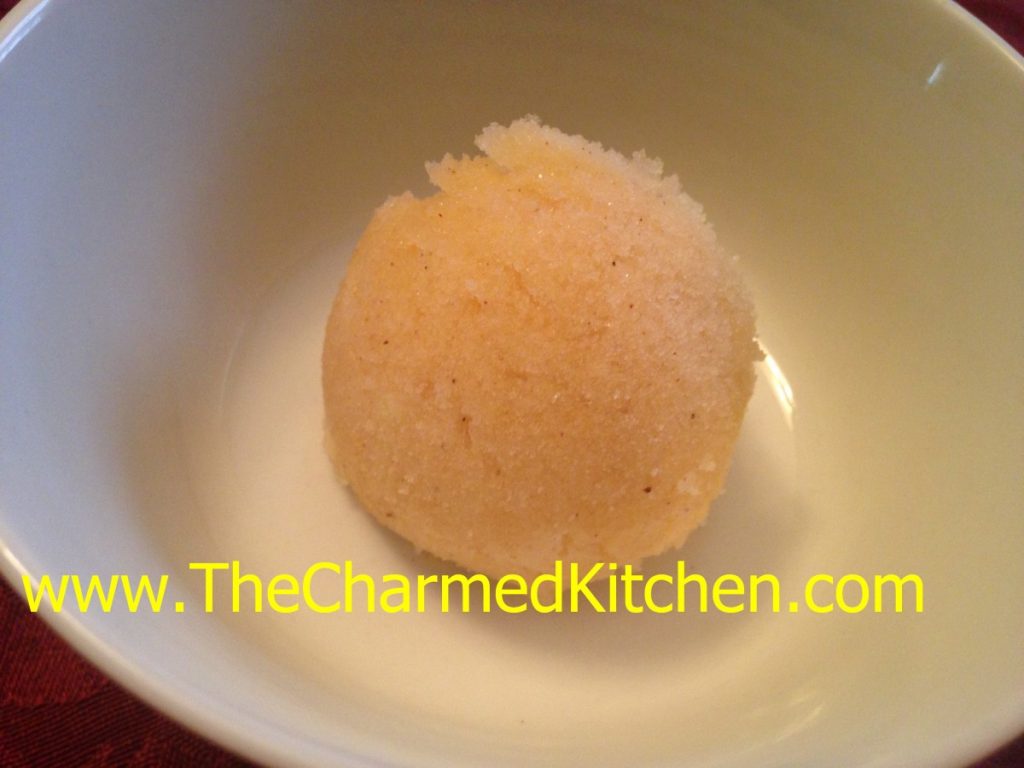
I’ve had my share of warm apple cider, but I never froze it before. This sorbet is such a nice dessert option. Light and naturally sweet, it is the perfect finish for any meal.
The cider is boiled down, to concentrate the sweetness. Then fresh apples are added and pureed. The mixture gets frozen, then pureed one more time- to really smooth out the texture. Cinnamon sticks impart their flavor when boiled in the cider. You could certainly used ground cinnamon, if you don’t have cinnamon sticks. Feel free to add other spices, too, like allspice, cloves or ginger.
Over the years, I have made all sorts of sorbets. I love the light, creamy texture. I am not sure why I never tried to make an apple sorbet before. I am so glad I finally did. This is a nice, lighter option for dessert. It is also a dairy-free option, for those who can’t have ice cream.
Apple Cider Sorbet
6 c. apple cider
2 (4-inch) cinnamon sticks
3 apples, peeled, cored and diced
In saucepan place cider and cinnamon sticks. Cook over medium high heat, uncovered, until cider has cooked down to 2 cups. Remove cinnamon sticks and discard them. Cool cider and combine in food processor with the apples. Puree until smooth. Transfer mixture to a container with a lid. Freeze until solid. Remove from freezer and allow to soften for a few minutes. Break into chunks and puree in processor, until smooth and creamy in texture. You can serve it right away, or return to freezer to enjoy later. Makes 1 quart of sorbet.
Maple Bacon Doughnuts
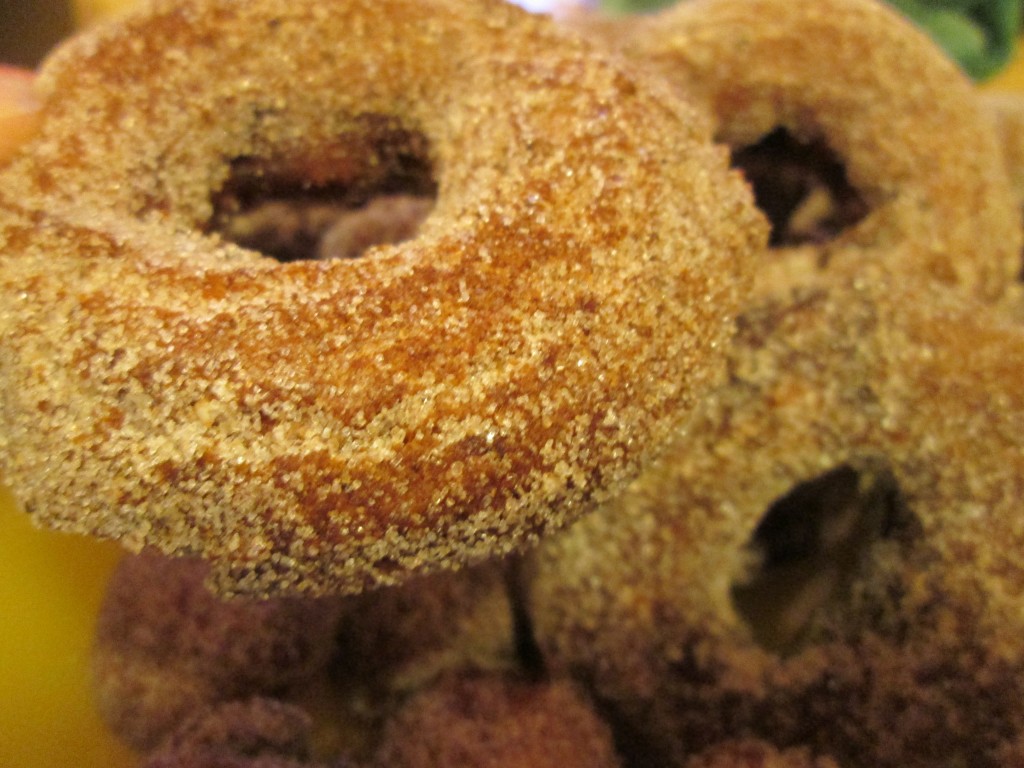
If you want homemade doughnuts, you can’t much easier than these Maple Bacon Doughnuts. They are a cake-style doughnut. That means baking powder is used to leaven the doughnuts, not yeast. You can mix up a batch of dough in just a few minutes.
You do need to let the dough chill before frying, so allow time for that.
The sweetness from the maple syrup pairs so well with the smoky bacon. Once the doughnuts are fried, I like to roll them in cinnamon sugar, but you can dust them with powdered sugar, or even make a powdered sugar glaze.
Maple Bacon Doughnuts
3 c. flour
1 T. baking powder
2 t. cinnamon
1 t. salt
1/2 t. grated ginger
2 eggs
1/2 c. sugar
1/2 c. maple syrup
1/3 c. buttermilk
1/4 c. melted butter
1 c. cooked, crumbled bacon
oil for deep frying
cinnamon sugar
Combine dry ingredients and set aside. In another bowl beat together eggs, sugar and syrup until well mixed. Stir in buttermilk and butter then stir in dry ingredients and bacon. Do not over mix. Chill dough at least a couple of hours before using it. Overnight is better. When ready to use, heat oil to 375 degrees. While oil is heating roll dough out, on a floured surface, 1/2 inch thick, and cut out with a doughnut cutter. Fry several at a time for 1 minute per side. Drain on paper towels. Roll warm doughnuts in cinnamon sugar. Re-roll scraps. You will end up with about 18 doughnuts and 18 doughnut holes.
Candy Spiders
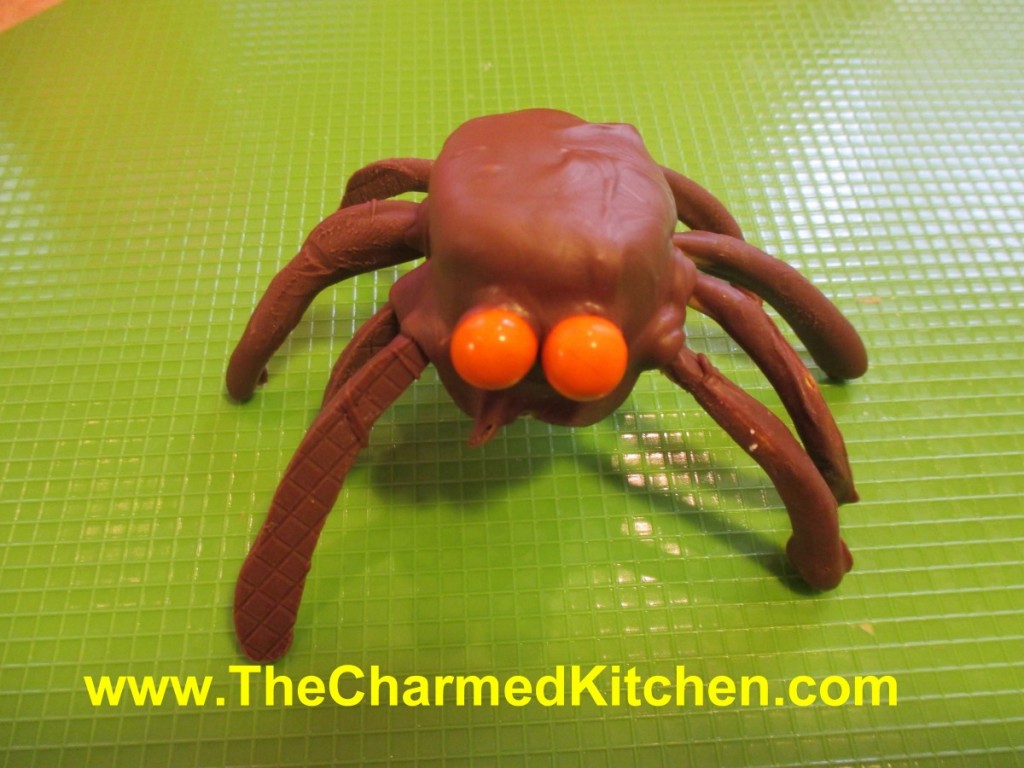
If you are looking for a quick spooky decoration/treat idea, you might want to make some candy spiders. These are about the size of a tarantula. Super simple, and kids can make them, too. You only need a few ingredients.
The body is made from marshmallows, the legs are chow mein noodles and the eyes are small candies. Sixlets work well.
I used melting chocolate, but you can use any kind of chocolate you like. To start, melt some chocolate. Dip the chow mein noodles in the chocolate and tap gently to remove excess. I leave one end un-dipped to make it easier to stick in the marshmallow later. Allow to harden up before going to the next step. I set them on a flexible cutting board, but wax paper is good, too. You have to peel them off later, a flexible surface is best. You’ll need 8 for each spider- so be sure to make enough. Allow for breakage. Set a marshmallow flat side down and poke 4 holes in each side, 8 total. I used a bamboo skewer. Stick a noodle “leg” in each hole. Spoon chocolate over the marshmallow until coated. Whatever drips off can be re-melted and used again. While the chocolate is still soft, press 2 candy eyes into place. Hold them for a minute to be sure they are secure. Now, you can decorate cakes with them, use them on a dessert tray- or just eat them.
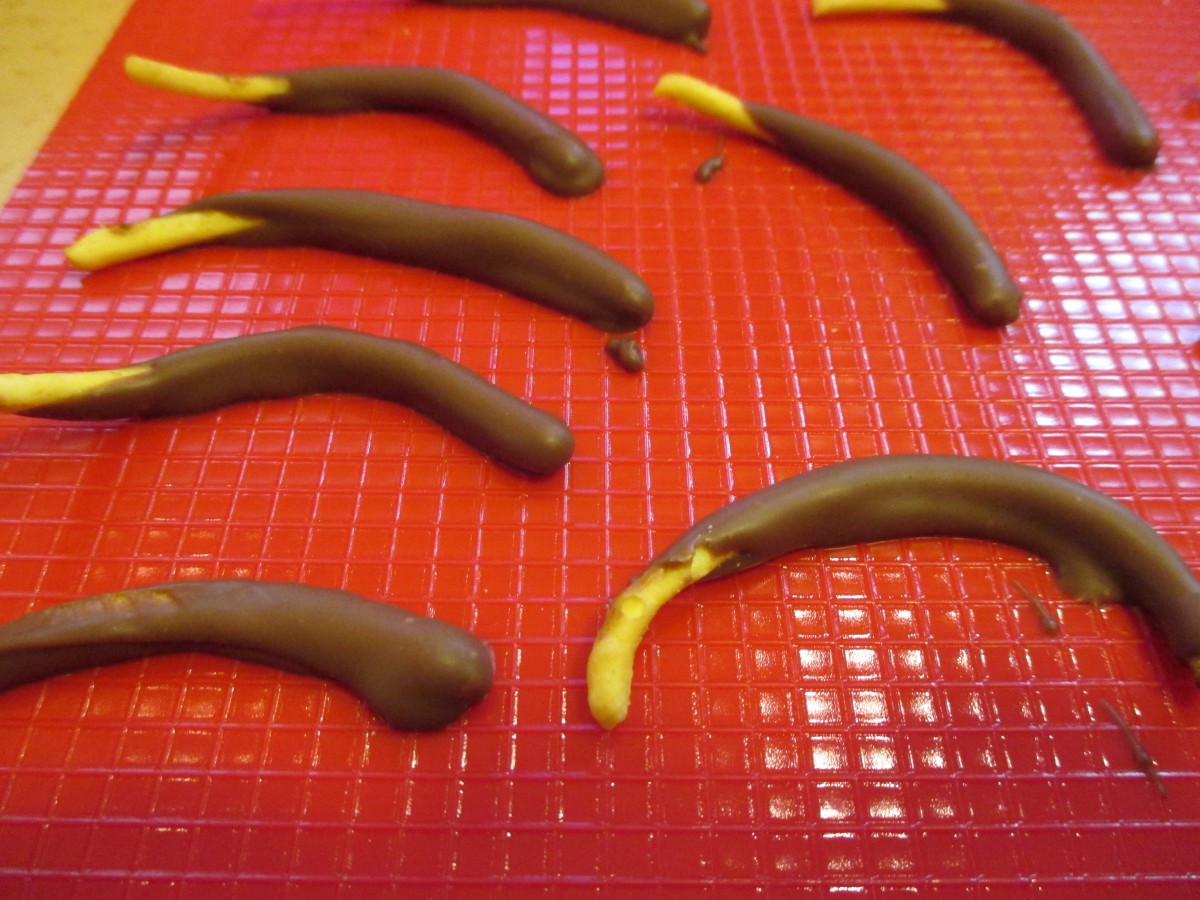
Chow mein noodle legs

Insert legs into marshmallow
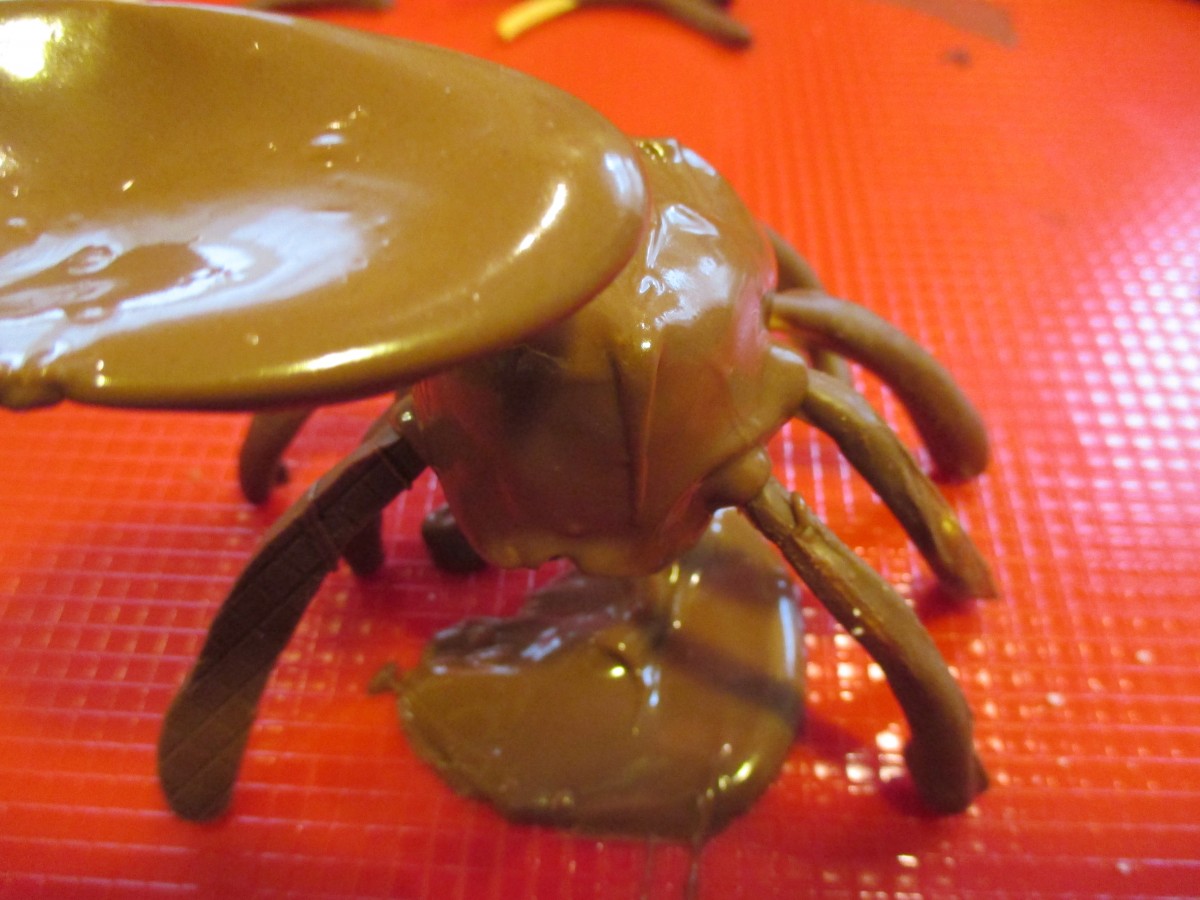
Spoon chocolate over the marshmallow to cover it.
Chili Braised Oxtails
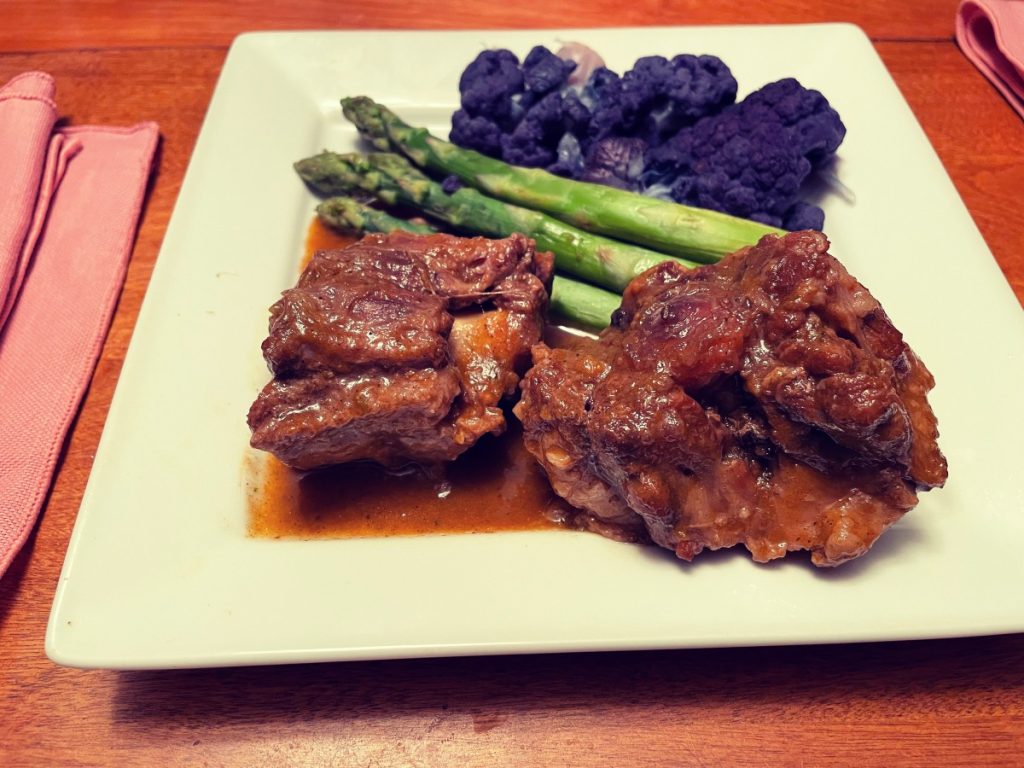
Oxtails will always remind me of the oxtail soup my mom used to make when I was a kid. It would simmer all day and smelled wonderful. I wanted to do something other than soup with these oxtails, so I decided to braise them instead.
Oxtails need a long, slow cook to get them really tender. Moist heat is the trick here. Soup is one way. Braising is another. Yes, you can also cook them in a pressure cooker to get the meat tender faster. I went more traditional though, and opted for a braise of several hours. While the cooking takes a bit of time, there really is nothing to do once the dish is moved to the oven. You just have to start them early enough. Longer cooking generally won’t hurt them. It just depends on how tender you want your oxtails to be.
Oxtails are pretty fatty and you want to trim off excess fat before cooking or your sauce will be greasy. My local butcher trims them for me, saving a step. It also means I am not paying for fat that I am going to cut off and throw away. Oxtails were once an inexpensive cut of meat, but that has changed in recent years. It pays to save where you can.
So here is the recipe. I had a friend try them and he really enjoyed them. I think you will, too.
Chili Braised Oxtails
3-4 lbs. oxtails, excess fat trimmed, if needed
2 T. oil
2 large onions, chopped
2 large carrots, chopped
1 rib celery, chopped
4-5 cloves of garlic, chopped
4 cups stock- beef preferred
½ c. sherry or red wine
¼ cup chili powder
Salt and pepper
Cayenne pepper to taste
In Dutch oven brown the oxtails in oil until browned. Remove from the pan, add the vegetables and brown them for about five minutes. Return shanks to the pot. Add the stock and bring to a boil. Add sherry and seasonings. Place lid on pot and place in a preheated 350-degree oven for 3-4 hours. Check them after 90 minutes and add a little more stock, if needed. It is normal for some of the stock to cook down. I did not need to add more stock. Remove pan from the oven. Remove oxtails and keep warm. Puree the vegetable mixture to make a gravy. Adjust seasonings. Serves 3-4.


