Canning Pineapple
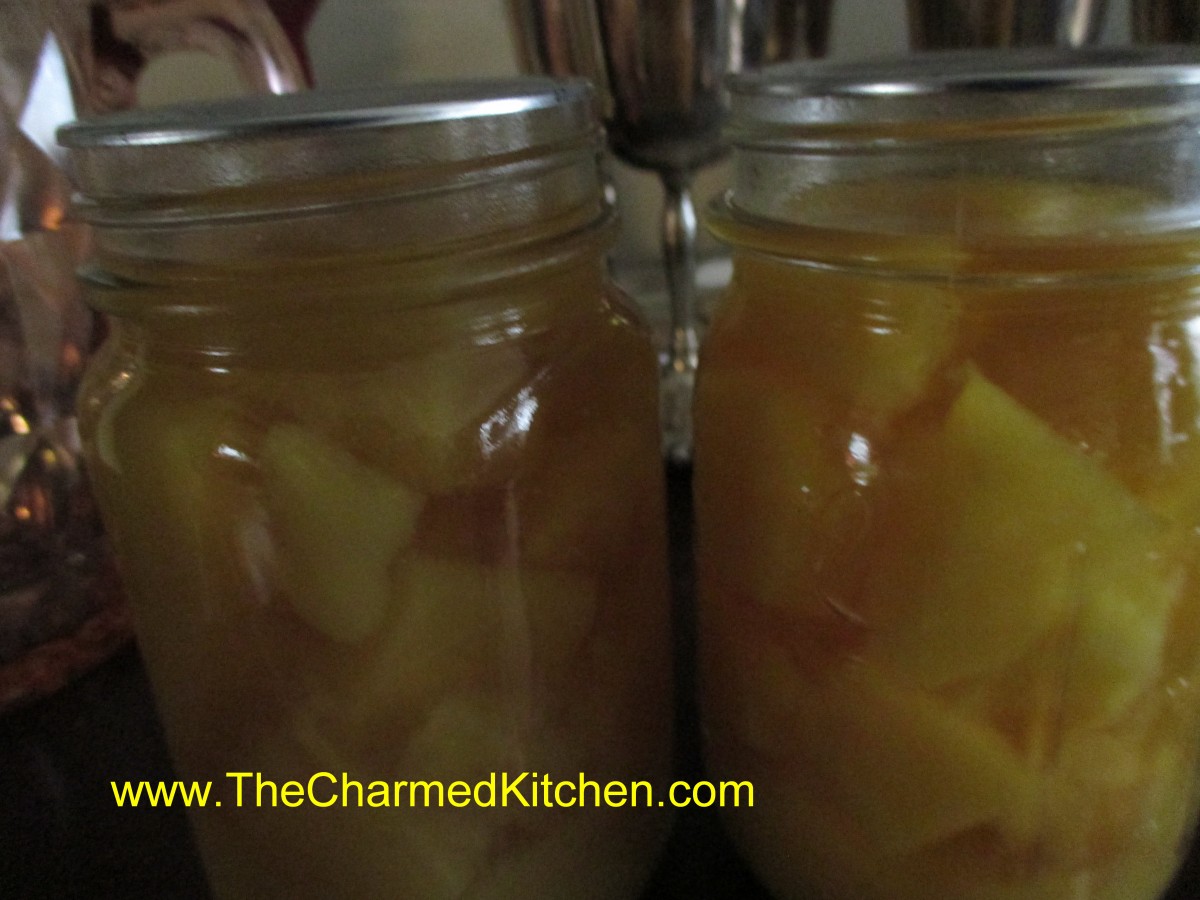
Canned Pineapple
In a canning class a few weeks ago I shared some home canned pineapple with the students. I had promised to share the recipe. It is really simple to do and a great way to take advantage of a good sale. I found pineapples on sale for a dollar and grabbed quite a few. I canned them in juice although you can use a light sugar syrup, if you prefer. I think they look and taste great. Here is the recipe.
Canning Pineapple
Wash pineapple. Peel and remove eyes and tough fiber. Slice or cube. Pineapple
may be packed in water, apple juice, white grape juice, or in very light, light, or medium syrup. In a large saucepan, add pineapple to syrup, water, or juice, and simmer 10
minutes. Fill hot jars with hot pieces and cooking liquid, leaving 1/2-inch headspace. Remove air bubbles and adjust headspace. Wipe rime with dampened paper towel and apply lids and bands. Process in a boiling water bath. Pints 15 minutes, quarts 20 minutes.
Altitude adjustment- 1,001-6,000 ft. pints 20 minutes, above 6.000 ft. 25 minutes. Quarts 1,001-3,000 ft. 25 minutes, 3,001-6,000 ft. 30 minutes. Above 6,000 ft. 35 minutes.
Source. NCHFP
Kahlua Chocolate Squares with Walnuts
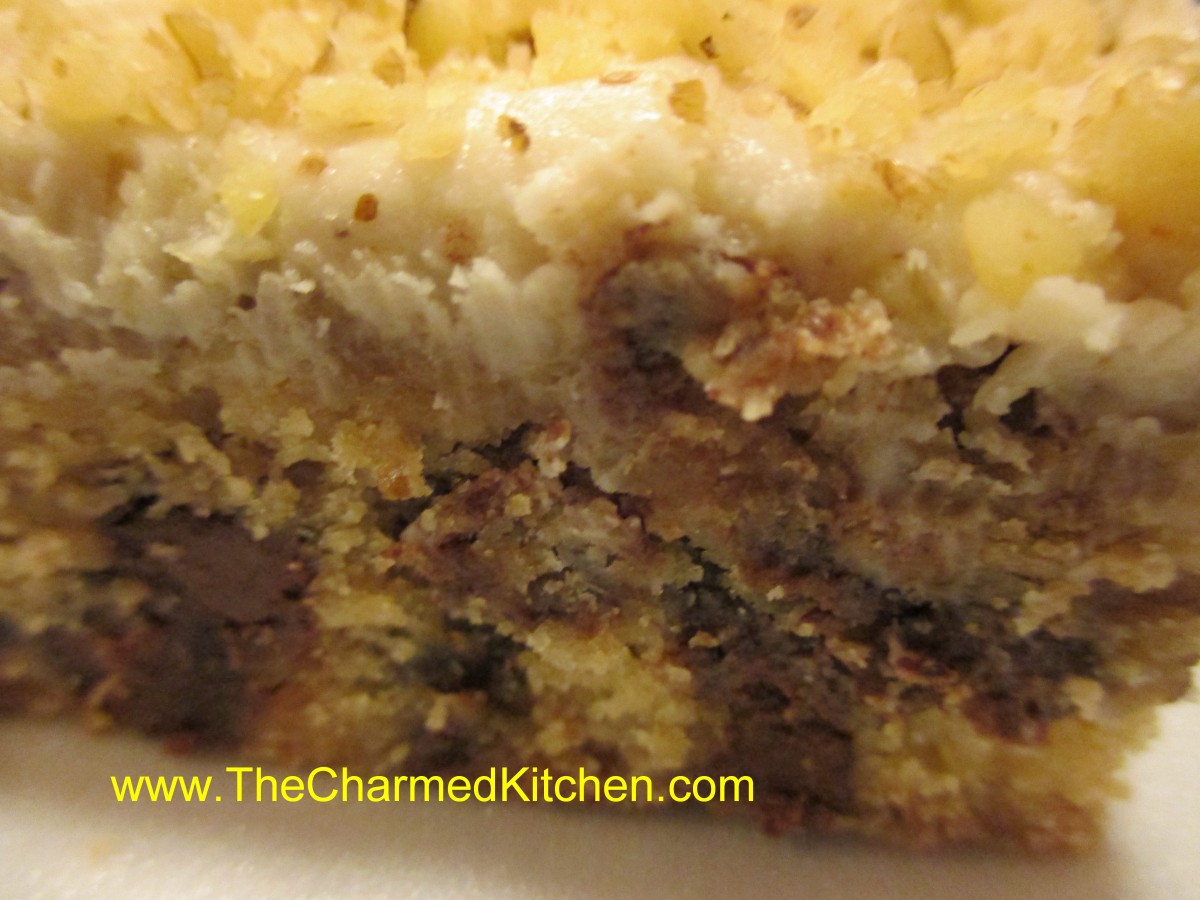
Kahlua Chocolate Squares with Walnuts
The combination of chocolate and coffee is classic. In these brownie- like squares you use coffee liqueur in the batter with chocolate chips and walnuts folded in. Then they are topped with a brown butter icing that also has a little coffee liqueur in it. They are dense, without being heavy and have just the right amount of sweetness. I make my own coffee liqueur but you can, of course use Kahlua or Tia Maria , if you prefer. Trust me, whichever option you choose, these are going to come out great.
Kahlua Chocolate Squares with Walnuts
1 ¼ c. all purpose flour
1 t. baking powder
½ t. salt
½ c. butter, softened
¾ c. packed brown sugar
1 egg
¼ c. coffee liqueur
1-c. chocolate chips
1/3 c. walnuts
1 T. coffee liqueur (for tops of bars)
Brown butter icing
2 T. butter
1 T. coffee liqueur
2 t. milk
1 1/3 c. powdered sugar
Walnut halves or chopped walnuts
Combine dry ingredients and set aside. In large bowl cream butter and sugar until light and fluffy. Beat in egg then stir in liqueur, then flour mixture. Fold in chips and nuts. Turn into greased 7×11* inch pan and even out. Bake in a 350-degree oven for about 30 minutes. Top should spring back when touched lightly. Cool in pan 15 minutes then brush with remaining liqueur. When cool spread with brown butter icing and top with nuts. Makes 24 bars.
* If you don’t have a 7×11-inch pan you can use an 8×8-inch pan- squares will be thicker and bake a little longer or a 9×9-inch pan -squares will be a little thinner but bake in the same amount of time.
Mushroom Paprikash Soup
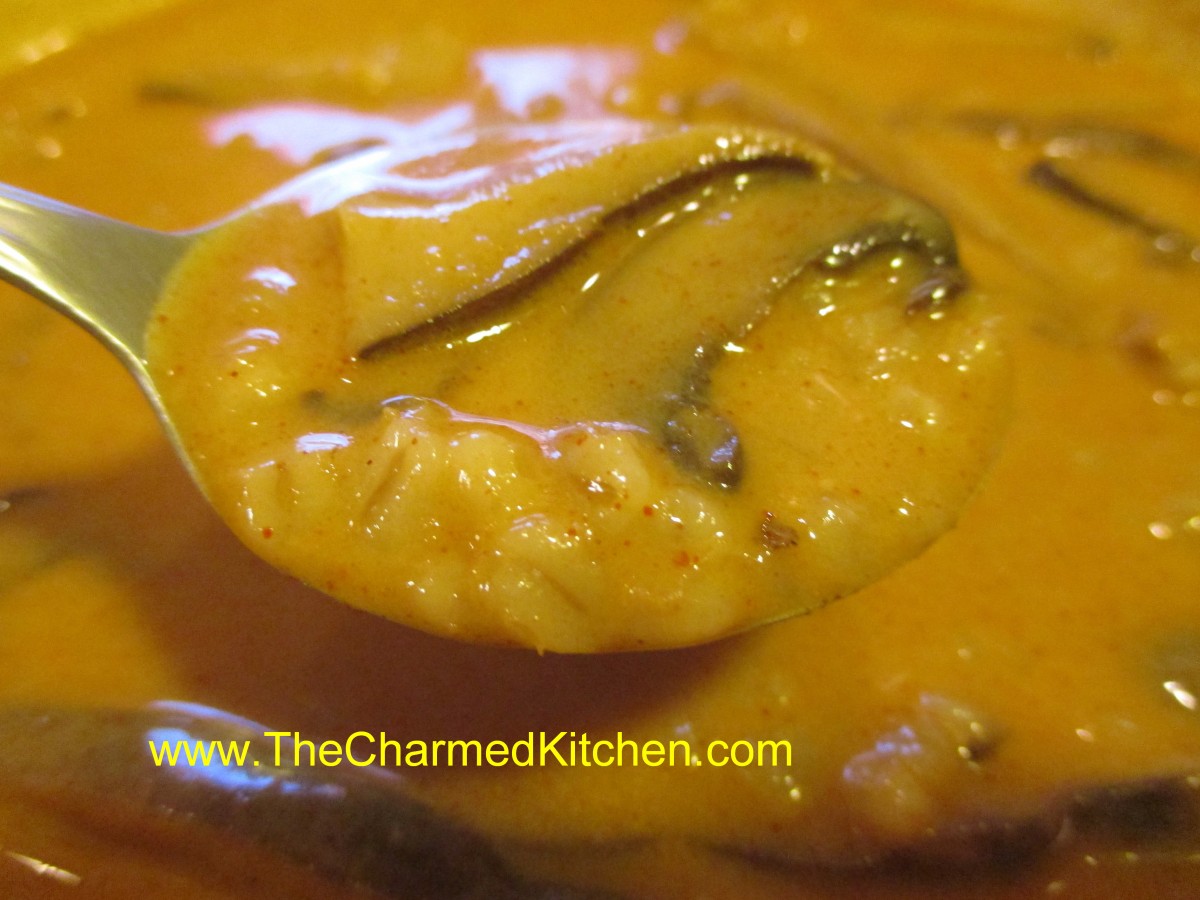
Mushroom Paprikash Soup
I was lucky enough to get some beautiful fresh Shitake mushrooms a few days ago. I also had some Crimini mushrooms. With a chilly weekend ahead I decided to go with a soup. I was thinking of a version of the mushroom soup I grew up with. It is normally made with dried mushrooms. I made some changes, like adding barley. I was also planning on adding sour cream. A friend mentioned a recipe she had with paprika added to a mushrooms. The Mushroom Paprikash Soup was born. We had it over the weekend and everyone really liked it. Here is the recipe. If you can’t find fresh Shitake Mushrooms feel free to use what fresh mushrooms you do have.
Mushroom Paprikash Soup
8 oz. fresh shitake mushrooms
8 oz. fresh crimini mushrooms
oil
2 onions, chopped
8 cups water
1 c. uncooked barley
1/4 c. balsamic vinegar
1/4 c. sherry
2 T. honey
1 c. sour cream
2 T. paprika
1 T. hot sauce
salt and pepper to taste
Remove stems from mushrooms and wash thoroughly. In soup pot heat oil and add onions and mushroom stems and cook until golden brown. Add the water and simmer together for 30 minutes or longer to make a mushroom stock. Meanwhile, wash and slice the mushroom caps. Strain stock, discard onions and stems and set aside. Put a little more oil in the soup pot and add the sliced mushrooms. Saute them for a few minutes. Return stock to soup pot with the mushrooms, bring to a boil and simmer, covered for 20 minutes. Add the barley, vinegar, sherry and honey and simmer, covered, for 40-50 minutes, or until barley is tender. To prevent the sour cream from curdling place it in a small bowl and ladle in a little of the hot soup. Whisk until smooth and add a little more soup, whisking again. Add the sour cream mixture to the soup along with the rest of the seasonings. Adjust to your taste and serve. Serves 6.
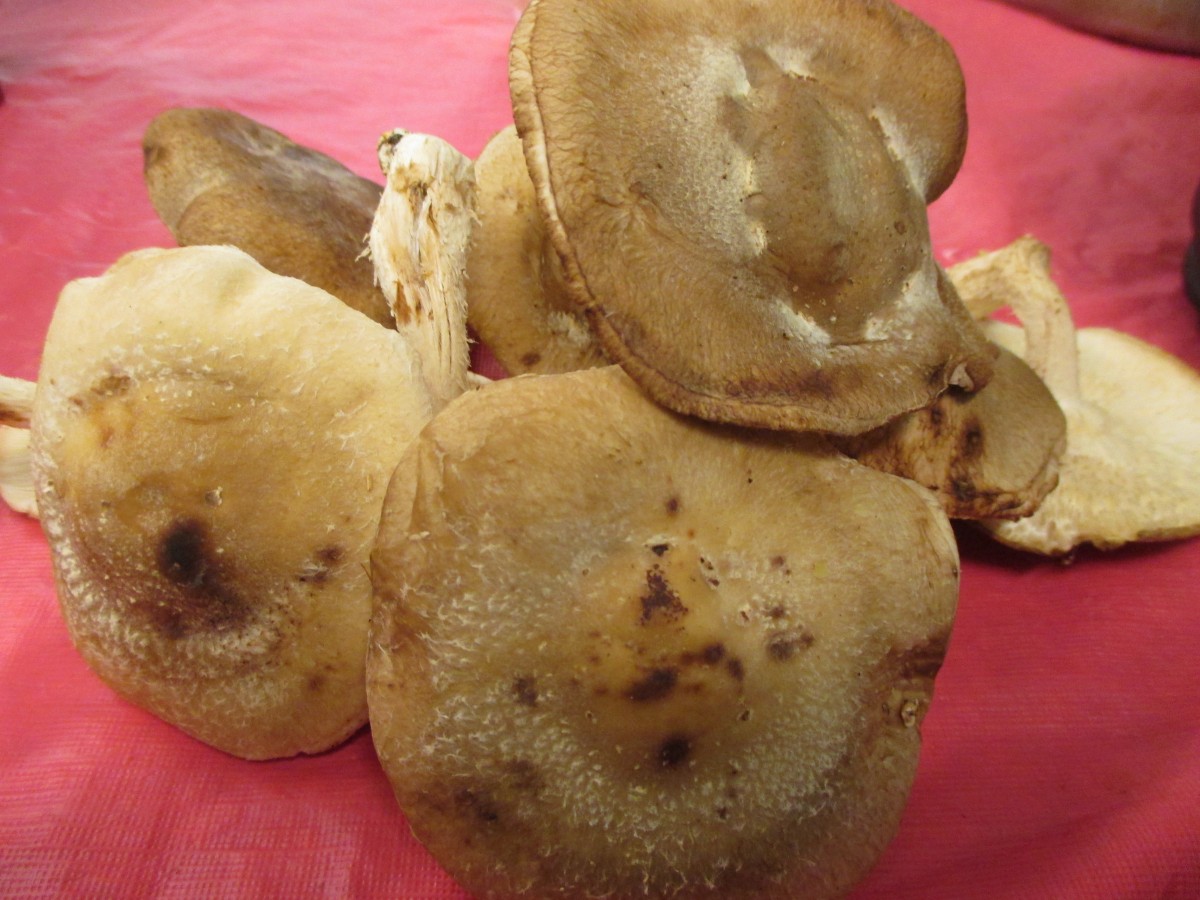
Fresh shitake mushrooms
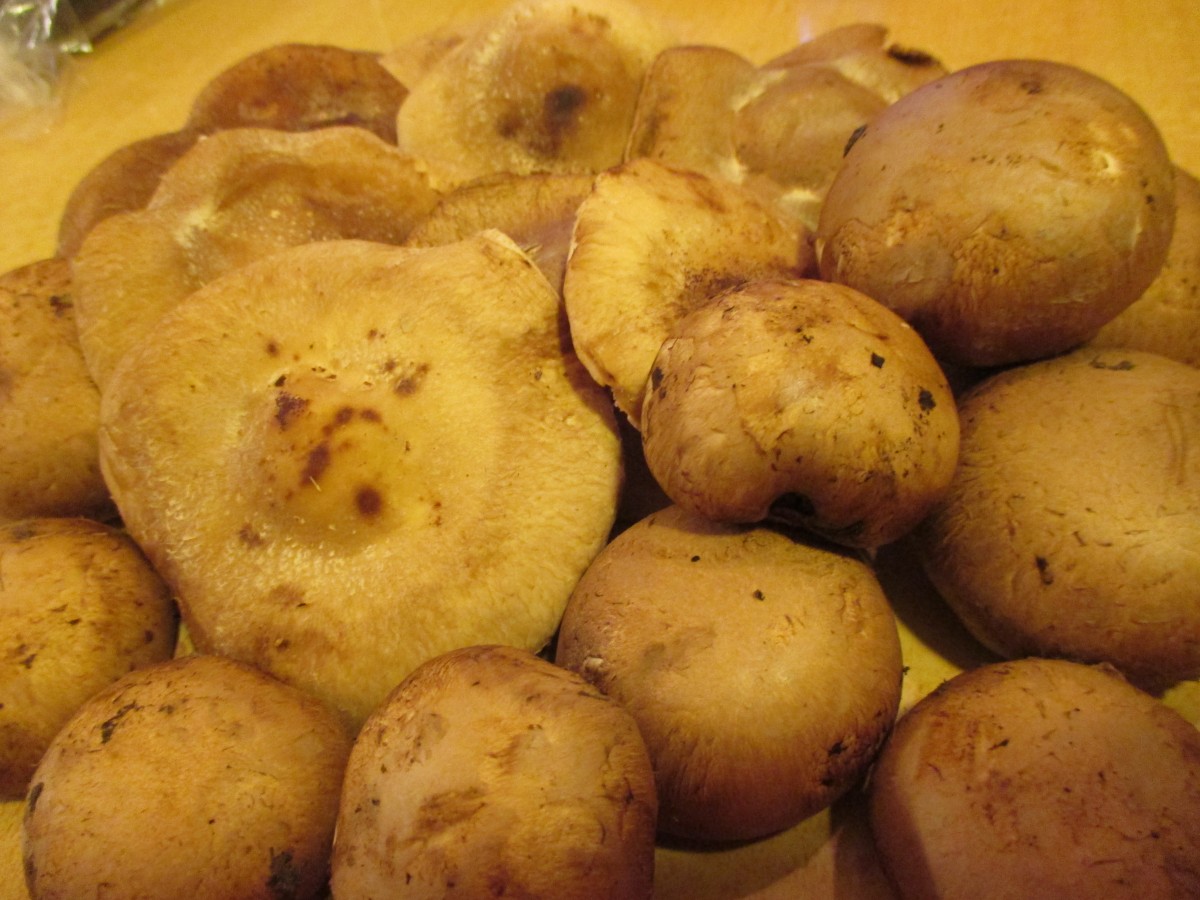
Shitake and Crimini Mushrooms
Parsnip Spice Cupcakes

Parsnip Spiced Cupcake
If you only use parsnips in savory dishes (or maybe you never use parsnips at all) you might be surprised to see them used in a dessert. Truth is parsnips are similar in flavor to carrots and carrots are used in cake quite successfully. While not exactly the same in flavor think of parsnips as white carrots. Combined in a spiced batter they make wonderful cupcakes. Good any time of the year, they seem especially nice for an Autumn dessert.
Parsnip Spiced Cupcakes
1 1/2 c. flour
1 c. sugar
1 T. ground ginger
1 T. cinnamon
2 t. baking powder
1 t. nutmeg
1 t. allspice
1 t. salt
1/2 t. cloves
3 eggs
1/2 c. oil
1/2 c. milk or half and half
2 t. vanilla
2 c. packed peeled and shredded fresh parsnips, 2-3 large
1/2 c. chopped nuts, optional plus extra for topping, optional
1 recipe cream cheese frosting- see below
Preheat oven to 350. Line 24 cupcake pans with paper liners- or grease lightly. Combine dry ingredients in a mixing bowl. In smaller bowl combine eggs, oil, milk and vanilla and mix well. Stir egg mixture into flour mixture until smooth. Stir in parsnips and nuts, if adding. Spoon batter into the prepared pans, filling half-full. Bake for 15 minutes – or until toothpick inserted into a cupcake comes out clean. Cool and frost. Sprinkle with fine chopped nuts, if you like. Makes 24.
Cream Cheese Frosting
8 oz. cream cheese, softened
4 0z. (1 stick) butter, softened
1 c. powdered sugar
1 t. vanilla
Beat all ingredients together until fluffy. Frost cupcakes and chill until ready to eat.
Canning Class Location Change
Due to the rainy weather the location of my free canning class today has been changed. We will be moving to 1325 Ansel Rd. The farm market will be there, too. You can come and shop – and then find out how to preserve what you got. The market runs from 3-7. My class runs from 5-7. Hope to see you there.
Free Canning Class

Rose Petal Jelly
I will be at the Gateway 105 Farmer’s Market doing a free canning class tomorrow, Friday, October 3rd. The market is located at E. 105 and Ashbury. The Farm Market runs from 3- 7 and my class is from 5-7. If you have any canning questions this will be my last canning class of the season. Hope to see you there.
Bacon Apple Fritters with Maple Glaze
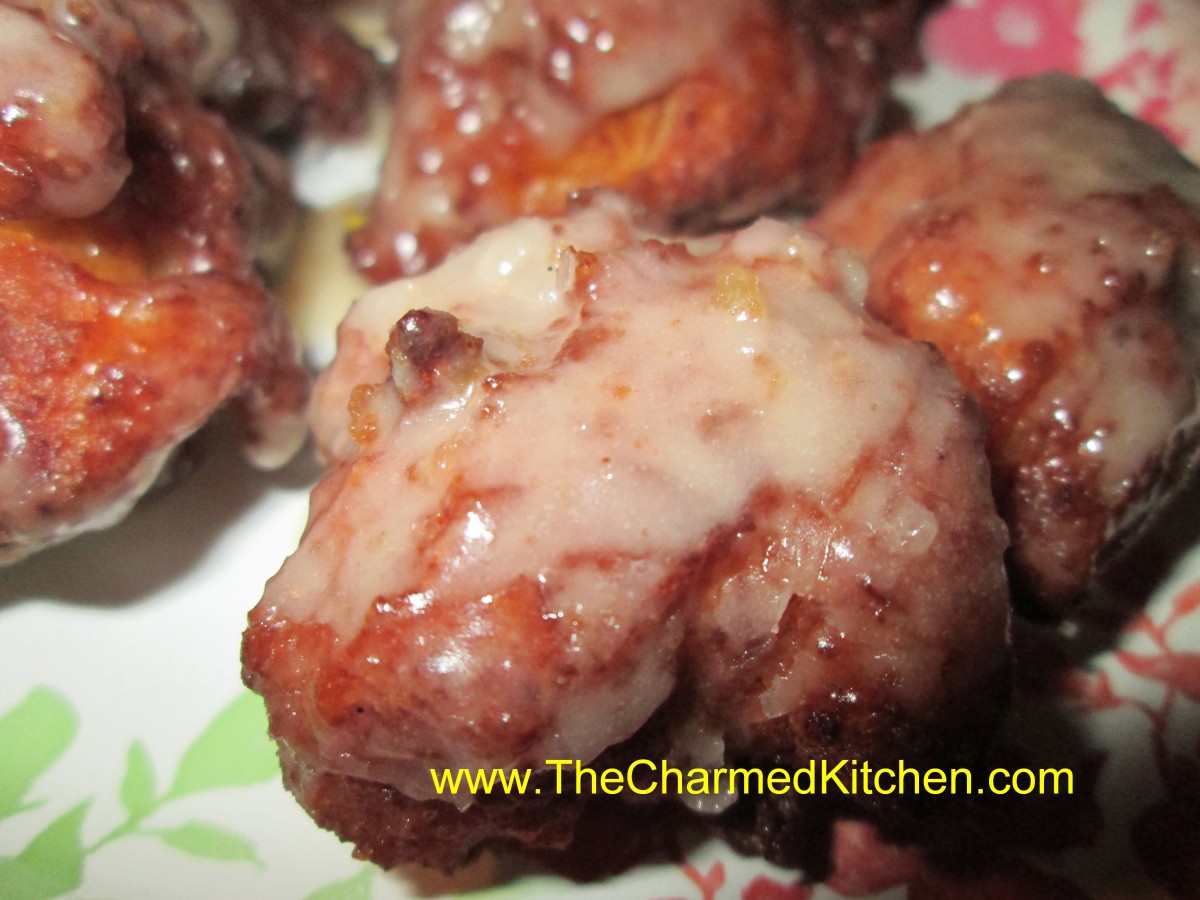
Bacon Apple Fritters with Maple Glaze
This time of year with apples in abundance it is fun to use them in all sorts of recipes. This is one of my favorites. What could be better than combining apples with bacon in a sweet treat? The sweetness of the apples pairs so well with the smoky/saltiness of the bacon. I have made these in the past with gluten free flour and they worked great. They make a wonderful dessert or a fun addition to a breakfast or brunch menu.
Bacon Apple Fritters
2 c. flour
2 T. sugar
2 T. baking powder
1/2 t. salt
1 c. milk
2 eggs, beaten
2 T. melted butter
1 c. diced apples
1 c. cooked, crumbled bacon
oil for frying- I used coconut oil
Combine dry ingredients and set aside. Mix together milk with the eggs and butter. Stir in dry ingredients until just moistened and add the apples and bacon. Heat oil to 375. If using gluten free flour heat oil to 350. Drop dough by tablespoonfuls into the hot oil and fry until golden brown. Don’t do more than 4-5 at a time. It will take about 4 minutes in total but you need to turn them to brown evenly so 2 minute per side. Drain on paper towels. Dip in maple glaze (recipe follows) while warm or roll in powdered sugar. Makes about 32.
Maple Glaze
1 c. Powdered sugar
1/2 c. maple syrup
a little water if mixture gets too thick
Combine all ingredients and set aside until ready to use.
Pizza Chicken Skillet
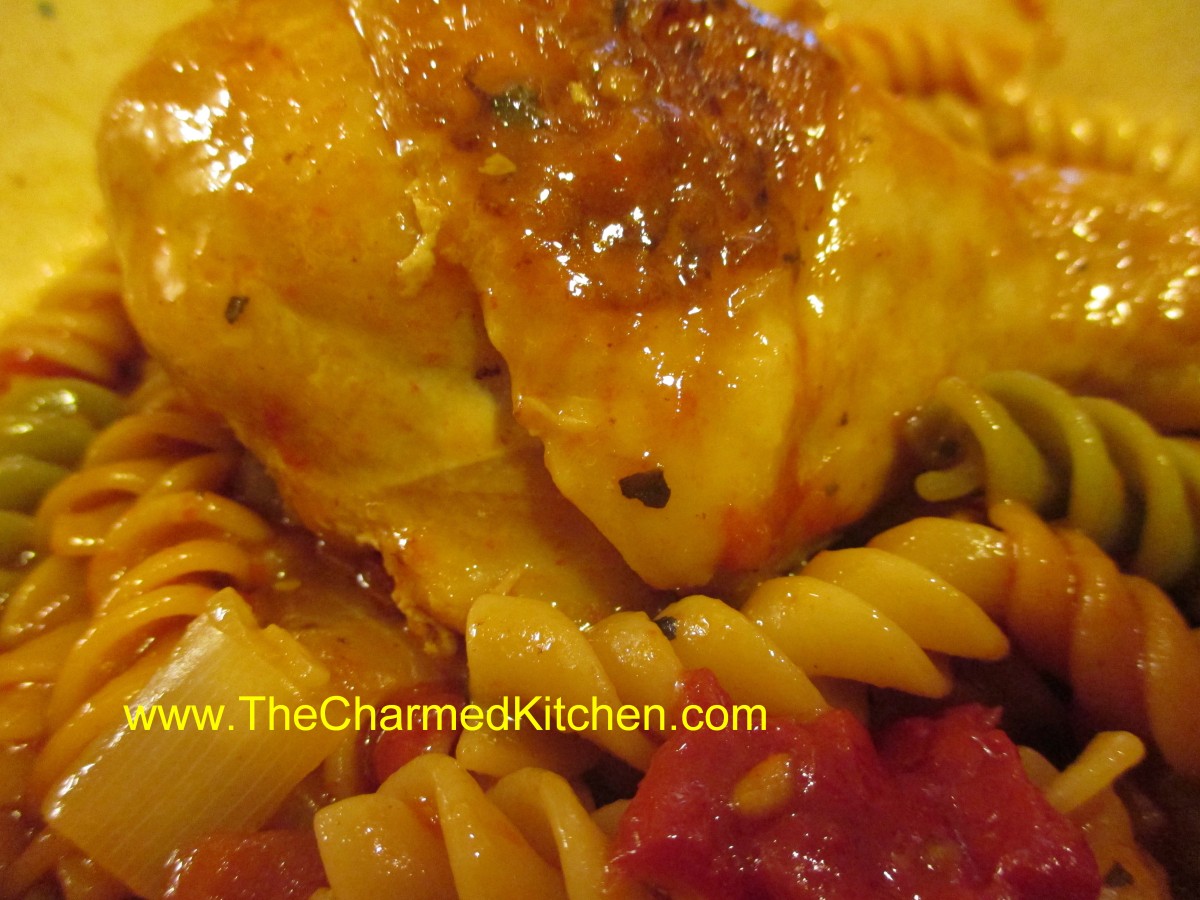
Pizza Chicken Skillet
I had a busy day and needed something fast for dinner. I also hate doing dishes so the idea of a one pot meal was very appealing. I looked at what I had on hand and this is the dish I came up with. I started with some basics, browned onion and chicken in a skillet. I also had some fresh tomatoes and peppers and pizza seasoning so it all came together quite nicely. By adding some chicken stock and pasta I was able to finish it all together in the same skillet. It was wonderful just the way it was- but you could top it with shredded cheese, if you like.
Pizza Chicken Skillet
1 T. oil
1 large onion, chopped
1 chicken, cut up
4 c. chopped fresh tomatoes
1 sweet pepper, seeded and diced
3 c. chicken stock- you might need a little more*
2 t. pizza seasoning
8 oz. uncooked pasta- I used rotini**
salt and pepper to taste
In large skillet brown onion in oil. add chicken pieces and brown on both sides. Add tomatoes to skillet and cook a few minutes more. Add remaining ingredients, except pasta, and bring to a simmer. Place lid on skillet and cook over medium low heat for about 20 minutes, or until chicken is cooked. Add pasta and cook, covered, about 12 minutes longer, or until pasta is cooked. Stir from time to time to prevent sticking and to see if you need more stock. Time will vary depending on which pasta you choose. Adjust seasonings and serve as is or with cheese on top. Serves 4.
* Depending on how juicy your tomatoes are you might need a little more stock. I wanted to have some sauce with the dish so I liked the amount of stock I used.
** You could use more pasta just add more stock.
Pumpkin Squares
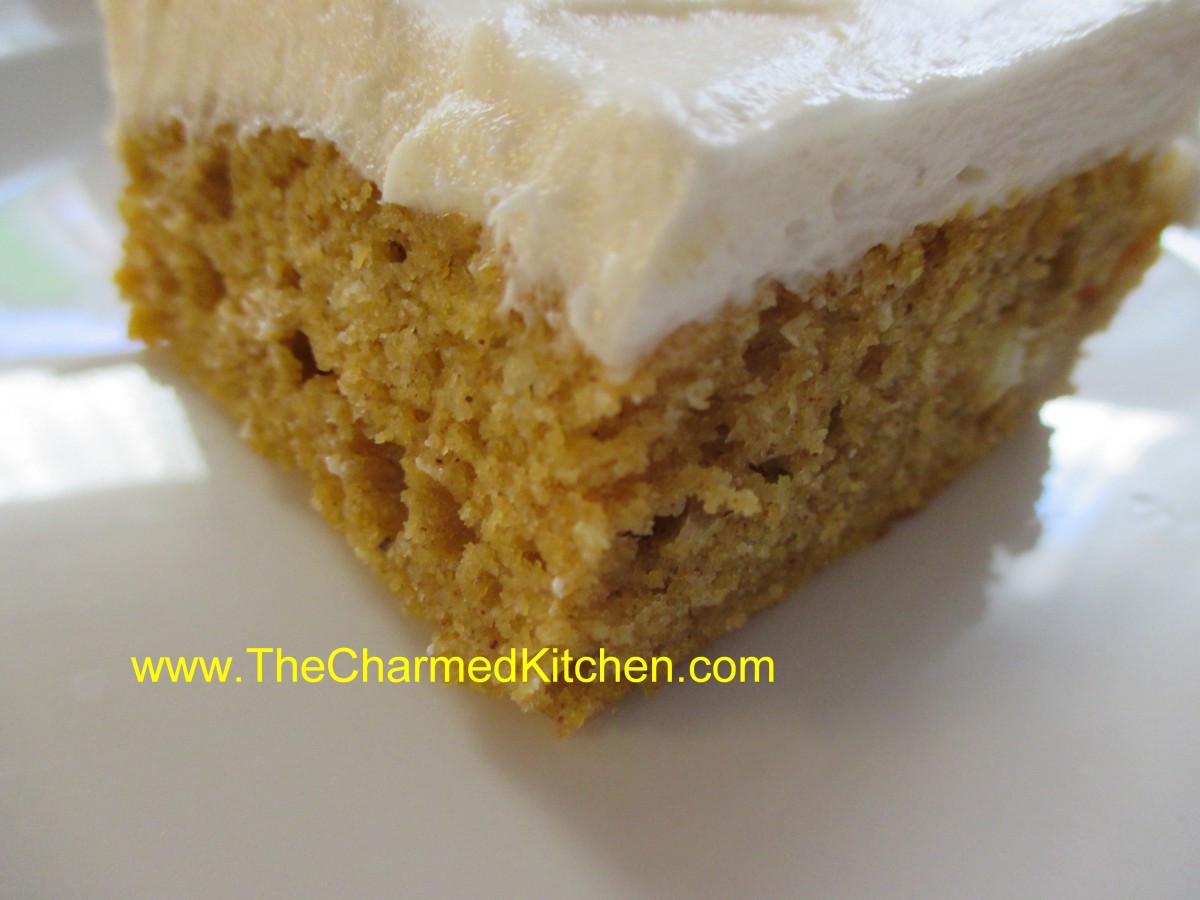
Pumpkin Squares
This recipe has been part of our family for years now. The original recipe came from Bisquick, but it had 2 cups of sugar in it. My Mother’s sensibilities kicked in and she cut the sugar down to one cup. Great move on her part. The cake is still plenty sweet with less sugar. It mixes and bakes up in no time. I normally top it with cream cheese frosting, but it would be good with a simple powdered sugar glaze or even just a dusting of powdered sugar mixed with a little cinnamon. The texture is moist and tender and I think you’ll enjoy it as much as I do.
Pumpkin Squares
1 c. sugar
½ c. oil
16 oz. cooked pumpkin, canned, fresh (preferred) or frozen
4 eggs, beaten
2 c. biscuit mix (homemade or Bisquick or Jiffy Mix)
2 t. cinnamon
½ c. raisins, optional
Grease a jelly roll pan and set aside. Preheat oven to 350 degrees. Beat first 4 ingredients for 1 minute. Stir in mix, cinnamon and raisins. Pour in prepared pan and bake 25-30 minutes. Test for doneness with a toothpick. Cool and frost. Frosted cake must be kept refrigerated between servings.
Frosting:
8 oz. cream cheese
2/3 c. butter
2 T. milk
2 t. vanilla
3 c. powdered sugar, or more
Beat together until smooth.
Liqueur Class
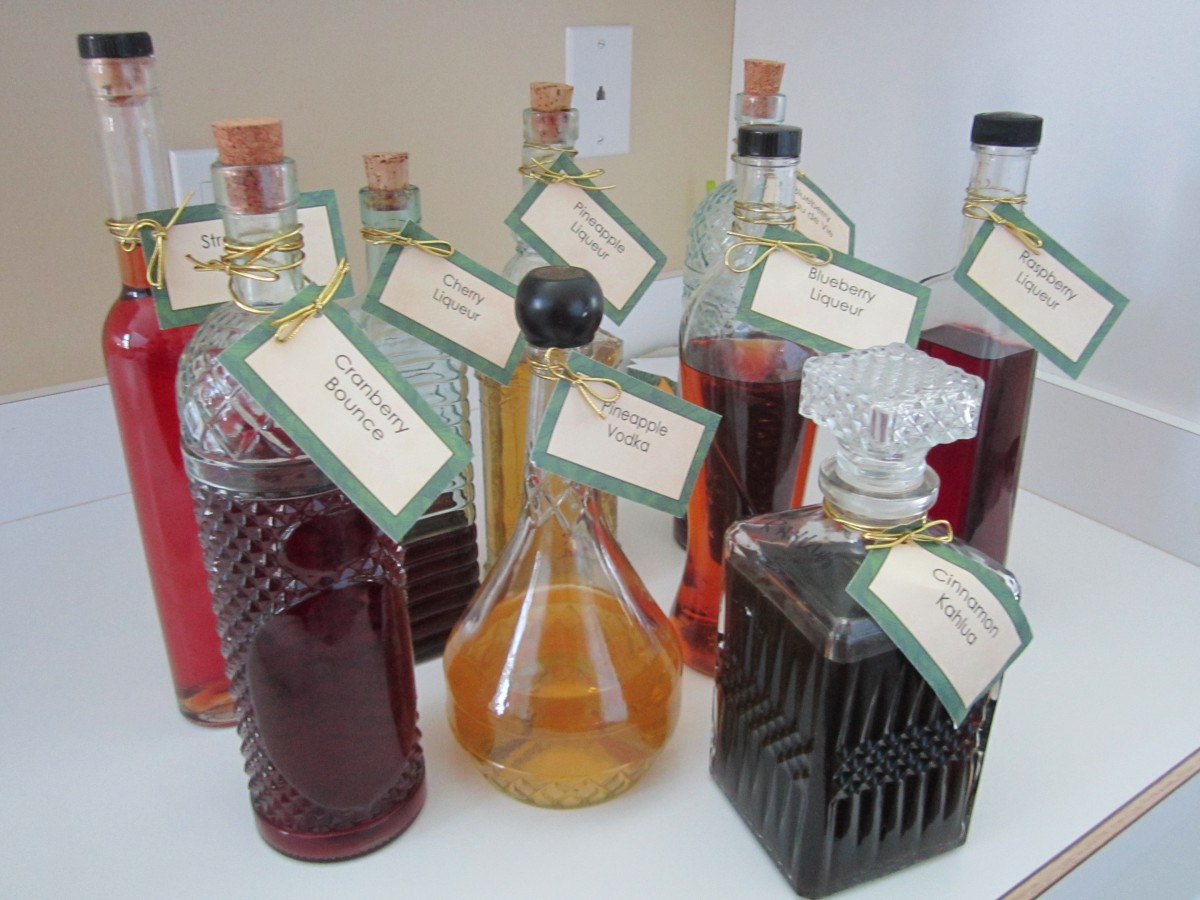 I will be teaching a class on making homemade liqueurs this Thursday at the Community Center in Concord. It is a fun time, for sure. If you are interested here is the contact information. There is no online registration. The class is from 7-9 pm.
Concord
Students may enroll in classes directly at the Concord Community Center, at 7671 Auburn Road, Concord Township OH 44077. They can call to inquire about classes at 440-639-4650. They can register in person or send in registration to the above address. A registration form is available on our website at concordtwp.com, under Current Happenings/Township Newsletter. Or, in place of a registration form, they can just write a note stating their name, address, phone, the class they are enrolling in, dates, times and payment – and send it in with their check. Class fee is $15- non residents $19.
Fall 2014
Oct. 2 : Liqueurs: Learn about the history of liqueurs and how their combination of fruit, herbs and spices can enhance your cooking. Sample recipes that, through the addition of liqueurs, go from ordinary to extraordinary. You’ll learn how to make your own liqueurs and how to use them in cooking. You will also get recipes to take home. No one under 21 is permitted to take this class. Food Fee: $10.00


