Banana Bread

Banana Bread
Checking the freezer I found some frozen bananas so I opted to make banana bread. It’s really my favorite way to eat them, other than fresh. The recipe is simple and this bread freezes well so why not make a few and freeze some for later? Also a great thing to do with bananas that are overripe.
Banana Bread
1 ¾ c. flour
1½ t. baking powder
¾ t. salt
½ t. baking soda
2/3 c. sugar
1/3 c. butter, softened
2 eggs
2 T. milk
1 c. mashed ripe banana
¼ c. chopped nuts, optional
Combine dry ingredients and set aside. Combine sugar with butter and beat until fluffy. Beat in eggs. Beat in eggs until mixture is smooth. Beat in flour mixture alternately with bananas. Fold in nuts, if desired. Pour batter into greased 9×5 -inch loaf pan. Bake in a preheated 350-degree oven for 60-65 minutes. Use toothpick to test for doneness. Cool in pan 10 minutes before placing on rack to cool. Store in plastic wrap to preserve moisture. Makes 1 loaf.
Gardening Classes
 I will be doing a series of Thursday evening gardening classes for the Wellness Center. Located at 3035 Wooster Rd., in Rocky River, the Wellness Center is operated by Fairview Hospital, a Cleveland Clinic hospital.For more information, or to register for classes, visit fairviewhospital.org/wellnesscenter or call 440-356-0670.
Here are the topics and dates.
Feb. 27: Seed Starting: There are advantages to starting your own seedlings. You can save money, especially if you normally buy a lot of plants. The real benefit, though, may be growing unusual varieties not found at the local greenhouse. Exotic and heirloom varieties, when available, go for premium prices. In class you’ll learn the basics of starting seeds indoors, using grow lights, hardening off and much more. Handouts provided.
Mar. 6: Organic Gardening: If you are among the growing number of people who want fresh vegetables and fruits grown without pesticides check out this class. You’ll learn about organic controls from physical barriers to Eco-friendly sprays. Topics discussed will include integrated pest management, resistant cultivars and how timing of planting can help control pests. Handouts available in class.
Mar. 20: Herb Gardening: Have you ever thought about growing your own herbs? Fresh herbs are easy to grow and most require little maintenance. In class you’ll learn how to plant and maintain an herb garden and we will discuss many specific herbs and their uses. Harvest and storage will also be discussed. Optional text will be available in class.
Apr. 3: Vegetable Gardening: In this class you will learn the basics of starting a vegetable garden. Among the topics discussed will be site selection, planning, soil preparation and improvement, recommended varieties, mulching and space saving techniques. Handouts will be available.
Apr. 17: Composting: Leaves, grass clippings and some kitchen waste can be converted into “black gold” through composting. In class we’ll cover the basics of starting and maintaining a compost pile, the role carbon and nitrogen play and composting no-nos. Composting saves money, improves your garden soil and helps the environment, too. Handouts.
Food Not Lawns Seed Swap
 If you are in need of seeds, or have some to share please stop by at the 4th Annual Food Not Lawns Seed Swap this Saturday, February 22. The event runs from 11-3 at Grace Lutheran Church at 13001 Cedar Rd. in Cleveland Heights. This is the event that had to be rescheduled because of snow on the original date.
I will be there along with City Rising Farm and other groups. Mari Keating has put together a fun day- with Chris McClellan, of Natural Cottage Project, doing a demo on rocket stoves. Seriously, there are a lot of seeds available- even if you don’t have any seeds to share you can pick up some for your garden. They are non GMO and Mari really out does herself with the selection. Note- nothing is for sale- seeds are free. There is also a potluck you are welcome to participate in and a Freecycle table, too.
I will have my books and herbs for sale and will be answering gardening questions. I had a lot of fun at last year’s seed swap. Hope you can stop by to join us. Let’s all start thinking about Spring and gardens!!!!
Also let me know if you are in need of pots. I have a pretty good supply of pots in the 2-4 gallon range and I will happily bring them along.
Butternut Squash Saute
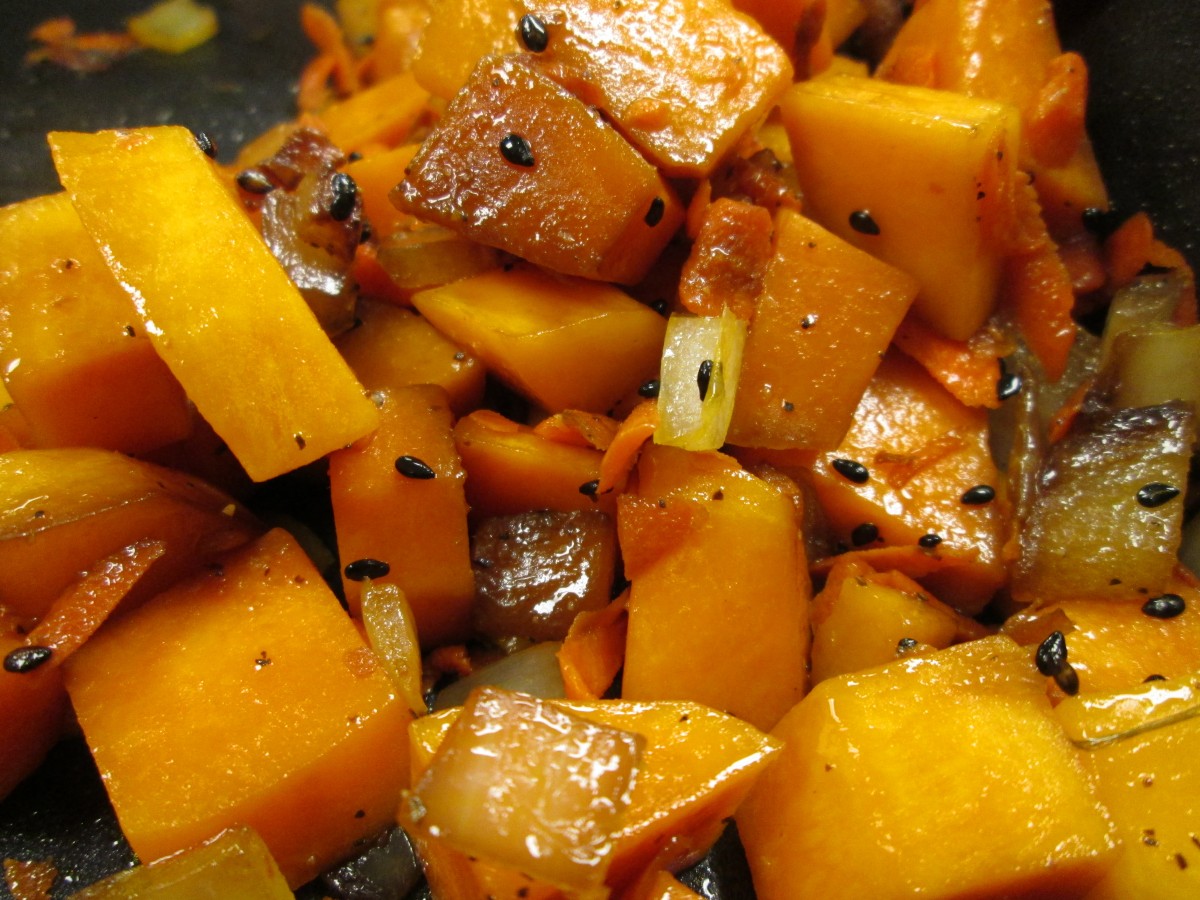
Butternut Squash Saute
If you have some winter squash around here is a great way to prepare it. You can make this dish with butternut squash, pumpkin or acorn squash. It is a simple side dish with a lot of flavor.
Butternut Squash Sauté
3 tablespoons olive oil
1/2 cup chopped onion
1 teaspoon minced garlic
4 cups cubed fresh butternut squash, acorn squash or pumpkin
1/2 cup grated carrot
2 tablespoons soy sauce
1 teaspoon salt
1 teaspoon ground black pepper
2 teaspoons black sesame seeds
Heat the oil in a large skillet. Add the onion and garlic; cook and stir until the onions begin to brown. Stir in the squash, carrot, soy sauce, salt, and pepper; cook, covered, another 5 to 7 minutes, until squash is tender. Sprinkle with sesame seeds before serving.
Veggie and Pasta Skillet Dinner

Veggie and Pasta Skillet Dinner
We had this dish in class last night. Lots of yummy veggies. Colorful, tasty and very simple. Thanks to all who braved the snowy night to get together to cook.
Vegetable and Pasta Skillet Dinner
1 (16 ounce) package whole wheat rotini pasta, cooked
2 tablespoons toasted sesame oil
1/4 cup soy sauce
1/4 cup balsamic vinegar
2 tablespoons honey or sugar
3 T. oil
3 cups chopped broccoli
1 cup chopped carrots
1 cup chopped red bell pepper
2 cups chopped fresh mushrooms, use whatever mushrooms you can find
1 cup shelled edamame (green soybeans), organic
3/4 cup cashews
In a small bowl, mix the 2 tablespoons sesame oil, soy sauce, vinegar, and honey or sugar. Heat the 3 tablespoons of oil in a skillet over medium heat. Stir in the broccoli, carrots, pepper, mushrooms, shelled edamame, and cashews. Sauté 5 minutes. Mix in the sesame oil sauce. Add pasta and cook 5 minutes longer or until vegetables are tender but crisp and pasta is heated through. Serves 4-6.
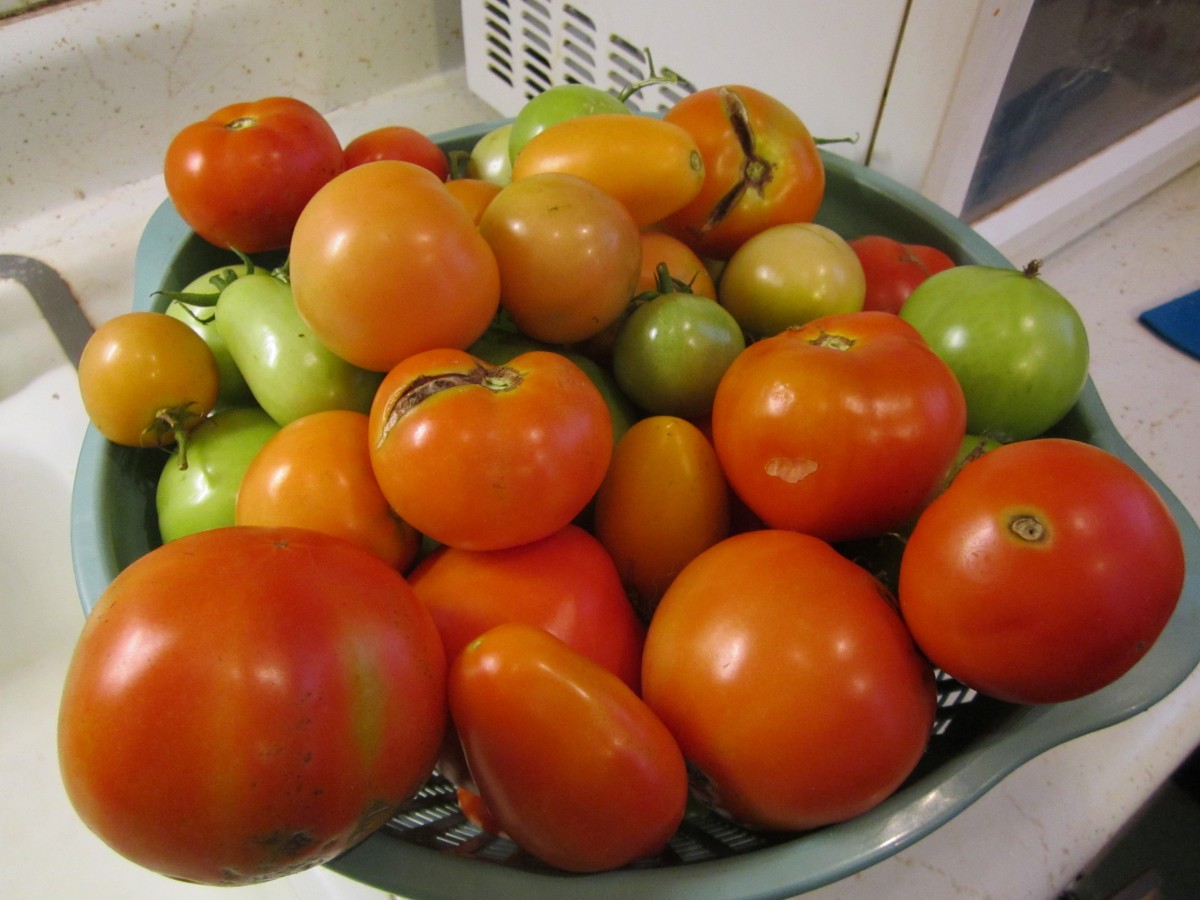
Pink Applesauce
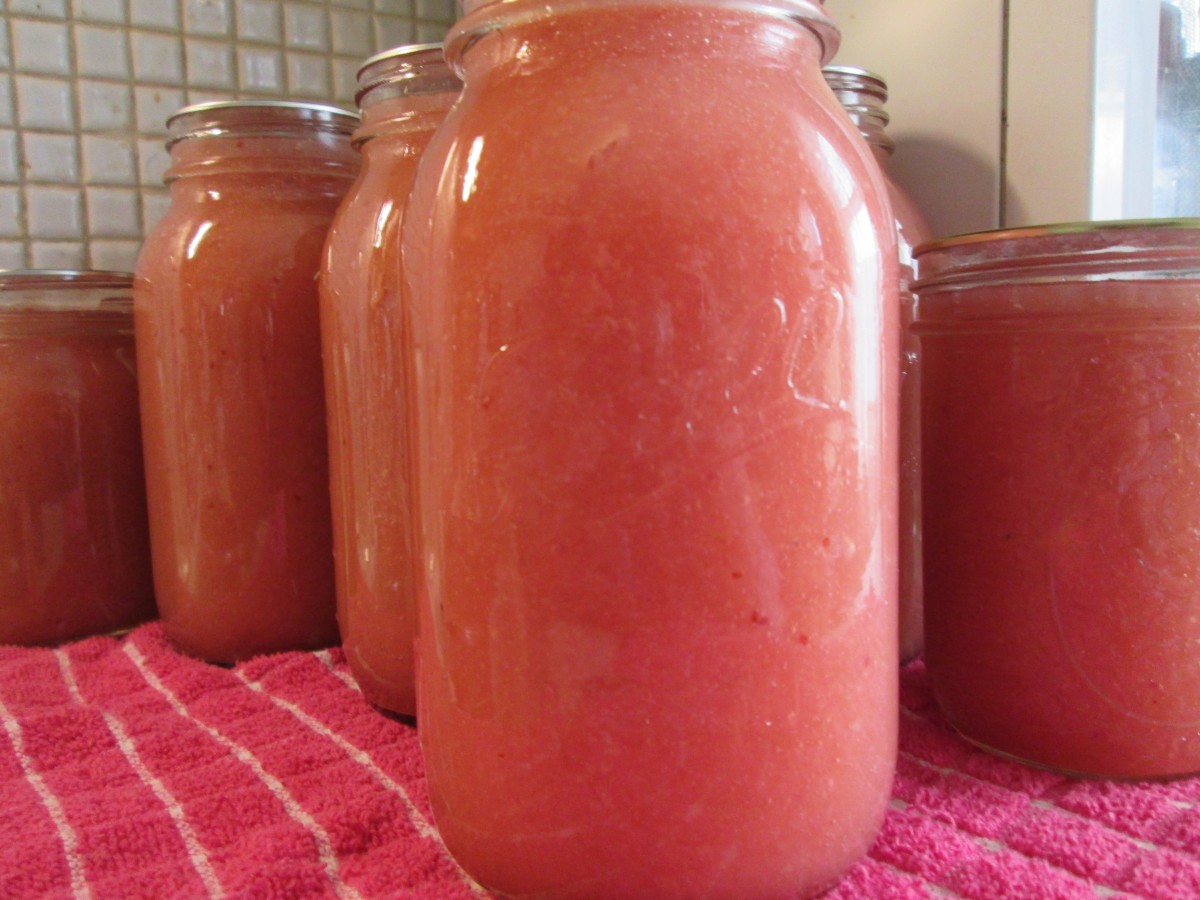
Pink Applesauce
Inspired by some of my canning friends who add all sorts of other fruits to their applesauce I decided to mix things up a little by making applesauce with cranberries.I still had a quite a few apples from Fall harvest and decided to can more applesauce the other day. It came out a pretty shade of pink. The cranberries also added nice tartness to the mix. Doing it over I would add another bag of cranberries, perhaps. The nice thing about applesauce is you can make any amount, depending on how many apples you happen to have. You can also freeze the mixture if you don’t want to can it.
Pink Applesauce
60 apples
12 oz. cranberries
water
1 c. lemon juice
sugar to taste
Peel and core apples. Put in water with some ascorbic acid, citric acid or lemon juice to prevent discoloration. Place apples in a pot with enough water to prevent sticking and add the cranberries and lemon juice. Cook over medium high heat until soft. I wanted smooth applesauce so I ran the cooked apple mixture through a food mill on the medium blade. Return apple mixture to pan and bring to a boil. Sweeten with sugar, if you like, or leave unsweetened. Have water bath full of boiling water and have hot, clean canning jars and lids and rings ready. Ladle hot applesauce into hot jars, leaving 1/2 inch of headspace. Wipe rims and apply lids. Process in a boiling water bath for 20 minutes for pints or quarts. Yield: 8 quarts 0r 16 pints.
Cocoa Mint Hearts

Cocoa Mint Hearts
If you want an easy chocolate treat to make these may just be what you are looking for. They are a simple candy that require little time and no cooking. Easy enough for kids to help, too.
Cocoa Mint Hearts
9 c. powdered sugar
1 c. cocoa
1/2 c. butter, softened
1/2 c. water
2 t. peppermint extract
In large bowl combine ingredients until well blended. You can add more water, if needed, 1 teaspoon at a time. Divide mixture into 2 pieces and shape in balls. Place each between sheets of wax paper and roll out to 1/4 -inch thickness. Cut out with tiny cutters and place on foil-lined tray. Chill several hours, then wrap up in colored foil or place in tiny candy bags. Makes 80 1-inch candies.

Roll out between wax paper

Cut out with heart-shaped cookie cutters
The Challenge- Sprouting
I stopped going to the grocery store about 6 weeks ago. Trying to see how long I can hold out. The first month was pretty easy. I knew I was going to do this so I made sure to have fresh produce in addition to what I had in my freezer and pantry. I also had canned and dried a lot of things.
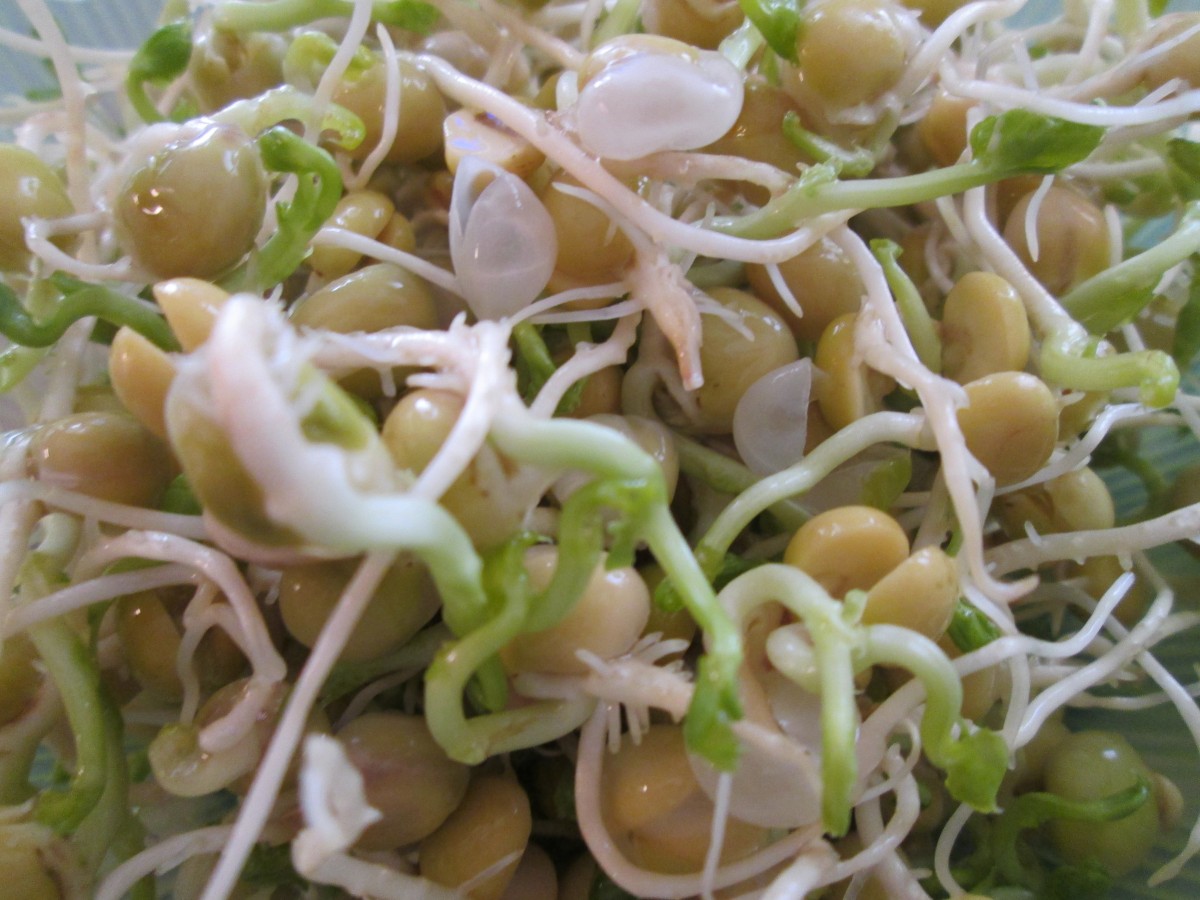
To satisfy my urge for fresh produce I have taken to sprouting. I have a nice assortment of seeds for this purpose and I can start more anytime I like. Because of the variety of seeds that I have I can have sprouts, like pea, garbanzo beans and mung beans that can be eaten cooked or more delicate seeds like alfalfa and radish sprouts that are great as a salad ingredient or on sandwiches. Maybe it is also the time of year, but with snow outside the window the sight of fresh green growth is especially satisfying.
The upside is the seeds last for ages so they will be available for sprouting when I need them. The downside is that it takes a week or more to get sprouts so some planning is required.
Sprouting is pretty simple- although it is a little like having a pet. There is some care than needs to happen. First, start with a clean, wide mouth jar. I have these handy lids with holes in them that are made just for sprouting. Place the seeds in the jars and cover with water. Allow them to be covered in the water for at least several hours. Drain and rinse the seeds. After the first soaking only keep what ever water stays on them after a rinse and drain. That’s pretty much the whole process. Twice a day, maybe three times if the weather is really warm, rinse the seeds and drain off any extra water. Depending on the seeds you can expect your first crop in 7-10 days. You can place the jars in a sunny window for greener sprouts. If you don’t have the lids with holes in them you can cover the jar with some cheesecloth. Hold in place with a rubber band. That will allow the sprouts to get air and make it easy to rinse and drain them.

Sprouts in the jars
Sprouts are full of nutrients and can be eaten cooked or raw. In some cases, like with mung beans the skin of the seed will come off after a few days. They tend to float so if you just place the sprouts in a big bowl of fresh water and agitate them. The skins will come to the top and can easily be discarded.
Also, quantity can be tricky. Very few seeds can produce a heck of a lot of sprouts so go easy. A few tablespoons of tiny seeds like radish, alfalfa or broccoli should be plenty. Perhaps a 1/4 cup of larger seeds like the beans and other legumes is also going to give you a bountiful supply. They do take time so if you want a steady supply start a new batch every few days. Once sprouts are the size you want them to be give them a final rinse and drain well. Store in the fridge until you are ready to use them. Do use them soon. Often they are quite perishable. Besides, if you were sprouting for fresh food- enjoy it while it is fresh.
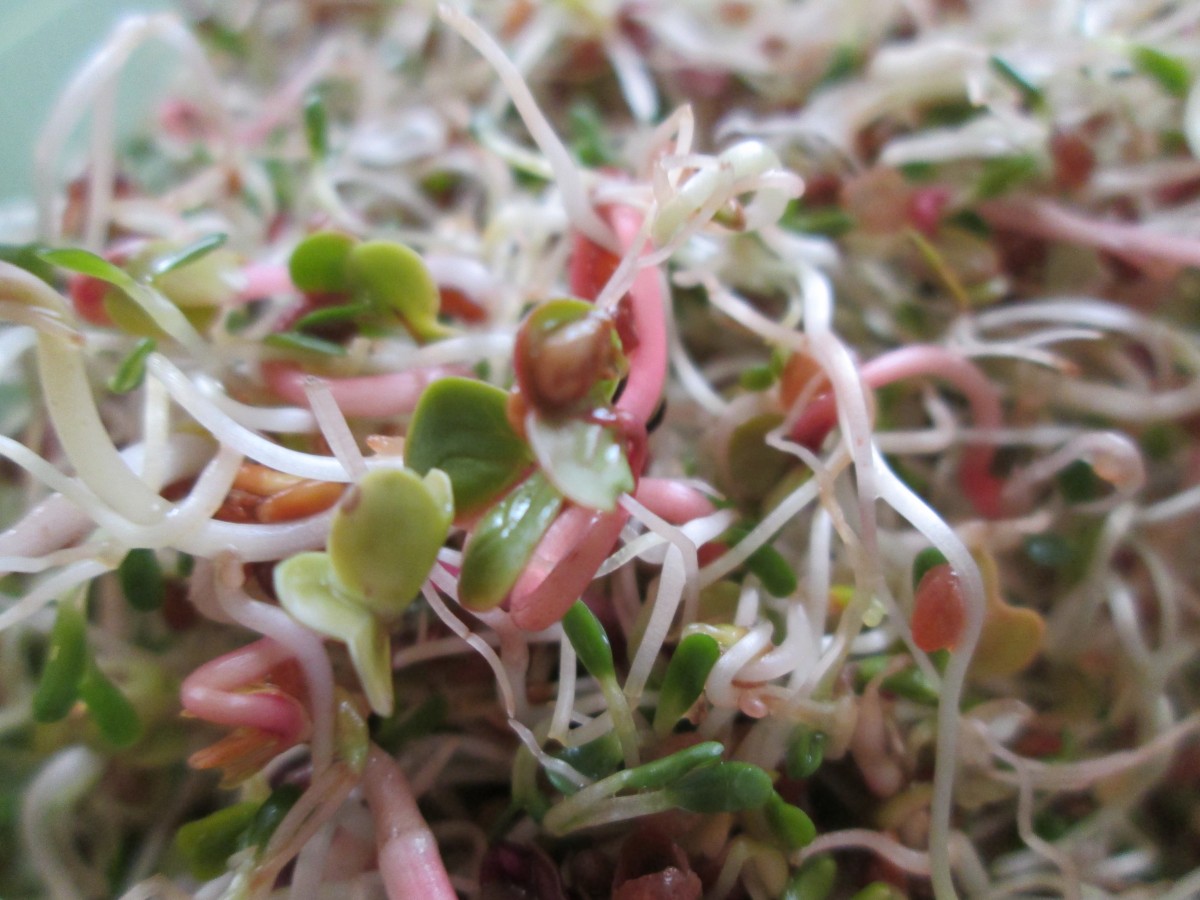
Alfalfa and radish sprouts
Sweetheart Sugar Cookies

Sweetheart Sugar Cookies
I made a batch of these for friends the other day. Used my favorite sugar cookie recipe and cut out hearts. I then used a smaller heart cookie cutter and cut out smaller hearts from half of the cookies. Sandwiched the baked cookies together with homemade strawberry preserves. Since I also had a bunch of tiny heart cookies from the cut outs, I used melted chocolate to turn them into tiny sandwich cookies.
Sugar Cookies
1 c. butter
1 c. sugar
1 egg
1 t. vanilla
3 c. flour
2 t. baking powder
3 T. milk
Extra sugar for sprinkling, if desired
Beat butter and sugar until fluffy. Beat in egg and vanilla. Combine dry ingredients and add to butter mixture. Beat in milk. Heat oven to 375-degrees. Roll dough on lightly floured surface to about 1/3- inch thickness. Cut out with lightly floured cutters and sprinkle with sugar or colored sugar if you like and if you are not going to frost them. Bake on an ungreased baking sheet for 10-12 minutes. Cool on baking sheet 3 minutes before placing on wire rack to cool completely. Frost when cooled. Makes about 4 dozen.

Cookies ready to be sandwiched together

Little heart cookies sandwiched with melted chocolate
Langostino Rolls
Langostino Rolls
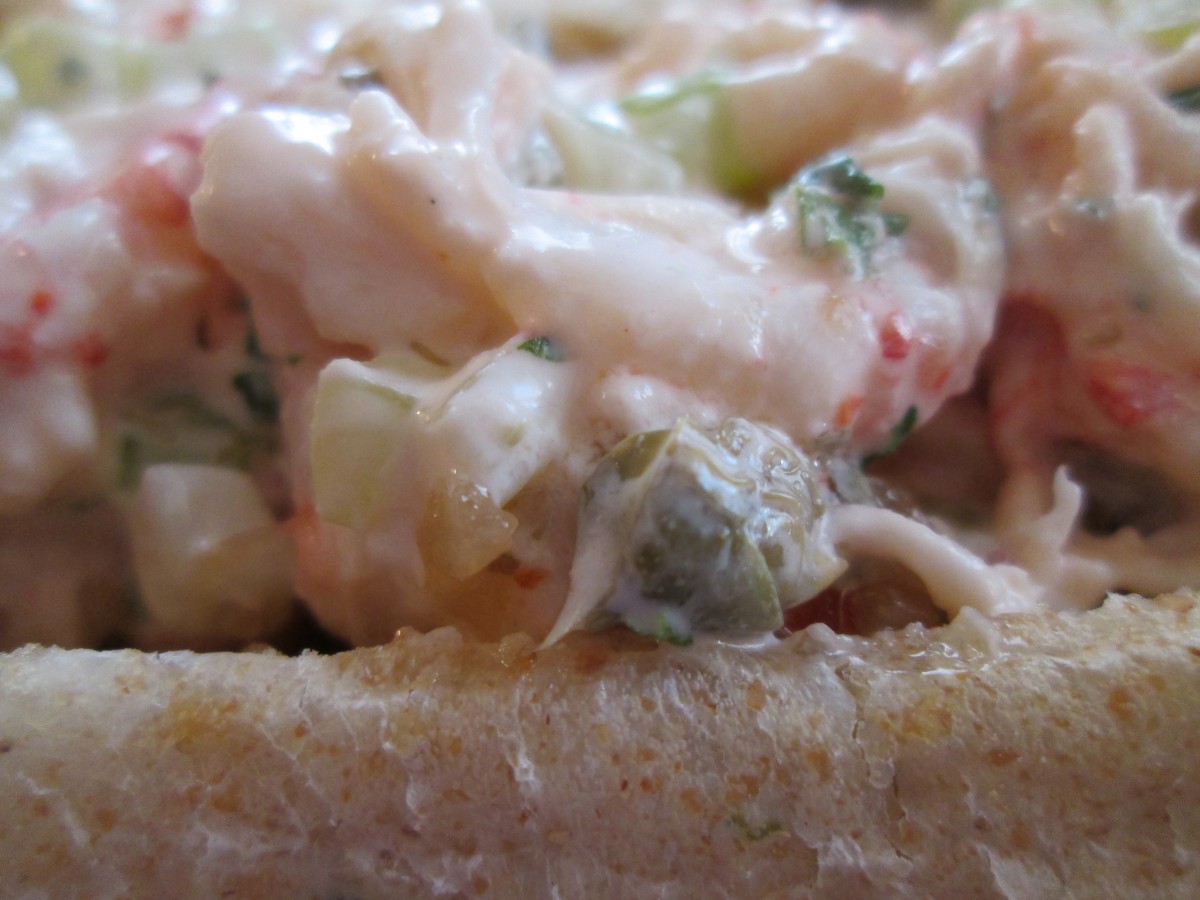
I made these for a dinner with friends last night. They are pretty much the same as lobster rolls, but since I didn’t have lobster I used langostino. The flavor is very similar to lobster. As part of my challenge to see how long I can go without going to the grocery store I used frozen langostinos I had already. I also made the rolls which were much better than anything I might have purchased.
Langostino Rolls
The filling:
2 lbs. frozen, cooked langostino, thawed and squeezed dry
3/4 c. mayo- or a little more to taste
3 ribs celery, minced
1/2 c. parsley
juice of 1 lemon
3 T. capers
salt and pepper to taste
dash of hot sauce
Combine filling ingredients and chill well before using.
To assemble the rolls split rolls most of the way through and open gently. Place in a skillet, cut side down, with some melted butter and cook over medium heat until bread is toasted. Place a generous scoop of the filling in each roll. Makes 12.

Fresh baked Shallot/Garlic Rolls
Shallot/Garlic Rolls
3 ½ -4 ½ c. flour
2 c. whole wheat flour
2 packages yeast
½ c. sautéed minced shallots- I cooked them in a little oil and let them cool down before using
1 T. minced garlic
1 T. honey
2 t. salt
¼ c. olive oil
2 ¼ c. warm water
In a mixing bowl combine 2 c. of flour with the rest of the ingredients and mix until smooth. Beat with electric mixer 4 minutes then add 1-cup additional flour and beat 1 minute longer. Stir in whole wheat flour ½ cup at a time until soft dough forms. Turn onto surface and knead, adding flour gradually until dough is smooth and elastic. Place dough in lightly greased bowl and turn to cover. Cover with a towel and let rise until doubled, about 50 minutes. Turn dough onto surface and cut in half. Divide each half into 8 pieces and roll into 6-7 inch log rolls. Place on greased baking sheet a few inches apart. Repeat with remaining dough. You’ll end up with 16 rolls in all. Cover until doubled in size, about 40 minutes.
Bake in a preheated 375-degree oven for 20 minutes, or until rolls sounds hollow when tapped lightly. Makes 16.
Note: For the recipe you’ll need about 12 of the rolls. Use the rest for other sandwiches.


