Hot or Cold- Creamy Zucchini Soup

You can never have enough recipes for zucchini. If you have ever planted zucchini, you know what I mean.
This is a recipe I’ve had for ages, but had not made in a while. I forgot how much I liked it. As an added bonus, it can be served hot or cold.
I leave the skins on my zucchini, I like the way the little green flecks look in the soup, but you can peel, if you prefer. You can also use a combo of green and yellow summer squash.
Here is the recipe.
Creamy Zucchini Soup
1 medium onion, chopped
2 T. butter
4-6 medium zucchini, sliced
1 large potato, peeled and diced
1 T. chopped parsley
½ t. each basil, marjoram and thyme
1 t. hot sauce, or to taste
salt and pepper to taste
6 c. chicken or veggie broth
1 c. milk or half and half- I prefer the half and half
In Dutch oven cook onions in butter until tender. Add vegetables and seasonings and cook until hot. Add broth, heat to a simmer and cook 15 minutes. Puree mixture in blender in batches and return to pot. Add milk and heat through. Adjust seasonings. Serve hot or cold. I topped mine with some fresh chopped parsley and a little hot sauce. Serves 6-8.
Blueberry Kolachy

I have fond memories of making these delicate cookies with my Mother. I think of her every time I make them. We will be baking these in cooking camp today. I think the kids are really going to love them.
I made my own blueberry pie filling, but you could use store-bought, if you prefer. I have also used cherry, fig, apple, cheese, and nut fillings. Finish off the cookies with a light dusting of powdered sugar, if you like.
One problem people sometimes have, when making kolachy, is having them open when baking. When you fold the dough over the filling, give it a good pinch. Then fold it over and pinch it again. Also, don’t leave too much flour on the dough. It will prevent the dough from sticking to itself and will cause it to pop open. Some people like to moisten the dough a little, before sealing. That works, too. I just find the double pinch method works fine for me. Important to know- even the ones that pop open will taste amazing!!
Blueberry Kolachy
Dough
3 sticks butter
8 oz. cream cheese, softened
3 cups flour
Blueberry Filling– recipe follows
Powdered sugar, optional
Mix dough ingredients together and chill well before using.
Roll out chilled dough into squares or circles. Spoon a little blueberry filling into the center and pinch 2 ends or corners together. Bake in 350-degree oven for about 12 minutes, or until golden on edges. Cool and dust with powdered sugar. Makes 4-5 dozen.
Blueberry Pie Filling
3 1/2 c. blueberries
3/4 c. sugar, or to taste
1/4 c. Clear Gel*
1 c. water
1 T. lemon juice
In saucepan, bring blueberries and sugar to a boil, stirring often. Combine clear gel with water and lemon juice and add to the blueberry mixture. Return to the boil and cook until thickened and bubbly. Makes 4 cups. You might not need the whole batch for the cookies.
*Clear gel is a modified cornstarch. It is used in commercial pie fillings and in homemade pie fillings, as well. Unlike regular cornstarch, Clear Gel retains it’s thickness, even if you reheat it. You can find it online or in some specialty food stores. You can use cornstarch, if you can’t find Clear Gel.
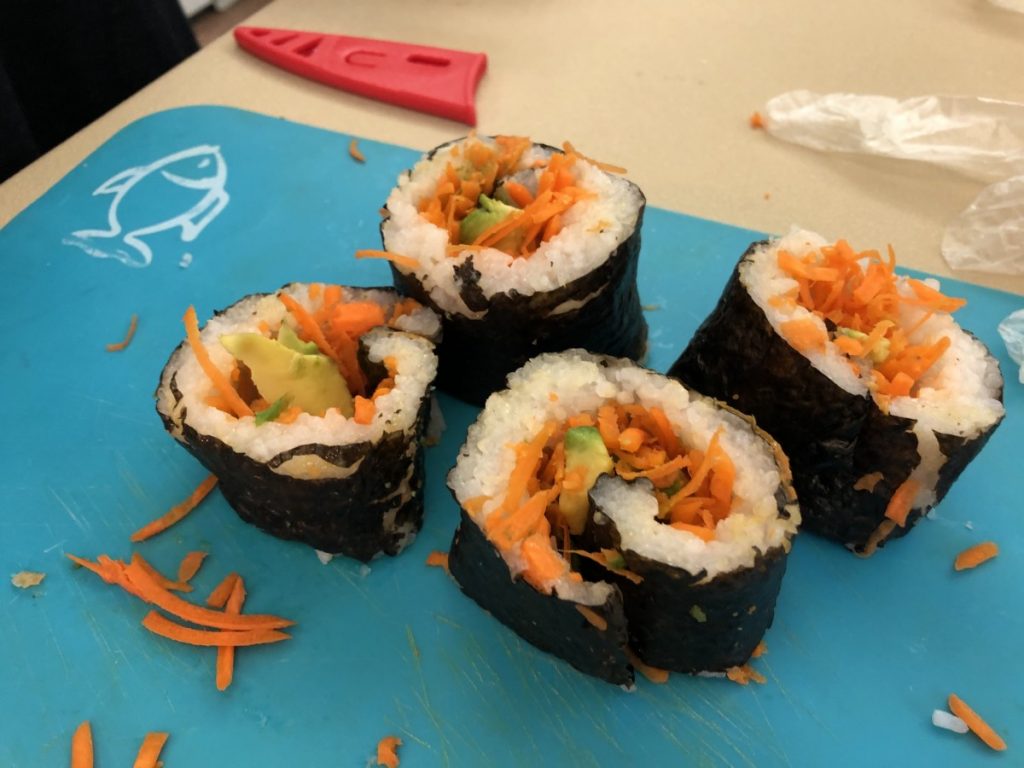
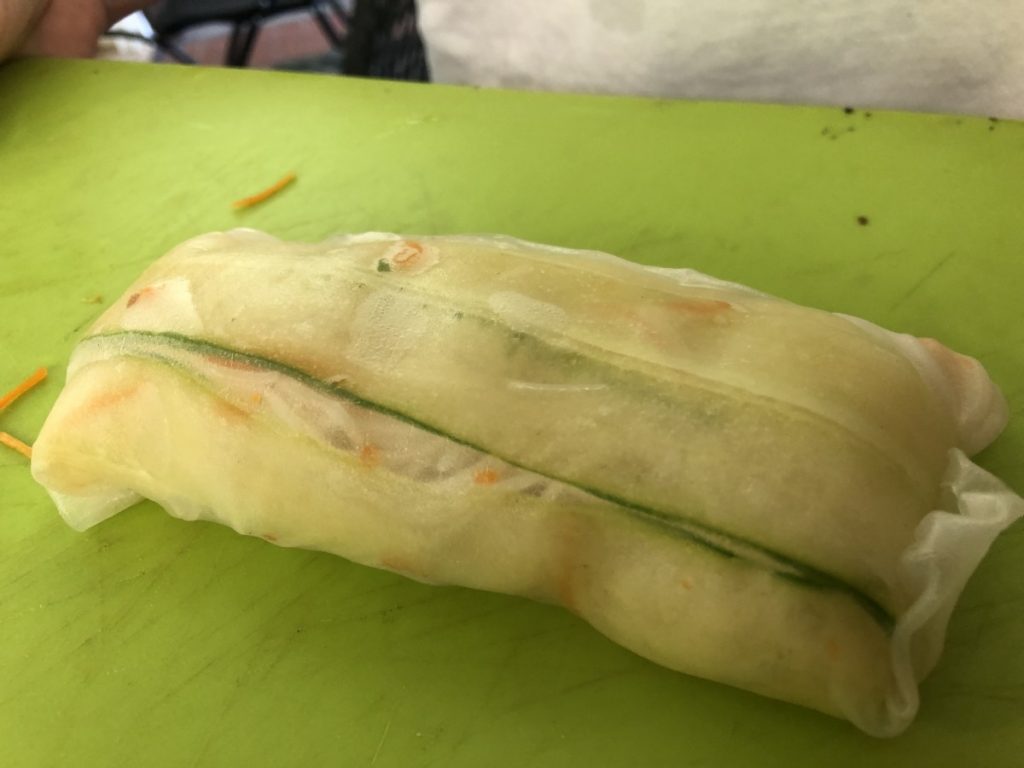
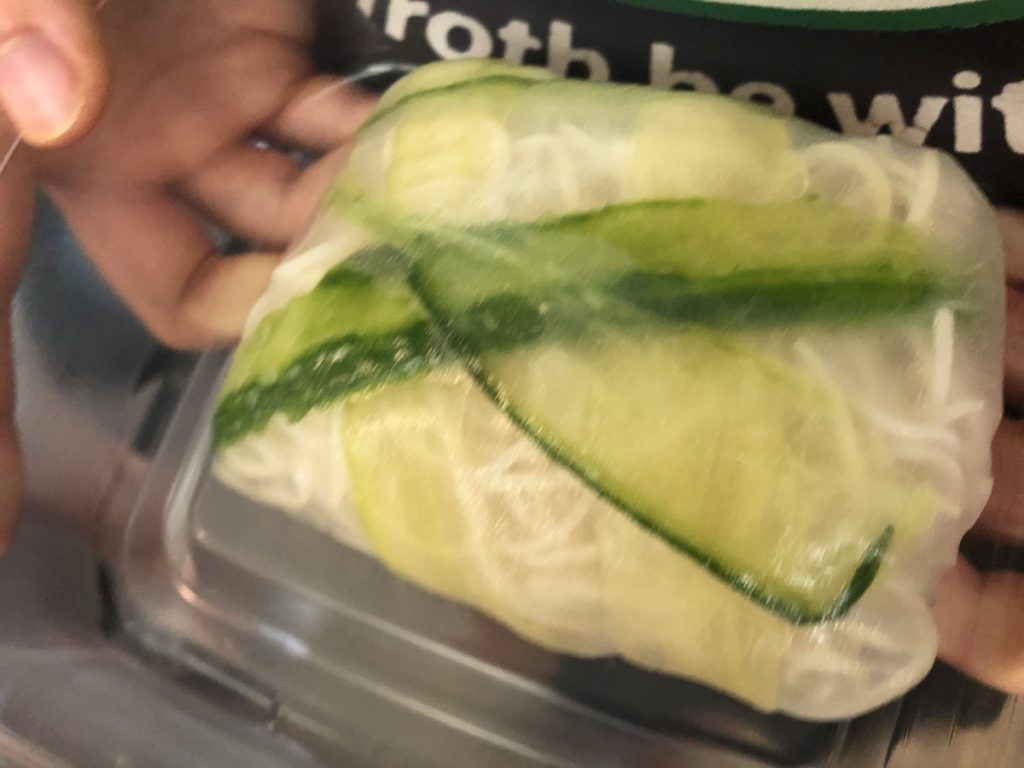
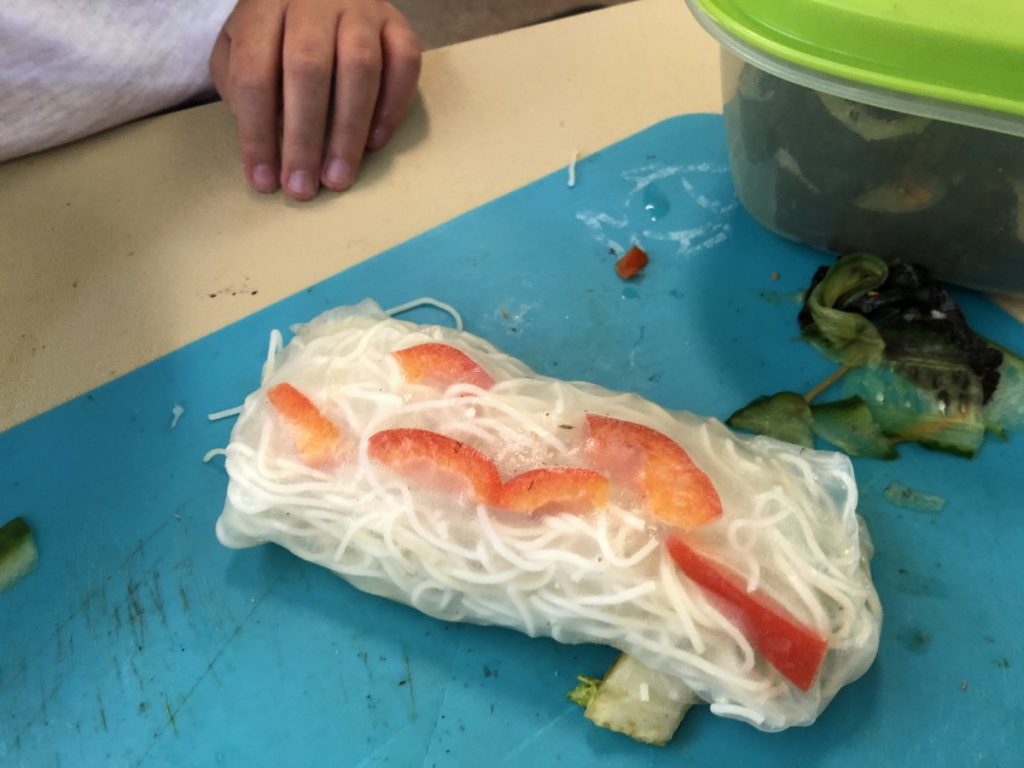
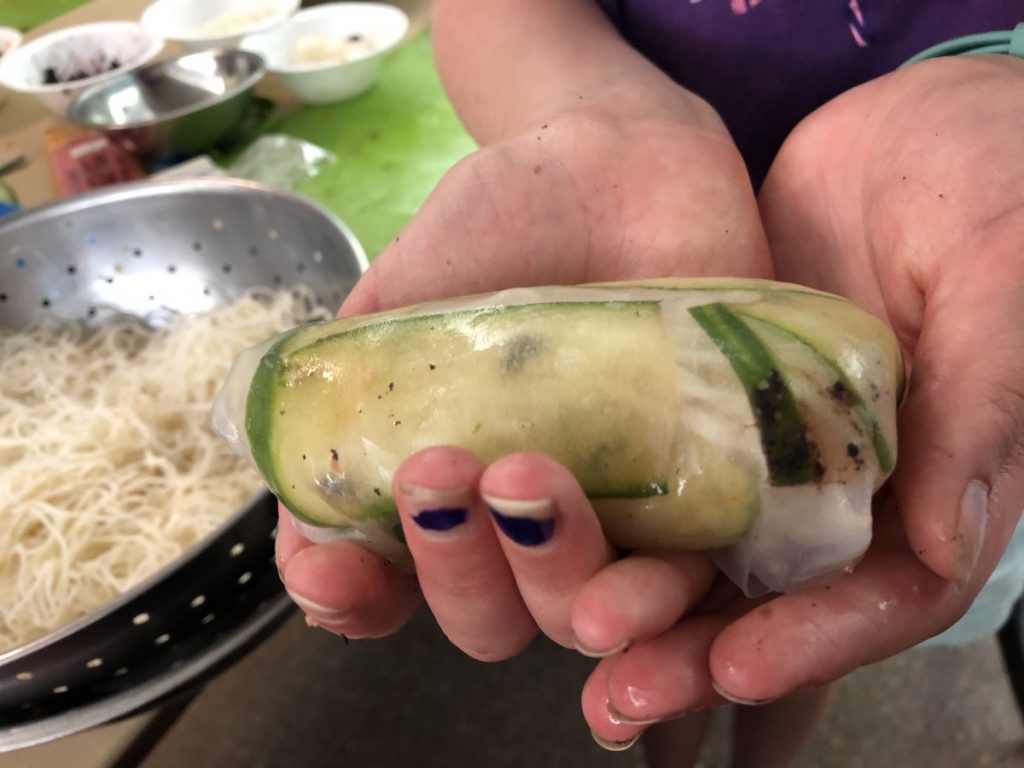
Sushi and Summer Rolls- Camp Day 4
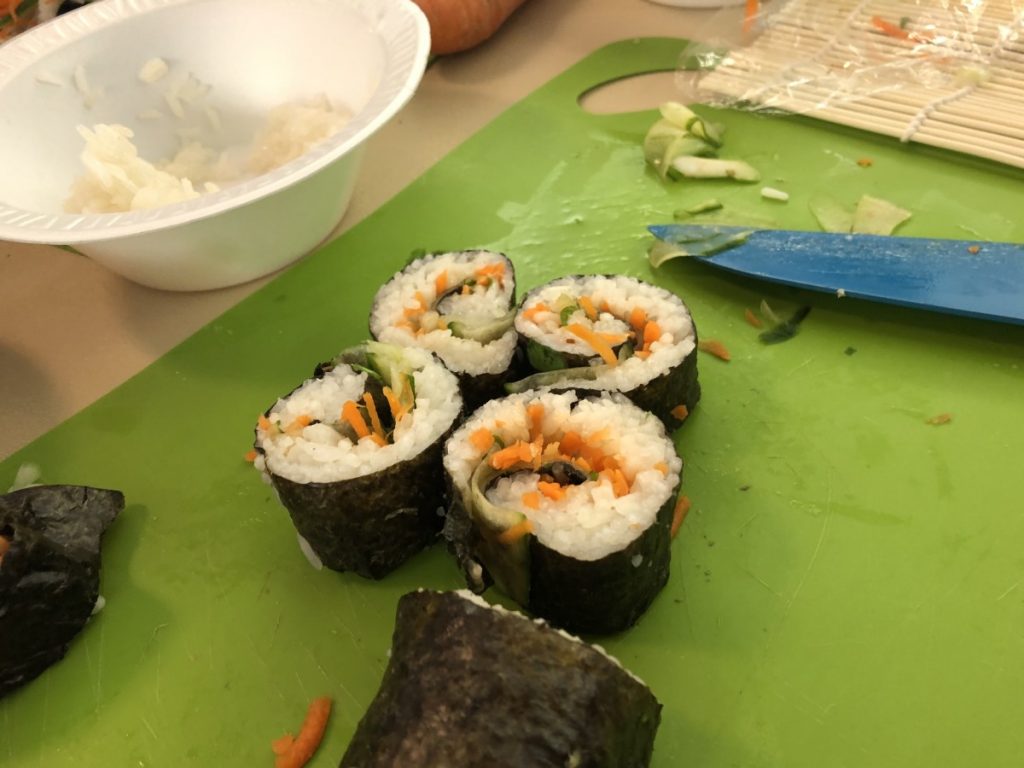
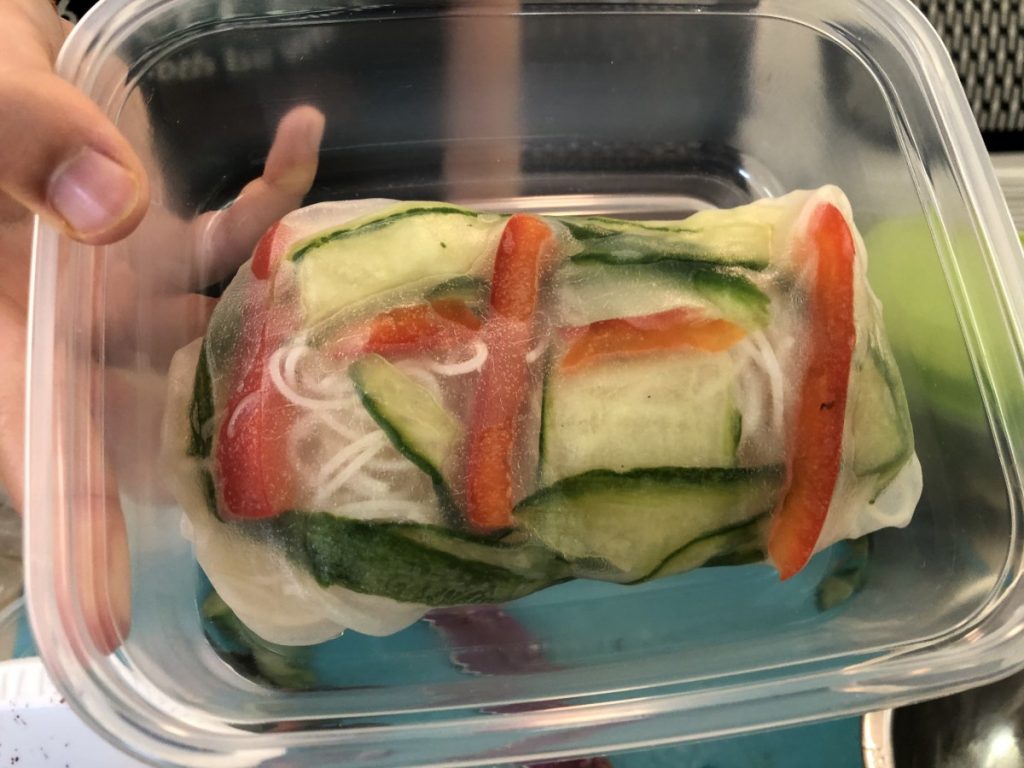
The kids really wanted to learn how to make sushi, so that is what we did today. I wanted them to learn to make summer rolls. They really enjoyed both activities. They were really enjoying placing rice paper in water to soften, then filling and making their first ever summer rolls. For the summer rolls we had shredded napa cabbage, assorted veggies and rice noddles for filling. We had soy sauce for dipping along with homemade sweet and sour sauce.
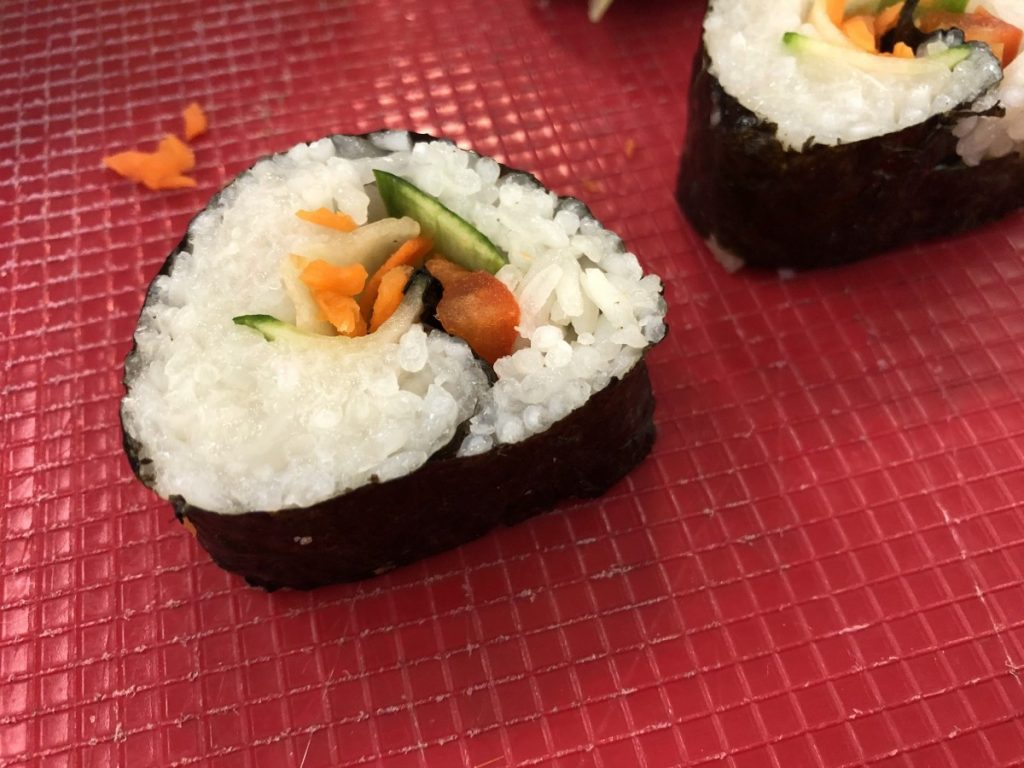
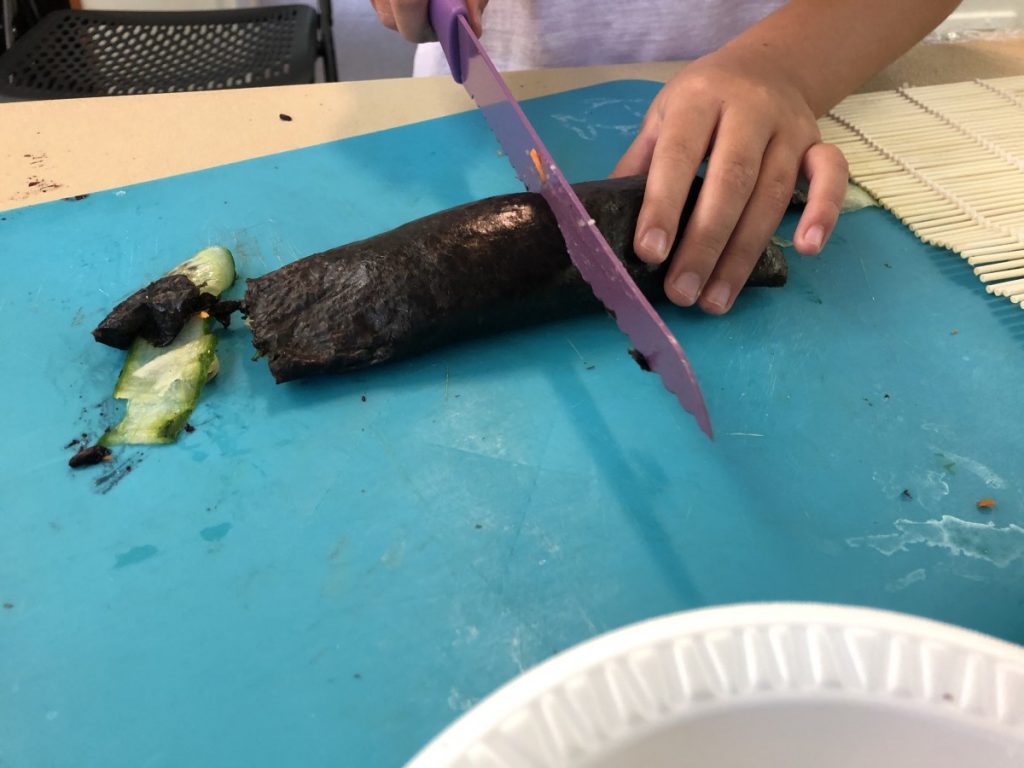
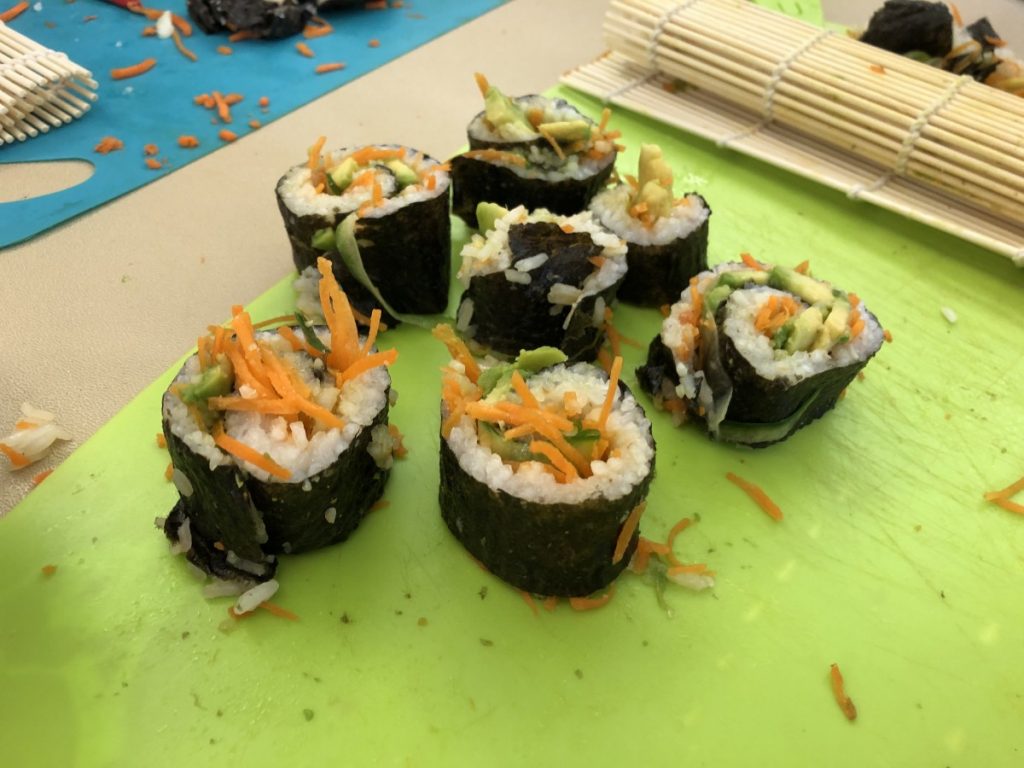
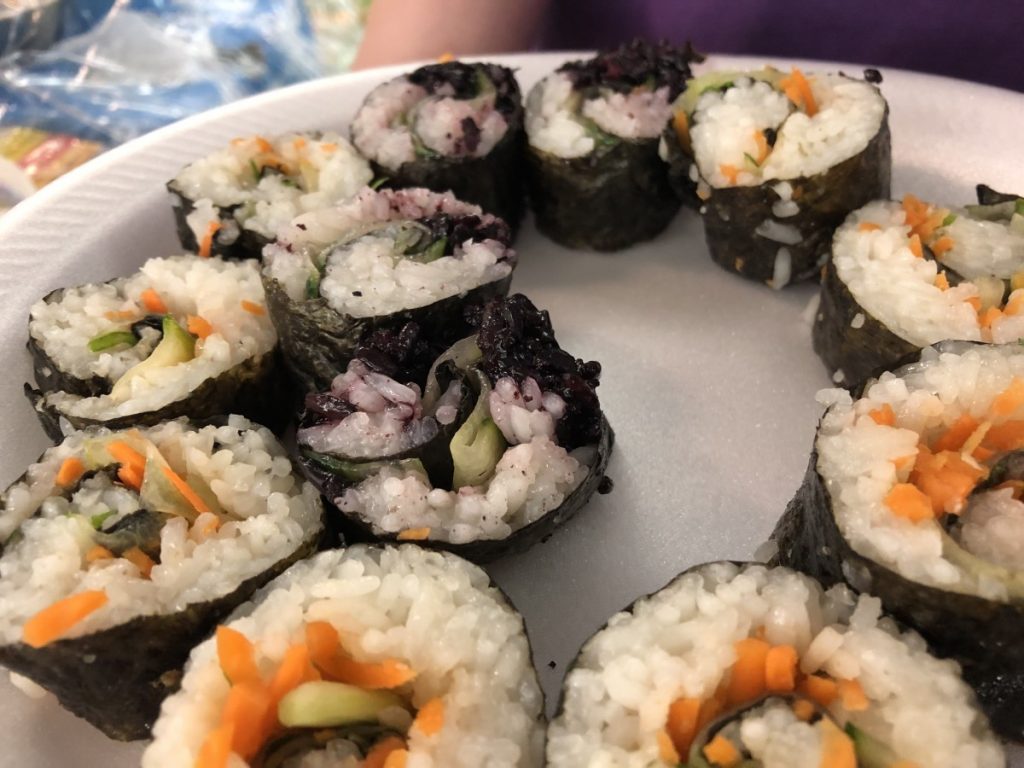
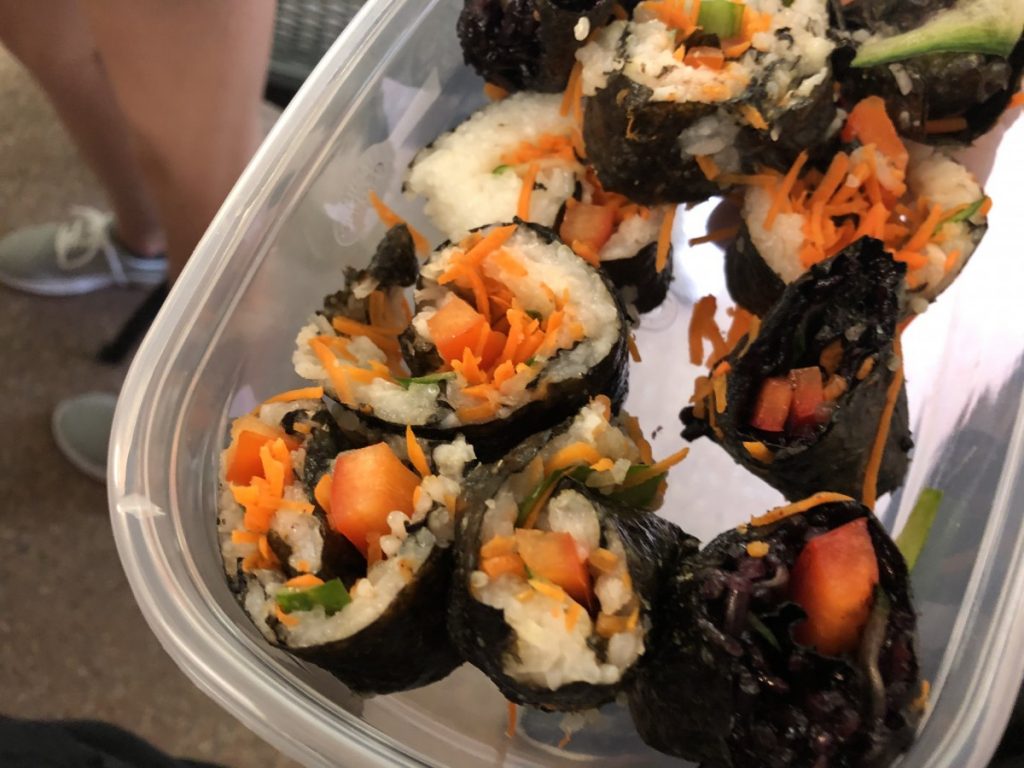
They really did a super job on the sushi. We had both traditional white sticky rice and black sticky rice, which is more of a very dark purple. We also used cucumbers, carrots, red sweet peppers, avocado and baby bok choy. I didn’t bring wasabi or pickled ginger, at the kids’ request.
Here are some pics from our day.


Corn and Black Bean Salad
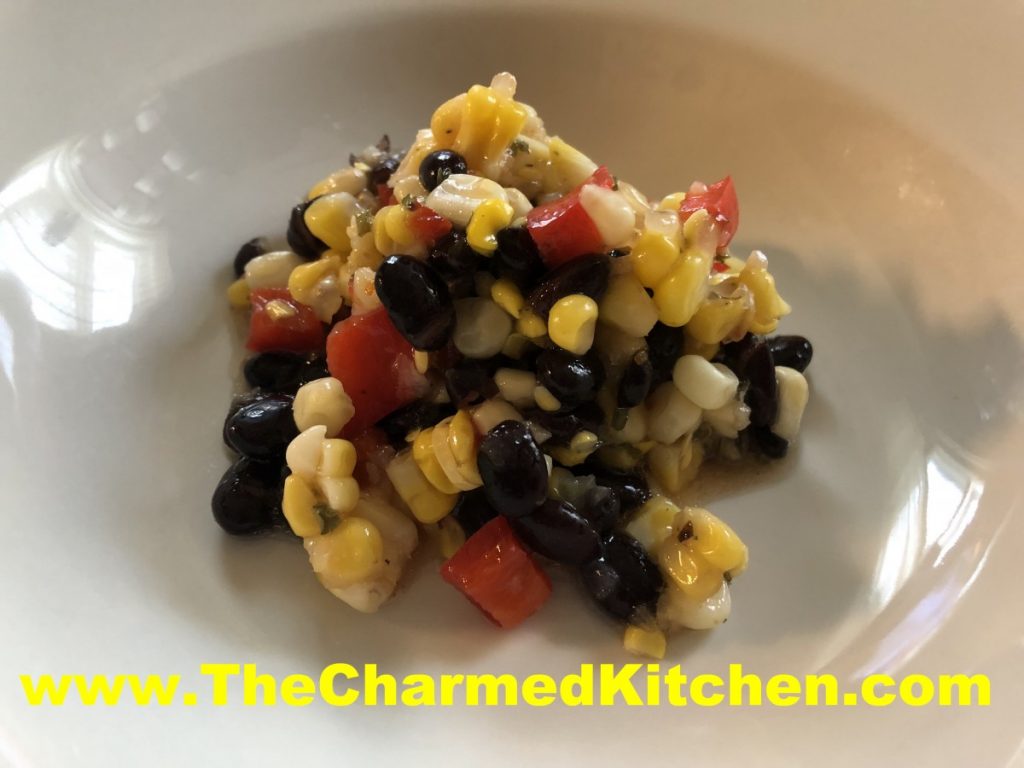
This salad was inspired by ingredients I had on hand. I had picked up some beautiful local sweet corn the other day. I also had some sweet peppers and home canned black beans. I knew the trio would work well together.
I used fresh corn in this dish. You could use frozen corn, if that was all you had. Fresh corn season is too short around here. I always buy extra corn for freezing. I just blanch the shucked corn for a few minutes in boiling water, then drop into ice water. Once the corn is cool enough to handle, I cut the corn off the ears. Then I package up the corn and freeze it.
You could also grill corn and cut it off the cob to freeze.
I like to boil the cobs after the corn is cut off, for a corn stock, which I also freeze. The cobs have a lot of flavor.
If using the frozen corn in a salad, you’ll want to drain it after thawing.
So here is the recipe. Pretty simple. You could add some sweet onion, if you like, too.
Corn and Black Bean Salad
4 c. cooked corn
1 can black beans, rinsed and drained
1 sweet pepper, seeded and chopped
¼ c. olive oil
3 T. red wine vinegar
1 T. Balsamic vinegar
2 t. Italian seasoning- I used my Tuscan blend
Salt and pepper to taste
Hot sauce to taste, optional
Combine all ingredients in medium bowl. Stir to combine well. Chill before serving. Serves 6-8.
Fresh Blackberry Muffins

Sometimes, little things can just improve your day. For me, it was starting the day with a mug of raspberry/hibiscus tea and a warm blackberry muffin. I had some beautiful fresh blackberries, and decided to make muffins with some of them. So happy that I did.
I used a recipe I had made before, but decided to add cinnamon and nutmeg to the batter. I also dipped the tops of the warm muffins in melted butter and a spiced sugar mixture to finish them off. So good. So very, very good.
I used fresh blackberries, but frozen would work, too. Don’t thaw frozen berries before adding them to the batter- and give the muffins a few extra minutes in the oven.
Blackberry Muffins
1 c. milk
1 egg
¼ c. oil
2 c. flour
1/3 c. sugar
1 T. Baking powder
¾ t. salt
½ t. each cinnamon and nutmeg
1 c. blackberries, I used fresh but frozen would work, too.
Topping:
1/2 c. sugar
1 t. each cinnamon and nutmeg
4 T. butter, melted
Beat together milk, egg and oil. Combine dry ingredients and add to milk mixture, stirring to just moisten flour. Fold in blackberries. Fill 12 paper lined muffin cups to 3/4 full. Bake in preheated 400-degree oven for 20 minutes or until golden brown. Combine sugar and spices in a small bowl. Place melted butter in another bowl. When muffins are removed from the oven carefully dip the top of a muffin in the melted butter and then in the spiced sugar. If muffins are too hot to hold wait a few minutes before dipping. Repeat with remaining muffins. Serve warm. Makes 12.
Pasta Sauces and Hummus- Cooking Camp- Day 2
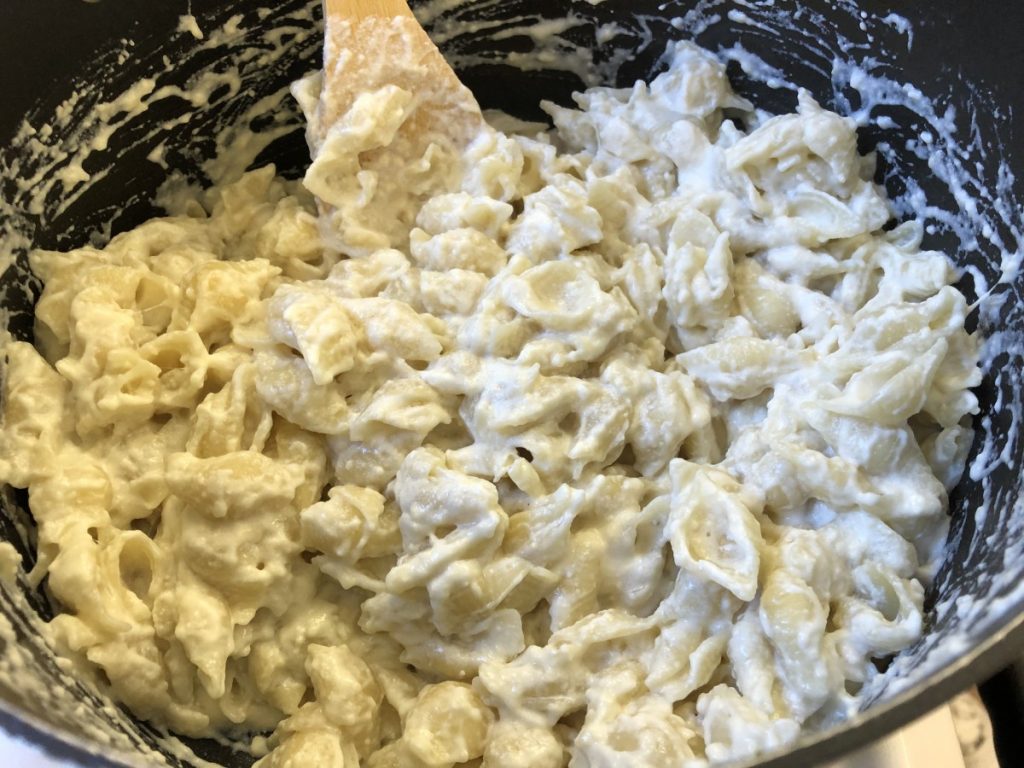
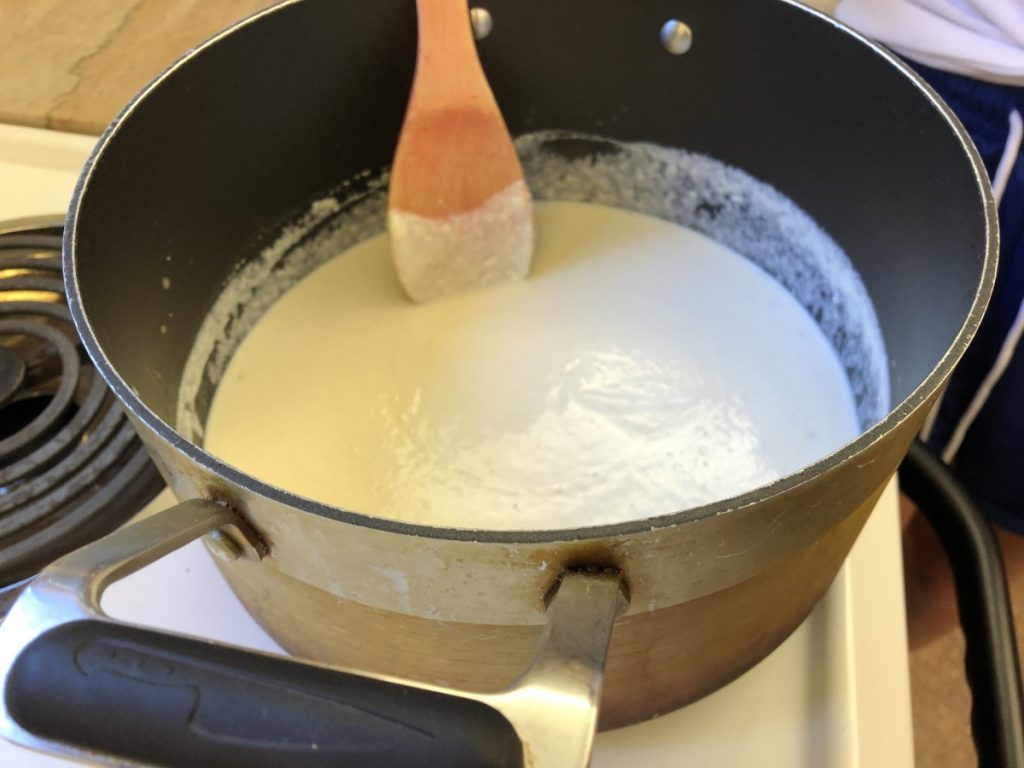
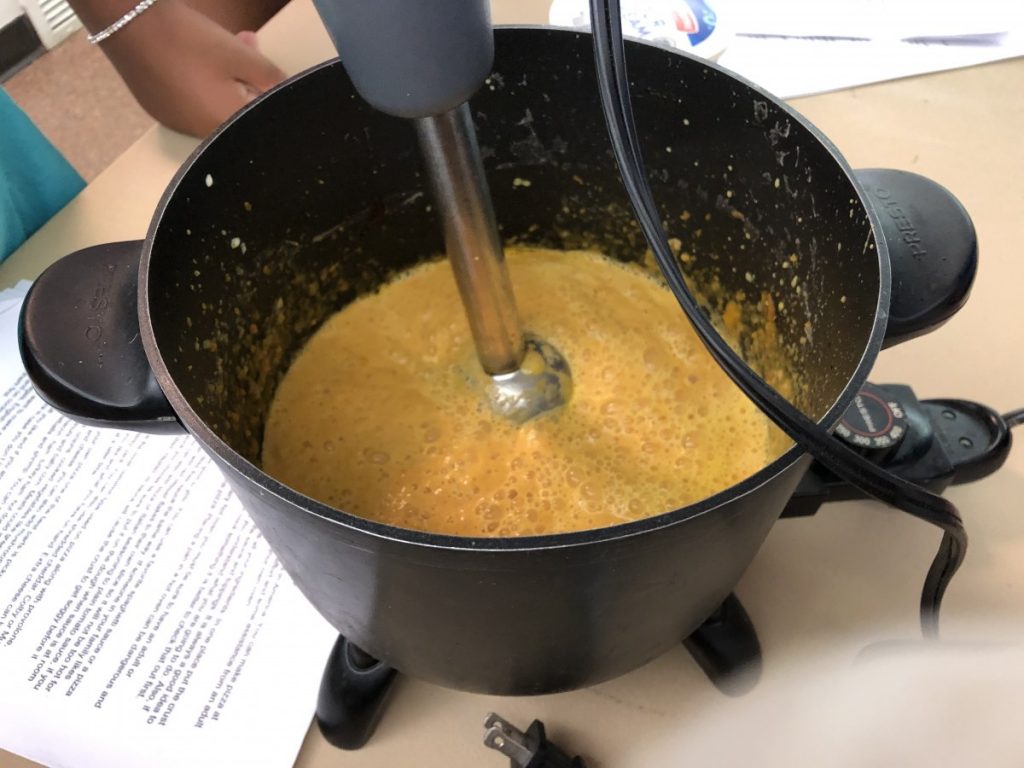
The kids did a great job today. They had to make pasta sauces. We ended up making four different ones. Two I had suggested and two they requested. They made my recipe for carrot sauce and creamy spinach sauce. They also made Alfredo pasta, because one of the girls said she loves Alfredo. The last one they used marinara sauce and mozzarella cheese to create what they called pizza pasta.
The Alfredo pasta dish came out so wonderful. The girls stirred carefully to get a nice, creamy sauce.
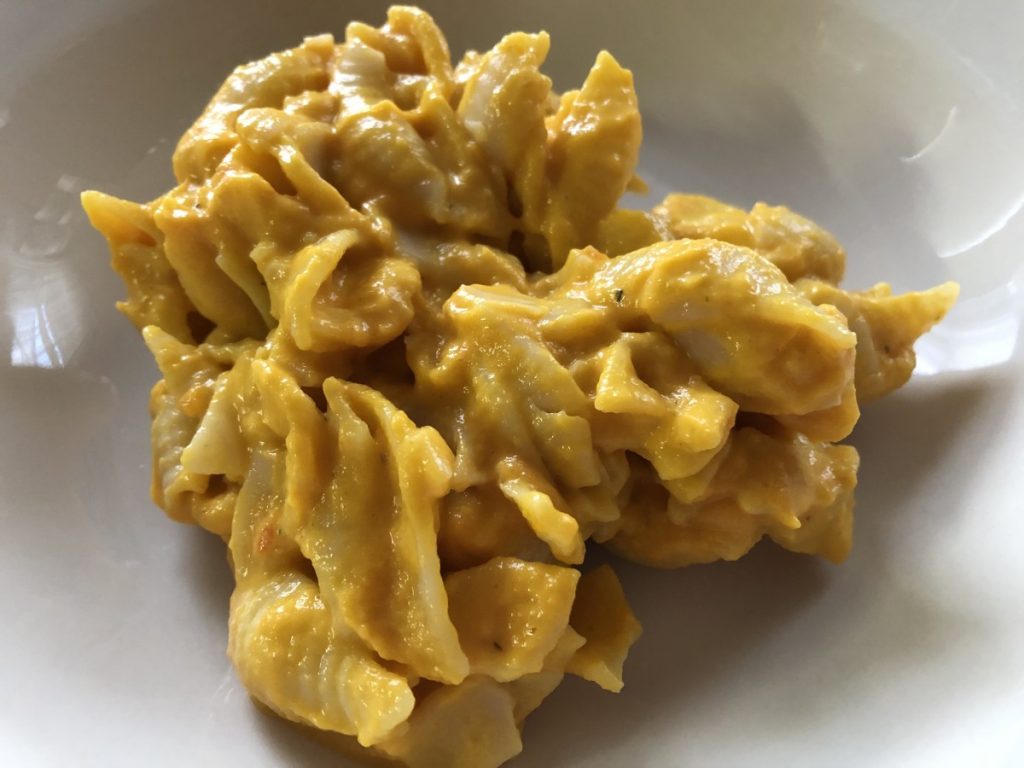
The carrot pasta sauce was very popular. Several said they liked it because it didn’t taste like carrots. That made me laugh. They decided since it looked like mac and cheese, they were taking some home to fool their families. Looking forward to comments tomorrow.
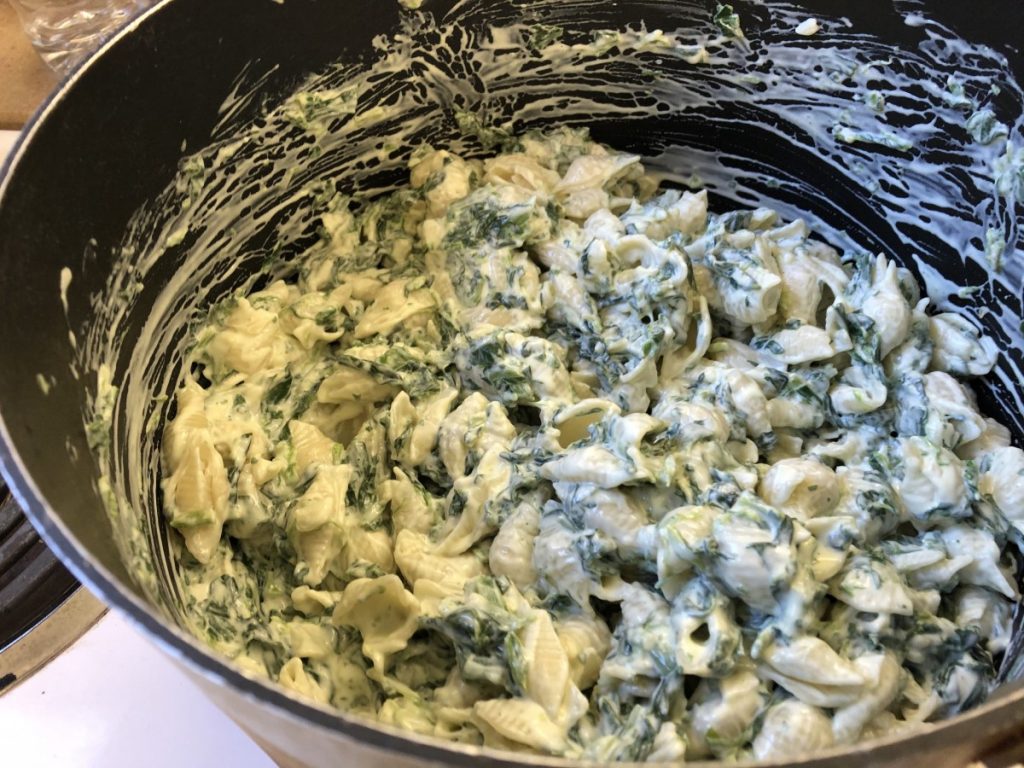
They liked the spinach pasta more than I thought. Of course with all that butter and cream cheese, what’s not to love?
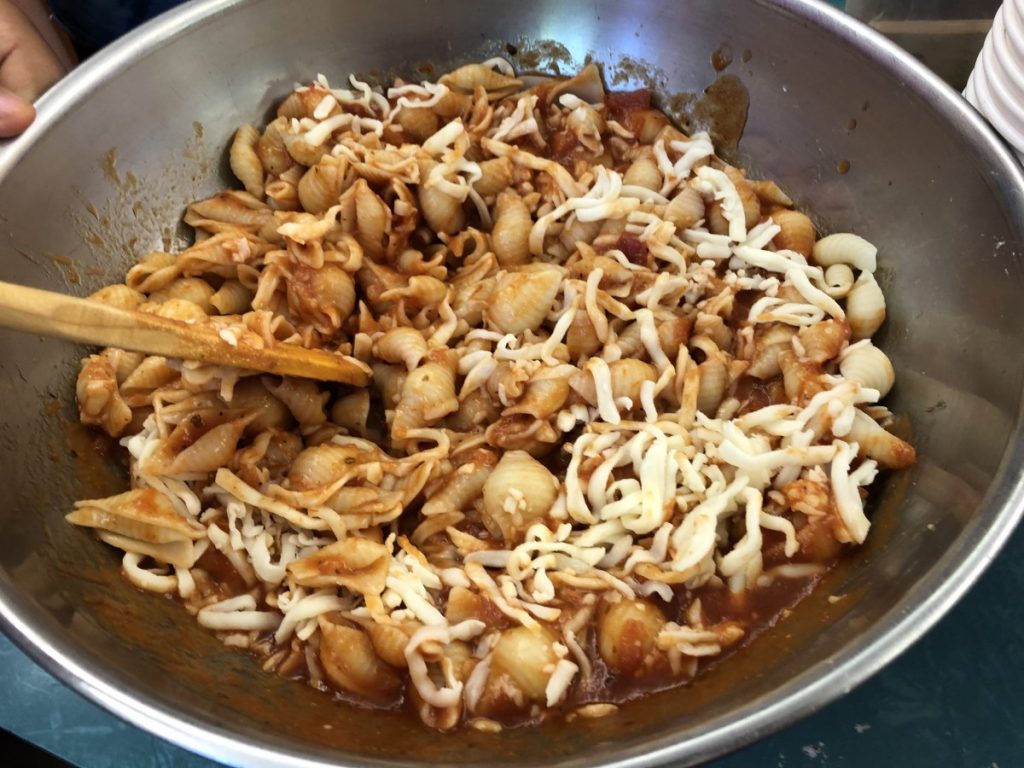
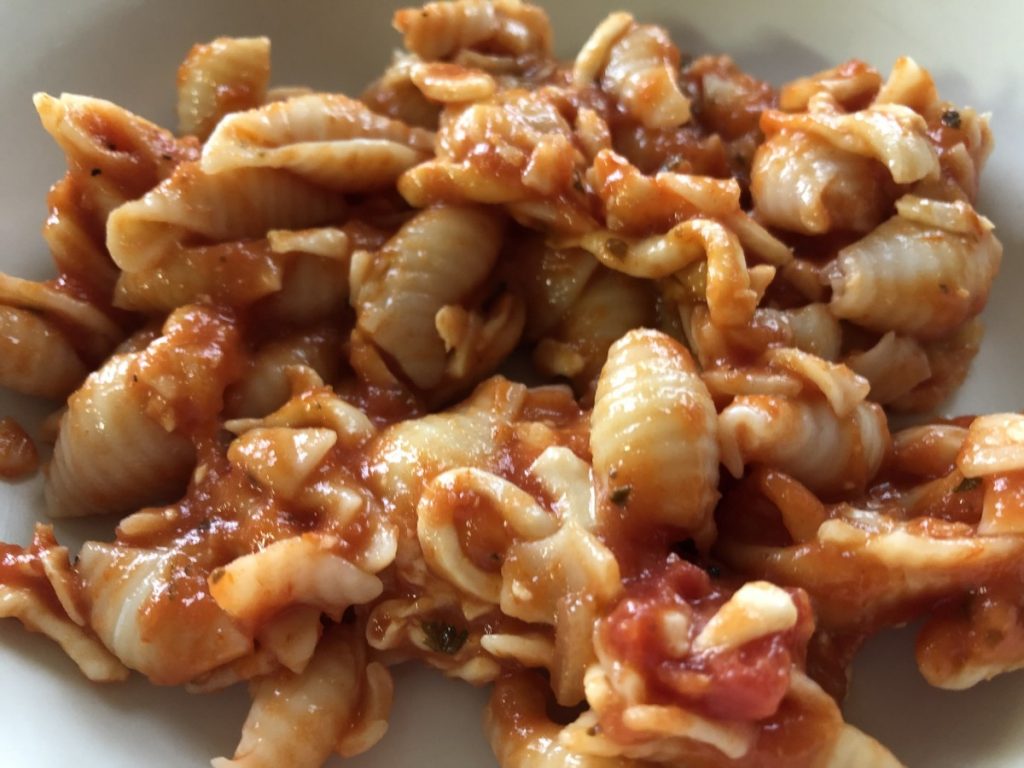
The pizza pasta was also a nice combo. The mozzarella cheese, folded in at the end, made it special.
Today’s lesson was also about tasting your food as you go! They used tasting spoons to try their dishes, adding more ingredients as needed. I was so impressed.
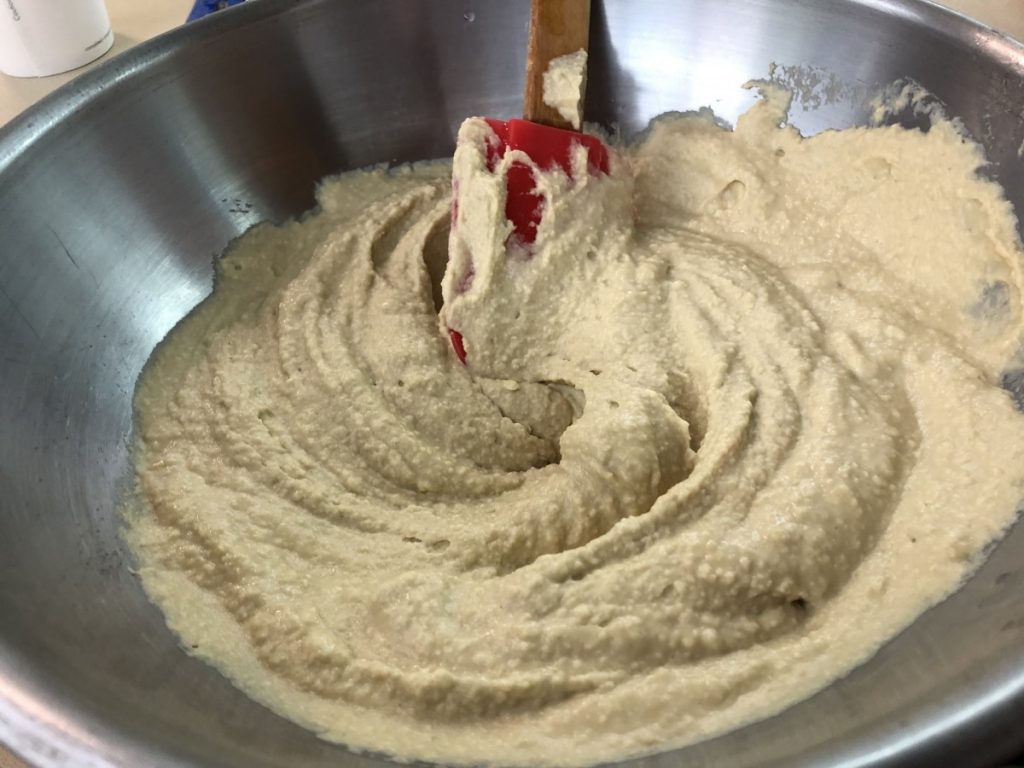
We also made hummus. One girl said she never liked hummus before, but liked ours.
Fun day for all.

Cinnamon Vanilla Peach Pie

Sometimes, pie is more than just pie. Sometimes it is a memory and a tribute. We had a couple of peach trees at my parent’s house. One year there were so many peaches, my dad had to prop up the branches to keep them from breaking under the weight of the fruit. I remember the peach pie my mom made with some of them. It was bliss.
I have a handwritten copy of the peach pie recipe from my Mom. Well, maybe a partial recipe is a better description. What I have is a list, with the filling ingredients and the words “350-45-50”. No directions for how the ingredients are prepped or assembled. There was no recipe for the crust, but I knew the recipe she used, so that was not a problem. Her original recipe also did not have any cinnamon or vanilla, but I think she would have approved of their addition. I thought of her when I made this pie. Sweet memories, indeed.
Here is her recipe, as best I could figure it out.
Cinnamon Vanilla Peach Pie
1 recipe pie crust- enough for two crusts- recipe follows
10 peaches
2 T. lemon juice
2 t. vanilla
1 c. sugar
1/3 c. flour
¼ c. butter
2 t. cinnamon
1 egg
2 T. cinnamon sugar*
Roll out 1 crust and place in a 9-inch pie pan. Set aside. Peel, pit and slice the peaches. Place in a bowl and toss with the lemon juice and the vanilla- set aside. In small bowl, combine sugar with flour, butter and cinnamon until mixture resembles coarse crumbs. Place about a third of the flour mixture in pie crust. Top with half of the peaches. Add another third of the flour mixture and then the rest of the peaches. Sprinkle remaining flour mixture on top of the peaches. Roll out and cut the remaining pie dough into strips and place in a lattice design on top of the pie. Trim off excess crust and crimp edges to seal. Combine egg with a tablespoon of water and mix well. Brush egg wash on lattice top and sprinkle with the cinnamon sugar. Bake in a 350 degree oven for 45-50 minutes. When I placed the pie in the oven, I put a baking sheet on the rack below the pie to catch drips. If edges start to get too brown, cover with foil. Makes 1 pie.
*Combine 1 teaspoon of cinnamon with 2 T. sugar
Flaky Pie Crust
2 c. flour
1 t. salt
3/4 c. lard, shortening or coconut oil, chilled
1 T. cider vinegar
4-5 T. cold water
Combine flour and salt and cut in fat of your choice. Toss in vinegar and water 1 tablespoon at a time until dough holds together. Use a fork to toss the ingredients together and as soon as the mixture holds together stop adding water. Makes 2. Chill well before using.

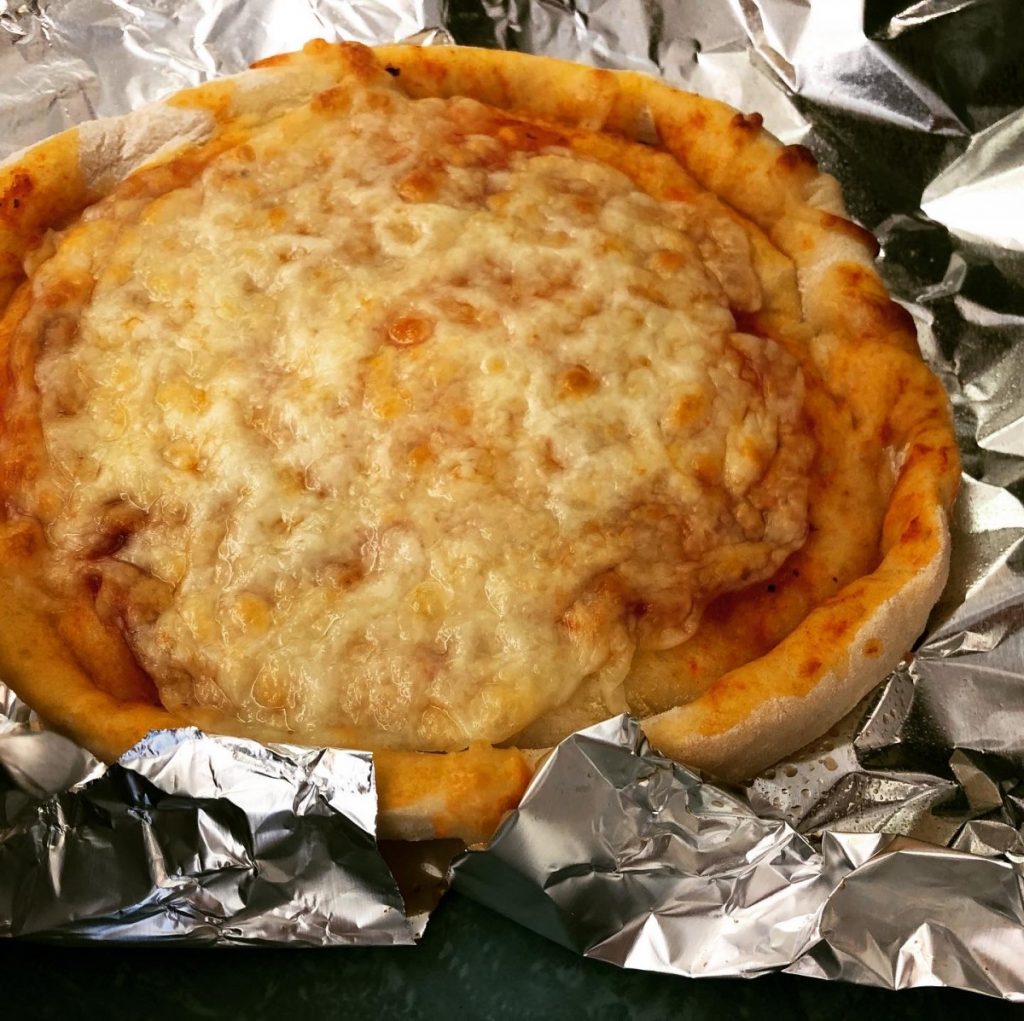
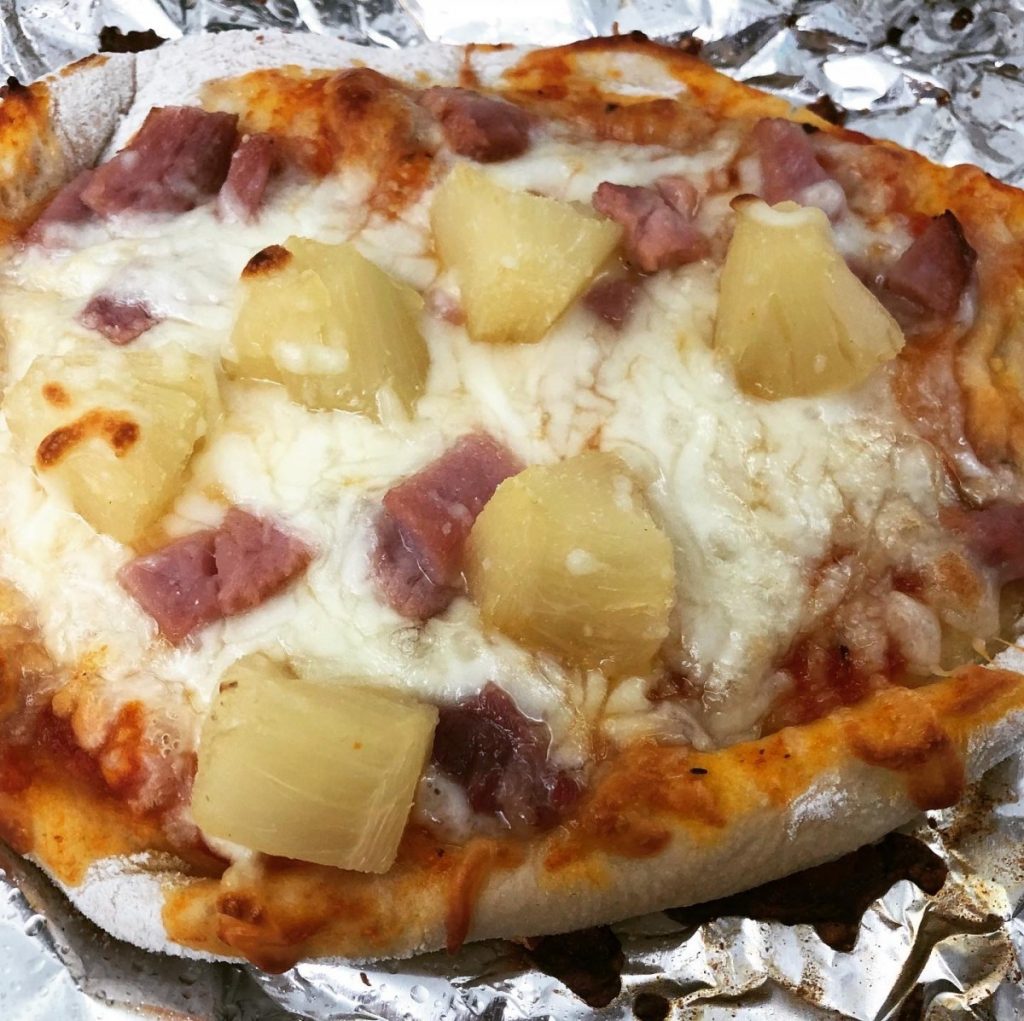
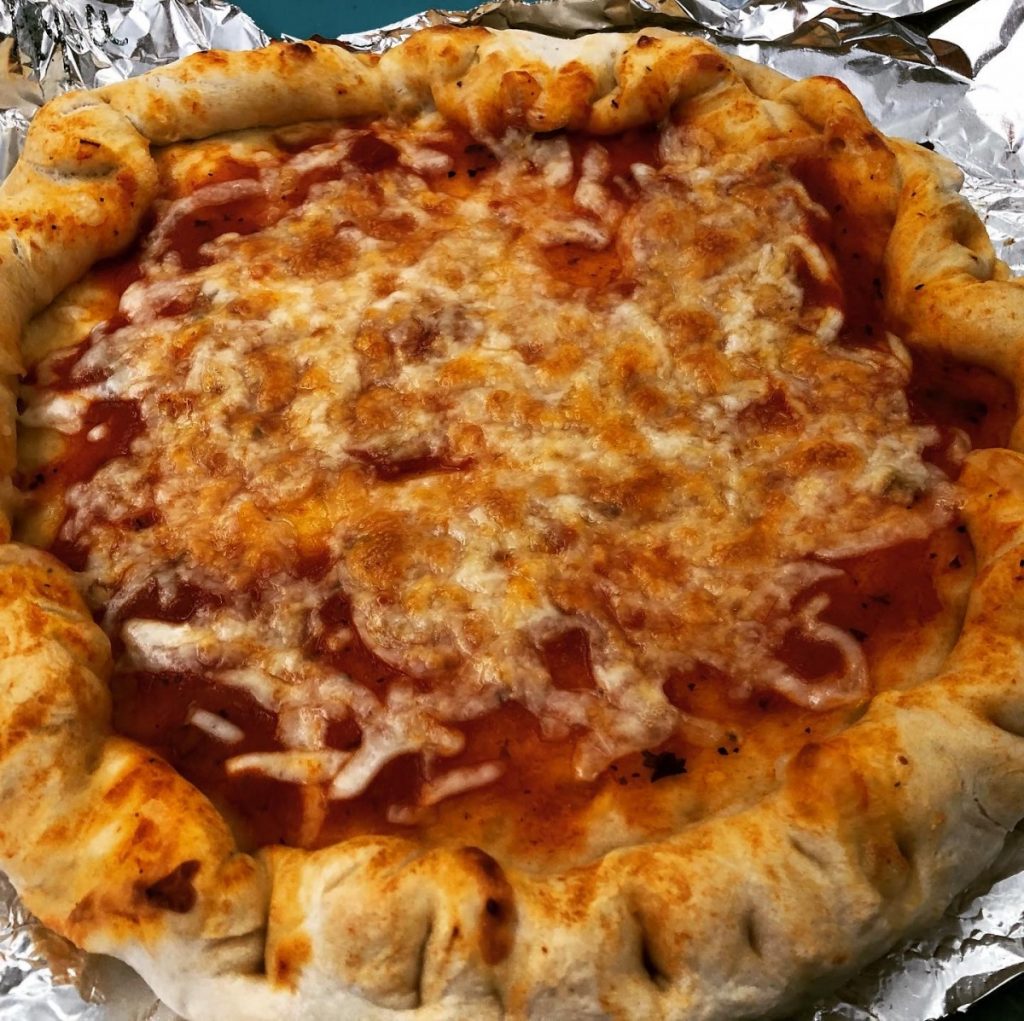
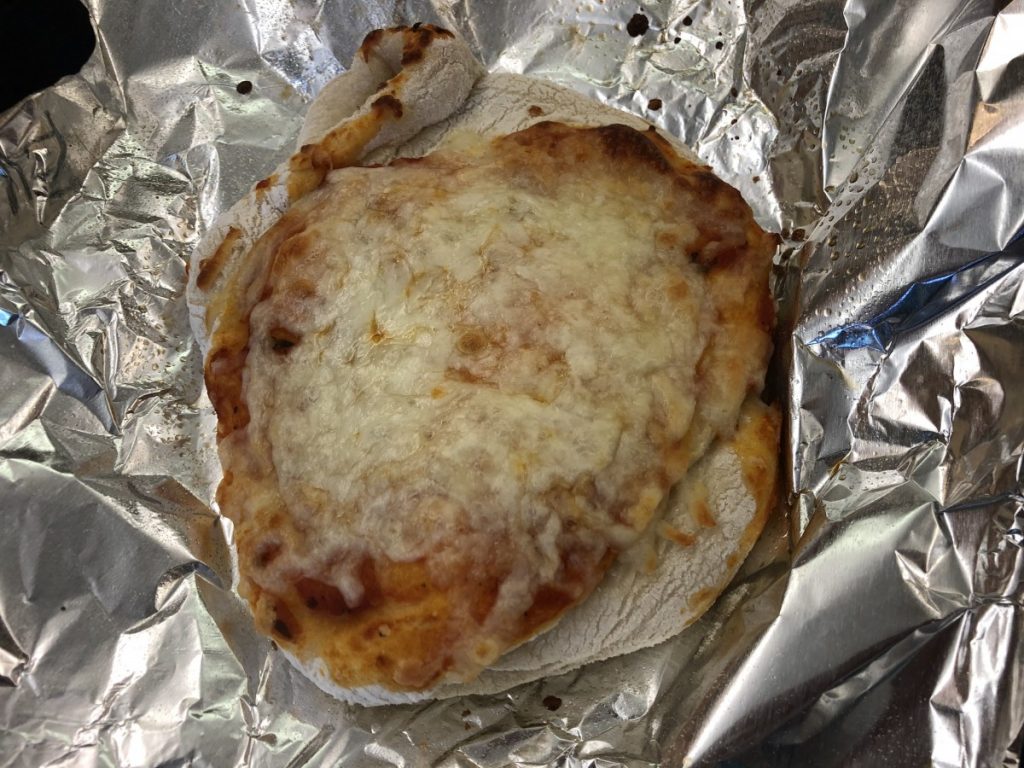
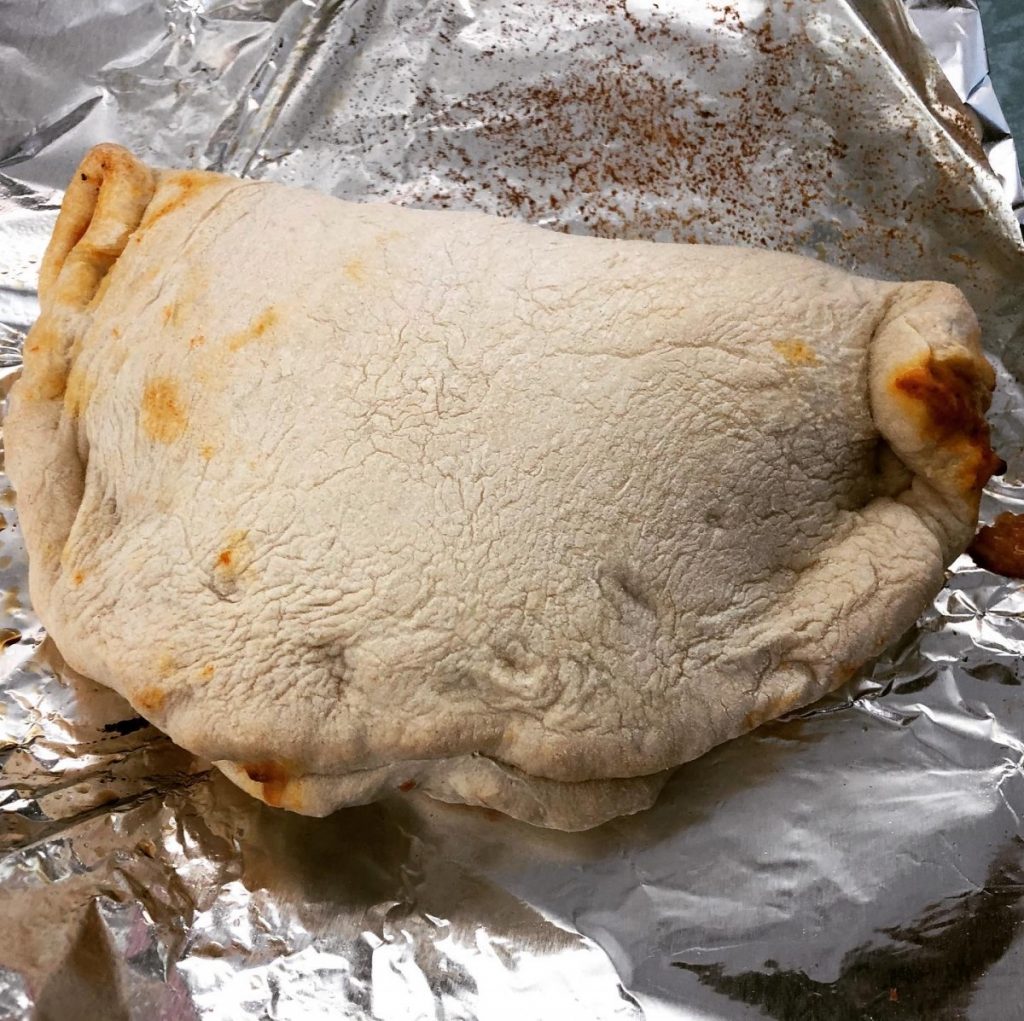
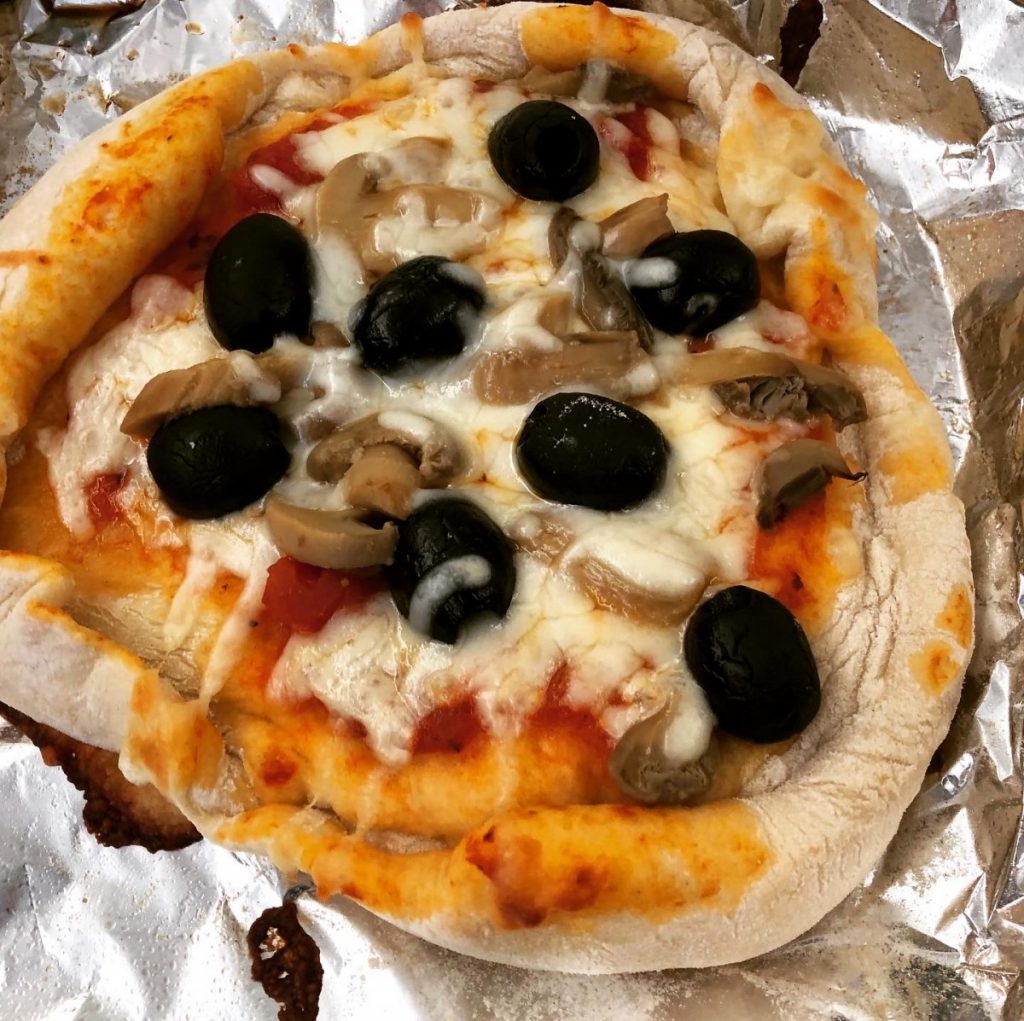
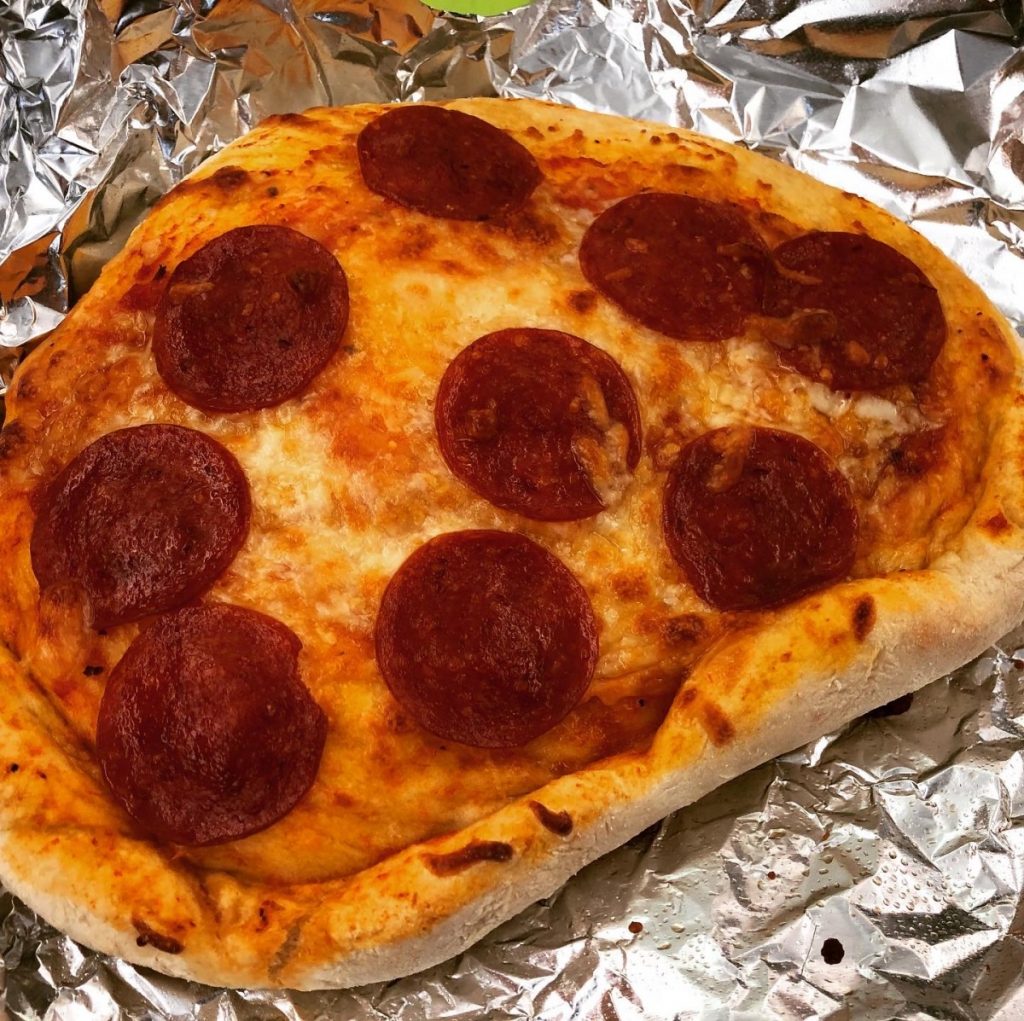
Mentor Cooking Camp
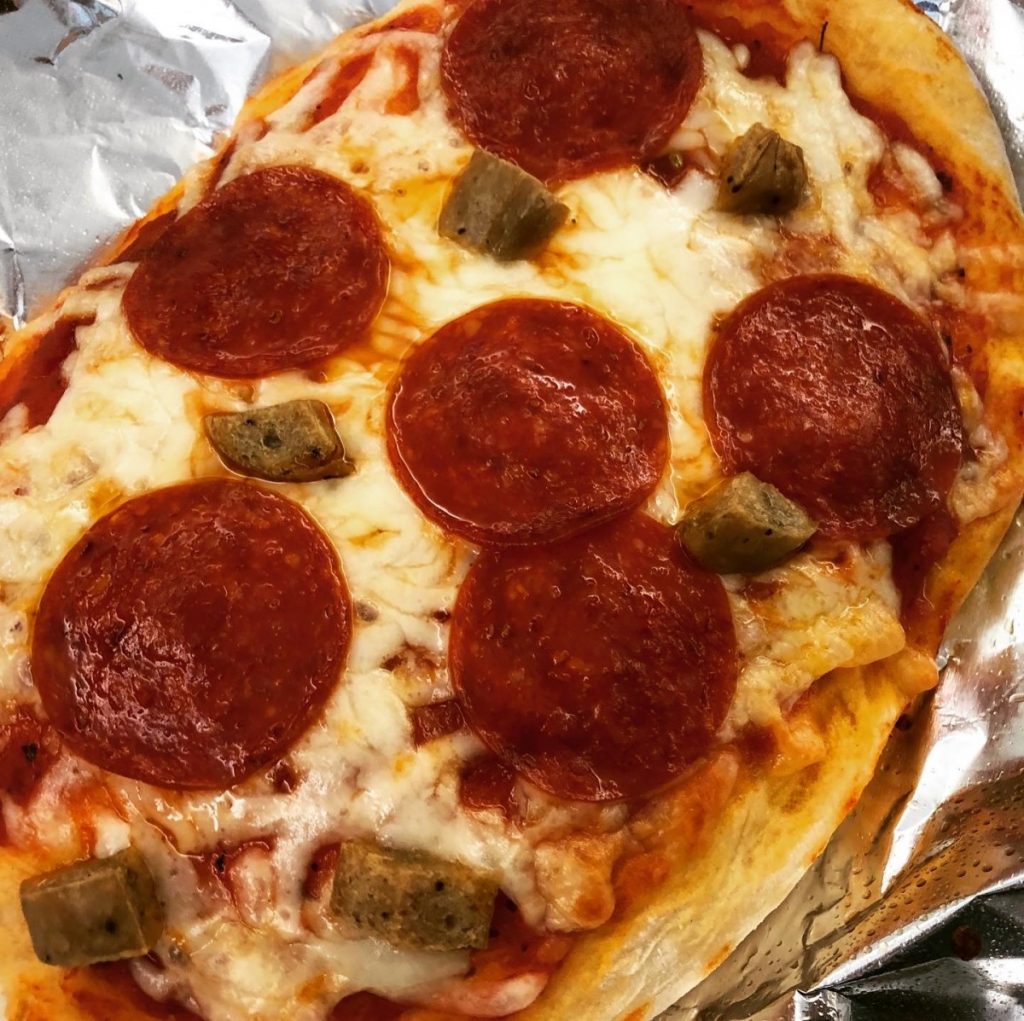
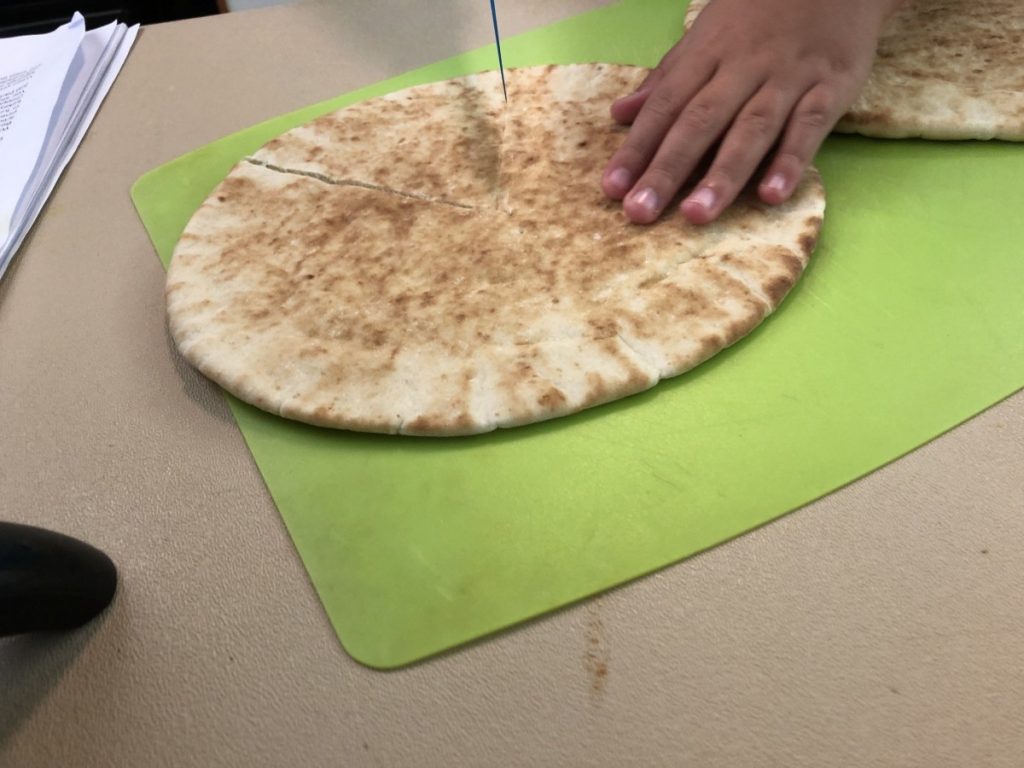
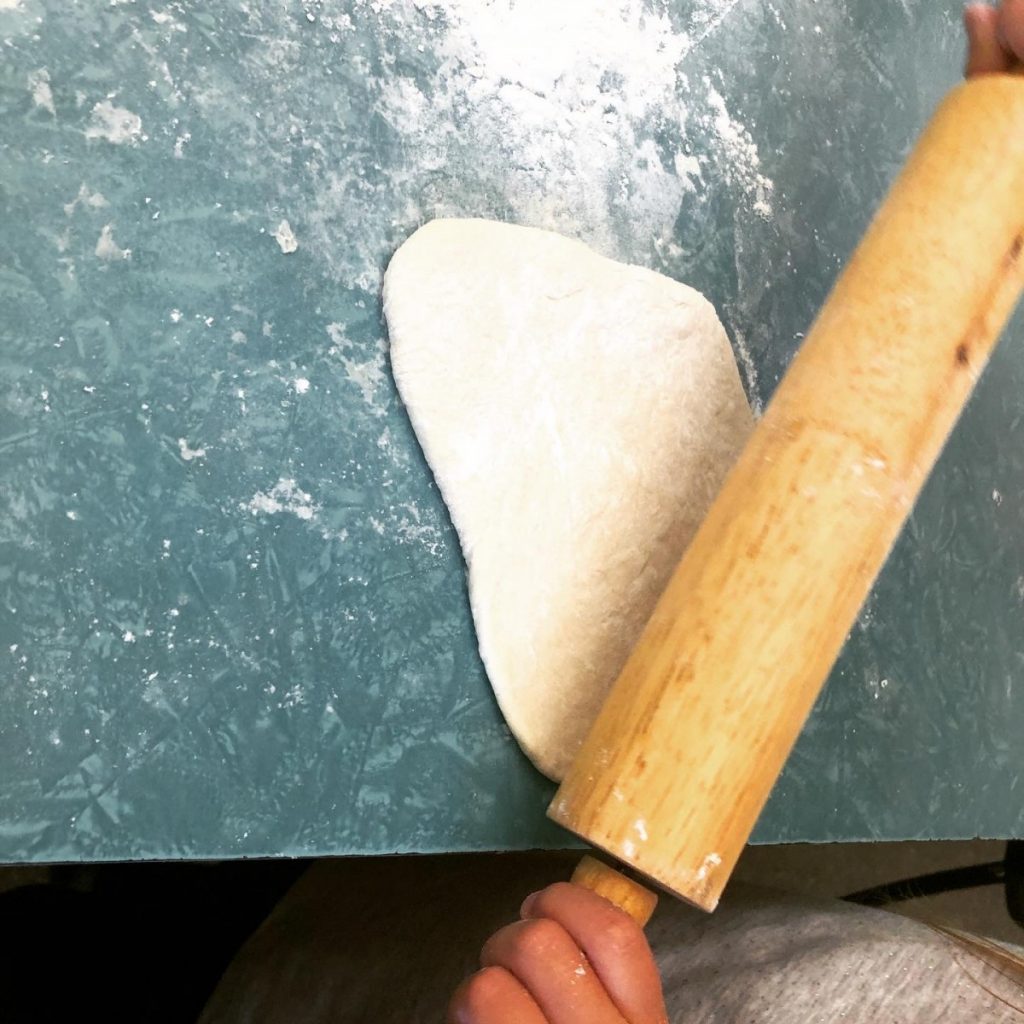
It was wonderful to be back to work with kids. This week’s cooking camp theme is international foods. Today was pizza. The kids did a great job. We’ll be making all sorts of fun foods this week including hummus, empanadas, summer rolls, wontons and kolachy. They did a great job in class today.

Black-eyed Pea Salad
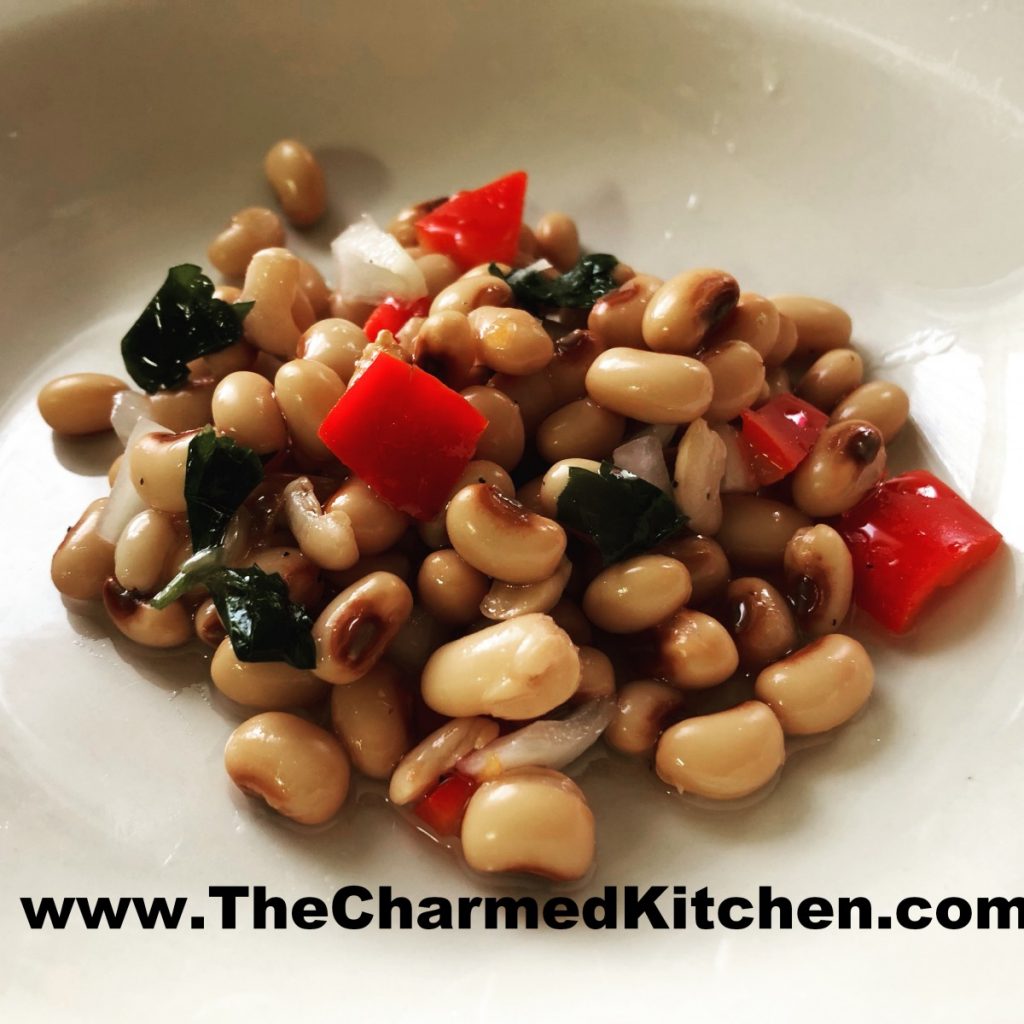
When I say salad, I am not sure most people think of black-eyed peas as a main ingredient. Black-eyed peas, like other legumes, are a wonderful addition to both hot and cold dishes.
This dish is a great vegetarian option for dinner or as a side dish. It makes a nice salad for almost any summer party, picnic or cookout.
It is a simple recipe you can make ahead of time. Not too many ingredients, but packed with flavor.
I used dried peas and cooked them in my pressure cooker. If you are really pressed for time, you could use canned black-eyed peas instead. You’d need 4 or 5 cans. A can of black-eyed peas ( 14 oz.) will give you about a cup and a half of peas. A pound of dried gives you about 7 cups of cooked peas.
Here is the recipe. Great summertime salad. Serve it plain- or over a bed of salad greens.
Black-eyed Pea Salad
1 lb. dried black-eyed peas
1 large sweet onion, chopped fine
1 sweet pepper, seeded and chopped
1/4 c. olive oil
1/4 c. red wine vinegar
1/4 c. chopped fresh parsley
1/2 t. dried thyme
salt and pepper to taste
Cover beans with cold water in saucepan and bring to a boil. Boil 5 minutes. Turn off heat and allow to stand 1 hour. Drain and rinse beans. Return to saucepan and cover with cold water. Simmer beans until tender, about 1 1/2 hours. Drain. Place cooked beans in a bowl and cover with remaining ingredients. Toss to coat, cover and chill. Serve as a main dish or on the side. Also tasty served over salad greens or stuffed in a hollowed out tomato. Serves 6-8.
Spiced Cherries
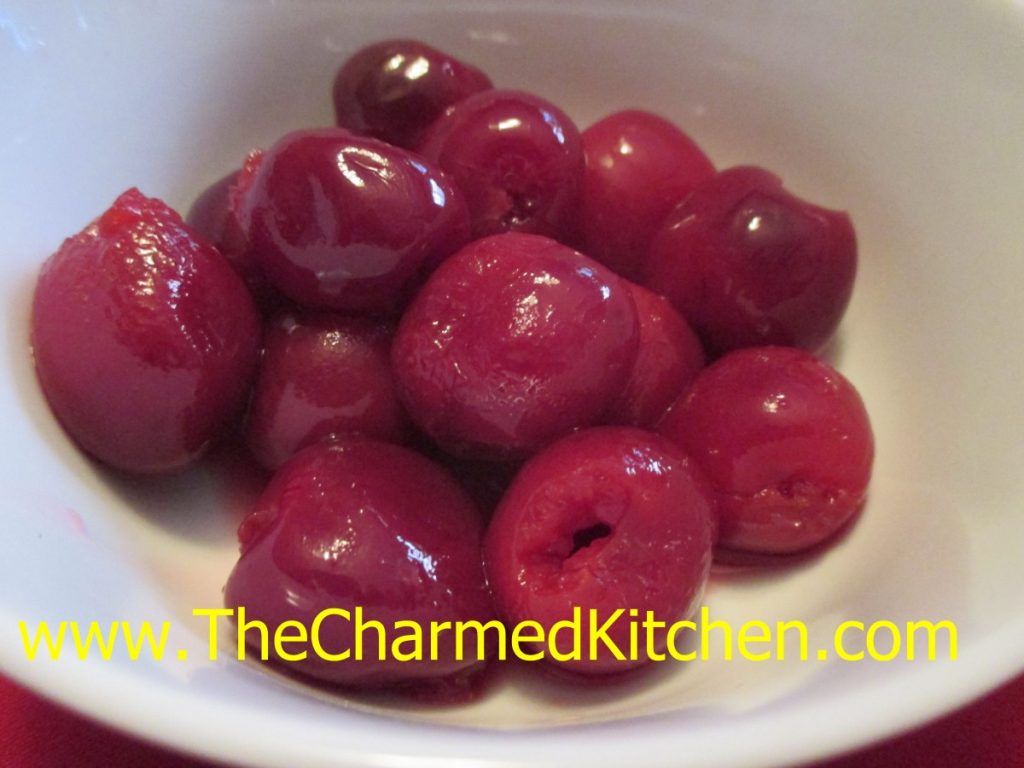
These cherries are so good, I am already wishing I had canned more of them. I was inspired by my cousin, Laurie, who needed spiced cherries for a recipe she wants to make.
I first thought about the spices I wanted to use. I didn’t want to overpower the cherries, but I wanted the spices to complement the flavor of the fruit. In the end I used cinnamon sticks, fennel seeds, fenugreek, cloves and some cracked black pepper.
Once I decided which spices I wanted to use, I steeped them in boiling water. Kind of like making tea. Then I strained out the spices and used the spiced water in the syrup for the cherries. I could just have added spices to the cherries when I canned them, but I didn’t want stuff in the jars I would need to strain out later. I also knew the spices would get more intense over time, if left in the jars. By making a tea and tasting it, I knew what level of spice I would have in the final product.
The spiced cherries can just be eaten, right out of the jar. They can also be drained and added to fruit salads or used to top desserts. You can also use them to bake with. They aren’t overly sweet.
Laurie is using them in some sort of chocolate cherry martini. Now that sounds good!!!
They would make nice gifts, too.
So here is my recipe for spiced cherries.
Spiced Cherries
7 (3-4 inch) cinnamon sticks
2 T. fennel seeds
2 T. fenugreek seeds
1 T. whole cloves
1 T. cracked black pepper
5 c. water
11 lbs. sweet cherries
3¼ c. sugar
Zest of 2 limes
Juice of 2 limes
Place spices in a large pot and turn heat on to medium. Toast spices in pot for about 4-5 minutes, stirring occasionally. You should be able to smell them. Watch so they don’t burn. Add the water to the spices, bring to a boil, and simmer for at least 15 minutes. Longer cooking is fine. Fill water bath canner with water and heat up water to a simmer. In the meantime, pit the cherries. You should end up with about 4½-5 quarts of pitted fruit. You can hold pitted cherries in a bowl of water with a little ascorbic acid in it, to prevent browning. Set aside. Remove the spiced water from the heat. Strain out the spices and discard them. Measure the spiced water and add enough fresh water to equal 5 cups. Return water to pot with the cherries (drained if they were in water), sugar, zest and lime juice. Bring mixture to a boil. Fill pint jars with cherries and cooking liquid, leaving ½-inch headspace. Wipe rims and screw on lids until fingertip tight. Place jars in water bath canner. Make sure the water covers the jars by 1-2 inches. Place lid on canner, and start timing when water returns to the boil. Process for 15 minutes. Remove jars from canner and place on a cooling rack or towel, in a draft free area. Once cooled, check the lids to make sure they are sealed. Remove bands and wipe down jars. Label and store. Makes about 9 pints.
Times and procedures all used NCHFP guidelines.
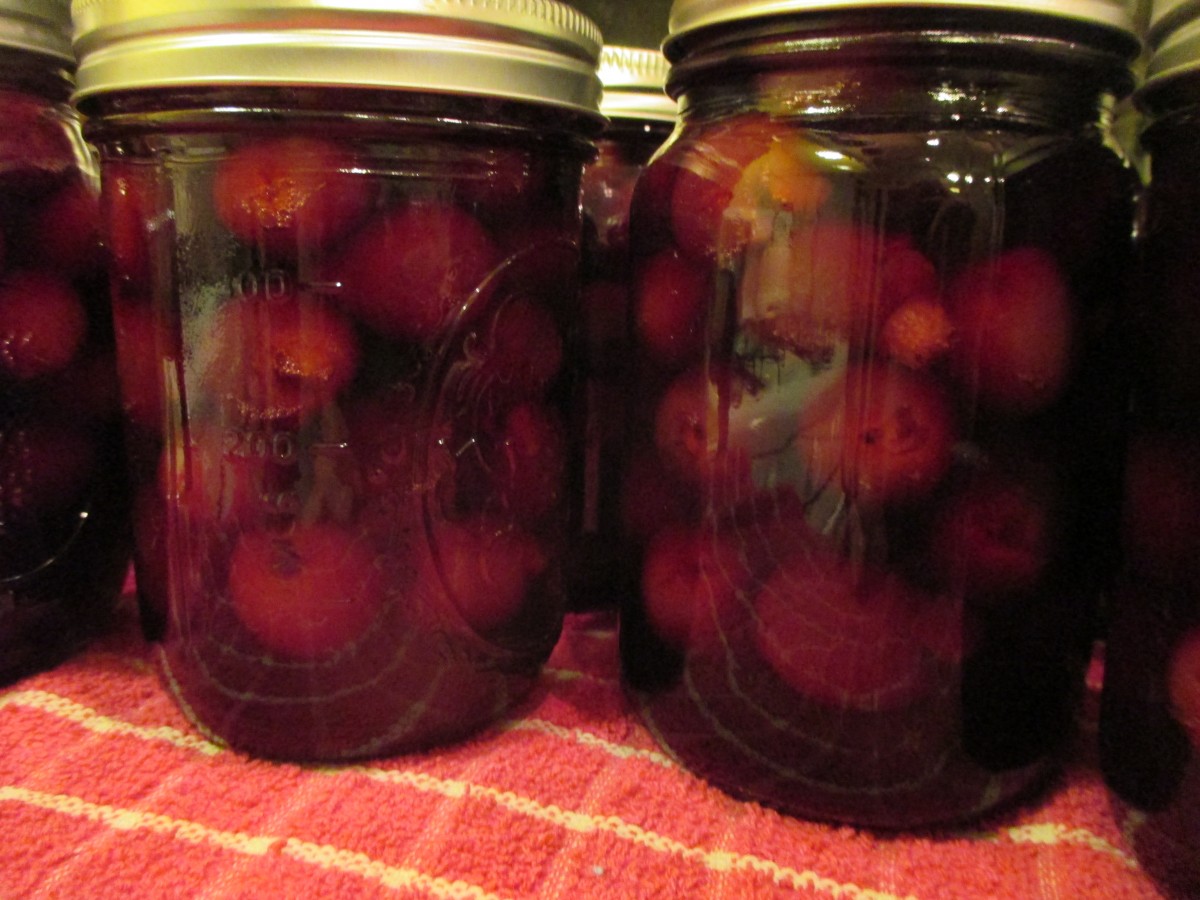
Jars cooling down


