Preserving Basil
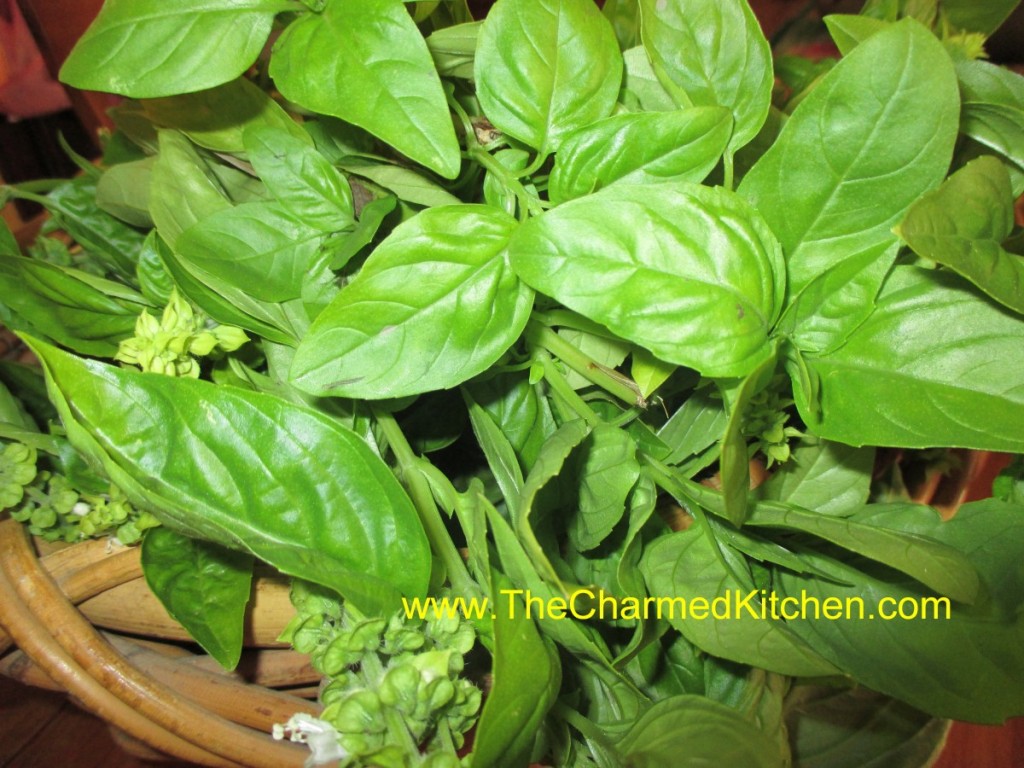
This time of year, I am looking to preserve as many herbs as I can, to enjoy year round. Basil is one of my favorites. I grow, and use, a lot of it. I am doing a major harvest of basil today. Some will be frozen in olive oil, some dried, and some added to vinegar.
None of the preservation methods is difficult. Basil can be tricky to dry, though. Unlike a lot of herbs, basil does not air dry well. I have a dehydrator, but if you don’t have one, you can still dry your basil successfully. Believe it or not, you can dry basil, and other herbs, in a microwave. Directions follow.
So I am off to harvest my basil. One thing is sure- my house will smell really good today.
Freezing in Oil
To use basil in pesto sauce, dried just won’t do. You can easily freeze your basil in olive oil and have it ready whenever you want it. Just place clean basil leaves in a blender or food processor and add olive oil. It is important that you use olive oil because it freezes solid. While the machine is running pour in oil until basil is blended. I use very little oil for two reasons. It takes up less room in the freezer and I don’t need so much oil. I can add more oil when I use it, but this way if I am doing a big batch i don’t go through all my oil. Once the mixture is blended pour or spoon it into ice cube trays and freeze. Once frozen solid pop out the basil cubes and put in freezer bags and return to the freezer.You can also freeze chopped basil without the oil. I like it better in the oil, but I freeze other herbs by just chopping them up and freezing them.
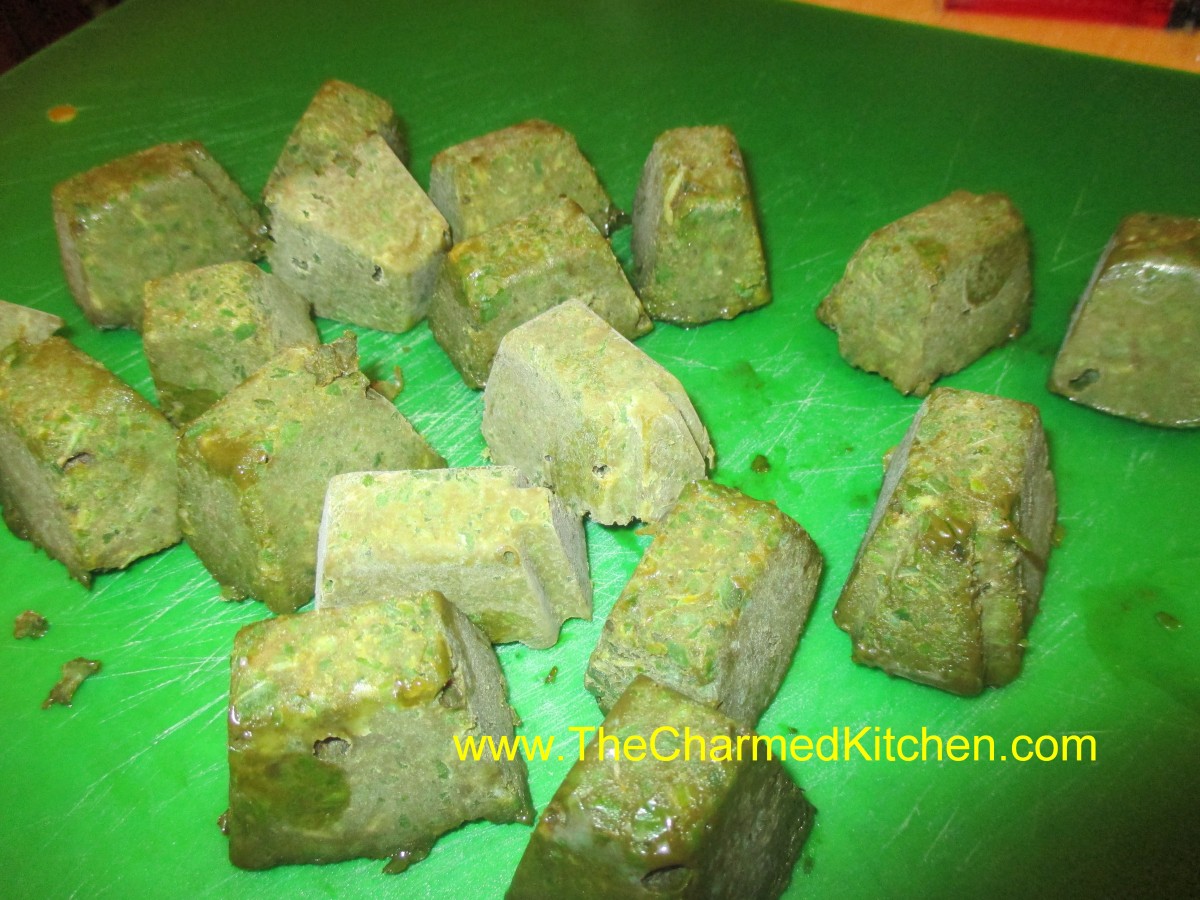
Frozen Basil Cubes
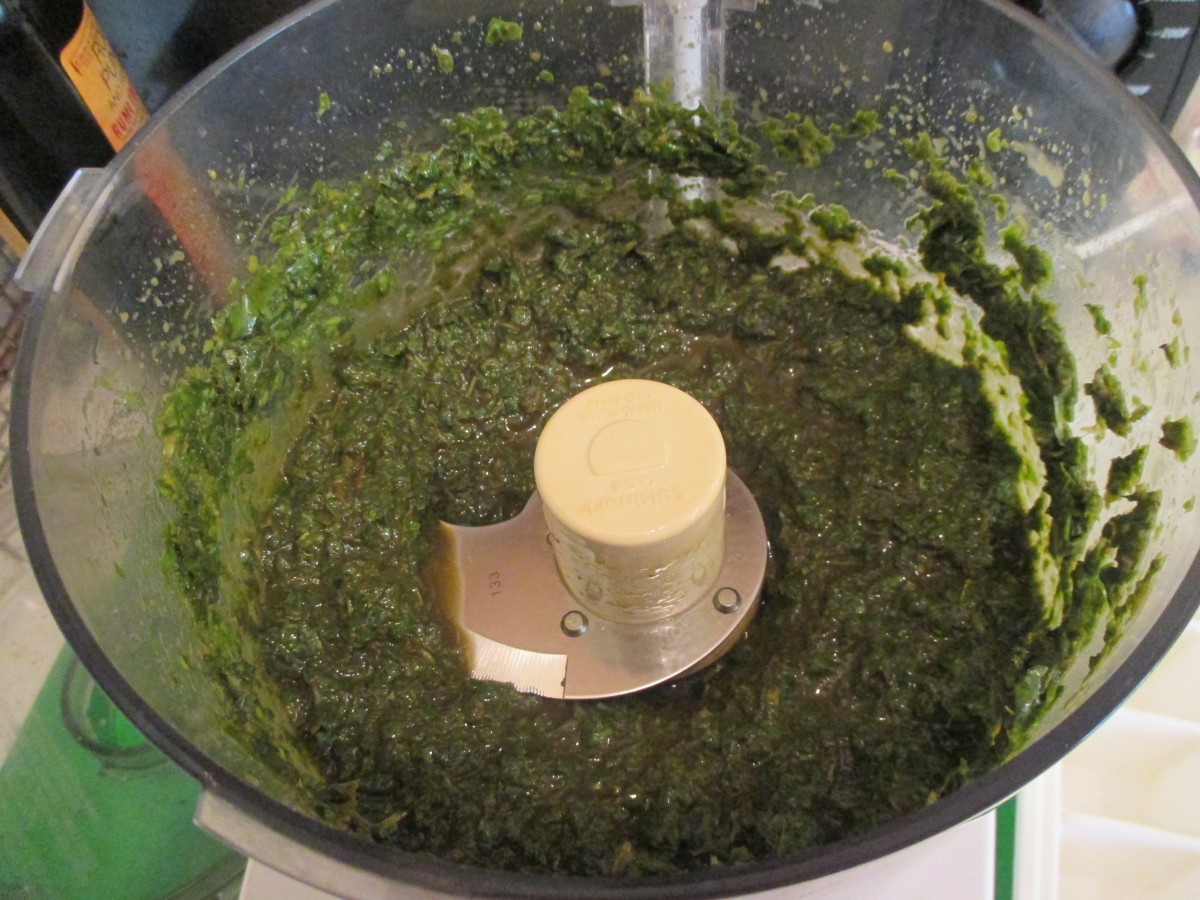
Process basil and olive oil until smooth
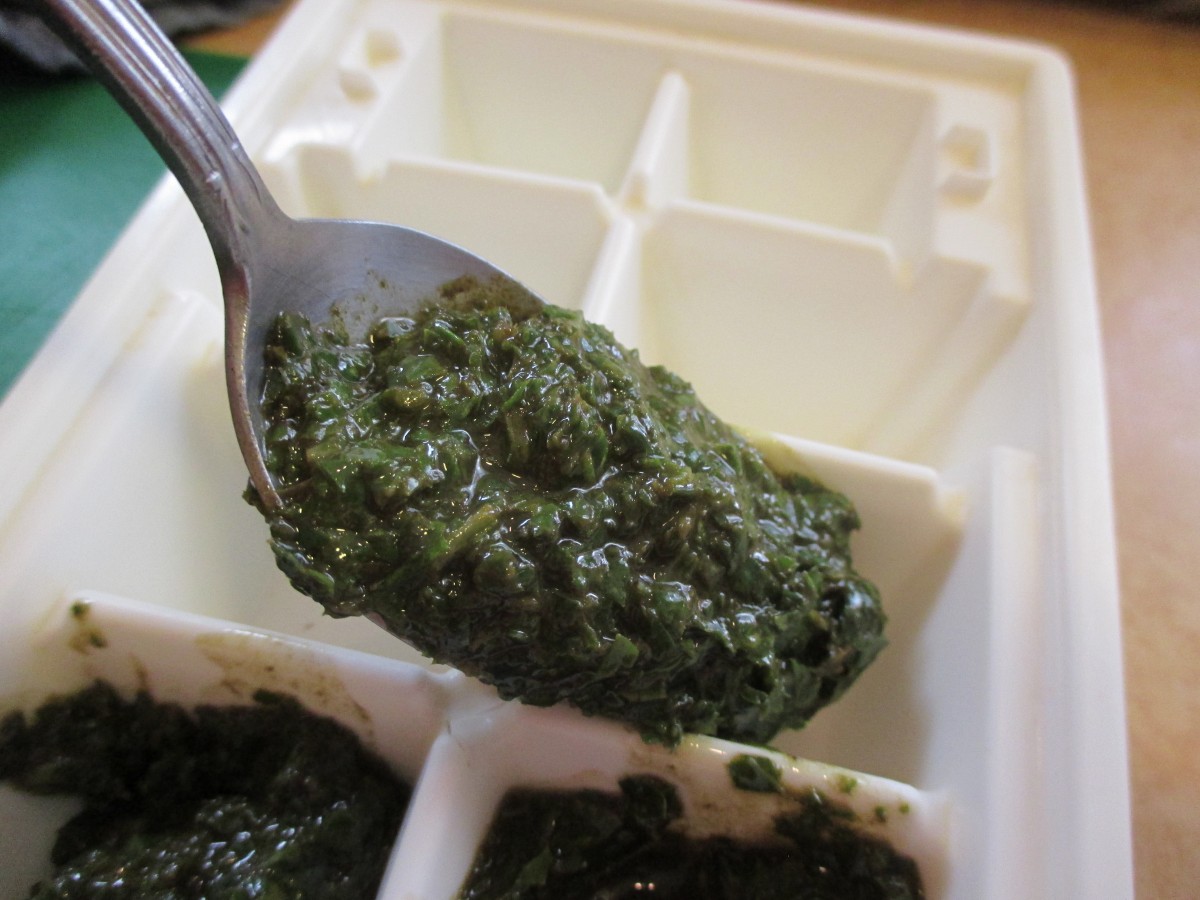
Spoon mixture into ice cube trays and freeze
Microwave Drying
If you don’t have a dehydrator you can dry herbs in your microwave. It only takes a couple of minutes per batch. Just place a handful of fresh, clean basil leaves in a linen-type kitchen towel. Fold the towel over the herbs and place in the microwave. Be sure to put a raw potato in with the herbs in the oven. If you only put the herbs in, it is like running the oven empty and can damage the microwave. Just put the potato off to the side. If you do several batches you will have a baked potato. ? If you have a turntable, just cook on high for 2 minutes. Check and see if they are dry- you might need a little more time. I need about 2 1/2 minutes in my microwave. Better to put them in for 15 more seconds at a time than to over dry them. If you don’t have a turntable microwave on high for a minute. After the first minute turn the herbs 1/4 turn and cook 15 seconds, turn again and cook another 15 seconds. Repeat four times in all. You can dry other herbs in the microwave. Small leaved herbs like thyme are done even faster. Remove the herbs from the oven and allow them to cool. check if they are dry enough and return, wrapped to cook longer if needed. Store in containers in a cool place.
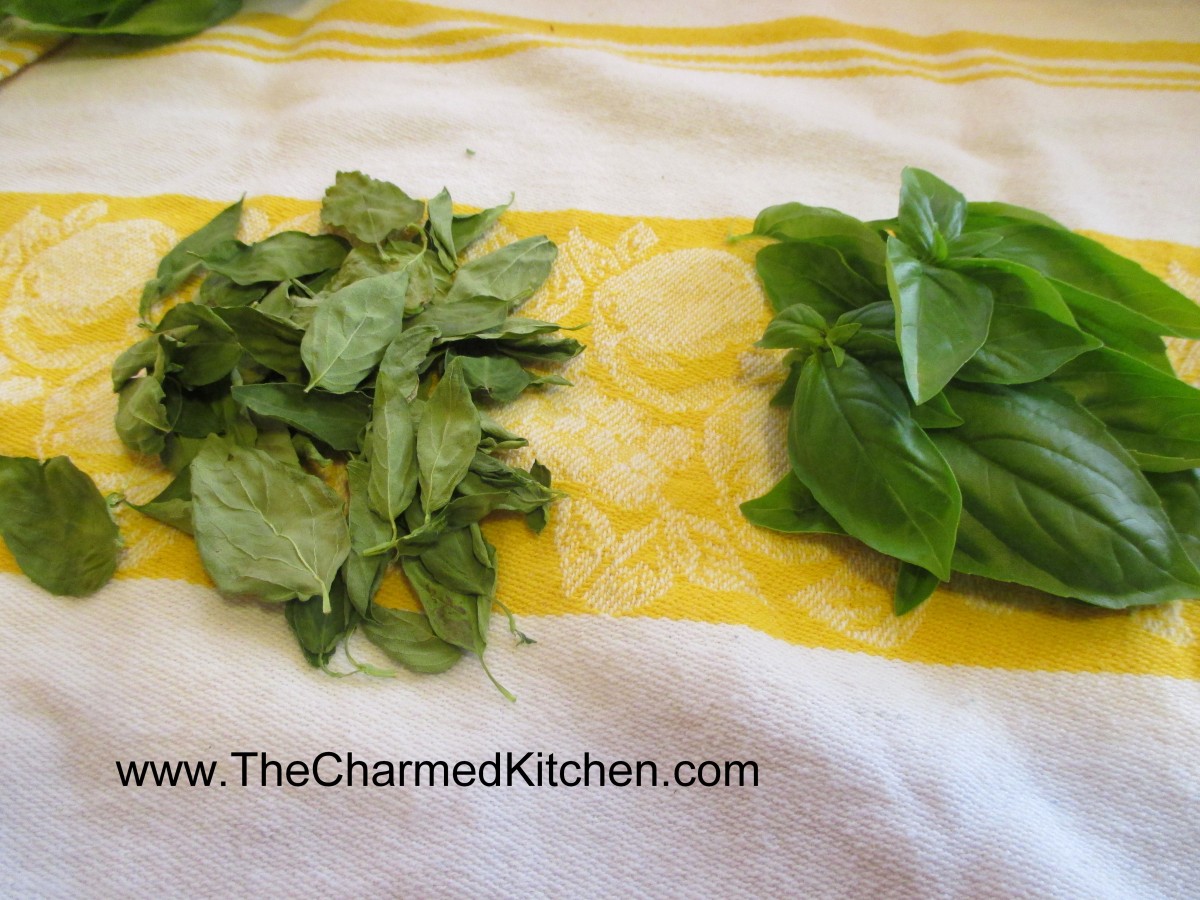
Microwave dried basil on the left and fresh basil on the right
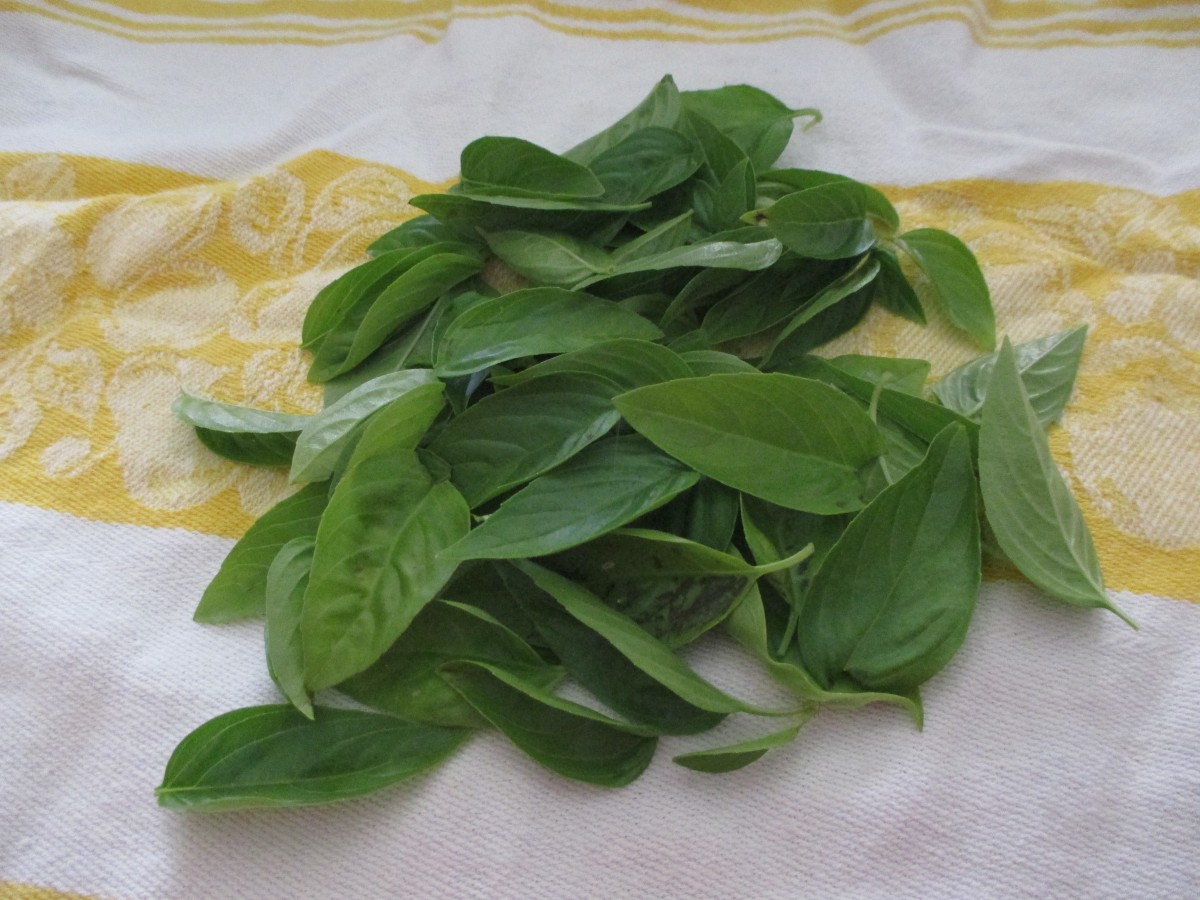
Place fresh basil on a towel and fold towel over the herbs
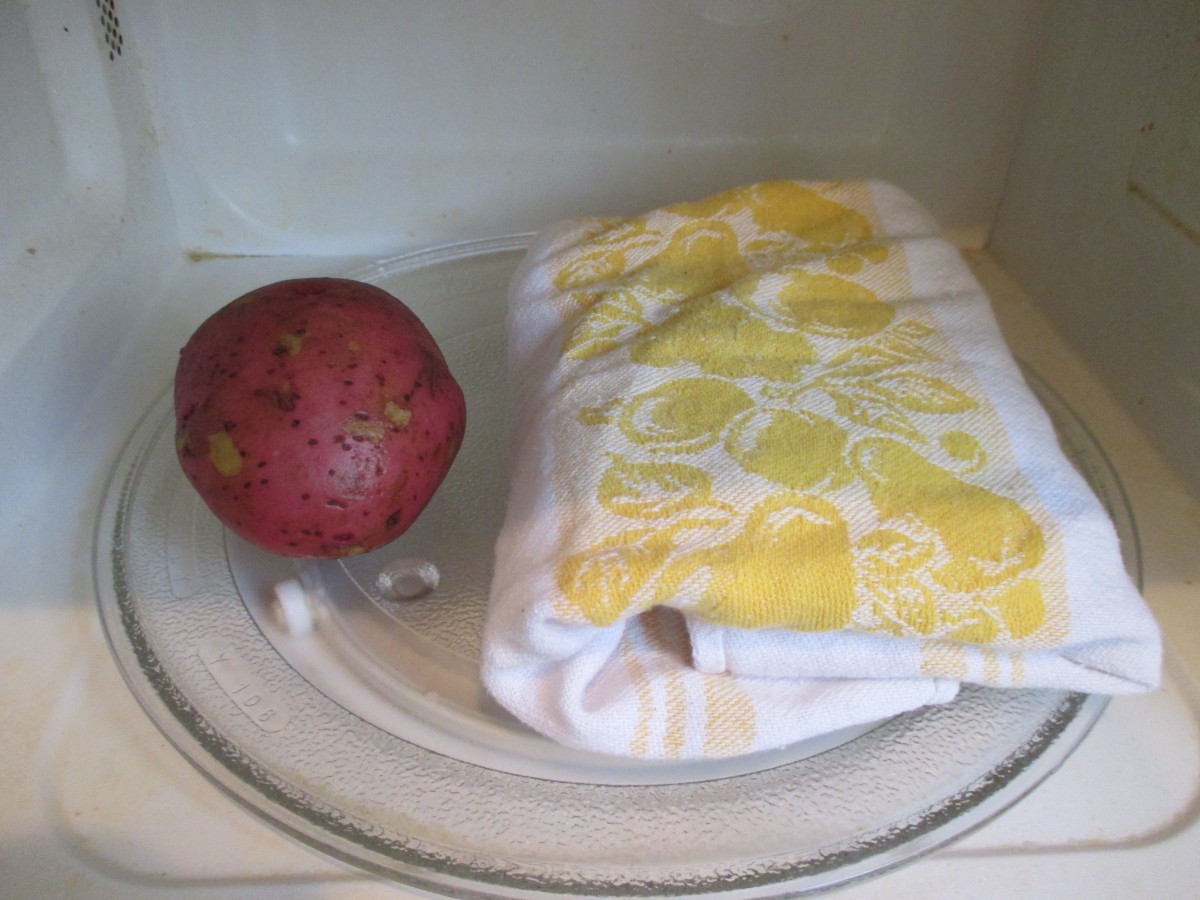
Place in microwave with a potato
All microwaves are different. Some will take longer and some even less time. Watch your herbs carefully. While I have never seen it happen I was told once that theoretically, they could catch on fire if left in too long. Urban legend perhaps, but just be careful.
Herb Vinegar
When I grow basil, I try to keep the blossoms pinched off. Better for leaf production. But by this time of year some are blooming. Rather than dumping the blossoms you can use them to flavor vinegar. Just snip off the blossoms and place them in a sterilized bottle or jar. Use several sprigs of basil flowers for every 2 cups of vinegar. Make sure the vinegar is at least 5% acidity. I like to use different vinegars for different herbs. I often use cider vinegar, red wine vinegar (for purple basil) and white wine vinegar. Leaves can be used, too. Vinegar should be heated up to 190 degrees- or just below the boiling point. Close up the jar and store in a cool place (50-70 degrees) for a couple of weeks. Before using strain out the herbs and filter- I use coffee filters or you could use cheese cloth. Store in a pretty bottle, if you have one. They can be kept for up to a year when stored in the fridge.
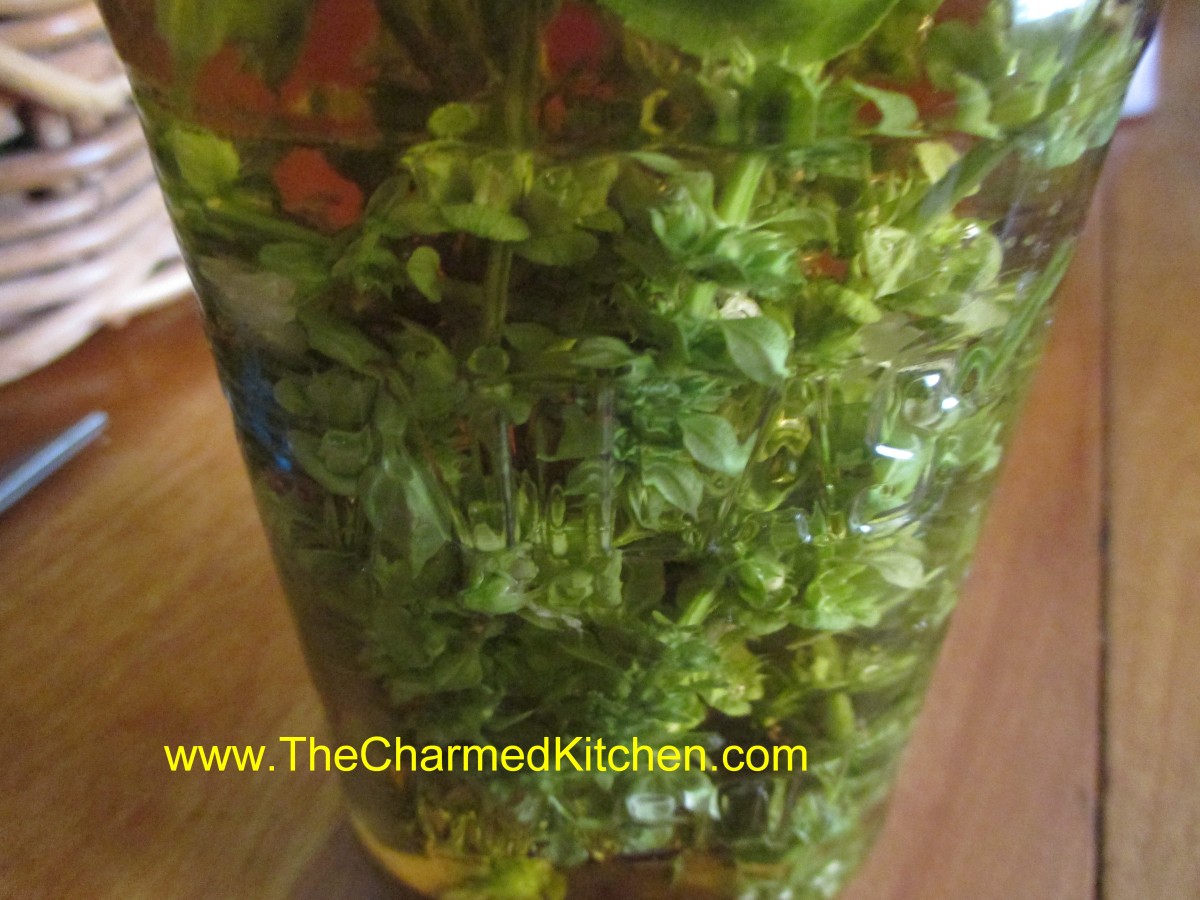
Basil blossoms in vinegar
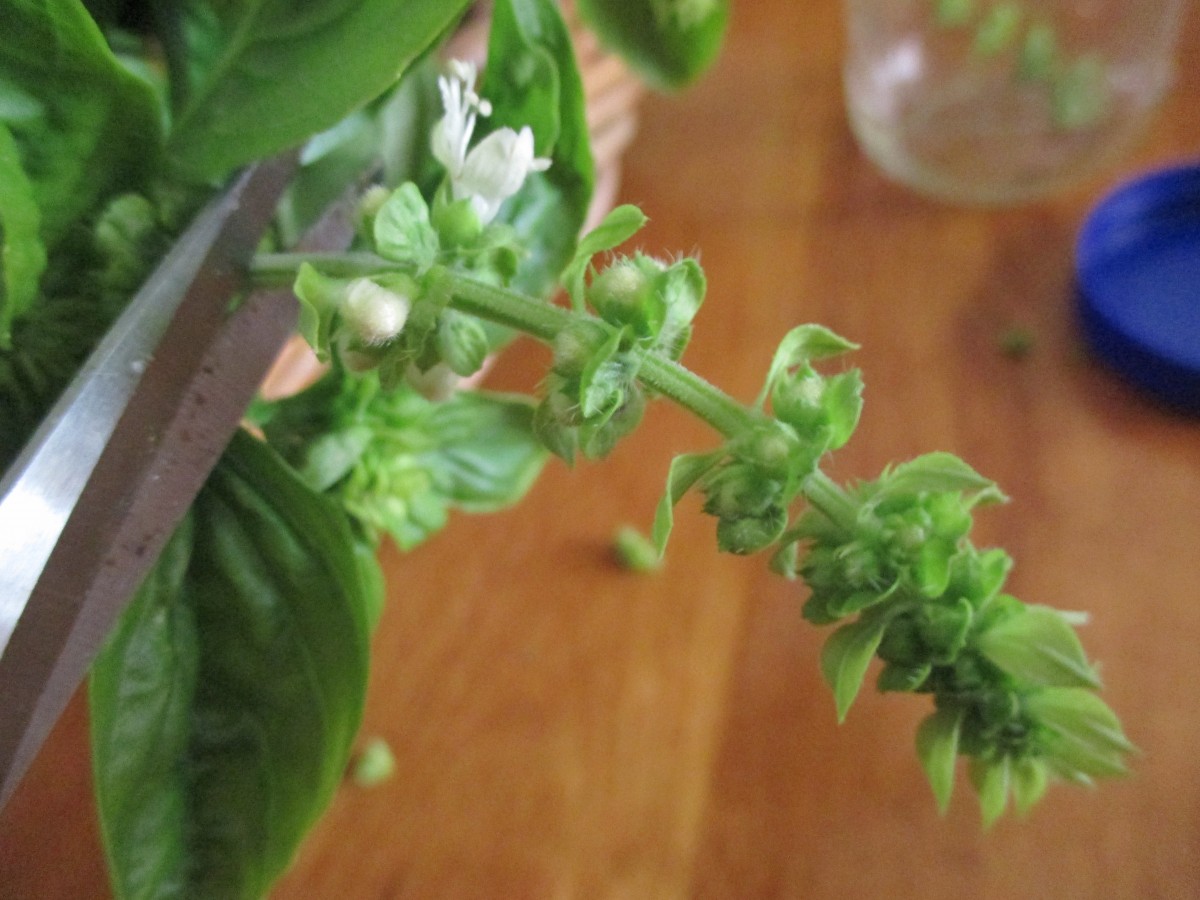
Snip off basil blossoms
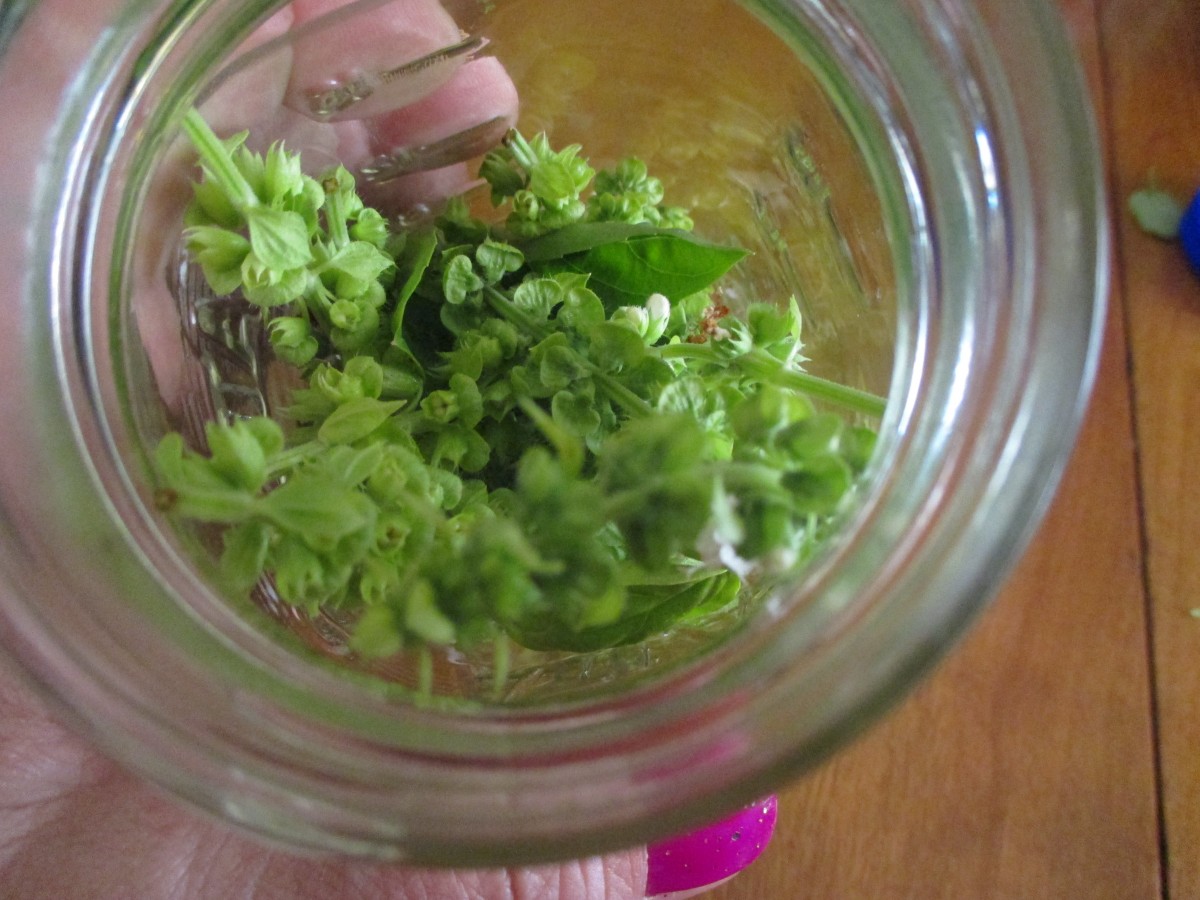
Place blossoms in a jar or bottle
Sweet Cherry Vanilla Jam
I look forward to cherry season every year. I love eating fresh cherries, but I also like to preserve them, to enjoy year round. One of my favorite things to make is cherry jam.
This must be a great year for cherries. They seem bigger than usual, and very sweet.
While I normally make jam from sour cherries, I knew the sweet ones would work. Besides the cherries, sugar and pectin, this jam also contains lemon juice, vanilla and cinnamon. Those extra ingredients give the jam a more complex flavor and a little bit of a tang.
This may be one of my favorite jams ever!!! I was worried it would be too sweet, but it isn’t. The flavor of the cherries comes through as well at the flavor of the vanilla and cinnamon. Thinking I made need to buy more cherries and make another batch….
Here is the recipe. Enjoy.
Sweet Cherry Vanilla Jam
4 c. chopped pitted sweet cherries, about 2 lbs.
6 T. powdered pectin
6 T. lemon juice
2 T. pure vanilla extract
1 t. cinnamon
4½ c. sugar
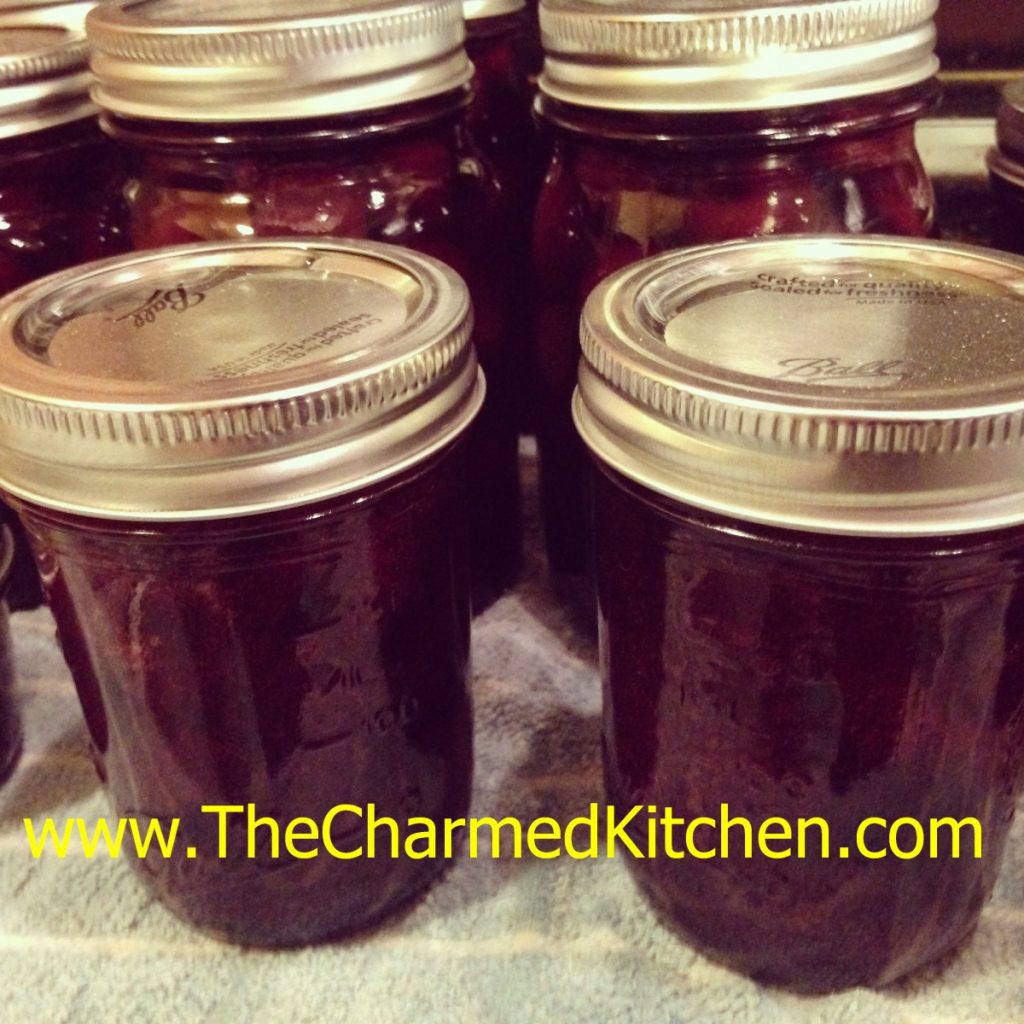
Wash jelly jars and lids and keep warm until ready to use. Place a large pot of water, with a rack, on to boil for the water bath. In large saucepan combine cherries with pectin, lemon juice, vanilla and cinnamon. Bring to a rolling boil, stirring often. Add the sugar and bring mixture back to a rolling boil, stirring often. Once the mixture gets to a full, rolling boil, cook for one minute longer, stirring constantly. Remove jam from heat and skim off any foam. Ladle hot jam into hot jars, filling to about 1/4 inch from the top. Wipe off rim and screw on the lids. Repeat with remaining jam. Process in a hot water bath for 10 minutes. Turn off heat and let jar sit in canner 5 minutes before removing. Remove from water bath and allow jars to cool. Yield: about 6 half pint jars of jam.
Adapted from The Ball Blue Book
Hot Fudge Sauce

On a hot summer day, I am not sure anything is better than ice cream. When it comes to topping ice cream, hot fudge sauce is one of my favorites. The warm, rich sauce on the cold ice cream is such a great combination.
When I was a kid, getting a hot fudge sundae was the ultimate treat.
This simple recipes duplicates that sauce. It is easy to make and will keep for a couple of weeks in the fridge. I doubt it will last that long, once you taste it.
Hot Fudge Sauce
1 c. unsweetened cocoa powder
¾ c. sugar
½ c. brown sugar
1/8 t. salt
1-c. heavy or whipping cream
½ c. butter, cut into pieces
1 t. vanilla extract
In saucepan , stir together dry ingredients then stir in cream and butter. Heat to boiling and boil 1 minute. Remove from heat, cool 5 minutes and stir in vanilla. Store leftovers in fridge. Rewarm before using. Makes 2 ½ cups.
Fresh Raspberry Liqueur
I make a lot of different liqueurs. Raspberry liqueur is probably one of my favorites. It reminds me of a warm summer afternoon.
I love raspberries. My parents had a row of raspberry bushes at the back of the yard, so I grew up enjoying them fresh. I preserve raspberries to enjoy all year long. I freeze berries, make jams and jellies and dehydrate some.
I also enjoy using some to make homemade raspberry liqueur. You just start with alcohol – I most often use vodka – then you add raspberries. I sweeten it later on, but you can leave it unsweetened, if you prefer.
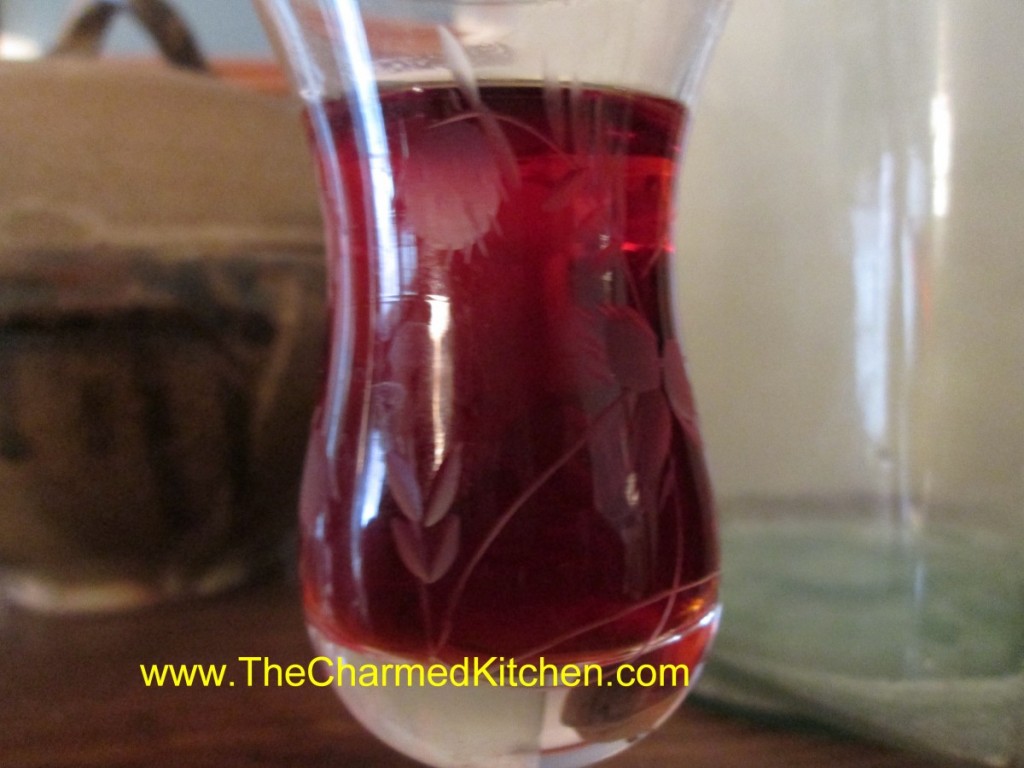
Its beautiful color and great flavor make it nice for sipping, or used in mixed drinks. Think of it as just another food preservation method. Here is the recipe, in case you want to make it. Makes a great gift, too.
You can use fresh or frozen berries. You can also use black , purple or golden raspberries in this recipe.
Homemade Raspberry Liqueur
1 lb. raspberries*
3 c. vodka, you could use brandy
1 ¼ c. sugar
Combine fruit and vodka and let stand 2 -4 weeks. Stir in sugar and age 3 months. Strain and filter. Makes 3-4 cups.
*You can use frozen berries, too.
Raspberry Crumb Cake
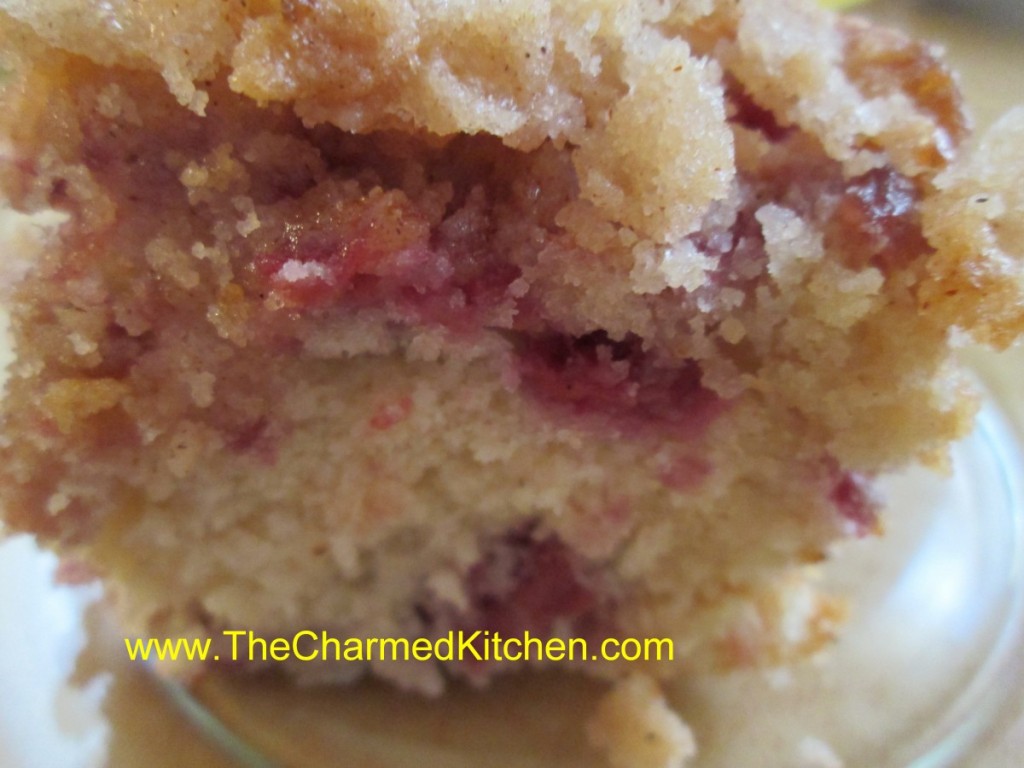
I picked up some beautiful local raspberries the other day. I love just eating them fresh, but I also wanted to do something more with them. I decided to bake this crumb cake.
The cake is delicate and not too sweet. The crumb topping really makes it special. It stands on its own, but is also good served with a drizzle of melted chocolate, some extra berries, or a scoop of ice cream. This cake always makes me think of the raspberries I grew up with.
When I was a kid, we had a patch of raspberries in the back of the yard. It was always a special treat to go out on a summer day and harvest raspberries, warm from the sun. We did lose berries to birds and squirrels and it became my Father’s mission to save as many berries as he could. When we got a new dog, my Dad was sure berry theft would go down. Oddly, we seemed to be getting even fewer berries. One day, my Mom caught the dog eating raspberries right off the plants. Mystery solved.
I have made this cake with frozen berries, too. Either works, but I give the cake a few extra minutes to bake when I use frozen berries.
Raspberry Crumb Cake
For cake batter:
2 c. flour
2 t. baking powder
½ t. salt
½ stick (¼ cup) butter, softened
¾ c. sugar
1 egg
½ c. sour cream
2 t. vanilla
2 cups raspberries – I like fresh but frozen work
For topping:
½ c. sugar
¼ c. flour
½ t. cinnamon
½ stick (¼ c. butter, chilled and cut into bits)
Combine dry ingredients and set aside. In mixing bowl with electric mixer, beat butter and sugar until light and fluffy. Beat in egg, sour cream and vanilla. Add flour mixture gradually until just mixed in. Fold in raspberries. Grease and flour an 8 or 9-inch pan and add prepared batter. Combine topping ingredients until they resemble coarse crumbs. Sprinkle over batter in pan and bake in a preheated 375-degree oven and bake for 35-45 minutes. Use toothpick to test.
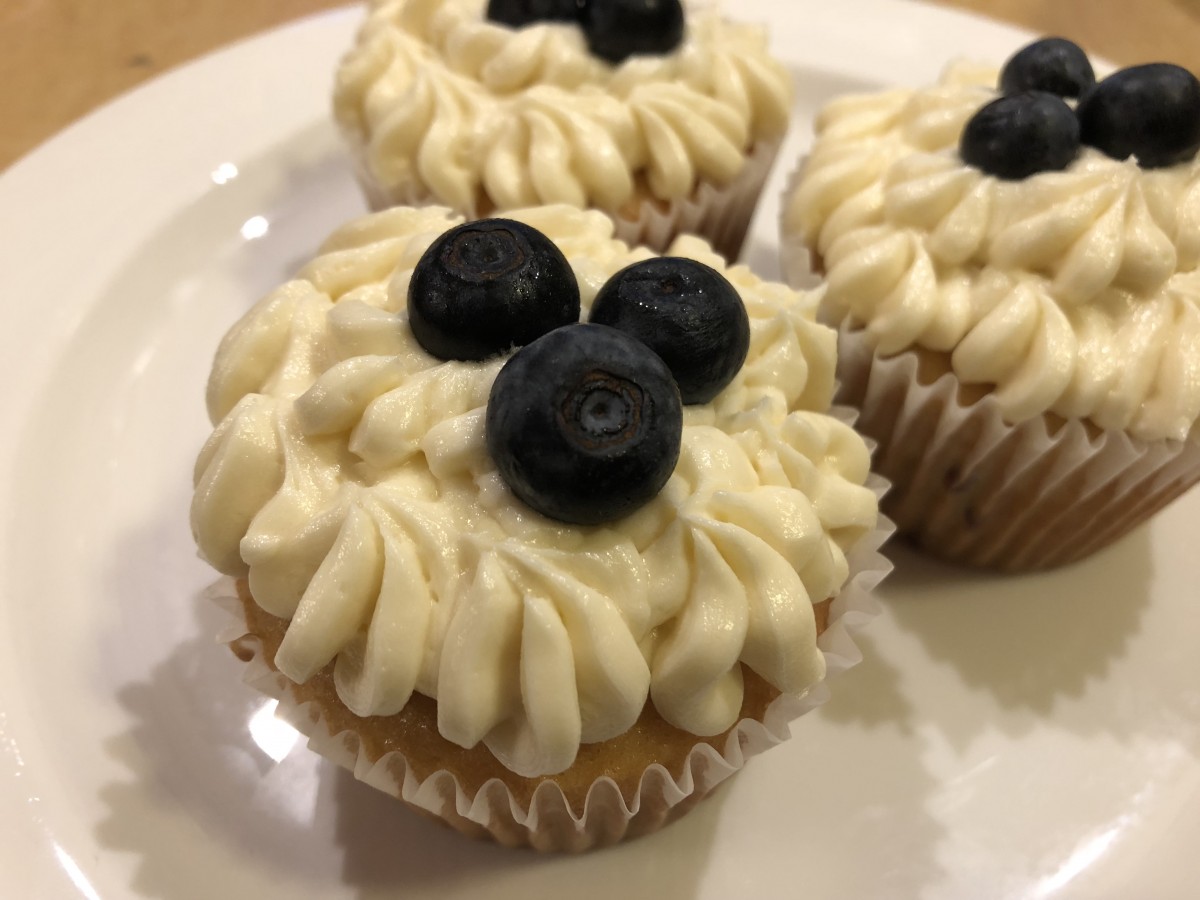
Blueberry Cupcakes

I wanted to make dessert using fresh blueberries. I decided to make blueberry cupcakes. I started by making my classic vanilla cupcakes, then topped them with blueberries just before baking. The berries sank into the batter during baking, just as I had hoped.
The result was moist, tender cupcakes with a pop of fresh blueberries. I also used a simple vanilla buttercream and dressed them up with a few berries on top. I was really pleased at how they came out.
Blueberry Cupcakes
1 cup sugar
1/2 cup butter
2 eggs
2 teaspoons vanilla extract
1 1/2 cups all-purpose flour
1 3/4 teaspoons baking powder
1/2 cup milk
About 1 cup of blueberries
Preheat oven to 350 degrees. Line a muffin pan with 12paper liners. In a medium bowl, cream together the sugar and butter. Beat in the eggs, one at a time, then stir in the vanilla. Combine flour and baking powder, add to the creamed mixture and mix well. Finally stir in the milk until batter is smooth. Pour or spoon batter into the prepared pan. Top each cupcake with 5 blueberries. Fewer if the berries are really big. Bake 20 to 25 minutes. Cupcakes are done when they springs back to the touch. Cool before frosting. Frost with the buttercream- recipe follows- and top with a few extra fresh blueberries. Makes 12.
Vanilla Butter Cream
½ c. butter
4 1/2 cups sifted confectioners’ sugar
1 T. vanilla extract
In a bowl beat butter until fluffy. Gradually add 2 cups of the confectioners’ sugar, beating well. Slowly beat in the vanilla. Slowly beat in remaining sugar. Beat in a little milk, if needed, to make of spreading consistency. Tint with food color, if desired.
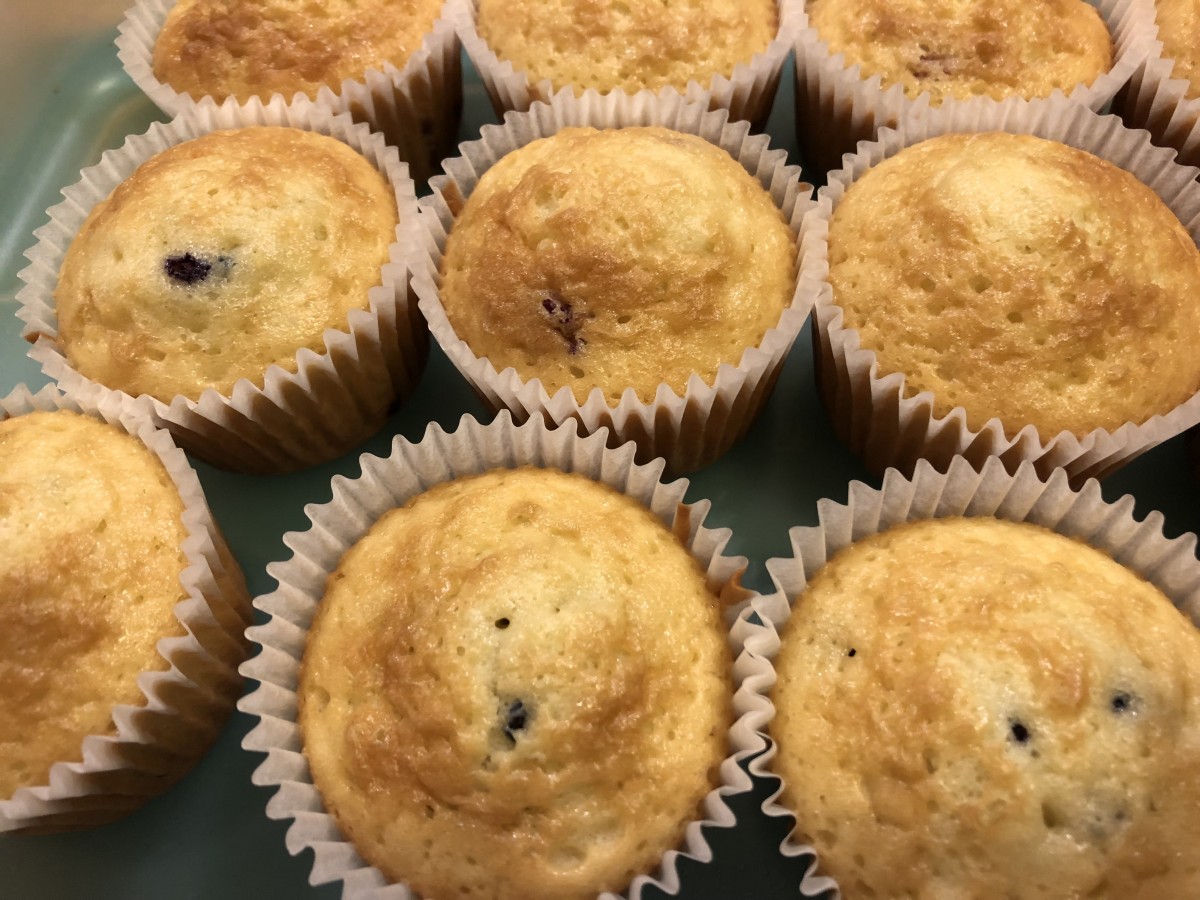
Fresh out of the oven
Fresh Peach Chutney
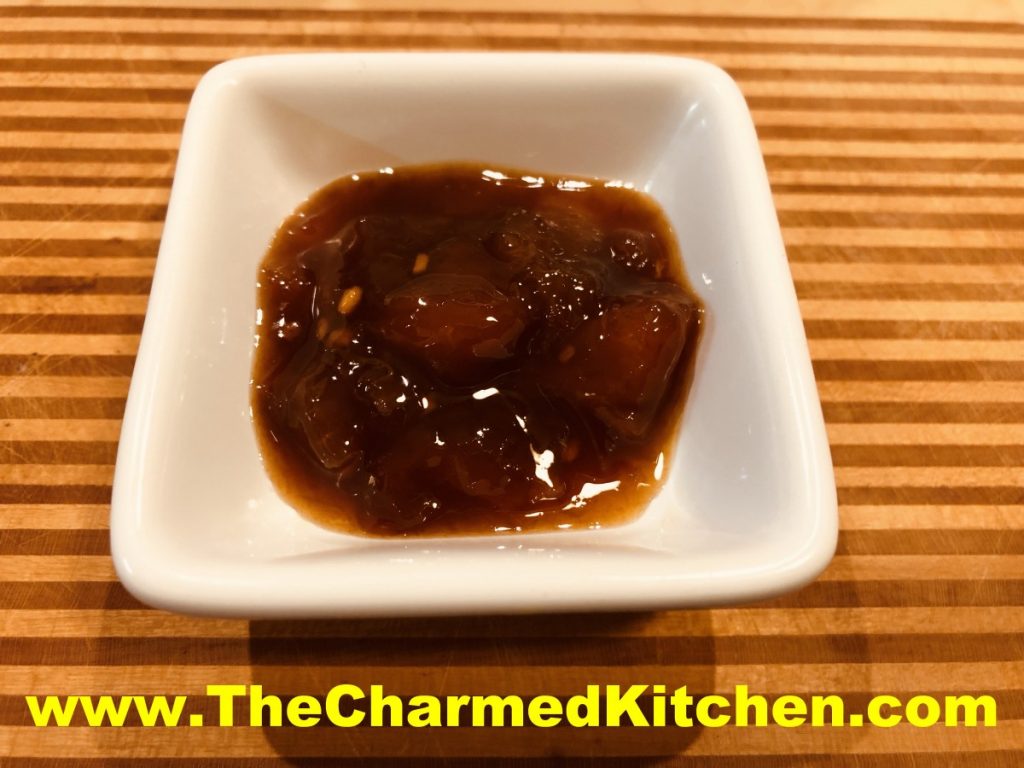
Peaches are is season and I am loving it. Besides eating them fresh, I have been enjoying them in all sorts of dishes. Peach jam, peach ice cream, peach scones…. the list goes on.
This chutney is one more way to take advantage of peach season. Chutney is a dish that walks the line between savory and sweet. I made this batch a little spicy. The heat pairs well with the sweetness of the fruit. Feel free to adjust heat to suit your own taste.
You can serve this chutney like a relish, on the side. Or, use it like a sauce, adding to meats when cooking. Another option is to use it as a glaze, brushing it on meats while baking or grilling. A vegetarian option is brushing it on grilled portobello mushrooms or eggplant slices.
I have served chutney with a cheese board, too. Fun and easy addition to the appetizer menu.
So here is the recipe.
Fresh Peach Chutney
5 medium peaches, peeled, pitted and diced
1 medium onion, peeled and chopped fine
½ c. cider vinegar
½ c. sugar
½ c. water
2 T. honey
2 T. lemon juice
2 T. minced garlic
1 T. soy sauce, or a little more to suit your taste
½ t. red pepper flakes, or more for a spicier chutney
1 T. cornstarch
2 T. cold water
Combine all ingredients in a saucepan, except cornstarch and the 2 tablespoons of cold water, and cook over medium heat until peaches are tender and onion is translucent, about 15 minutes. Stir occasionally to avoid burning. Combine cornstarch with the cold water and stir until smooth. Slowly add to simmering chutney while stirring constantly. Mixture will thicken. Adjust seasonings, if needed. Makes about 3 cups. Will keep in fridge a couple of weeks- can be frozen.
Serve with pork or lamb. Great with duck or chicken, too. You can also serve as an appetizer with cheese and crusty bread.
Fresh Peach Liqueur

I like to think of making fruit liqueurs as just one more type of food preservation. I make jams and jelly with seasonal fruit, so why not preserve some of summer’s bounty in alcohol?
Peach liqueur is one of my favorites. Pretty simple, really. Just combine peaches with vodka (or brandy) and allow the mixture to steep. After a week or two, strain it. After straining out the fruit, I also filter the liqueur through either coffee filters or cheesecloth to get it nice and clear.
Sweetening is optional. Unsweetened, it is called a Peach Eau de vie, which translates into water of life. Got to love the French!!! Sweetened, it is a liqueur.
Poured into pretty bottles, these liqueurs can make fun gifts, too.
Peach Liqueur
10 medium sized, ripe peaches
3 c. vodka or brandy
1 c. sugar syrup – optional – recipe follows*
Peel and pit peaches reserving only the fruit. Place in jar with the alcohol and steep at least a week, shaking several times. You can leave the fruit in for up to two weeks. Strain, squeezing out as much juice from the fruit as possible. Filter through cheesecloth, fine mesh strainer or coffee filters for a clearer product. Add sugar syrup, if desired, and mature 4-6 weeks. Makes 4 cups.
*Sweetening– Simple syrup is made from 1 cup of sugar and ½ cup of water. Bring to a boil, then cool. You will have 1 cup of syrup. Some recipes call for plain sugar and others for honey. Watch when you substitute honey for sugar, as it is sweeter and stronger flavored.
Homemade Blueberry Liqueur

I always stock up on blueberries when they are in season. I end up with a lot of frozen berries to enjoy throughout the year. I was cleaning out the freezer awhile ago, and decided to use some of my frozen berries to make blueberry liqueur.
After steeping for several months, I strained out the blueberries last night.
I ended up with two different liqueurs. One is unsweetened- just blueberries, vodka, lemon zest and a clove. It is sometimes called an eau de vie- French for water of life- or just blueberry vodka.
The other was sweetened a little with a sugar syrup- but you could use honey. That is blueberry liqueur or blueberry cordial. It will be allowed to mature for a couple of weeks.
Both are wonderful.
The color is so pretty and they can be sipped, as is, or used in cocktails. You can use other berries, if you prefer.
I look forward to enjoying these with friends and family.
Blueberry Liqueur
4-c. fresh or frozen blueberries
Sliced and scraped peel of one lemon, optional
1 clove, optional
3-c. vodka or 2 c. vodka and 1 c. brandy
1 c. sugar syrup, optional, recipe follows
Lightly crush berries with a fork. Combine with peels and clove and vodka and steep 3 months. Strain and filter and add sugar syrup. Mature 4-6 weeks.
Sugar Syrup
Simple syrup is made from 1 cup of sugar and ½ cup of water. Bring to a boil, then cool. You will have 1 cup of syrup. Some recipes call for plain sugar and others for honey. Watch when you substitute honey for sugar, as it is sweeter and stronger flavored. Better to use orange or clover honey.
Raspberry Tea Bread
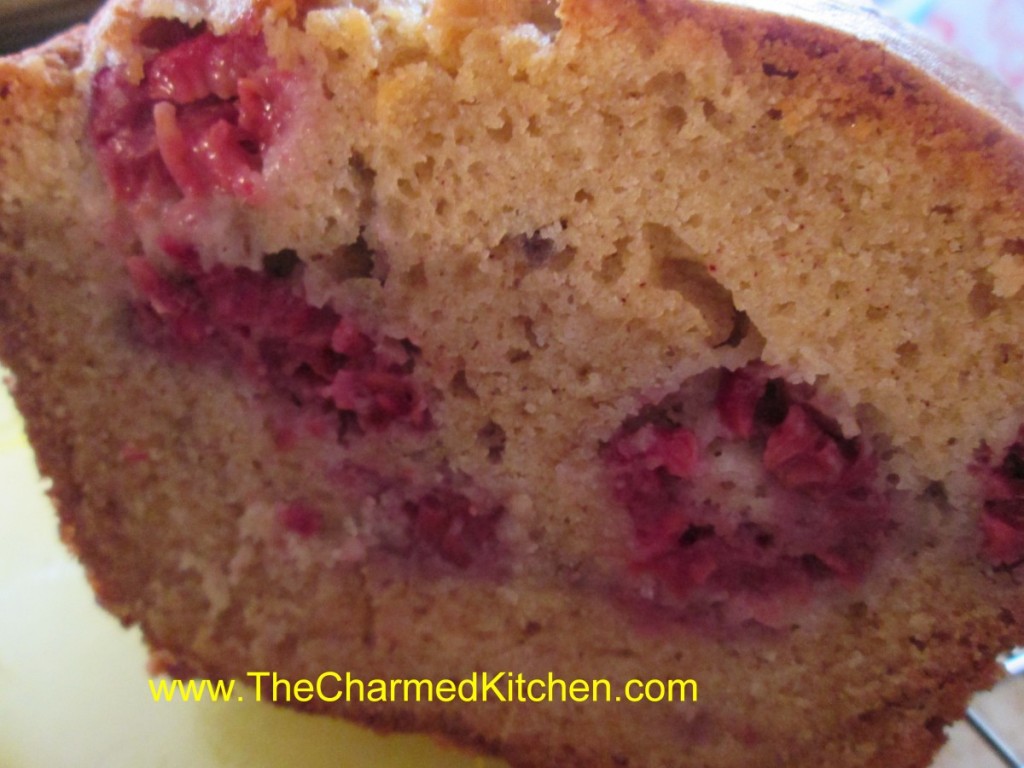
This raspberry tea bread is a favorite of mine. It is not too sweet and pairs nicely with coffee or tea, so it can be a breakfast or brunch dish. It makes a nice dessert, too.
The bread is studded with raspberries with hints of cinnamon and vanilla. It can be eaten plain or served up with fruit topping or maybe some whipped cream. I have used it as the base for a pretty good shortcake. I topped slices of the raspberry bread with ice cream, more berries and a dollop of whipped cream.
Like most quick breads, it is better if you wrap it up in plastic or foil, once cooled, and eat it the next day, if you can wait that long!!
Raspberry Tea Bread
1 ¾ c. flour
½ t. baking powder
½ t. baking soda
½ t. salt
½ t. cinnamon
½ c. butter, at room temperature
¾ c. sugar
2 eggs, room temperature
½ c. sour cream, room temperature
1 t. vanilla
1 c. raspberries, fresh or frozen
¾ c. chopped nuts, optional
Grease an 8×4 inch loaf pan and preheat oven to 350 degrees. In a large bowl combine dry ingredients. Set aside. In small bowl beat butter until creamy. Add sugar and beat 1 minute. Beat in eggs one at a time. Beat in sour cream and vanilla. Stir in flour mixture until just moistened. Fold in berries and nuts and place batter in prepared pan. Bake 60-65 minutes, or until toothpick inserted in center comes out clean. Let stand in pan 10 minutes. Remove from pan and cool on wire rack. Makes 1 loaf. Freezes well.


