The Art of Biscuits
Biscuits Supreme
Biscuits are easy to make. They really are. Fast, too. You can mix up a batch of biscuits in the time it takes the oven to preheat. Yet, I know people who seem to struggle with them. The other night, a friend and I were talking about the secret to a light and flaky biscuit.
So what goes wrong? How do you make light, flaky biscuits every time?
For the moment I’ll assume you have a decent recipe. There are a lot of great biscuit recipes out there. I know people that have treasured family recipes. Biscuits that have been made the same way for generations.
Assuming also, that the baking powder is fresh*, there has to be some other reason that some folks just seem to struggle with biscuits.
The problem is – more than likely- over-mixing the dough. When I talk to someone who tells me that their biscuits are always heavy or tough I first ask about how they are put together.
Once the dry ingredients have been mixed and the fat cut in, there is just liquid to be added. I prefer to chill whatever fat I am using.
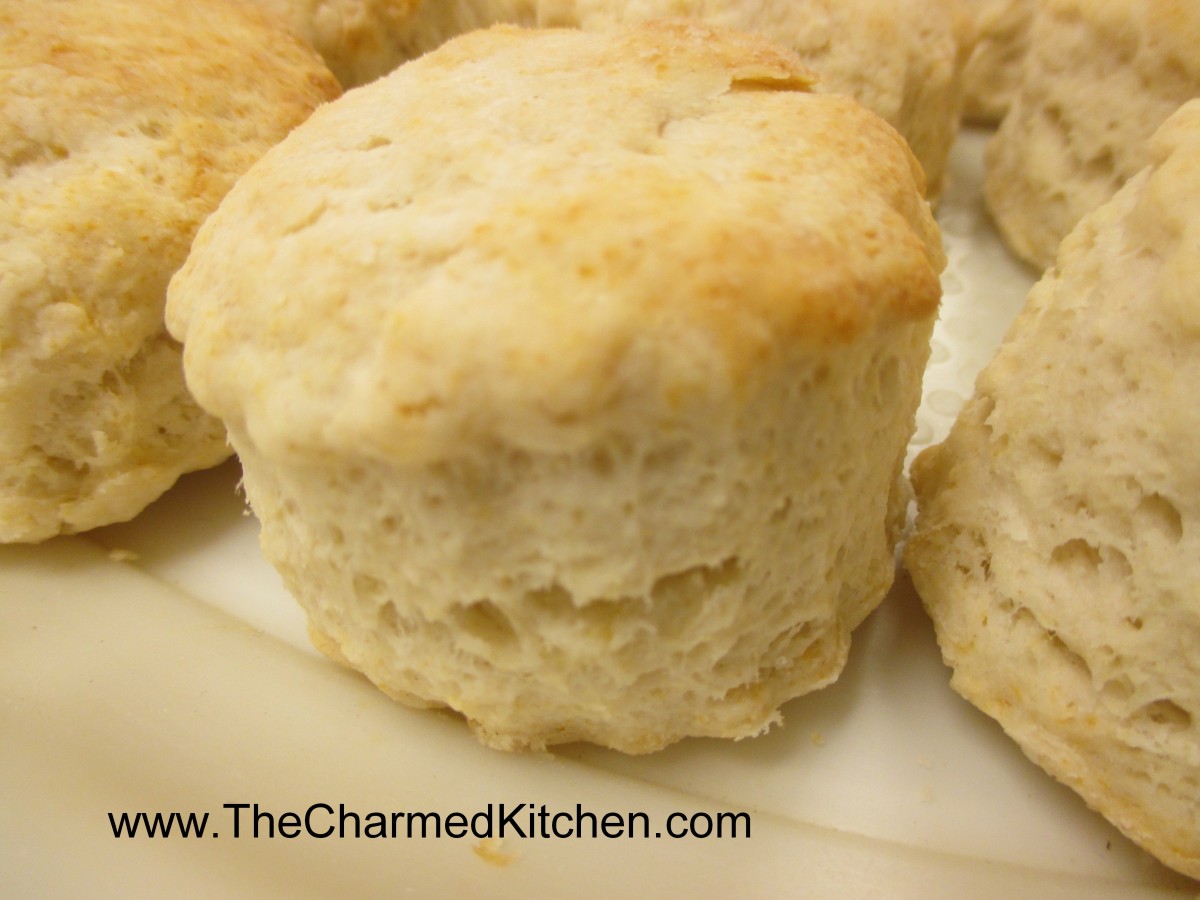
At this point the dough should be handled just enough to hold together. A light hand means a light biscuit. The same is true for making scones. The more you knead the dough, handle the dough and roll the dough, the less flaky biscuits become.
Don’t treat biscuit dough the way you would a yeast-based dinner roll. The two are very different in how they are handled. Yeast-based doughs benefit from kneading and “working” the dough. Biscuits are the opposite.
Even when cutting out the biscuits, it will help if you cut them out as close together as you can. That way you have fewer scraps to re-roll. Every time you roll the dough out- it becomes a little tougher.
Here is a recipe for one of my favorite biscuits. They are light and very flaky. Is there anything better than a fresh, warm biscuit with some butter?
Biscuits Supreme
2 c. flour
4 t. baking powder
2 t. sugar
½ t. cream of tartar
½ t. salt
½ c. cold butter, shortening or coconut oil – you can even use lard
2/3 c. milk
Stir together dry ingredients and cut in butter to resemble coarse crumbs. Make a well in the center and add milk all at once. Stir until dough sticks together and knead on lightly floured surface 10-12 strokes. Roll or pat to ½ inch thickness. Cut with 2-21/2 inch biscuit cutter and place on ungreased baking sheet. Bake in 450-degree oven for 10-12 minutes. Serve warm. Makes 10-12.
*If your baking powder might be old, you can test it. Place a couple of tablespoons of boiling water in a cup. Add a teaspoon, or two, of baking powder. The mixture should bubble vigorously. If there are no bubbles, or very few bubbles, you might want to get a new container of baking powder.
Broccoli Rabe with Pasta and Pecans
Broccoli Rabe with Pasta and Pecans
If you haven’t had broccoli rabe before, maybe you should give it a try. I am always surprised at how many people have never tried broccoli rabe- also known as rapini.
This versatile vegetable consists of stems, leaves and small florets, with a strong broccoli flavor.
I think perhaps the sometimes strong, even bitter flavor, might turn people away from trying it. I enjoy that bitterness. If you don’t, you can temper it by blanching the broccoli rabe.
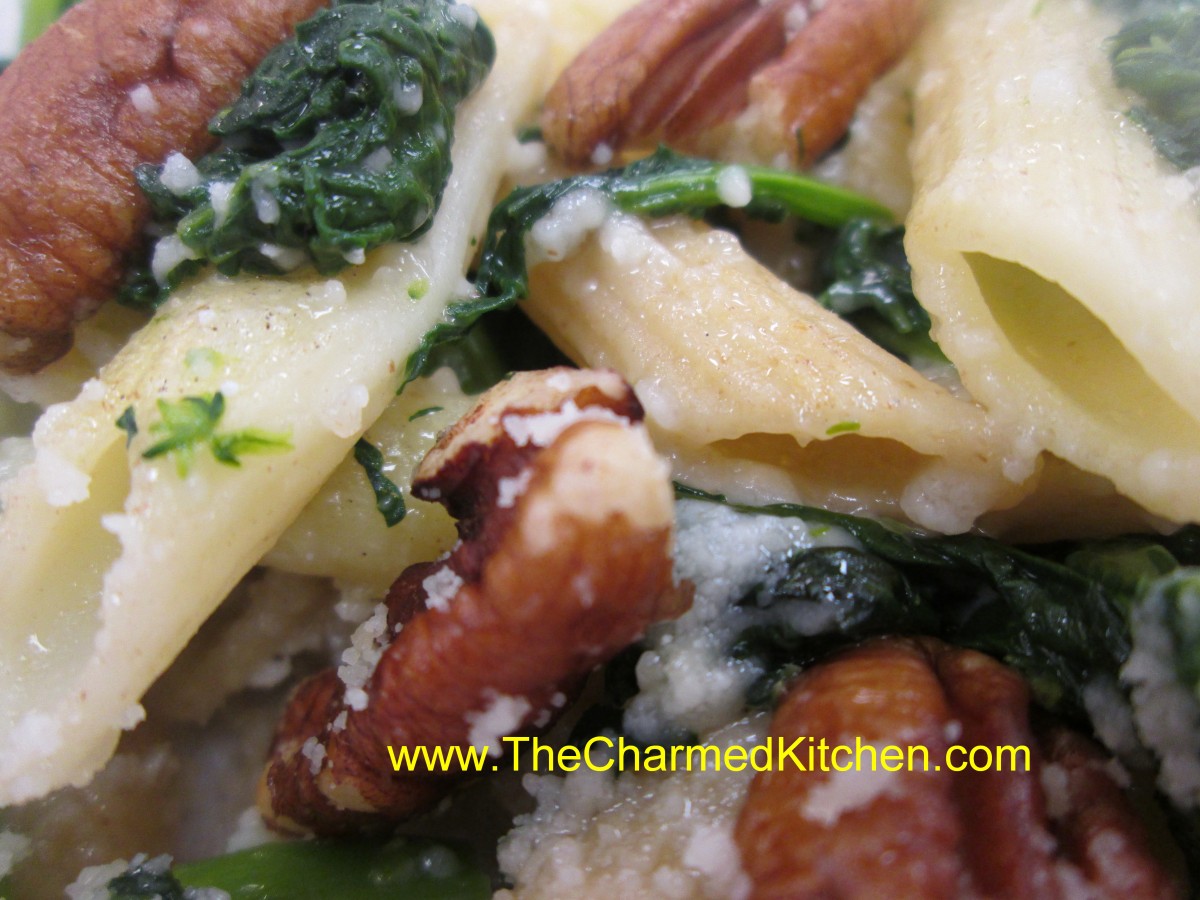
That’s what I did with this dish. I also paired the broccoli rabe with pasta and some cheese which also mellows out the flavor.
Broccoli Rabe with Pasta and Pecans
1 bunch broccoli rabe (rapini), trimmed and cut into 1-inch pieces
1 (8 ounce) box uncooked pasta
½ c. pecans
3 tablespoons olive oil
2 large cloves garlic, sliced
salt and black pepper to taste
1/2 cup shredded Parmesan cheese
Fill a large pot with lightly salted water and bring to a rolling boil over high heat. Once the water is boiling, stir in the broccoli rabe, and cook until just tender, about 5 minutes. Remove with a slotted spoon, and set aside. Return the water to a boil, and stir in the pasta. Cook, uncovered, stirring occasionally, until the pasta has cooked through, but is still firm to the bite. Drain well in a colander set in the sink. While the pasta is cooking, cook and stir the pecans in a skillet over medium heat until fragrant, about 5 minutes. Set the nuts aside, add the olive oil, and reduce heat to low. Stir in the garlic, and cook until golden brown, about 3 minutes. Stir in the broccoli rabe, and cook 3 minutes to reheat. Season to taste with salt and black pepper, then stir in the drained pasta and walnuts. Toss with Parmesan cheese before serving. Serves 4.

Broccoli Rabe
Baking Bread On New Day Cleveland
Here is my latest appearance on New Day Cleveland. Baking bread is easy- even baking with whole grains is not hard to do.
http://fox8.com/2018/01/26/baking-bread-with-the-charmed-kitchen/
Coconut Mango Bubble Tea

Coconut Mango Bubble Tea
In case you didn’t know, bubble tea is a sweetened drink, often made with fruit, fruit juice or tea. At the bottom of the glass are black, pearl tapioca that are sucked up through a large straw. They are the “bubbles” in your tea.
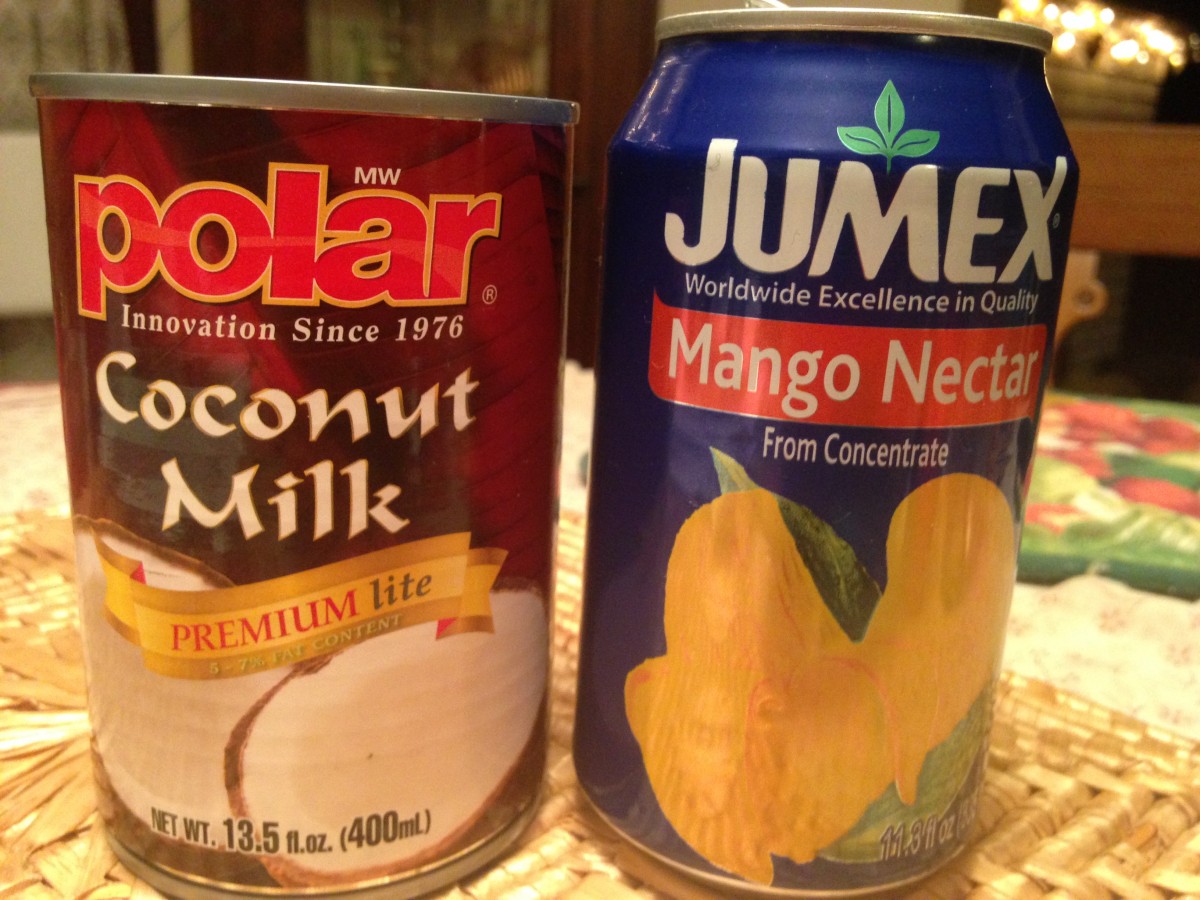
Bubble tea should be a little thicker than plain juice, but not as thick as a milkshake. The coconut milk was thick and gave me perfect texture in the bubble tea.
Bubble tea is one of those foods you either love or hate. I love it. The tapioca has a texture sort of like gummi candies, but a bit softer.
I always order bubble tea at Asian restaurants, so I decided it was time for me to make my own.
I ordered the black tapioca pearls online, along with the straws. You could probably find them at Asian grocery stores.
There were no directions with them, so I hunted online for how long to cook the tapioca. I found a wide range of times, so I used the suggestions from a company that sells tapioca. Worked pretty well.
I decided to make my own concoction for the actual drink. You can buy powders to mix with water to make bubble tea. I preferred to make my own.
So here is what I did.
Coconut Mango Bubble Tea
1 c. tapioca pearls*
6- 8 c. water
sugar syrup -directions follow
2 (12 oz.) cans mango nectar
1 can coconut milk
ice
bubble tea straws
Bring water to a boil- use plenty of water. Add tapioca pearls and stir gently so they don’t stick to the bottom of the pot. Don’t stir constantly, just a few times. Once the water returns to the boil, turn water to a low boil, cover pot, and cook 20 minutes. Turn off heat, leave pot covered and let tapioca sit another 30 minutes in the hot water.
While that is going on- make sugar syrup by boiling together 1 cup of sugar and one cup of water until sugar dissolves. set aside to cool.
Once tapioca are finished cooking and soaking in the water- taste one to make sure they are tender. If they are hard in the middle- turn heat back on and check every 5 minutes for preferred texture.
Drain off extra water in a strainer and rinse tapioca pearls to remove some of the stickiness. Add them to a bowl and cover with the sugar syrup.
This is where I had a problem with my first batch. I made the pearls the night before. They were perfect. I put them in sugar syrup and popped them in the fridge. The next morning they had become hard, chewy creatures that were not what I wanted. I drained off the sugar syrup and cooked them in a fresh batch of boiling water. They softened back up in about 10 minutes. My advice, if you want to make them ahead of time- drain well, rinse and place in fridge. Toss in the sugar syrup right before you are ready to serve them.
For each glass of bubble tea, mix a scoop of pearls with some of the syrup and place in a glass- I like about 1/4 cup of the pearls. Add ice. Combine coconut milk and mango juice in a one to two ratio- one part coconut milk and two parts mango nectar. Pour this in the glass with the pearls. This recipe makes 4 bubble teas.
*They double in size and are best used soon after cooking. Don’t cook more than you want to use in a day or two.
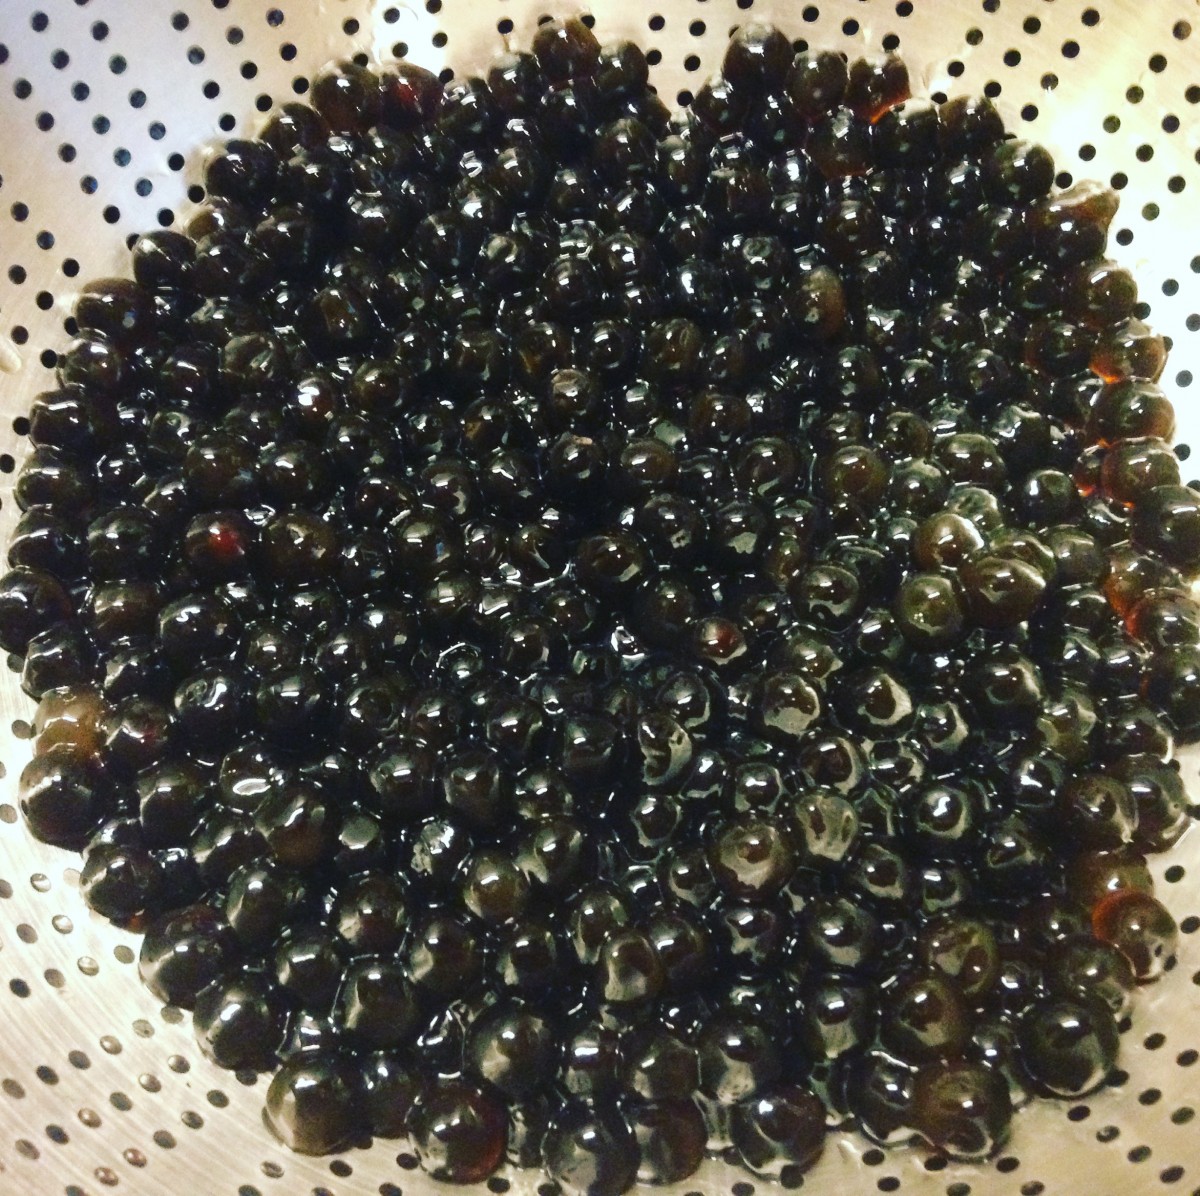
tapioca pearls after cooking
Corn and Bacon Chowder

Corn and Bacon Chowder
I was defrosting my freezer and found local sweet corn I had frozen last summer. I had forgotten all about it. I wanted to make soup for a dinner, so I decided to use the frozen corn to make this chowder. I also had a pound of bacon, which gave the soup a wonderful smoky flavor. I cooked the bacon in the soup pot, allowing it to get pretty crisp. I removed as much of the fat as I could, but left the bacon in the pot. Then, when I cooked the onions and added the stock, all the little brown bits of bacon in the pot added even more flavor. It came out great!! A perfect dish for a chilly evening.
Corn and Bacon Chowder
1 lb. bacon
1 onion, chopped
2 carrots, peeled and sliced
6 c. chicken stock
2 potatoes, peeled and cubed
6 c. corn – I used frozen corn
2 cups half and half or milk
¼ c. flour
Salt and pepper to taste
Hot sauce to taste
Fresh chopped parsley
Cut bacon in 1-inch pieces and fry in a Dutch oven until crisp. Tip pot and spoon out most of the fat. Add the onion and sauté until translucent. Add carrots and stock. Cover and simmer 10 minutes, then add the potatoes and corn. Cover and simmer 15-20 minutes, or until potatoes are tender. In jar with a tight fitting lid, combine 1 cup of the half and half or milk with the flour. Put on the lid and shake until mixture is smooth. Stir into the pot along with the remaining half and half or milk and cook, stirring often until mixture thickens up. Adjust seasoning to taste. Stir in parsley and serve. Serves 6.
Sweet and Sour Chicken Wings
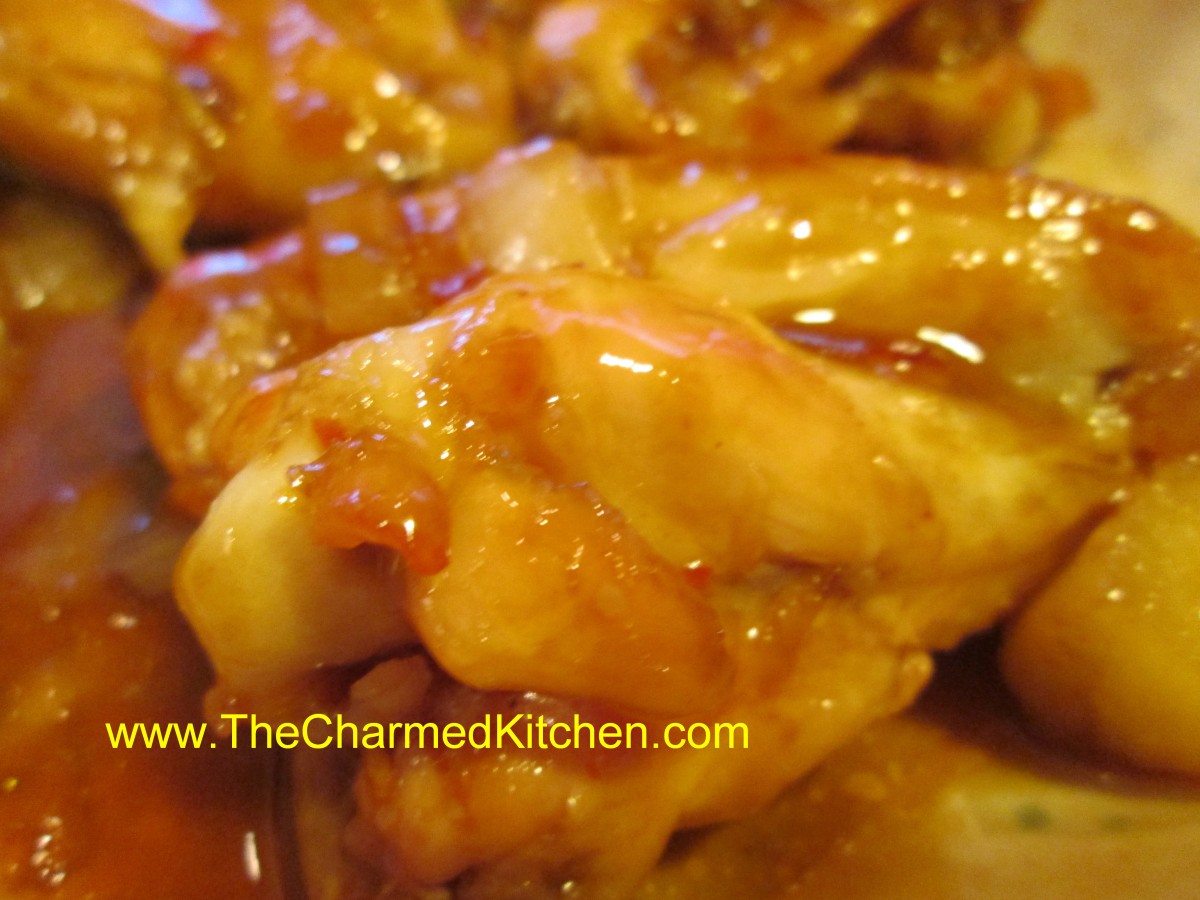
Sweet and Sour Chicken Wings
Rumor has it that chicken wings are one of the most popular appetizers served on Super Bowl Sunday. I don’t think you need to wait for a football game to enjoy these.
If you want something different than Buffalo Style wings, you might want to try this recipe. The wings are baked in a pineapple sweet and sour glaze. They are just the right combination of sweet, sour and a little salty. No matter who you are cheering for- your guests will cheer for these.
They are pretty simple to make and you can even make them the day before, then just reheat before serving.
Sweet and Sour Glazed Chicken Wings
12 chicken wings
1 medium onion, chopped
1 can (or jar) of pineapple chunks, drained, reserving liquid- I used a pint jar- if using store bought use the 20 oz. can.
salt and pepper
Sauce:
1/2 c. apple cider vinegar
1/2 c. sugar
3 T. ketchup
3 T. sherry
2 T. soy sauce
1 t. minced garlic
1 t. red pepper flakes
reserved pineapple juice
3 T. cornstarch
Preheat oven to 400 degrees. Place wings in pan and season with salt and pepper. Bake chicken wings in roasting pan for 20 minutes. Add the onions and pineapple chunks to the pan with the chicken wings and return to the oven for 30 minutes longer. While chicken is cooking combine the first seven sauce ingredients in a small pot and bring to a boil. Check baking pan for any juices- Spoon them out and add to the sauce. Combine pineapple juice and cornstarch in small bowl, stirring until smooth and add to the sauce. Return to boil and stir until sauce is thickened and bubbly. Pour hot sauce over chicken and return to the oven to bake 20-30 minutes longer or until wings look nicely glazed and sauce has started to brown. Serves 3-4.
Orange Tea Bread
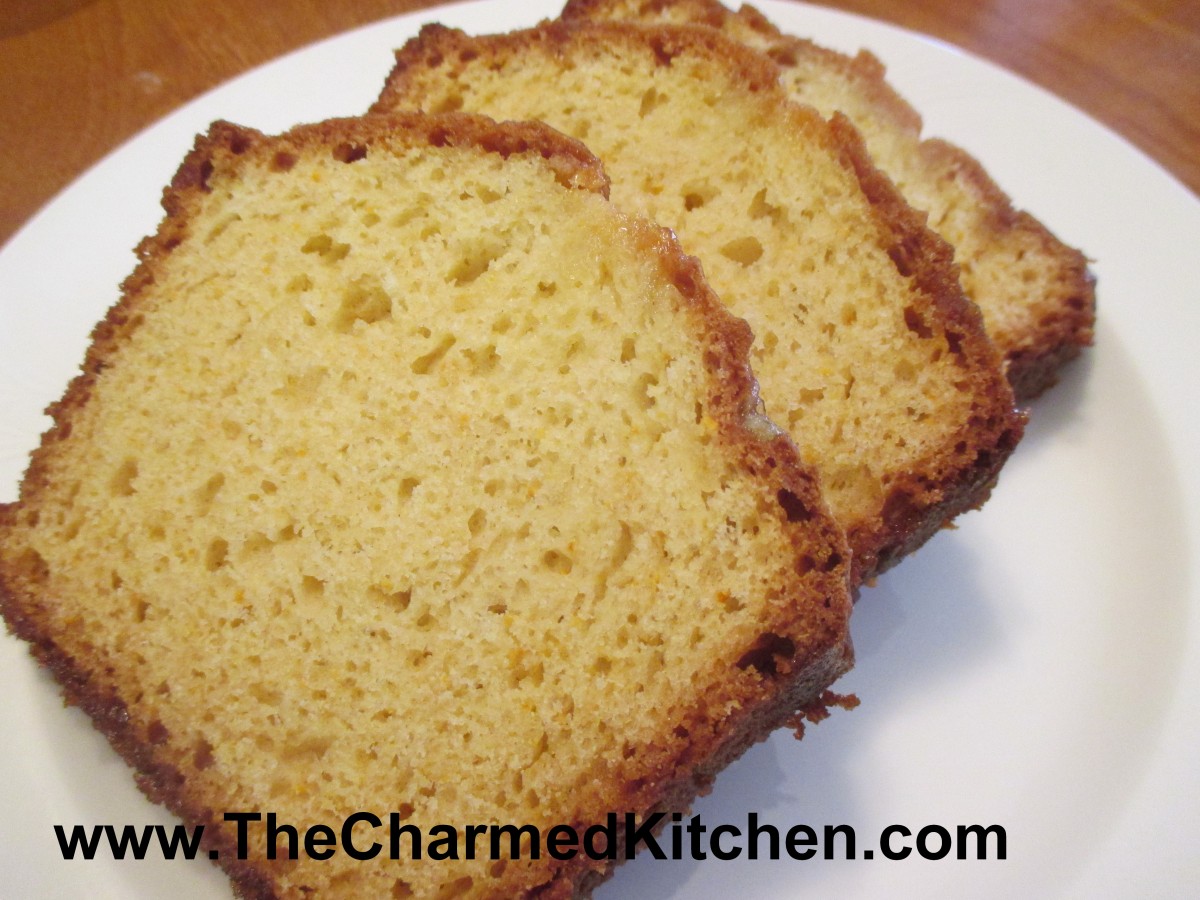
Orange Tea Bread
Winter is citrus season and I have been eating a lot of oranges lately. Besides eating them fresh, I also like to cook with oranges. If you are looking for a new recipe for a quick bread, and like oranges as much as I do, I would recommend trying this one.
The bread is flavored with orange zest in the batter, then a warm orange syrup is drizzled over the bread, right out of the oven. This makes for a bread that is flavorful and moist. It can be breakfast, a brunch dish or even a dessert, when topped with ice cream or whipped cream. The recipe makes one loaf, but I often double the recipe and make two. It seems to disappear around here pretty quickly. The bread freezes well, too.
Orange Tea Bread
2 cups all-purpose flour
1-1/2 teaspoons baking powder
1 teaspoon baking soda
1/2 teaspoon salt
2/3 cup Greek yogurt or sour cream
2/3 cup sugar
2 large eggs
3 tablespoons melted unsalted butter
1 tablespoon grated orange zest
Syrup:
1/2 cup orange juice
1/4 cup sugar
Preheat oven to 350 degrees. Grease an 8-1/2″x4-1/2″x2-5/8″ loaf pan. Line pan with wax paper or parchment and set aside. Sift flour, baking powder, baking soda and salt into a bowl. In a separate bowl, whisk together yogurt, sugar, eggs, butter and orange zest. Add liquid ingredients to dry ingredients, and stir mixture until well combined. Transfer batter to loaf pan, smoothing top, and bake in oven for 45 to 50 minutes, or until skewer inserted in middle comes out clean. While the bread is baking, combine orange juice and sugar in a saucepan. Bring mixture to a boil over moderate heat while stirring, and simmer for 1 minute. Keep syrup warm. Make holes in top of bread with a thin wooden skewer and drizzle with syrup. Let stand in pan until cool. Makes 1 loaf.
Brussels Sprouts and Bacon Salad

Brussels Sprouts and Bacon Salad
I thought about giving the bacon top billing, but truth be told, the Brussels sprouts really are the star of this dish. I know some people don’t like Brussels sprouts. I am not one of them. I have always loved them, even when I was a kid. I like them steamed with butter, roasted, pan fried and even raw.
This salad is a great way to enjoy their crunchiness in raw form. The bacon adds a wonderful smoky flavor. I also added an orange, some dried cranberries and toasted almonds. The dressing, sweetened with maple syrup, rounds out the dish.
An added bonus, it tastes good even the next day. The sprouts are like little cabbages. Unlike lettuce, which wilts quickly once dressed, the sprouts soften some, but retain most of their crunch. I have been known to eat this salad for breakfast the next day.
Brussels Sprouts and Bacon Salad
8- 10 oz. Brussels sprouts
1 large orange, peeled and cubed
4 slices bacon, cooked and crumbled
¾ c. dried cranberries
½ c. toasted slivered almonds*
Dressing:
¼ c. olive oil
¼ c. apple cider vinegar
2 T. maple syrup
1 T. fresh chopped parsley- or 1 t. dried
2 t. hot sauce, or to taste
½ t. dried thyme
½ t. dried basil
Salt and pepper to taste
Trim bottoms off the sprouts, cut in half and slice thin. You should end up with about 4 cups of sliced sprouts. Place in large bowl with the remaining salad ingredients. Place dressing ingredients in a jar with a tight fitting lid and shake well to combine. Toss over Brussels sprout mixture.
Note: The salad ingredients can all be assembled a day ahead, then just dressed when ready to serve. This salad is also good the next day.
*To toast the almonds, place in a skillet over medium low heat and stir occasionally, until toasted. Be careful, once they start to brown, they can burn easily.
Pink and Purple Salad

Pink and Purple Potato Salad
Sometimes we just need a little extra color in our day. My pop of color came in the form of a potato salad. Yes, a potato salad. I had picked up some purple potatoes at a local produce market. I’ve had them before.
Normally, the purple potatoes lose a little color once cooked. For whatever reason, these potatoes retained all of that purple color. I cooked them in the microwave, and maybe that is why. Maybe they were just a brighter color to begin with. All I know, is that when I started cutting them up for my salad, I was amazed at how purple they were.
Since I had some red onions, I decided to use them with the potatoes for my salad. I ended up with a purple and pink salad. Pretty and quite tasty.
A salad made with less colorful veggies, would still taste as good, but it would not be nearly as much fun to eat.
Pink and Purple Salad
1 lb. purple potatoes
1 lb. red onions
1 c. apple cider vinegar
1/2 c. sugar
1/4 c. water
salt and pepper to taste
1 t. celery seed
1/4 c. oil
Bake potatoes until tender. I used the microwave and it took about 7 minutes, but you can bake in a conventional oven, too. While potatoes are baking, peel, then slice onions thin and place in a saucepan with the rest of the ingredients, except the oil. Bring to a boil, then simmer for about 5-8 minutes until onions are just tender. Some of the liquid will cook off. Peel and cube potatoes and place in a bowl. Drizzle with the oil. Add the onion mixture and stir gently. Adjust seasonings, if needed. Chill. Serves 4.
Rich Blueberry Muffins

Rich Blueberry Muffins
I froze a lot of blueberries when they were in season. This time of year I often enjoy using some of those frozen berries in baked goods.
This muffin recipe is one of my favorites. The secret, I think, is the cup of melted butter that is folded into the batter. I also add a little cinnamon, which goes so well with the berries.
You end up with a rich muffin with a crumbly, tender texture and a great flavor. This recipe makes 36 muffins, so you will have extra to freeze. They freeze great.
Rich Blueberry Muffins
4 c. flour
2 T. baking powder
1 ½ t. salt
1 t. cinnamon
1½ c. sugar, plus extra for sprinkling
2 eggs
1 ½ c. milk
2 sticks (1 cup) butter, melted
4 c. blueberries -fresh or frozen
Paper line 36 muffin cups or grease lightly and preheat oven to 375 degrees. In large bowl mix dry ingredients. In smaller bowl mix eggs and milk and beat until smooth. Stir into flour mixture with a fork and mix until just moistened. Fold in melted butter and blueberries divide batter among cups. Sprinkle muffins with a little extra sugar. Bake 25 minutes, or until light golden. Makes 36.


