Sesame Salt
Sesame Salt
Once you taste sesame salt, I think you will love it as much as I do. I use it on all sorts of veggies, meats, pasta, potatoes and more. I love it on popcorn!!!
It is a nice alternative to regular table salt. Sesame salt adds great flavor to all sorts of foods. It is also is lower in sodium than plain salt.
You start by toasting sesame seeds. I just place the sesame seeds in a skillet and toast, on top of the stove, over medium heat, until golden brown. You can also toast them in the oven, but they burn easily. You do want to watch them carefully.
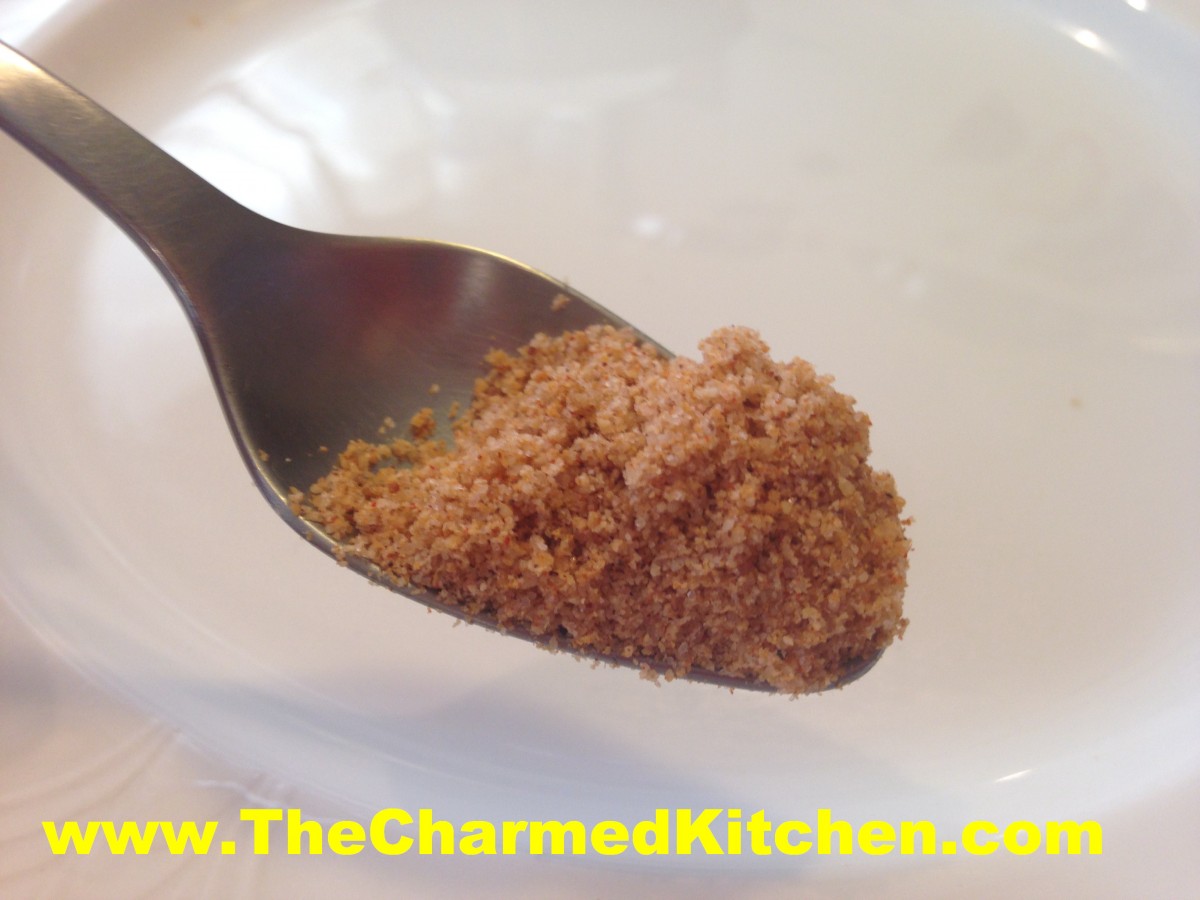
Once the seeds are toasted, you add salt and a few other ingredients (onion, garlic, paprika, pepper). Use whatever salt you like. I use Himalayan pink salt. Feel free to play around with flavors you add your sesame salt. Sometimes, I add a little smoked paprika, which gives the sesame salt a nice, smoky flavor.
I powder the mixture in a spice mill/coffee grinder. You can also use a blender to grind it up.
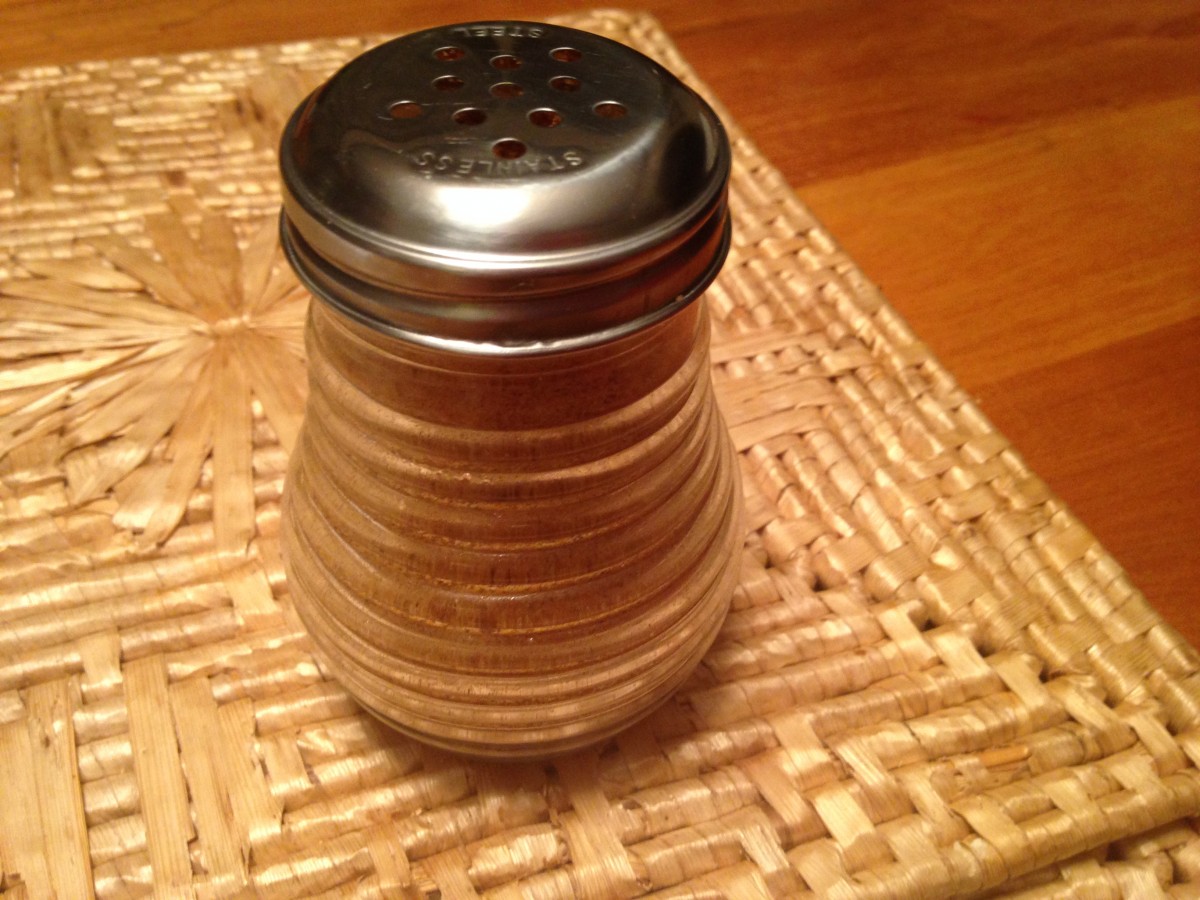
Sesame salt can be kept on the table in a shaker, just like salt. I use a shaker with slightly larger holes- I have one of those cheese shaker jars that works well.
I often make extra and give some to family and friends as a gift.
Sesame Salt
1 c. sesame seeds
1/4 c. salt – I like pink salt- use the salt you like
1 t. paprika
1 t. onion powder
1/4 t. pepper
1/4 t. garlic powder
In a skillet, over medium heat, toast sesame seeds, stirring or tossing to cook evenly until seeds are light brown. Stir in salt and cook 5 minutes more. Cool mixture completely and add remaining ingredients. Process in blender or spice grinder until mixture in powdered. Makes 3/4 c. Excellent with vegetables, stir-fries, salad dressings etc.
Eva’s Kolachy

Eva’s Kolachy
Over the years, I have shared many of my family recipes. This is another family recipe- but not my family. Tia Houpt found this recipe when going through her Grandmother’s recipe collection. She was kind enough to share the recipe- and gave me permission to share it with you. Her grandmother was Eva Skero- so I have named the kolachy in Eva’s honor.
There is something special in having old family recipes. We find so many recipes online these days, we sometimes forget there was a time when recipes were handwritten. Often, they were stored in a drawer or in a shoe box. There is usually a mix of handwritten recipes and recipes cut out of newspapers and magazines.
Sometimes you just find a list of ingredients. Measurements aren’t always precise. A handful of this a pinch of that. The phrase moderately hot oven doesn’t real help, does it? And what exactly is a number 2 can? Still, there are some real gems in those collections.
This is one of those recipes.
I have made kolachy for years and have used the recipe for the crust that my mom used. I love my mom’s recipe. I love this recipe even more.
I was intrigued that the dough contains both baking powder and yeast. I had to make it, just to see what it was like.
The dough is tender and very easy to work with. It doesn’t get chilled. You just make the dough, then roll it out and make the cookies. I did let my butter soften a little before cutting it into the flour. I could see using cold butter instead.
The dough rolled out beautifully and baked up a perfect golden brown. I had to let them cool a bit before I could taste one. I am not kidding- they were heavenly. Tender and so flaky. Tia and I both see this as a very nice tart dough, too.
So here is Eva’s recipe. I hope you will give it a try. Thanks, Tia, for sharing it.
Eva’s Kolachy
Dough:
3 c. flour
1 t. baking powder
½ t. salt
1 c. butter*
3 eggs
2 pkts. Yeast
½ c. warm milk
Filling:
Assorted pie fillings, jams, sweetened cream cheese or ricotta cheese You will need about three cups of filling.
In mixing bowl, combine flour with baking powder and salt. Cut butter into flour until mixture looks like coarse crumbs. Set aside. Place eggs in a small bowl and beat until smooth. In small bowl, dissolve yeast in warm milk. Add to egg mixture and stir to combine. Add egg mixture to flour mixture and stir until combined. If mixture is sticky add a small amount of flour. Roll dough out on floured board. Thinner the better, as this dough will puff some when baked. Cut into squares- or whatever shape you like. I did 2-inch squares. Place a spoonful of filling into center of each cookie. Fold up two of the corners and press firmly to seal. Fold over and press seam again. These like to pop open when baking, so the second fold over and pressing helps them to stay closed. Some people like to add a bit of egg wash or milk to the tops to help them seal better. I just squeeze together and fold twice. Place cookies on an ungreased baking sheet, about an inch apart. Bake in a preheated 350 degree oven for 20 minutes, or until golden brown. Cook on a rack. Dust cooled cookies with powdered sugar or with a powdered sugar glaze. Makes about 5-6 dozen.
*The original recipe called for shortening. Tia and I both decided butter was better!! That is the only change we made to Eva’s original recipe.

Cooled and dusted with powdered sugar
This post is dedicated to Eva Skero and all the home cooks out there who lovingly kept their recipes for us to find.
Curry Pea Soup
Curry Pea Soup
Not all homemade soup takes hours to make. This soup is fast and easy to make- and full of flavor. Unlike a lot of pea soups- this one is made with fresh peas- not dried split peas. Technically, frozen peas. It cuts down on cooking time and gives a very different taste to the soup.
I made this soup on a snowy evening, but I could see eating it in warmer weather, too. With some fresh mint. it would make a lovely Spring soup.
While peas were the center of the soup, taste wise – I added extra veggies for more depth of flavor.
The curry powder added lots of flavor, too.Curry powder is a mix of different spices. Some can be quite spicy, others are milder. I make my own.
I added the peas near the end of cooking time to preserve as much of their natural color as possible.
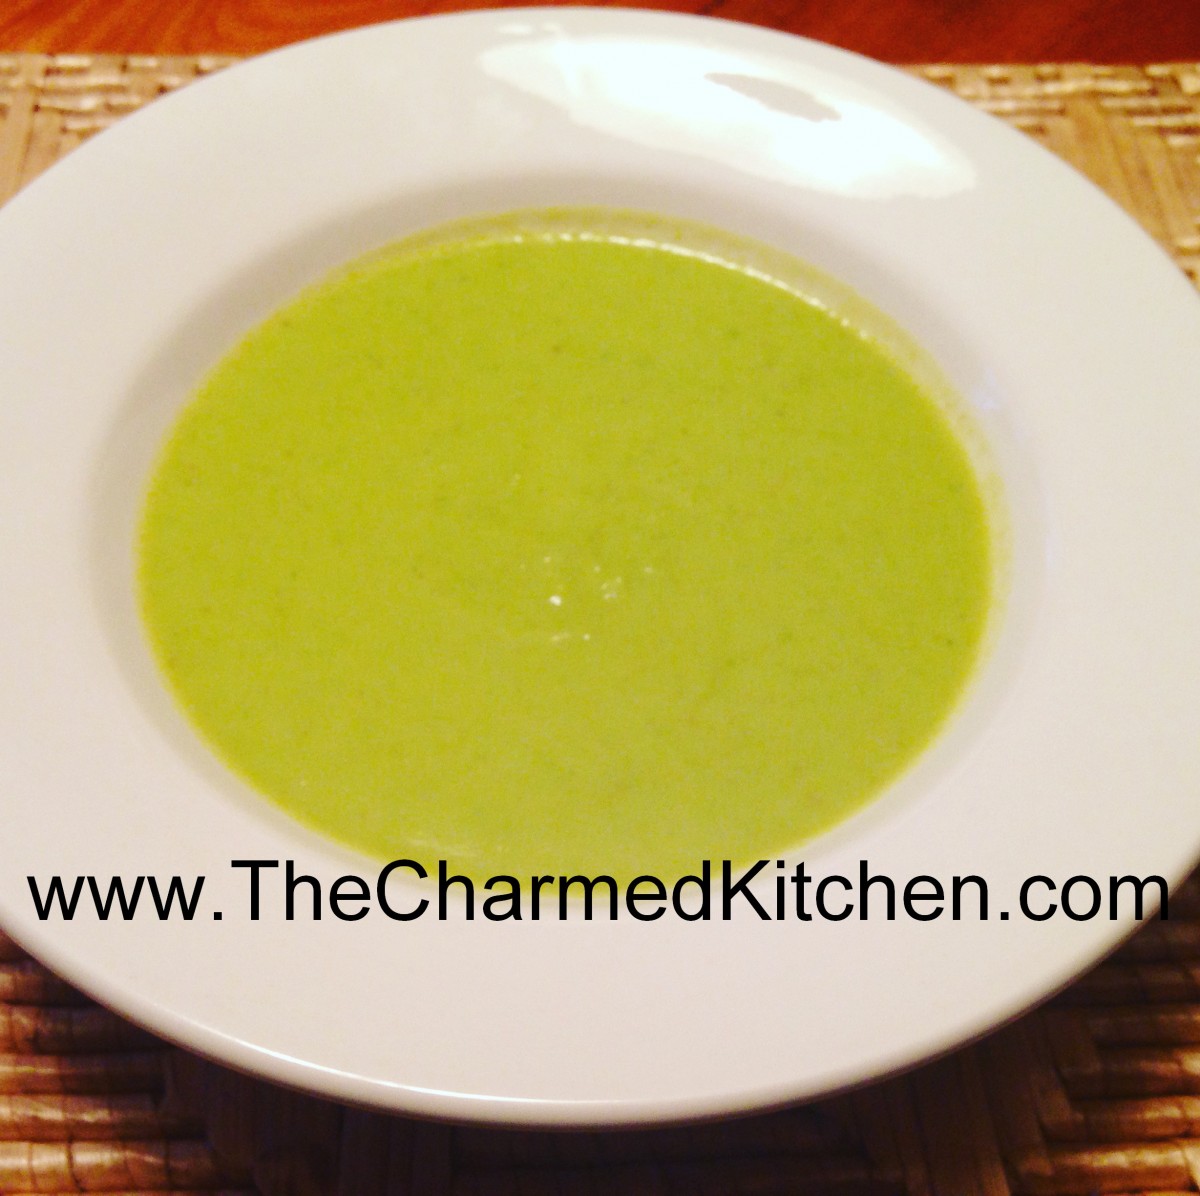
Once the veggies were tender, I pureed the soup. It ended up the most beautiful shade of green.
Curry Pea Soup
3 T. olive oil
1 large onion, chopped
3 ribs celery, chopped
2 c. cauliflower
6-8 c. stock- I used chicken, but vegetable stock would work, too.
1 lb. peas- I used frozen- you could use fresh shelled peas, if you have them
2 T. curry powder
2 T. fresh parsley
Salt and pepper to taste
Hot sauce to taste
Heat oil in soup pot. Add onion, and cook over medium heat, until tender. Add the celery and cauliflower and cook a few minutes longer. Add 6 cups of the stock and bring to a simmer. Cover and simmer until veggies are tender, about 10-15 minutes. Add the peas and seasonings and continue cooking 5-10 minutes more. Puree soup, adding more stock if it is too thick. Adjust seasonings and serve. Serves 6.
Lemons in the Snow
Lemons in the Snow Cookies
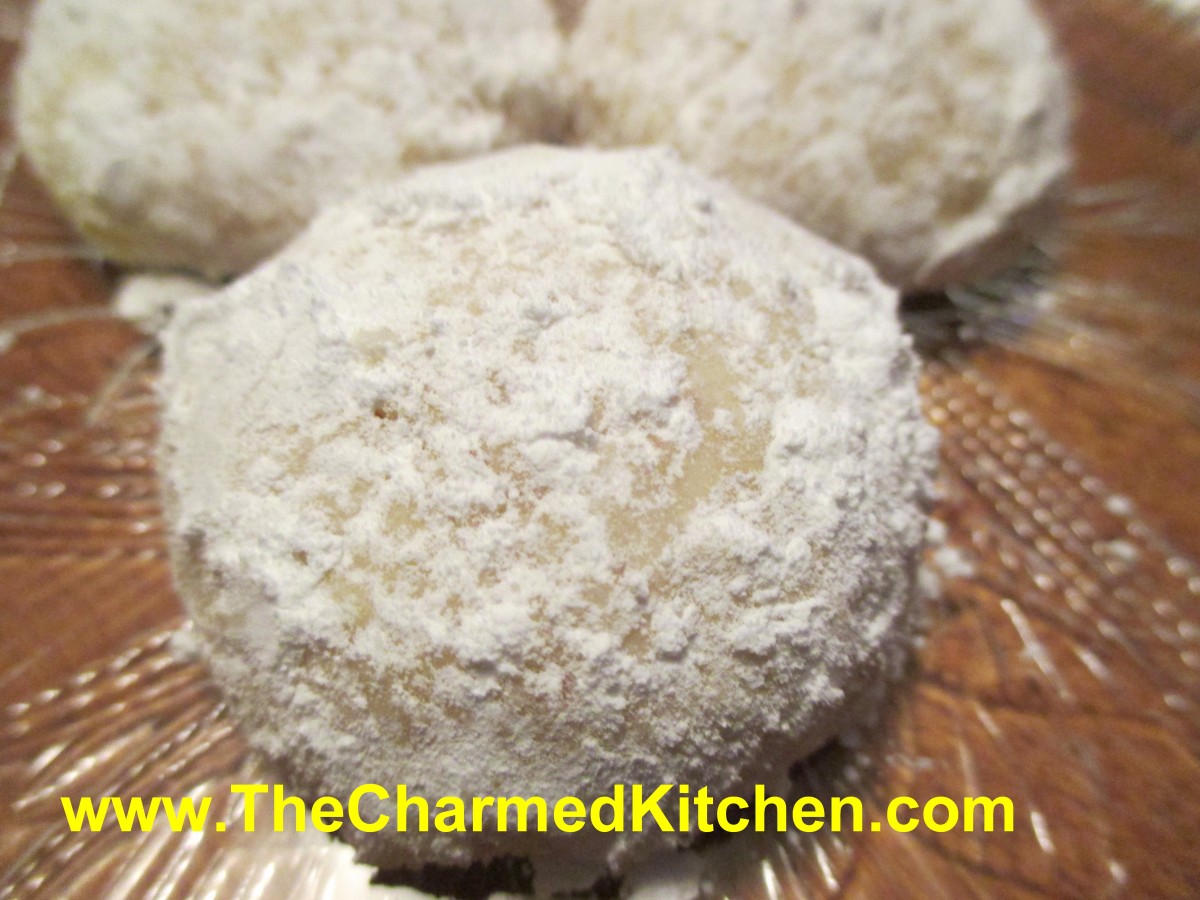
The funny name for these cookies is really easy to explain. The cookies are flavored with both lemon juice and lemon zest in the dough. When nearly cooled, they are rolled in powdered sugar. They end up looking like little snowballs.
Yummy, lemon flavored snowballs.
The dough also contains finely ground almonds, for extra texture. They are a delicate, cake like cookie, with a slightly crisp outside. You could also add a little grated lemon peel to the powdered sugar, before rolling the cookies in it, for a more intense lemon flavor.
Lemons in the Snow Cookies
1/2 cup butter (no substitutes), softened
2/3 cup sugar
1 egg
1/4 cup lemon juice
1 tablespoon grated lemon peel -or more if you like
1 3/4 cups all-purpose flour
1/4 teaspoon baking soda
1/4 teaspoon cream of tartar
1/4 teaspoon salt
1/2 cup finely chopped almonds
confectioners’ sugar
In a mixing bowl, cream butter, sugar and egg until well blended. Add lemon juice and peel. Combine flour, baking soda, cream of tartar and salt; stir into creamed mixture. Add almonds. Cover and refrigerate the dough for at least 1 hour or overnight. Roll into 1-in. balls. Place on ungreased baking sheets. Bake at 350 degrees for 10-12 minutes or until bottoms are lightly browned (cookies will not brown on top). Remove immediately to wire racks; cool for 5 minutes, then roll in confectioners’ sugar. Makes 36.
Homemade Lemon Liqueur
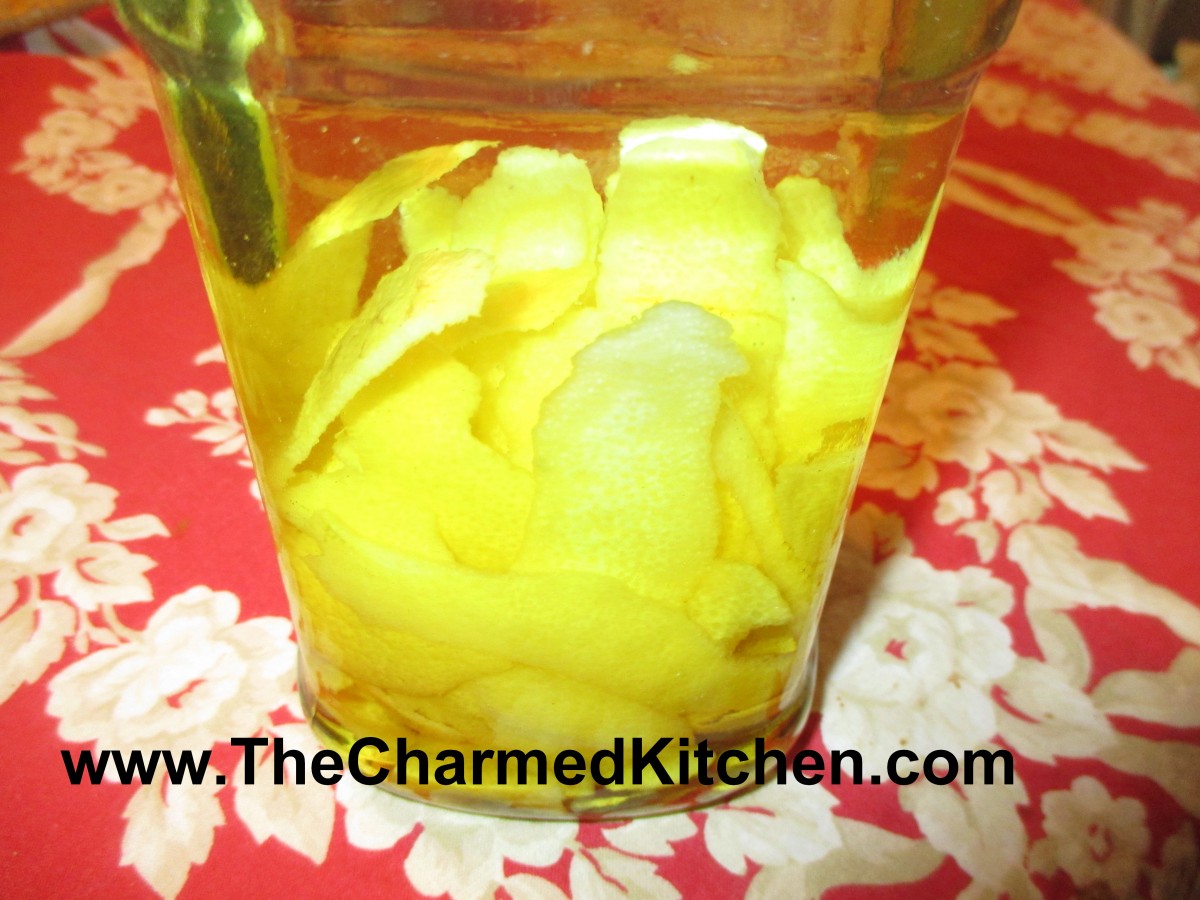
Lemon Peels in Vodka
I make homemade liqueurs throughout the year, using seasonal fruits. Winter is great for citrus, so it is lemon liqueur time!!! All you need to get started is a jar, some vodka and lemons. Since you are using the peels, best to use organic lemons, if you can find them.
Use a vegetable peeler to get just the yellow part of the lemon peel. A little of the white is OK, but too much will make your liqueur bitter. Combine the peels with the vodka in a jar with a tight-fitting lid. Now it’s just a waiting game.
Once the peels have steeped long enough to flavor the vodka, just sweeten, if you like, and let the liqueur mature a little longer. Well worth the wait. You can use the same recipe to make lime liqueur, too. You can also use half lemon and half lime peels in the same batch for lemon/lime liqueur. You can also add other flavors, like mint, to your mixture.
Homemade Lemon Liqueur
8 lemons
3 c. vodka
1 c. sugar syrup
Peel lemons using a vegetable peeler. Use only the yellow part of the peel. If you get larger pieces of the white pith, scrape off and discard. Place peels in jar with the vodka. Cover and place in a cupboard.
Steep peels 2-3 weeks. Strain and filter and add sugar syrup. Mature 1-2 weeks.
Note: you can also make lime liqueur with the peels of 8 limes, or use 4 lemons and 4 limes for a lemon-lime liqueur.
Variation: You can also use rum as the base for a great daiquiri!
Note: To make citrus flavors without the peels substitute 2 t. pure extracts for the fruit and add sugar syrup right away. Just steep a few days to mature a little.
Also, lemon or lime are terrific unsweetened, to add to other cocktails. You can make some without the added simple syrup.
Sugar Syrup: For the sugar syrup, combine 1 cup of sugar with 1/2 cup of water. Boil, then cool down before adding to your liqueur. Makes 1 cup.
Lemon Tart

Lemon Tart
I wasn’t sure what to call this dessert. It started out as one thing, but sort of ended up somewhere else. I finally decided to just call it a tart. I’ll explain.
I was leaning towards making a cheesecake. I needed to make dessert for a dinner. Everybody loves cheesecake, right? I already had cookie crumbs, I could use for the crust. Then, I discovered I only had one box of cream cheese. Not enough for a cheesecake.
While searching my fridge for cream cheese, I found a couple of lemons.
I suppose I could have made a lemon pie, but I decided to just make something up with what I had, including the cream cheese. What I ended up with is a sweet/tart lemon dessert. Really nice, actually.
Before I get to the actual recipe, let me talk about the lemons, and including fresh lemon juice in recipe directions.
Recipes will often list the “juice of a lemon” in the ingredients. There is about the same amount of lemon juice in all lemons, so that a little difference, one way or the other, is no big deal. The amount is anywhere from 2-3 tablespoons of juice in a lemon. You might get 4 tablespoons, if the lemon is really big. I have used that phrase in recipes myself.
Sometimes, however, you have to recognize when you have lemons that aren’t “average”.
The two lemons I had on hand were big, really big. When I juiced them, I ended up with 2/3 of a cup of lemon juice. So, in this recipe I used the actual measurement of the juice, rather than saying, “the juice of 2 lemons.” Three or four average sized lemons should give you 2/3 cup of juice.
So here is the recipe for my lemon tart, the happy end result of using what I had, and making it work.
Lemon Tart
Crust:
1½ c. crushed vanilla cookies
4 T. melted butter
Filling:
1 (8oz.) container cream cheese, softened
½ c. sugar
2/3 c. lemon juice
Zest of two lemons
3 eggs
¼ c. cornstarch
Combine crust ingredients in medium bowl. Press crumb mixture into a 9 –inch springform or tart pan. Bake in a preheated 350-degree oven for 10 minutes. While the crust is baking, make the filling. In mixing bowl combine the cream cheese with the sugar and beat until fluffy. Add the lemon juice and zest and beat well. Add the eggs and cornstarch and beat until smooth. Pour filling over the baked crust and return to oven. Bake for 35 minutes, or until golden on top. Center will be soft, but firms as the tart cools. Cool, then refrigerate until ready to serve. You can dust with powdered sugar, if you like.
Citrus and Honey Dressing

Citrus and Honey Dressing on Fresh Greens
Even in cold weather, I often crave a fresh green salad. This dressing is perfect for one of my winter salads. Winter is citrus season, so lemons and oranges are abundant. The taste of the citrus in this recipe, really brightens up the greens. The honey adds just the right balance of sweetness.
I have basil under grow lights- so I have the fresh basil, too. If you can’t find fresh basil at the store- dried can be used.
The recipe is useful as more than just a salad dressing. You can use it as a glaze on meats, or even as a dipping sauce. The combination of juices, zest, honey and fresh basil works on fruit salads, too.
I prefer homemade dressings for my salads. They are easy to make, and I get to control what goes in them. This one is great to have on hand in the fridge. Just shake it up and it’s ready to serve.
Citrus Honey Dressing
1/4 cup olive oil
2 tablespoons orange juice
1 tablespoon lemon juice
1 t. lemon zest
½ teaspoon salt
1 tablespoon honey
2 T. chopped fresh basil- 2 t. dried basil could be used
1 T. white wine vinegar
In a jar with a lid, mix the olive oil, orange juice, lemon juice, lemon zest, salt, honey, basil, and vinegar. Seal and shake well. Chill 2 hours in the refrigerator. Strain basil before serving. Use on green salad or with chicken, fruit or seafood salads. Can also be brushed on chicken, meat or seafood as a glaze.
Turnip Cakes

Turnip Cake
I first had turnip cakes at a local Asian restaurant. I loved them, and was intrigued at how to make them. They were little squares, lightly crisped on the outside, smooth and creamy in the middle.
When I first heard turnip cake- I was thinking of the purple and white turnips I grew up having in soup.
It helped a lot when I realized the “turnip” cake was actually made from Daikon radish. Daikon radishes are also called Chinese turnips. They are really big, white radishes. They are available at Asian grocery stores and other grocery stores. Now that I knew the ingredient I needed, I had to find a recipe.
I searched the internet and found a lot of different variations for how to make them.
The first recipe I tried was more like a potato pancake. Shredded radish paired with eggs and bread crumbs. They were good, but not what I had at the restaurant. The turnip cake I had enjoyed was smooth and sort of starchy. Plus, it was a neat square shape.
I found several recipes that included the steaming step. This enabled the cakes to be set up with a starch, cooled and sliced. This was what I wanted!! The most promising recipe included rice flour- but I was out of rice flour, so I improvised with cornstarch and a little wheat flour. It worked really well.
Most recipes included shrimp or Chinese sausage and sometimes green onions. I decided, this time, to make them vegetarian. That worked well, but you certainly could add meat or shrimp to yours.
I shredded mine pretty fine, but you could still discern the radish in the final dish. I liked that a lot. I did not grate them as some recipes suggested.
So here is my version of turnip cakes. They sound like a bit of work, but it really is worth the time. I also like that all the prep can be done a day or two ahead of time, then just slice and fry when you want them.
Turnip Cakes
1 large Daikon radish- about 1¼ lbs., give or take
1 c. water
½ c. minced onion
1 t. salt
½ t. white pepper
½ c. cornstarch
2 T. flour
Oil for frying
Oyster sauce for dipping, optional
Peel and shred radish. I used a fine shredding blade. Squeeze out some of the liquid from the radish. Place shredded radish in bowl with the water and onion and steam in microwave for 4-5 minutes- you can also place radish and onion in saucepan with water and simmer 4-5 minutes. Set aside to cool. Combine the radish mixture with the cornstarch, flour salt and pepper. Oil an 8×4-inch loaf pan. Place the radish mixture in the prepared pan and steam for 50 minutes.* I placed plastic wrap over the pan to prevent water from dripping into the pan. Remove pan from steamer and cool down for at least 30 minutes. . At this point you can finish preparing the turnip cakes- or place in fridge until ready to make them. When ready to fry the turnip cakes, remove from the pan and cut into slices- about ¾ -inch thick. Heat oil in a skillet over medium high heat. Cook cakes in oil on both sides until golden brown and crisp. Drain on paper towels. Serve with oyster sauce- or whatever dipping sauce you prefer. Makes about 10.
* To steam the mixture- I just used a large stock pot with a cooling rack in it. I brought about 2 inches of water to a boil, placed the pan on the rack and covered the pan. You could also steam in the oven with a roasting pan, with an inch of boiling water in it and covered with foil.

Slicing the turnip cakes before frying
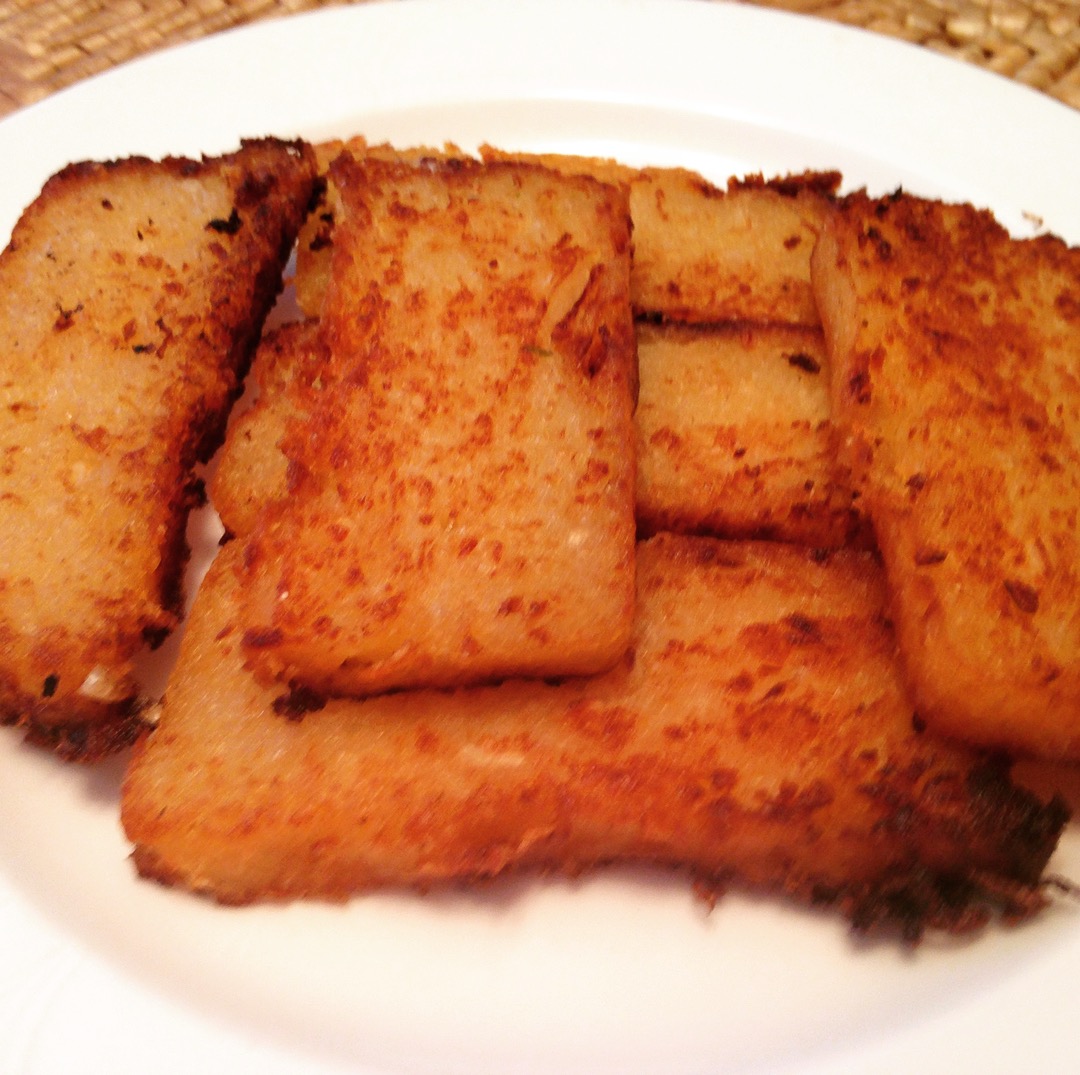
Ready to serve
Homemade Vegetable Soup Base
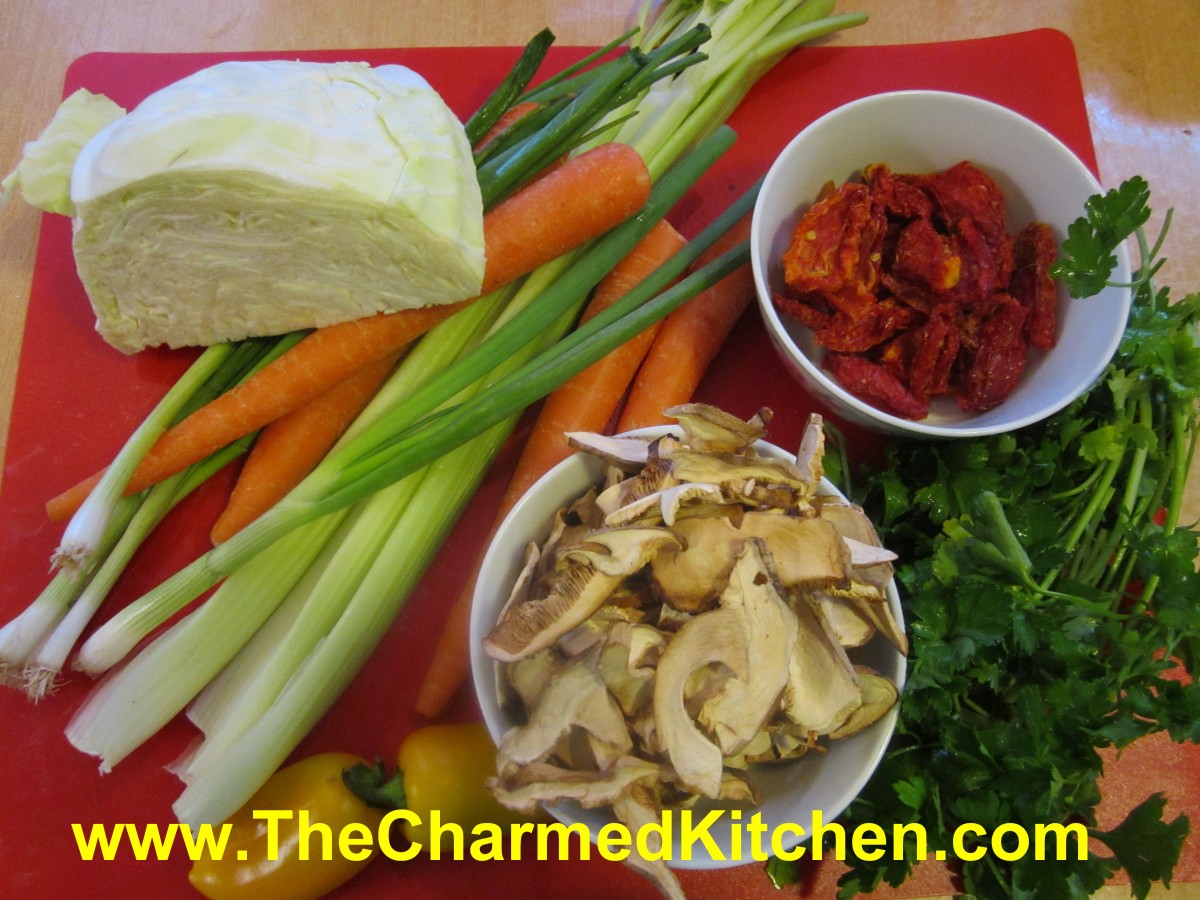
Vegetable Soup Base Ingredients
I have made a lot of stuff from scratch- could I make my own soup base? I could and I did! Not soup stock, but the stuff in jars that you just mix with water for instant broth. I wanted a no-meat soup base for when I was cooking meat-free.
I made a vegetable soup base that is a mixture of vegetables, both fresh and dried, herbs, mushrooms, nutritional yeast, spices and salt. There is pretty good amount of salt, but I wanted to be able to store it in the fridge and be safe.
It worked out that every teaspoonful of the finished base has less than 1/4 teaspoon of salt. Not great, but a lot less than bouillon cubes.
If you want to make yours with less salt or no salt- you’ll have to freeze the mixture in ice cube trays and take it out of the freezer as needed. Sort of like your own bouillon cubes.
The nice part is, I can now make a vegetable soup easily and I know exactly what is in it. It can also be added to chicken or other meat-based stocks, in place of the salt, to add extra flavor.
Homemade Vegetable Soup Base
4 carrots, peeled and cubed
3 celery ribs, washed and cubed
1 large sweet onion, peeled and cubed
3 green onions, washed and cut up
1 c. sun- dried tomatoes, soaked in water 30 minutes, and drained
1 c. dried mushrooms, soaked in water 10 minutes and drained
1 c. chopped cabbage
1 c. parsley, chopped
1/2 c. chopped sweet pepper
1/4 c. nutritional yeast, optional
2 T. turmeric
8 oz. salt- I used sea salt and used a scale to weigh it. It’s around a cup but will differ if you are using a coarse salt
Combine all ingredients, except the salt, in a food processor and blend until smooth. I have a decent size Cuisinart and still had to do this in batches. Combine in a bowl with the salt and stir well to blend. Store in a clean jar in the fridge until ready to use. I ended up with about 5 cups of soup base. To use, add about 1 teaspoonful to a cup of hot water for vegetable broth. Use less or more according to your taste. Use in place of salt in other soups, stews and sauces.

Finished Soup Base
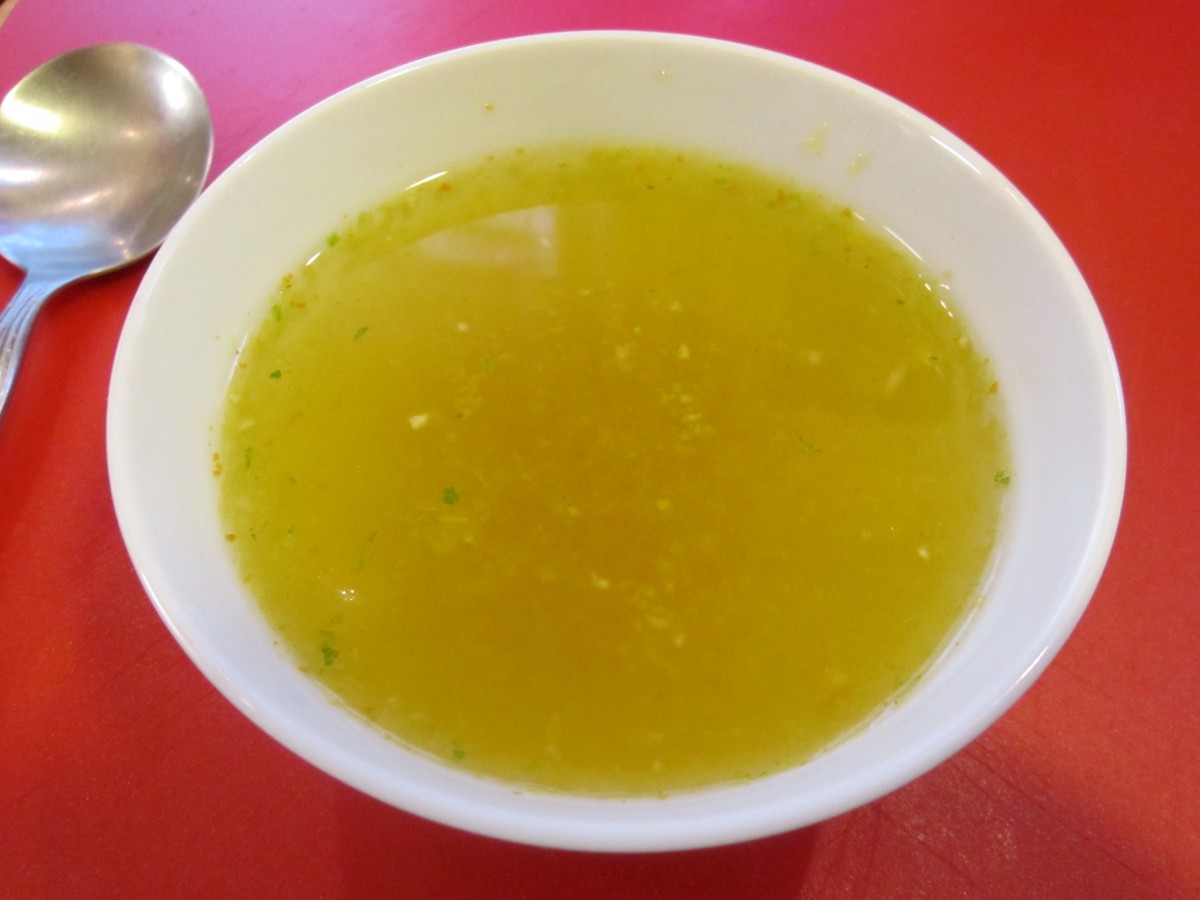
Vegetable broth made from the base
Almond Biscotti

Almond Biscotti
I love these biscotti. They are just the thing to dunk in a cup of hot coffee or tea on a chilly morning. Besides chopped almonds, they are flavored with Amaretto, lemon zest and lemon juice. The almonds and lemon work really well together.
The hard texture of biscotti comes from twice baking them. First the dough is formed into a log and partially baked. Then the “log” of dough is sliced- and the slices are baked a second time. For the second baking, most recipes tell you to turn the biscotti halfway through the baking process. This is so they dry and crisp up on both sides evenly.
I have a much easier way to handle the second bake. Just place a cooling rack on your baking sheet. Then arrange the slices on top of the cooling rack. Now, when you bake the slices- the heat dries them out and crisps them up on both sides. No need for turning them over mid-bake.
Biscotti are so easy to make, I wonder why more people don’t make their own. The ones from the store are never as good.
So here is the recipe. I hope you try to make your own biscotti, if you haven’t before.
Almond Biscotti
2 c. flour
1 t. baking powder
1/4 t. salt
1 c. sugar
3 eggs
2 T. Amaretto liqueur
1 T. lemon juice
2 t. grated lemon peel
2 c. coarsely chopped almonds, about 9 oz.
Combine dry ingredients and set aside. Beat sugar and eggs together until light and lemon colored, about 3 minutes. Mix in liqueur, juice and peel. Beat in dry ingredients and stir in almonds. Mixture will be very sticky. Spray large baking sheet with non-stick coating. By spoonfuls transfer dough to baking sheet forming 2 14-inch long strips. Using floured hands shape each strip into 2 1/2 inch wide log. Bake in a 350-degree oven for about 30 minutes. Logs should be light golden and firm to touch. Transfer to cutting board and using a serrated knife, cut into 3/4-inch thick slices. Place a cooling rack on your baking sheet and arrange slices on top of the cooling rack, cut side down. Bake 11-12 minutes. Remove from oven and cool completely. Can be stored in airtight container for a week. Makes about 40.


