Wine Jelly
Wine Jelly
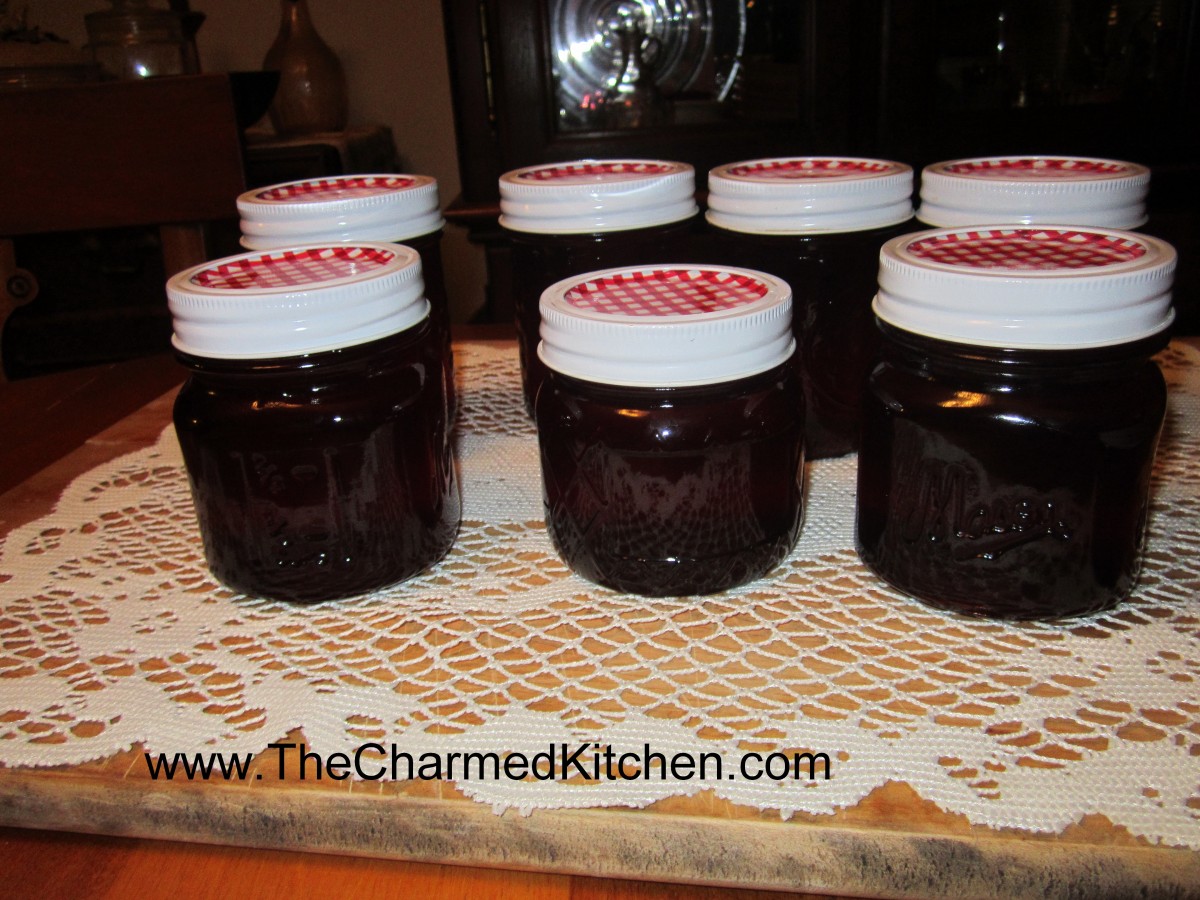
Wine jelly is something you can make any time of the year. Wine is always in season, after all. I like to use wine jelly as a glaze for meats and with cheese and bread for a quick appetizer. It also makes a great sandwich with almond butter. Sort of a grown-up version of PB&J. While I wouldn’t recommend using really expensive wine for making jelly you should use wine that you would also drink. It is a great way to use an open bottle of wine that might also go to waste. Because the wine is brought to a full boil the alcohol does cook out of it.
Wine Jelly
3 c. wine
1 box powdered pectin
4 c. sugar
Have your water bath ready and boiling. Also wash the jars and keep warm until ready to use. Prep lids according to manufacturer’s instructions. In large saucepan bring wine and pectin to a full boil. Add sugar and return to a boil, stirring often. When mixture gets to a full rolling boil that you can’t stir down boil it for 1 minute longer. Remove from heat and ladle into jars, leaving 1/4 inch of headspace. Wipe rims and place lids on jars. Screw lids on comfortably tight. Process in a boiling water bath 10 minutes. Remove jars from canner and cool on a towel or cooling rack away from drafts. Yield: 5 half-pint jars.
Source: Sure-Jell
Apple and Cheese Salad

Apple and Cheese Salad
I did a cooking class on cooking with apples and pears and thought I’d share some of the recipes with you. We started with a salad of apples and toasted walnuts with cheese served over greens. The salad is quite simple but the dressing really makes it special. It was a big hit in class and I think you’ll like it, too. I used cheddar but feel free to use other cheeses. The apples I used I got from Blue Pike Farm last week. Early Golden is a green apple with a sweet/tart flavor and great crisp texture. I also used some fresh mint leaves from my garden.
Apple and Cheese Salad
Dressing:
3 T. white wine vinegar
2 T. lemon juice
2 t. sugar
¼ c. olive oil
3 T. dried minced onion
2 T. water
salt and pepper to taste
1 c. walnuts or pecans, toasted
4-6 cups salad greens, washed and spun dry
1 c. shredded cheddar cheese or ½ c. crumbled feta or bleu cheese
2 Granny Smith or other tart apples
1 T. chopped fresh mint or parsley
1 T. snipped chives or green onions, optional
In container with tight fitting lid shake dressing ingredients together and chill until ready to use. To toast nuts place on a baking sheet in a 350 degree oven for 15 minutes. Cool. When ready to serve the salads divide the greens among 4 plates or arrange greens on a platter. Core the apples and cut in slices. Toss apples with the dressing. Place apples on greens, then top with remaining ingredients. Serves 4.
Blueberry Tortilla “Blintzes”
Blueberry Tortilla Blintz
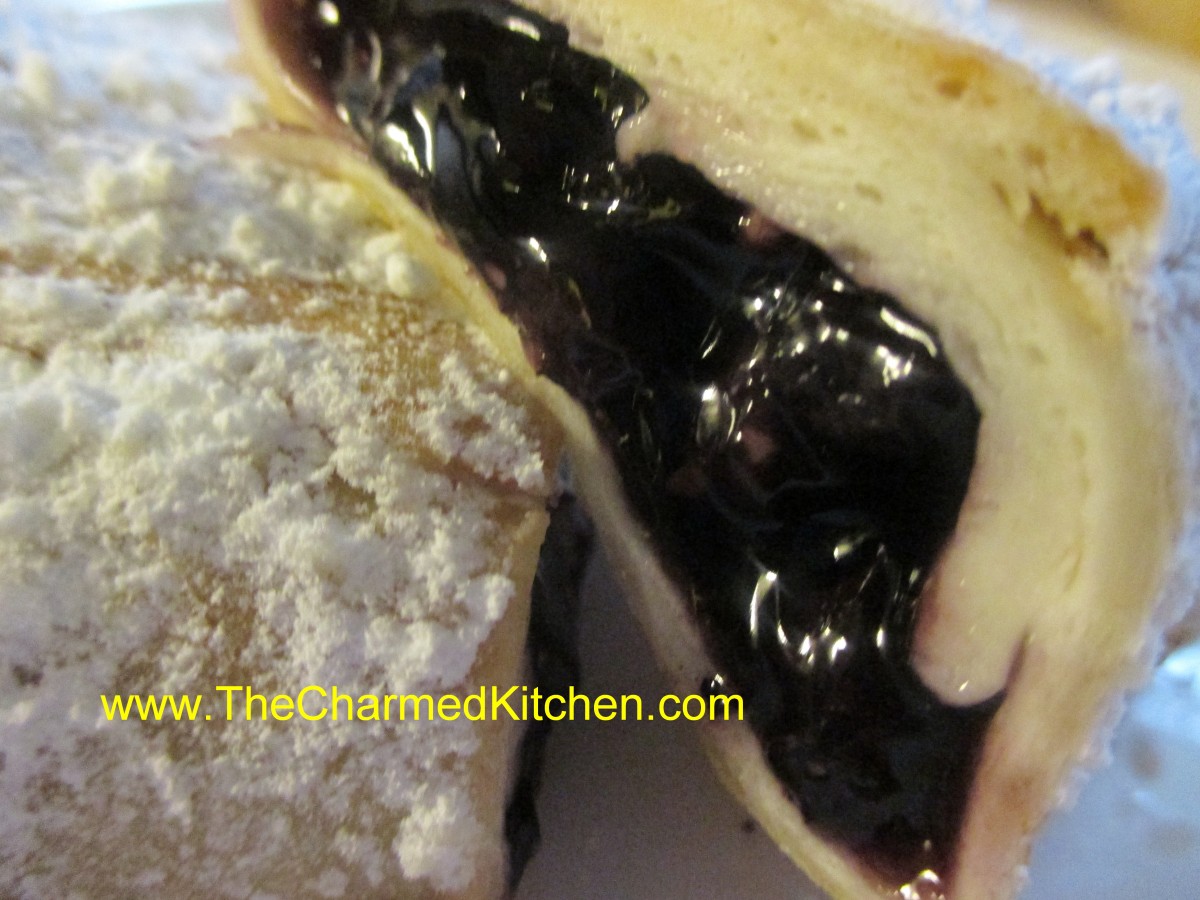
Blueberries seem to be very abundant this year. Even getting some from my fairly new plants. I had some flour tortillas and decided to use them for a quick blueberry dessert. These can be made with pretty much any fruit pie filling or fresh fruit. I had a lot of blueberries so I made a homemade blueberry pie filling. I canned most of it but had enough left over to make some blintzes. While blintzes are traditionally made with crepes, these use the tortillas instead.
To make them just soak some flour tortillas in milk to soften. I normally allow at least 10 minutes for this. Place a tortilla on your work surface and spoon some pie filling in the middle. Fold in the sides until they just touch. Starting on the side nearest you gently fold the blintz up. It should like like a flatter version of an egg roll. Repeat with the rest of the tortillas. Heat some butter up in a skillet and place a few blintzes in at a time. Turn when they get golden on one side and cook until light golden brown on both sides. Serve dusted with powdered sugar or with ice cream, if you prefer. Super easy.
If you want to use fresh berries instead just toss them with some sugar before using. If you want to make a pie filling for this recipe just cook together fresh berries with a little water and sugar. Once the berries have softened mix a small amount of water with cornstarch and pour into the blueberry mixture, cooking until it thickens. Add the cornstarch mixture slowly so the mixture doesn’t get too thick.
Zucchini Pancakes

Zucchini Pancakes
August is zucchini month. They are everywhere and if you have them you might be looking for another way to cook them. I’ve been making zucchini pancakes for years and always enjoy them. I did change one thing in the recipe today though and I liked the result. The secret? Baking soda. I don’t know why I never thought to add it before. It makes the pancakes light and fluffy. Here is the recipe I used today. I served mine with a tomato salsa, mostly because I didn’t have any sour cream. I really liked the combo. This could be a great breakfast or lunch dish or as a side dish with dinner.
Zucchini Pancakes
2 c. shredded zucchini
1 medium onion, diced
2 eggs
1/2 c. flour- you made need a little more or less depending on how moist your zucchini is
2 t. hot pepper sauce, or to taste
1 t. baking soda
salt to taste
oil for cooking
Combine all ingredients, except the oil, in a medium bowl. Heat oil in skillet and spoon batter in. I used a little over 1/4 cup for each. Cook over medium heat until lightly browned around the edges. Flip and cook until golden on both sides and pancake springs back when touched lightly. Remove to platter and keep warm. Repeat with remaining batter. Serve with salsa or sour cream. Makes 8.
Farm Market Today
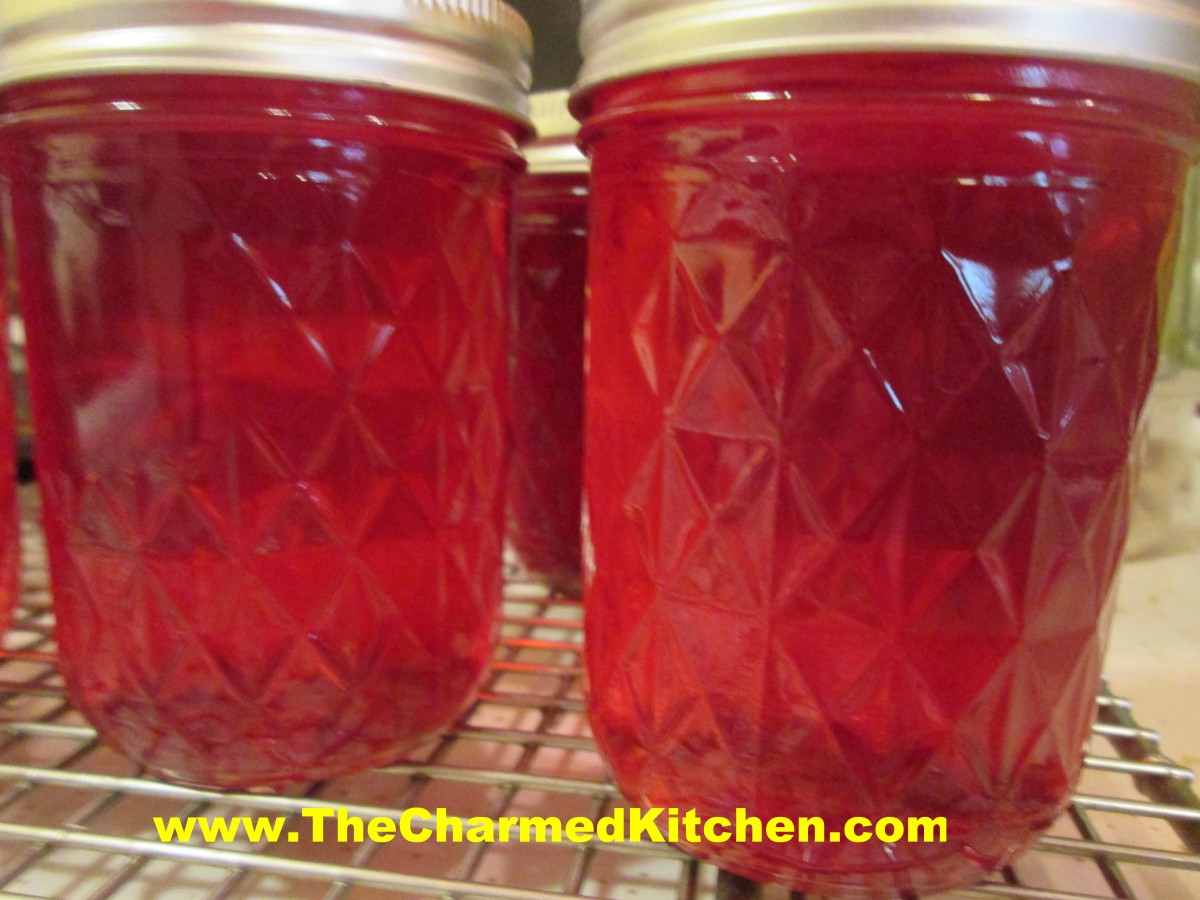
Rose Petal Jelly
After a 4 week absence due to cooking camps I will be back at the Blue Pike Farm market today. Beet cakes are back!!!! I will also have jams and jellies, pickles, baked goods and herb seasoning mixes. Hope to see you there. Blue Pike Farm is located at 900 E. 72 street- just 1/2 mile south of the Shoreway. Market hours are from 4-7 pm.
Smoked Salmon Quesadillas

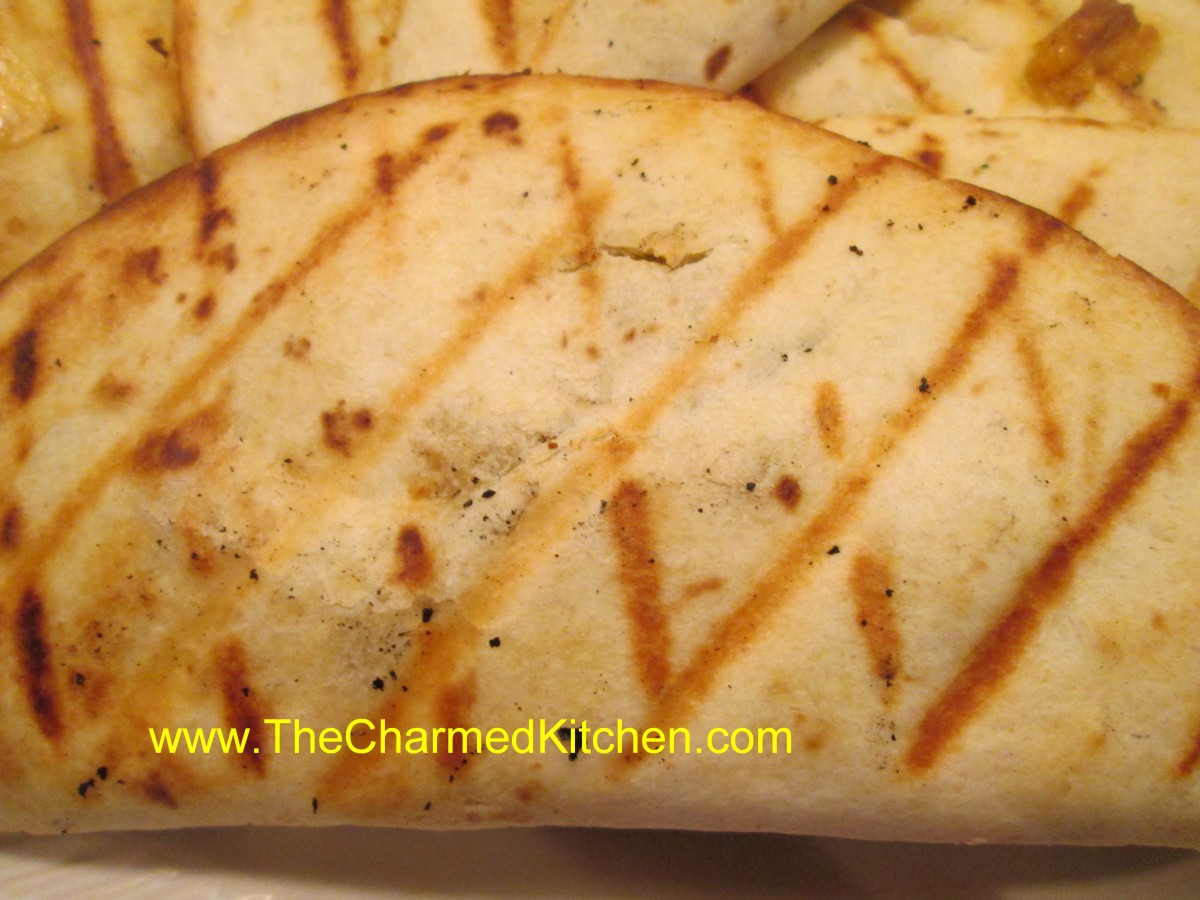
Smoked Salmon Quesadilla
We’ve grilled quesadillas a couple of time this summer. Decided to think outside the box a little this time when Amy got some smoked salmon. We just had to decide how to work it into our dinner. Since she also had some cream cheese and we were already planning on making quesadillas it made sense to combine these ingredients. I spread some of the cream cheese over a tortilla and then added chunks of the salmon. Folded it in half and made a few more. When I went to grill them I just brushed them with a little olive oil and cooked them until they were golden on both sides and crispy. They tasted great and I would definitely make them again. That’s the fun of quesadillas. You can use what you have on hand and come up with something pretty special.
Hot off the grill
Chocolate Covered Frozen Bananas
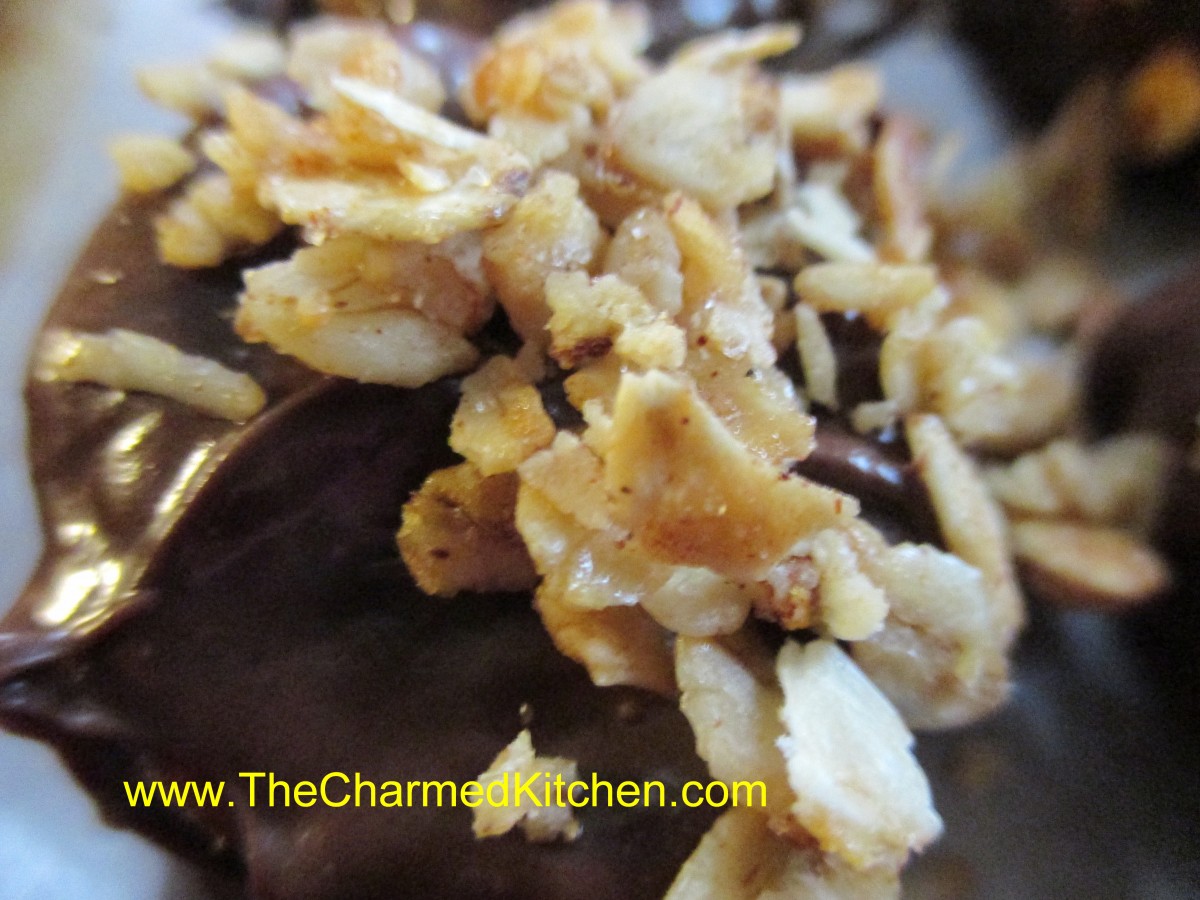
Chocolate Covered Frozen Bananas
I found myself with some perfectly ripe bananas and I wanted to use them for a snack/dessert. I didn’t have much time so I decided to just slice them and freeze them. I melted some chocolate and dipped each banana slice in the chocolate then placed the slices on a baking sheet lined with wax paper. I had some home made granola so I sprinkled a little over the bananas for texture. These are a great snack for kids to make. Super easy and fast. Just popped them in the freezer and let them freeze for at least a few hours before serving. That is the only hard part of the recipe – waiting for them to freeze. You could also leave off the granola and decorate the slices with sprinkles, coconut or even a little coarse salt.
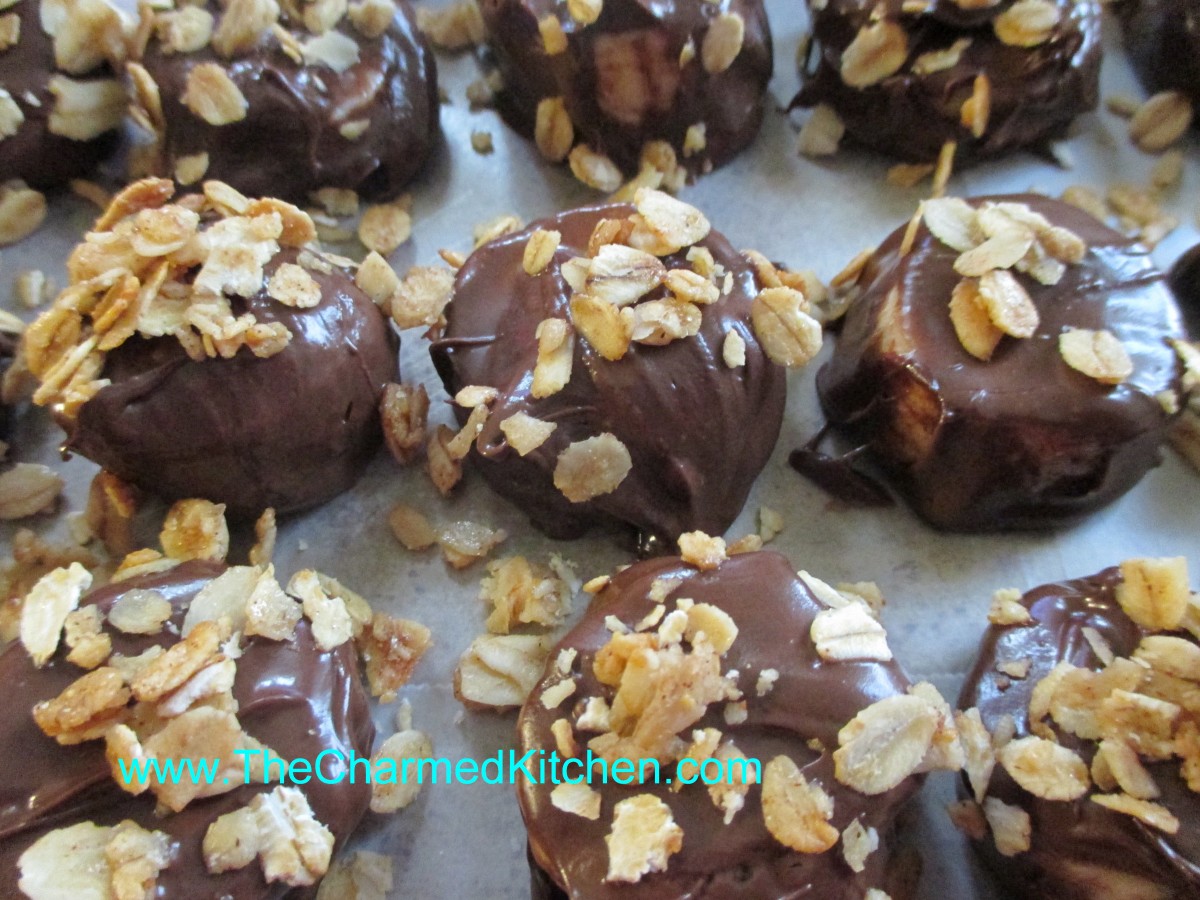
Ready for the freezer
Pink Peppercorns and Nut Allergies
Having just finished cooking camps with kids, allergies are more on my mind than usual. I always have a few kids with various allergies, especially peanuts and tree nuts. I am always very careful about what we bring into camp. We often have kids who bring an Epipen with them but we have never had occasion to use one- thankfully. My friend Blayne posted this article this morning and I wanted to pass it on to you.
I knew pink peppercorns weren’t real peppercorns but I never gave much thought to what they actually were. Turns out pink peppercorns are related to cashews and can cause an allergic reaction in people with tree nut allergies. The article posted below tells the story of a girl who had an allergic reaction to food while on vacation and how the family finally figured out the source. Pretty scary stuff. Please share this information with family and friends who have tree nut allergies. It could save a life.
http://christinascucina.com/2014/02/hidden-allergens-pink-peppercorns-tree.html
Making Jam in Cooking Camp
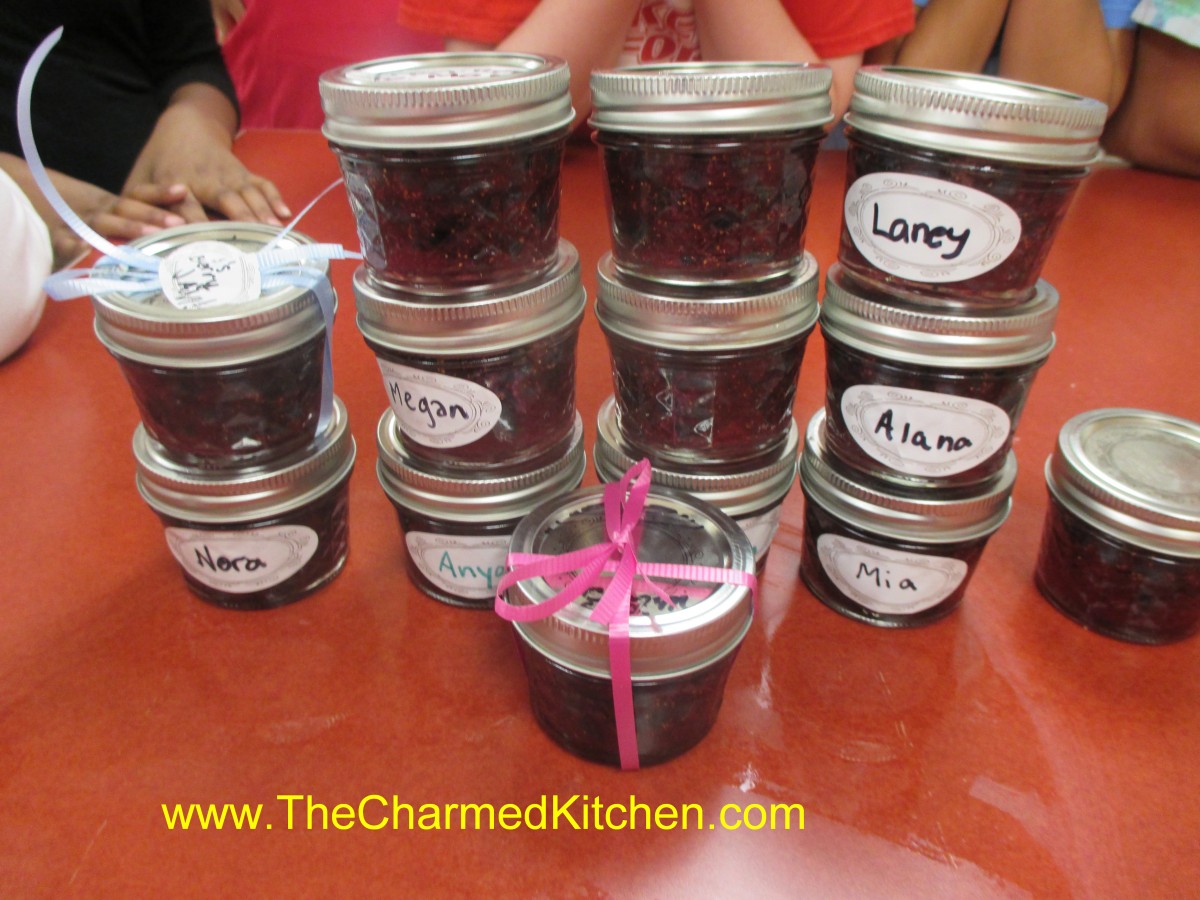
Blueberry Jam the kids made
On the last day of cooking camp the kids got to make blueberry jam. We didn’t exactly can it. I had a quantity of instant pectin so we made refrigerator jam. The kids also received copies of a Ball canning book. I wanted to make it about more than just a jar of jam so we talked about food preservation. Most of the kids didn’t know what I meant when I said that I canned. We talked about preserving food and different methods and about the reasons people preserved food. Threw in a little history lesson too. In the end the kids were all happy to have a jar of jam to take home. I was happy to expose them to a method of cooking most didn’t know about. I hope it is something they will think about doing with their families in the future.
Ham and Swiss Calzones

Ham and Swiss Calzones
I wanted to make something for a friend who had done me a really big favor. I decided to make him these ham and Swiss cheese calzones. He is a really busy guy and I know he doesn’t always have time to cook. This was something he could take a long to work to reheat for later. All reports are they were greatly appreciated so I thought I’d share the recipe with you.
Ham and Swiss Calzones
4 c. flour
2 c. rye flour
2 T. sugar
2 t. salt
2 packages quick-rising yeast
2⅓ c. hot water
2 T. oil
2 lb. thin sliced ham- more or less
1 lb. sliced Swiss cheese
Thousand island dressing- recipe follows
1 egg , beaten
Set aside 2 cups of the all-purpose flour. Combine remaining flour with the other dry ingredients in a medium bowl. Stir in water and oil and gradually stir in enough flour to make a soft dough. Turn onto lightly floured surface and knead until dough is smooth and elastic, about 5 minutes. Cover dough and let rest 20 minutes. Divide dough into 12 pieces and roll one piece into a 8 -inch circle. In the middle of the dough place 1 1/2 ounces of the Swiss cheese, a spoonful of the dressing and 2-3 ounces of the ham. Brush the edge of the dough with water. Fold over the dough in half and press the edges to seal. Brush the edge again with water and roll the edge over again. It will give you a prettier look and seal the calzone better. Repeat with remaining dough and fillings. Place calzones on greased baking sheets- or on a baking sheet with a silicone liner or parchment paper liner. You will end up with 12 calzones in all. Only put 4 on one baking sheet. Cover and let rest 15 minutes while preheating the oven to 400 degrees. Before placing calzones in the oven brush with beaten egg and make a few slashes with a knife to help steam to escape while baking. I put 2 baking sheets in the oven at the same time and switch them halfway through baking. Bake in a preheated 400-degree for 20-25 minutes or until golden brown. If baking 2 at once switch them after 10 minutes or so. Cool slightly before eating. Serve warm and refrigerate leftovers. Makes 12.
If you want to use regular yeast use warm, rather than hot water. Also, allow a little more time for the dough to rise the first time, about 40 minutes. Everything else will work the same.
Thousand Island Dressing
Combine equal parts of ketchup, mayo and sweet pickle relish. You likely need at least a cup for this recipe. I made extra so the sandwiches could be dipped in extra dressing, if desired.


