Rhubarb- Lots of Rhubarb-Help Wanted!!
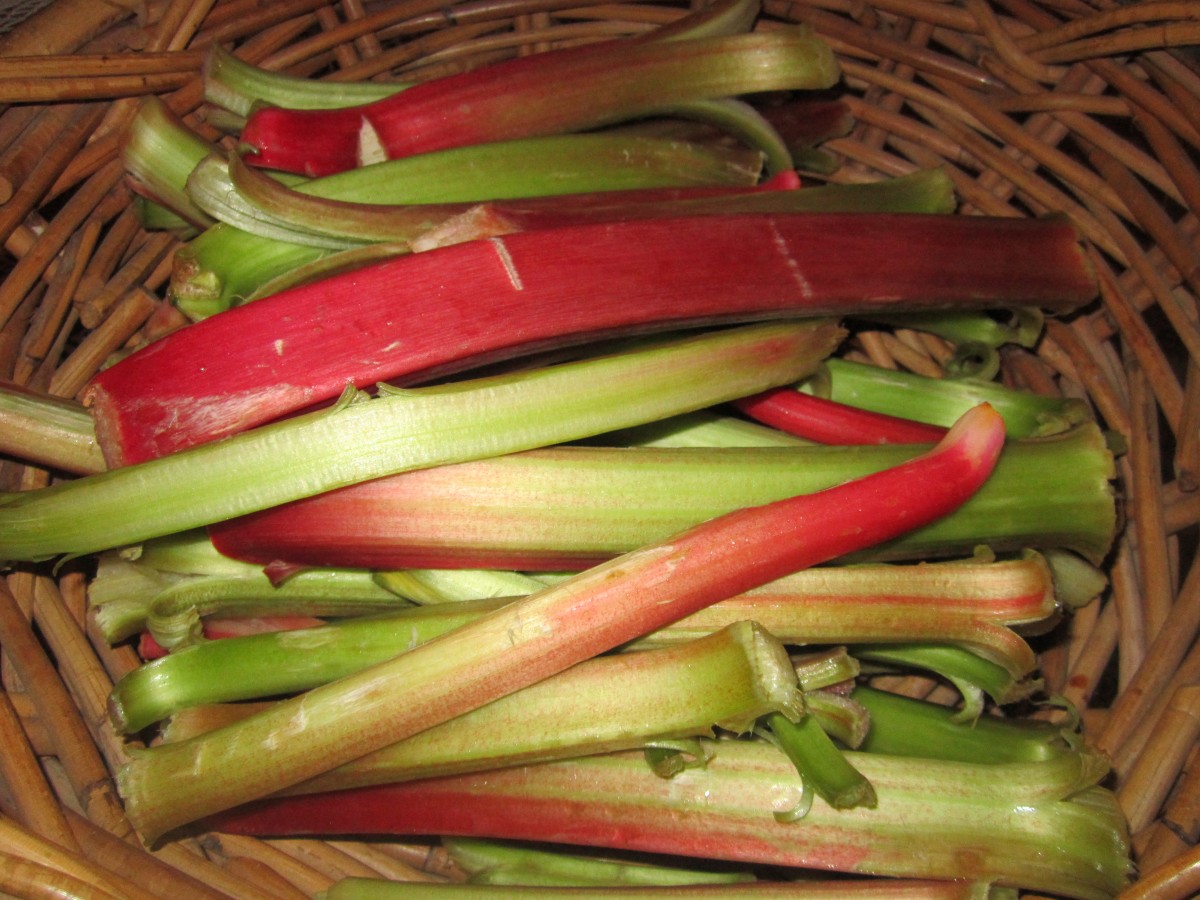
Fresh Rhubarb
First I want to thank Bonnie Twaddle and the staff and volunteers at the Nature Center at the University of Mount Union. Had a great class yesterday and a lot of fun. Everybody there is always so nice. One of the volunteers even brought in extra produce from her garden. After everyone from the class took what they wanted there was a lot of rhubarb left. Several pounds, for sure. My dilemma is what to do with it. Not thinking pie. Want to go somewhere else with this rhubarb. I am looking for ideas, suggestions and recipes. Open to dessert ideas- but would also like some savory ideas, too. If you were me what would you do with the rhubarb? I’ll post what I do with it. Thanks!!
Caramelized Onion Toasts
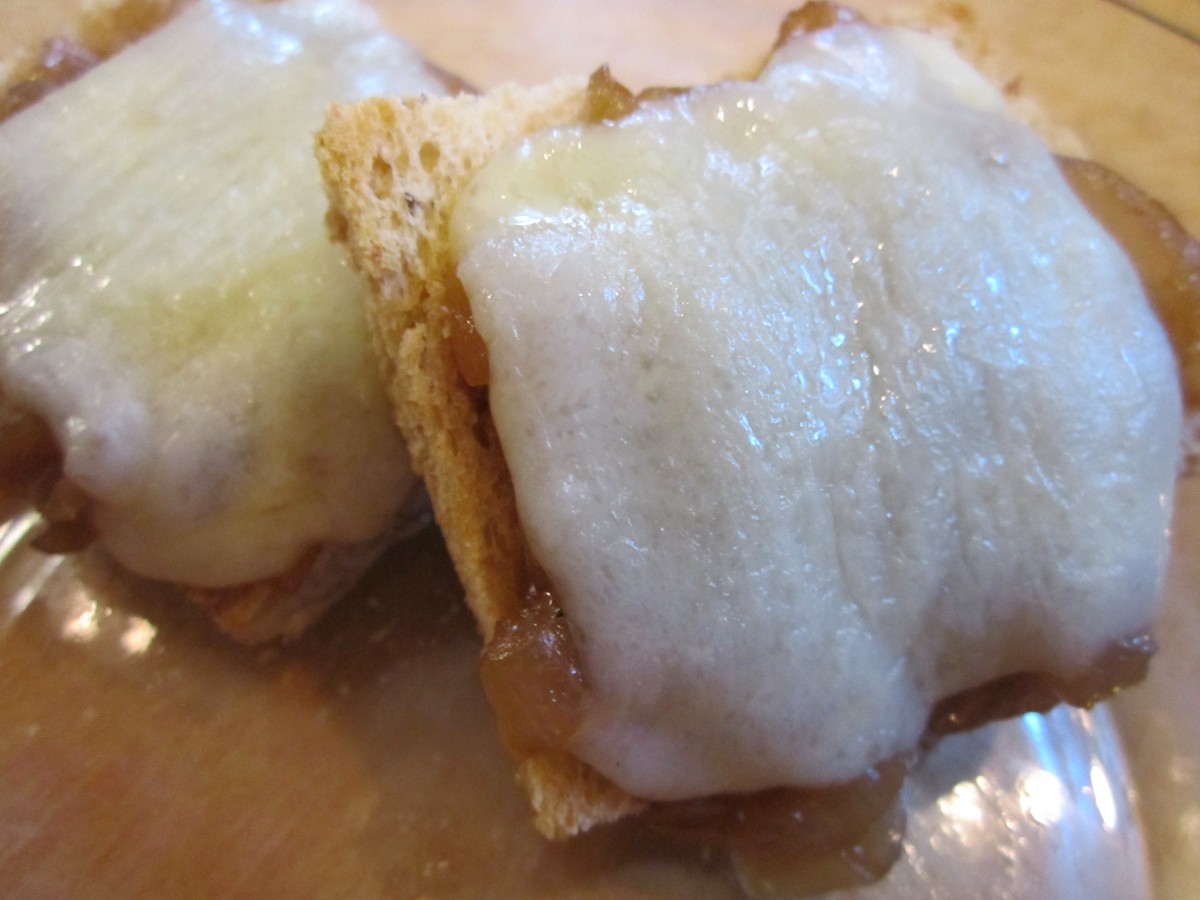
Caramelized Onion Toasts
I love onions. Like then in most everything I make. I especially love them when they have been slow cooked and caramelized to bring out their natural sweetness. The onions, once cooked, can be used in sandwiches, with cheese and crackers as an appetizer or used as a topper on breads. I place some on rye bread squares and topped that with squares of Swiss cheese. Toasted until cheese was melted and onions were heated through. Yummy!!
Caramelized Onions
2 lbs. Onions, chopped
3 T. oil
1 t. salt
2 T. brown sugar
¼ c. balsamic vinegar
Dash red hot pepper sauce
Paprika
Sauté onions in oil with salt over low heat for 25-30 minutes. Onions should begin to caramelize and brown without burning. Add remaining ingredients and cook slowly another 15 minutes. Adjust seasonings, if needed and serve warm with crusty bread, crackers or smoked meats. Keeps in fridge for a couple of weeks or can be frozen.
Mentor Kids’ Camp- Breakfast

Fudge Waffles
We had a busy and very warm day today in camp. We made an assortment of breakfast foods. Didn’t get pictures of all of the things we made- but I have included all the recipes. The kids made oven egg “muffins”, fudge waffles, pumpkin pancakes and raisin scones. Hope you will give them a try. I think you’ll enjoy them as much as the kids did.
Fudge Waffles
2 eggs, room temperature
1/2 stick butter, melted and cooled
1 t. vanilla
1 c. buttermilk
1 c. flour
3/4 c. sugar
1/2 c. cocoa
1/2 t. each baking powder and baking soda
1/4 t. salt
1/4 t. nutmeg
1/2 c. chopped walnuts
1/2 c. chocolate chips
Beat first three ingredients until light and foamy, about 2 minutes. Stir in milk. Beat in dry ingredients just until blended. Stir in nuts and chips. Bake until waffles are cooked through. Makes 4 cups batter. Serve with whipped or sour cream and fresh fruit.

Oven Egg “Muffins”
Oven Egg “Muffins”
12 paper cupcake liners
12 eggs
Salt
1 c. spaghetti sauce*
1 c. grated mozzarella cheese
Place papers in muffin tins and divide the butter among them. Break an egg into each cup and salt lightly. Top each egg with a little sauce and then top with the cheese. Bake in a preheated 375 degree oven 15 minutes or until eggs are cooked. To serve, place eggs on serving plate in paper liners. To eat, turn upside down on toast slice and remove paper. Makes 12.
Variation: You can use half-and-half instead of the spaghetti sauce and cheddar cheese instead of the mozzarella.
* we omitted the spaghetti sauce and just topped the eggs with cheese.
Pumpkin Pancakes
2 c. baking mix- like Bisquick
3 T. brown sugar
2 t. cinnamon
1 t. nutmeg
1 1/2 c. evaporated milk
1 c. solid pack pumpkin
2 eggs, beaten
2 t. vanilla
Combine dry ingredients in mixing bowl and set aside. Whisk together wet ingredients and stir into dry ingredients. Lightly grease a skillet and cook over moderate heat. Use about 1/3 c. of batter per pancake. Turn when edges appear dry. Makes 16.
Raisin Scones
3 c. baking mix like Bisquick or Jiffy
1/2 c. raisins
1/3 c. sugar
4 eggs
Extra sugar for sprinkling
Combine baking mix, raisins, sugar and 3 eggs in a medium bowl and stir until dough forms. Knead on lightly floured board until dough just holds together. Roll or press dough into a 9-inch circle and cut into 12 wedges. Place wedges 2 inches apart on a baking sheet and brush with the remaining egg then sprinkle with sugar. Bake in a preheated 400-degree oven for 12-14 minutes. Makes 12.
Family Traditions- Mom’s Cooking
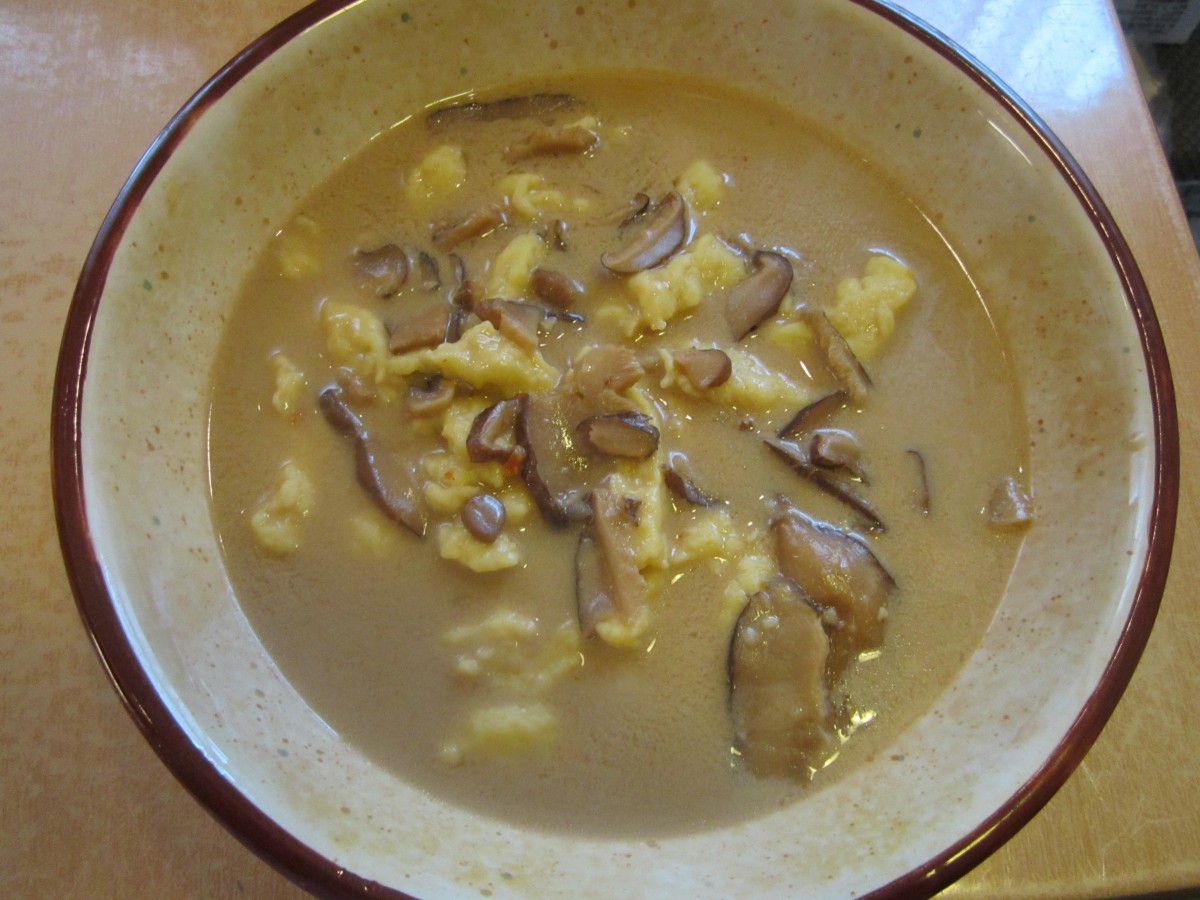
Polish Mushroom Soup
I hear from people all the time looking for a lost recipe. The request always starts with “My Mom used to make….”. I see so many mentions online of recipes lost and never found. Made me think about what our recipes often mean to us and why we should treasure them more. For many of us certain foods are fond childhood memories sometimes part of holiday traditions, sometimes part of special events like birthdays. We think the recipes, like our loved ones, will always be there. Sadly, that’s not the case.
Years ago I realized that my Mother was the only one who seemed to know all the family recipes. I asked her to sit down and get them all on paper. Actually, I told her to get them down before she became senile. Mom had a great sense of humor.
It took her about a year- she had to make them- while measuring ingredients. I took her recipes and turned them into a cookbook for family members. I made her 50 copies so she could hand them out to family and friends. She was delighted as were the recipients.
One of the problems with old family recipes is that they are often not written down- or perhaps, just a list of ingredients with no measurements. I love when I find a recipe that calls for a number 2 can or a moderately hot oven. Huh?
I encourage you to talk to family members and get those recipes down. Collect them and maybe even make your own family cookbook. Making Mom’s mushroom soup or duck fat bread isn’t the same as having here here, but it always brings a smile to my face knowing I honor her by continuing her traditions with food.
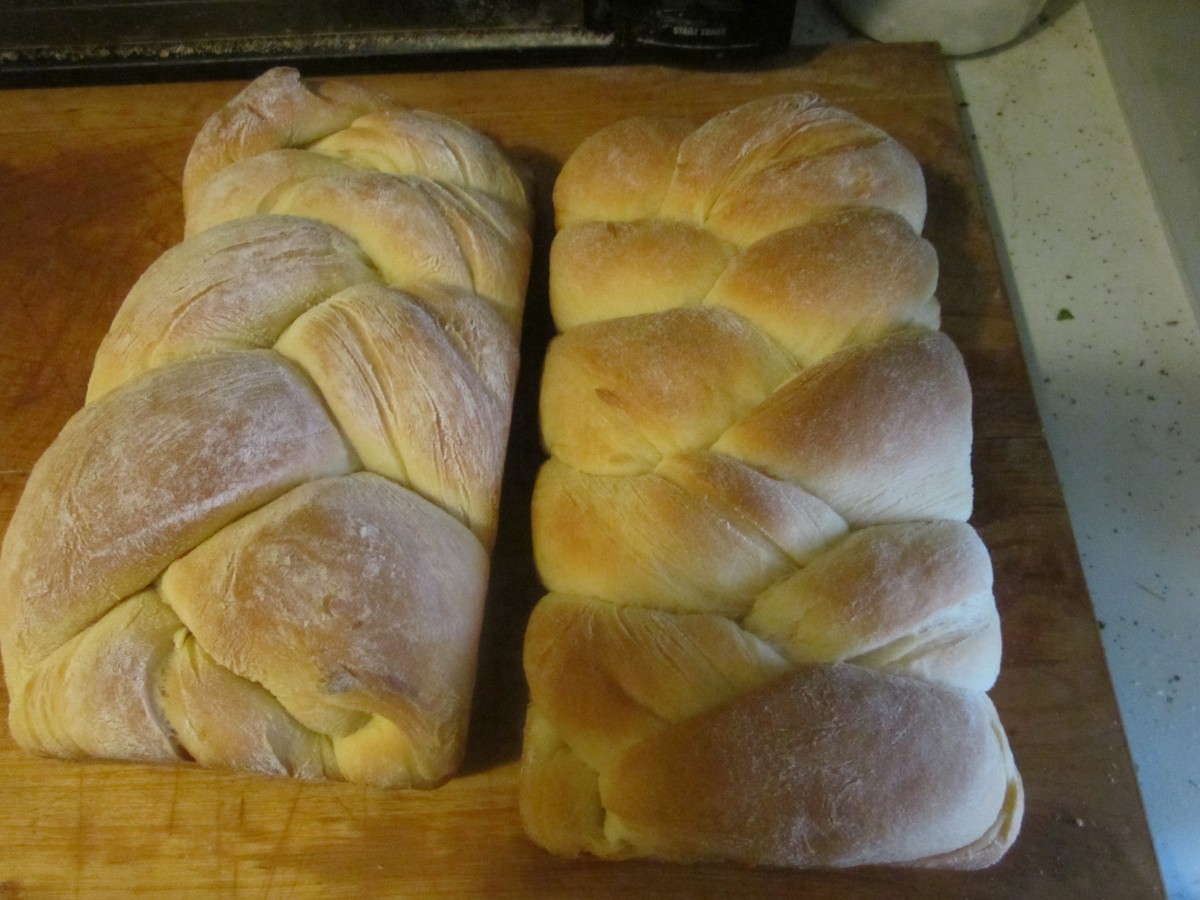
Duck Fat Bread
Butter Cookies- Mentor Kids Camp

Classic Butter Cookies
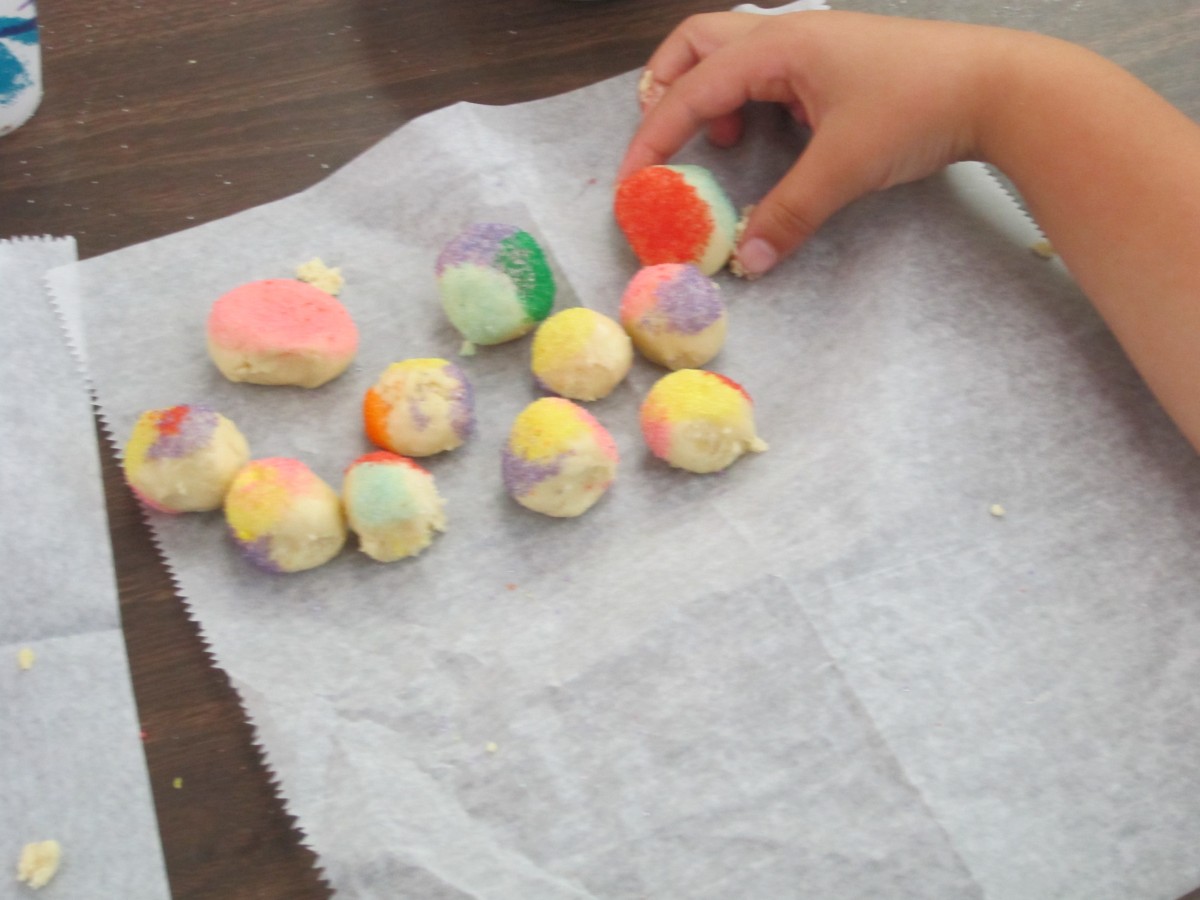
We made these classic butter cookies in camp. I had an assortment of colored sugars for the kids to dip their cookies in before baking. They were very creative and the cookies looked great. Here is the recipe and some pics. You can make your own tinted sugars by placing sugar in a bag or in a container with a tight-fitting lid and adding a few drops of food coloring and shaking really hard. But be careful to have a sturdy bag or container and that it is closed securely. Paste-type food colors will give you more intense colors but require a little more effort to mix.
Classic Butter Cookies
1 c. butter
1 c. sugar
1 egg
1 t. vanilla
2 ¼ c. flour
1 t. baking powder
¼ t. salt
Beat sugar and butter together until fluffy and then beat in egg and vanilla. Combine dry ingredients and stir into butter mixture. Chill dough at least a couple of hours. Roll dough into ¾-1 inch balls and roll in sugar, sprinkles or nuts. Place 2 inches apart on ungreased baking sheet and bake in a preheated 375 –degree oven for 8-10 minutes. Cookies will flatten somewhat. Makes about 6 dozen cookies.
Variations: You can bake plain cookies and then dip cooled cookies in melted chocolate and then in chopped nuts or sprinkles.
Form into balls and place on baking sheet then press a nutmeat into the center of each. When cool you can drizzle with a small amount of melted chocolate or glaze.

Chocolate Sparkles
Chocolate Sparkle Cookies
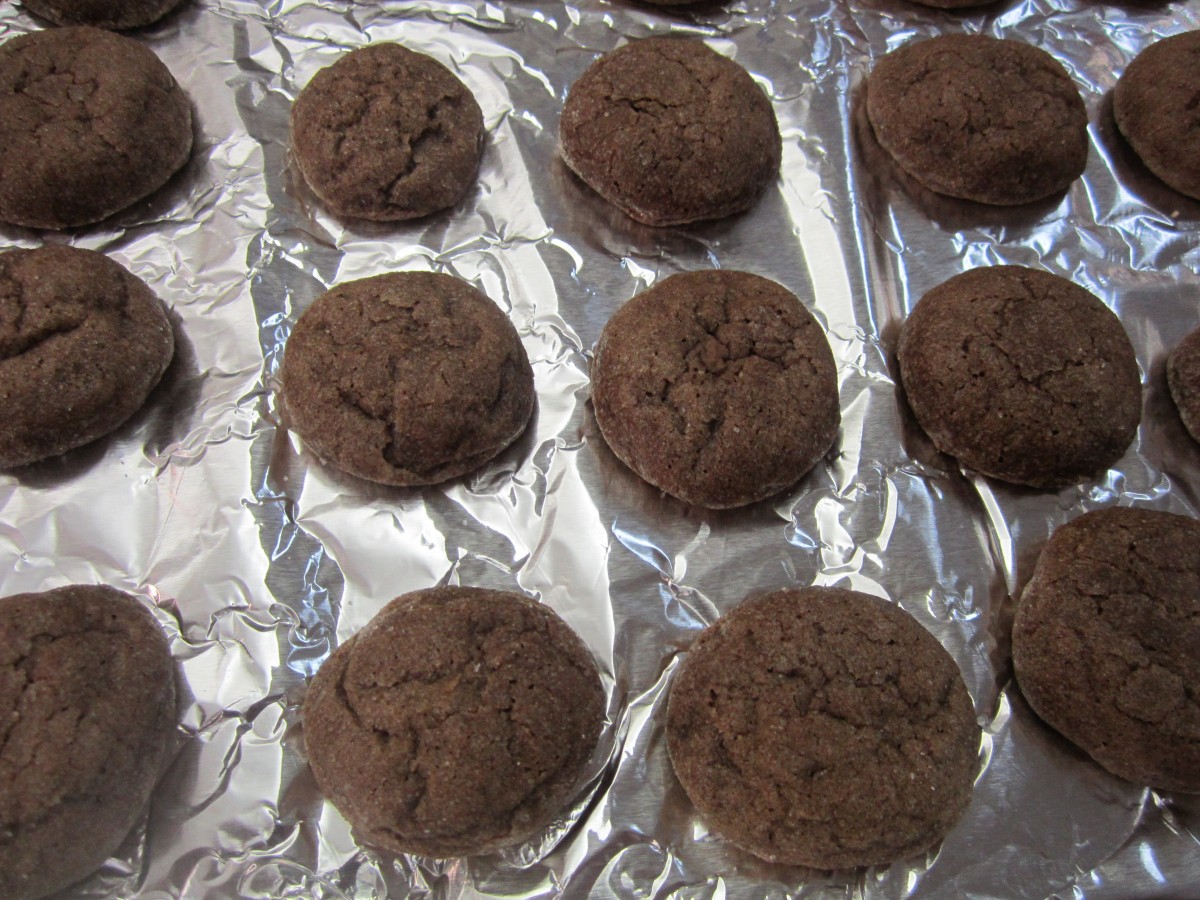
We made these cookies in camp today. They have a brownie-like texture and rich, chocolate flavor. The kids worked together and we had baked over 200 of these cookies in less than an hour!! They are great just the way they are- or use them to make tiny ice cream sandwiches. Sometimes I add a little mint extract, too.
Chocolate Sparkles
1 c. butter, softened
1 ¼ c. sugar
2 eggs
2 oz. unsweetened chocolate, melted
½ t. vanilla
2 2/3 c. flour
1/4 c. cocoa
2 t. cream of tartar
1 t. baking soda
½ t. salt
¼ c. sugar
Cream together butter and sugar. Beat in eggs, chocolate and vanilla. Stir in next five ingredients. Chill dough. Shape dough into 1” balls and roll in ¼ cup sugar. Place about 2 inches apart on ungreased baking sheet. Bake in a preheated 400- degree oven for 8-10 minutes. Makes 5-6 dozen.
Cookie Candies- Mentor Kids’ Camp
Cookie- Candies
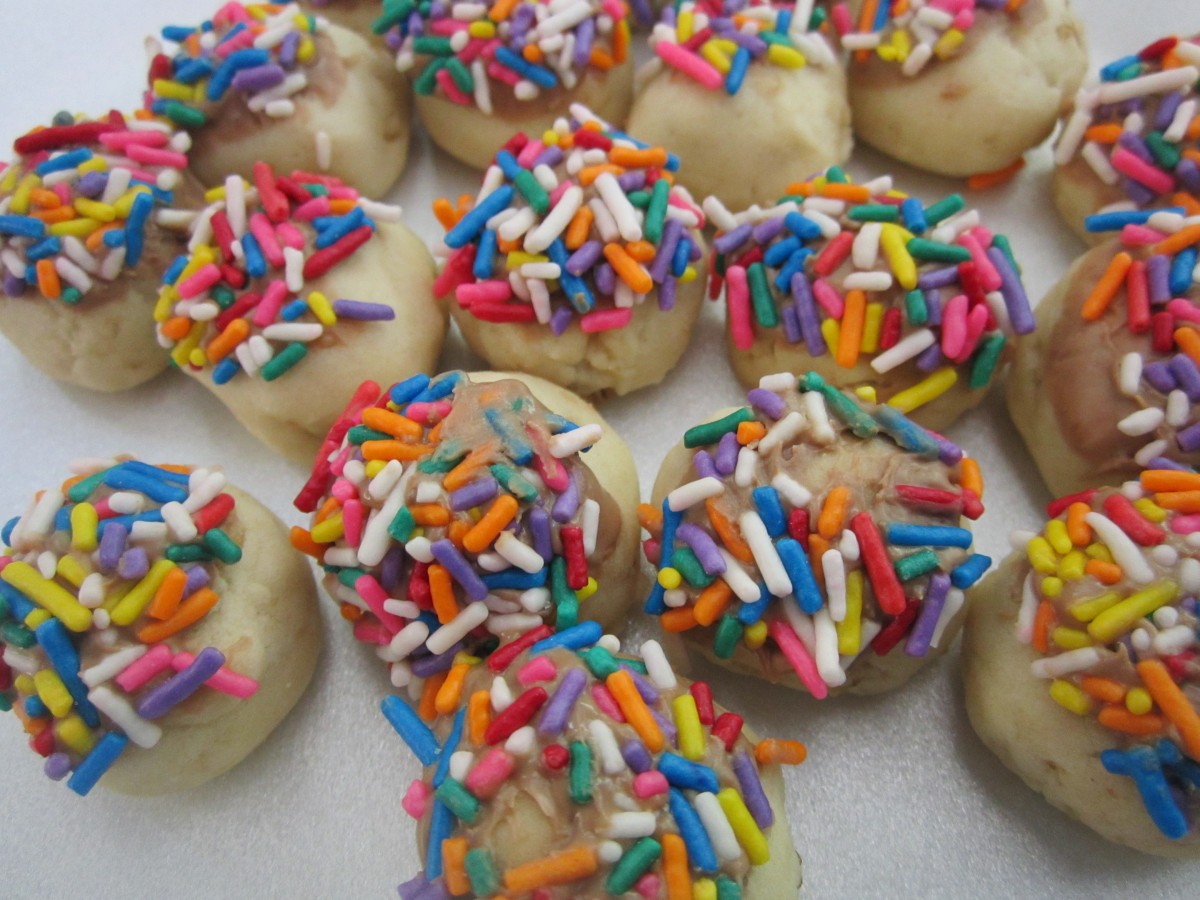
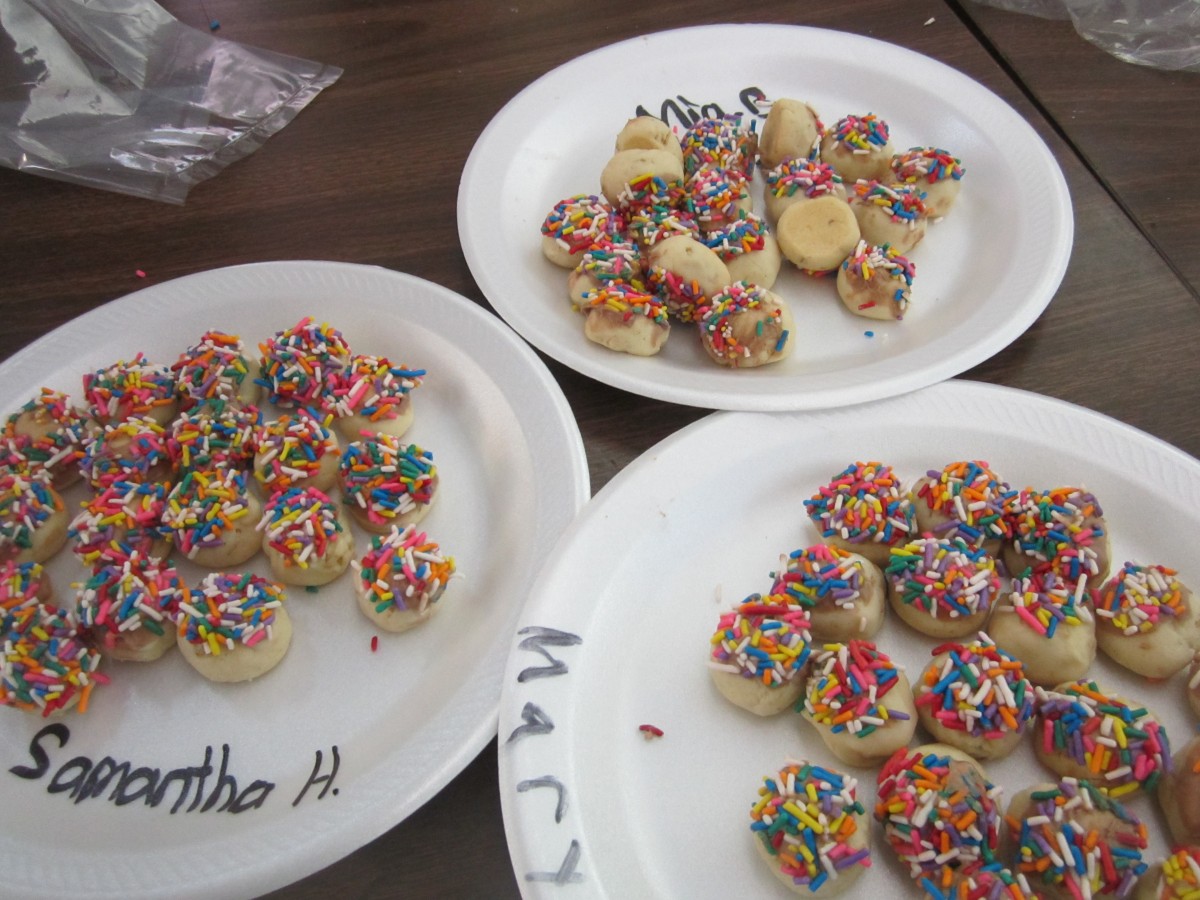
We had such a good time in camp today.The cooler weather made it easier. Cookie candies are an oatmeal shortbread that are baked, cooled and then dipped in melted chocolate and sprinkles. They look like little candies when finished. Here are the pics and the recipes. The kids did such a nice job.
Cookie-Candies
1 c. butter
¾ c. powdered sugar
1 T. vanilla
2 c. flour
½ c. rolled oats
½ c. chocolate chips
¼ c. milk
finely chopped nuts
assorted sprinkles
shredded coconut
Cream together butter, sugar and vanilla. Stir in flour and oats. Shape teaspoonfuls of the dough into different shapes like rounds, ovals, cones cubes etc. Try to make them look like little candies. They will hold their shape very well while baking. Bake in a 325- degree oven for 20-25 minutes on an ungreased baking sheet. Cool. In microwave safe dish combine chocolate and milk and melt. Dip tops of cookies in chocolate mixture and then in one of the toppings you have. Chocolate topping will harden up after a while. Makes about 4 dozen.
More cookies
TV Appearance
Here is my latest TV appearance. Haven’t watched this one but I was told it was funny. Problem is I wasn’t trying to be funny. 🙂 Thanks to the people at Fox 8 and New Day Cleveland for making me feel welcome.
Turkey Tetrazzini
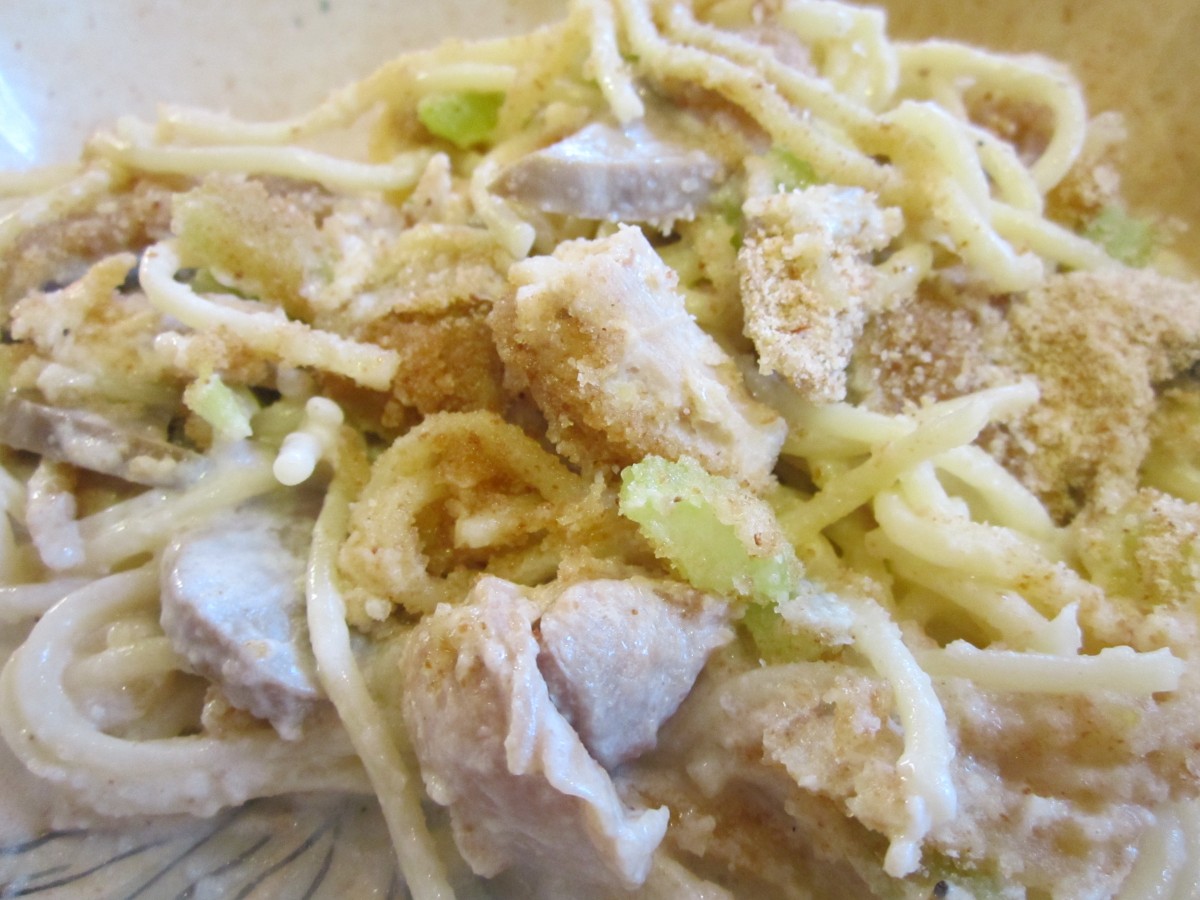
Turkey Tetrazzini
I had a request recently for Turkey Tetrazzini. Had a conversation with a friend about how certain foods become our comfort foods. For me Turkey Tetrazzini is a comfort food. Special childhood memories. I made the Tetrazzini for my friend and made some for home, too. Simple and full of yummy flavors and as expected, comfort.
Turkey Tetrazzini
2 T. butter or oil
1 c. chopped celery
4 oz. sliced mushrooms
4 T. flour
1 1/2 c. chicken or turkey stock
1 c. half and half or milk
1/4 c. sherry
2 c. cooked turkey, cubed
4-6 oz. broken spaghetti, cooked
salt and pepper to taste
bread crumbs
butter
Parmesan cheese- optional
Heat butter or oil in pot and add celery and cook 3 minutes. Add mushrooms and cook 3 minutes more. Stir in flour and mix well. Add stock, half and half and sherry bring to a simmer- stirring often. Stir in turkey and pasta. Adjust seasonings. Place mixture in oiled casserole and sprinkle the top with bread crumbs and drizzle a little melted butter over the top. Add Parmesan cheese, if you like. Place in a 350 degree oven and bake until bubbly- about 25 minutes. Serves 4.
Pizza- Mentor Cooking Camp
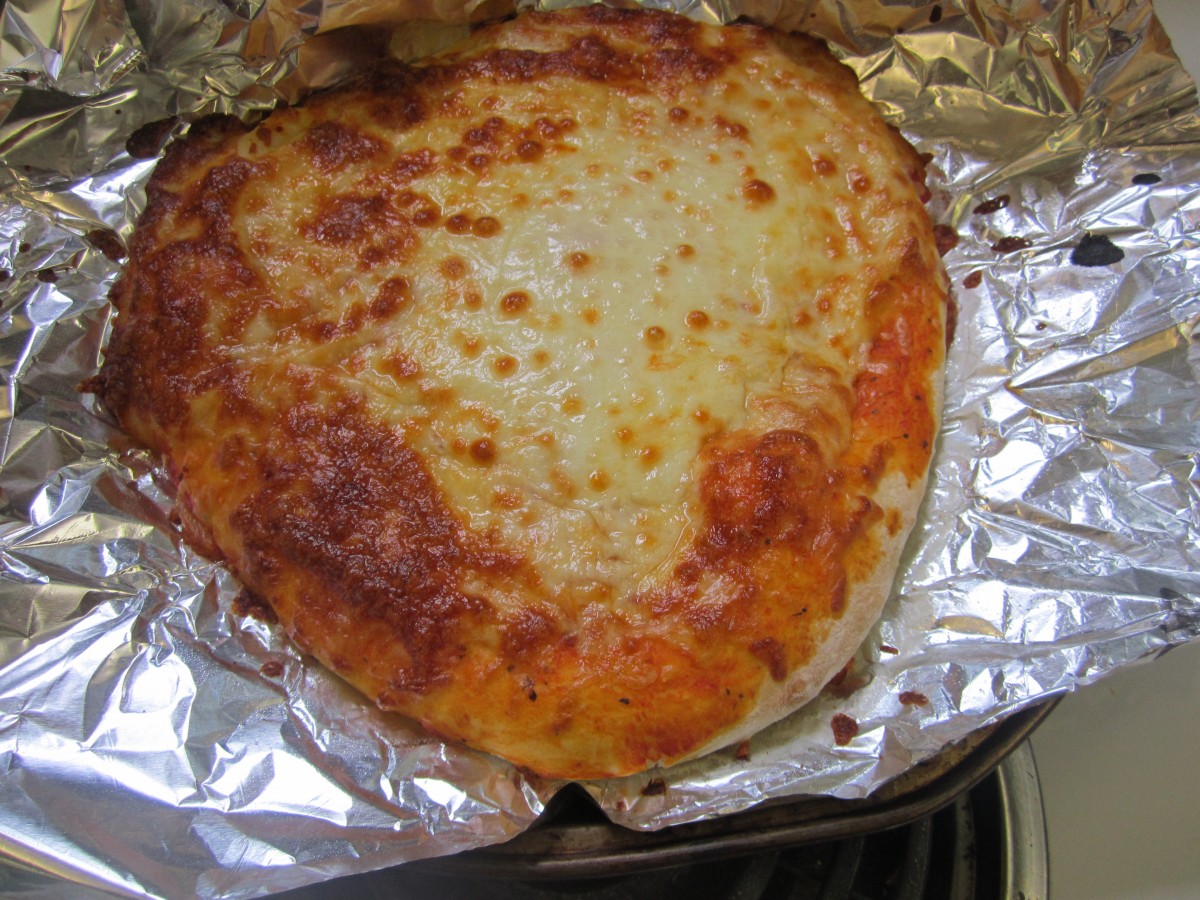
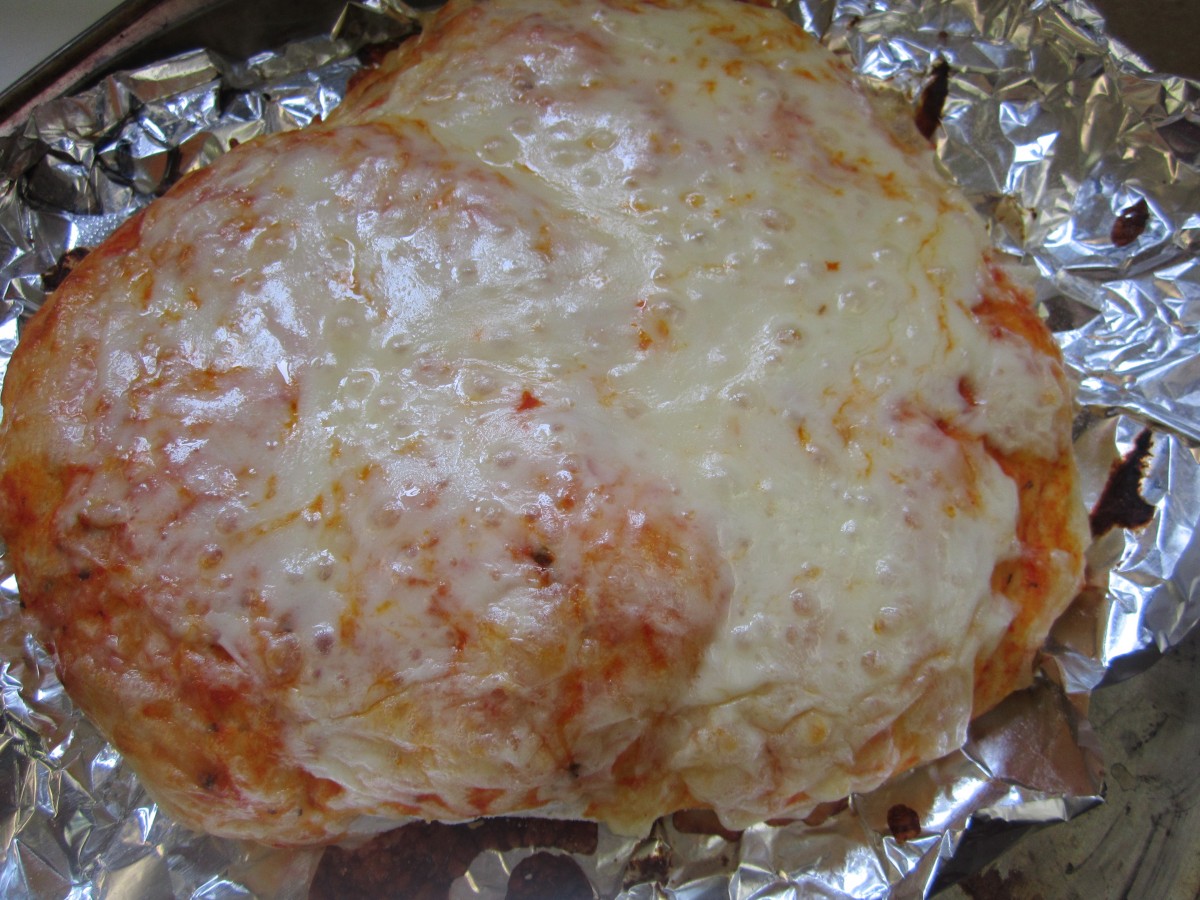
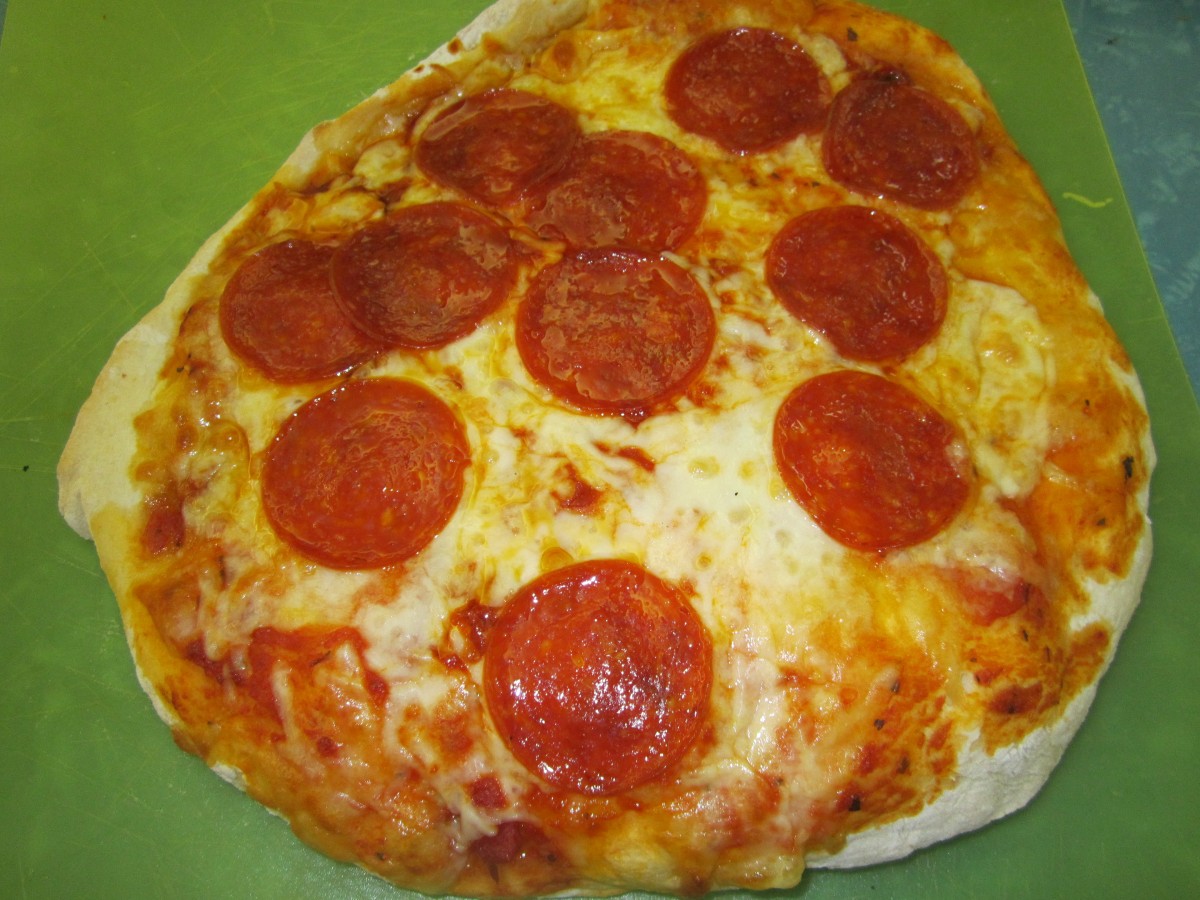
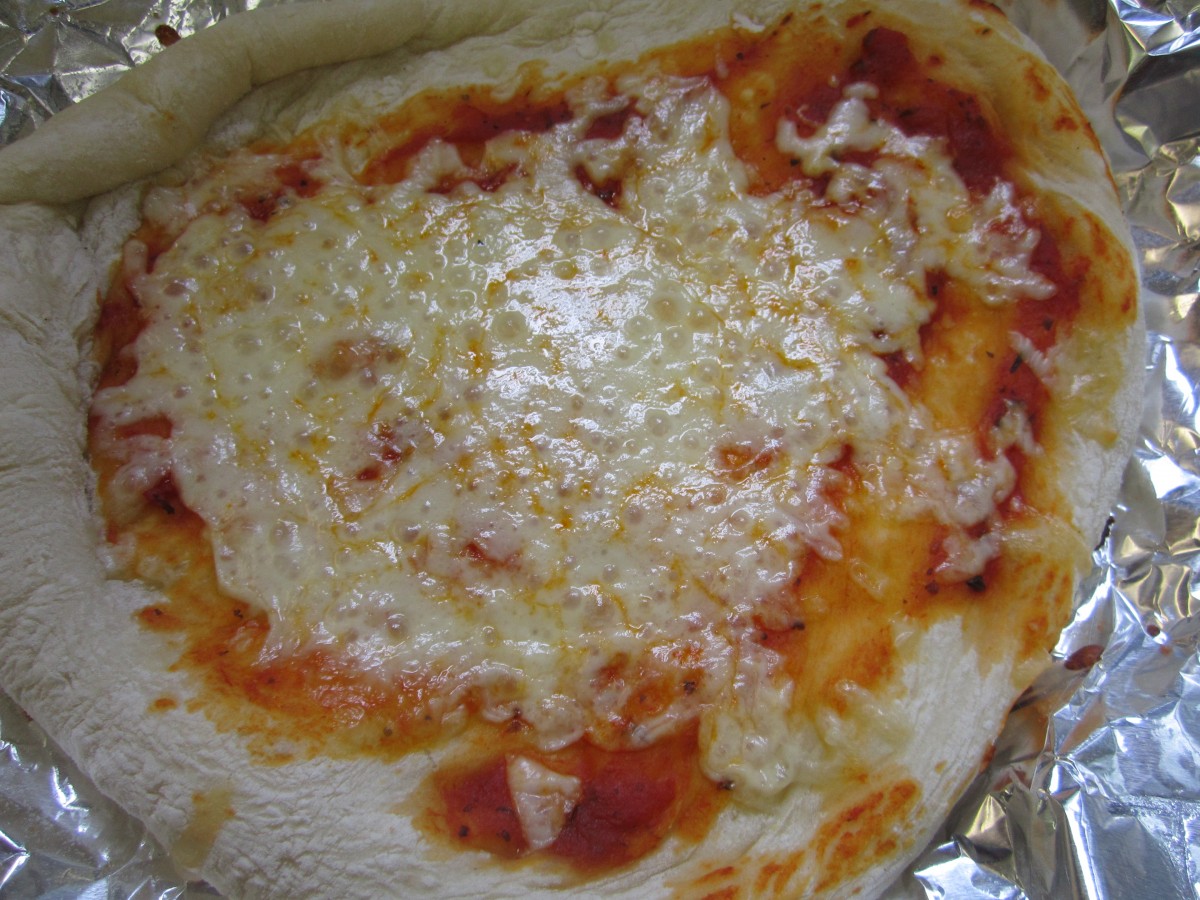
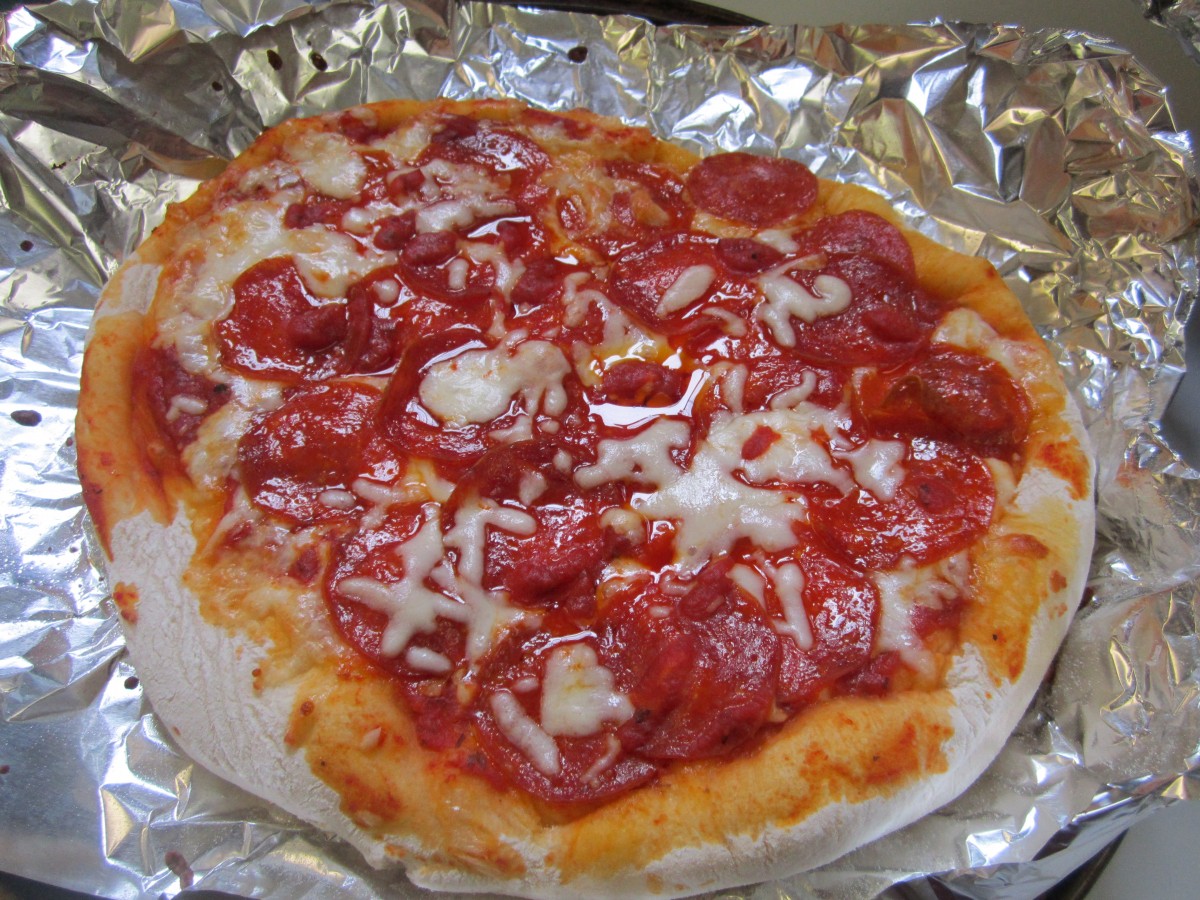
Homemade Pizza
Just wanted to share what the kids made in camp today. They made the pizza dough and kneaded it by hand, rolled it out and added the toppings they wanted. I did handle the in and out of the oven part. If you ever thought making your own pizza was too hard let me point out that the first picture is a pizza made by a 6- year- old. The kids ranged in age from 6-11 and all did a great job. Here is the recipe they used.
Homemade Pizza
1 packet active dry yeast
1 t. sugar
4-4½ c. flour
2 t. salt
1 2/3 c. warm water
3 c. pizza sauce
16 oz. shredded mozzarella cheese
Cornmeal
In bowl combine 2 cups of the flour with the yeast, sugar and salt. Add the water and stir to blend. Add flour gradually and keep stirring. Stir until soft dough forms. Place dough on floured surface and knead until stretchy and smooth, about 10 minutes. Allow dough to rest 3 minutes and knead a few more times. Place in bowl and cover. Let rise until doubled in bulk, about 45 minutes.
Punch dough down. Divide dough in half and roll each half into a 12-inch circle. Dust back of baking sheet with cornmeal and place dough on cornmeal, pressing down a little. Slide dough off sheet and onto a clean baking sheet. Place half of the remaining ingredients on the dough and repeat with remaining half of dough. Add more toppings, if you like and bake in a preheated 450-degree oven for 13-15 minutes. Cool a few minutes before cutting. Makes 2 pizzas.
Mini Pizzas: You can also divide the dough into 8 equal pieces and roll them out into 6-inch rounds. Then let each person make his or her own pizza. Bake a few minutes less than the big pizzas.