Tomato Salads

Tomato season is too short around here. I can never get enough of what my mom called “real tomatoes”. The first few tomatoes never made it in the house. Warm from the sun, they were too tempting. We would pick them right off the plant and eat them. Deer have made it pretty impossible for me to grow tomatoes right now. Luckily, local farm markets have many beautiful tomatoes.
I am enjoying eating fresh tomatoes right now. Later in the season, I will purchase enough tomatoes to can and dehydrate to enjoy once the season is over.
I thought I would share a few of my favorite tomato salad recipes with you.
They are pretty simple. I think that is how it should be. When you have something as close to perfection as a ripe tomato, little more is needed.
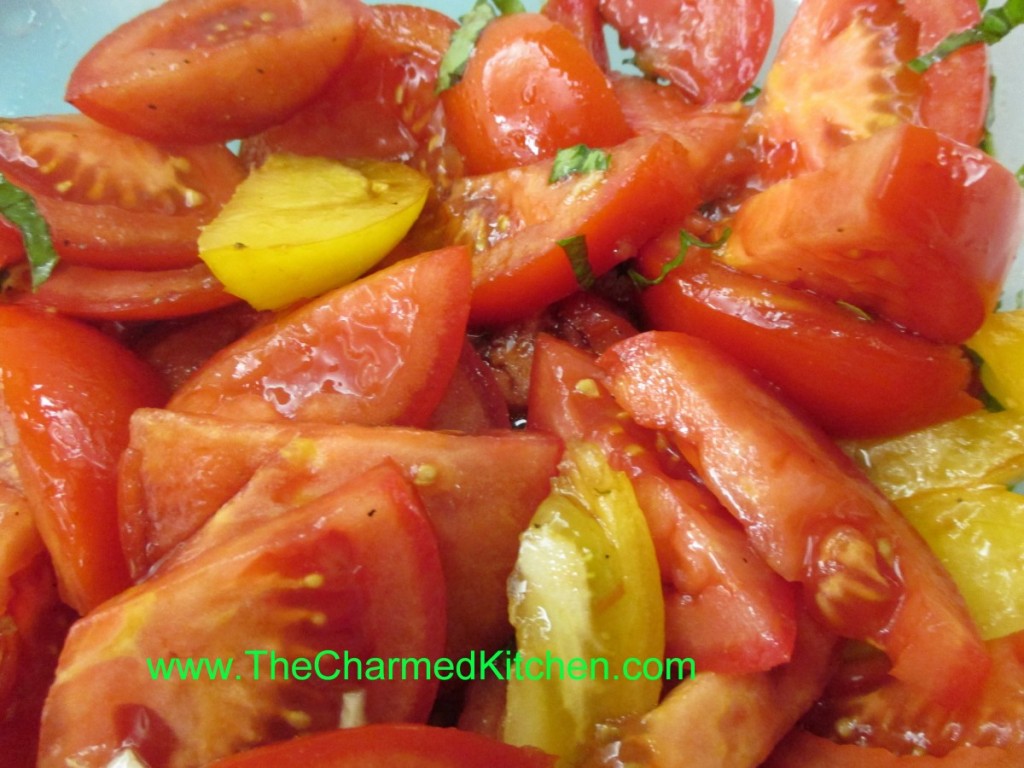
Marinated Tomato Salad
3 large tomatoes, cut in wedges, or 2 pints cherry tomatoes, halved
1 T. olive oil
1 clove garlic, minced
2-3 basil leaves, cut into thin strips
2 T. balsamic vinegar
salt and pepper to taste
Combine ingredients and serve at room temperature. Serves 4-6.
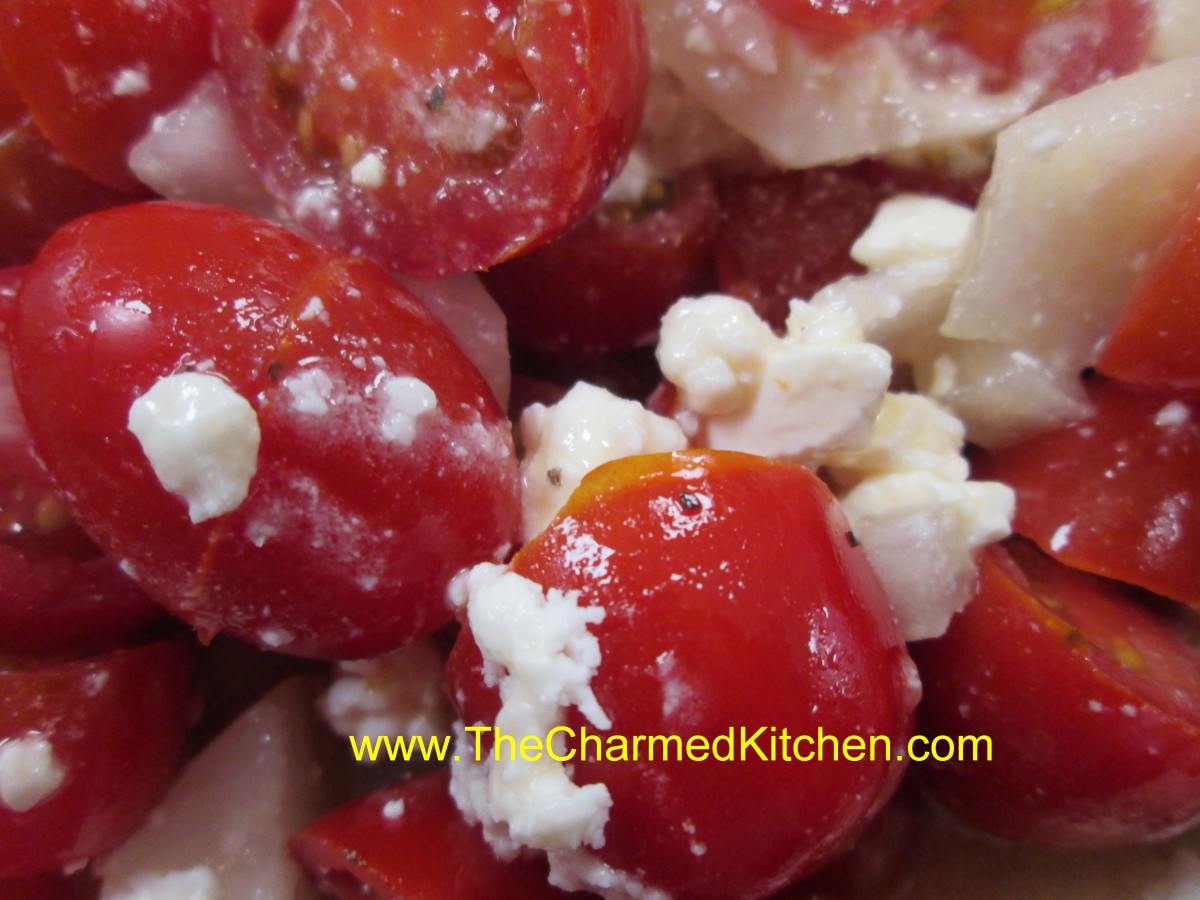
Tomato and Feta Salad
3 tablespoons crumbled feta cheese
12 cherry tomatoes, thinly sliced
1/2 sweet onion, diced
1 tablespoon olive oil -I used a lemon infused olive oil
1 tablespoon lemon juice
Salt and pepper to taste
In a bowl, mix the feta cheese, cherry tomatoes, onion, olive oil, and lemon juice. Add salt and pepper to taste. Serve immediately. Serves 2.
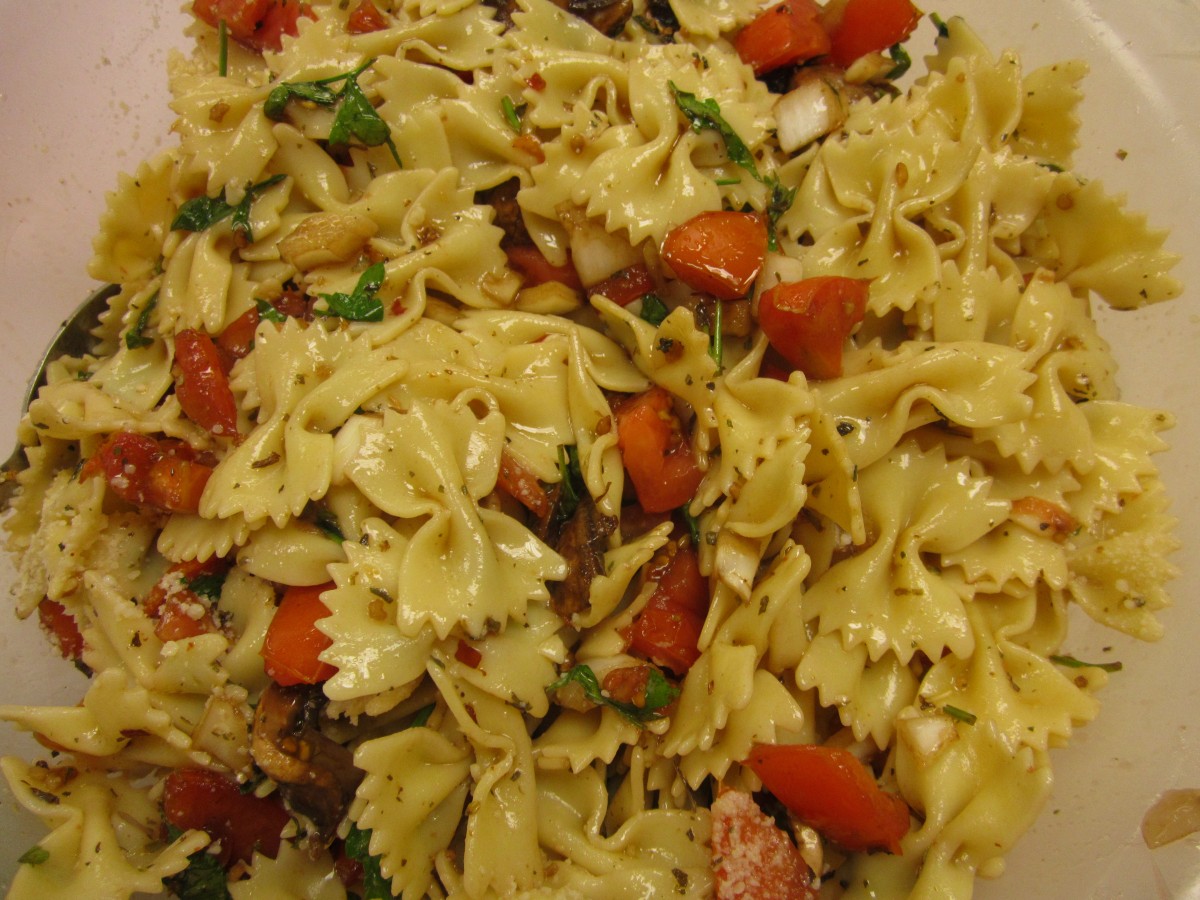
Warm Pasta Salad
1 lb. Plum tomatoes, chopped
1 medium sweet onion, chopped
4 oz. Fresh mushrooms, sliced
2 cloves garlic, minced
¼ c. fresh parsley, chopped
1 T. dried basil or 1/4 c. chopped fresh basil
1 T. capers, optional
1 t. dried oregano
½ c. olive oil
¼ c. red wine vinegar
3 T. balsamic vinegar
Dash of hot red pepper flakes
Salt to taste
1 lb. Uncooked pasta
Combine all ingredients, except pasta and chill overnight. Cook pasta, drain and toss with tomato mixture. Mixture should be served right away . Serves 6.
BLT Salad
6-8 slices bacon
2 slices rye bread
2 slices Swiss cheese
5 c. torn up lettuce or mixed greens
3 T. olive oil
2 T. apple cider vinegar
1 T. balsamic vinegar
Salt and fresh ground pepper
2-3 tomatoes, diced
Cook bacon until crisp. Remove from pan, drain and crumble. Remove most of the bacon grease from the pan. Make a sandwich with the rye bread and the Swiss cheese. Toast in the skillet over medium heat until golden brown and cheese is melted. Set aside. Place lettuce in bowl and toss with the oil to coat the leaves. Toss with the vinegars and season with salt and pepper to taste. Add the tomatoes and the bacon and toss. Cut the sandwich into cubes and place on the top of the salad. Serves 2.
Note: you can make two sandwiches if you want more bread and cheese in the salad.
Tomato Feta Salad
Warm Pasta Salad

BLT Salad
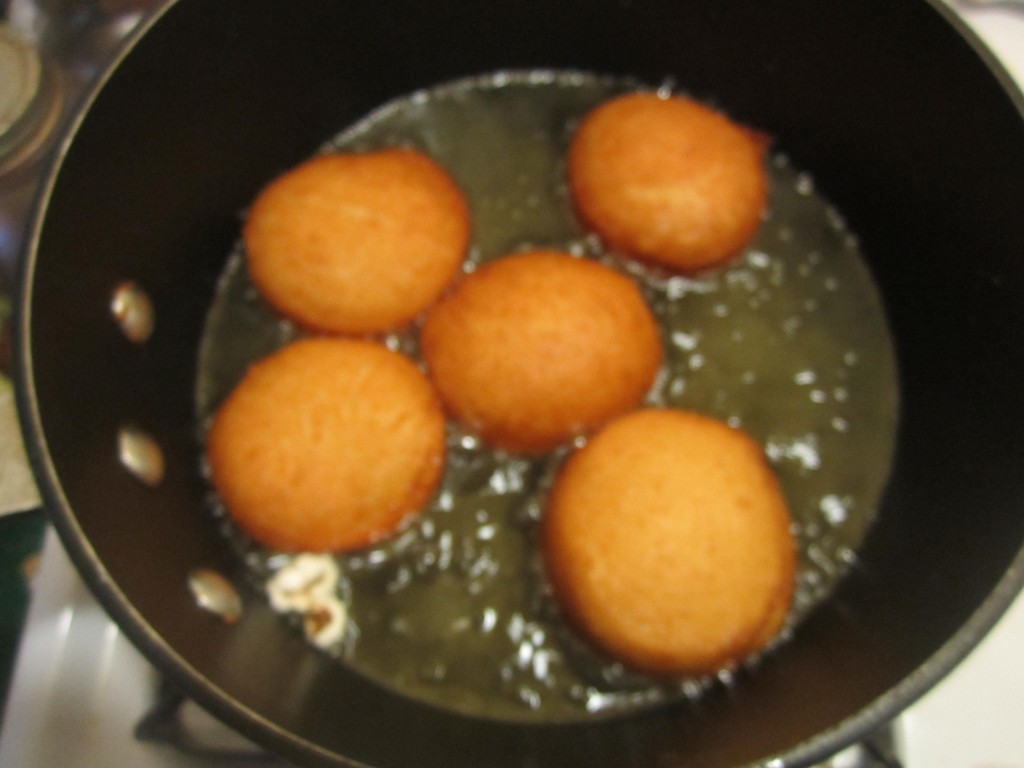
Cooking Camp – Biscuit Doughnuts

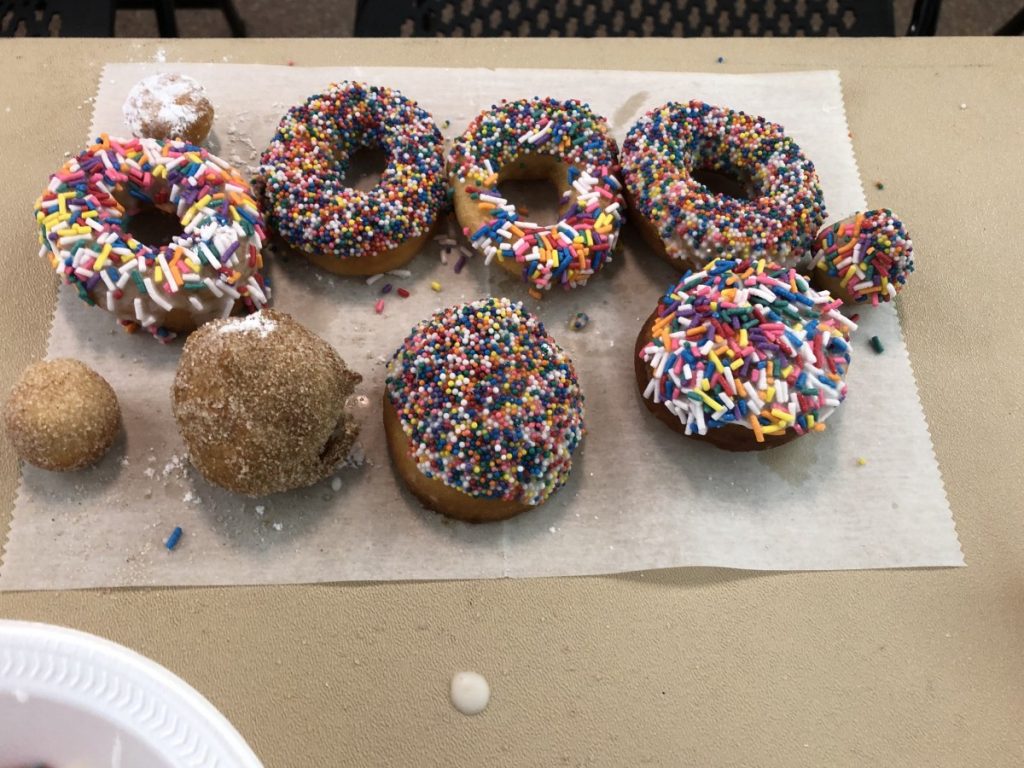
I always feel like I am cheating when I make these doughnuts. As most people know, I am all about making stuff from scratch. I also live in the real world and I know people just don’t always have time to make everything from scratch.
These doughnuts are made from refrigerator biscuits. Yes, those little blue tubes of dough in the dairy counter at the store.
We made these in cooking camp yesterday. The kids loved making them. Some were left whole, others had holes poked in them, so we had doughnuts and doughnut holes.
Here is how to make them.
I heated up oil in a mini deep fryer. You want to heat the oil to 350-360 degrees. If you don’t have a fryer with a built in thermometer, you can heat up oil in a deep pan and toss in a kernel or two of popcorn as the oil is heating up. Popcorn pops at 350 degrees so when it pops you will know the oil is hot enough. I fried the biscuits, 6-7 at a time, for a minute or so per side, or until they were golden brown. Then I drained them on paper towels.
The kids had three options for finishing the doughnuts. We mixed a couple of cups of powdered sugar with some water and vanilla to make the glaze. We also had a bag of powdered sugar and a bag with cinnamon sugar. They could either dip the warm doughnuts in the glaze or roll them in the sugars. They were a big hit.
If you don’t have biscuits laying around- I normally don’t have them- you can make biscuits from scratch and do the same thing. Great when you have unexpected guests- or just a taste for a warm doughnut.
Note: Additional options. We could have melted chocolate chips with a little milk and made a chocolate glaze. I have made these before where I use a small cake decorating tip to insert jelly. Sprinkles can be used on the glazed doughnuts, if you like.
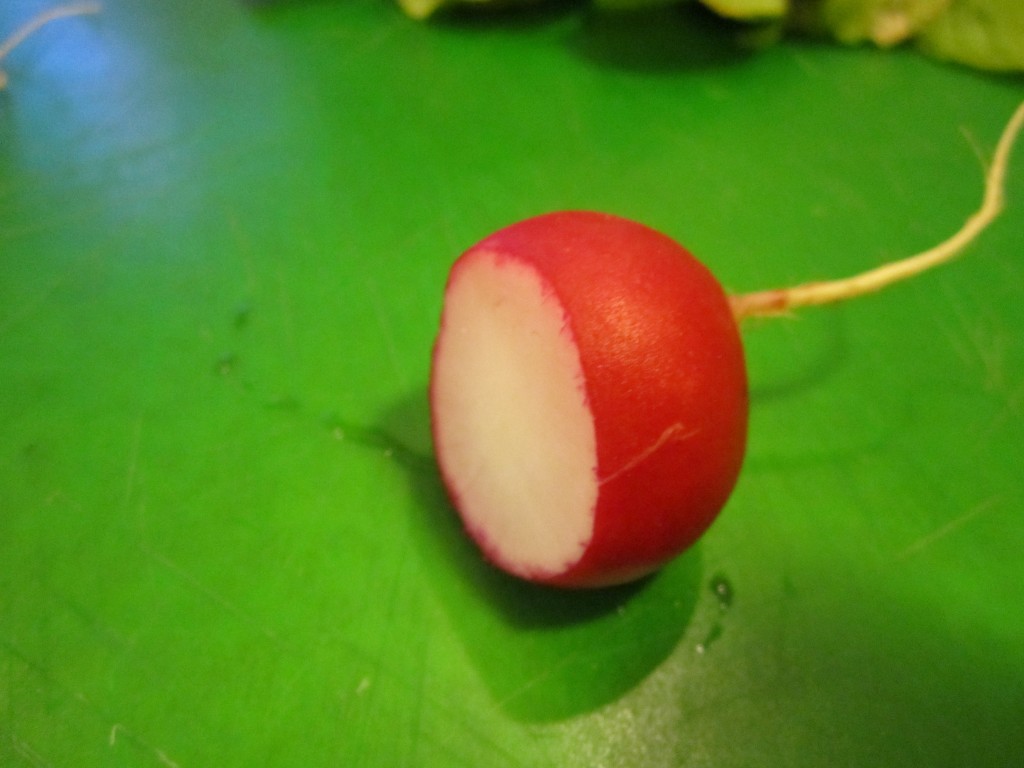
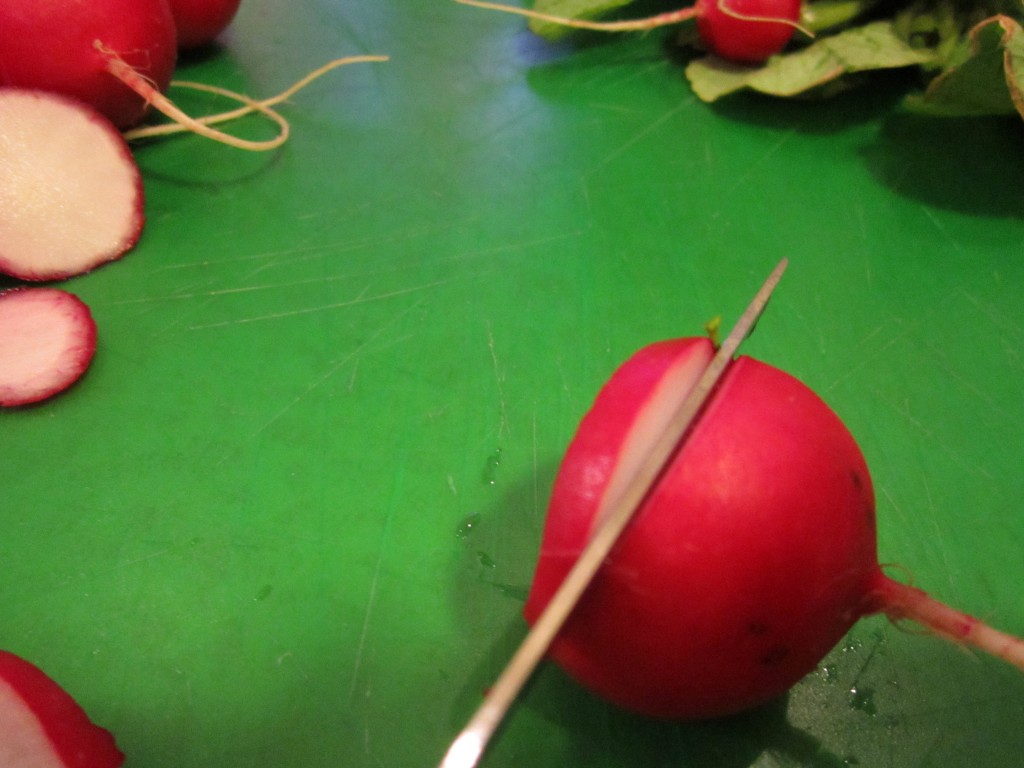
Radish Mice

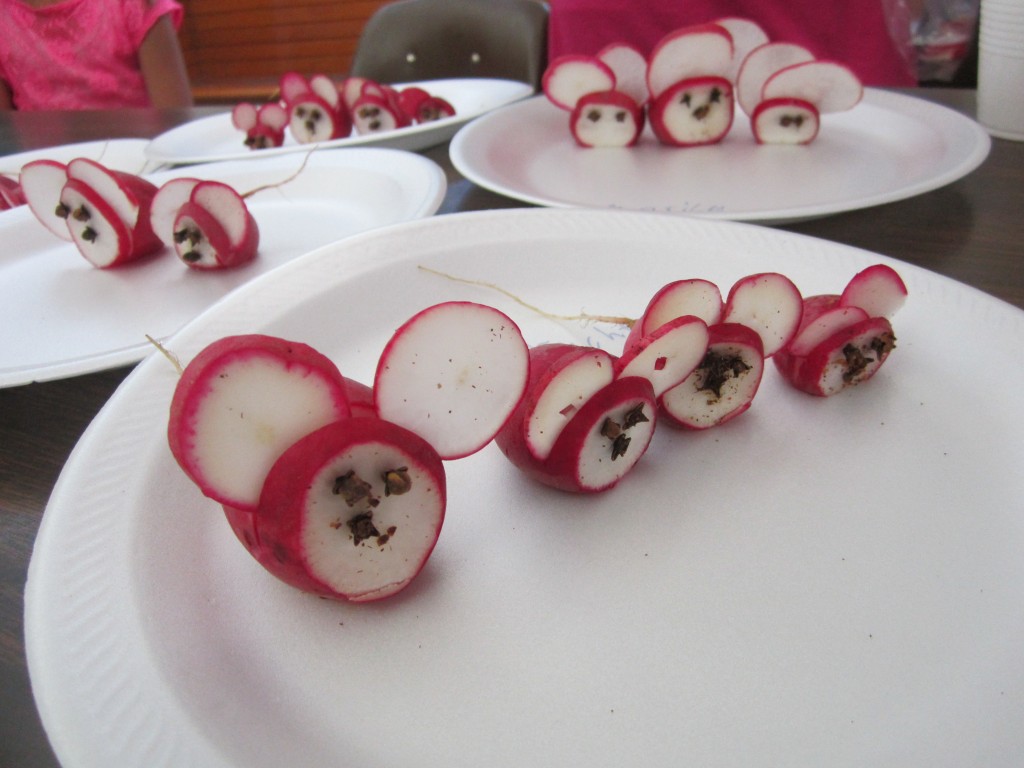
Started cooking camp with kids this week. It’s been extra busy, so I haven’t taken as many pictures as usual. The kids have made salads and giant baked sandwiches and more. We did have a few minutes the other day to make these “mice”. They are easy to make and kids love them. Just make sure someone who is old enough to handle a knife does the slicing part of this activity. It is not a job for younger kids. They can, however, do all the assemble parts. You can add cloves for eyes, if you like.
Radish Mice
Radishes
Cloves
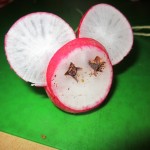
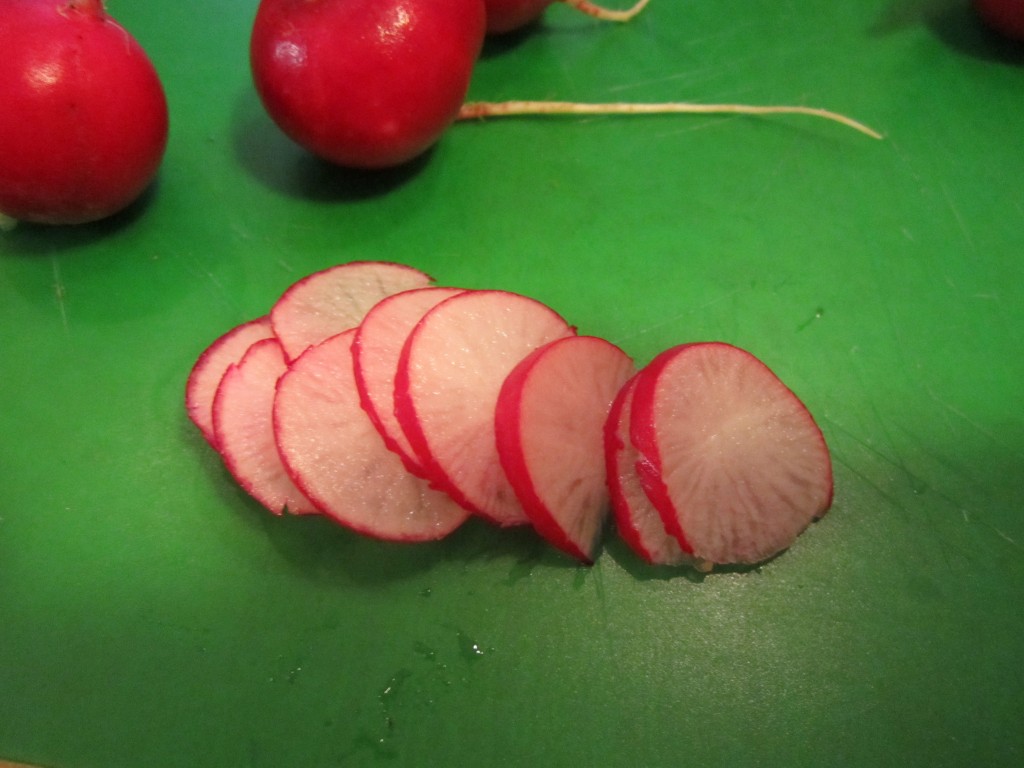
Choose radishes with the longest root pieces to be your mice. The roots will be the tails. Set them aside cut thin slices from the extra radishes. These will be the ears. You will need 2 per mouse. In the mouse radishes cut a small slice off one side so the “mouse” will lie on its side. Cut a slit in the top of the radish near the non-root side. Slip in the thin slices to form the ears. Add cloves for eyes and nose. Use these to decorate salad plates and party trays but don’t give them to little children because they could choke on small pieces.
Cherry and Blueberry Clafoutis

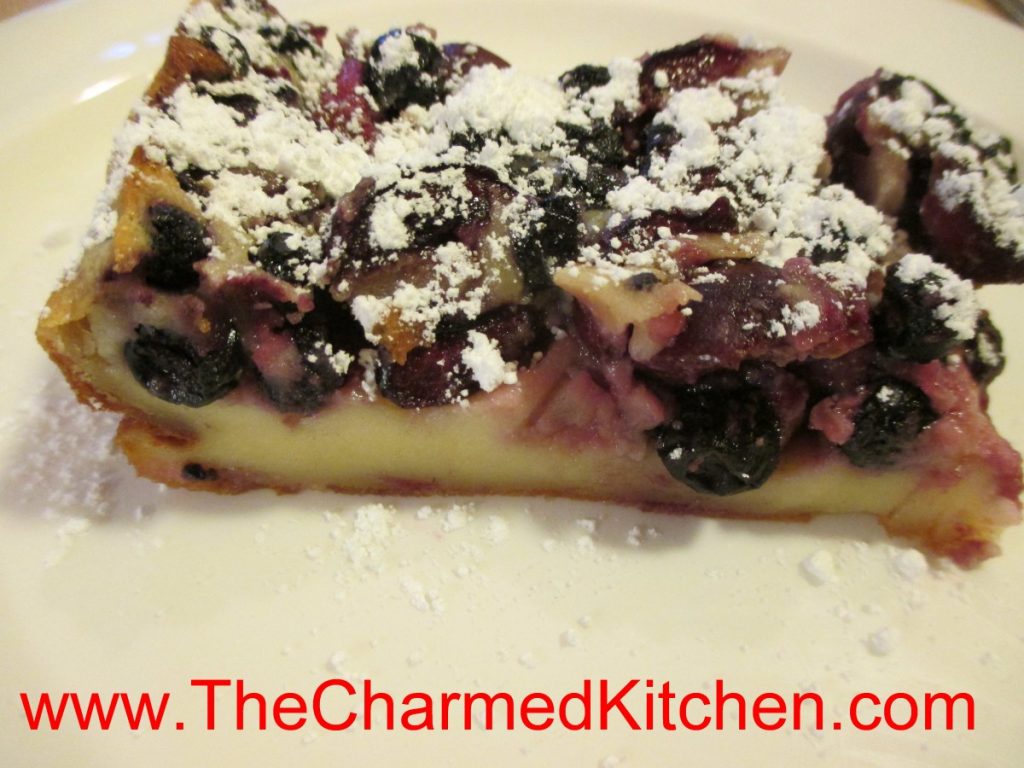
So what is clafoutis? Clafoutis is a sort of pancake, sort of custard, sort of quiche. It is a lovely dessert for fresh fruit, for sure.
You can serve clafoutis plain, or topped with powdered sugar or whipped cream. On a hot day, I like to serve it with a scoop of ice cream.
Clafoutis is really simple to make, too. You start by putting the fruit in a prepared pan. The batter is made in a blender, and takes just a couple of minutes to prepare. You pour the batter over the fruit- and bake.
I used cherries and blueberries in this one, but you can use all sorts of fruits- peaches, plums, raspberries…..
Most people enjoy it as a dessert, but it is also nice with that morning cup of coffee.
I used a combination I thought would make a nice dessert for summer.
Cherry and Blueberry Clafoutis
2 c. pitted cherries, I cut them in half, but you can leave whole
1 c. blueberries
3 eggs
1 c. sugar
3 T. melted butter
½ c. flour
2 t. vanilla extract
1 t. almond extract
pinch of salt
1 c. half and half
powdered sugar, optional
Grease a 9×9-inch baking dish or pie pan. Preheat oven to 350 degrees. Place cherries and blueberries in the prepared pan. In blender, combine eggs, sugar, butter, flour, flavorings and salt.* Blend until smooth. Add half and half and blend again until smooth. Pour batter over the cherries and blueberries. Bake for 45-50 minutes or until clafoutis is browned around edges and puffed up. Allow to cool and dust with powdered sugar, if you like. It will deflate as it cools. Serves 6.
* You can whisk the ingredients together by hand, if you prefer.
Blueberry Liqueur


I always stock up on blueberries when they are in season. I end up with a lot of frozen berries to enjoy throughout the year. I was cleaning out the freezer awhile ago, and decided to use some of my frozen berries to make blueberry liqueur.
After steeping for several months, I strained out the blueberries last night. I ended up making two different liqueurs. One is unsweetened- just blueberries, vodka, lemon zest and a clove. It is sometimes called an eau de vie- French for water of life- or blueberry vodka.
The other was sweetened a little with a sugar syrup- but you could use honey. That is blueberry liqueur or blueberry cordial. It will be allowed to mature for a couple of weeks.
Both are wonderful.
The color is so pretty and they can be sipped, as is, or used in cocktails. You can use other berries, if you prefer.
I look forward to enjoying these with friends and family.
Blueberry Liqueur
4-c. fresh or frozen blueberries
Sliced and scraped peel of one lemon, optional
1 clove, optional
3-c. vodka or 2 c. vodka and 1 c. brandy
1 c. sugar syrup, optional, recipe follows
Lightly crush berries with a fork. Combine with peels and clove and vodka and steep 3 months. Strain and filter and add sugar syrup. Mature 4-6 weeks.
Sugar Syrup
Simple syrup is made from 1 cup of sugar and ½ cup of water. Bring to a boil, then cool. You will have 1 cup of syrup. Some recipes call for plain sugar and others for honey. Watch when you substitute honey for sugar, as it is sweeter and stronger flavored. Better to use orange or clover honey.
Pesto Potato Salad

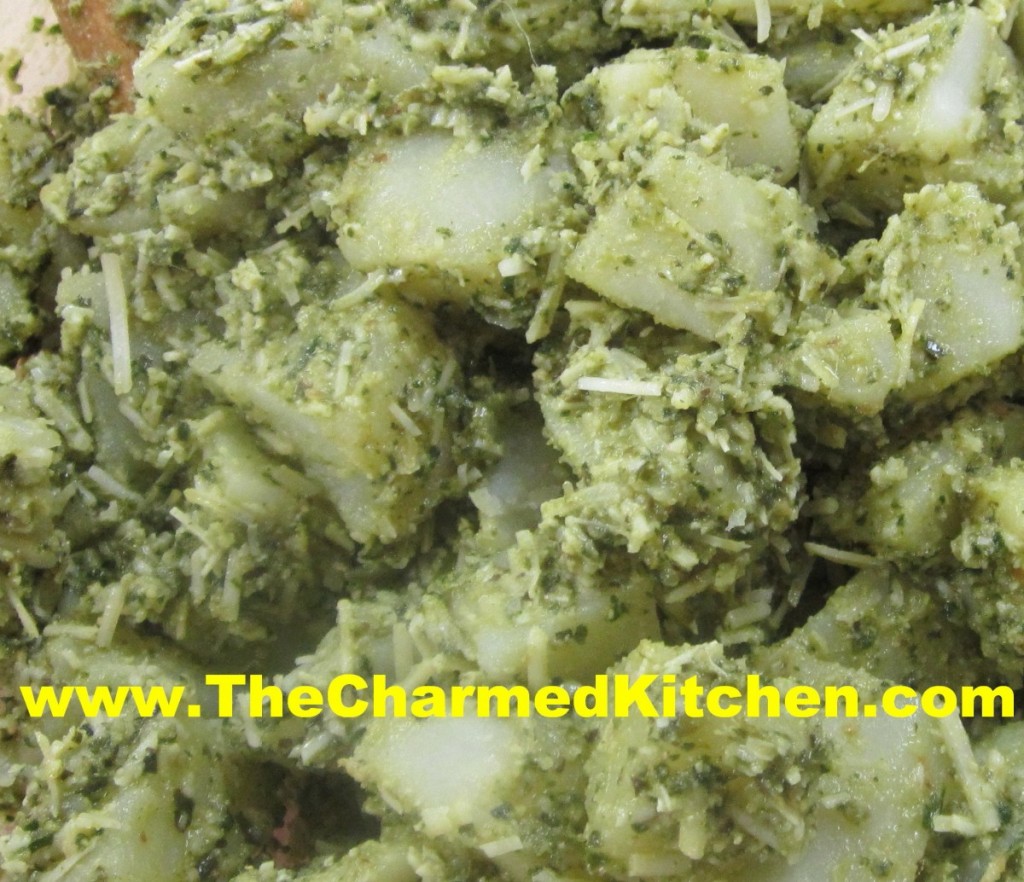
This salad always makes me think of a warm summer day. I think it’s because of the basil. During the summer my driveway is lined with pots of basil. I cook with it almost every day. A lot of people first think pasta when you mention pesto. Pesto can be used in a lot of different dishes. Here I’ve paired it up with potatoes. The combination works great together. I always freeze extra basil so I can enjoy it year round.
Pesto Potato Salad
2 lbs. Boiling potatoes, cut into bite sized pieces
1 c. basil leaves
3 T. pine nuts
3 T. olive oil
2 garlic cloves, minced
1/3 c. Parmesan cheese
Salt to taste
Cook potatoes until tender. Cool. In blender combine remaining ingredients, except 1 tablespoon of the pine nuts. Pour blended mixture over potatoes and sprinkle with the reserved nuts. Chill. Serves 6-8.
Black Currant Ice Cream

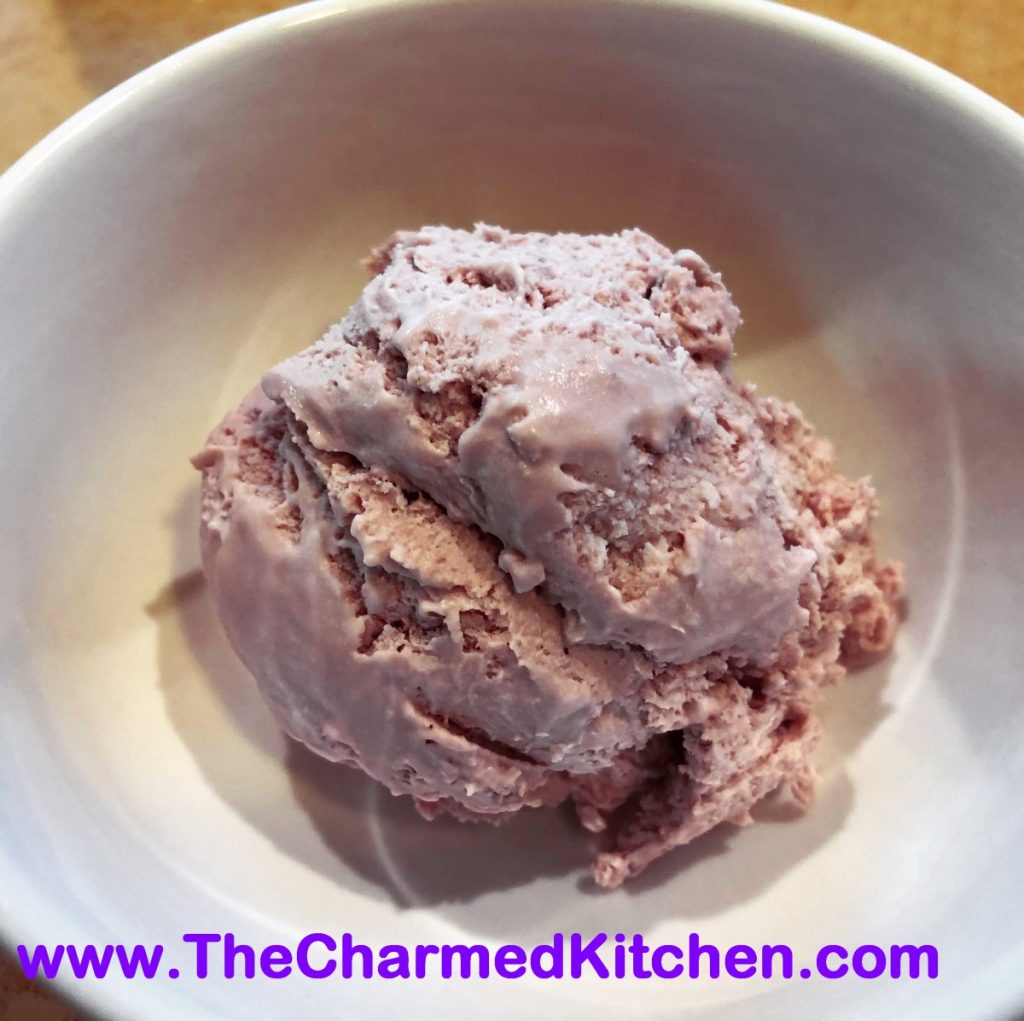
Black Currant ice cream sounds delicious, and it is. It might be my new favorite ice cream this season. The ice cream requires no special equipment. It comes out rich and creamy with only a small amount of effort. What could be better? This is a great ice cream for kids to make, too.
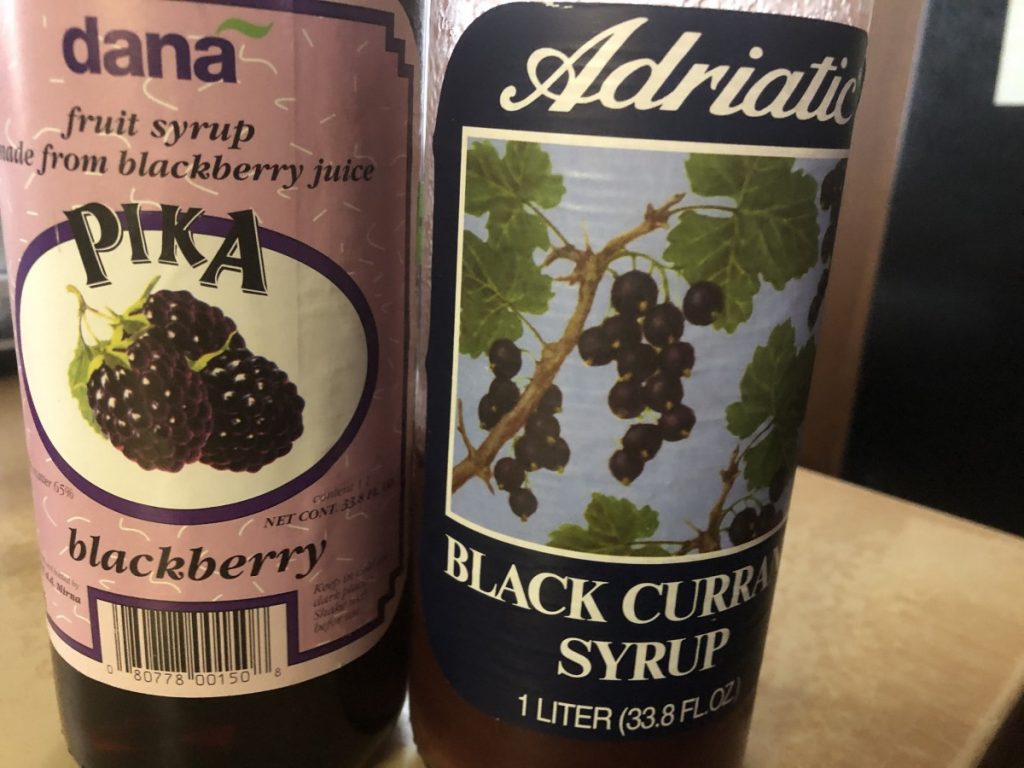
The recipe came about as almost an afterthought. I had an open bottle of the black currant syrup in the fridge and a pint of whipping cream with a fast approaching expiration date. I whipped cream, added the syrup and froze it. This might just be the easiest ice cream I ever made!
The secret is to whip whipping cream until it is pretty stiff, then stir in a fruit flavored syrup. Once it is mixed, pop in the freezer. The result is a surprisingly nice ice cream.
It was inspired by a similar ice cream I make using whipped cream and chocolate syrup. I figured if it worked with chocolate syrup, it should work with other syrups. I was right. It worked out great. The only negative is an almost buttery mouth feel after eating a whole portion. I decided to alter the recipe a bit by adding some half and half to some of it, just before popping in the freezer. That version was also creamy and smooth, but without the mouth feel I didn’t like.
I am probably being too picky. I had several people try both versions and no one saw a big difference. One person said they preferred the half and half version. Here is the recipe, with variation. I also shared the original chocolate ice cream recipe and a recipe for making your own fruit syrup. Enjoy!!
Black Currant Ice Cream
1 pint whipping cream
1/2 c. black currant syrup, or to taste*
Place whipping cream in a bowl and whip until stiff peaks form. With mixer running, add the syrup. Add until mixture is light lavender color. You can also give it a taste, to be sure. Place mixture in a container with a tight fitting lid and place in freezer. Freeze several hours before trying it. Makes a bit over a quart.
* It occurred to me that besides using different fruit syrups, you could also try using maple syrup or perhaps honey. I make honey ice cream. Honey is pretty sweet, so use a lighter hand when adding it.
Variation: After you add the syrup, stir in ½ cup of half and half or milk. Freeze. Makes about 6 cups.
The recipe that inspired me.
Easy Homemade Chocolate Ice Cream
1 pint whipping cream
1/2 c. chocolate syrup or to taste
Place whipping cream in a bowl and whip until stiff peaks form. With mixer running, add the syrup. Add until mixture is the color of chocolate ice cream. You can also give it a taste, to be sure. Place mixture in a container with a tight fitting lid and place in freezer. Freeze several hours before trying it. Makes 1 quart.
You can use any number of fruit syrups, if you prefer. I find mine at a local grocery store and at an Italian import store. You could also make your own fruit syrup, if you wanted. Here is my recipe for blueberry syrup. It could be adapted to other fruits.
Blueberry Syrup
4 c. blueberries
1 c. water
1 1/2 c. sugar
In saucepan heat berries and water to a boil and boil 2 minutes. Crush berries with a potato masher as they cook. Pour mixture through a fine mesh strainer and press to extract all the juices. Return to pan and add sugar. Boil 2 minutes and strain mixture again. Cool, then refrigerate. Keeps a couple of weeks. Makes about 3 1/2 cups.
Chocolate “Magic” Shell


I used to love getting a chocolate-dipped ice cream cone when I was a kid. I still do.
The ice cream shop near my house had them. I watched as the soft serve was swirled onto the cone, then turned upside down and dipped into a vat of melted chocolate goodness. Like magic, the chocolate hardened, and made this lovely, crisp shell.
Then they came out with the squeeze bottles of the stuff. Just a drizzle onto your ice cream and the chocolate hardened like, well, magic.
There are a lot of recipes out there for “magic” shell. I tried a few. All tasted fine, but some just worked better than others. I played around and found the mix that worked best for me.
You store it at room temp, then drizzle on ice cream. In a few seconds, it hardens up.
It is very easy to make- just three ingredients. So easy- so good.
Homemade Chocolate Magic Shell
1 c. chocolate chips- I used dark chocolate chips
3/4 c. coconut oil- I used the unrefined
1/2 c. powdered sugar
Heat all together until melted. I melted mine in a microwave for 1 minute, but you could also melt over a double boiler. Stir until smooth. Store at room temp. To use, drizzle over ice cream, wait about 10-20 seconds- and it will harden.
Homemade Plum Jam

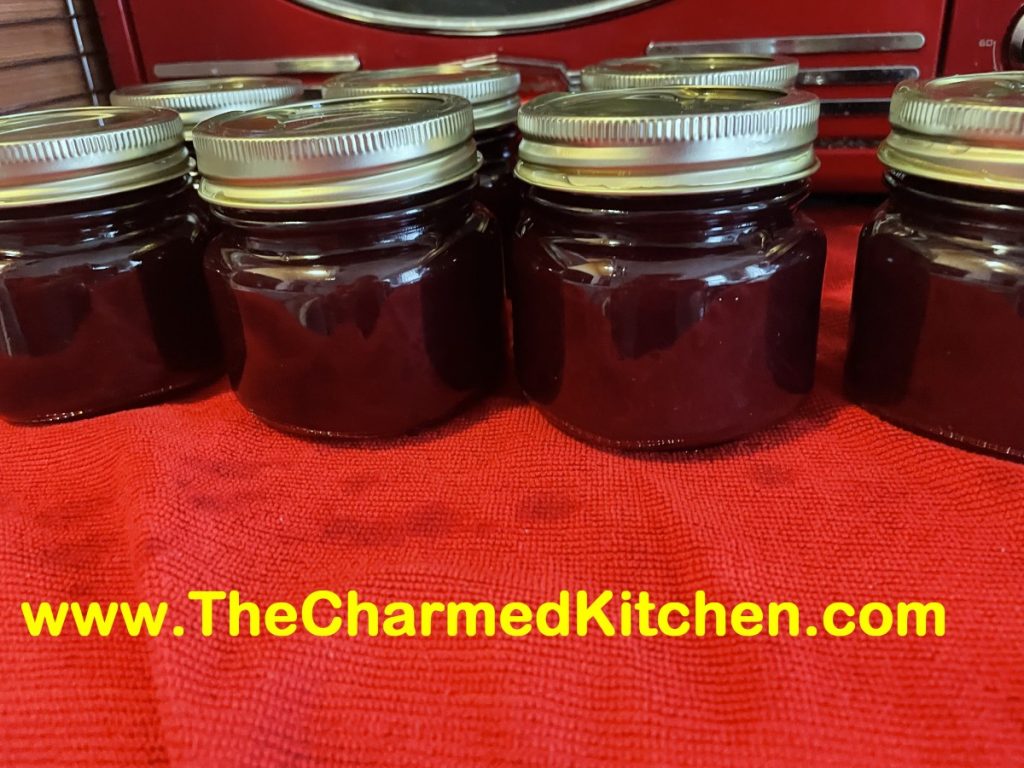
This is one of the easiest jams you can make. You don’t need pectin and it cooks pretty quickly into sweet, thick jammy goodness. I prefer a softer set, so I stopped cooking mine a little sooner than you might prefer. I like a jam that spreads easily, even after it has been opened and stored in the fridge. I hadn’t made plum jam in a long time. That will change after this. I love this jam.
Because I hadn’t made it in years, I did a test with just a couple of plums. The flavor was great, but some of the pieces of the peel seemed too big. I could see them in the finished jam. To insure the skins got chopped up, I cooked my jam for awhile then used an immersion blender to smooth it out. This is just a cosmetic preference. You can just cook down chopped up plums and they will be fine.
So here is the recipe. I got it from the NCHFP website. The only changes I made was to up the processing time to 10 minutes, so I didn’t have to sterilize the jars. I also let the jam sit in the canner a few extra minutes to prevent siphoning.
Plum Jam
2 quarts chopped, pitted tart plums (about 4 pounds) – any plums will work
6 cups sugar
1½ cup water
¼ cup lemon juice
Combine all ingredients; bring slowly to boiling, stirring occasionally until sugar dissolves. Cook rapidly to, or almost to, the jellying point (which is 8°F above the boiling point of water, or 220°F at sea level). Stir constantly to prevent sticking or burning.
Pour hot jam into hot jars, leaving ¼ inch headspace. Wipe rims of jars with a dampened clean paper towel; adjust two-piece metal canning lids. Process in a boiling water bath canner for 10 minutes. Turn off the heat and allow jars to remain in canner 5 minutes before removing. Set jars on cooling rack or towel in a draft free place while they cool down. Check seals once jars are cool. Yield: About 8 half-pint jars.
Cold Beet and Watermelon Soup

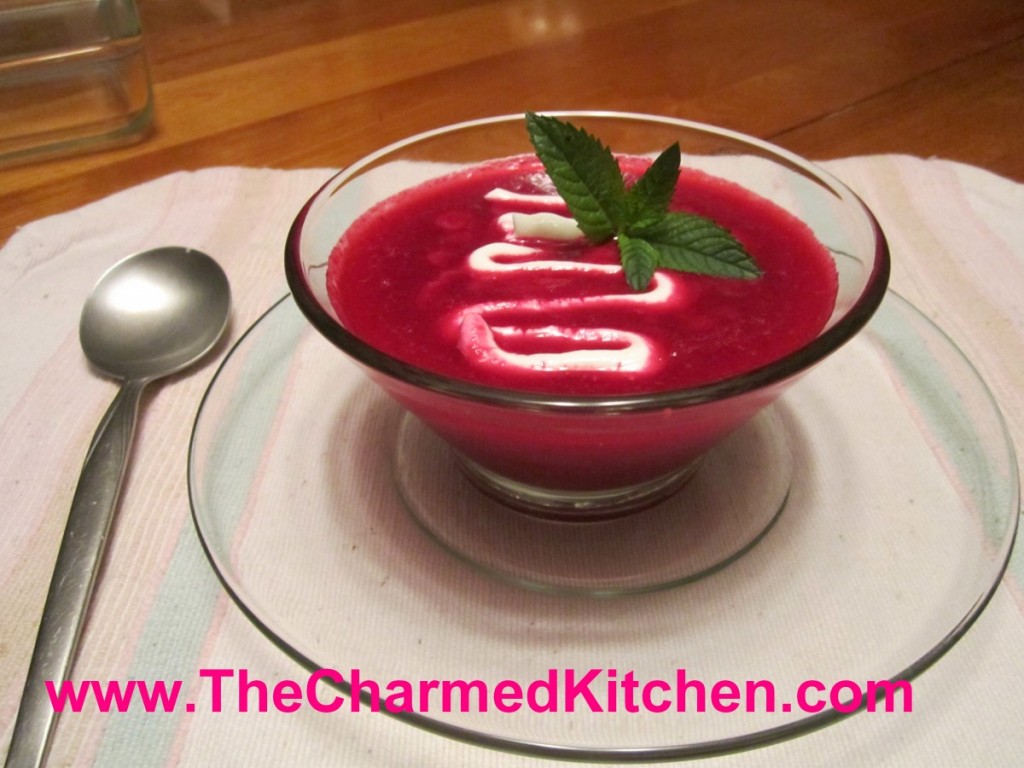
I really love this soup. On a hot day, it makes a great first course. I love salads, but sometimes I just want something else. It couldn’t be easier. You just blend up equal parts of watermelon and beets. Thin the mixture down with some stock. Add a bit of mint, and you are good to go.
I got this recipe from a friend of a friend. I tweaked it a little from the original, but it is pretty much the same. It is so simple and a great soup for a hot day. The sweetness of the watermelon pairs nicely with the earthy flavor of the beets. The mint also adds a nice little pop of flavor. The color is pretty cool, too.
I shared this recipe with a friend and she said she just drinks it like a smoothie. I find it a refreshing start to any meal, especially on a hot day.
Cold Beet and Watermelon Soup
1 part diced beet (cooked)
1 part diced seedless watermelon
a spring of mint
Put in blender
Add Chicken or Vegetable stock to taste/consistency
Add salt if desired
Dollop with Creme Fraiche or Sour Cream or even Greek Yogurt, if desired.
Garnish with fresh mint.
With any cold soup- chill well after you make it. You might even want to chill the bowls and spoons.


