Whole Wheat Bread

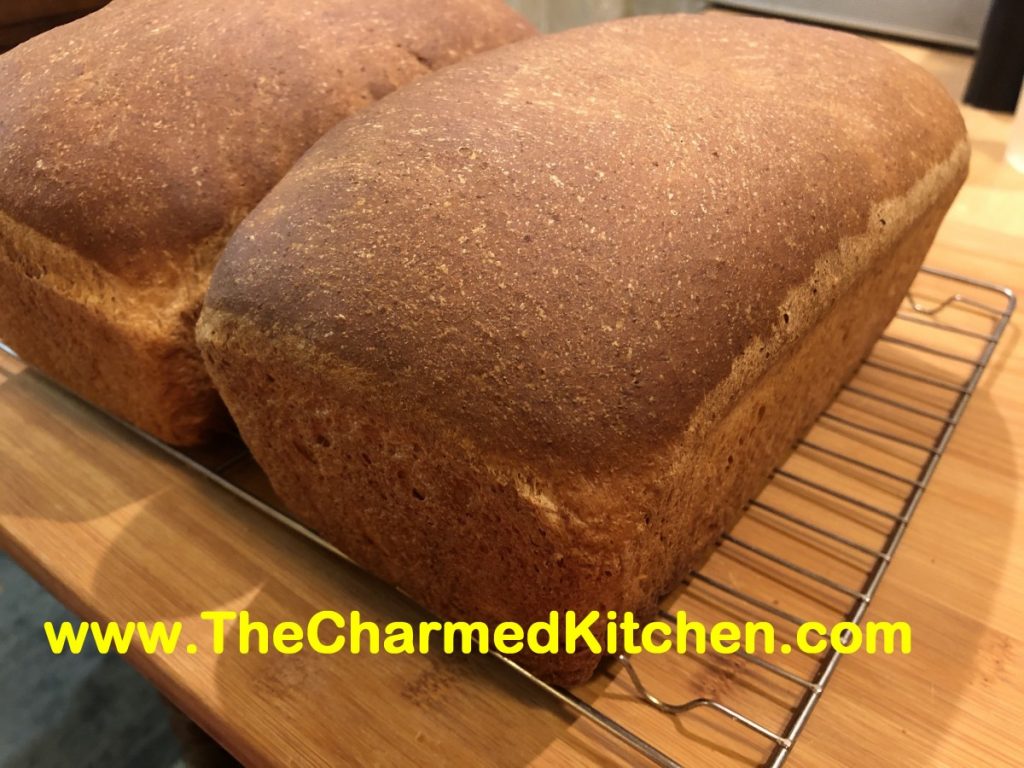
A lot of us want to eat more whole grains, but are unhappy when we try to make 100% whole wheat bread at home. There is a secret to baking whole wheat bread that is both tender, and slices easily.
Whole wheat flour, high in gluten, also is high in fibers, which make it harder to get the gluten to that stretchy state. If you knead whole wheat bread dough for 5- 10 minutes, like white bread dough, you’ll have a dough that is far from elastic.
The secret? Knead it longer. I knead my whole wheat bread dough about 20 minutes. That is easy if you have it in a stand mixer. Just set it on low and let the dough hook do the work. Not so easy if you are kneading by hand. When kneading for 20 minutes by hand, more and more flour gets added to the dough, to keep it from sticking. The extra flour results in a heavy dough, and a loaf of bread that is best used as a door stop. If you have to knead by hand- knead on a wet surface. The dough won’t stick to your hands or the board and you can knead it long enough to get a properly worked dough. How do you know your dough has been worked long enough? Hold the dough up to light and pull it. It should stretch thin enough so that you can see the light through it, without tearing. Here is one of several recipes I have for 100% whole wheat bread. I love it and I think you will, too.
100% Whole Wheat Bread
2 packets active dry yeast
2 2/3 c. warm water
½ c. oil
½ c. honey, molasses or maple syrup
6 ½ -7 c. whole wheat flour
½ c. non fat dry milk
2½ t. salt
Combine first 4 ingredients in a mixing bowl and stir in 3 cups of the flour, the dry milk and the salt. Beat with electric mixer for 3 minutes. Stir in enough flour for mixture to form a thick batter and continue mixing on low in mixer for 15-20 minutes. Dough takes time to become elastic. Add extra flour slowly until dough comes away from the sides of the work bowl, but not too soon. Note: if you must do this by hand add flour until dough starts to come away from the sides of the bowl and knead with wet hands on wet work surface for 15-20 minutes. Transfer dough to lightly greased bowl and cover, allowing to rise until puffy, about 1 hour. Punch dough down and transfer to a lightly floured surface. Divide in half and shape each half into a loaf. Place in a lightly greased 9×5 – inch pan. Brush top with oil and place a piece of plastic wrap over the top. Allow to rise until doubled. Bake in a preheated 350 degree oven for 40 minutes. Tent with foil after 20 minutes to prevent over browning of the top. Test for doneness by removing bread from pan and thumping on the bottom. Bread should sound hollow. Makes 2.
Mint Butter Cookies


These cookies can be made with fresh or dried mint. You could use frozen mint as well. They have a delicate, almost cake-like texture. The mint adds a subtle flavor. I used a little lemon extract- mint extract would give them a more intense mint flavor.
We made these in an herb cooking class the other night. Everyone enjoyed to cookies. It is also a great way to use mint. If you grow mint, you know it can be a bit invasive.
Mint Butter Cookies
1 c. butter
½ c. sugar
½ c. brown sugar
1 egg
1-t. almond or lemon extract – you could also use mint
2 ¼ c. flour
¼ c. dried mint leaves or ¾ c. loosely packed fresh mint leaves, chopped fine
1 t. baking powder
1 t. cream of tartar
¼ t. salt
Cream together butter and sugar. Beat in egg and extract. Stir in dry ingredients until well mixed. Chill dough 30 minutes. Drop by rounded teaspoonfuls on ungreased baking sheet 2- inches apart. Bake at 375 for 7-9 minutes. Makes about 6 dozen.
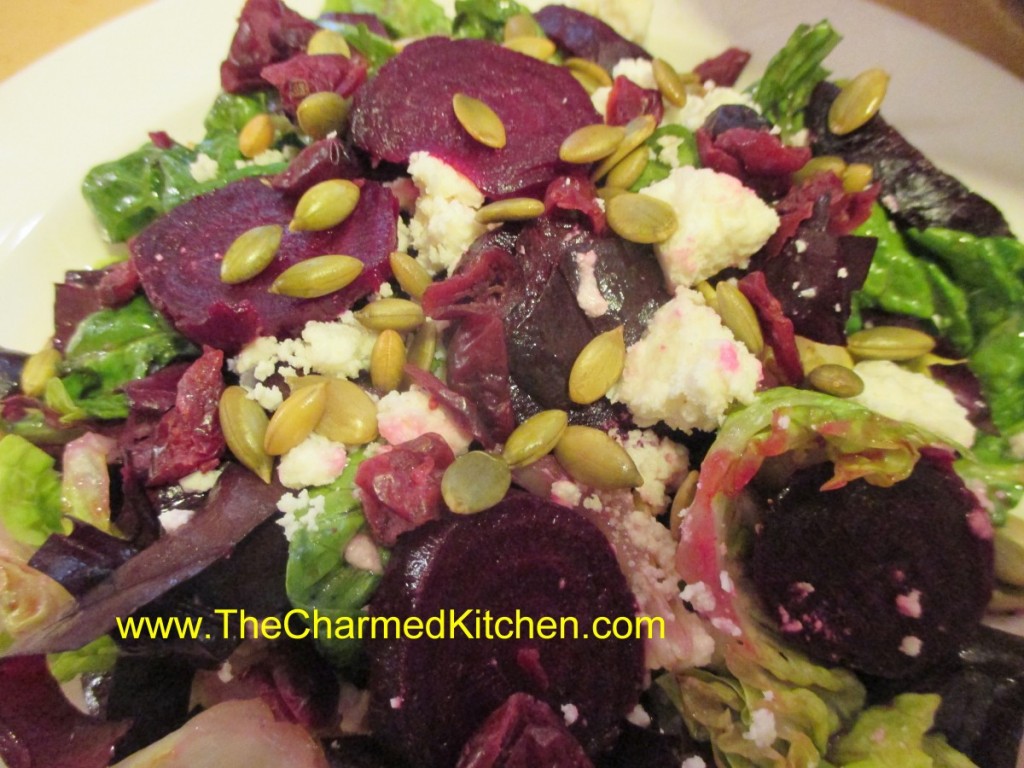
Roasted Beet Salad

I picked up a couple of bunches of beets the other day. I wasn’t sure what I wanted to do with them at the time. They just looked so fresh. I decided to roast some, and then go from there.
To roast beets: just wash them and trim off the greens- leaving about an inch of the stems to reduce bleeding. The beet greens could be added to the salad.
Place beets in a roasting pan and drizzle with a little oil. I used avocado oil. Cover pan and place in a 350 degree oven for about 45 minutes. Smaller beets will be cooked in less time- about 35 minutes. Really large beets could take up to an hour. I always check by poking one of the beets with a fork. Let the beets cool a little and then remove the peels. I use a knife to do this. They come off quite easily.
I used three small beets to make this salad for lunch. I shared it with a neighbor.
Roasted Beet Salad
1 small head Bibb lettuce, washed and sliced into thin slices
2 c. spinach, torn into bite sized pieces
1/4 c. olive oil
3 T. red wine vinegar
2 t. sugar, optional
3 small roasted beets, peeled
1/2 c. crumbled feta cheese
1/4 c. hulled pumpkin seeds, toasted
1/4 c. dried cherries
coarse sea salt- I used pink salt
Place lettuce in a mixing bowl. Combine olive oil with vinegar and sugar, if using. Add salt and pepper to taste and toss over the greens. Slice beets. Divide greens on 2 salad plates. Arrange half of the beets on each salad and top with the rest of the ingredients. Sprinkle with a few grains of the sea salt and serve. Makes 2 luncheon salads.
Cheddar Cheese Soup

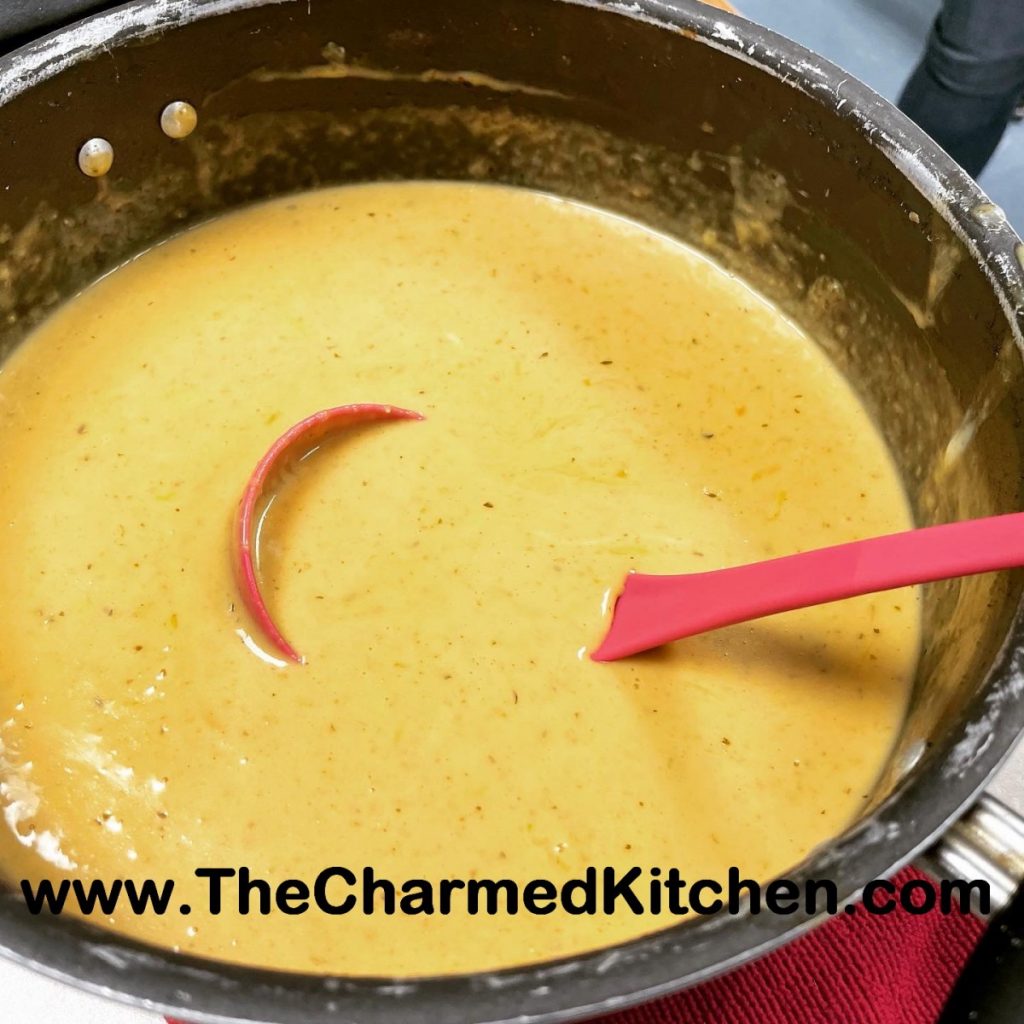
We made this soup in class a few days ago. Cheddar cheese soup is so simple to make and so tasty. Everyone loved it. One hint is to add the cheese slowly, to get a creamy, not grainy texture.
The soup is great on its own, but you can also add all sorts of other fun ingredients. It can be topped with croutons for some added crunch. Veggies like broccoli, potatoes, asparagus, carrots or Brussels sprouts would all be nice add ins. Mushrooms or caramelized onions could also be added along with fresh herbs.
Even if you leave this soup just as it is, people will love its creamy texture and great flavor.
Here is the recipe.
Cheddar Cheese Soup
¼ c. butter
2 c. chopped onion
2 ribs celery, chopped
2 cloves garlic, minced
¼ c. flour
½ t. paprika
¼ t. cayenne pepper
4 c. chicken stock, low salt preferred
1 ½ c. evaporated milk, or half-and-half
10 oz. grated cheddar cheese, mild or sharp
dash of hot pepper sauce
¼ c. chopped fresh parsley
Cook vegetables and garlic in butter until tender. Stir in flour, paprika and cayenne, stirring until smooth. Stir in stock slowly and heat to a simmer. Cook, covered, 15 minutes. Use an immersion blender to puree the soup or you can just live with the chunky bits. Add milk and heat through. Add cheese ½ cup at a time, allowing to melt between additions. Add hot sauce and parsley and serve. Makes 6 servings
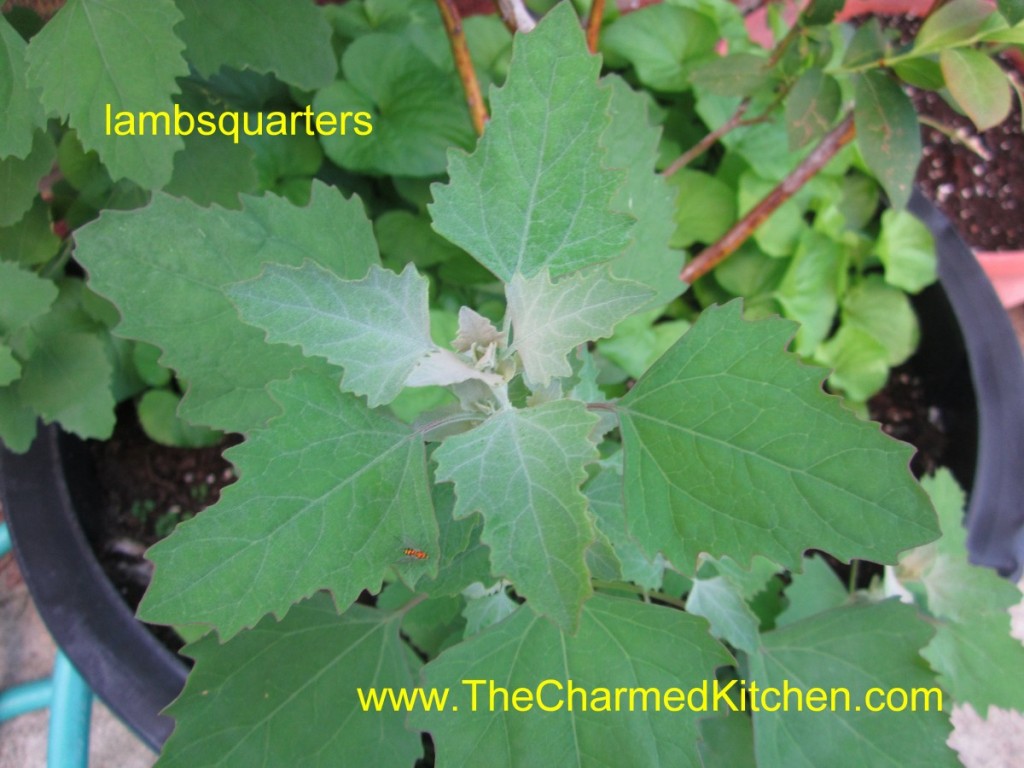
Crock Pot Lamsquarters Quiche


This recipe was inspired by a friend baking a pecan pie in crock pot. I was intrigued. It certainly would be cooler than turning on the oven. If it worked for pie, would it work for a quiche? I had to find out. I followed his directions as best I remembered them.
I started by spraying the inside of the crock pot with non- stick baking spray. I am sure I could have oiled it instead, or maybe rubbed it with butter. Then I placed the pie crust in- trying to fit it as best I could. It was pretty easy. I added the fillings like I normally would. I put on the lid and set it on high. I let the quiche bake for 90 minutes- then gave it a look. It was set, but the crust needed a little more time so I let it go another 30 minutes.
It worked!! A perfectly “baked” quiche in the crock pot.
OK- I can hear the question you want to ask-how do you get it out? We had errands to run so I turned it off and left it in the crock pot, uncovered, for an hour or so. It was still warm. I loosened the edges of the quiche. Then I removed the crock from the base. I placed my hand on the top of the quiche and turned the crock over. It came out right into my hand and I placed it on a serving plate. A little of the crust crumbled- but it mostly held together. Next time I might try 2 spatulas. I suppose I could have just sliced it right in the crock pot, too. Hindsight….
I made my quiche from lambsquarters. It’s a common weed, and tastes a lot like spinach. It is also growing all over my yard. I like the idea of harvesting a volunteer veggie from my yard. You could certainly use spinach instead.
Lambsquarters Quiche
1 unbaked pie crust
3 c. shredded cheese, divided
2 T. flour
1 leek, white part only, sliced and sauteed in oil until tender
4-5 cups lambsquarters leaves, washed and steamed until wilted
3 eggs
1 c. milk or half and half
salt and pepper to taste
hot sauce to taste
For conventional cooking preheat oven to 400 degrees. Place crust in a 9-inch deep dish pie pan. Toss 2 cups of the cheese with the flour and place in pie crust. Add the leeks and lambsquarters. Combine eggs with milk and seasonings, beat until smooth and pour over the ingredients in the pie crust. Top with remaining cheese. Place on a baking sheet and bake 45 minutes to an hour. Check quiche for doneness by inserting a knife off center. If it is clean quiche is done. Serve 4-5.
Crock pot directions: Coat the inside of the crock pot with non- stick baking spray, butter or oil. Roll out pie crust and place in crock pot- crust should be at least 1-inch up the sides of the crock pot. Toss 2 cups of the cheese with the flour and place in pie crust. Add the leeks and lambsquarters. Combine eggs with milk and seasonings, beat until smooth and pour over the ingredients in the pie crust. Top with remaining cheese. Put the lid on the crock pot and set it on high. Let the quiche bake for 2 hours. Leave it in longer, if the crust is not brown enough.

Mom’s Peach Pie


Sometimes, pie is more than just pie. Sometimes it is a memory and a tribute. We had a couple of peach trees at my parent’s house. One year there were so many peaches, my dad had to prop up the branches to keep them from breaking under the weight of the fruit. I remember the peach pie my mom made with some of them. It was bliss.
I have a handwritten copy of the peach pie recipe from my Mom. Well, maybe a partial recipe is a better description. What I have is a list, with the filling ingredients and the words “350-45-50”. No directions for how the ingredients are prepped or assembled. There was no recipe for the crust, but I knew the recipe she used, so that was not a problem. Her original recipe also did not have any cinnamon or vanilla, but I think she would have approved of their addition. I thought of her when I made this pie. Sweet memories, indeed.
Here is her recipe, as best I could figure it out.
Cinnamon-Vanilla Peach Pie
1 recipe pie crust- enough for two crusts- recipe follows
10 peaches
2 T. lemon juice
2 t. vanilla
1 c. sugar
1/3 c. flour
¼ c. butter
2 t. cinnamon
1 egg
2 T. cinnamon sugar*
Roll out 1 crust and place in a 9-inch pie pan. Set aside. Peel, pit and slice the peaches. Place in a bowl and toss with the lemon juice and the vanilla- set aside. In small bowl, combine sugar with flour, butter and cinnamon until mixture resembles coarse crumbs. Place about a third of the flour mixture in pie crust. Top with half of the peaches. Add another third of the flour mixture and then the rest of the peaches. Sprinkle remaining flour mixture on top of the peaches. Roll out and cut the remaining pie dough into strips and place in a lattice design on top of the pie. Trim off excess crust and crimp edges to seal. Combine egg with a tablespoon of water and mix well. Brush egg wash on lattice top and sprinkle with the cinnamon sugar. Bake in a 350 degree oven for 45-50 minutes. When I placed the pie in the oven, I put a baking sheet on the rack below the pie to catch drips. If edges start to get too brown, cover with foil. Makes 1 pie.
*Combine 1 teaspoon of cinnamon with 2 T. sugar
Flaky Pie Crust
2 c. flour
1 t. salt
3/4 c. lard, butter, shortening or coconut oil, chilled
1 T. cider vinegar
4-5 T. cold water
Combine flour and salt and cut in fat of your choice. Toss in vinegar and water 1 tablespoon at a time until dough holds together. Use a fork to toss the ingredients together and as soon as the mixture holds together stop adding water. Makes 2. Chill well before using.

Classic Basil Pesto

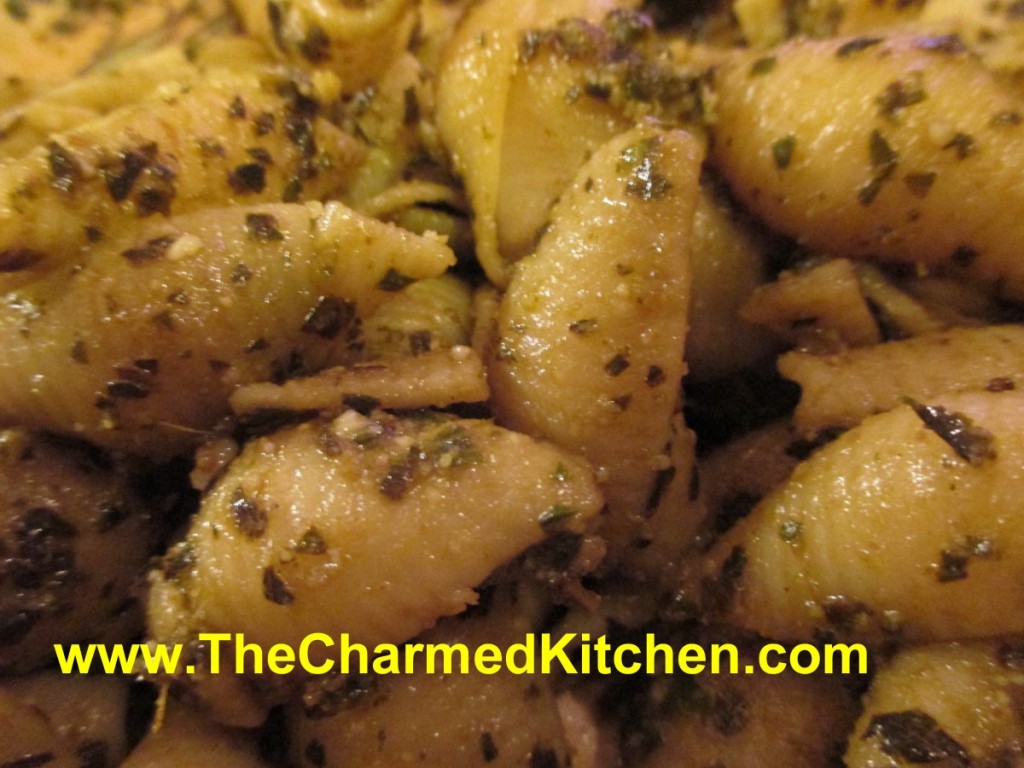
In class last night we were cooking with herbs. One of the dishes we made was pasta with pesto. There are reasons this dish is such a classic. The flavor is all about summer to me.
With cold weather on the horizon, I find myself wanting to enjoy fresh basil even more, while I can. Pesto is one of my favorite basil dishes. Pesto is most often made with basil, but there are a lot of variations out there. Pesto can be made from parsley, sun dried tomatoes, spinach or mint.
I must admit to being a big fan of the original.
I make pesto often when I have fresh basil. I also freeze basil with olive oil, so I can make it all year long. Pesto can be tossed with pasta, rice, potatoes or other veggies. I also like pesto on chicken.
Basil Pesto Sauce
1 c. tightly packed basil leaves
1/4 c. olive oil, or more as needed
3-4 cloves garlic
Salt to taste
1/2 c. pine nuts, sunflower seeds, pecans or walnuts- I like to toast the nuts first
1 c. fresh grated Parmesan cheese
Combine all ingredients, except the cheese, in a blender and mix until smooth. Stir in the cheese and toss over hot, cooked pasta or use as a sauce on meat and poultry. Sauce will keep a few days in the fridge and makes about 1 1/2 cups, enough for 1 lb. of cooked pasta.
Green Tomato Pickles

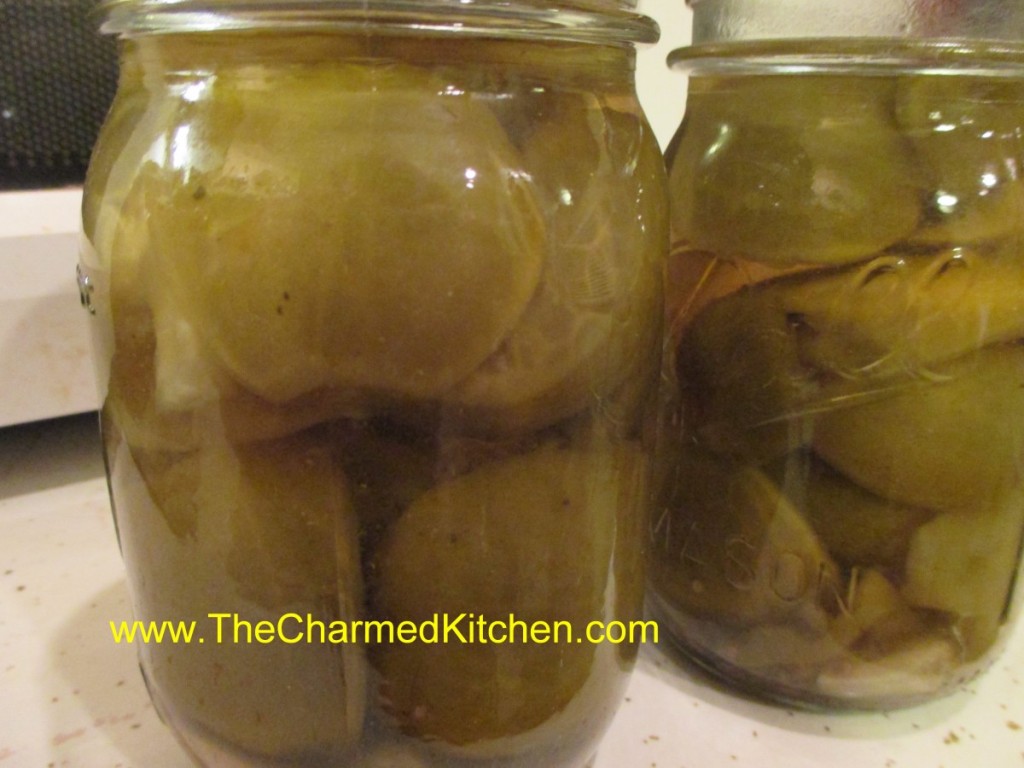
The garden season is winding down around here. A number of friends have posted pictures of their last ripe tomatoes of the year. That is a sad time. But, don’t forget about those green tomatoes. You can make fried green tomatoes, which are great. You can also make these pickles. That way, you can enjoy those home grown tomatoes a little longer.
The recipe is pretty simple. I sometimes add a teaspoon of red pepper flakes to each jar for a spicy version. The hardest part is waiting. Once the tomatoes are canned, you have to give them 4-6 weeks for the pickling to finish. Trust me, it is worth the wait. While the recipe calls for using quart jars, you can use pints. Process for the same time as the quart jars. I like to use pints for the green cherry tomatoes.
Just because your ripe tomatoes are done for the year, harvest those green ones and get a little something more from your garden.
Green Tomato Dill Pickles – Kosher Style
Green tomatoes
6 ribs celery, cut in 2-inch pieces
6 Sweet green peppers
6 cloves Garlic, peeled
2 quarts water
1 quart vinegar- 5% acidity- you can use white or cider vinegar
1 cup canning or pickling salt
Dill, optional
Use small firm green tomatoes. Pack into hot, clean canning jars. Add to each quart jar a clove of garlic, 1 piece of celery, and 1 green pepper cut into fourths. Make a brine of the water, vinegar, and the salt. Boil with the dill for 5 minutes. Pour the hot brine over the pickles to within 1/2 inch of the top of the jar. Put on cap, screw band firmly tight. Process in a boiling water bath for 15 minutes. These pickles will be ready for use in 4- 6 weeks. Yield: About 6 quarts. Source: NCHFP
Dehydrating Vegetables


Do you ever buy a bag of potatoes, only to toss half of them away because they got mushy? Maybe your onions starting sprouting well before you could go through the whole bag? I hate when that happens. An easy solution could be to dehydrate them.
I have dehydrating on my mind this week. I found myself with some extra produce and I didn’t want it to go to waste. Dehydrating is an easy way to save it. It is a great way to preserve some of those wonderful tomatoes, too.
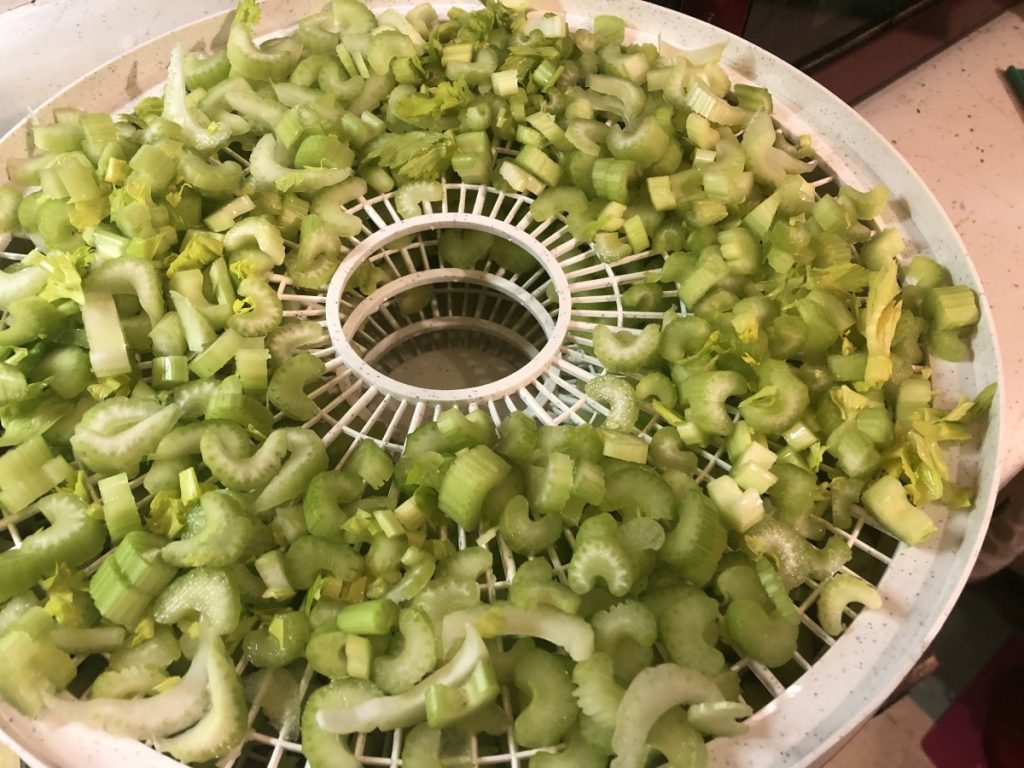
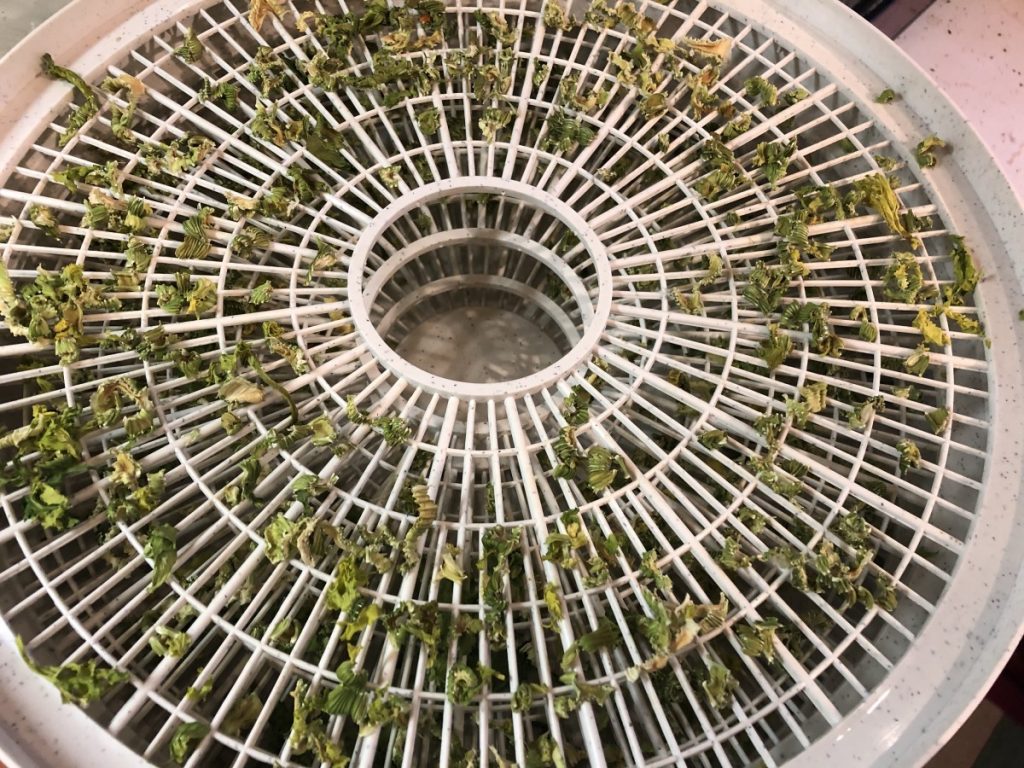
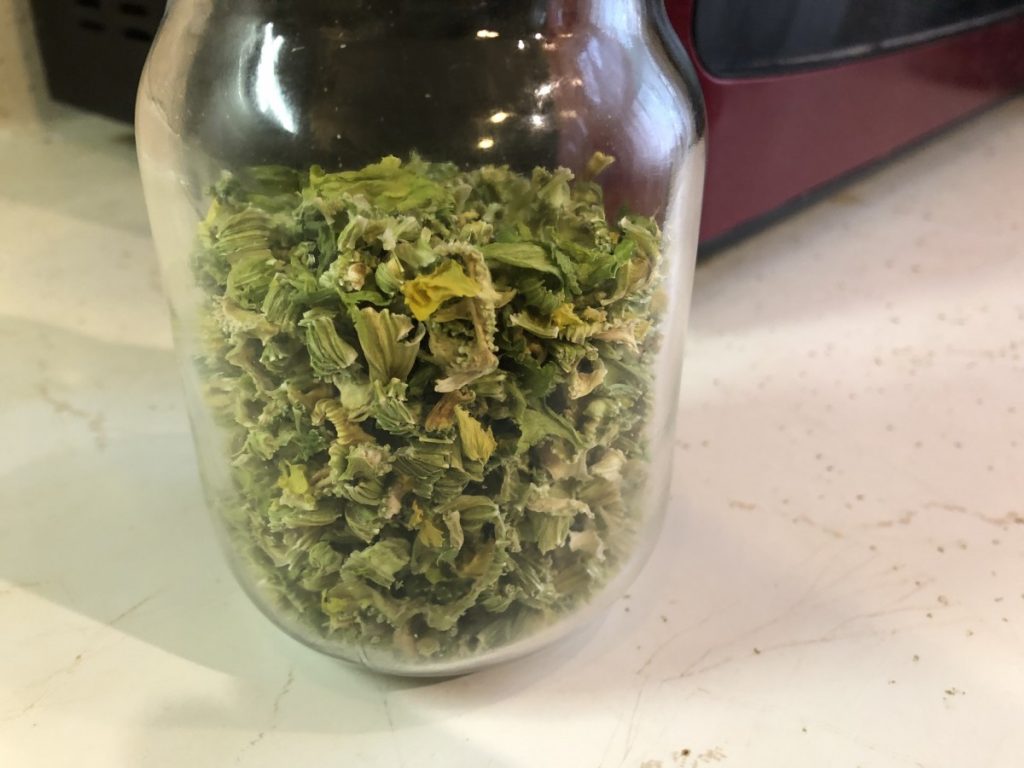
I started by dehydrating 2 large stalks of celery. I just washed them well, chopped them up, and placed them on the dehydrator trays. They filled my dehydrator, but once dried, I had little more than a cup. In case you were wondering- an entire bunch of celery is a stalk- one individual piece of celery is called a rib. I can use my celery in soups, sauces and stews. I can also powder it up and use it in salad dressings, marinades, rubs, and dips.
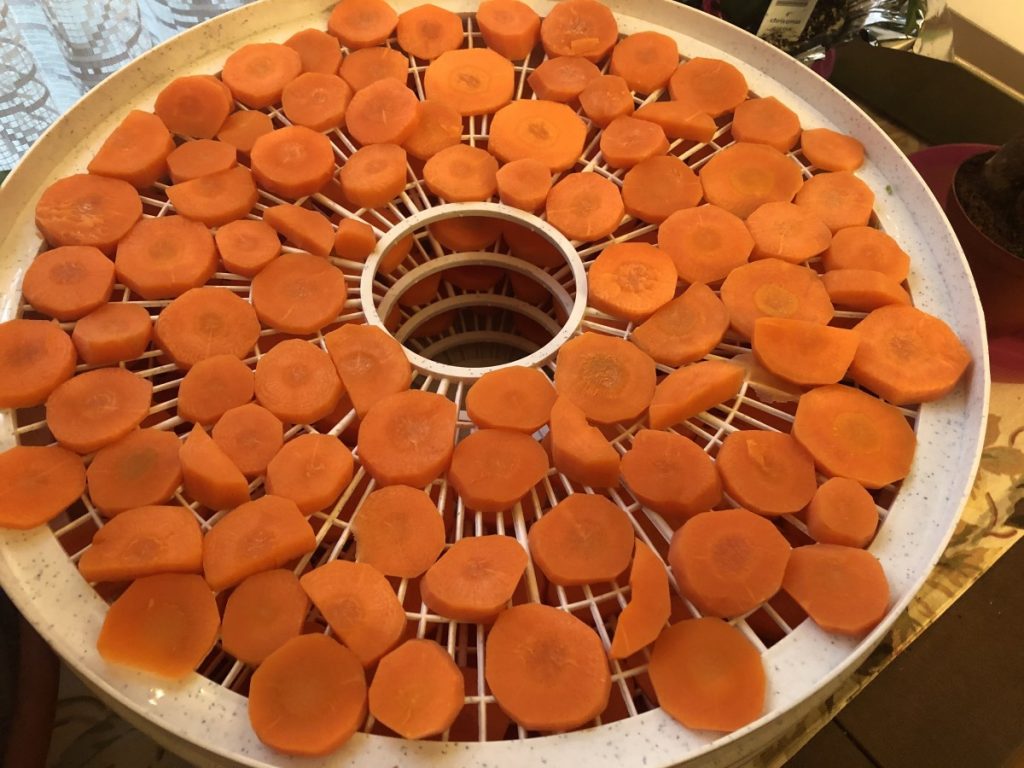
After dehydrating celery, I decided to dry some carrots. Unlike the celery, carrots need to be blanched before dehydrating. That helps the carrots to hold their color better and gives you a better finished product. I peeled and sliced the carrots. Then I steamed them for about 6 minutes. Once cool enough to handle, I placed the carrots in the dehydrator. Left them in over night and woke up to crispy carrot slices. These can also be added to soups, when making stock, stews, etc.
I preserve a lot of food by dehydrating it. Once you get over the initial investment in a dehydrator, the cost to dry food and to store dried food is pretty minimal. I got a very nice dehydrator for $30. Not a big investment at all.
Dried fruits are probably the most common home-dried foods. Apples, grapes, pineapple, strawberries and cherries are among my favorites. Because the dried vegetables are so useful and versatile, I enjoy them as much as dried fruits. I think you will, too.
Drying Vegetables
Most vegetables should be dried at the lower range if you have an adjustable thermometer on your dehydrator-around 125-degrees. Important to know with vegetables, is that some of them need to be blanched first. Blanching is just steaming or boiling the vegetables for a few minutes, before drying. Blanching kills certain enzymes, prevents browning and assures a better end product.
Vegetables that need blanching include green beans, cabbage, carrots, potatoes, greens, winter squash, corn and beets; this is not a complete list, but a good start.
Vegetables that do not require blanching include onions, celery, mushrooms, peppers, tomatoes, spinach, zucchini, cucumbers, garlic and also herbs.
Broccoli and cauliflower do not dehydrate well.
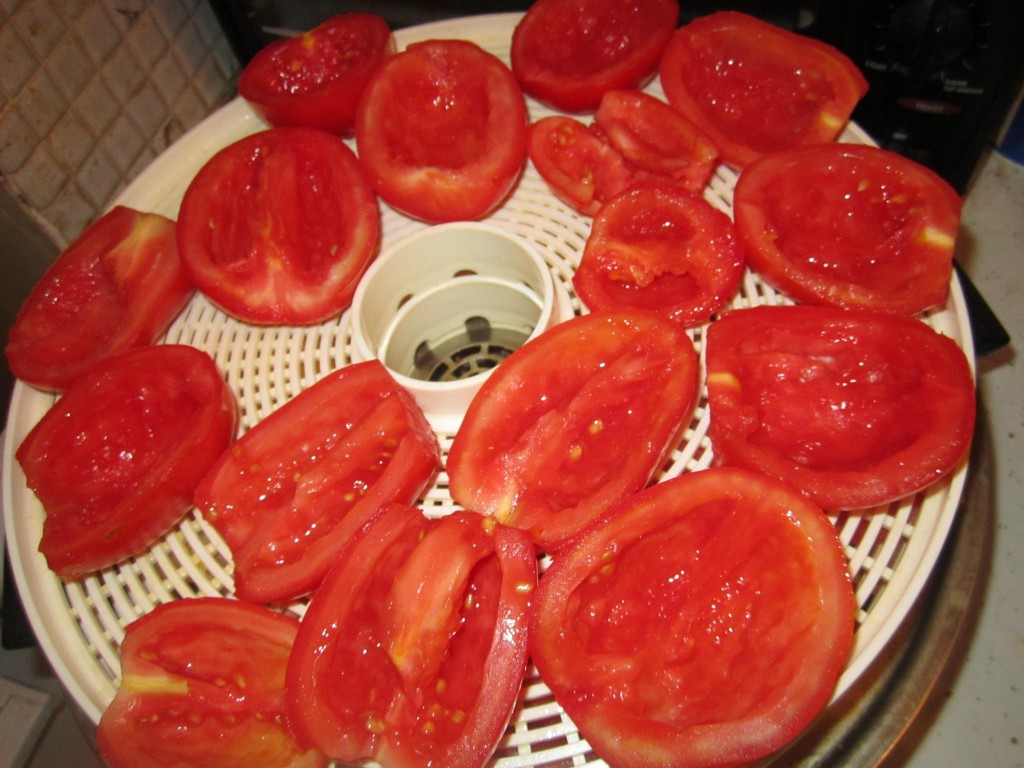
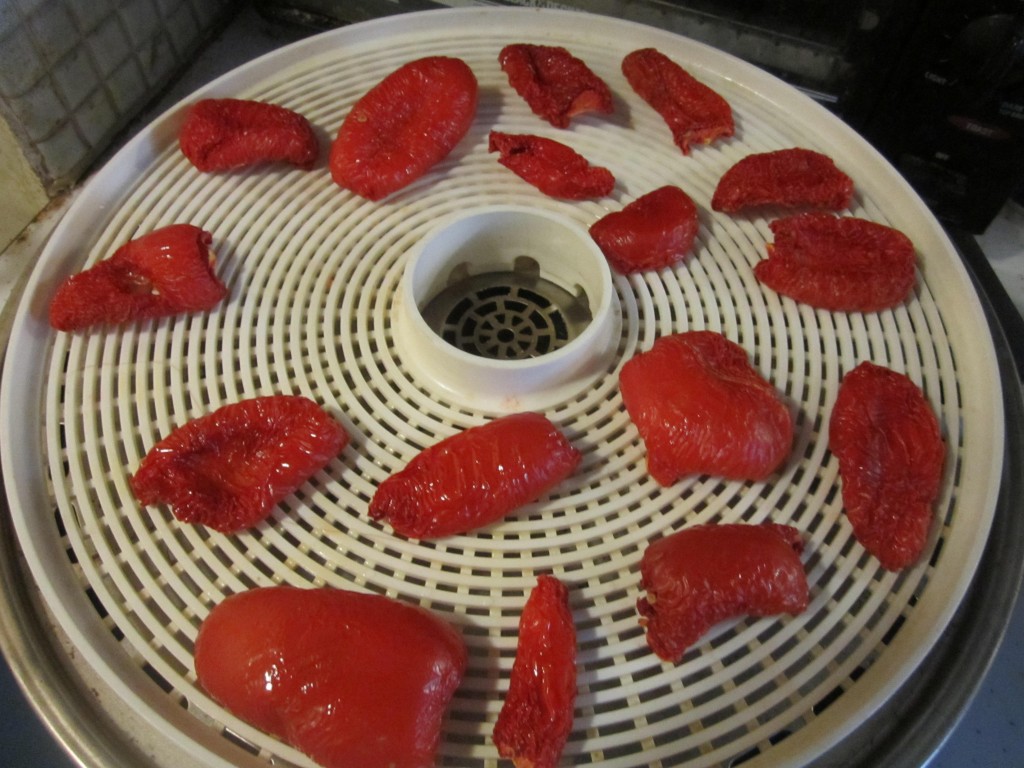
Tomatoes are probably the best vegetable to dry for the home gardener and cook. They are so easy to make and so tasty. Just cut plum tomatoes in half and scoop out the seeds. Lightly spray the trays with non-stick spray or rub with a little oil, and place the tomatoes cut side up for the first 12 hours. Turn them over after that until they are dried. I like them pretty crispy, so I dry them thoroughly. Still, just to be safe, I keep them in the freezer to keep their color and flavor longer. After a year tomatoes will darken if stored at room temperature. Larger tomatoes can also be dried. Just cut them in slices and squeeze out the seeds. Cherry tomatoes are just cut in half and squeezed to get out the seeds. With small cherry tomatoes I just make a cut large enough to get out the seeds and leave them whole.
How do you use them?
Veggie chips-zucchini and cucumber slices can be used instead of chips in dip.
Powders- Tomatoes, celery, onion, pumpkin and garlic can all be powdered and used to flavor soups, stews sauces, cheeses, dips and more. I add powdered veggies to pasta dough. Mushroom powder is one of my favorite ingredients.
Reconstituted as fresh- potatoes in casseroles are wonderful. Corn, onions, celery, and carrots all re-hydrate exceptionally well.
Dips- Peppers, onion and celery all add great flavor.
To thicken sauces- Shredded zucchini, peppers, onions, mushrooms, celery and tomatoes all work well this way. If you want a lower carb or gluten free alternative to thicken a sauce, dehydrated veggies, especially in powder form, work great.
Soups and Stews- almost any dried vegetable is used this way. Easy to just let them simmer together until tender and all their flavors will enrich your stock
Chowders- Corn and potatoes are great in these dishes
Dried vegetables are best stored in a cool, dry place- I often freeze or refrigerate them for best shelf life. They can also be vacuum sealed to retain freshness. Just be sure that your veggies are dry enough. Moisture leaves you open to the risk of mold and spoilage. An old test is to hit a piece of dried veggie with a hammer. It should shatter. Doesn’t really work with my dried tomatoes, but that is part of the reason I store my dried tomatoes in the freezer or fridge.
Vegetables in photo: Starting left with bright green and going clockwise: Celery, potatoes, red peppers, mushrooms, carrots, cucumbers, onions and tomatoes. In the center- mixed sweet peppers.

Indonesian Peanut Sauce


One of my favorite peanut butter recipes is this Indonesian peanut sauce. Peanut butter and peanuts can be used in so many savory dishes. This one packs a lot of flavor.
It is also a very simple recipe. The ingredients can be put together is just a few minutes. Great when you don’t have a lot of time to simmer a sauce. The recipe calls for milk, but I use coconut milk sometimes and it works fine. You can also adjust the heat level to suit your taste.
Once your sauce is ready, just toss with hot pasta and serve. I sometimes top with green onions or chopped peanuts- or both!!
Indonesian Peanut Sauce
1/3 c. peanut butter
1/3 c. milk
1/3 c. chicken or vegetable broth
1/2 t. crushed red pepper
1-2 cloves garlic
1 t. fresh grated ginger
1 t. soy sauce
Dash hot red pepper sauce
Salt and pepper to taste
Combine all ingredients in a blender or food processor until smooth. Toss with hot pasta.


