Cheesy Cherry-Blueberry Coffeecake


If you need a really special dessert for your next party or cookout, consider making this cheesy cherry-blueberry coffee cake. It is one of my favorite coffee cake recipes ever. The cake is not too sweet, and the combination of cream cheese, with the fruit reminds me of a cherry-blueberry blintz.
The streusal topping adds a nice little crunch.
It is fine served all on its own. You can also serve it with ice cream or whipped cream. You can also top with more blueberries and cherries.
While I think of this cake as a wonderful dessert, it can be served as a breakfast or brunch dish.
As if this weren’t enough- this cake freezes great. Who are we kidding? There won’t be any leftovers – but you could freeze them, if you had some.
So here is the recipe. Enjoy!!
Cheesy Cherry-Blueberry Coffee Cake
1 1/4 c. sugar
1/2 c. butter
2 eggs
2 1/4 c. flour
1 T. baking powder
1 t. salt
1 c. milk
1 c. fresh or frozen blueberries
1 c. pitted and coarsely chopped cherries
8 oz. cream cheese, cubed
1 t. grated lemon peel
Topping:
1/4 c. sugar
1/4 c. flour
1 t. grated lemon peel
2 T. butter
Preheat oven to 375. Grease and flour a 13×9 inch baking dish. Cream together sugar and butter until fluffy. Beat in eggs. Combine 2 cups of the flour with baking powder and salt and beat into batter alternately with the milk. Toss fruit with the remaining flour and fold into the batter along with the cheese and lemon rind. Pour batter into prepared pan. Combine sugar, flour and lemon peel for topping and cut in butter to resemble coarse crumbs. Sprinkle over batter and bake for about 45 minutes. Use toothpick to test for doneness. Serves 12.

Zucchini Brownies- Gluten Free

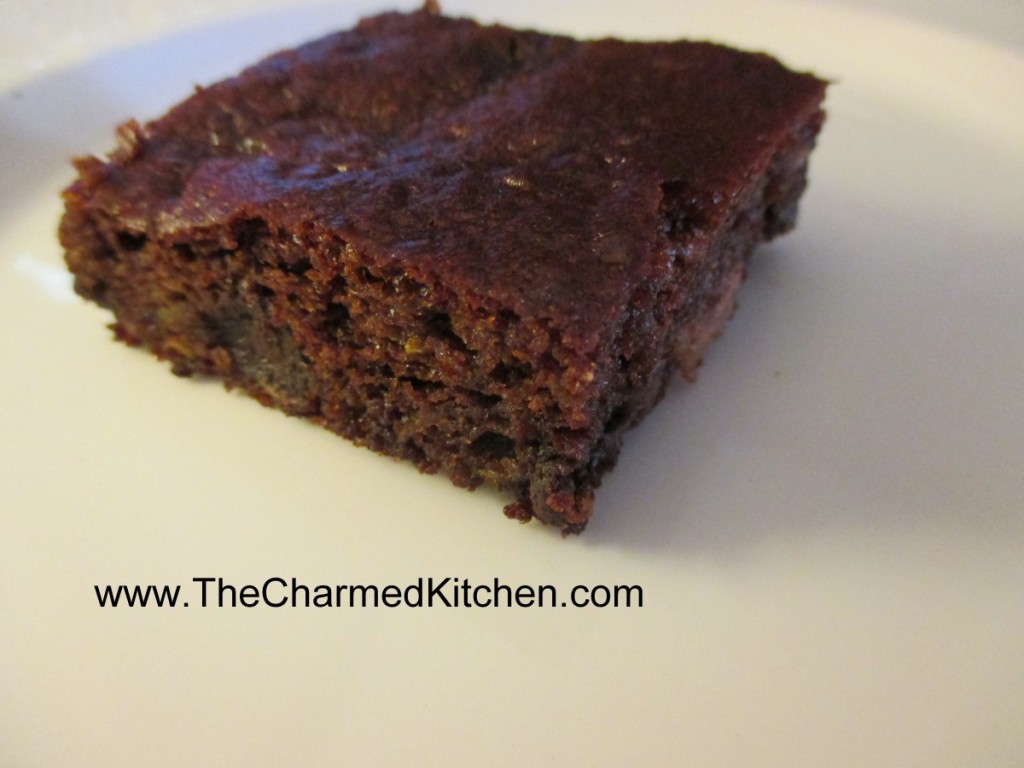
These brownies are everything you want in a brownie. Sweet, moist and very tender. The fact they are also flour and gluten-free is a nice bonus for those who can’t have gluten.
You might think, when you read the ingredients, that I left something out. I didn’t. They baked up beautifully and had a wonderful texture. I think the next time I make them, I might also add some chopped nuts.
Gluten-Free Zucchini Brownies
1½ c. shredded zucchini
1 c. almond butter- but you could use peanut butter instead
1 c. chocolate chips
1/3 c. honey – but you can use 1/2 cup if you want a sweeter brownie
¼ c. unsweetened cocoa powder
1 egg
1 t. vanilla
1 t. baking soda
1 t. cinnamon
½ t. allspice
Preheat oven to 350 degrees. Grease a 9×9 inch pan, set aside. Combine all ingredients in a medium bowl and stir until well blended. Pour batter into pan and spread evenly. Bake 25-30 minutes, or until toothpick inserted comes out clean. Cool before cutting. Makes 16.
Soft Butter Cookies


If you are looking for a truly tender cookie, this may be it. These cookies are so delicate, they just melt in your mouth!!
The secret ingredient might surprise you. It is oil. Yes, I know I said butter cookies – they also contain butter. But the combination of oil and butter makes them soft and delicate, even days after baking.
They also contain both granulated and powdered sugar. Not your typical cookie recipe, for sure. This just may be my “go to” butter cookie recipe from now on.
You don’t have to chill the dough and they roll very easily, without sticking to your fingers. You could chill the dough, but let it warm up a little before rolling. The dough can also be made ahead and frozen- I tested it.
We made these in cooking camp today. It was a great cookie for kids to make. Easy to handle. They dipped the tops of the raw cookies in nonpareils,, sprinkles or colored sugars, then baked them. You could leave them plain, then roll in powder sugar, once baked and cooled, or drizzle with melted chocolate.
Soft Butter Cookies
1 c. butter
1 c. oil, I used avocado oil
1 c. sugar
1 c. powdered sugar
2 eggs
1 T. vanilla
1 t. baking soda
1 t. cream of tartar
½ t. salt
4 ½ c. flour
In mixing bowl, beat together butter, oil, sugars and vanilla. Once well blended, beat in eggs. Stir in the baking soda, cream of tartar and salt, then add the flour, mixing until well combined. Heat oven to 350 degrees. Roll dough into one inch balls and press tops of cookies in sprinkles or colored sugar, if desired. Place one inch apart on ungreased baking sheets. Bake for 12 minutes, or until light golden on bottom. Leave cookies on baking sheets 3 minutes before placing on cooling rack. Makes about 6 dozen cookies.
Favorite Tomato Salads

Tomato season is too short around here. I can never get enough of what my mom called “real tomatoes”. The first few tomatoes never made it in the house. Warm from the sun, they were too tempting. We would pick them right off the plant and eat them. Deer have made it pretty impossible for me to grow tomatoes right now. Luckily, local farm markets have many beautiful tomatoes.
I am enjoying eating fresh tomatoes right now. Later in the season, I will purchase enough tomatoes to can and dehydrate to enjoy once the season is over.
I thought I would share a few of my favorite tomato salad recipes with you.
They are pretty simple. I think that is how it should be. When you have something as close to perfection as a ripe tomato, little more is needed.
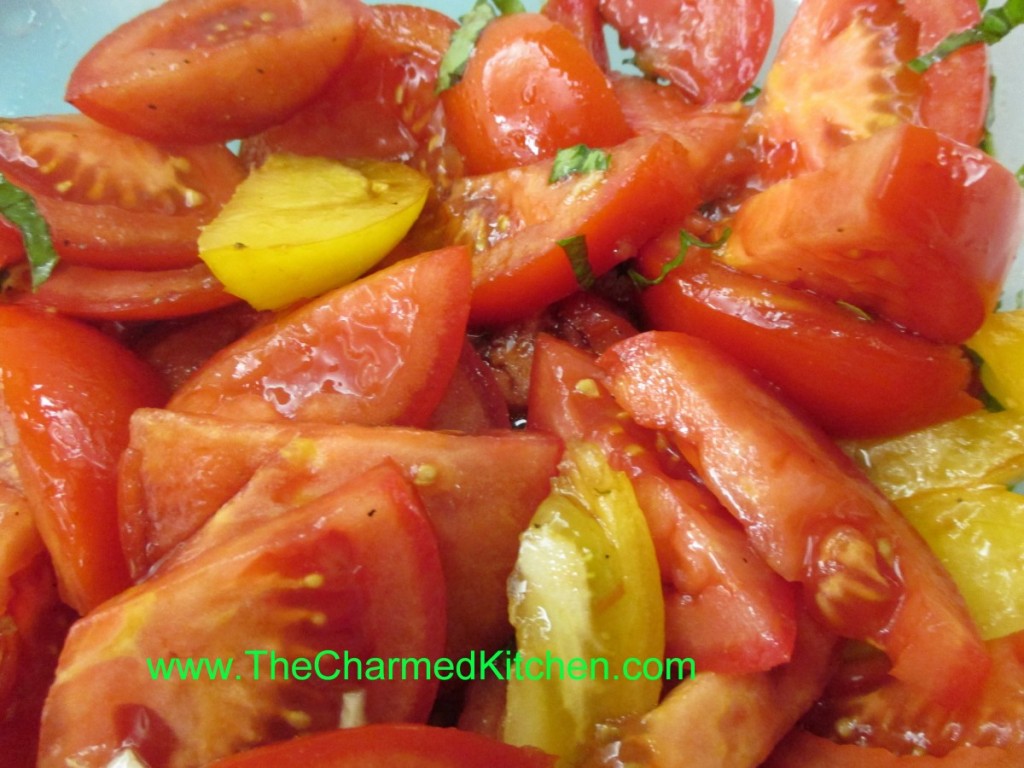
Marinated Tomato Salad
3 large tomatoes, cut in wedges, or 2 pints cherry tomatoes, halved
1 T. olive oil
1 clove garlic, minced
2-3 basil leaves, cut into thin strips
2 T. balsamic vinegar
salt and pepper to taste
Combine ingredients and serve at room temperature. Serves 4-6.
Tomato and Feta Salad
3 tablespoons crumbled feta cheese
12 cherry tomatoes, thinly sliced
1/2 sweet onion, diced
1 tablespoon olive oil -I used a lemon infused olive oil
1 tablespoon lemon juice
Salt and pepper to taste
In a bowl, mix the feta cheese, cherry tomatoes, onion, olive oil, and lemon juice. Add salt and pepper to taste. Serve immediately. Serves 2.
Warm Pasta Salad
1 lb. Plum tomatoes, chopped
1 medium sweet onion, chopped
4 oz. Fresh mushrooms, sliced
2 cloves garlic, minced
¼ c. fresh parsley, chopped
1 T. dried basil or 1/4 c. chopped fresh basil
1 T. capers, optional
1 t. dried oregano
½ c. olive oil
¼ c. red wine vinegar
3 T. balsamic vinegar
Dash of hot red pepper flakes
Salt to taste
1 lb. Uncooked pasta
Combine all ingredients, except pasta and chill overnight. Cook pasta, drain and toss with tomato mixture. Mixture should be served right away . Serves 6.
BLT Salad
6-8 slices bacon
2 slices rye bread
2 slices Swiss cheese
5 c. torn up lettuce or mixed greens
3 T. olive oil
2 T. apple cider vinegar
1 T. balsamic vinegar
Salt and fresh ground pepper
2-3 tomatoes, diced
Cook bacon until crisp. Remove from pan, drain and crumble. Remove most of the bacon grease from the pan. Make a sandwich with the rye bread and the Swiss cheese. Toast in the skillet over medium heat until golden brown and cheese is melted. Set aside. Place lettuce in bowl and toss with the oil to coat the leaves. Toss with the vinegars and season with salt and pepper to taste. Add the tomatoes and the bacon and toss. Cut the sandwich into cubes and place on the top of the salad. Serves 2.
Note: you can make two sandwiches if you want more bread and cheese in the salad.
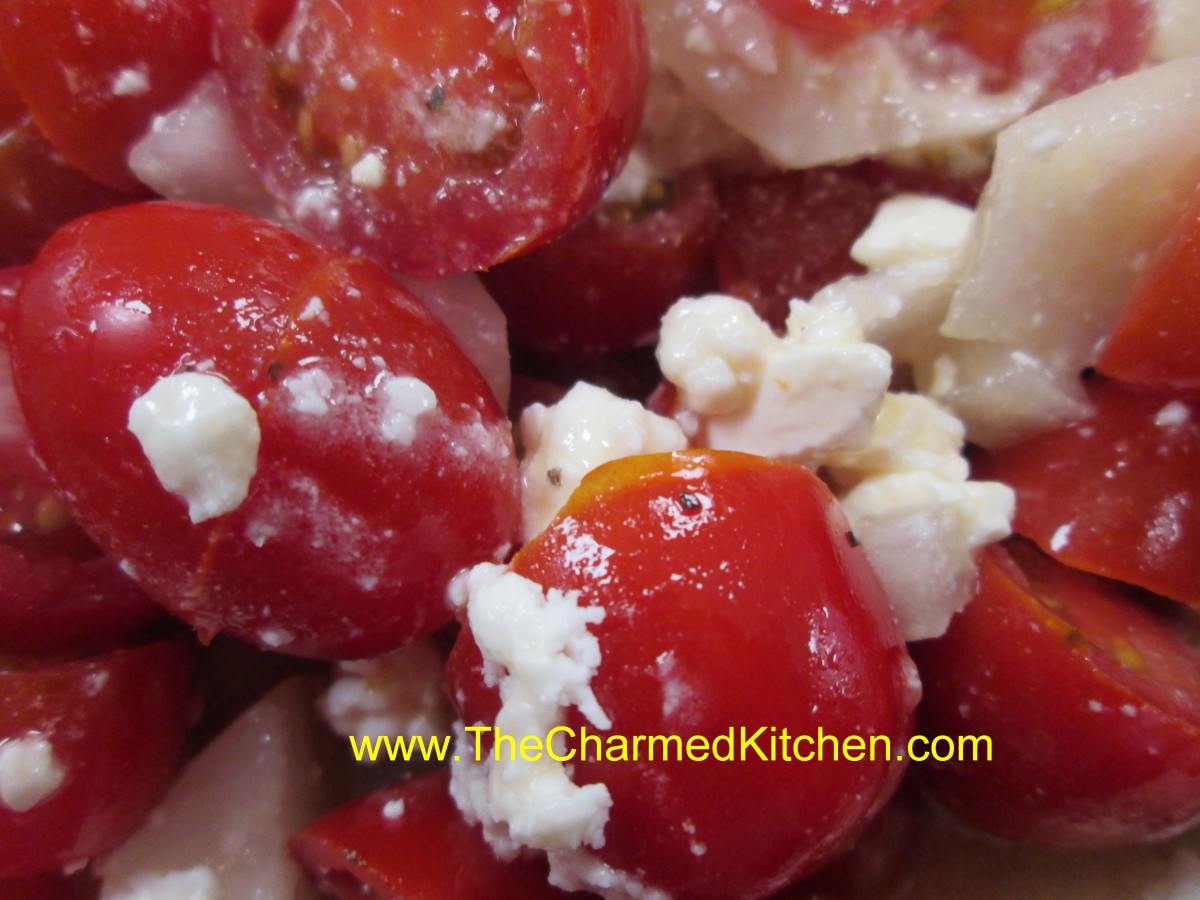
Tomato Feta Salad
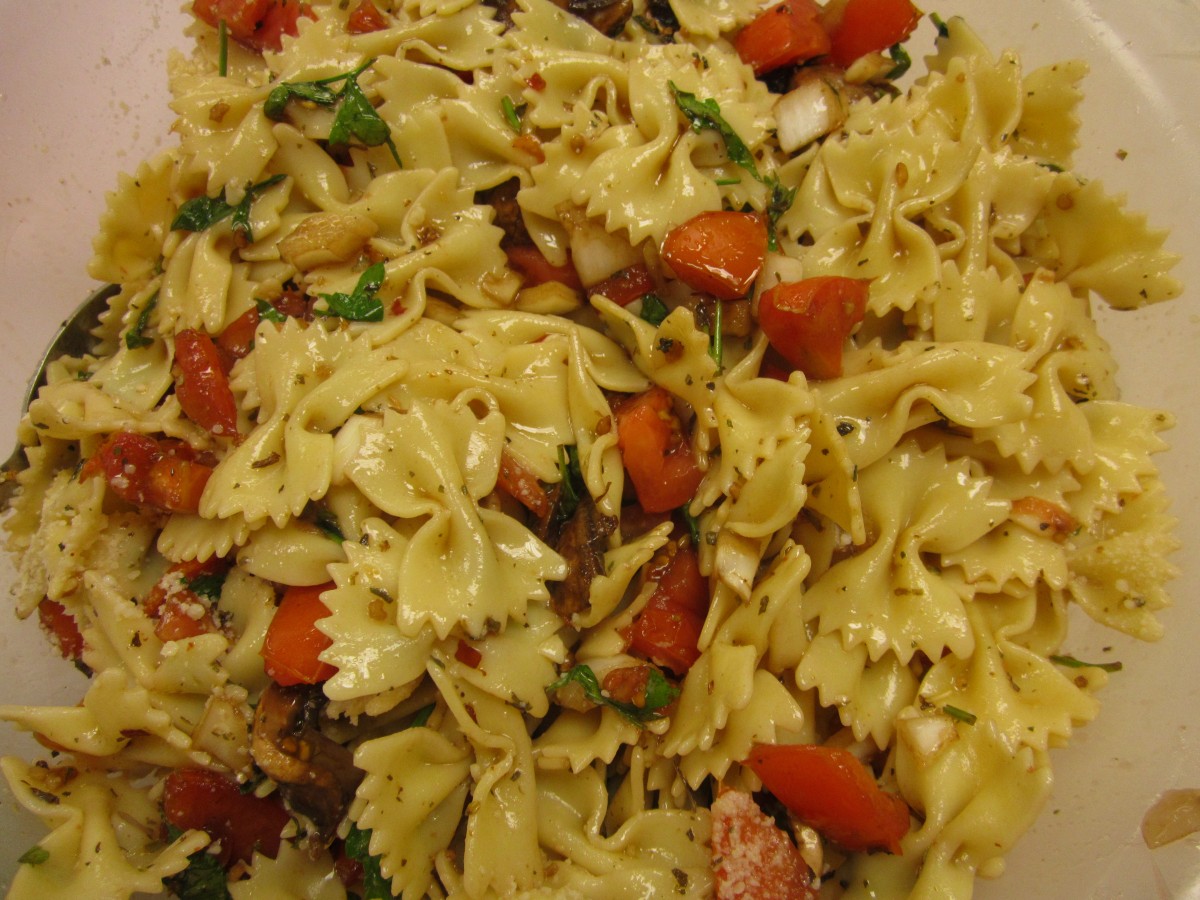
Warm Pasta Salad

BLT Salad
Creamy Zucchini Soup- Hot or Cold


You can never have enough recipes for zucchini. If you have ever planted zucchini, you know what I mean.
This is a recipe I’ve had for ages, but had not made in a while. I forgot how much I liked it. As an added bonus, it can be served hot or cold.
I leave the skins on my zucchini, I like the way the little green flecks look in the soup, but you can peel, if you prefer. You can also use a combo of green and yellow summer squash.
Here is the recipe.
Creamy Zucchini Soup
1 medium onion, chopped
2 T. butter
4-6 medium zucchini, sliced
1 large potato, peeled and diced
1 T. chopped parsley
½ t. each basil, marjoram and thyme
1 t. hot sauce, or to taste
salt and pepper to taste
6 c. chicken or veggie broth
1 c. milk or half and half- I prefer the half and half
In Dutch oven cook onions in butter until tender. Add vegetables and seasonings and cook until hot. Add broth, heat to a simmer and cook 15 minutes. Puree mixture in blender in batches and return to pot. Add milk and heat through. Adjust seasonings. Serve hot or cold. I topped mine with some fresh chopped parsley and a little hot sauce. Serves 6-8.
Spiced Cherries


These cherries are so good, I am already wishing I had canned more of them. I was inspired by my cousin, Laurie, who needed spiced cherries for a recipe she wants to make.
I first thought about the spices I wanted to use. I didn’t want to overpower the cherries, but I wanted the spices to complement the flavor of the fruit. In the end I used cinnamon sticks, fennel seeds, fenugreek, cloves and some cracked black pepper.
Once I decided which spices I wanted to use, I steeped them in boiling water. Kind of like making tea. Then I strained out the spices and used the spiced water in the syrup for the cherries. I could just have added spices to the cherries when I canned them, but I didn’t want stuff in the jars I would need to strain out later. I also knew the spices would get more intense over time, if left in the jars. By making a tea and tasting it, I knew what level of spice I would have in the final product.
The spiced cherries can just be eaten, right out of the jar. They can also be drained and added to fruit salads or used to top desserts. You can also use them to bake with. They aren’t overly sweet.
Laurie is using them in some sort of chocolate cherry martini. Now that sounds good!!!
They would make nice gifts, too.
So here is my recipe for spiced cherries.
Spiced Cherries
7 (3-4 inch) cinnamon sticks
2 T. fennel seeds
2 T. fenugreek seeds
1 T. whole cloves
1 T. cracked black pepper
5 c. water
11 lbs. sweet cherries
3¼ c. sugar
Zest of 2 limes
Juice of 2 limes
Place spices in a large pot and turn heat on to medium. Toast spices in pot for about 4-5 minutes, stirring occasionally. You should be able to smell them. Watch so they don’t burn. Add the water to the spices, bring to a boil, and simmer for at least 15 minutes. Longer cooking is fine. Fill water bath canner with water and heat up water to a simmer. In the meantime, pit the cherries. You should end up with about 4½-5 quarts of pitted fruit. You can hold pitted cherries in a bowl of water with a little ascorbic acid in it, to prevent browning. Set aside. Remove the spiced water from the heat. Strain out the spices and discard them. Measure the spiced water and add enough fresh water to equal 5 cups. Return water to pot with the cherries (drained if they were in water), sugar, zest and lime juice. Bring mixture to a boil. Fill pint jars with cherries and cooking liquid, leaving ½-inch headspace. Wipe rims and screw on lids until fingertip tight. Place jars in water bath canner. Make sure the water covers the jars by 1-2 inches. Place lid on canner, and start timing when water returns to the boil. Process for 15 minutes. Remove jars from canner and place on a cooling rack or towel, in a draft free area. Once cooled, check the lids to make sure they are sealed. Remove bands and wipe down jars. Label and store. Makes about 9 pints.
Times and procedures all used NCHFP guidelines.
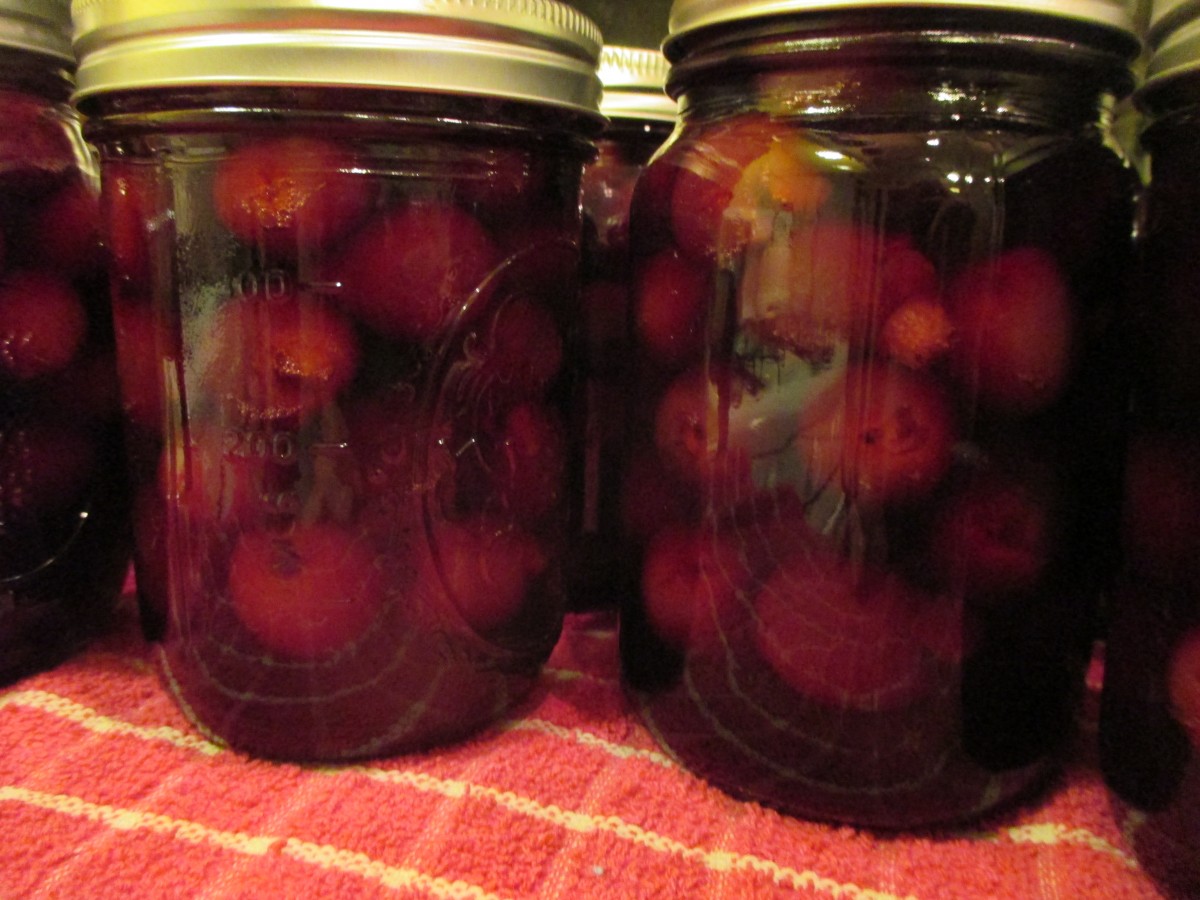
Jars cooling down
Pizza Zucchini


I started making this dish out of necessity. I was fresh out of college and never seemed to have much money. I did have a big garden, though. It was August and the garden was full of zucchini, tomatoes and peppers. I had to find a tasty way to combine them. Pizza Zucchini was born.
The name is a little misleading. It isn’t really a pizza at all. Rather, it is a saute of several veggies, seasoned with pizza seasoning. I top it off with cheese, and often serve it over pasta or rice or stuffed in a pita bread. Last night, I served it on a whole wheat tortilla, so it did sort of have a pizza feel to it.
Not much work, but this dish packs a lot of flavor. You can use other veggies, depending on what you have around. So if you have a few extra zucchini laying around, this is a fun and tasty way to enjoy them. You might even get your family to eat more veggies.
“Pizza” Zucchini
1 T. oil
½ c. chopped onion
1 sweet pepper, seeded and chopped
1 c. sliced mushrooms, optional
3-4 c. sliced zucchini or other summer squash, trimmed and sliced
3 c. diced fresh tomatoes, or use canned or 1 c. tomato sauce
1-2 t. pizza seasoning, or to taste*
8 oz. Mozzarella cheese
Sauté onion in oil until tender add pepper and mushrooms and sauté 2 minutes more. Add squash and cook until tender. Add tomatoes or sauce, seasonings and salt, if desired. Heat through, turn down heat and add cheese. Cover and allow to cook on low until cheese melts. Serve as is, over rice or pasta or in pita bread. Serves 3-4.
*Pizza Seasoning
3 T. dried basil
2 T. dried oregano
1-T. red pepper flakes
1 T. dried minced onion
1-T. fennel seeds
1 t. garlic powder
Combine all ingredients and store in a cool, dark, dry place.
To use: Add 1-2 teaspoons per cup of tomato sauce to make pizza sauce. Also good sprinkled on bagels with sauce and cheese or added to any tomato or pepper dish.

Cold Beet and Watermelon Soup


I really love this soup. On a hot day, it makes a great first course. I love salads, but sometimes I just want something else. It couldn’t be easier. You just blend up equal parts of watermelon and beets. Thin the mixture down with some stock. Add a bit of mint, and you are good to go.
I got this recipe from a friend of a friend. I tweaked it a little from the original, but it is pretty much the same. It is so simple and a great soup for a hot day. The sweetness of the watermelon pairs nicely with the earthy flavor of the beets. The mint also adds a nice little pop of flavor. The color is pretty cool, too.
I shared this recipe with a friend and she said she just drinks it like a smoothie. I find it a refreshing start to any meal, especially on a hot day.
Cold Beet and Watermelon Soup
1 part diced beet (cooked)
1 part diced seedless watermelon
a spring of mint
Put in blender
Add Chicken or Vegetable stock to taste/consistency
Add salt if desired
Dollop with Creme Fraiche or Sour Cream or even Greek Yogurt, if desired.
Garnish with fresh mint.
With any cold soup- chill well after you make it. You might even want to chill the bowls and spoons.
Raspberry Tea Bread

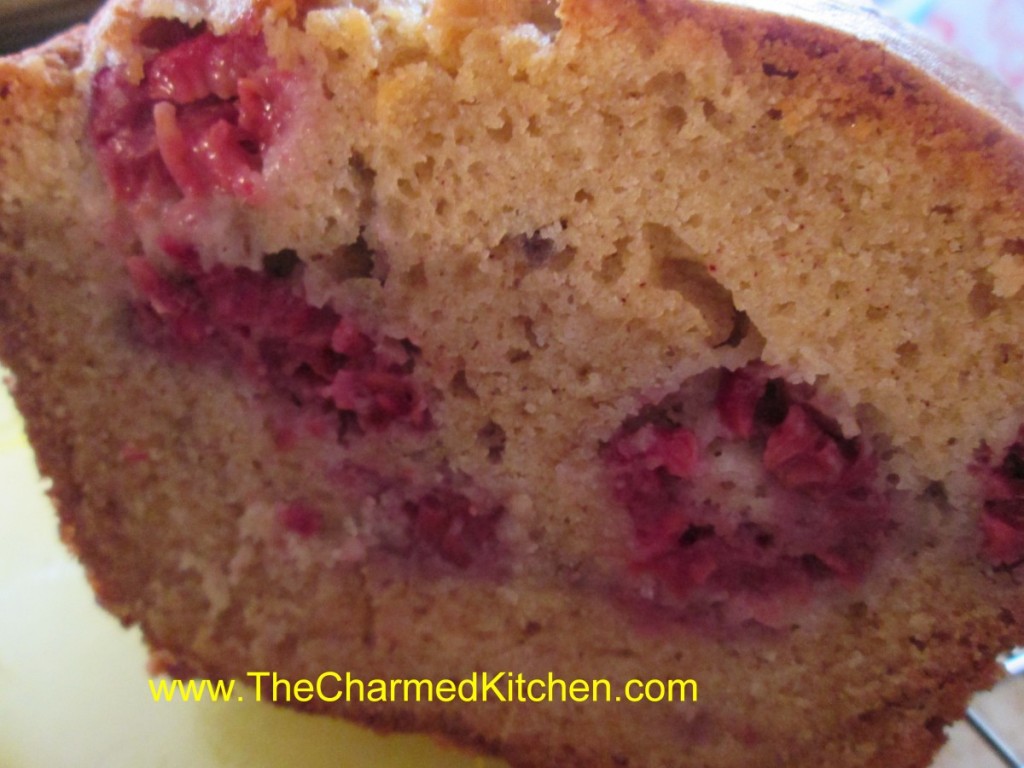
This raspberry tea bread is a favorite of mine. It is not too sweet and pairs nicely with coffee or tea, so it can be a breakfast or brunch dish. It makes a nice dessert, too.
The bread is studded with raspberries with hints of cinnamon and vanilla. It can be eaten plain or served up with fruit topping or maybe some whipped cream. I have used it as the base for a pretty good shortcake. I topped slices of the raspberry bread with ice cream, more berries and a dollop of whipped cream.
Like most quick breads, it is better if you wrap it up in plastic or foil, once cooled, and eat it the next day, if you can wait that long!!
Raspberry Tea Bread
1¾ c. flour
½ t. baking powder
½ t. baking soda
½ t. salt
½ t. cinnamon
½ c. butter, at room temperature
¾ c. sugar
2 eggs, room temperature
½ c. sour cream, room temperature
1 t. vanilla
1 c. raspberries, fresh or frozen
¾ c. chopped nuts, optional
Grease an 8×4 inch loaf pan and preheat oven to 350 degrees. In a large bowl combine dry ingredients. Set aside. In small bowl beat butter until creamy. Add sugar and beat 1 minute. Beat in eggs one at a time. Beat in sour cream and vanilla. Stir in flour mixture until just moistened. Fold in berries and nuts and place batter in prepared pan. Bake 60-65 minutes, or until toothpick inserted in center comes out clean. Let stand in pan 10 minutes. Remove from pan and cool on wire rack. Makes 1 loaf. Freezes well.
Collard Green Omelet


I love this recipe. The collards add a nice flavor to the eggs and cheese. Makes for a pretty nutritious breakfast. We made this dish in a recent cooking class. Thought I would share the recipe.
I really love collards. Collards are full of nutrition and great flavor. I think they sometimes get overlooked. Why should kale get all the attention? Collards are every bit as good- and easier to clean!!
The way I first had collard greens was traditionally cooked- long and slow. I’ll still eat greens cooked for hours with a ham hock or smoked turkey, but I prefer to cook them less.
This is how I like to prep collards. Once cooked, I can add them to lots of dishes, like the omelet.
Rinse the greens well and remove larger ribs. Slice into thin strips. Heat oil in a skillet and add the collard greens, cooking for several minutes until they have wilted. Season with some salt and add a small amount of water to the skillet. The greens will cook down a lot. As they cook down, taste after 10 minutes or so to see if they are tender enough. Sometimes they take longer, but I like them with a little bite left in them. Season with more salt and some pepper or hot sauce and enjoy, or save to use in other recipes.
I will often cook up a lot of collards and then freeze them until needed.
Variations: you can sauté an onion or some peppers in the skillet before adding the greens. You can also add some bacon fat in place of the oil for a smoky flavor.
Collard Green Omelet
Oil or butter
¼ c. chopped onion
2 c. cooked collard greens
4 eggs
Salt and pepper to taste
1 T. water
1 c. shredded cheese- any type you like
Heat oil or butter in skillet. Add onion and sauté until tender. Add collards and cook until heated through. Remove from pan and set aside. Meanwhile wipe out pan and add fresh oil or butter. Heat pan and while pan is heating up combine eggs with water in a medium bowl and beat until smooth. Add salt and pepper to taste. Pour eggs into hot pan rolling around to coat pan evenly. Using a spatula lift the eggs as they cook allowing uncooked eggs to reach bottom of pan. Once eggs are almost cooked add the vegetables and cheese to one half of the eggs. Using spatula gently fold the uncovered half of the omelet over the side with the cheese and veggies. Turn heat down and allow middle to heat through and eggs to finish cooking. You can also turn the whole omelet over to brown evenly on both sides. Slide omelet onto a serving plate. Serves 2-3.


