Mom’s Pumpkin Chiffon


Pumpkin Chiffon
I fondly remember when my Mom used to make this dessert. I think of her whenever I make it. From a technical cooking standpoint, it’s not really a chiffon, but that is what my Mom called it, so I will leave it as Pumpkin Chiffon. It’s more like a pumpkin pie, without the crust. Super easy to make and quite tasty. I bake it in a casserole dish but you could also make it in individual ramekins. This recipe is always a big hit when I make it for friends. You could use canned or fresh cooked pumpkin or winter squash, like butternut or Hubbard. I always cook up and freeze pumpkin and squash for later use, so frozen would work, too. Because there is no crust, it is also gluten-free. I sometimes serve it with gingersnaps and whipped cream. It is a lovely Fall dessert.
Mom’s Pumpkin Chiffon
½ c. applesauce
1 c. cooked or canned pumpkin or squash
¾ c. brown sugar
1 t. cinnamon
½ t. salt
½ t. nutmeg
1/8 t. cloves
4 eggs, well beaten
1 c. half and half or evaporated milk
Stir together first seven ingredients. Beat in eggs and stir in milk. Place mixture in 1 ½ quart casserole and bake in a 350-degree oven for 1 hour and 15 minutes. Serve alone or with cookies. Serves 6-8.
Pumpkin Squares and The World Series

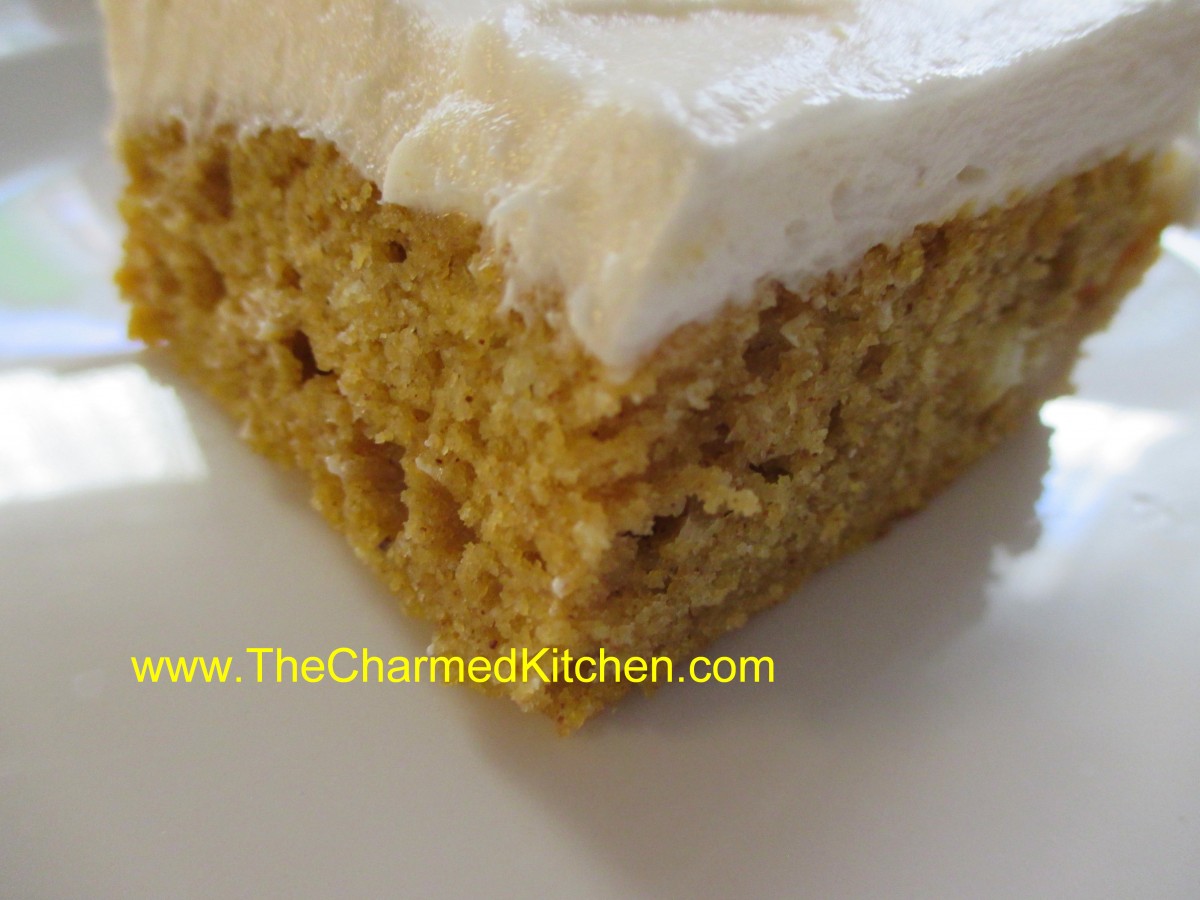
Pumpkin Squares
With the Indians getting ready to take on the Chicago Cubs tonight, I have been thinking a lot about these pumpkin squares. In their own way, they may have had a role in helping the Indians go to the World Series in 1997. OK, that may be stretching it a bit. But they did help them win at least a few games. At least according to some….
My friend, Mary Buynak, fell in love with these the first time I made them for her. Her husband, Cy, worked for the Cleveland Indians back then. He managed the visiting team clubhouse and Mary would bake for the visiting team. The Detroit Tigers were in Cleveland for a weekend series and Mary made these for them. The Tigers ate them up, so Mary made more. A lot more…
We swept the Tigers that weekend. Mary felt all that cream cheese frosting had made the Tiger players a little slower than usual. She felt, that in a small way, her pumpkin squares had helped Cleveland to win that weekend. She even mentioned it to Mike Hargrove, the manager at the time.
I like that. It made my mom smile, for sure. She was a big Indians fan. When we had these at Thanksgiving dinner later that year, we were sure to tell our Michigan relatives about it. From that point on, the pumpkin squares were always known as the food of the losers. Wish I knew how to get a batch to the Cubs.
So here is the recipe. Maybe bake up a batch and enjoy them while watching the game. Play Ball!!!
Pumpkin Squares
1 c. sugar
½ c. oil
16 oz. cooked pumpkin, canned, fresh (preferred) or frozen
4 eggs, beaten
2 c. biscuit mix (homemade or Bisquick or Jiffy Mix)
2 t. cinnamon
½ c. raisins, optional
Grease a jelly roll pan and set aside. Preheat oven to 350 degrees. Beat first 4 ingredients for 1 minute. Stir in mix, cinnamon and raisins. Pour in prepared pan and bake 25-30 minutes. Test for doneness with a toothpick. Cool and frost. Frosted cake must be kept refrigerated between servings.
Frosting:
8 oz. cream cheese
2/3 c. butter
2 T. milk
2 t. vanilla
3 c. powdered sugar, or more
Beat together until smooth.
Halloween Quesadillas


Halloween Quesadillas
OK, maybe I’m taking the whole Halloween theme too far. I was making quesadillas for a dinner with friends, and realized that the ingredients were black, orange and green. Thought the combination would be perfect for a Halloween party. They are a fun party food already, and by using black olives, orange sweet peppers, green chilies, onions and cheddar cheese they fit in well with the color scheme for Halloween. They taste great, too, which is always the most important thing in the end. I pan fried these, but you can also bake them in the oven. They can also be made ahead, and warmed up for serving.
Halloween Quesadillas
Large flour tortillas
oil
sliced or shredded cheese
sliced black olives
chopped orange sweet peppers
chopped sweet onion
diced green chilies, fresh or canned
Mix olives with veggies and set aside. Place tortilla on work surface and spread one half with some of the veggie mixture. Top with some of the cheese and fold over. Press slightly. Repeat with remaining ingredients. Heat oil in skillet and cook quesadillas over medium heat until golden on both sides and heated through. Remove to cutting board and cut into wedges before serving. Serve on a platter with sour cream and salsa, if desired.
Note: If you would rather bake the quesadillas assemble as directed above. Place on a baking sheet and brush with a little oil. Bake in a preheated 425 degree oven until golden, about 15 minutes.
Flaming Ghost Cake


Flaming Ghost Cake
I have posted this recipe before, but thought it might be a good time to post it again. This one is fun for Halloween. You start with a baked 9×13-inch cake. Frost it with chocolate frosting and then use white frosting to draw a ghost on the cake. You can make all sorts of images- cats, bats, pumpkins. When ready to serve the cake, the eyes are set on fire. Fun effect. Kids and grown-ups both will get a kick out of it. Just be sure to have proper adult supervision for the kids. The picture doesn’t do it justice. Very cool blue flames. Don’t forget to turn down the lights!
Flaming Ghost Cake
1 prepared 9×13- inch cake, any flavor
2 c. chocolate frosting, I prefer homemade
1 c. vanilla frosting, I prefer homemade
3 oz. semi sweet chocolate, optional
2 empty eggshell halves, washed well and dried
2 sugar cubes
Lemon extract
Frost cake with chocolate frosting, then spread vanilla frosting in the shape of a ghost. Melt chocolate in a small plastic bag. When chocolate is melted snip off the corner of the bag and use to outline ghost. Place eggshell halves in cake, round side down where the ghost’s eyes would be. Soak sugar cubes in lemon extract and place in eggshells. When ready to serve light sugar cubes and turn off the lights. Serve 12-16.
Variations: You can use the flaming eyes effect on cat shapes, pumpkins or even bats. Practice drawing the shape on paper before frosting the cake. If you bake a larger round cake the whole thing can be the pumpkin. Just frost it with orange tinted frosting.
Pineapple Blintzes


Pineapple Blintzes
I taught a class last night on cooking with tortillas. We made some traditional dishes, but we also had fun making these fruit filled blintzes. We used the tortillas to replace the crepes. Everyone loved them.
I soaked the tortillas in milk. That is the secret to make this dish work. By soaking the tortillas in milk, they soften up and can be used like a crepe. It changes their texture completely. Soak them for at least 20 minutes, or up to an hour. I placed the tortillas in a shallow baking pan and made sure to drizzle each one with milk as I added them to the pan. They will stick together if softened too long, so you might want to put the tortillas on sheets of plastic wrap or wax paper to keep them separate as they soften. You could also soak them in almond or rice milk, or even fruit juice.
For the filling, I used a pineapple filling that I made from crushed pineapple, sweetened with sugar, a little vanilla and thickened with Clear Gel- a type of cornstarch.* Here is the recipe for the pineapple filling along with directions on how to assemble and prepare them.
Pineapple Blintzes
Filling:
1 can ( 20 oz.) crushed pineapple, packed in juice, un-drained
½ c. sugar, or more to suit your taste
1 t. vanilla
¼ c. Clear Gel or cornstarch
2 T. cold water
Butter for frying
12 flour tortillas- 8-inch
Powdered sugar
In sauce pan, heat together pineapple, sugar and vanilla and bring to a boil. Combine Clear Gel with cold water and stir until smooth. Slowly drizzle this mixture into the pineapple, stirring constantly. Mixture will thicken quickly. You might not need to add all of the Clear Gel mixture. Once it thickens, remove from heat and cool down a little before making the blintzes. Makes about 3 cups, enough for about 12 blintzes.
To assemble the blintzes, place a softened tortilla on your work surface and spoon a little pineapple filling in the middle. You can do this with hot filling, but easier if the filling has cooled down or is even cold. Don’t over fill them or you won’t be able to fold them up. I used 8-inch tortillas and used about 1/4 cup of filling for each one. Fold the sides in until they almost meet in the middle and then roll the tortilla up to cover the filling. Place seam side down until ready to fry them.
Heat butter in a skillet, and brown the blintzes over medium heat until lightly toasted on both sides. They will be crispy on the outside, but tender in the middle. Put on a serving plate, sprinkle with powdered sugar and serve while warm.
Note: They can be assembled ahead of time, then kept in the fridge until ready to cook. You can also cook them up ahead of time, and just warm in the oven when ready to serve. If rewarming them, cover to keep them from drying out.
I have made these before and use different fruit fillings. I’ve also made a cheese filled version a few times. It seems I usually have a package of tortillas, so it is a go-to dessert for me in a pinch. Nice brunch or breakfast dish, too. For dessert, you can also top them with ice cream or whipped cream.
* Clear Gel is modified cornstarch. It is used in commercial pie fillings and in many frozen dinners. It looks just like regular cornstarch. The big difference between Clear Gel and traditional cornstarch is that Clear gel won’t get runny when reheated. If you have ever used cornstarch to thicken a stir fry, you know that the next day, if you reheat it, the sauce thins out. Clear Gel does not do that- it stays thick. Clear Gel is available at stores in Amish communities and on-line.
Vampire Chasers – Cheesy Garlic Toast


Vampire Chasers
If you are concerned about keeping away vampires this Halloween, you might want to make this recipe for cheesy garlic toast. Garlic is widely accepted as a repellent for vampires- and a lot less messy than a stake through the heart.
This is one of my favorite appetizers. I make them a few times a year, but they are extra fun to serve at a Halloween party.
A mixture of garlic and onions are cooked in butter, then spread over the bread slices. That would be plenty for most garlic bread- but you take it up a notch with a cheesy/ mayo mix on top. Baked for just a few minutes- these are always a hit. They can be served as an appetizer, or as a side with dinner.
Vampire Chasers
1 French baguette, cut into 3/4 inch diagonal slices
1 large minced onion
8 cloves minced garlic
1/4 cup butter
2 cups shredded mozzarella cheese
1/2 cup grated Parmesan cheese
1 cup mayonnaise
Slice the French baguettes diagonally into 3/4 inch slices. In a medium skillet, over medium heat, melt the butter. Combine the onions and garlic in the skillet. Cook and stir until tender. Set aside to cool. In a mixing bowl, combine the mozzarella cheese, Parmesan cheese and mayonnaise. On a cookie sheet, arrange the French bread slices in a single layer. Spread the onion and garlic mixture on the bread slices. Spread the cheese and mayonnaise mixture over the onion and garlic mixture on the bread slices. Bake in a 400 degree oven for 10 minutes or broil about 5 minutes, until the cheese is bubbly and slightly browned. Serve immediately.
Bat “Wings”

Bat “Wings”
With Halloween fast approaching I thought I’d share this recipe for bat wings. OK, not really bat wings, but you already knew that. I just add black food coloring to barbecue sauce and use it to color chicken wings. I made a batch for a Halloween party a few years ago and someone actually asked if there were real bat wings. A word of warning- when you use black food coloring it will transfer to you. No matter how careful you are when you eat the wings, you’ll end up with purple fingers. Also, for the best effect keep the wings intact- no trimming off of the tips. They look pretty cool when set out on the table. Creepy- but very tasty.
Bat Wings
2-3 lbs. whole chicken wings
salt and pepper
1 c. barbecue sauce- store bought or home made
black food coloring- handle carefully- it stains
Place chicken wings in a roasting pan, season with salt and pepper and bake in a preheated 400 degree oven for 30 minutes. Meanwhile in medium bowl combine sauce with food coloring. Add just a little black food coloring at a time. Too much will alter the flavor of the food. Remove wings from the oven and dip them in the bowl of sauce. Turn to coat. Place wings on a clean baking sheet and return to the oven. Bake an addition 45 minutes. You can baste them with additional sauce during the baking, if you like. Place on a serving platter and provide plenty of napkins.
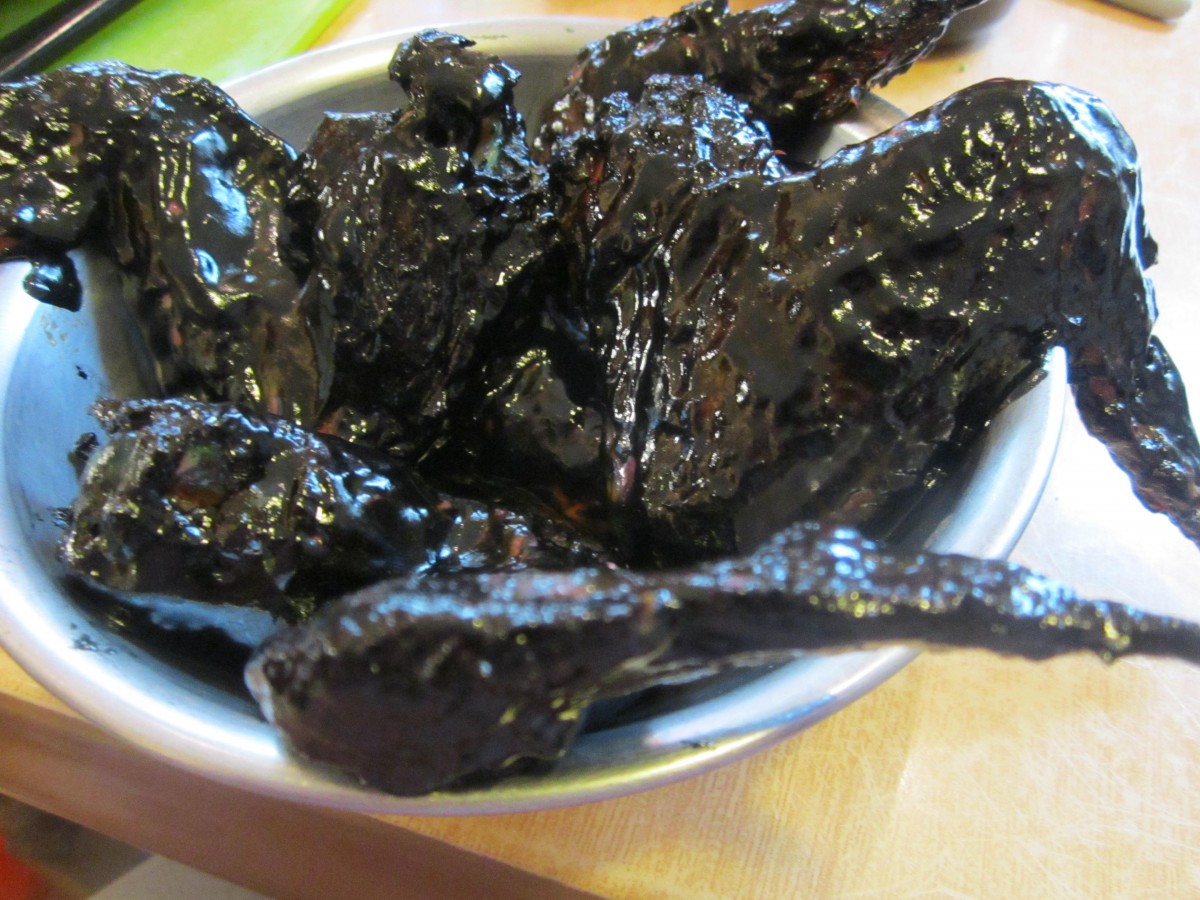
A pile of “bat” wings
“Pumpkin” Cinnamon Sugar Cookie


Giant “Pumpkin” Cinnamon Sugar Cookie
This is a fun treat for kids to make for Halloween. It is a giant cinnamon sugar cookie, baked in a pizza pan, and decorated to look like a Jack o Lantern. They are fun to make for a Halloween party, but can also be made by kids at the party. If you get aluminum (disposable) pizza pans, you can have each kid bake and decorate their own cookie to take home. Once the cookie dough is made, it is spread in a pizza pan, then baked. When the cookie is cooled, spread with orange-tinted buttercream and let the kids make a face on it with assorted candies or frosting, tinted different colors.
Giant “Pumpkin” Cinnamon Sugar Cookie
½ c. butter, softened
½ c. packed brown sugar
1/3 c. granulated sugar
1 egg
1 t. vanilla
1 c. flour
2 t. cinnamon
Orange tinted buttercream- recipe follows
Peanuts, M&M’s or candy corn
Beat together butter and sugars until smooth. Beat in egg and vanilla. Stir in flour and cinnamon then press into ungreased 12-13-inch pizza pan. Bake in a 350-degree oven for 15-18 minutes. Remove from oven and cool down before frosting. Use remaining ingredients to make a Jack-o-lantern face on the pumpkin. Makes 12 servings.
Classic Butter Cream
1/3 cup butter
4 1/2 cups sifted confectioners’ sugar
1/4 cup milk
1 1/2 teaspoons vanilla extract
In a bowl beat butter or margarine until fluffy. Gradually add 2 cups of the confectioners’ sugar, beating well. Slowly beat in the 1/4 milk and vanilla. Slowly beat in remaining sugar. Beat in additional milk, if needed, to make of spreading consistency. Tint with food color, if desired.
Aunt Josie’s Cabbage Soup


Aunt Josie’s Cabbage Soup
This is a great soup for this time of year. I have some fresh, local cabbage and even used the last of my fresh tomatoes to make the tomato sauce. The soup is a meal all on its own, or it can be served with crusty bread. It is simple to make and loaded with flavor. The recipe came to me through my Mother, who got it from my Aunt Josie. While I normally make it in a soup pot, it can be make in a crock pot- after the onions and sausage have been browned a little. Ready in no time, it is a great solution when you want home made soup but don’t have a lot of time.
Aunt Josie’s Cabbage Soup
1 T. oil
1 c. chopped onion
1 clove minced garlic
1 ½ lbs. Cooked smoked sausage, sliced or diced, I use turkey sausage
3 carrots, peeled and cubed
8 cups coarsely chopped cabbage, a small head
1 sweet pepper, seeded and chopped
1 c. tomato sauce
2 qts. Water
1-t. salt or paste type soup base
pepper to taste
3 medium potatoes, cubed
2 T. oil
1/3 c. flour
1 t. paprika
Sauté onion in oil until browned. Add garlic and sausage and cook until sausage is browned. Add vegetables, sauce water and seasonings and cook, covered 15 minutes. Add potatoes and cook, covered, 15 minutes more. In bowl combine oil, flour and paprika and stir until smooth. Ladle some hot soup into flour mixture and whisk until smooth. Repeat a few more times, until flour forms a paste. Pour this mixture into soup and simmer 2 minutes, until thickened. Serves 10-12.
Busha’s Mushroom Soup


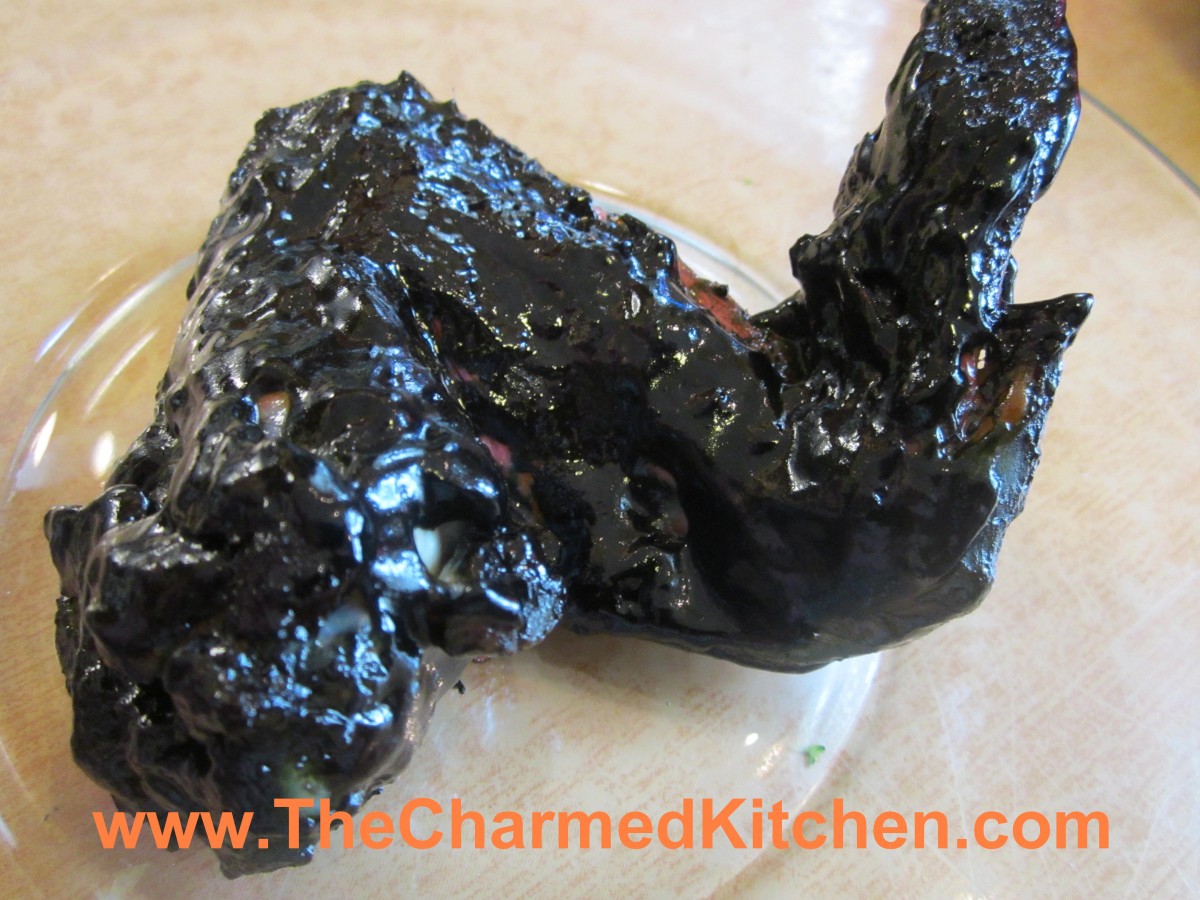
Busha’s Mushroom Soup
We made this soup in class the other night. Everyone really liked it. One woman said she had never tasted anything like it- and she meant that in a good way. Sharing this family recipe with other people makes me happy. Like memories of my Busha and my Mother came be shared, too. They would both be pleased to know that someone is still making and loving this soup.
There are many variations of mushroom soup in Eastern European culture. Some have barley, others add sauerkraut. This is my family’s version. Plenty of mushrooms in rich stock, slightly thickened, and made creamy with the addition of sour cream. Ours is served with kluski noodles.
This soup is a tradition in my family. When I was a kid my Busha, (Polish grandmother) would make it every Easter. My Mom made it for Christmas Eve. Now we have it the day before Thanksgiving. It is one of those dishes that brings back so many wonderful childhood memories. I love the rich, earthy flavor of the mushrooms, and the slightly sweet/sour flavor of the broth. It is made with dried mushrooms, usually. I can remember watching my mom get out a big bowl and soaking the mushrooms to get them clean, and to soften them, before starting the soup. I use dried shiitake mushrooms, but often add fresh mushrooms as well. Sometimes I use other dried mushrooms, too. I like to have a variety of mushrooms in the soup. I used home canned chicken stock. If made with vegetable stock it could make a great meatless meal.
Busha’s Mushroom Soup
4 qt. Chicken, beef or vegetable stock
5 c. dried mushrooms, about 4 0z. I use Shiitake.*
Water for soaking
½ c. flour
1 pint sour cream
¼ c. balsamic vinegar
2 T. sugar
1 Lb. Kluski-style noodles, cooked and drained
Soak mushrooms in water for 1-2 hours. Lift mushrooms carefully out to leave any sand in the bowl of water. Rinse and drain. Set aside. Bring stock to a boil and add the mushrooms. Simmer, covered for about 1½ hours, or until mushrooms reach desired tenderness. Mushrooms will retain some “chewiness”. In medium bowl whisk sour cream into flour gradually until smooth. Stir in vinegar and sugar until smooth. Add a small amount of the hot soup to the sour cream mixture, whisking until smooth. Continue adding hot soup to the sour cream mixture until sour cream mixture is warm. Add the warm mixture to the pot of soup and stir to combine. Return to simmer and simmer 1 minute, stirring continuously. Place desired amount of kluski into bowls and ladle over the hot soup. Serves12.
Note: You can add a variety of fresh mushrooms to the soup to make it even more special. You might use portabellas; crimini, button or whatever mushrooms are at the store that day. Add in addition to the dry mushrooms; don’t reduce the amount of shiitakes.
You can use other cooked pasta. Mom said you might want to try spaetzels or even gnocchi. You might also need more than one pound of kluski, depending on how much pasta your family likes in their soup.
*The dried shiitake mushrooms can be found at specialty grocery stores, some larger grocery stores and at Asian markets.


