Three Simple Ways to Preserve Basil

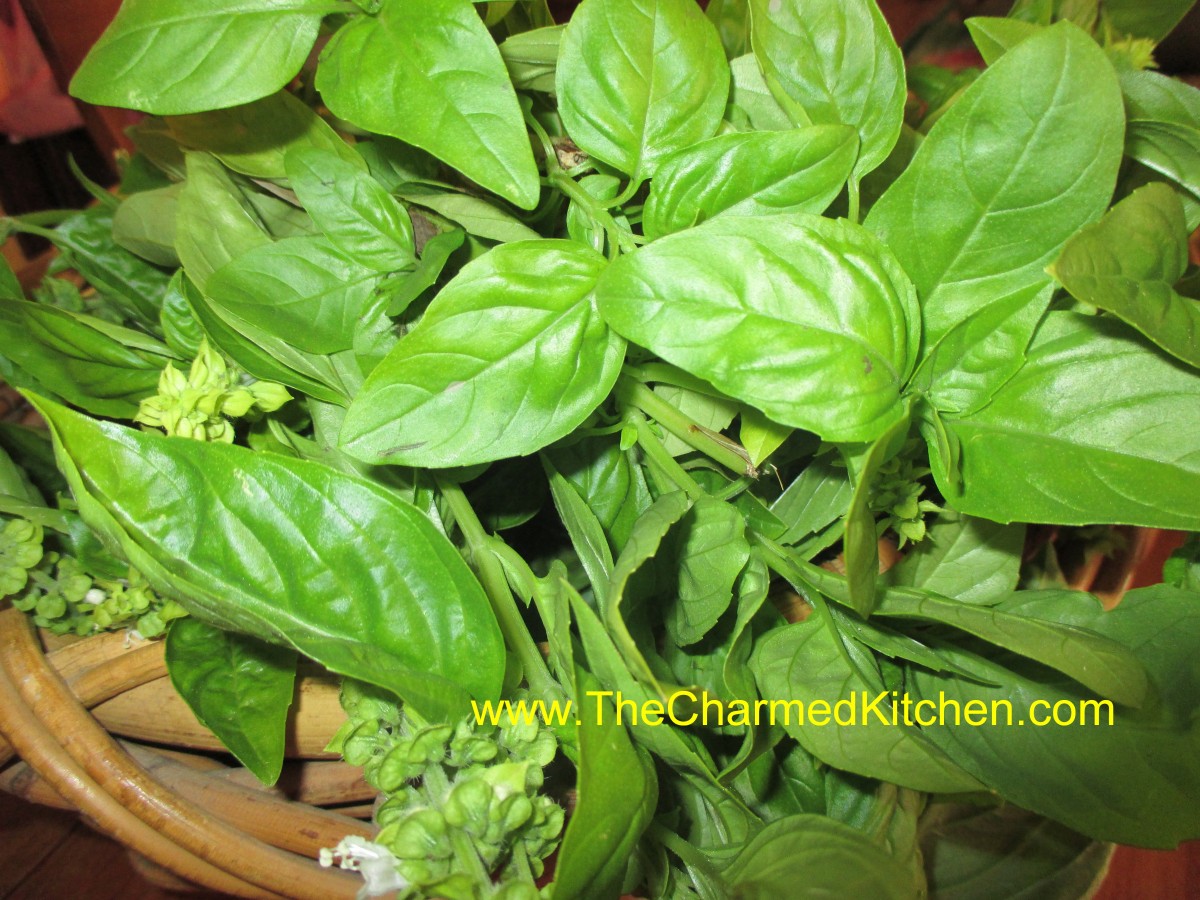
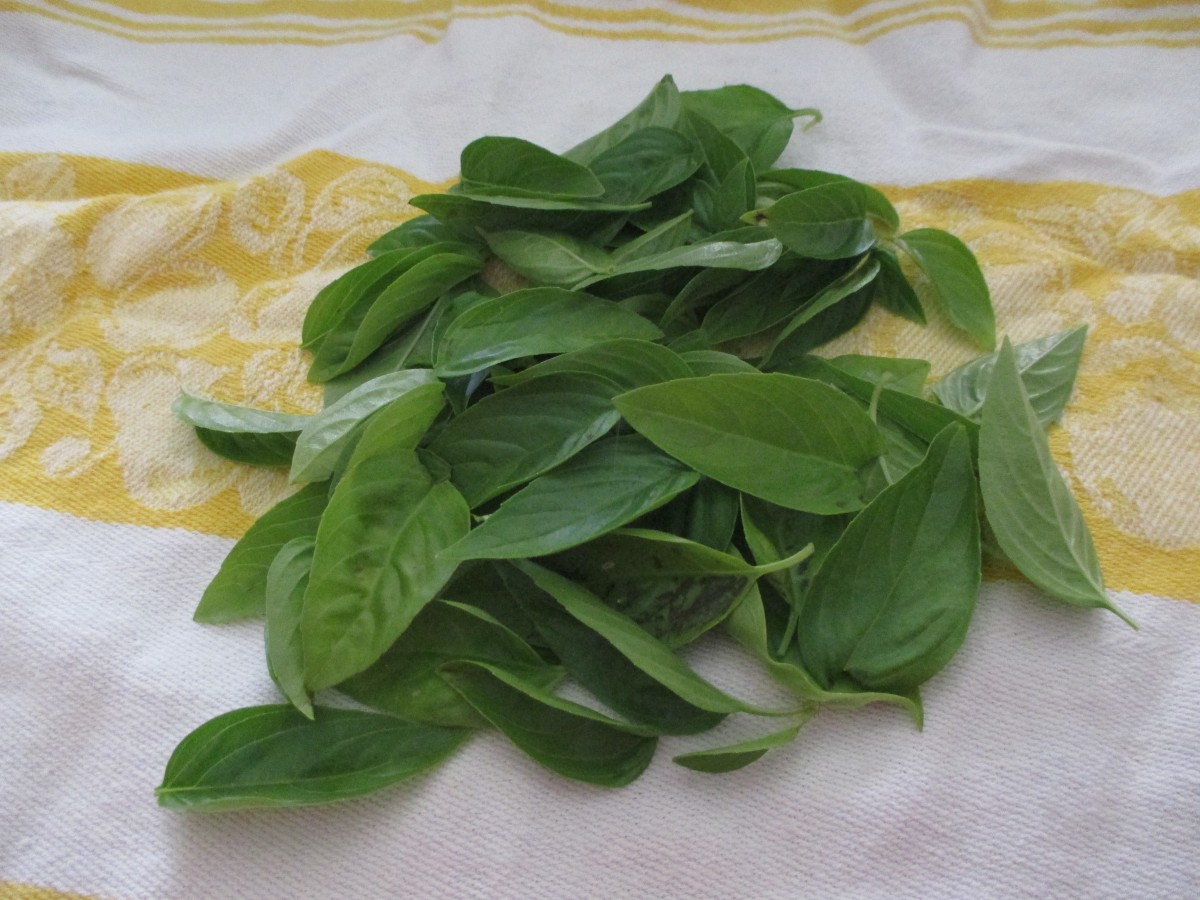
Fresh Basil
This time of year I am looking to preserve as many herbs as I can, to enjoy during colder months. Basil is one of my favorites and I grow, and use, a lot of it. It can be tricky to dry as it loses its color easily. I do have a dehydrator for drying, but since not everybody has one I thought I’d give you three simple ways to save your basil and enjoy it year round.
Freezing in Oil
To use basil in pesto sauce, dried just won’t do. You can easily freeze your basil in olive oil and have it ready whenever you want it. Just place clean basil leaves in a blender or food processor and add olive oil. It is important that you use olive oil because it freezes solid. While the machine is running pour in oil until basil is blended. I use very little oil for two reasons. It takes up less room in the freezer and I don’t need so much oil. I can add more oil when I use it, but this way if I am doing a big batch i don’t go through all my oil. Once the mixture is blended pour or spoon it into ice cube trays and freeze. Once frozen solid pop out the basil cubes and put in freezer bags and return to the freezer.You can also freeze chopped basil without the oil. I like it better in the oil, but I freeze other herbs by just chopping them up and freezing them.
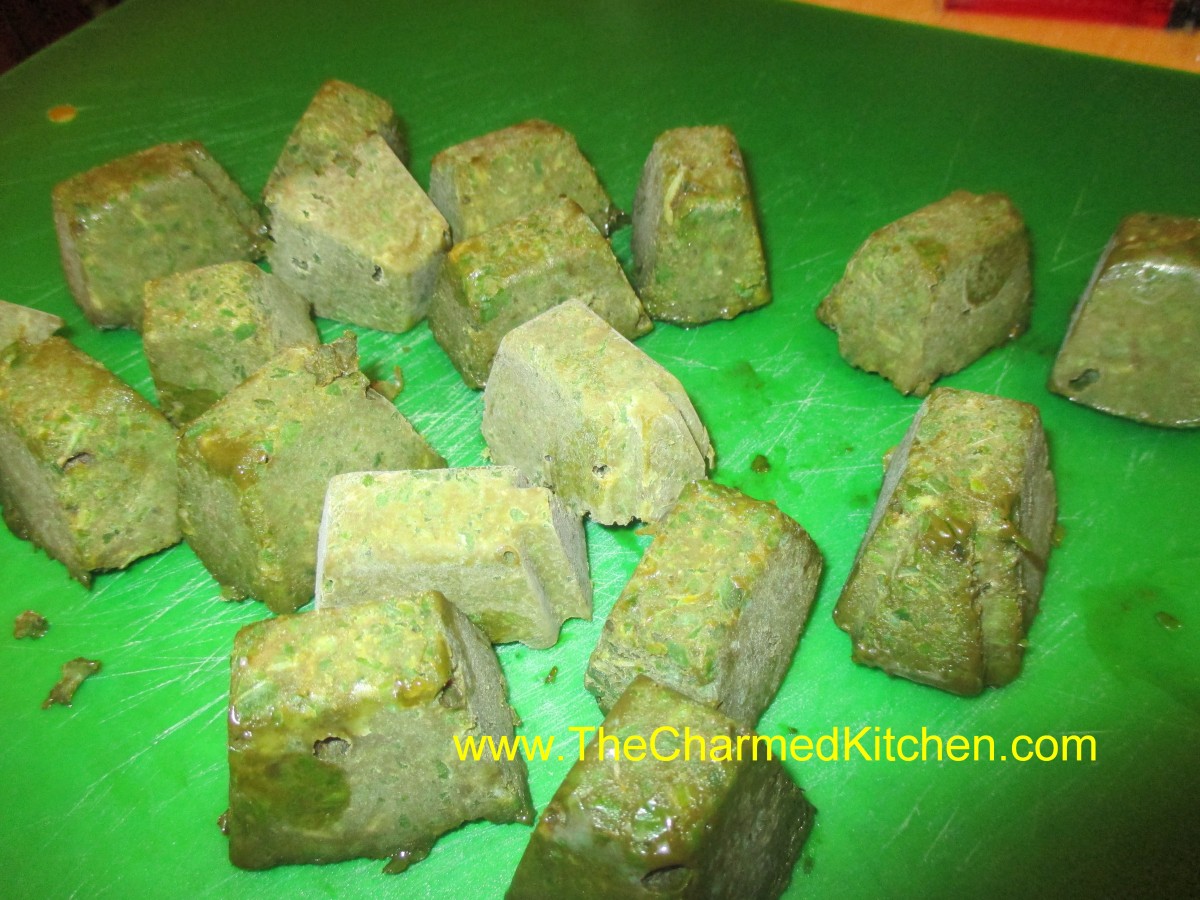
Frozen Basil Cubes
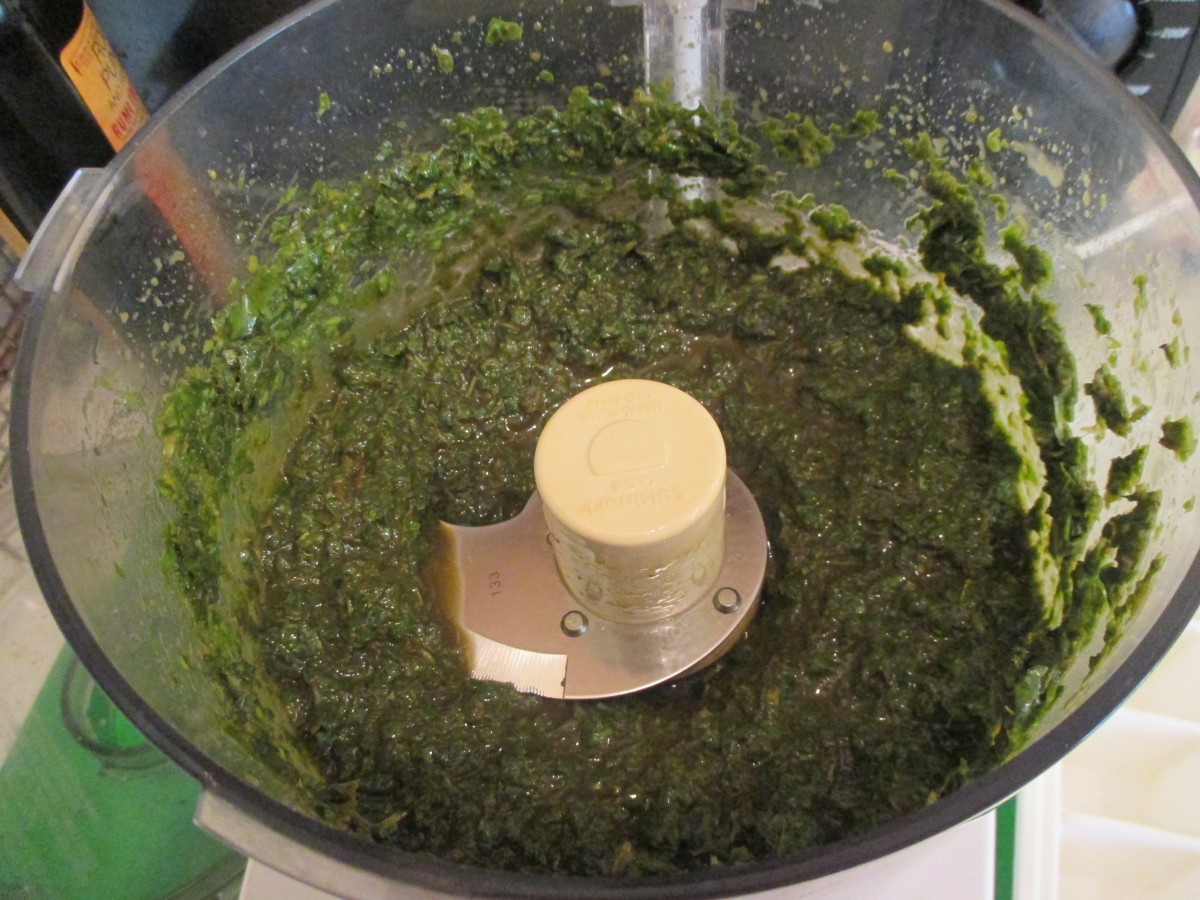
Process basil and olive oil until smooth
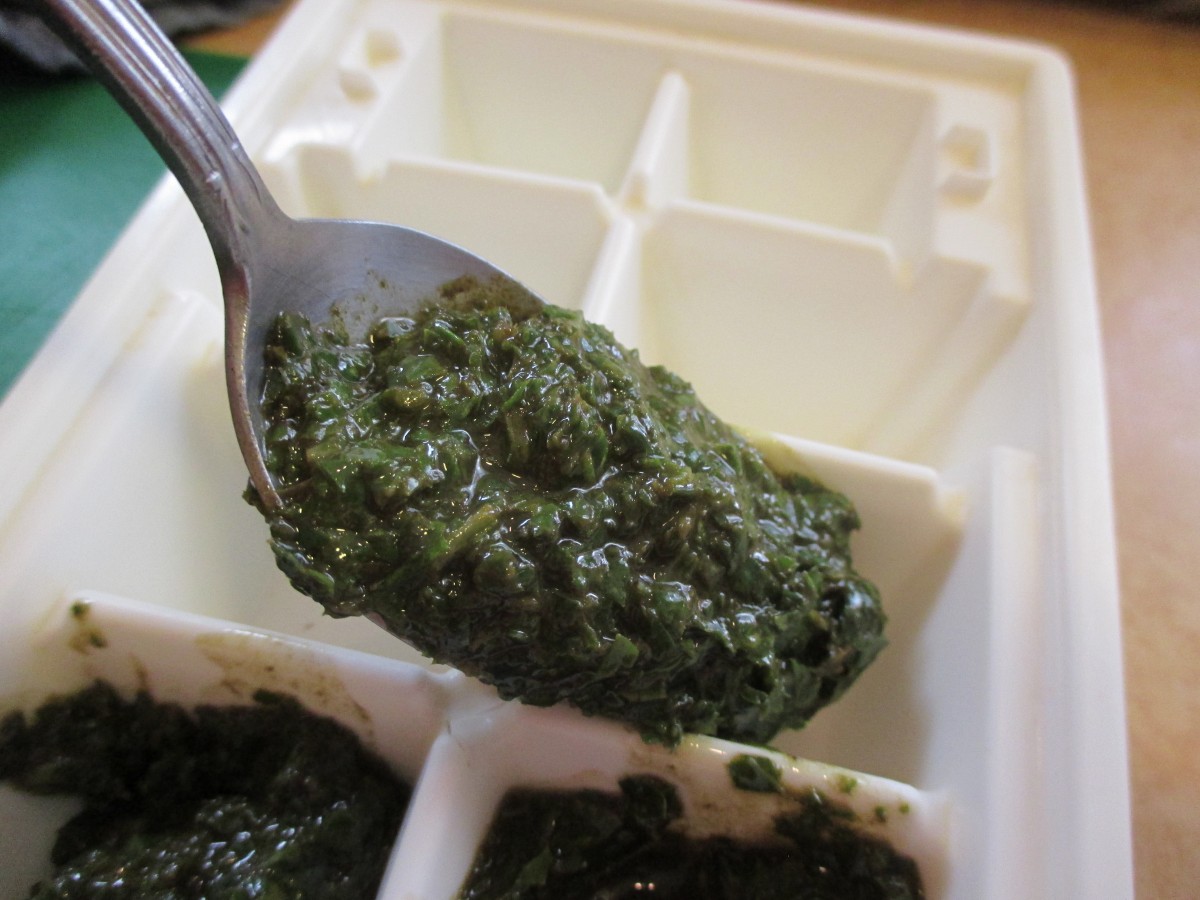
Spoon mixture into ice cube trays and freeze
Microwave Drying
If you don’t have a dehydrator you can dry herbs in your microwave. It only takes a couple of minutes per batch. Just place a handful of fresh, clean basil leaves in a linen-type kitchen towel. Fold the towel over the herbs and place in the microwave. Be sure to put a raw potato in with the herbs in the oven. If you only put the herbs in, it is like running the oven empty and can damage the microwave. Just put the potato off to the side. If you do several batches you will have a baked potato. ? If you have a turntable, just cook on high for 2 minutes. Check and see if they are dry- you might need a little more time. I need about 2 1/2 minutes in my microwave. Better to put them in for 15 more seconds at a time than to over dry them. If you don’t have a turntable microwave on high for a minute. After the first minute turn the herbs 1/4 turn and cook 15 seconds, turn again and cook another 15 seconds. Repeat four times in all. You can dry other herbs in the microwave. Small leaved herbs like thyme are done even faster. Remove the herbs from the oven and allow them to cool. check if they are dry enough and return, wrapped to cook longer if needed. Store in containers in a cool place.
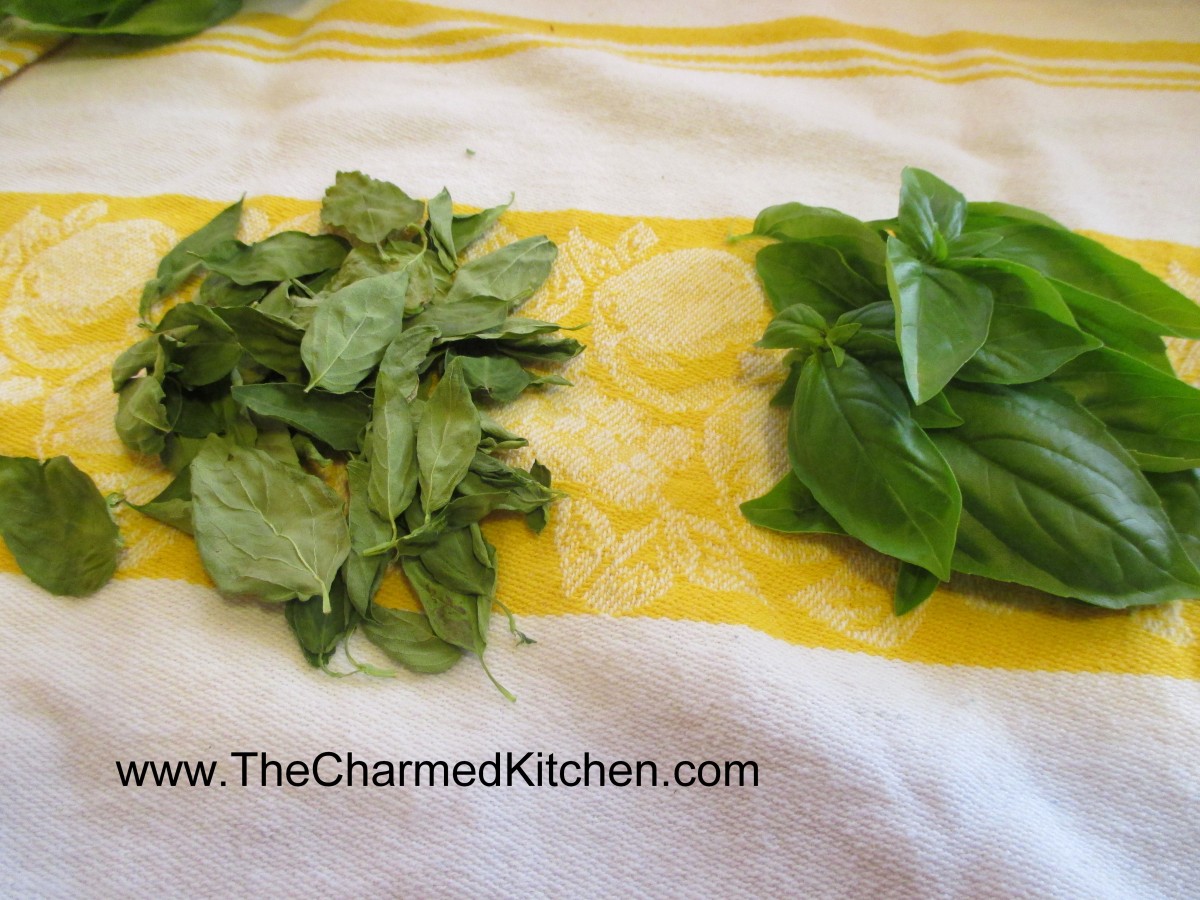
Microwave dried basil on the left and fresh basil on the right
Place fresh basil on a towel and fold towel over the herbs
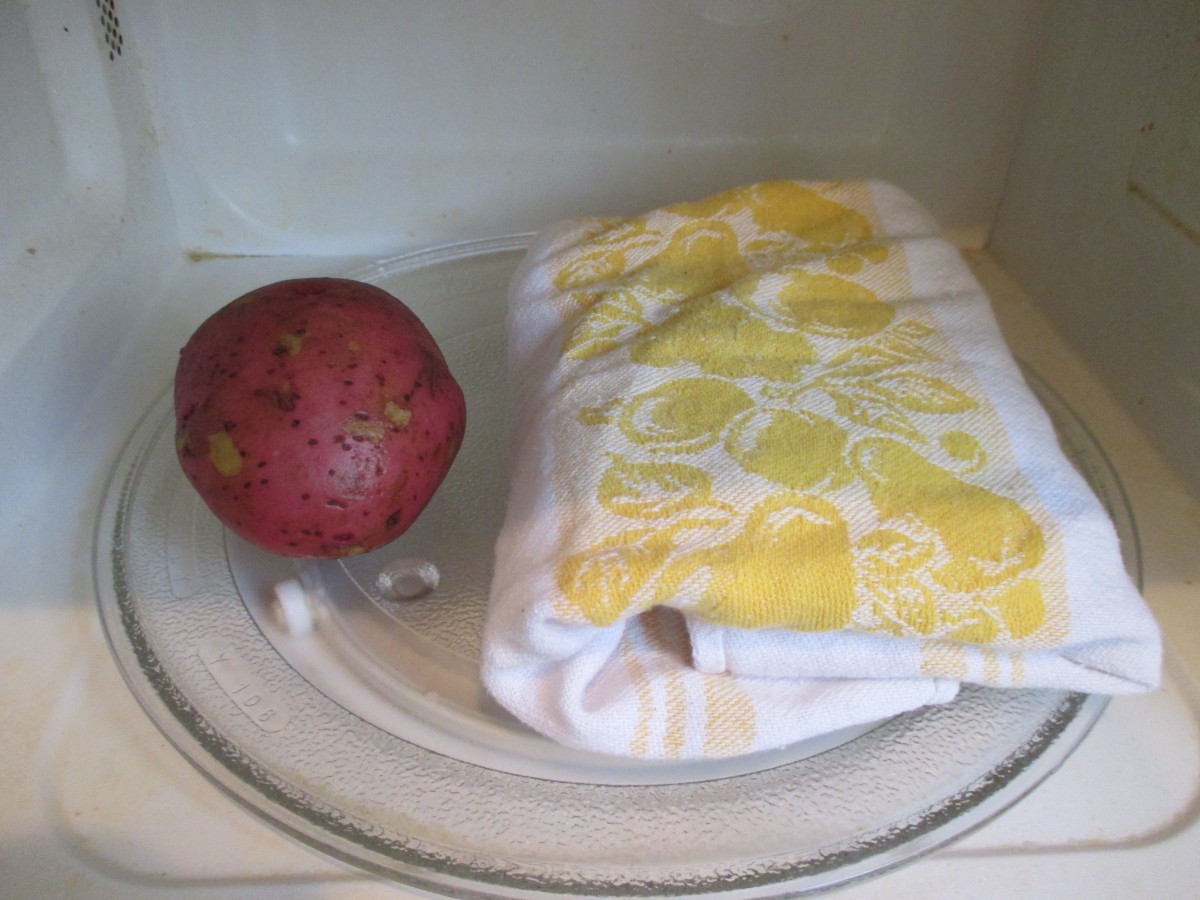
Place in microwave with a potato
All microwaves are different. Some will take longer and some even less time. Watch your herbs carefully. While I have never seen it happen I was told once that theoretically, they could catch on fire if left in too long. Urban legend perhaps, but just be careful.
Herb Vinegars
When I grow basil I try to keep the blossoms pinched off. Better for leaf production. But by this time of year some are blooming. Rather than dumping the blossoms you can use them to flavor vinegar. Just snip off the blossoms* and place them in a sterilized bottle or jar. Use several sprigs of basil flowers for every 2 cups of vinegar. Make sure the vinegar is at least 5% acidity. I like to use different vinegars for different herbs. I often use cider vinegar, red wine vinegar (for purple basil) and white wine vinegar. Leaves can be used, too. Vinegar should be heated up to 190 degrees- or just below the boiling point. Close up the jar and store in a cool place (50-70 degrees) for a couple of weeks. Before using strain out the herbs and filter- I use coffee filters or you could use cheese cloth. Store in a pretty bottle, if you have one. They can be kept for up to a year when stored in the fridge.
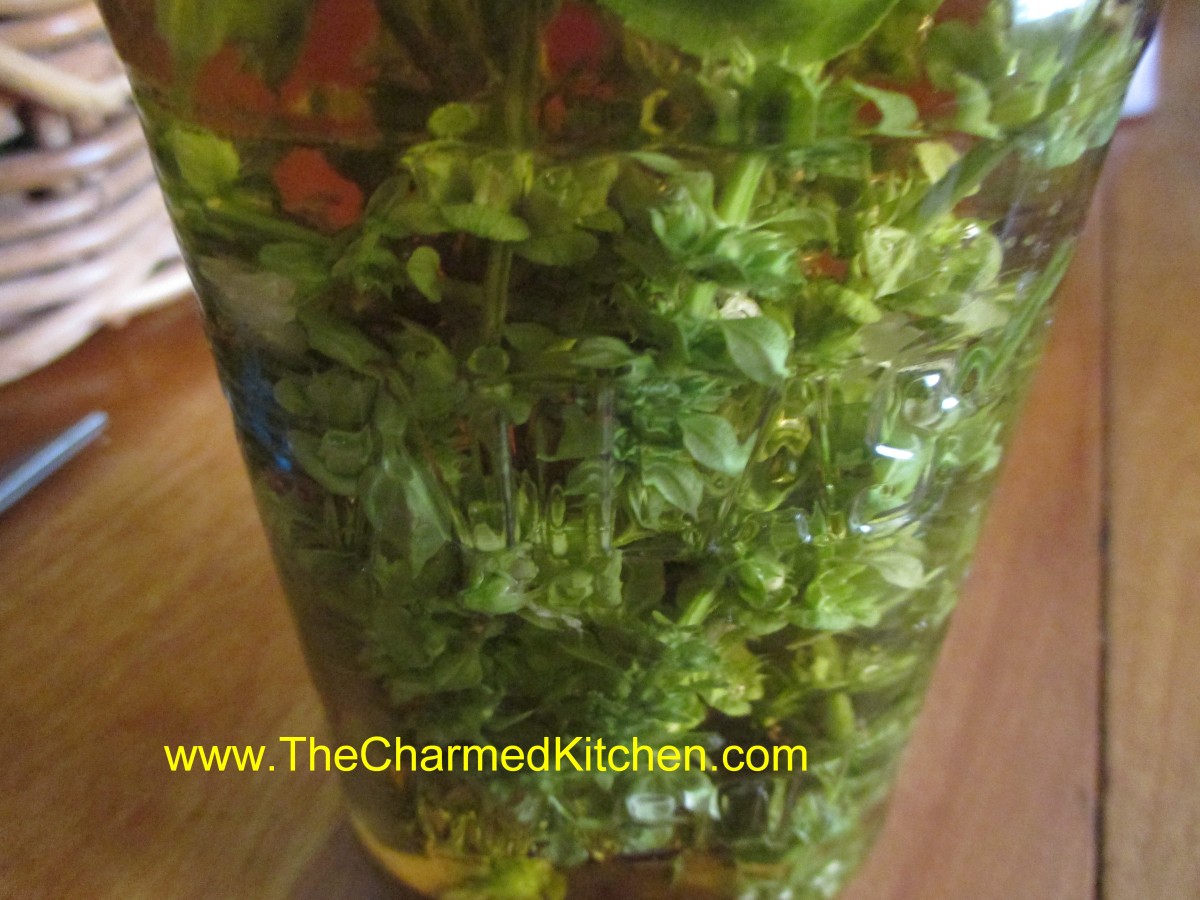
Basil blossoms in vinegar
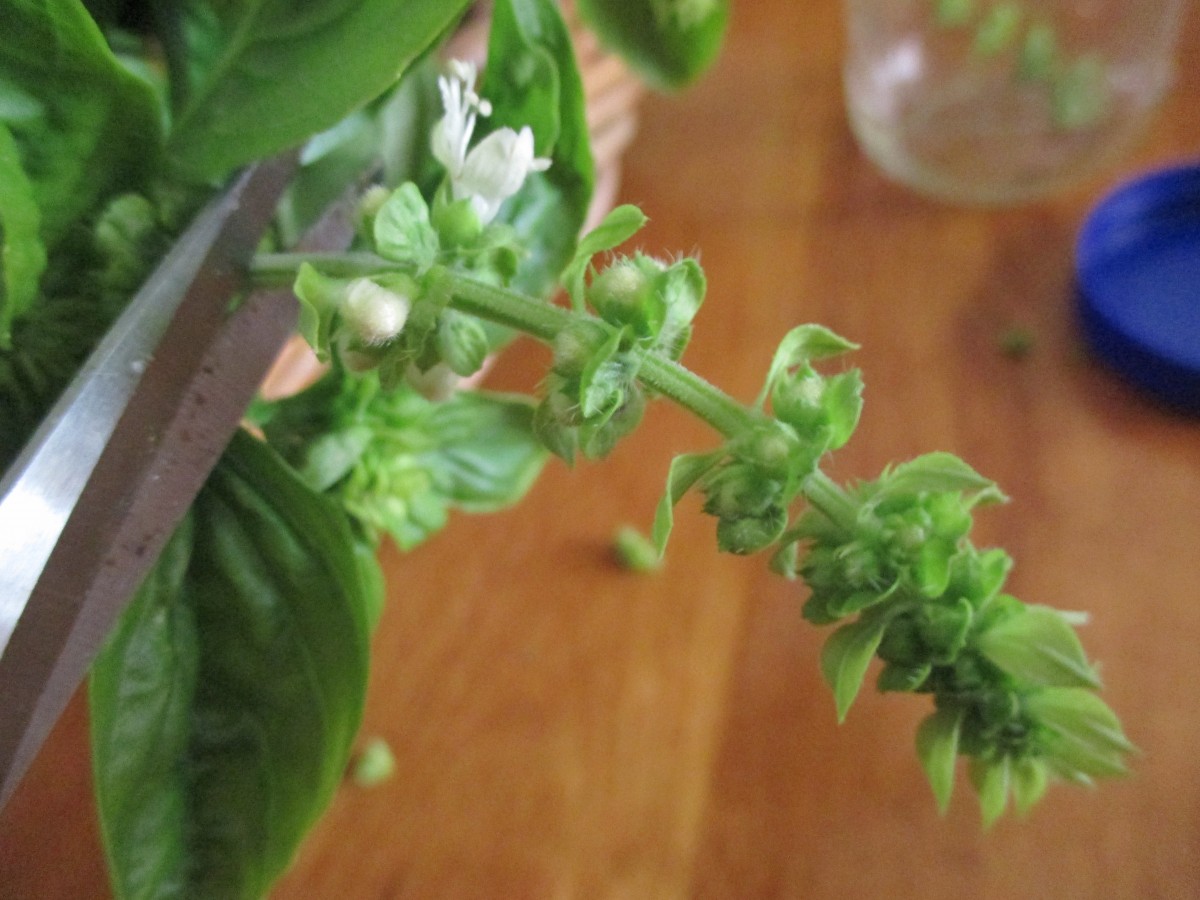
Snip off basil blossoms
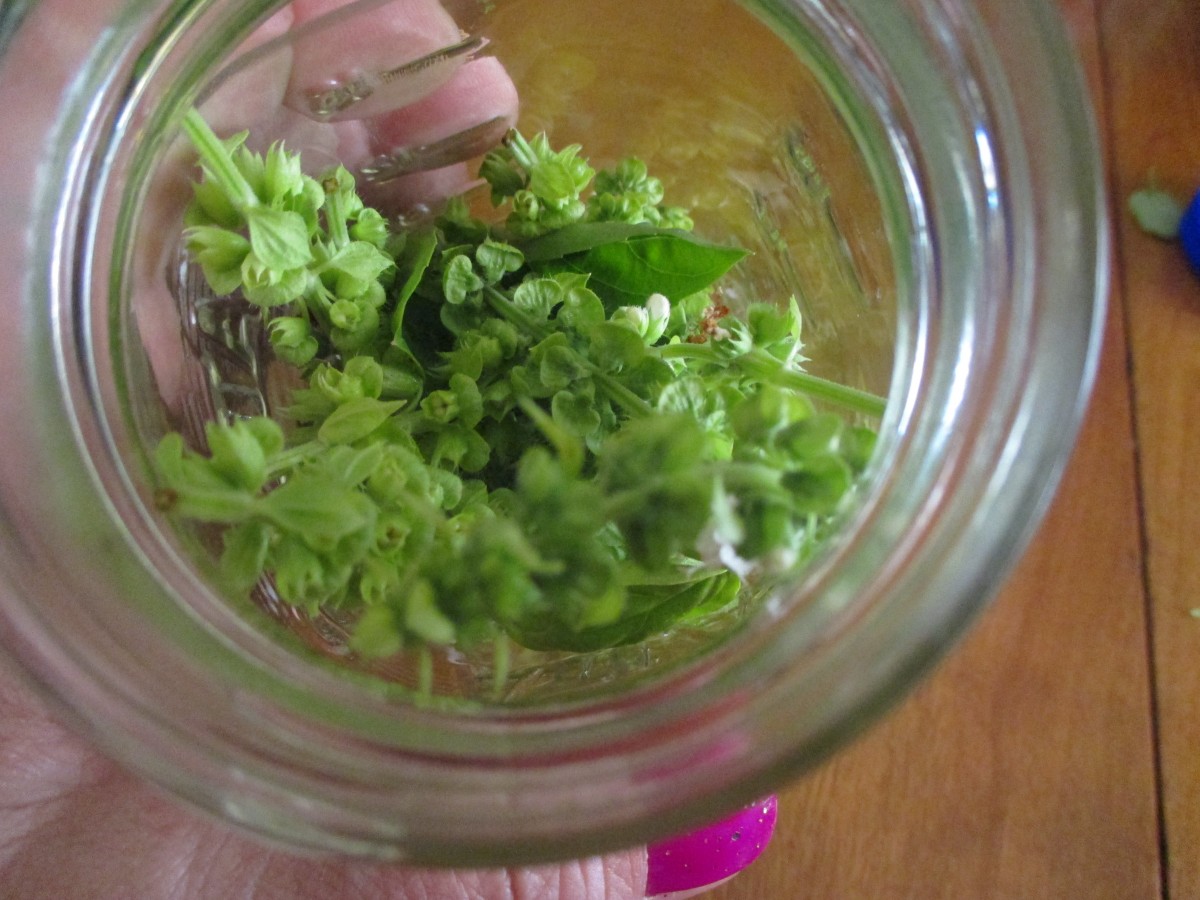
Place blossoms in a jar or bottle
*It is also recommended that the herbs be sanitized. To do this combine 1 teaspoon of bleach with six cups of water. Dip the the herbs in this solution briefly and then rinse well before placing in the jar.
Fresh Peach Pancakes

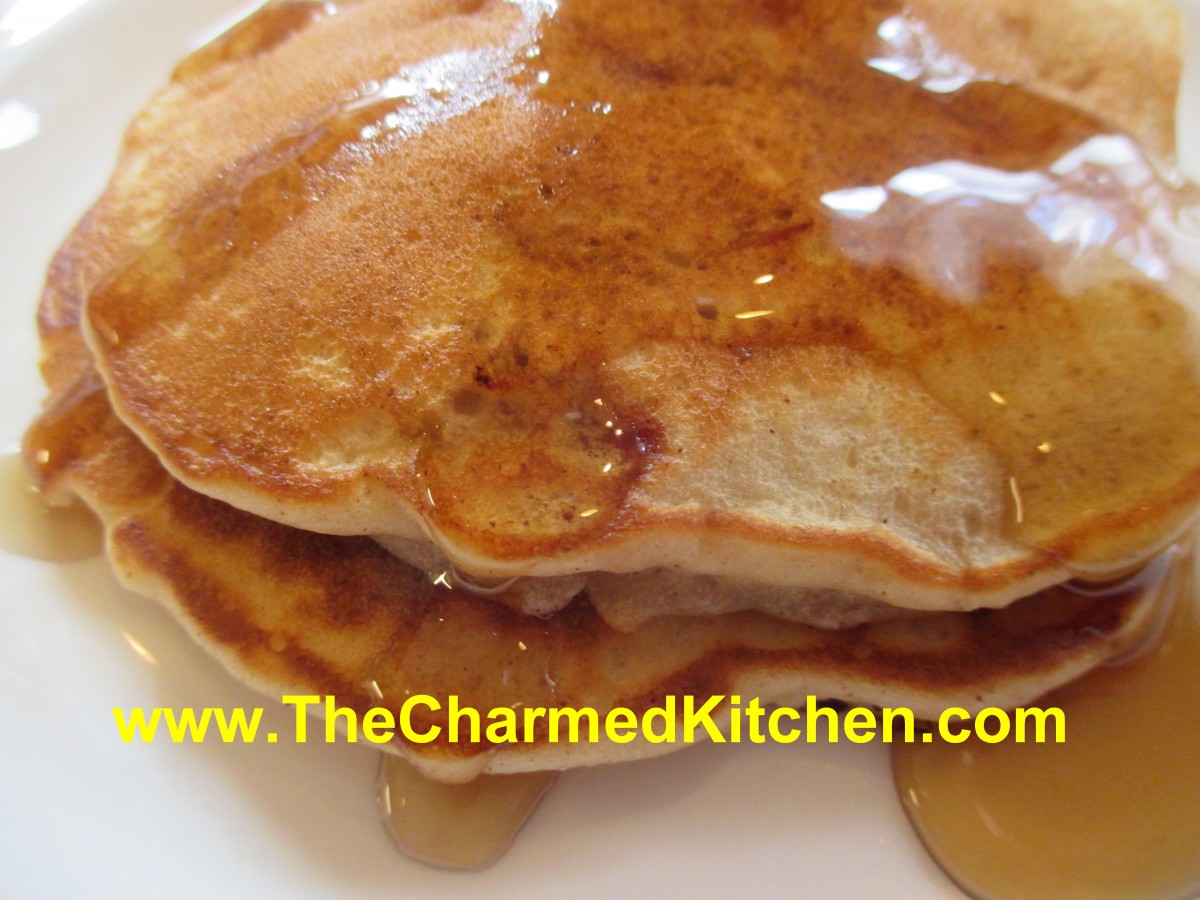
Peach Pancakes
Fresh peaches are one of my favorite fruits. The ones at the local markets have been wonderful. I got more than I could eat fresh, so I have been cooking with them. I thought adding them to pancakes might be a good idea. I was right. The pancakes were so good. They were fluffy, studded with diced fruit and very tender. I added some cinnamon and vanilla to the batter for extra flavor. I served them with a little local maple syrup. Shared them with a friend- who also thought they were yummy. Here is the recipe. Enjoy!!
Peach Pancakes
2-3 peaches, pitted and diced – I left the peels on
¼ c. sugar
1 2/3 c. flour
3 T. brown sugar
4 t. baking powder
1-2 t. cinnamon
½ t. salt
2 eggs, beaten
1¼ c. half and half
¼ c. oil
2 t. vanilla
Place diced peaches in a small bowl with the sugar and stir until sugar is dissolved. Best if you can let this mixture sit for a couple of hours. I did it the night before and left them in the fridge overnight, to get juices out of the fruit. If you just can’t wait- leave the peaches steeping for at least 30 minutes. Mix dry ingredients together and set aside. In another bowl combine the eggs with the half and half, oil and vanilla. Stir in peaches, with any juices, into egg mixture. Fold in dry ingredients until just mixed. Oil a hot skillet or griddle and spoon batter into pan- about ¼-1/3 cup at a time. Cook over medium-low heat, flip when pancakes appear a little dry around the edges. Keep pancakes warm until all of them are cooked. Makes 10-12- or more- depending on the size you make them.
Potatoes O’Brien

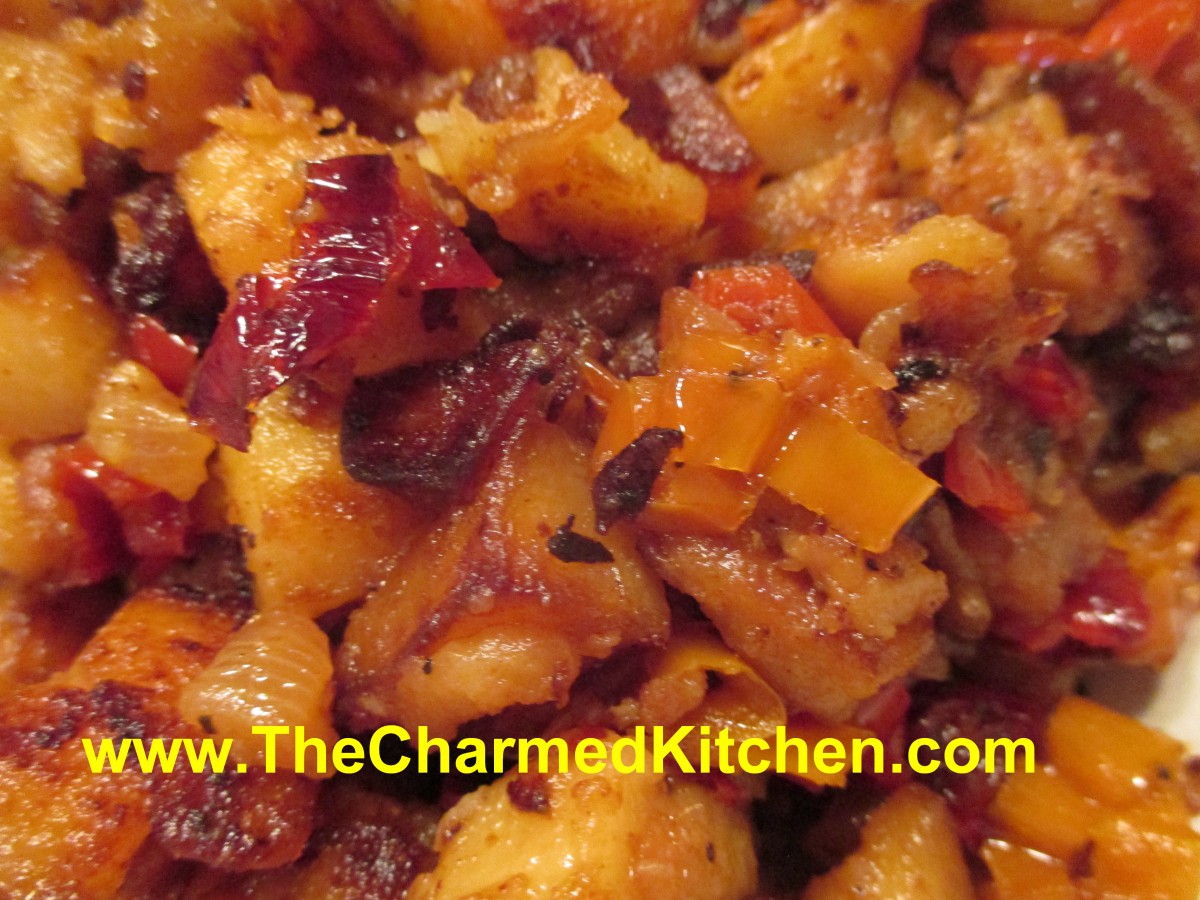
Potatoes O’Brien
Sometimes you just want to go with an old time classic. For a recent dinner with some friends, I wanted a simple side dish. I also had some potatoes that weren’t getting any younger. I am not sure why I even thought about Potatoes O’Brien. Hadn’t had them in years, but I knew I liked it when my Mom made them. Potatoes O’Brien are hash browns, with onions and diced peppers. The combination is so tasty. To speed up the cooking process, I cooked the potatoes in the microwave first. It was a really hot day and I was trying to keep the kitchen cooler. You could also just use raw, diced potatoes. Either way, the end result is sure to be a hit.
Potatoes O’Brien
oil
1 medium onion, chopped
1 c. chopped sweet pepper- I used baby peppers, sliced in rings
2 lbs. potatoes, diced, peeling is optional
salt and pepper
fresh parsley and thyme, optional
In skillet, heat a couple of tablespoons of oil. Saute onion until tender, add peppers and cook until they peppers are tender. Remove from skillet and set aside. Add a few more tablespoons of oil to the skillet and let it get pretty hot. Add the potatoes and cook, stirring often, until the potatoes are browned. They should be cooked, tender in the middle, crisp on the outside. Note: I cooked the potatoes in the microwave first, then diced them once they were cool enough to handle. This made them cook up faster, but raw potatoes are fine, too. Return onion mixture to skillet with the potatoes, season with salt and pepper to taste and add the fresh herbs, if you like. Stir together until heated through. Serves 4-6.
Homemade Fruit Sodas


Homemade Fruit Sodas
It is hot out, and we should all be drinking plenty of fluids. I drink a lot of water, but sometimes you want something other than water. When friends stop over, I want to offer them something more than just ice water. Alternatives might include fruit juice or soda pop. I sort of combined the two into a fruity, fizzy drink that is fun to drink. Not bad for you, either.
When it’s hot- and even when it’s not- cold, fizzy drinks are fun to drink. No special equipment is required to make these, and they are better for you than commercial soda pop. I use 2 ingredients- club soda and either concentrated fruit juice or fruit syrups. In every grocery store you can find juice concentrates in the freezer section. Just place a spoonful of the concentrated juice in your glass- add club soda and stir gently to mix. Add ice and serve. Ready when you want it.
One benefit is that you can control how much juice to add. Make it more or less sweet to suit your taste. Sometimes I add just a little, so it is more like infused water than soda. If you like it sweeter, fine.
You can also use fruit syrups- sold in lots of grocery stores and beverage stores. Read the label. The ones I buy have 2 ingredients- fruit juice- which is listed first and sugar which is listed second. That’s it. No high fructose corn syrup or a bunch of artificial ingredients and most of what is in the bottle is juice.
I’ve make “soda” from frozen concentrated grape juice, orange juice, apple juice and pineapple juice. I’ve used fruit syrups made from blueberries, sour cherries, strawberries and blackberries. You can use them individually or do combos. They are fun for kids to make, too.
Dress them up with fancy ice cubes. I add small pieces of fruit or mint leaves to ice cube trays and then fill with water and freeze. Also nice when guests stop over.
Is this stuff better for you than water? I suppose not. I actually drink water most of the time and really like it. Sometimes we want something different. For me this is a nice option- fizzy fruit juice.
Lime and Blueberry Cheesecake


Lime and Blueberry Cheesecake
This recipe combines limes and blueberries for a cheesecake that is perfect for summer. The citrus pairs well with the berries. I had made this cheesecake before, with the blueberry puree swirled into it, but without the lime. I thought the limes would be a nice addition this time. I must say, I really like the flavor the lime zest and juice adds to this dessert. Adds a nice zippy flavor. Leftovers can be frozen.
Lime and Blueberry Cheesecake
Blueberry Puree
1 ½ c. blueberries
¼ c. sugar
2 t. cornstarch
1T. fresh lime juice
Crust
1c. graham cracker crumbs
2 T. sugar
2 T. melted butter
Filling
3 (8oz.) packages cream cheese, softened
1 c. sugar
8 oz. sour cream
Zest from 2 limes
Juice from 1 lime
2 t. vanilla
4 eggs, at room temperature
2 T. flour
For puree, combine berries, sugar and cornstarch in saucepan and bring to a boil. Cook 5 minutes, stirring constantly. Puree in blender with lime juice and cool completely. For crust, combine crumbs, sugar and butter and set aside. Preheat oven to 350-degrees. Press crumb mixture firmly into bottom of 9 or 10-inch springform pan and bake 10 minutes. For filling, beat cream cheese until fluffy and beat in sugar until smooth. Beat in sour cream and vanilla, zest and lime juice. Beat in eggs, one at a time. Stir in flour and pour batter into springform pan. Drizzle blueberry puree over batter and use a knife to swirl it around. Place a roasting pan on lower rack of oven and fill with one inch of boiling water. Place springform pan on upper oven rack. Bake 1¼ hour or until just set. Turn oven off and let cake stand in oven 1 hour more. Remove pan from oven. Cool down and refrigerate overnight. Remove pan side before serving. Serves 12.
Super Crispy Chicken Wings

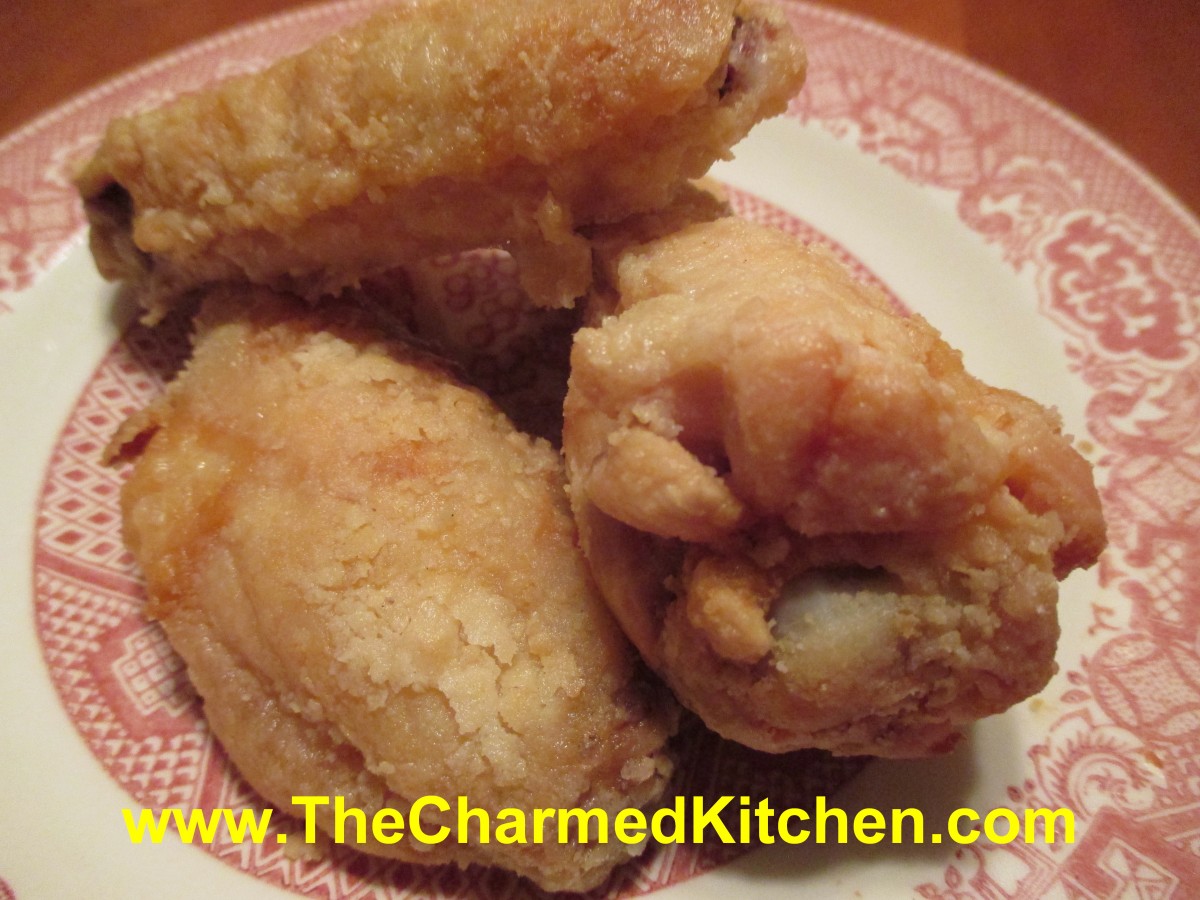
Crispy Chicken Wings
These wings are super crispy, even though they are baked in the oven, not fried. It may have to do with a rather unusual ingredient. I got this recipe from a local television show and have made it a couple of times now. Thanks, David Moss, for this one. The wings are coated with a little salt and baking powder. Yes, baking powder. I am not sure how it works, but the combination leaves you with wings that are super crisp on the outside and juicy inside. The only thing I changed from the original recipe, is that I use a little less salt.
Super Crispy Chicken Wings
3-4 lbs. chicken wings
2 T. baking powder
1 t. salt
Hot sauce and butter- or assorted dipping sauces
Cut wings into three pieces- discard tips, or use to make stock. Pat the wings dry. This step is important. The dry skin helps them to get crisp. Place baking powder and salt in a plastic bag and add the wing pieces, a few at a time, shaking to coat evenly. Continue until all the wings are coated. Place wings on a rack that is placed on a baking sheet. Bake wings in a preheated 250 degree oven for 30 minutes. Turn the heat up to 425 and continue cooking 45 minutes more. Remove wings from oven. You can melt butter , mix with some hot sauce and toss the wings in that mixture, or just serve the wings with your favorite sauce.
Dessert Day in Cooking Camp

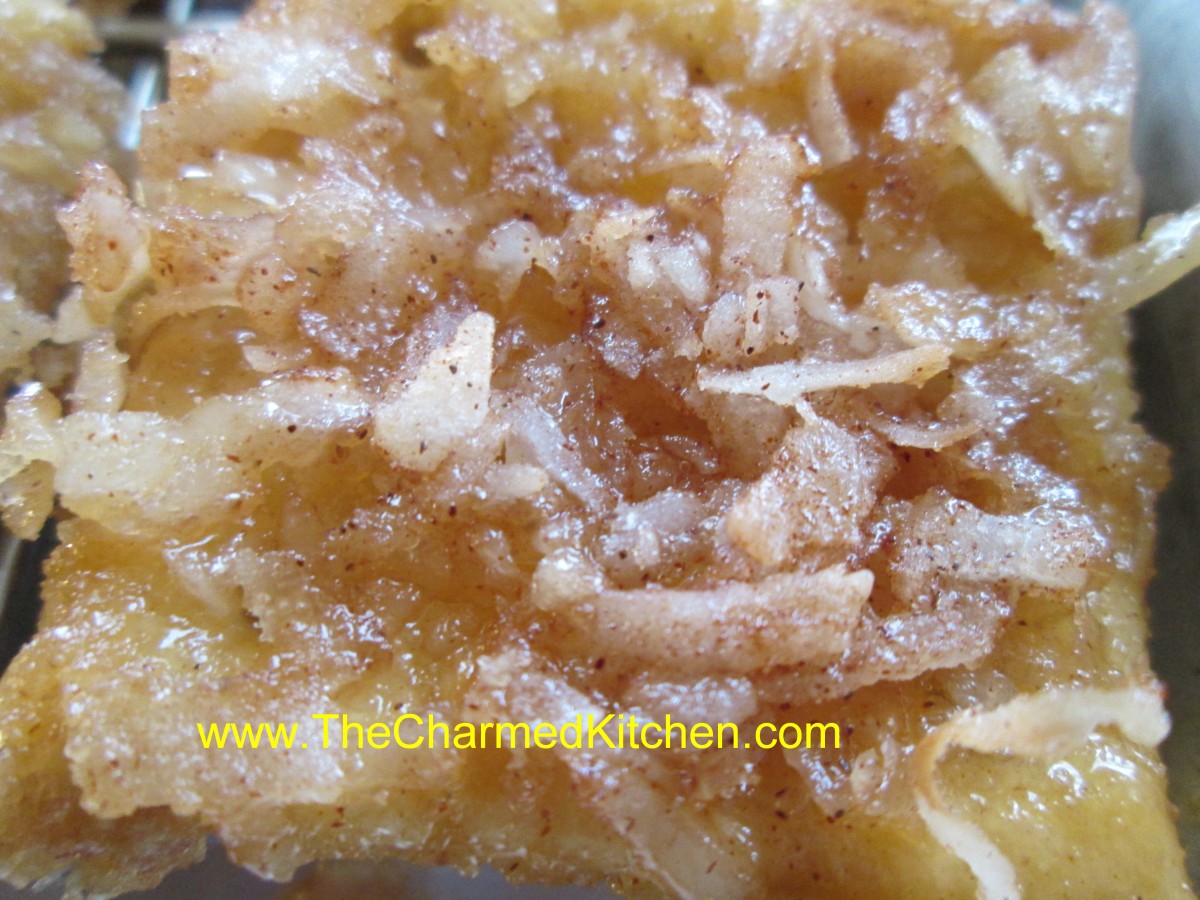
Coconut Cracker Snacks
It was all about the sweet life in cooking camp today. The kids made cookie pops, a cracker snack that is crisp, like brittle, and dirt cups. We also had frozen grapes, one of the simplest ways to beat the heat. So here are some of the pictures of what they made, and recipes.
Coconut Cracker Snacks
This dessert is surprisingly easy. The end result is crisp, like a brittle. You can omit the coconut and use nuts, if you prefer, or even use no topping.
36 saltine crackers, we used whole wheat crackers
1/3 c. butter
1/3 c. brown sugar
1 c. coconut
Cover a baking sheet with foil . Place the crackers side by side in a single layer. Melt butter in microwave, then add sugar and heat together 1 minute on high. Drizzle this over the crackers and then sprinkle on the coconut. Bake in a 350 degree oven for 8-10 minutes, or until coconut is toasted. Cool on baking sheet on a cooling rack. Break into pieces. Makes 36.
Grapescicles
Freeze green or red seedless grapes. Eat right out of the freezer. Great snack in hot weather.
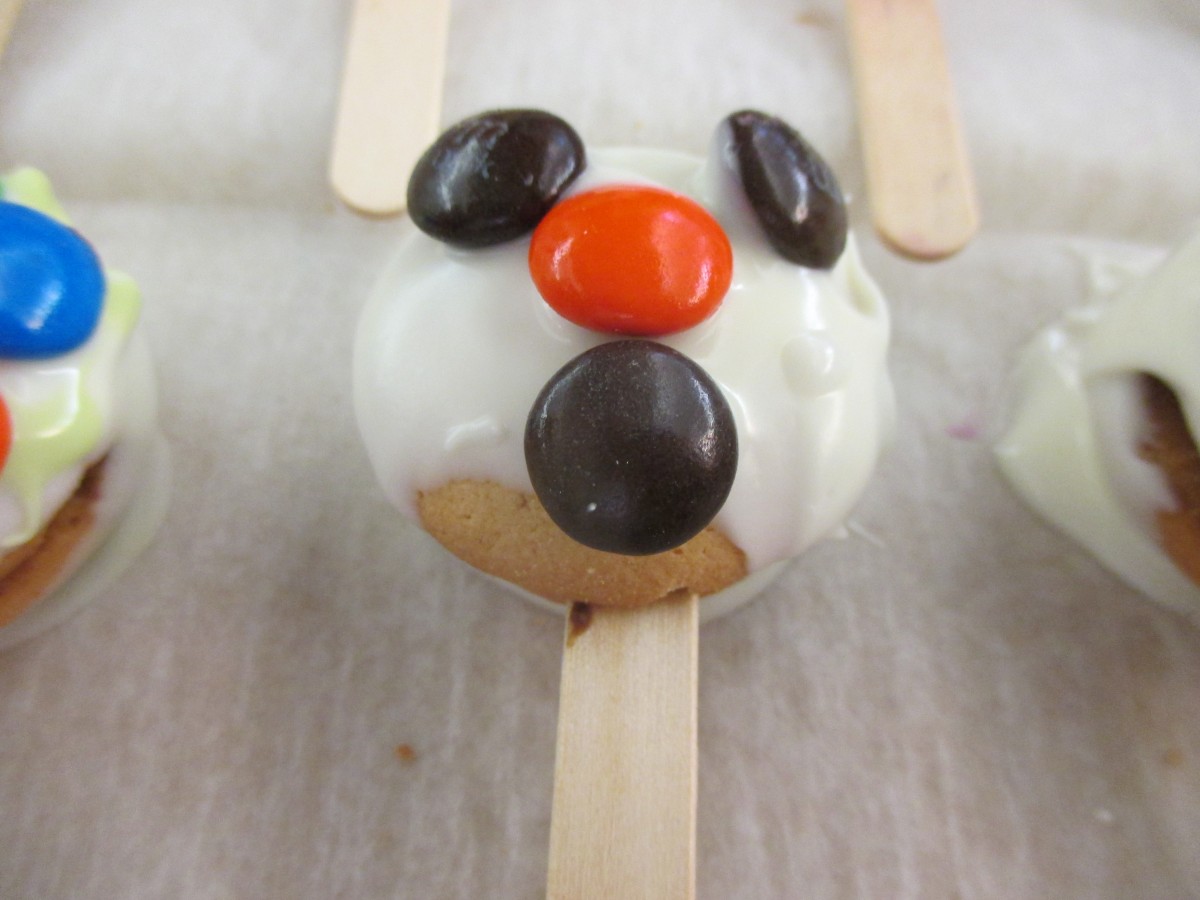
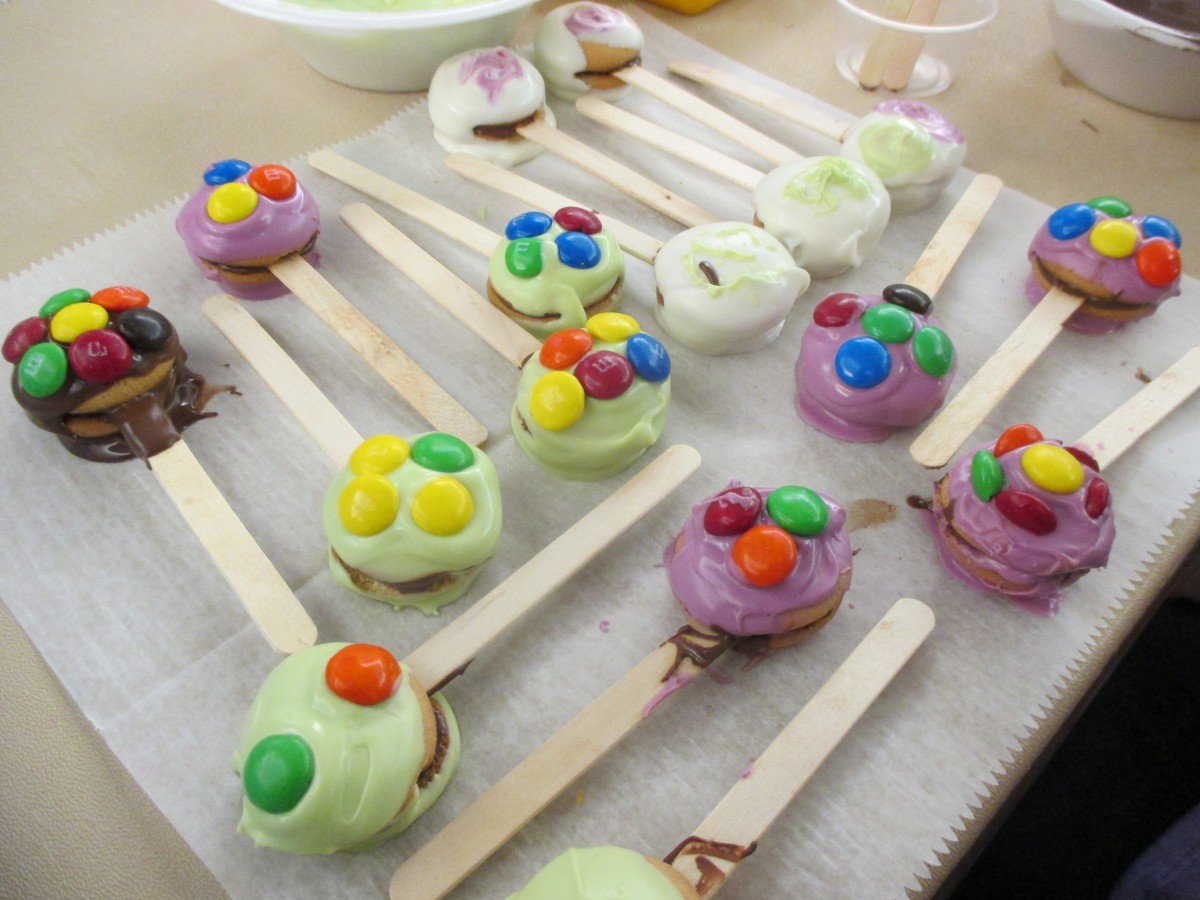
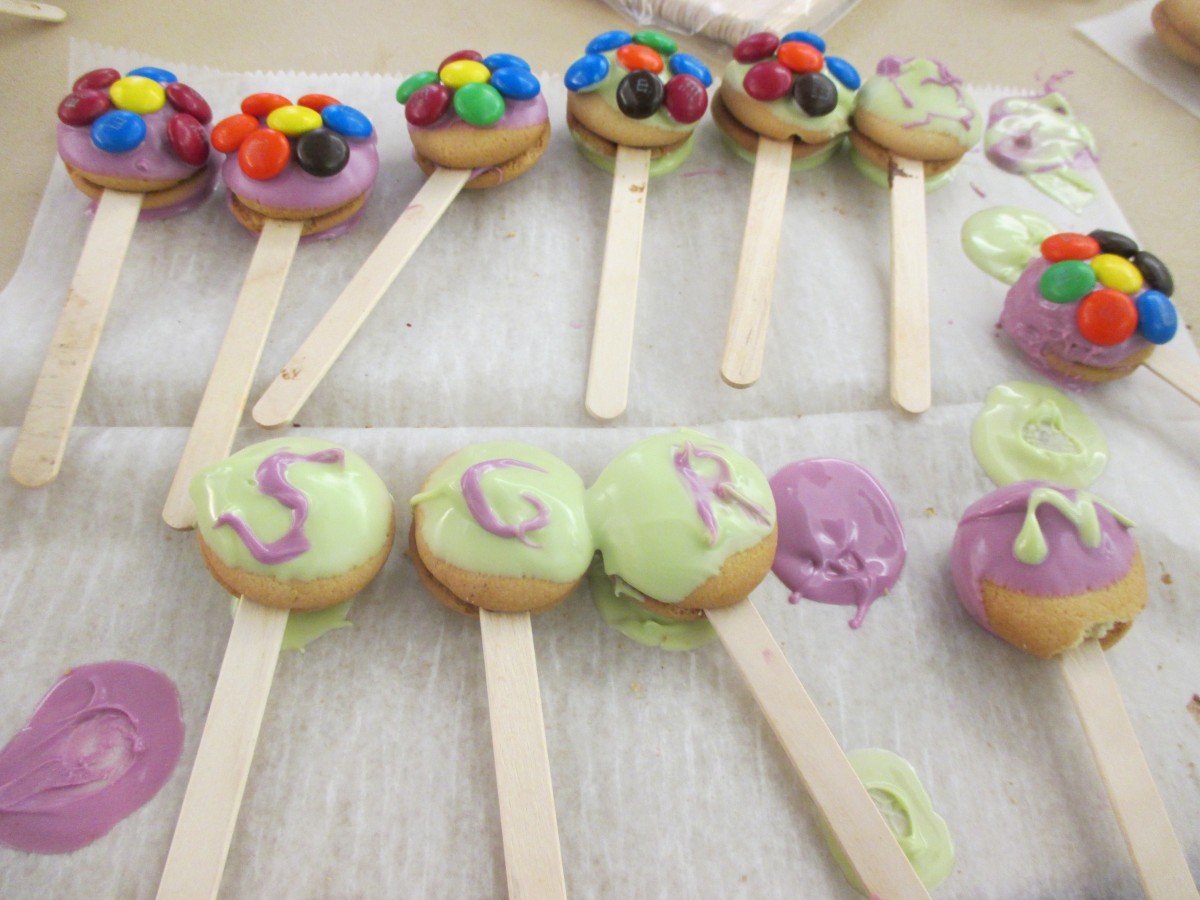
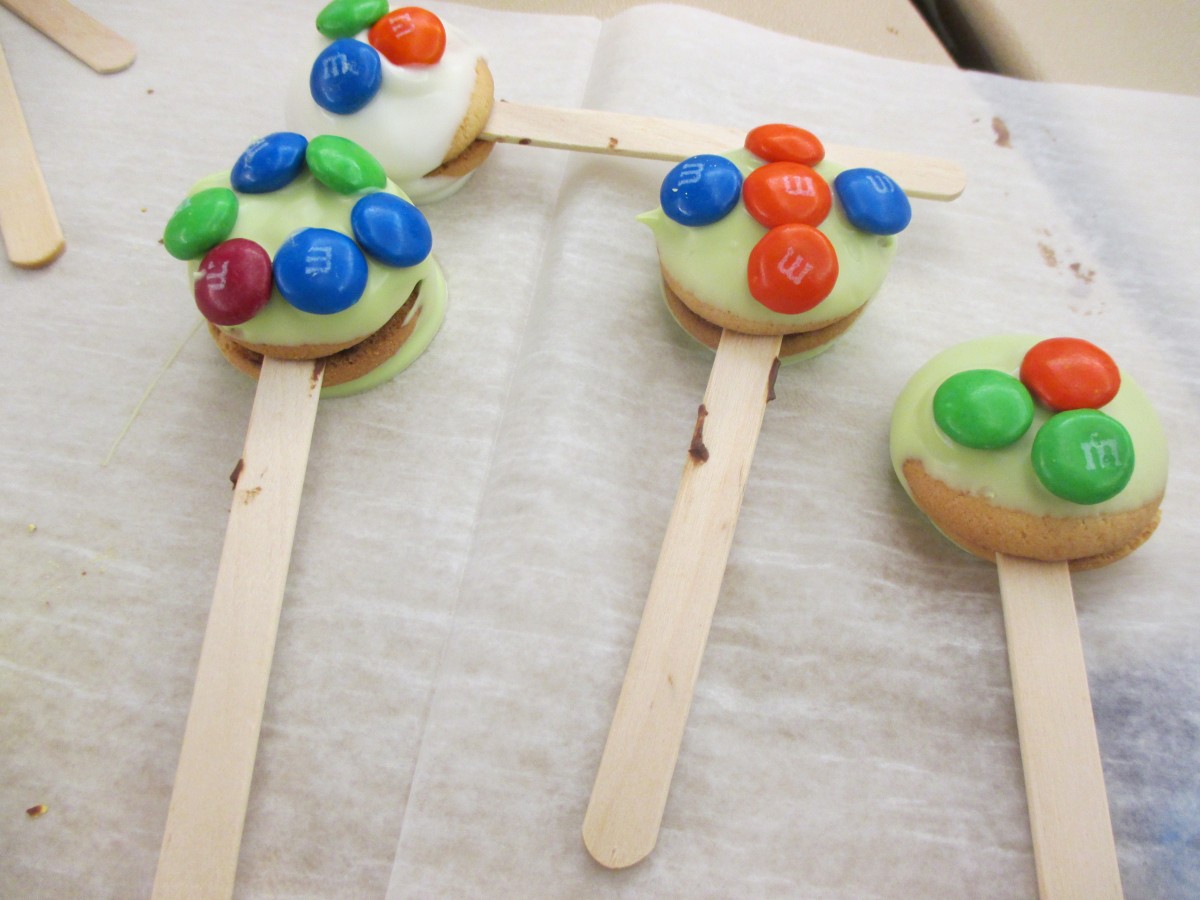
Cookie Pops
These are a fun and easy dessert to make with kids. Great when you don’t have the time to bake, either.
Vanilla wafers
Chocolate – you can use melting discs in different colors
Popsicle sticks
M&M’s
Melt the chocolate. Dip the end of a stick into some melted chocolate. Press 2 cookies together on the end of the stick. Press firmly. Allow to set up a little. Dip the cookies into the melted chocolate until covered. Allow excess to drip off. Place cookies on wax paper. Decorate your “pops” to look like flowers- we used M&M’s. Allow them to dry/cool then you can just peel them off the wax paper.
You can get M&M’s in so many colors, the “chocolate” discs, too, that color combinations are pretty limitless. You can make them for different holidays or in school colors. Nice to make in hot weather, too, since there is no baking. You can also use frosting or peanut butter to stick the cookies together.

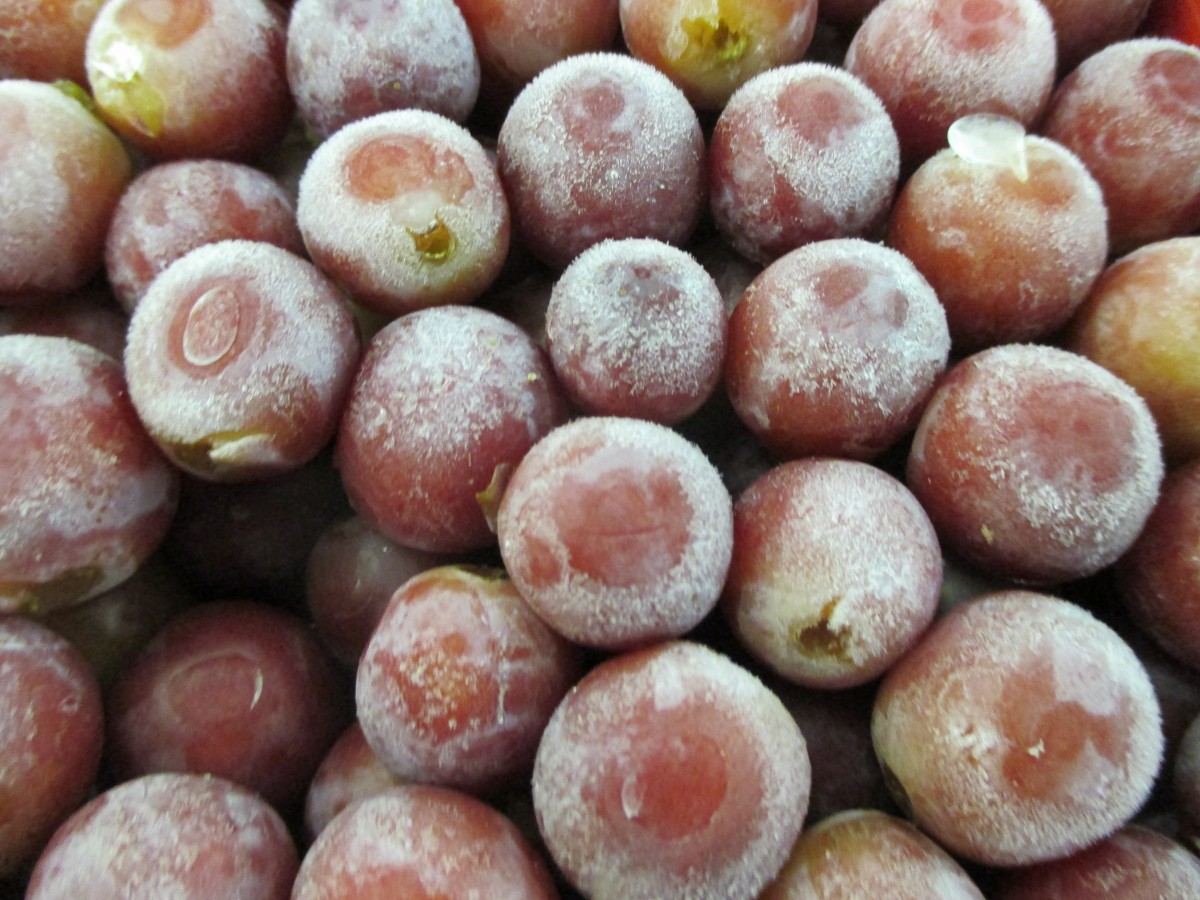
Frozen grapes- great summer snack
Pizza Day in Cooking Camp

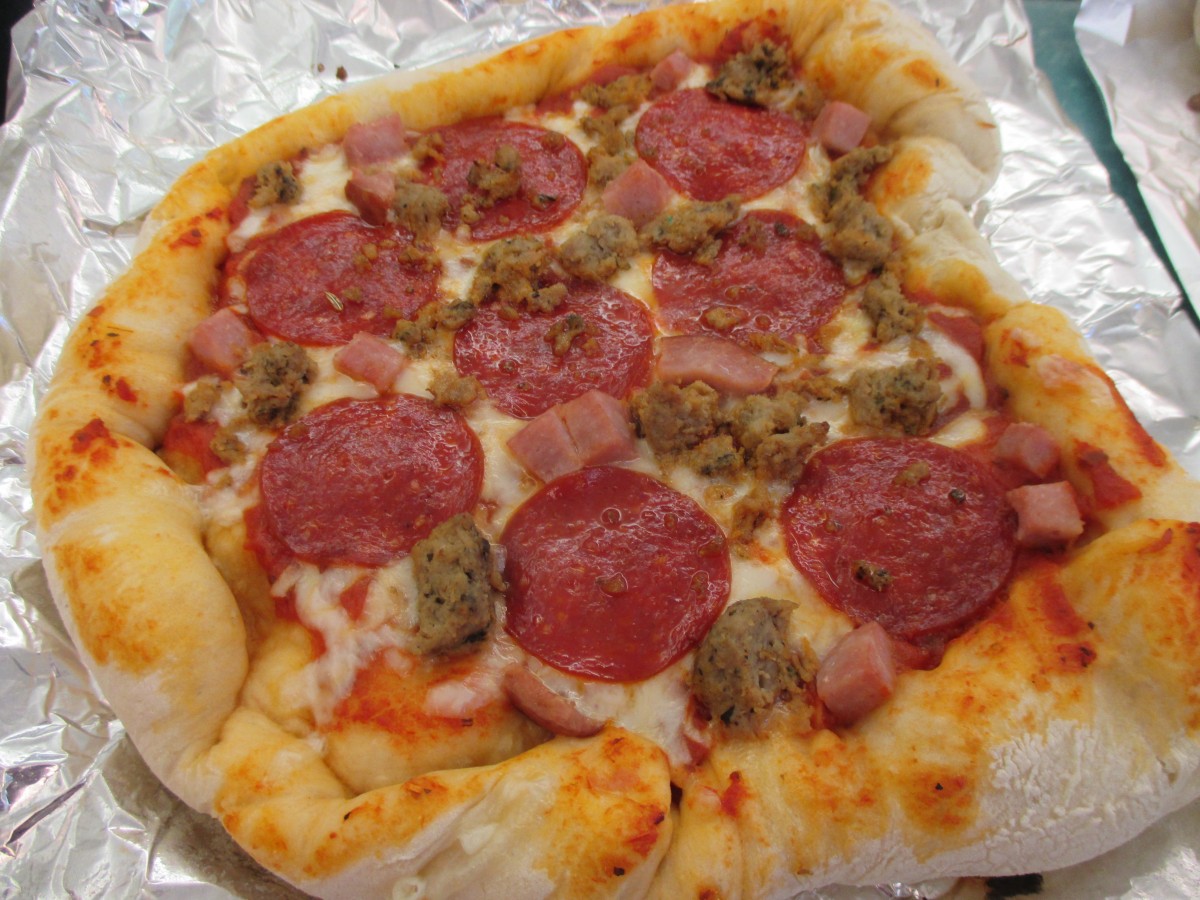
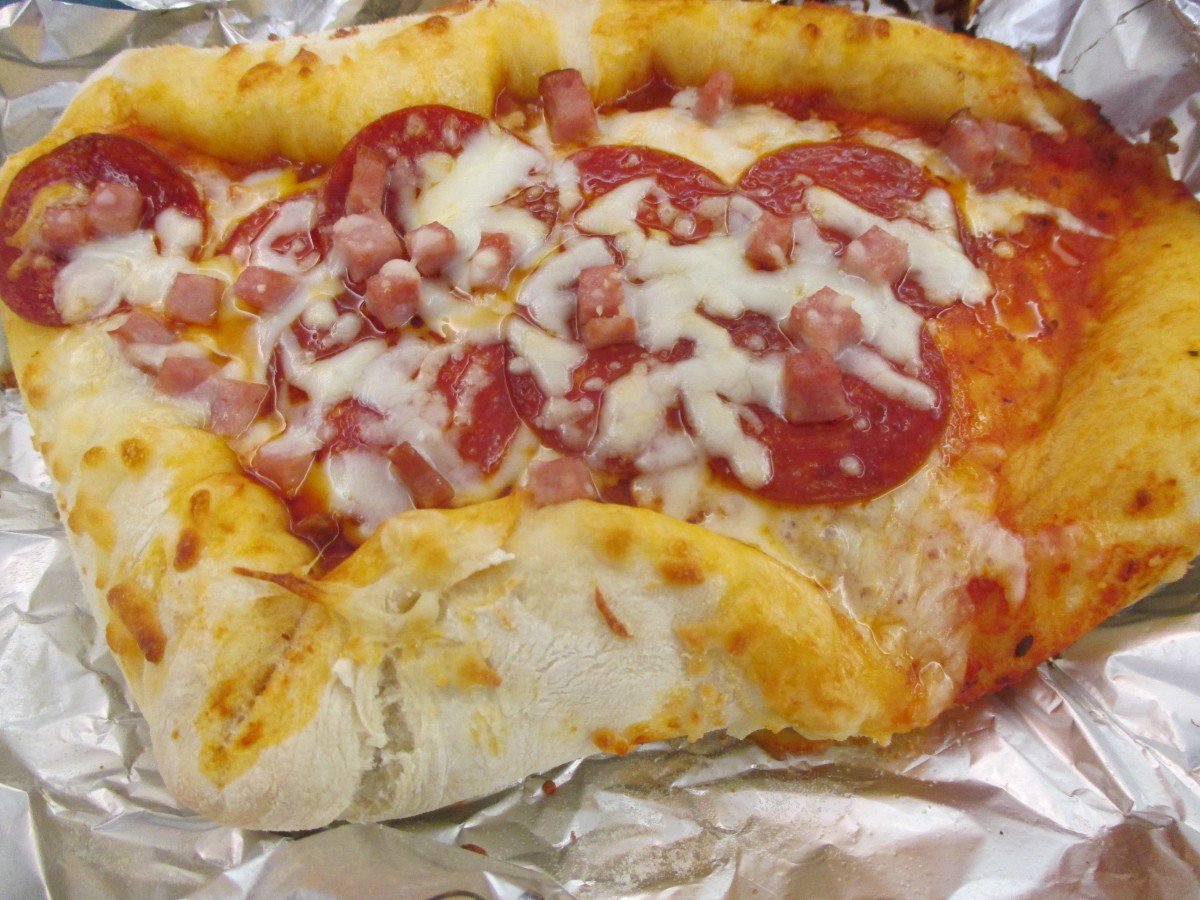
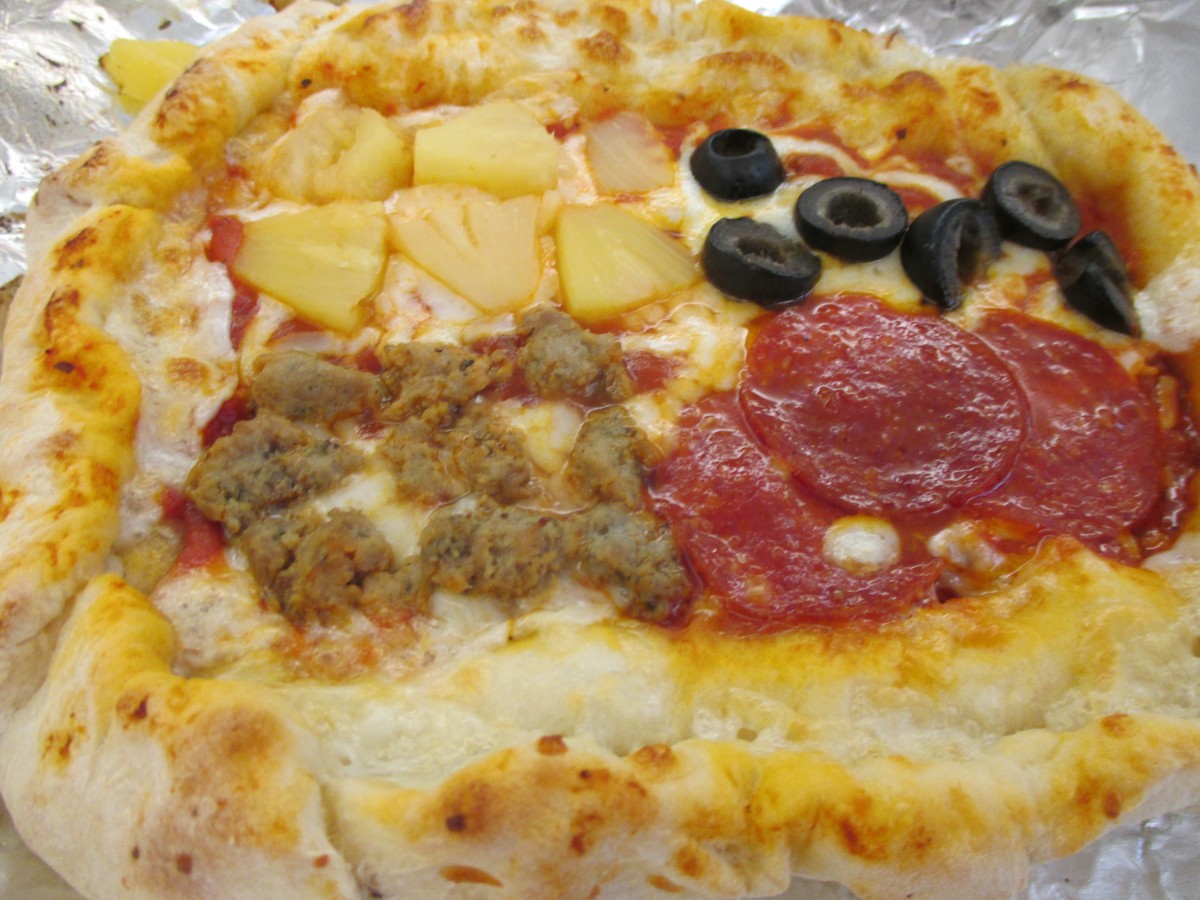
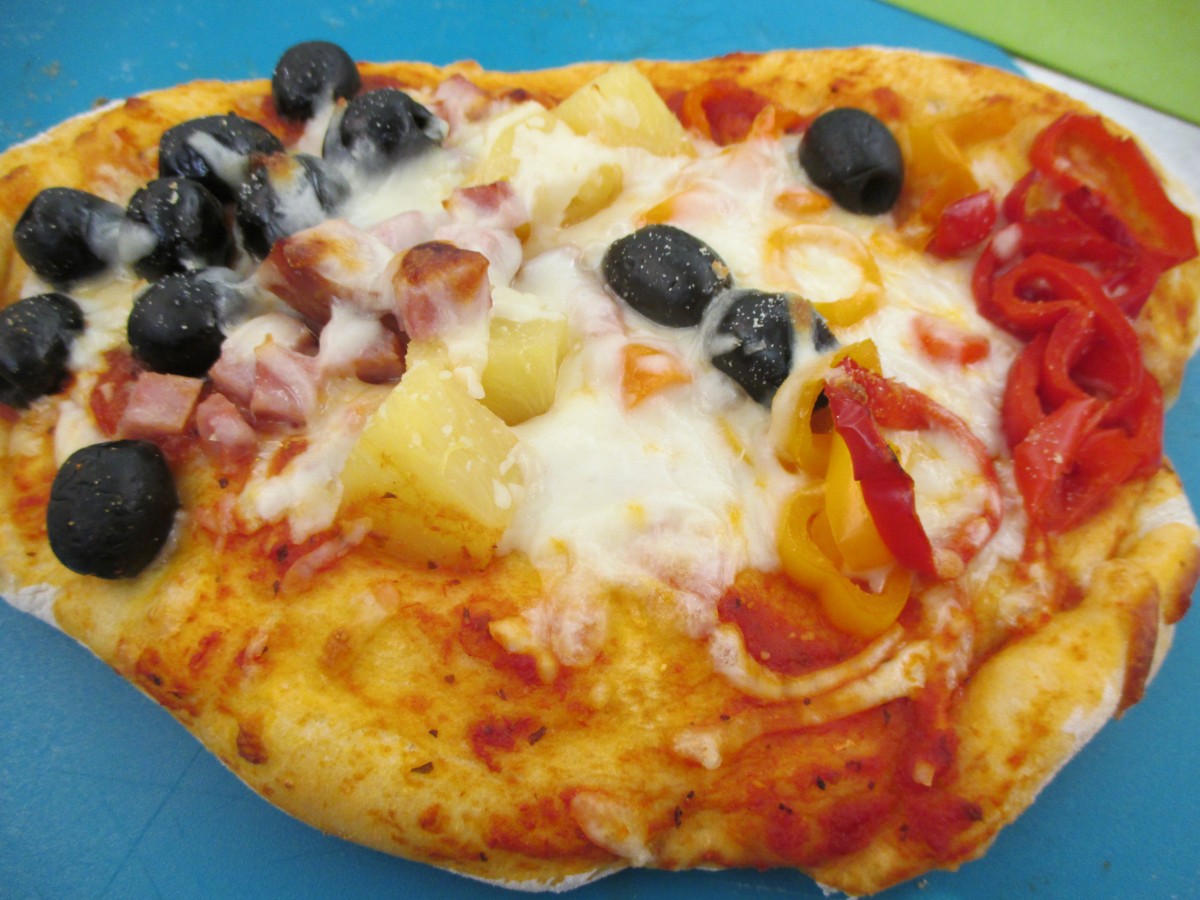
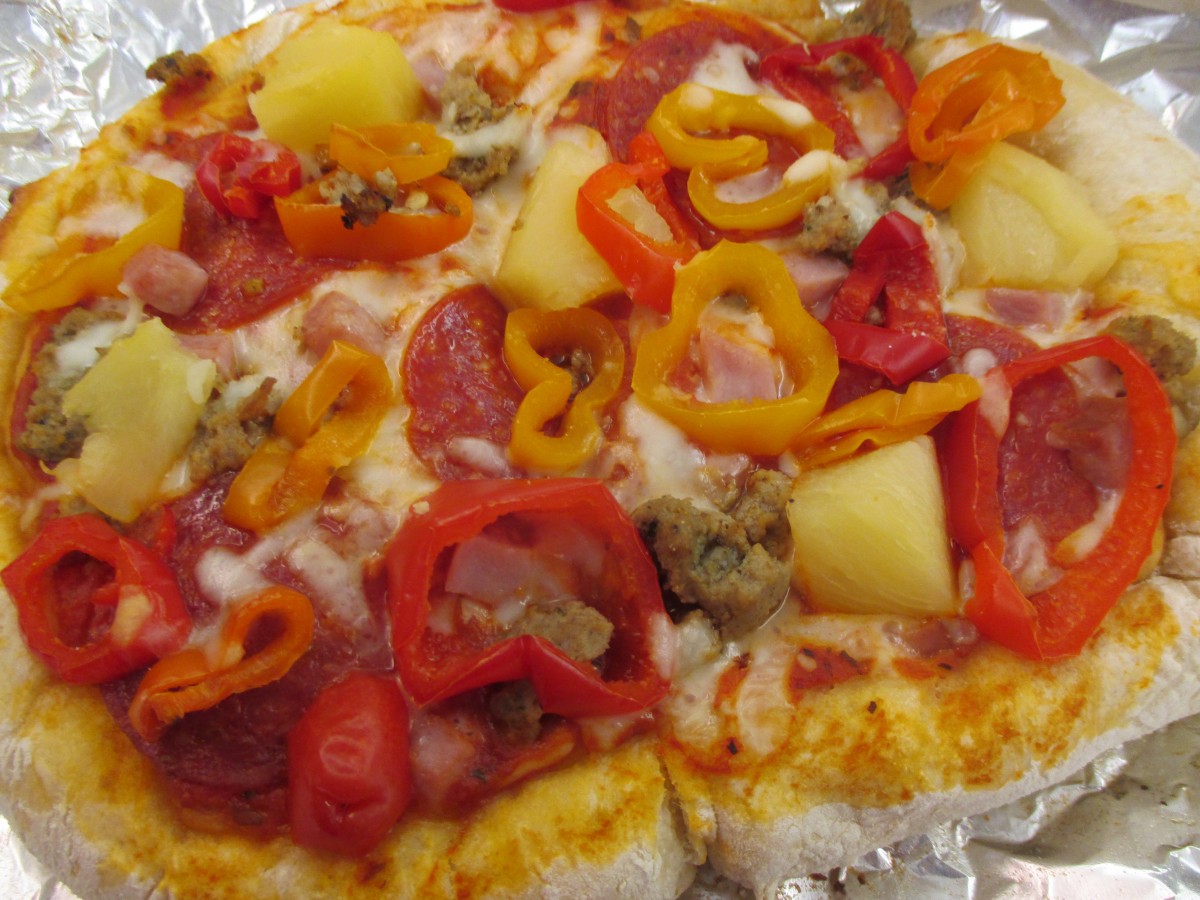 We had a lot of fun making pizza in camp today. The kids all made dough from scratch, rolled it out and decorated their “pies”. Their ages range from 6-12 years old. Only a couple said they had made pizza from scratch before. I was really impressed at how well they all did. Following are some of the pictures I took, and the recipe we used.
Homemade Pizza
1 packet active dry yeast
1 t. sugar
1 2/3 c. warm water
4-4½ c. flour
2 t. salt
3 c. pizza sauce
16 oz. shredded mozzarella cheese
Cornmeal
In bowl combine 2 cups of the flour with the yeast, sugar and salt. Add the water and stir to blend. Add flour gradually and keep stirring. Stir until soft dough forms. Place dough on floured surface and knead until stretchy and smooth, about 10 minutes. Allow dough to rest 3 minutes and knead a few more times. Place in bowl and cover. Let rise until doubled in bulk, about 45 minutes.
Punch dough down. Divide dough in half and roll each half into a 12-inch circle. Dust back of baking sheet with cornmeal and place dough on cornmeal, pressing down a little. Slide dough off sheet and onto a clean baking sheet. Place half of the remaining ingredients on the dough and repeat with remaining half of dough. Add more toppings, if you like and bake in a preheated 450-degree oven for 13-15 minutes. Cool a few minutes before cutting. Makes 2 pizzas.
Mini Pizzas: You can also divide the dough into 8 equal pieces and roll them out into 6-inch rounds. Then let each person make his or her own pizza. Bake a few minutes less than the big pizzas.


Chocolate Day in Cooking Camp

Chocolate Cabbage Cake – made by my camp kids
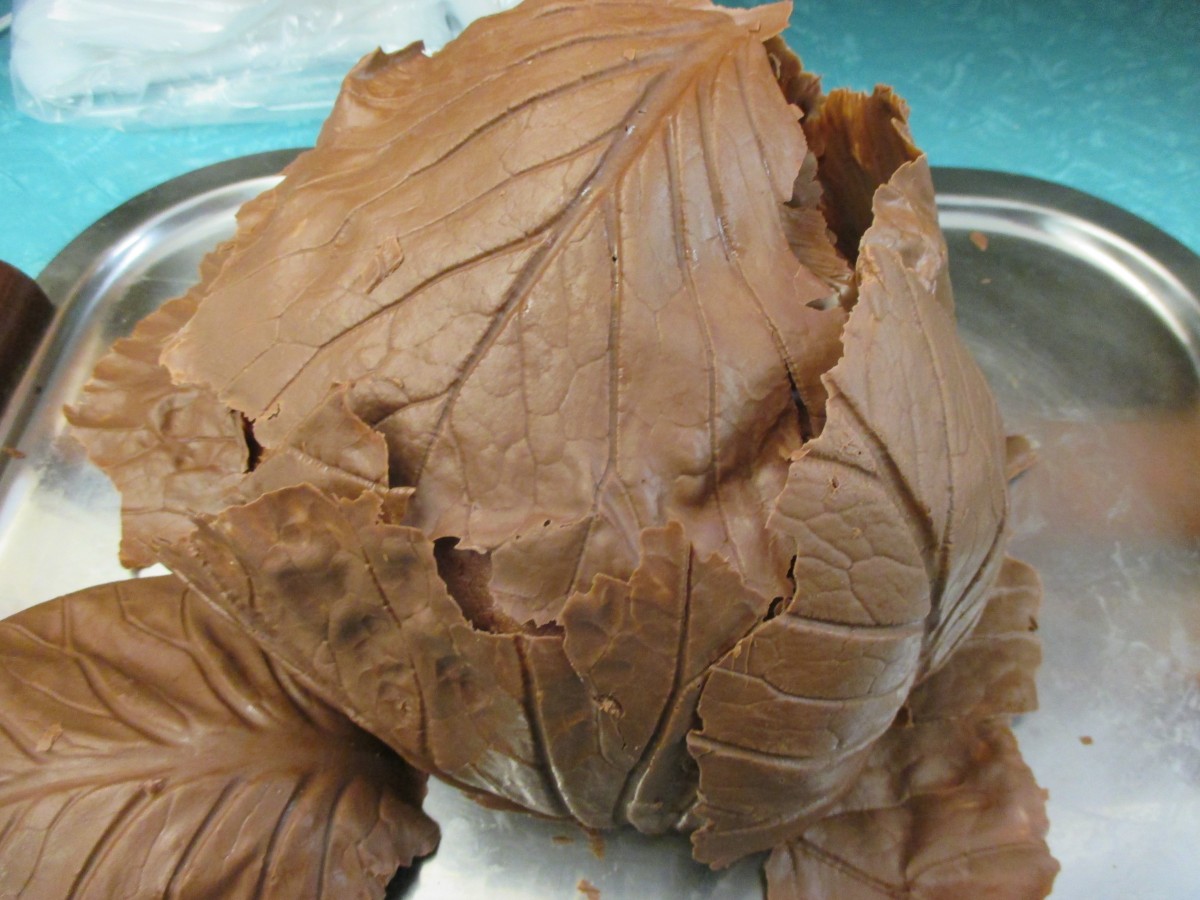
What a day to be working with chocolate. It was really hot in class today. Temps here are around 90, and the camp is in a kitchen with no air conditioning. I knew it would be challenging, but the kids managed to do a great job. They dipped all sorts of goodies in chocolate, but the hit of the day was the chocolate cabbage cake. I invited the parents to come to pick the kids up early, so they could get pics of their kids with the cake.
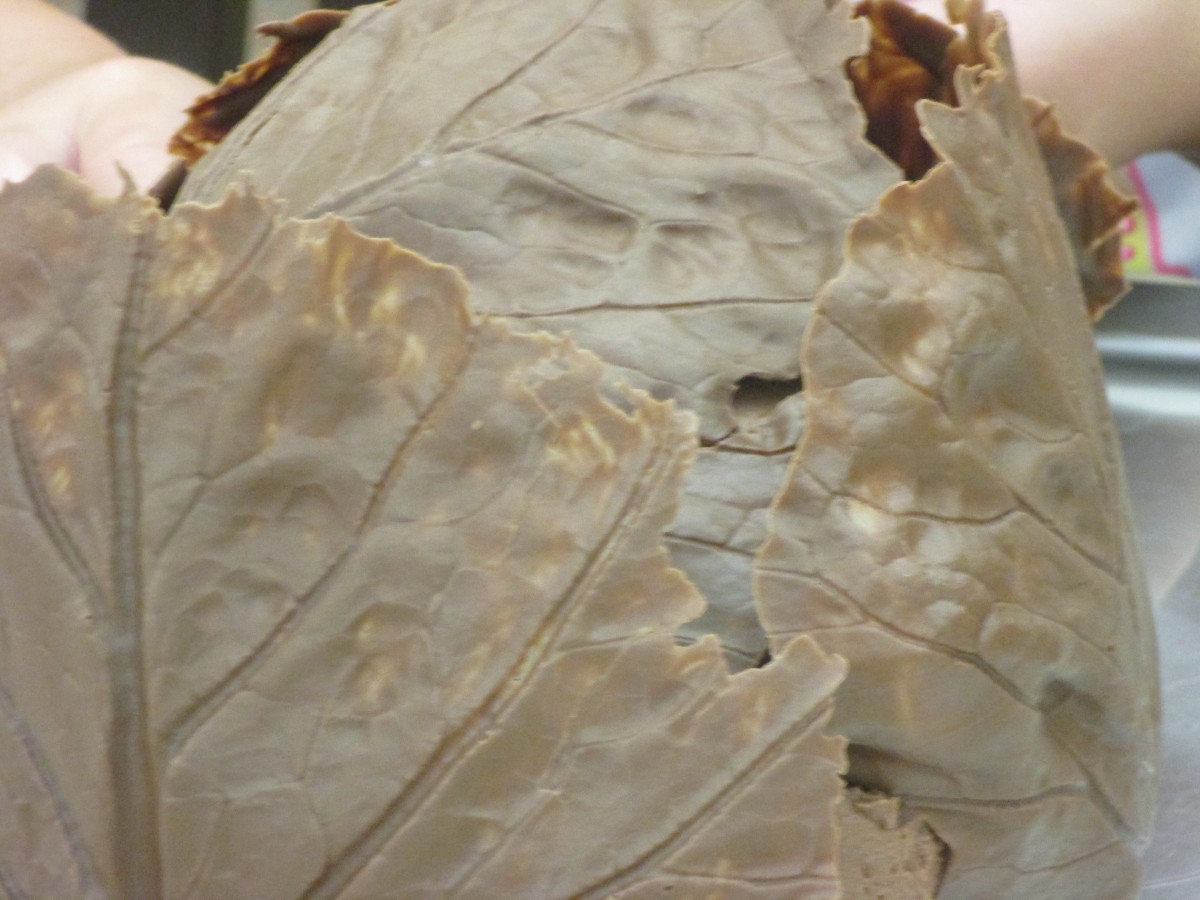
The cake is actually all chocolate, it just looks like a head of cabbage. We started with two chocolate cakes, baked in bowls. We also used a chocolate buttercream to frost it. When frosted together- they become a round cake. Then we used cabbage leaves and melted chocolate to create the magic. The leaves are brushed with melted chocolate and put in the fridge to harden. We carefully peeled away the cabbage leaves. Now we had a whole bunch of chocolate “leaves”. Each of the kids got a chance to add them to the cake. It was a lot of fun. Here are some more pics from camp. Kids range in age from 6-12. I was so proud of how well they worked together to make the cabbage cake so special.
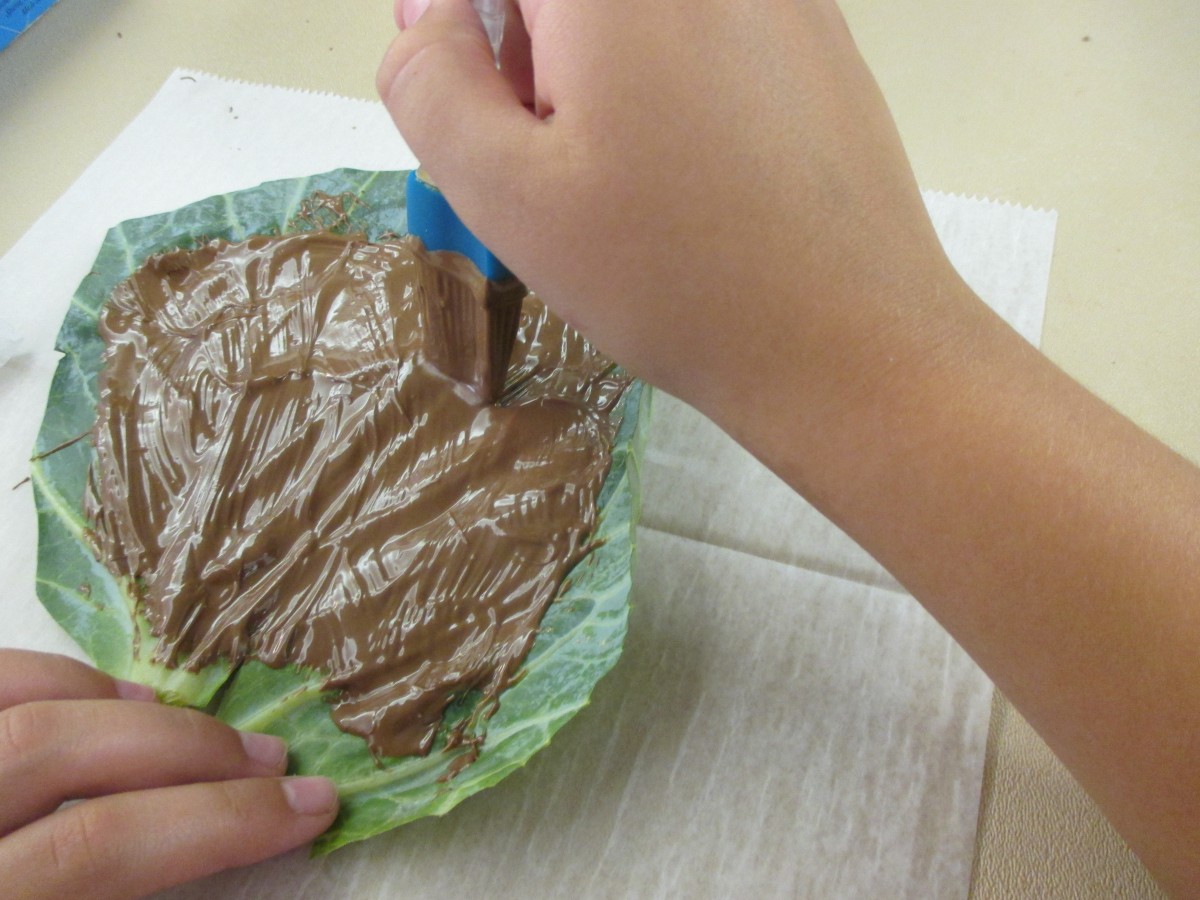
Brushing on the chocolate
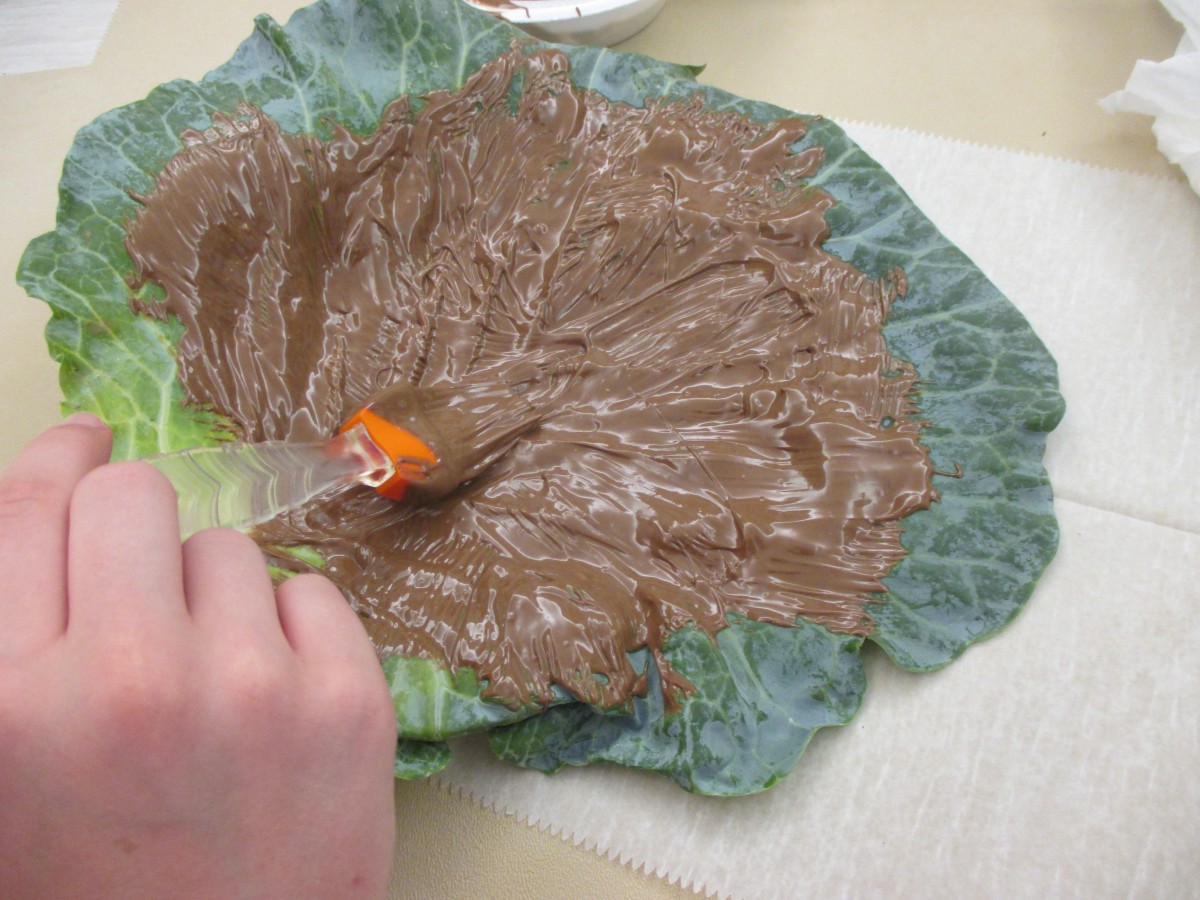
Some leaves were pretty big
Starting to place the leaves on the cake
Almost done

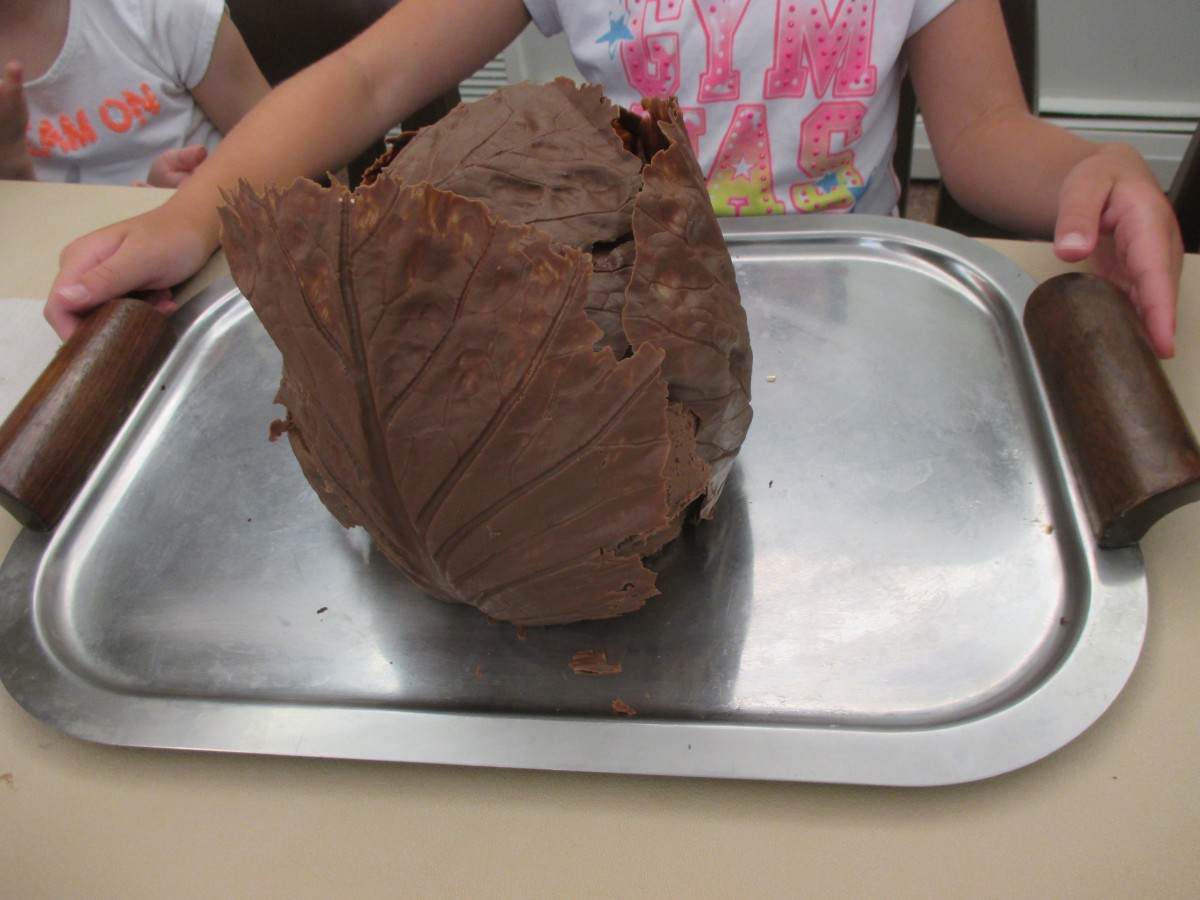
The Finished Cake
Mint Chocolate Chip Ice Cream


Mint Chocolate Chip Ice Cream
A few days ago, a friend mentioned that part of a wonderful day, was having mint chocolate chop ice cream. I had to admit that mint chocolate chip ice cream is a favorite of mine, too. I decided to make some, as part of the dessert for a dinner with friends. The tricky part is getting chips that aren’t hard chunks, but rather, little flecks of chocolate, that melt on your tongue when you eat the ice cream. In the past, for chocolate chip ice cream, I have brushed melted chocolate in thin sheets, chilled it, and then broken it into tiny pieces. It worked, but a little tricky to do.
I tried something different this time, and with a few adjustments, it worked out great. A couple of weeks ago, I posted a recipe for homemade chocolate magic shell. You remember magic shell, the chocolate syrup that hardens when you drizzle it on ice cream. The recipe is quite simple. Chocolate, coconut oil and powdered sugar, melted together. It remains a liquid at room temperature. So, to create the “chips”, I just added some of the magic shell to the ice cream as it froze in the ice cream maker. After a little playing around, I got the knack of drizzling it slowly. The end result, little flecks of chocolate through the ice cream that were tender and melted as you ate the ice cream. We had the ice cream served on a homemade brownie, then topped with more magic shell and some whipped cream. You will note that my ice cream is not green. I opted to omit food coloring, but feel free to add some, if you prefer.
Mint Chocolate Chip Ice Cream
2 c. half and half
1 c. whipping cream
½ c. sugar, or to taste*
2 t. mint extract
1 t. vanilla extract
About ½ c. magic shell- recipe follows
Combine half and half, cream, sugar and flavorings. Stir until sugar dissolves. Add more sugar, if needed, to suit your taste. Place mixture in an ice cream maker and start freezing it. Once it starts to thicken, drizzle the magic shell in slowly as the machine is running, to create little flecks of chocolate throughout the ice cream. I have to guess that I used about ½ a cup. Add until you have the amount of chips you like. Once ice cream forms, place in freezer until ready to serve. Makes about a quart.
*The mixture might taste a little sweet to you, but when you freeze it, it will taste less sweet. When making ice cream, the base should be a little”too” sweet to allow for the taste change after freezing.
Homemade Chocolate Shell
1 c. chocolate chips- I used dark chocolate chips
3/4 c. coconut oil- I used the unrefined
1/2 c. powdered sugar
Heat all together until melted. I melted mine in a microwave for 1 minute, but you could also melt over a double boiler. Stir until smooth. Store at room temp. To use, drizzle over ice cream, wait about 10-20 seconds- and it will harden.


